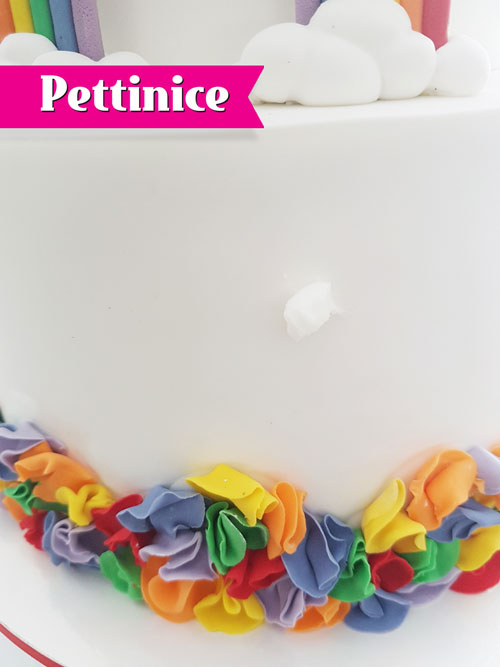
Applying lettering to your cake
Styled my first table from my friend's little girl Avaeya's 5th birthday! Pretty much lived out all my little girl party dreams with total My little pony rainbow gorgeousness.... Makes me want a little girl so bad! Weeellll not enough to do anything about it, but you know what I mean... 🙄. And because ya know I like to take my cakes next level the carousel is a piñata filled with lollies AND it spins. It would have been rude not to. 🍭🍬🎉
I have created three tutorials based on the party cake. If you want to see them all, the links are at the bottom of this post.
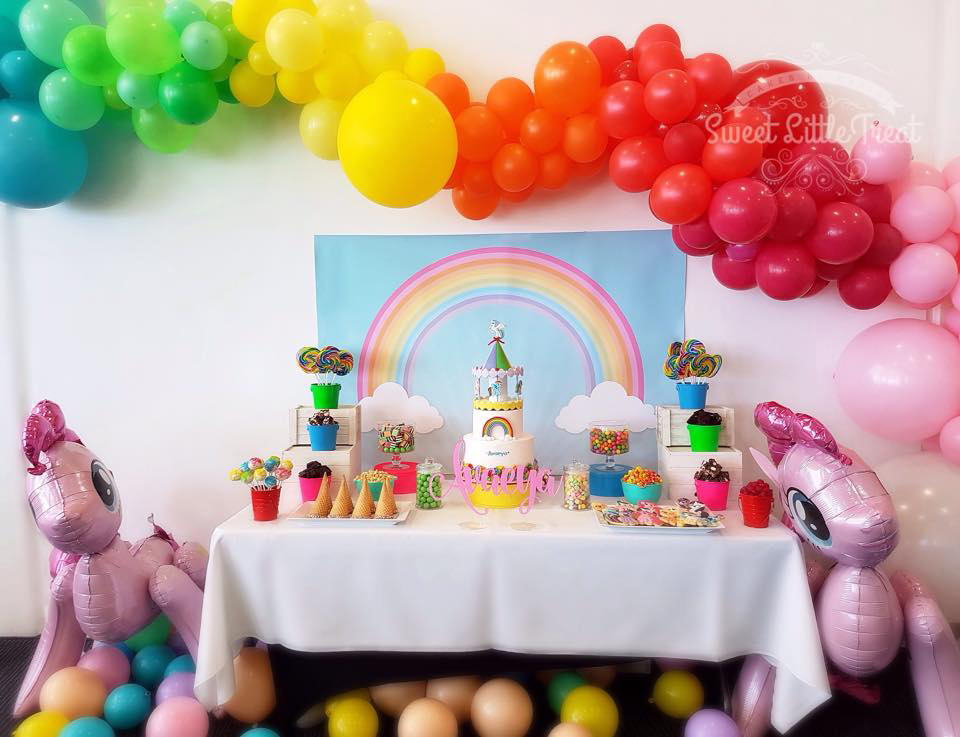
Pretty much lived out all my little girl party dreams with total My little pony rainbow gorgeousness.
Skill level: Easy
Time: 5 - 10 minutes
You will need:
- Bakels Pettinice in the colour you want
- Cut out fondant letters. See tutorial here
- Crisco (vegetable fat)
- Paintbrush


How to apply lettering to your cake
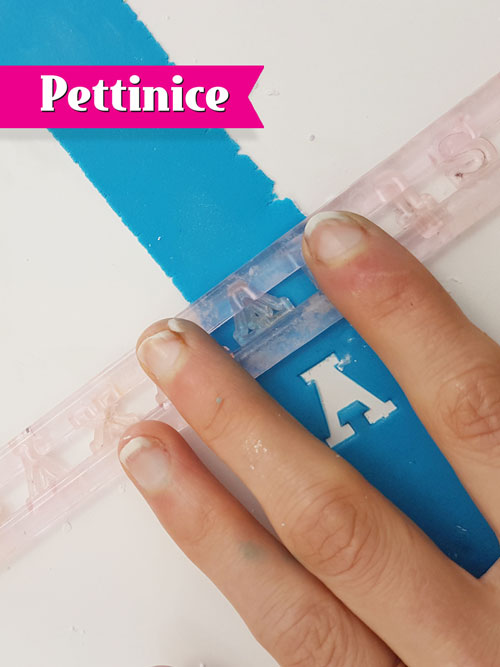
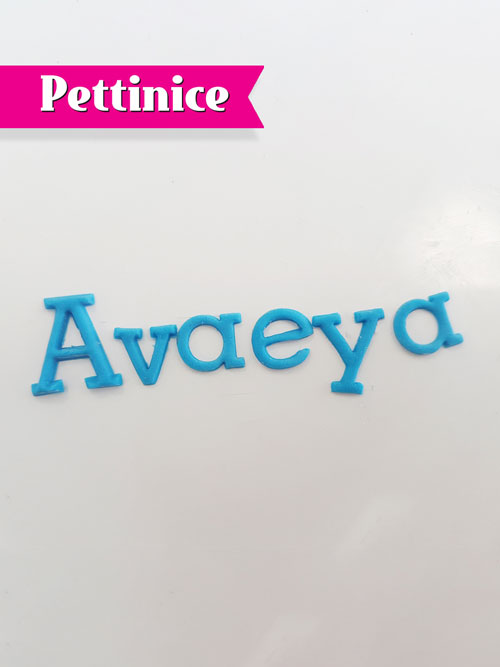
Line the letters up in the order you want them on your bench.
Rub some Crisco or Bakels on your cake where the letters will go. If your lettering has to be centred and lined up with something on your cake work out the middle letters.
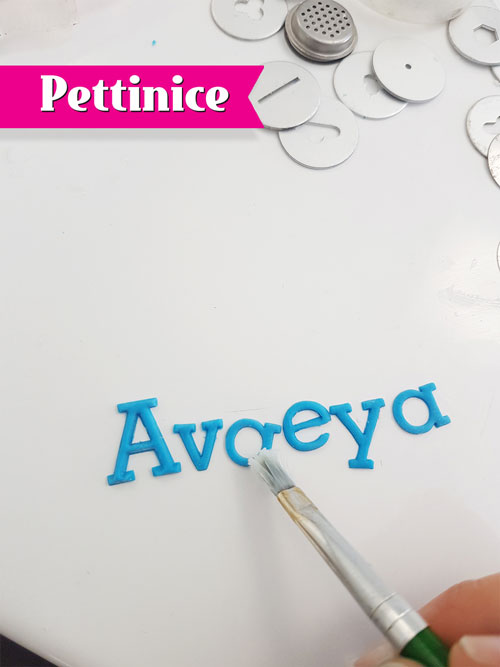
Dab your paint brush with crisco and pick up the middle letter with the paintbrush and apply it to the centre point of your cake.
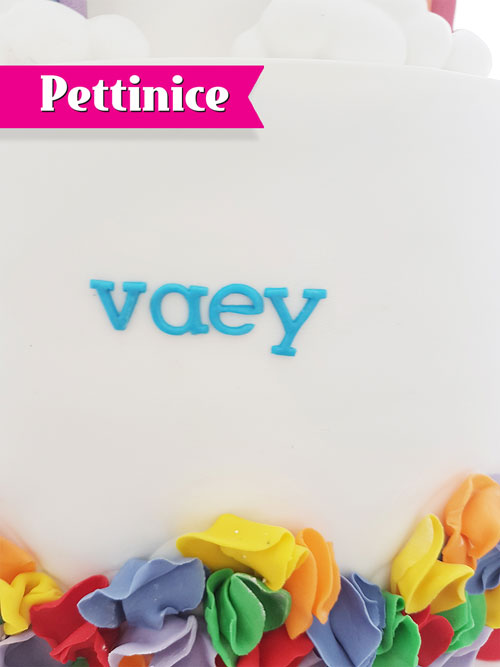
Put the remaining letters on, working your way out to the outside letters.

Step back and look at your letters, often they need to be slightly straightened or the odd letter pushed along so it looks centred and perfect. Using crisco ensures you can easily moved them in to the perfect position.
❤️ Credit ❤️
Table styling: Sweet Little Treat - Cakes by Karin
Cake: Sweet Little Treat - Cakes by Karin
Balloon display: OMG-Ness Styling
Cookies: Ibicci NZ - Custom Decorated Cookies and Culinary Stencils
Acrylic name: Design at 409


Karin Klenner owns Sweet Little Treat located in Hamilton, New Zealand. She says "I'm a mum to two little boys which are my world (and have been known to destroy my world by attacking the odd cake) and married to an amazing guy who, thank goodness, is very good with a drill because my favourite cakes to do are 3D sculpted cakes. I love doing animals especially."
You can find Karin on Facebook and Instagram. ![]()
![]()
Want to see more tutorials?