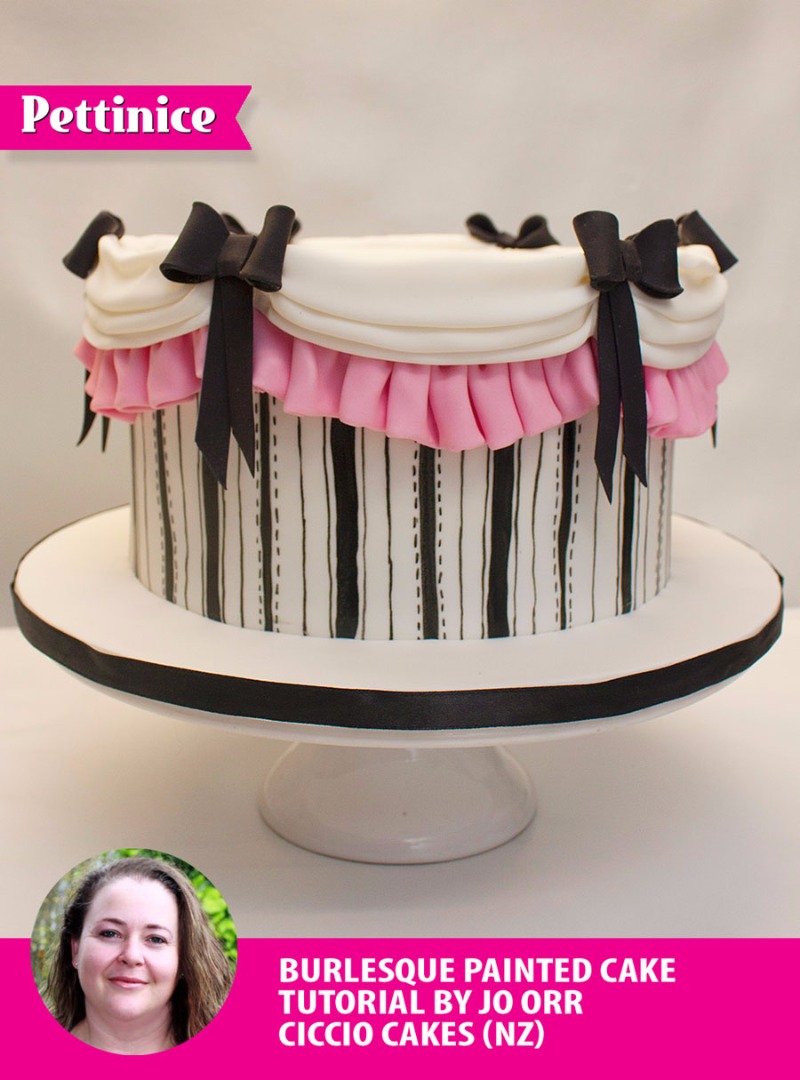
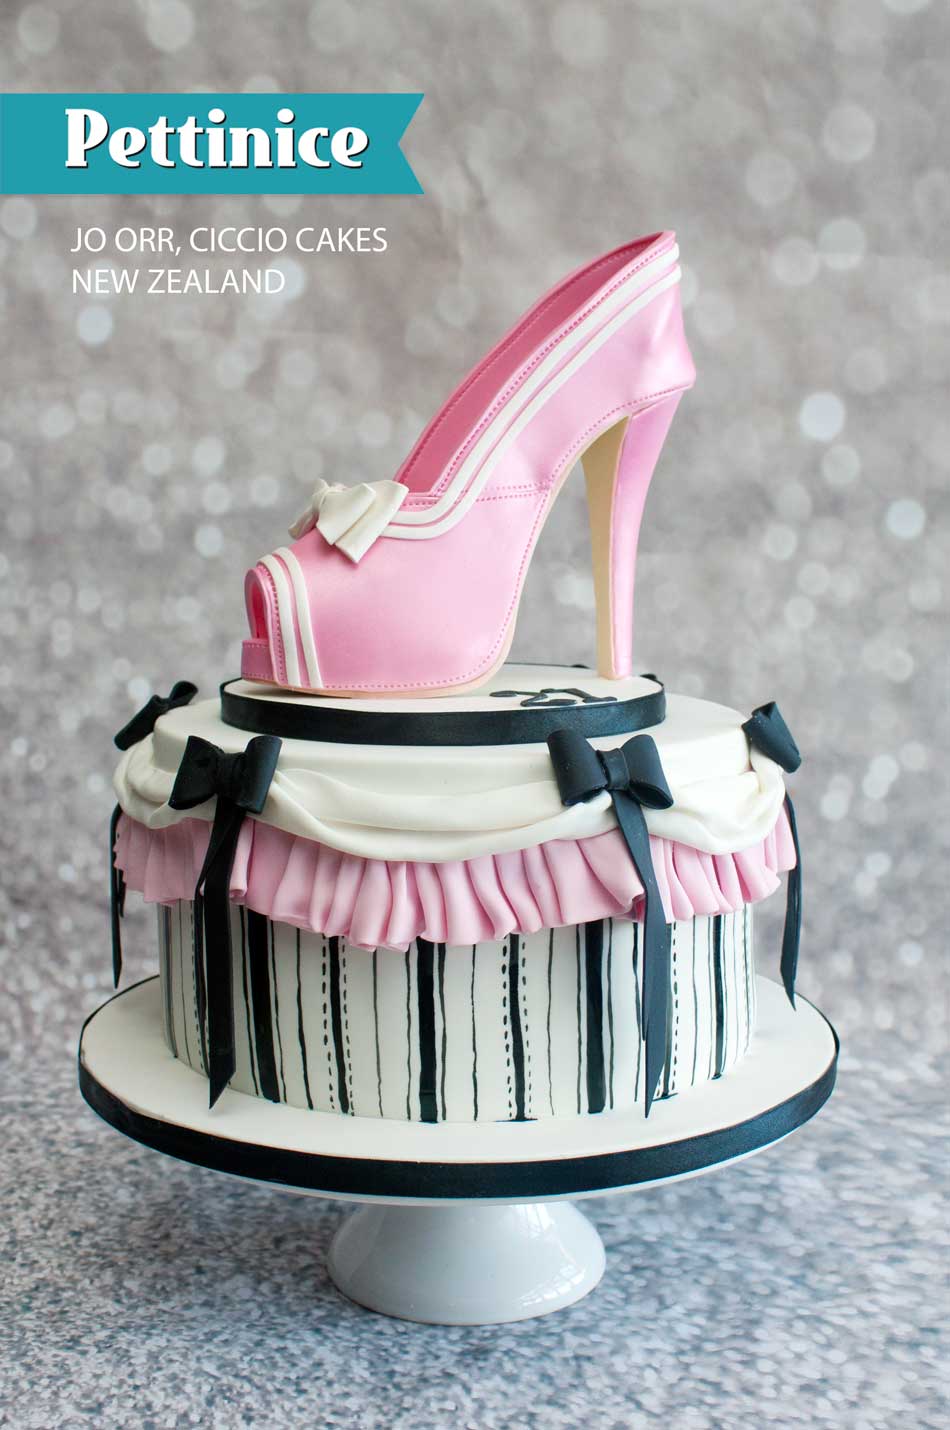
How to make a painted burlesque cake tier by Jo Orr - Ciccio Cakes
Skill level: Moderate
Time: 1 hour
You will need:
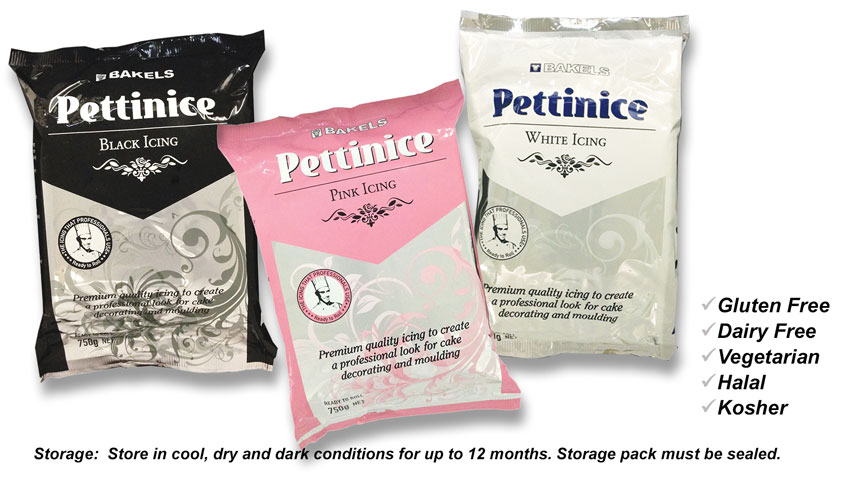
- White Pettinice fondant
- Pink Pettinice fondant
- Black Pettinice fondant
- Superblack airbrush colour or superblack gel
- Vodka for painting
- Paint brushes (I use thin 2/0 DAS round white and 1 DAS round)
- Template* posted at the end of this tutorial
- Tylose powder
- Sugar glue or water
- Rolling pin
- Sharp knife
"Pettinice always gives me a great solid finish - perfect for airbrushing and painting."
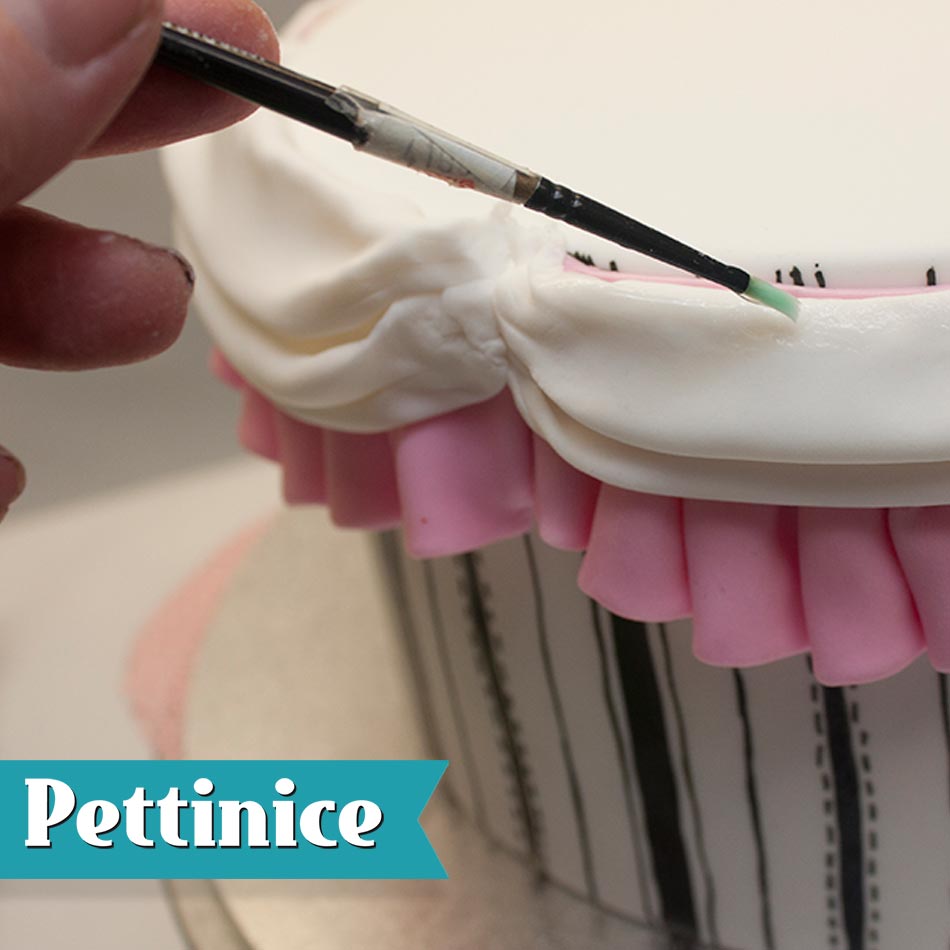
Painting the cake
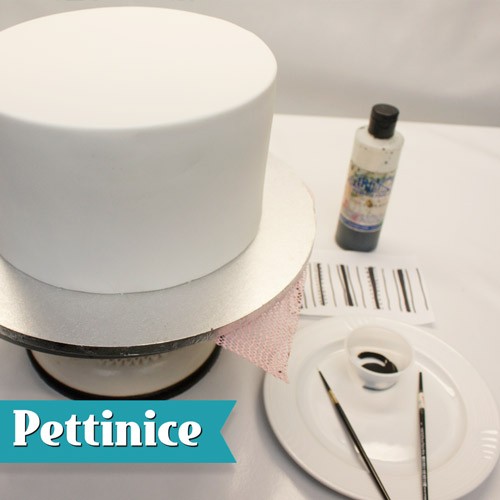
Start with a cake that has been covered with White Pettinice and let dry for 4-6 hours.
Ideally, sharp edges would look great with this project. Watch our video for one method of achieving sharp edges.
I used Americolor Superblack airbrush colour. However, you can also use Americolor super black gel thinned with vodka to make a paint.
For paint brushes, I use both a thin 2/0 DAS round white, and a thicker 1 Das round brush.
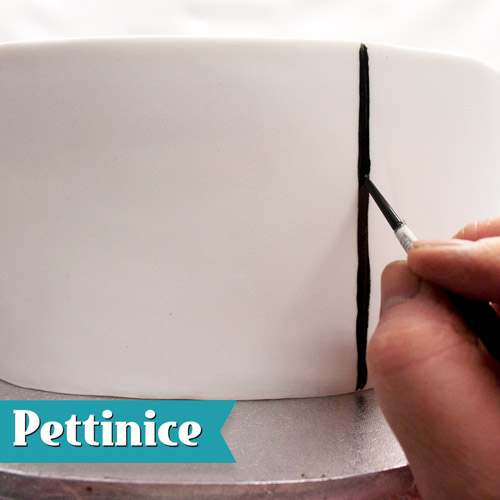
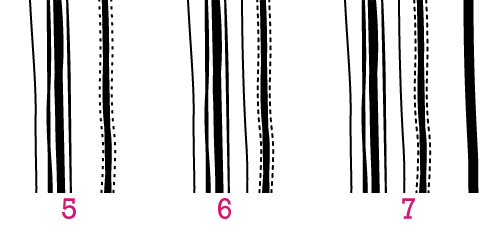
Use the Das 1 brush for thick lines. Use the 2/0 Das brush for thinner lines and dashes.
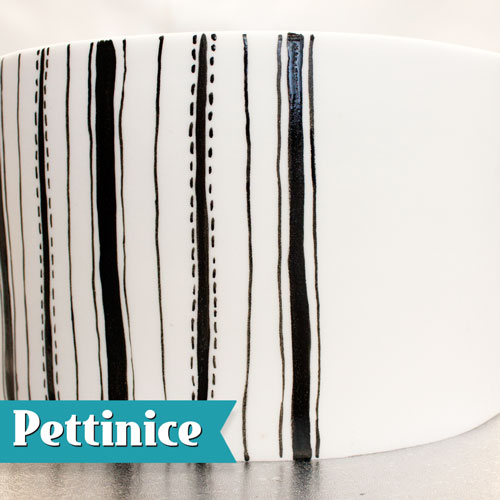
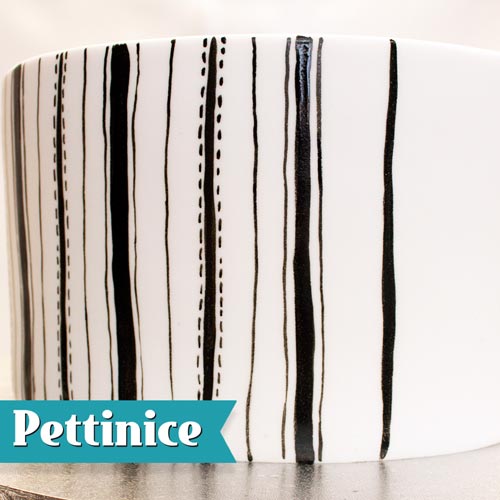
Below is the order sequence I find easiest to paint for spacing. Paint thick lines using the Das 1 brush, and the thinner lines and dashes using the 2/0 Das brush. The template follows at the end of this tutorial. Keep it fun and whimsical!

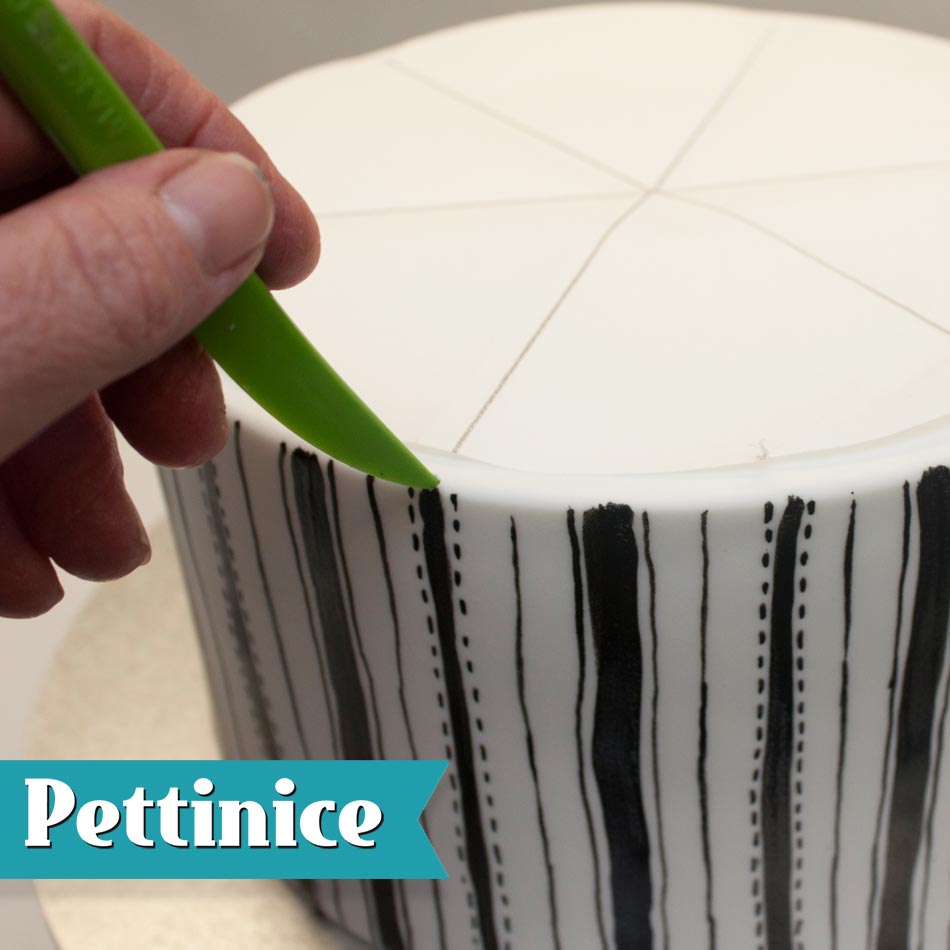
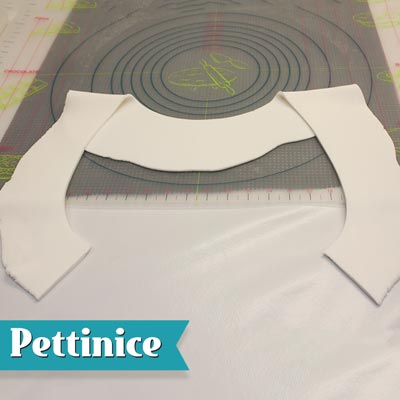
Create a template by folding circle as shown and marking the points on the cake for the swags.
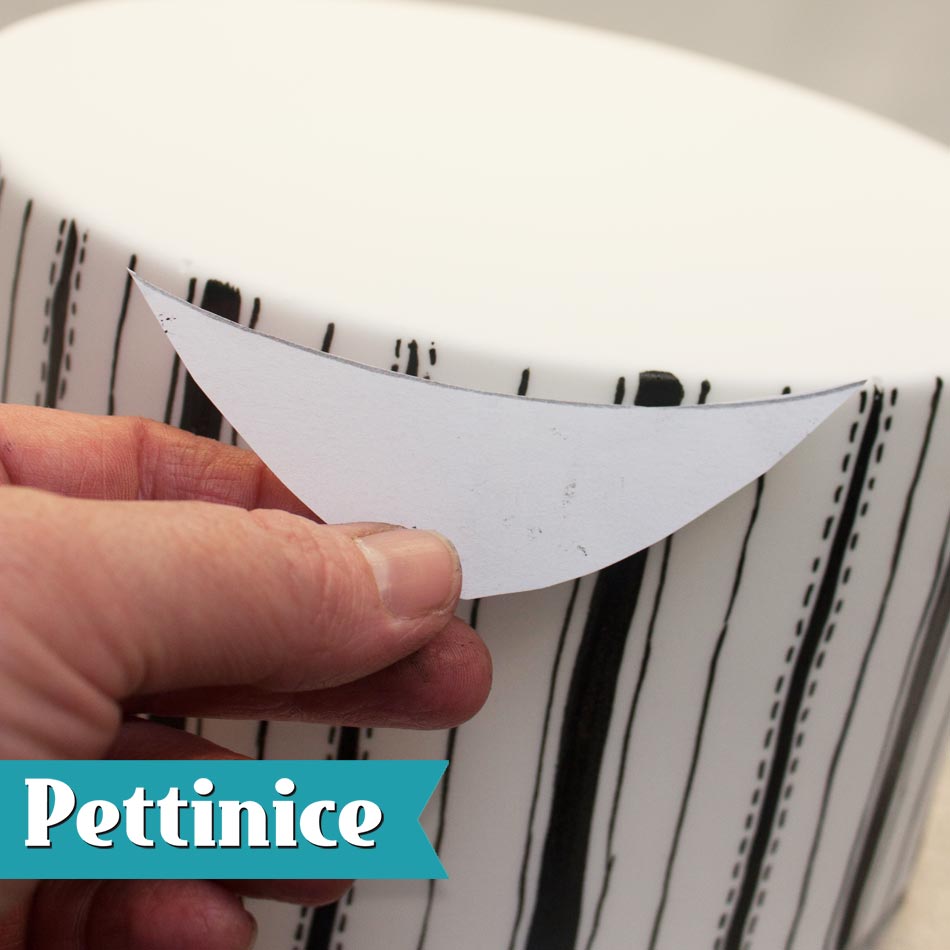
Using your template spacing, create your swag template.
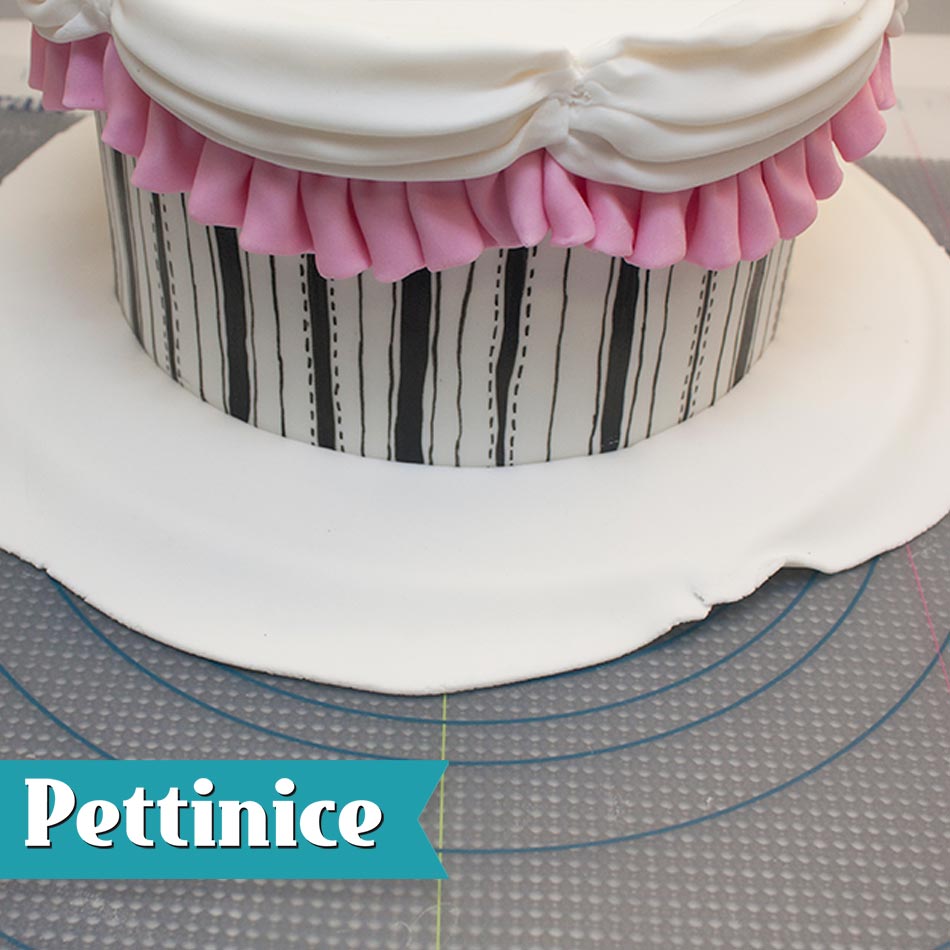
Creating the pleats
See our colour mix guide to find your perfect shade.

Mix a 1:1 ratio of 150g white / 150g pink. Add 1/2 tsp of tylose.
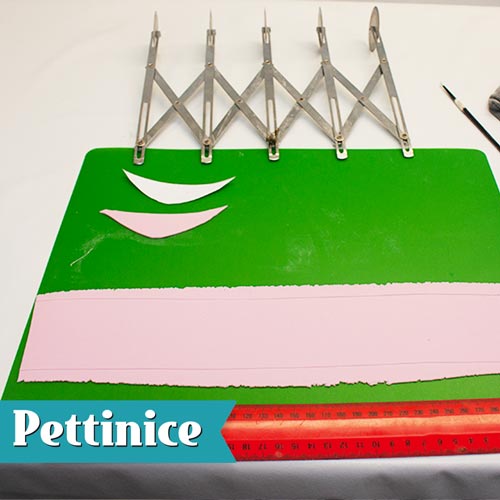
Roll Pettinice thinly (I used pasta roller on size 4) and cut swag template plus a 10cm wide x 30-40cm long rectangle.
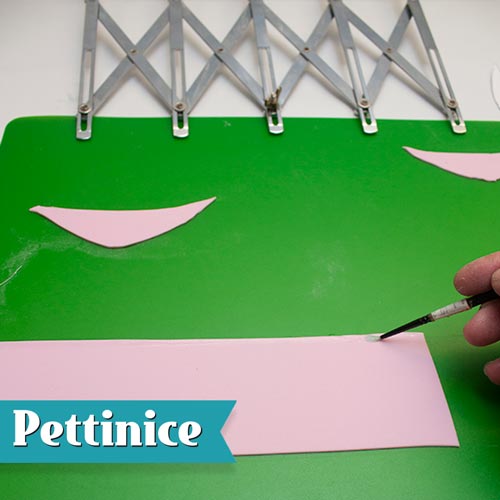
Brush tylose glue along one edge of rectangle.
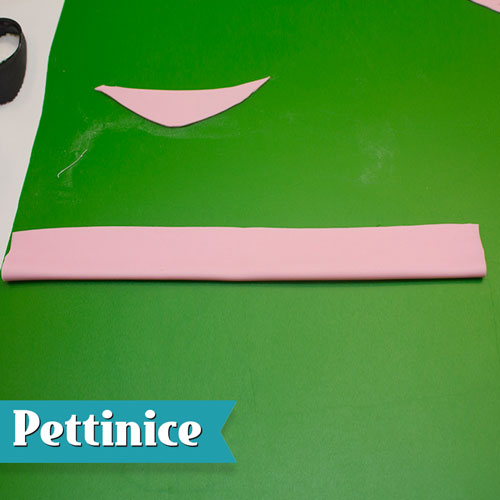
Fold rectangle in half.
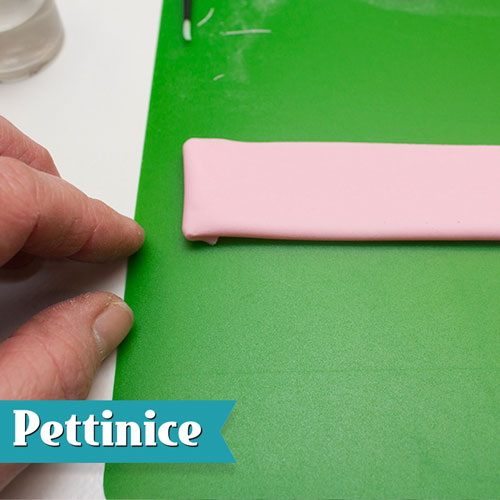
Fold edge under at one end.
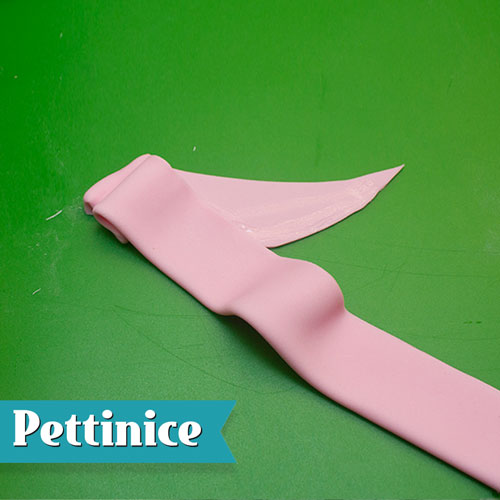
Brush glue on the longer edge of of swag template. Attach folded strip end to corner and begin to pleat ribbon evenly, following along the curve.
Continue folding. At the end, fold the ribbon down under the swag template as shown.

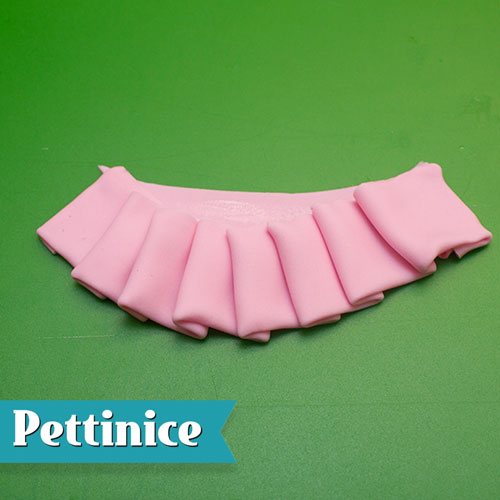
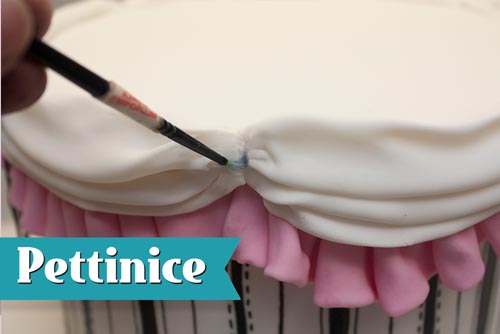
Flip your pleat over and brush sugar glue over swag template.
Attach to cake with points touching the guide marks you made earlier.

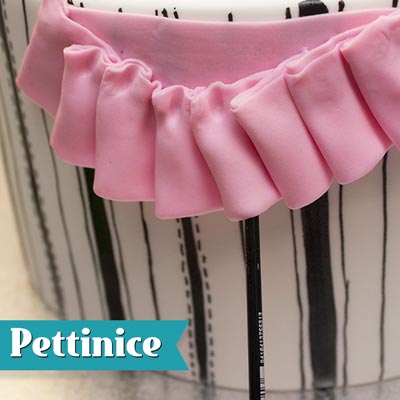
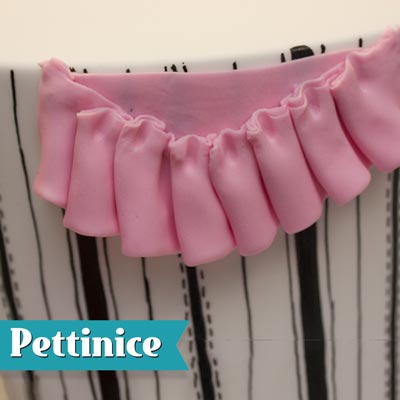
Brush extra sugar glue between the pleats to secure.
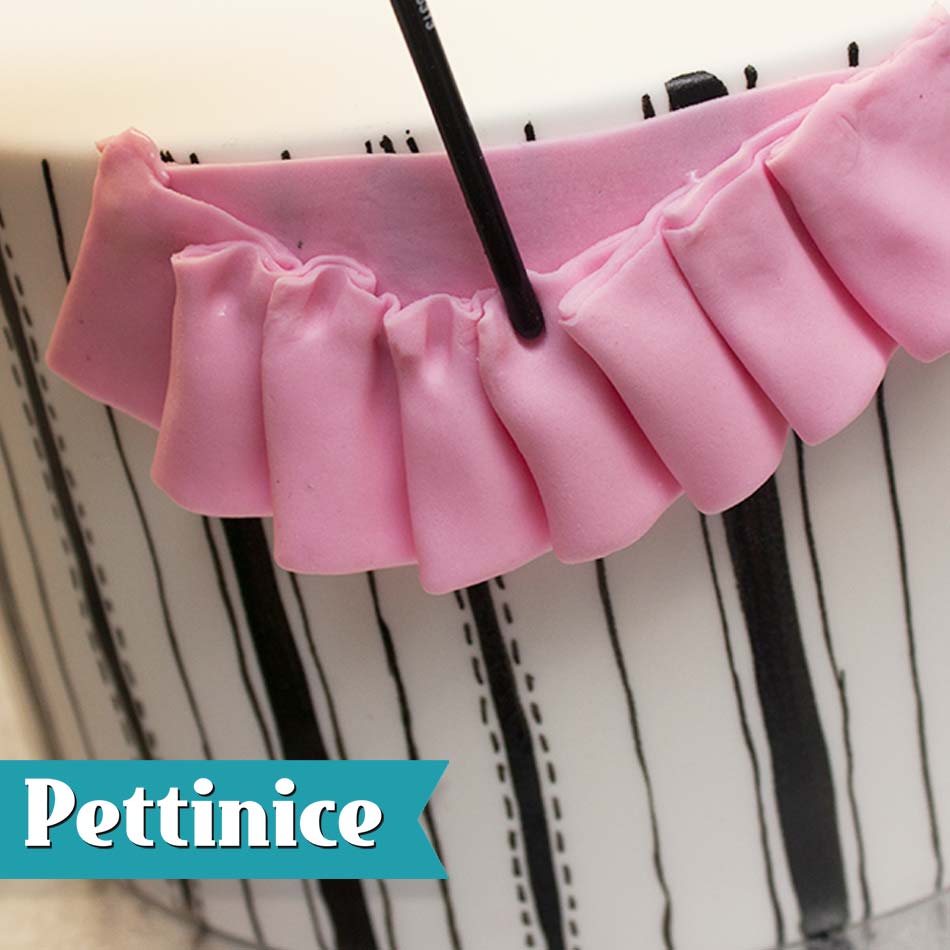
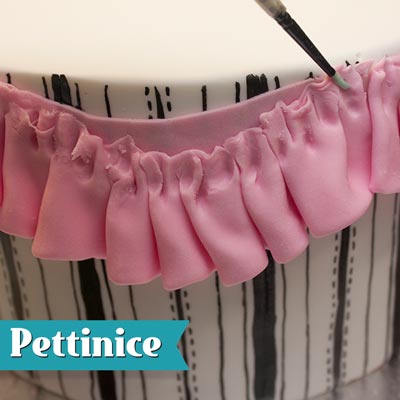
Using the other end of your brush, or a Dresden tool, press in the middle of each pleat.
Lift each pleat out using the top of your brush to create movement in the ribbon.
Keep lifting each pleat with your brush end.
Continue around the cake.
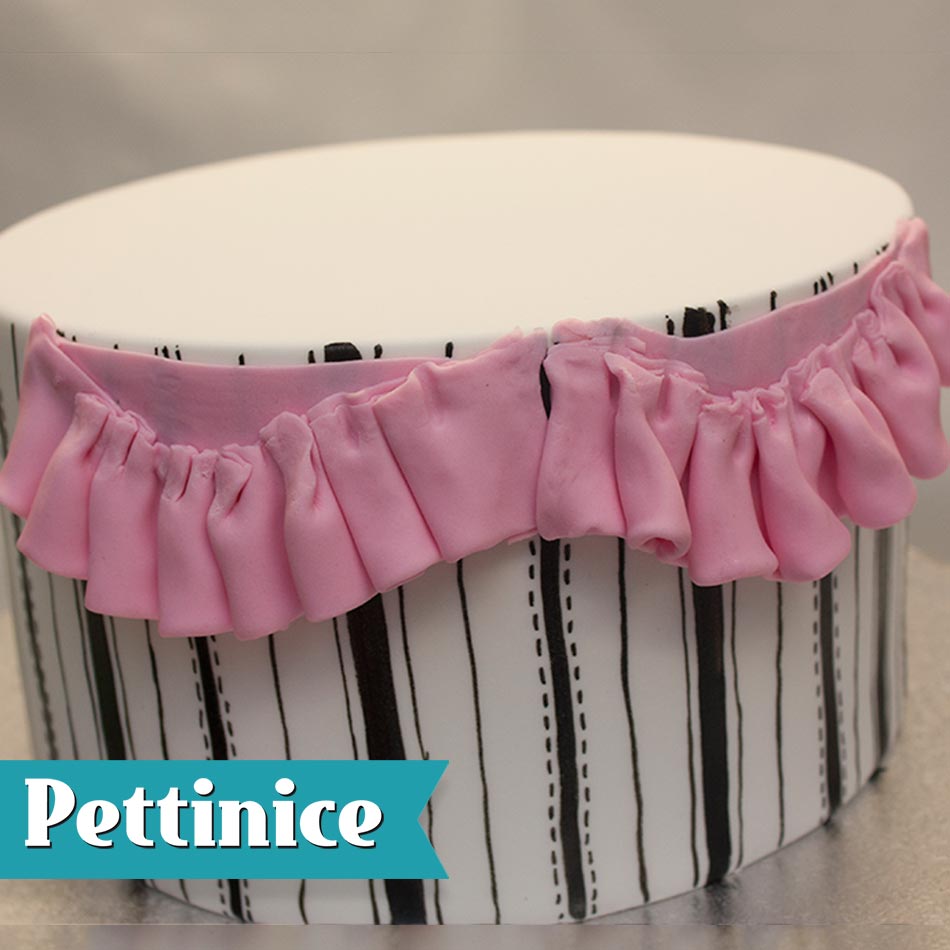
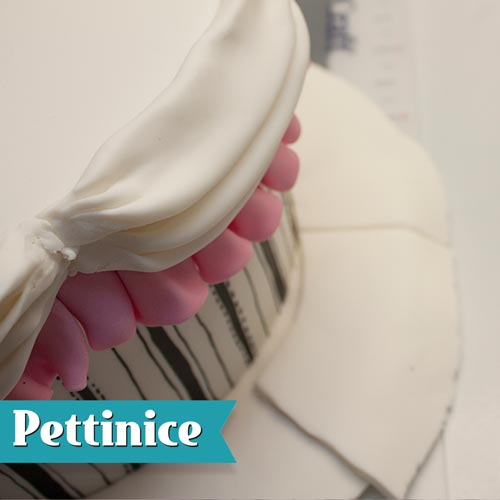
Creating the swags
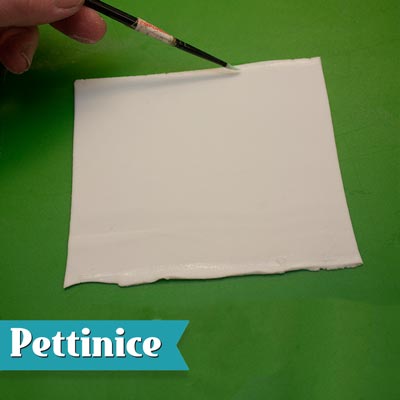
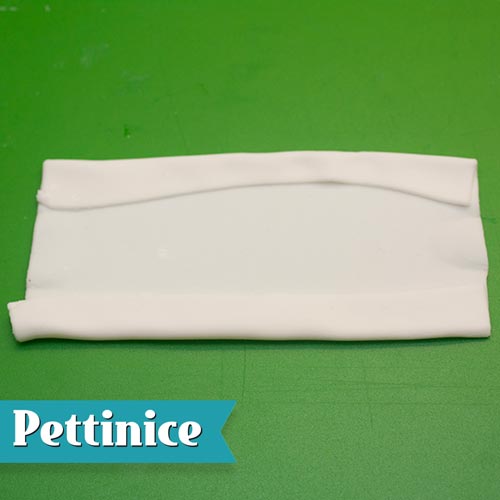
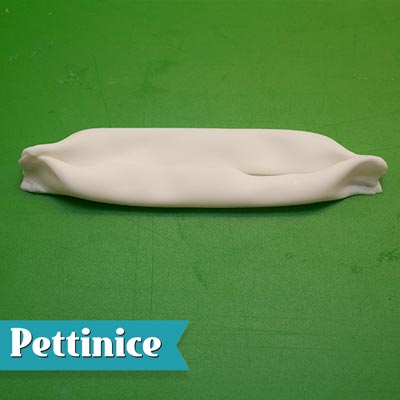
Roll Pettinice thinly (setting 4 on a pasta machine). You can add a little tylose to make it easier, but not more than 1/2tsp per 300g. Cut into a rectangle about 2cm longer than the swag template and 10cm wide. Brush sugar glue along edges with a little glue and fold a very small piece over.
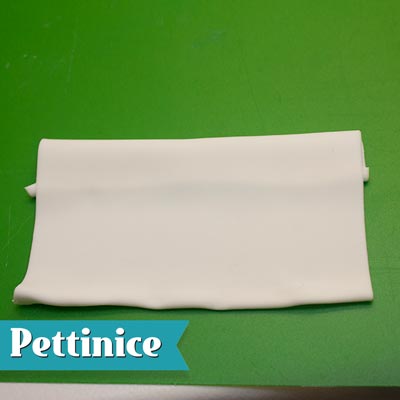
With the folded edge facing up, bring the rectangle towards you creating a 1cm fold as shown above.
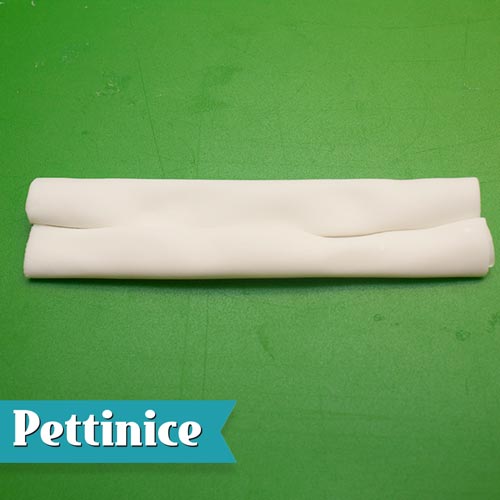
Fold fondant back (accordian style) and repeat . You will finish with a double fold.
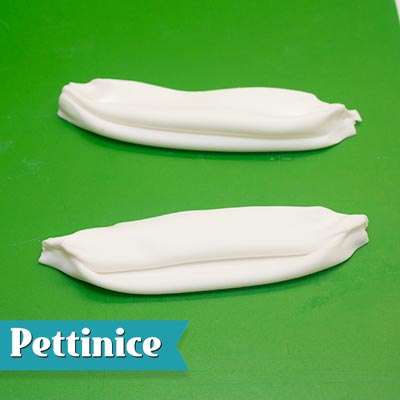
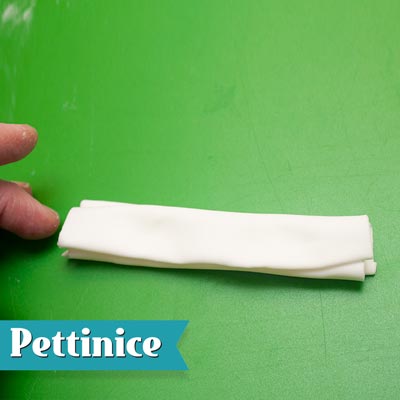
Pinch edges together. This is the bottom half of each swag.
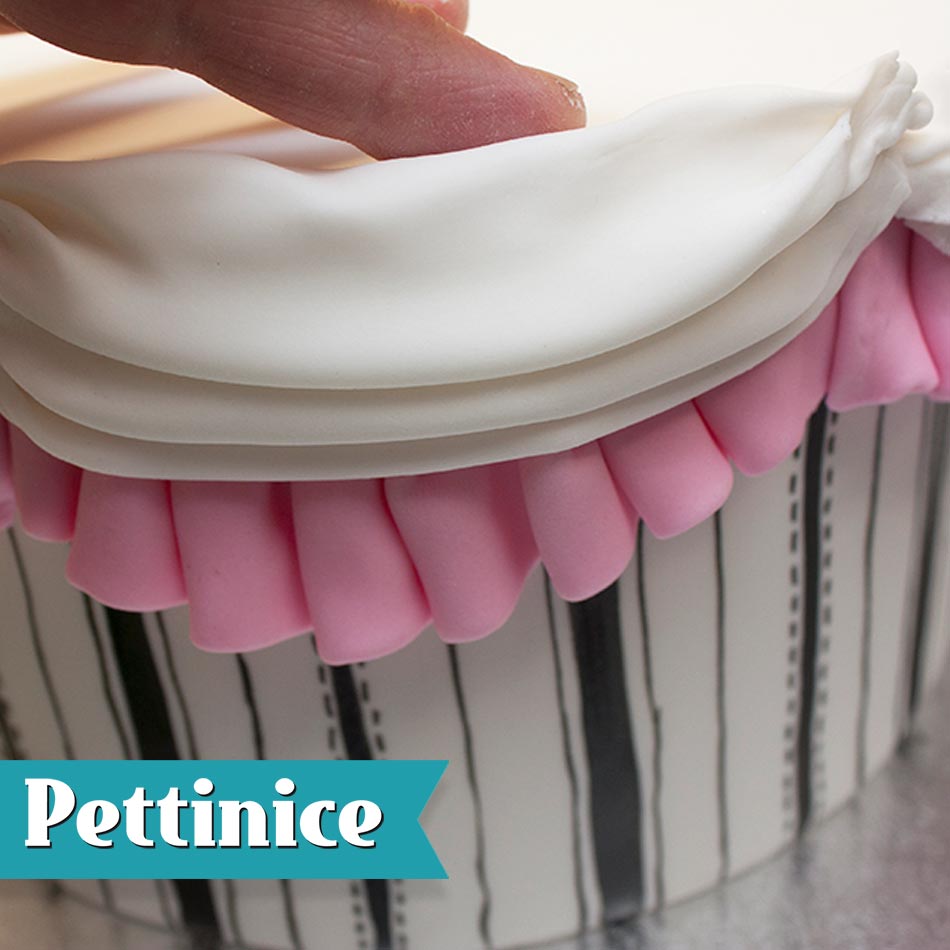
Brush a little sugar glue along the top of the pleated ribbon.
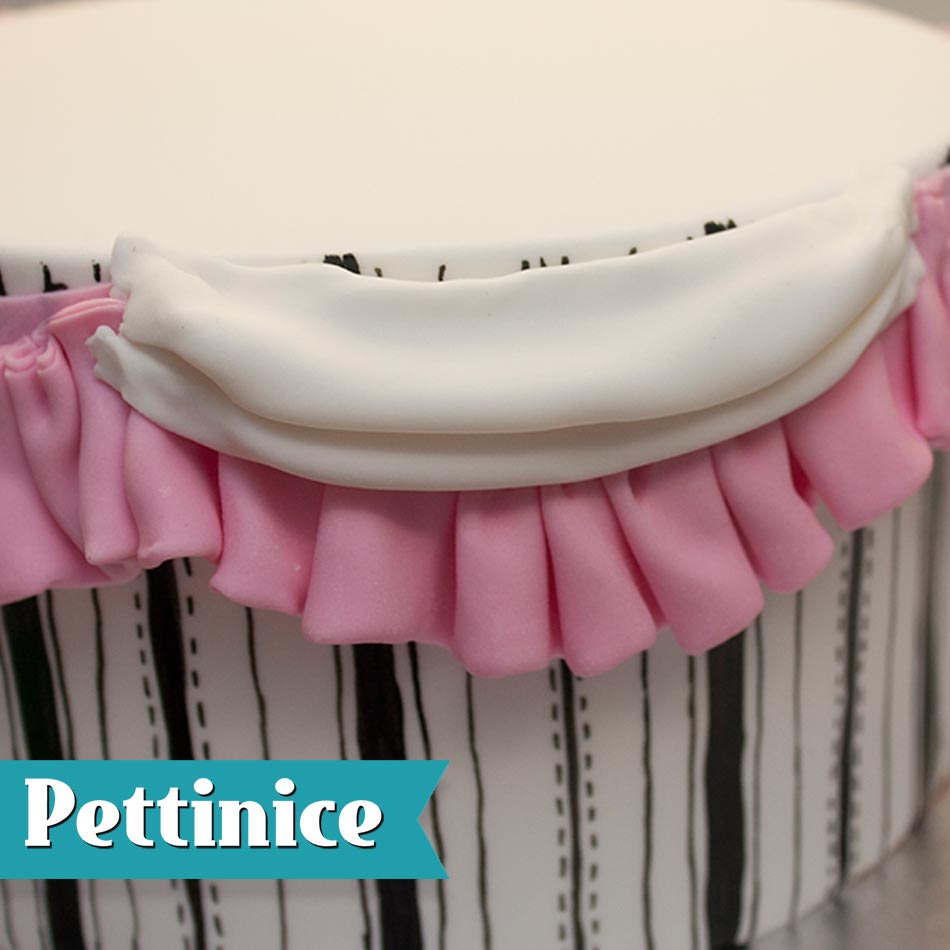
Attach the white folded swag on top of the pink pleats. Cover the top of the pink pleats as shown.
Roll another rectangle of the white fondant about 1cm longer than the swag template length and about 5-6cm wide. Brush both edges with a little sugar glue and fold both in as shown.
Next, fold edges again, so they meet in the center.
Pinch edges together. This is the top half of each swag.
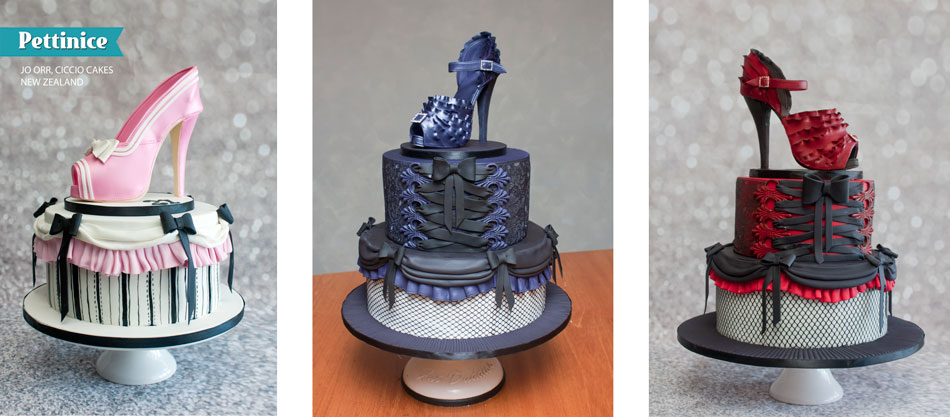
Ooh la la! We think this would be the perfect cake to feature a sugar stiletto topper!
Brush a little sugar glue along the top of first swag.
Attach the new swag segment on top, making sure the folded edges are to the back.
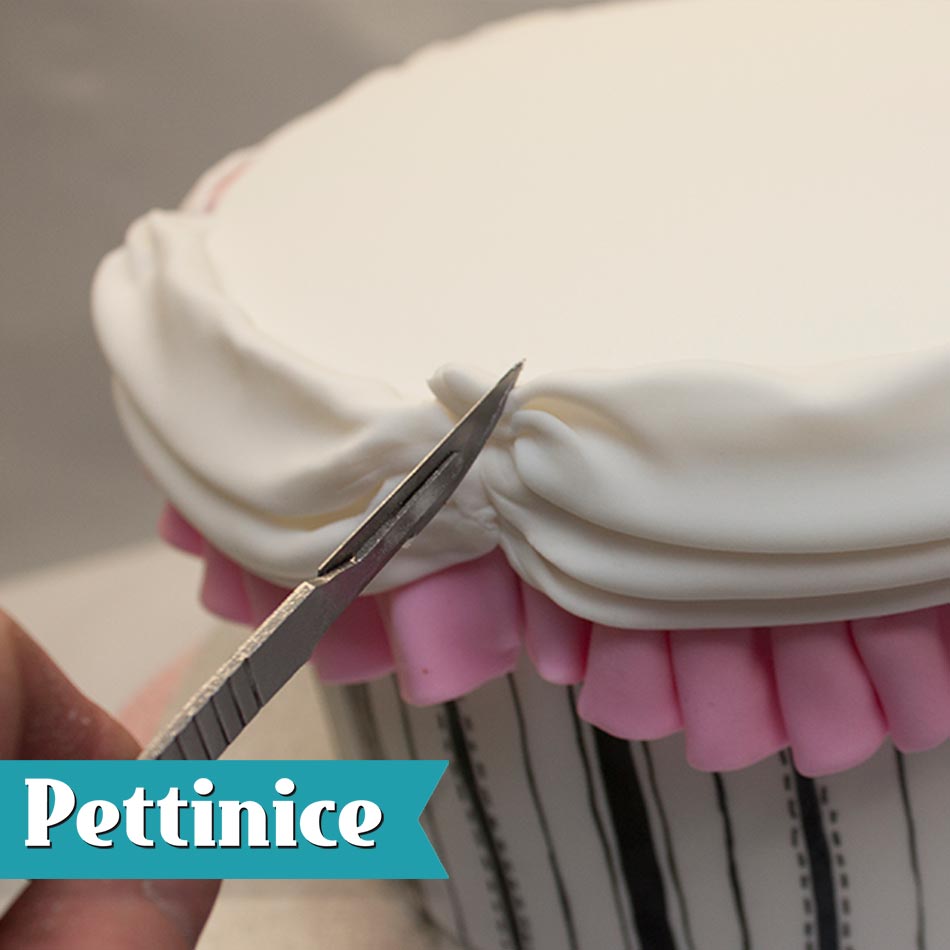
Trim excess edges in the centre.
Covering cake board
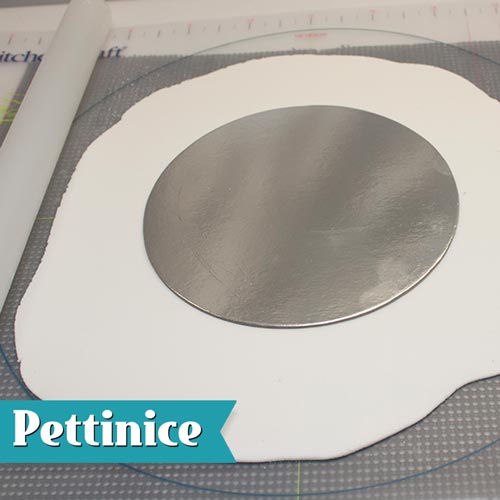
Roll out Pettinice larger than the size of the presentation board. Place a board the same size as your cake in the centre.
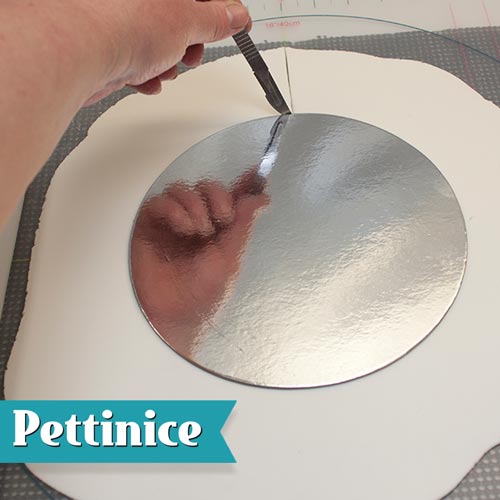
Cut along the edge of your board and remove.
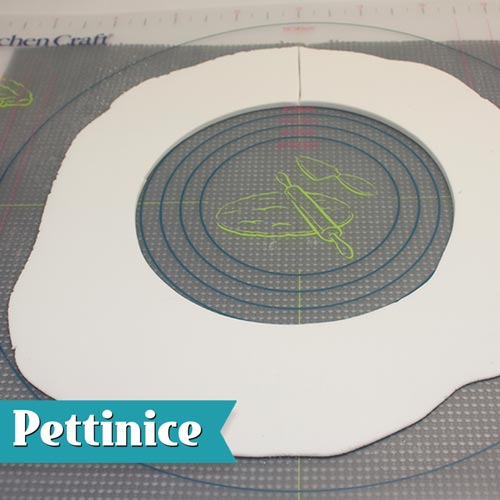
Cut one edge of the circle as shown above.
Fold the fondant from the cut back to the front.
Place the front of the cake at the front edge of the cake and wrap the fondant around the cake.
Trim fondant at the overlap and remove. Smooth the Pettinice fondant until seam completely disappears.
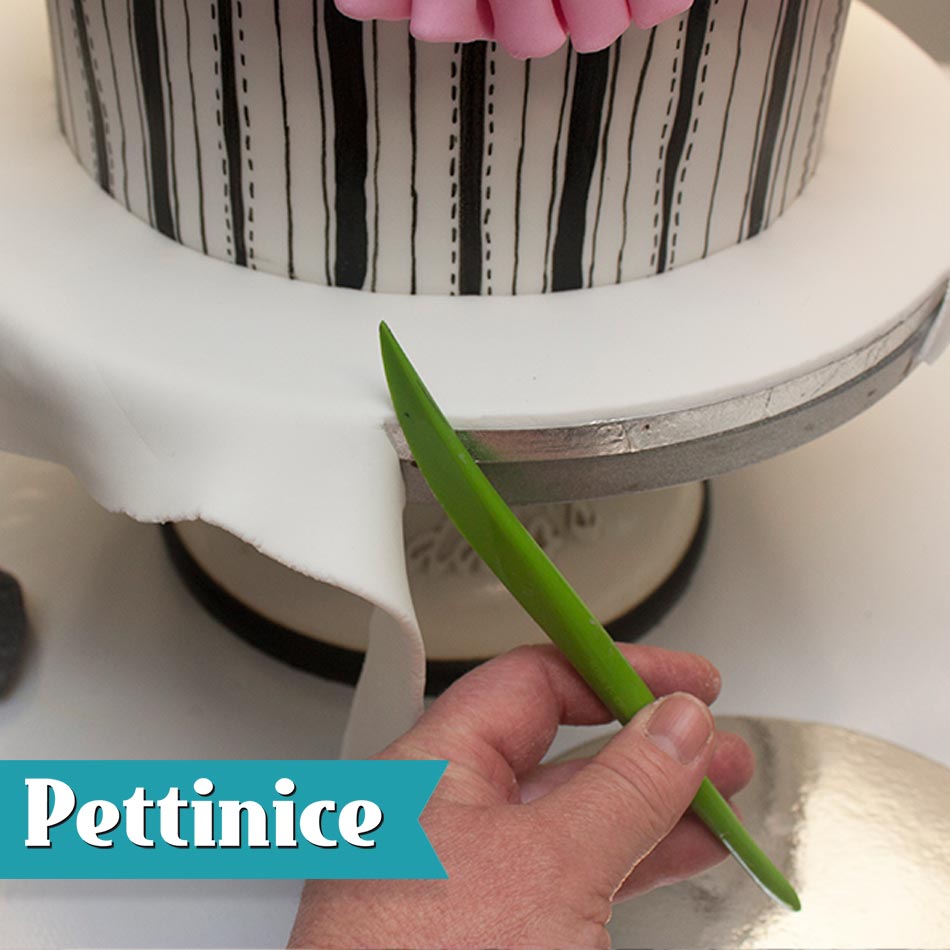
Trim excess fondant around the edges of the presentation board using a knife.
Creating the bows
Mix 150g Black Pettinice fondant with 1/2tsp of tylose and roll out thinly.
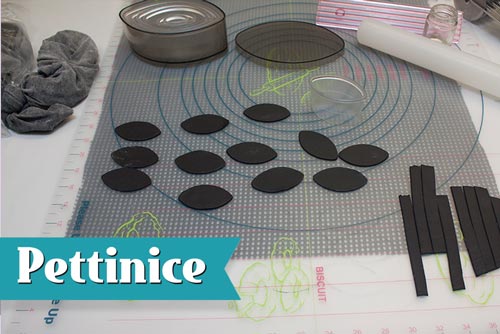
Cut ovals. You will need approximately double the amount of swags. Using this oval set, its the third cutter from the smallest (about 5-6cms long).
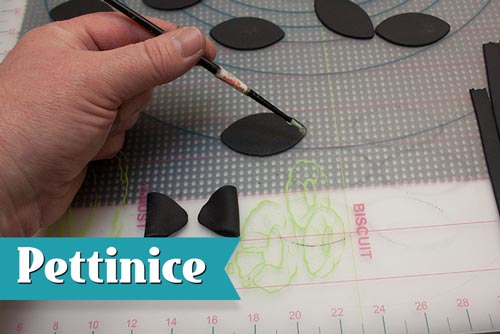
Brush a little sugar glue on the end of the oval.
Fold in half.
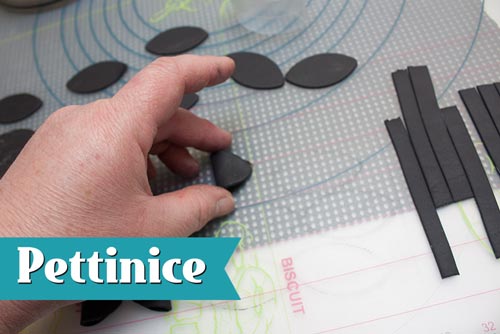
Cut strips of black fondant about 3cm long by about 3/4cm wide. Brush glue along strip and place the folded ovals opposite each other as shown. Fold the strip over and secure it, hiding seams at the back.
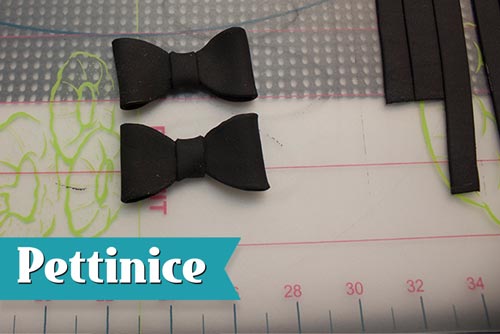
So cute! Repeat for all the swags.
Creating the tails
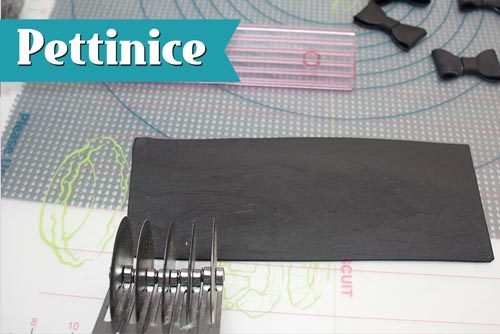
Cut strips about 7cm long & 3/4cm wide
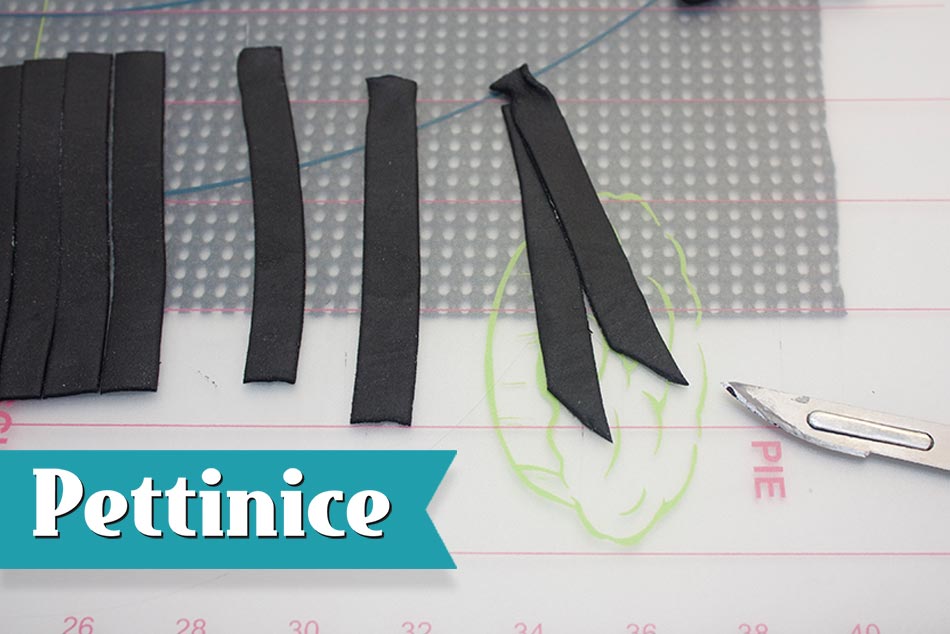
Cut both the bottom of the strips at a 45˚ angle in the same direction with one about 1cm shorter than the other and attach at the top with a little sugar glue.
Use a little sugar glue where the swags meet.
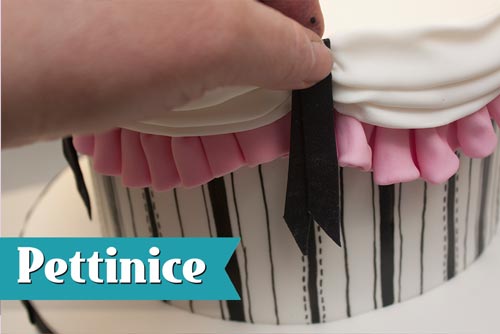
Attach the ribbon strips, ensuring the strips are a little bit apart.
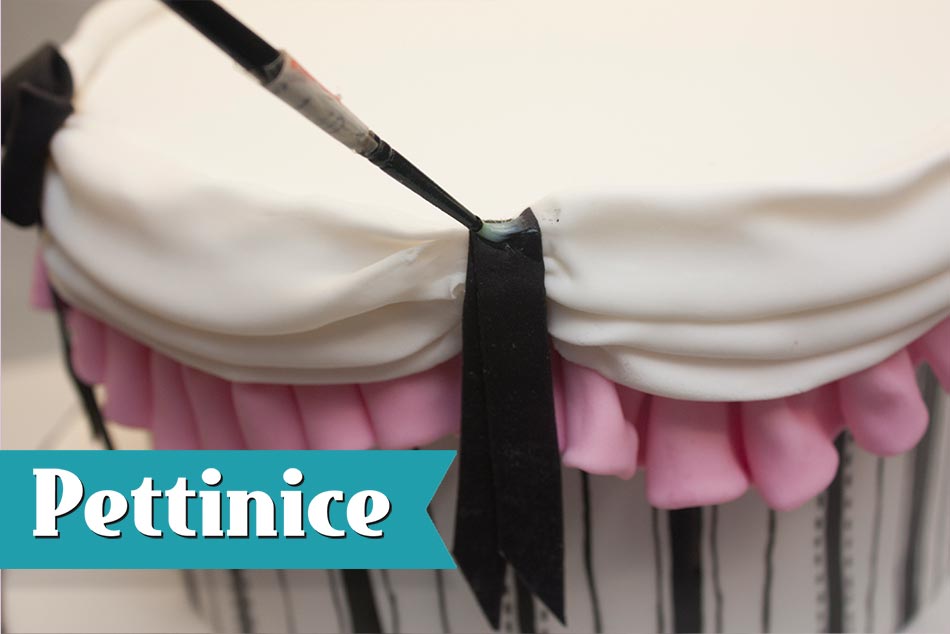
Add a little extra sugar glue at the top of the ribbons

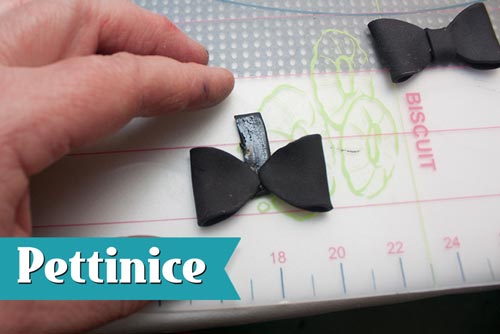
Attach bow.
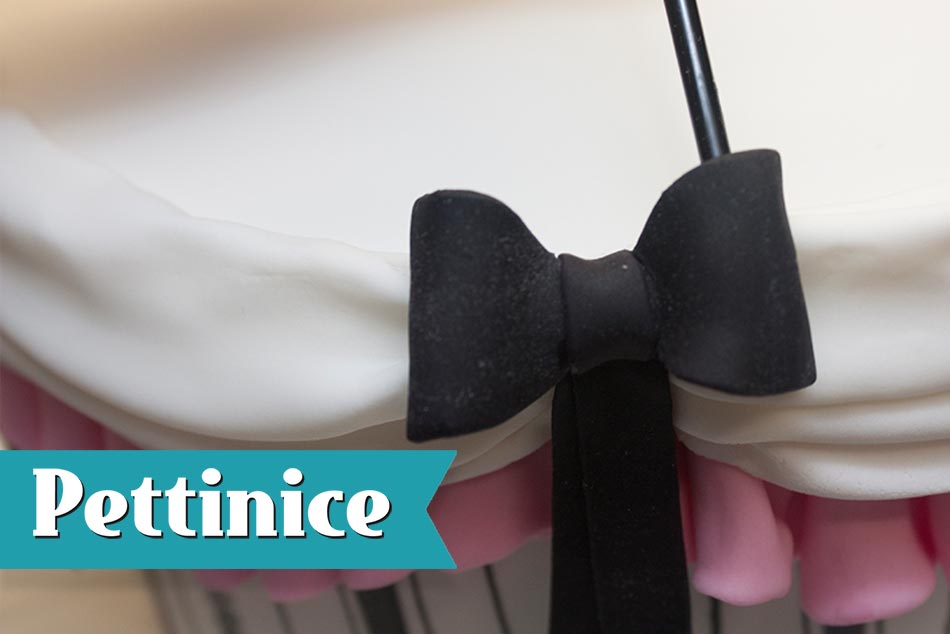
Using the other end of the brush lift the bow sides out a little.
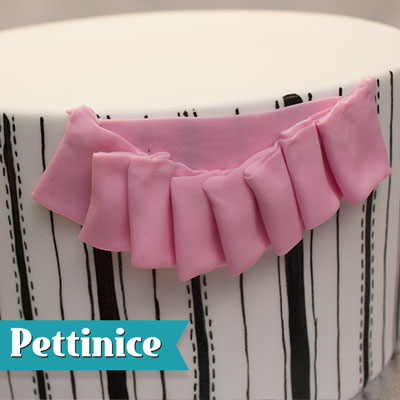
The pleats, swags and bows are the heroes of this fun and flirty cake. Pettinice pink doesn't fade - so you can feel confident with your blush shades of pink making it to the party!
Template


Jo Orr has been a working pastry chef for the last 20 years and runs Rotorua-based Ciccio Cakes. She is an encyclopedia of knowledge for all things cake. If you haven’t had the chance to try one of her famous cake slices from the Ciccio’s cake cabinet, be sure to put it at the top of your foodie to-do list.
You can find Jo on Facebook and Instagram.
![]()