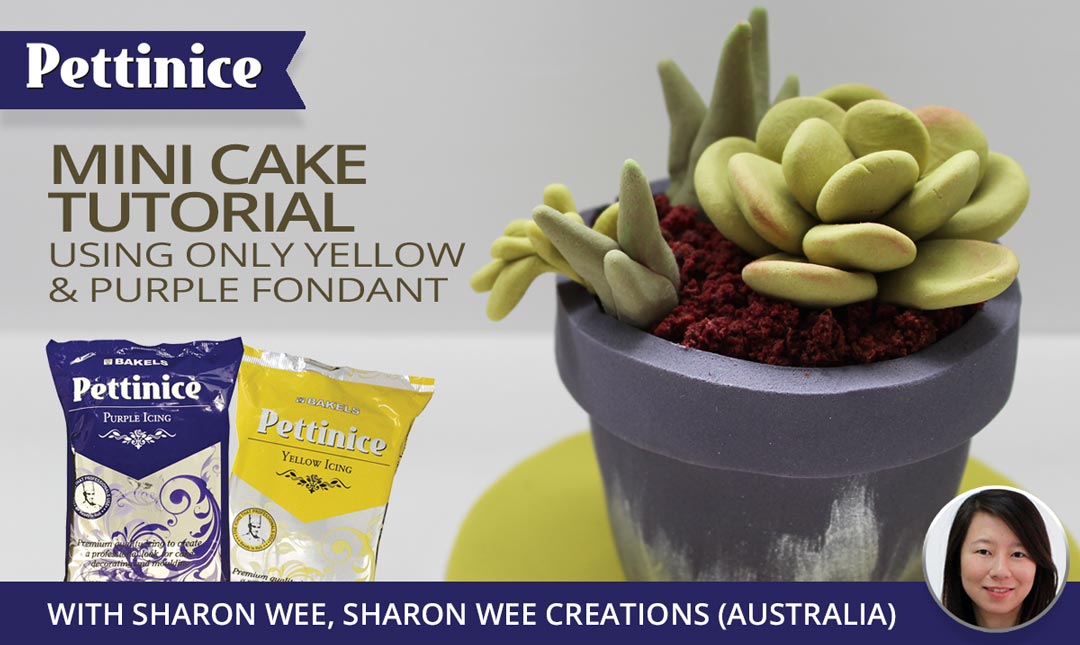
Sharon Wee - succulent mini cake tutorial
Edibles needed
- 1" high cake
- Ganache or buttercream
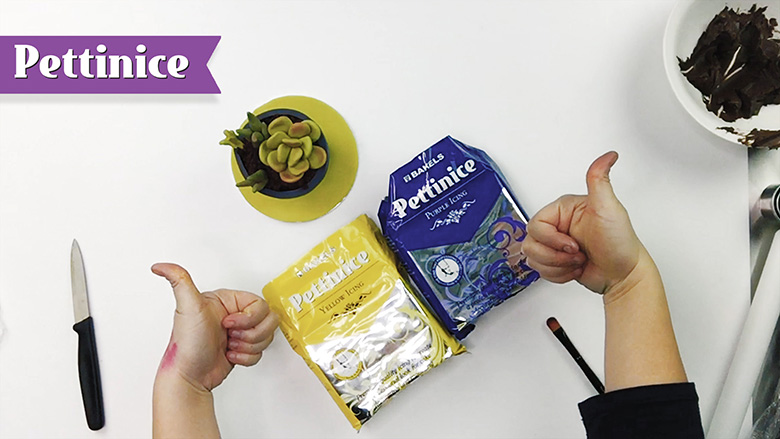
- Yellow Pettinice
- Purple Pettinice
- Petal dusts - silver
- High quality vodka or decorators spirit
Tools needed
- Circle cutter or template to cut small rounds for your cake pot.
- Spatula
- Rolling pin
- Knife
- Kebab stick
- Small brush for painting details
- Small cake board

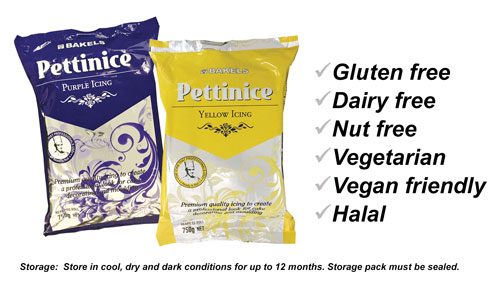
Pettinice is gluten free, nut free, dairy free, vegetarian, halal, and kosher.
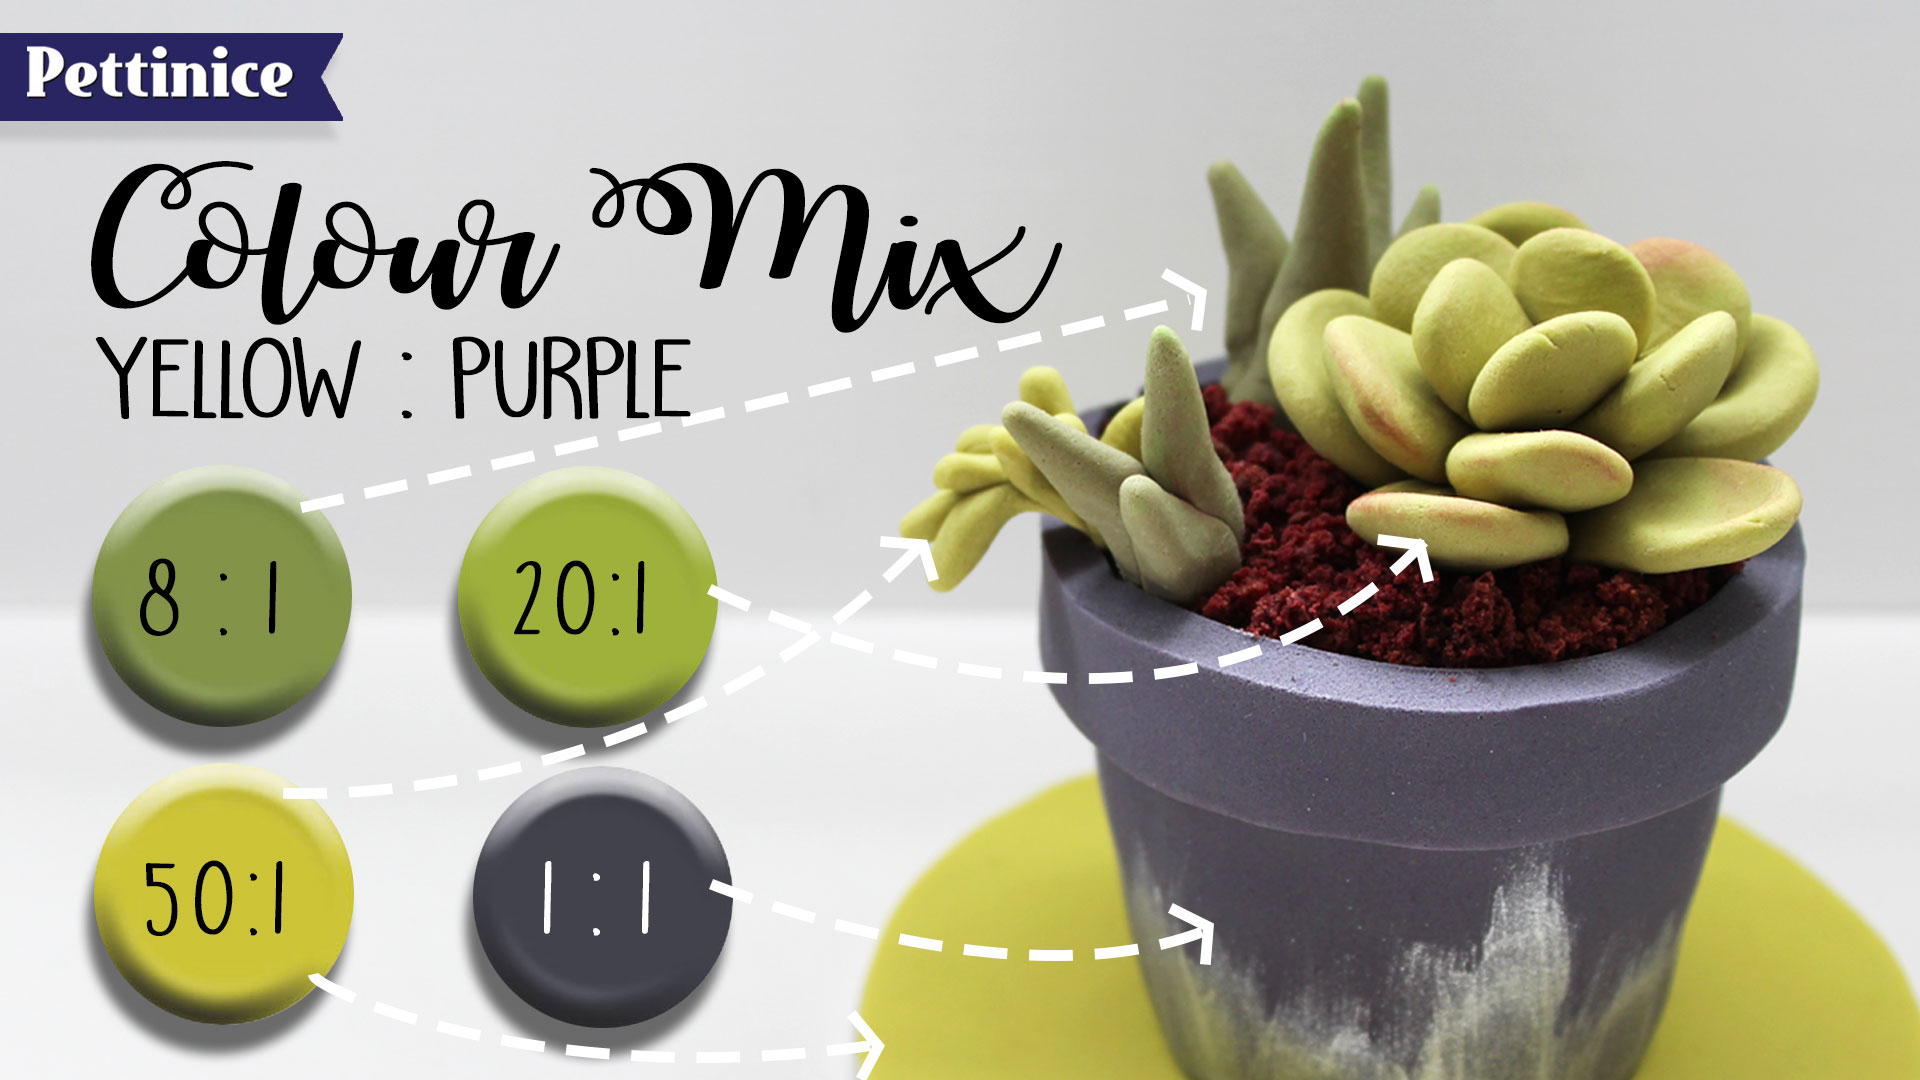
Click here to see entire Yellow : Purple colour guide and see all the beautiful shades of sage and other green and grays that you can create. You can event print it out.
Using yellow as my base first colour, I added small amounts of purple. Here are my ratios:
1:1 for the pot,
50:1 for the cake board and smaller succulents,
8:1 for the medium succulents, and
20:1 for the large succulent
Preparing the Cake
Preparing the cake
Below are stills from the complete video. Click here to watch it on our Pettinice channel. Be sure to subscribe for e-mail notifications when we post new tutorials.
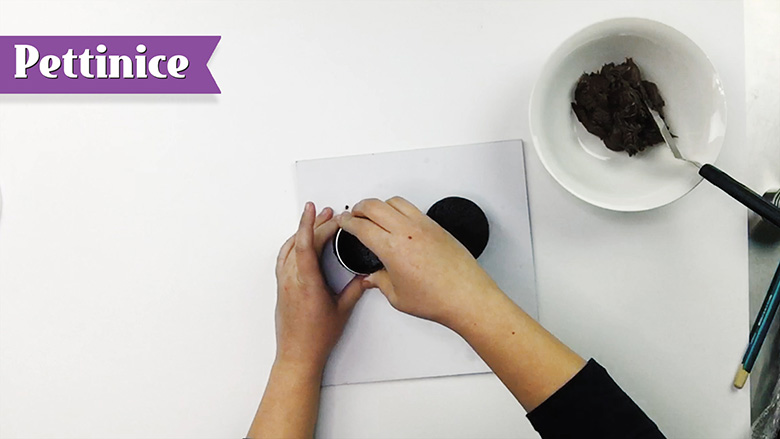
Use cutters to trim cake into circles. You will need two layers.
Use your favourite filling. Here, Sharon uses Bakels Truffle.
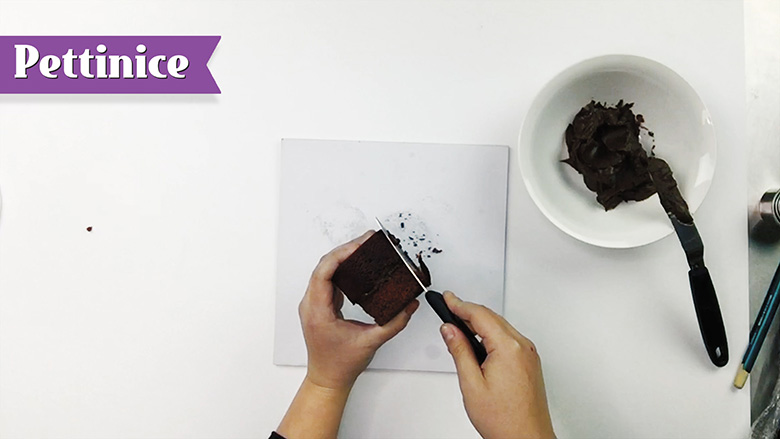
Optional: Carve your cake into a more defined "V" shape.
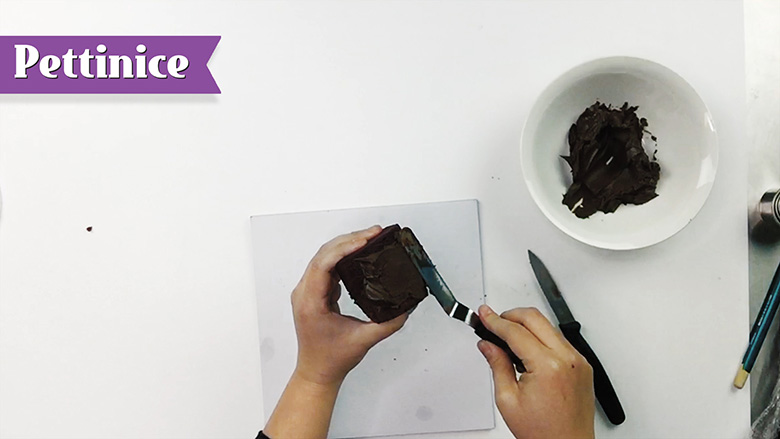
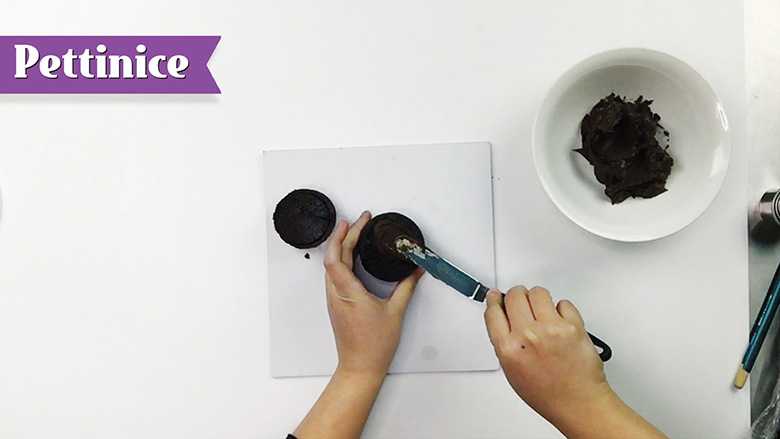
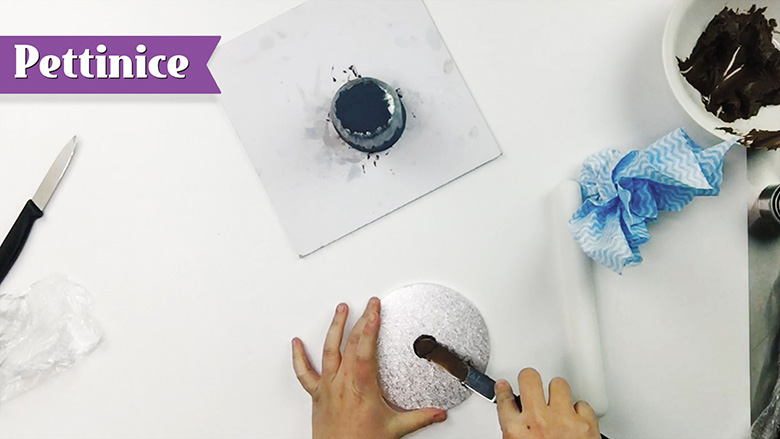
Now you want to completely cover your cake with ganache
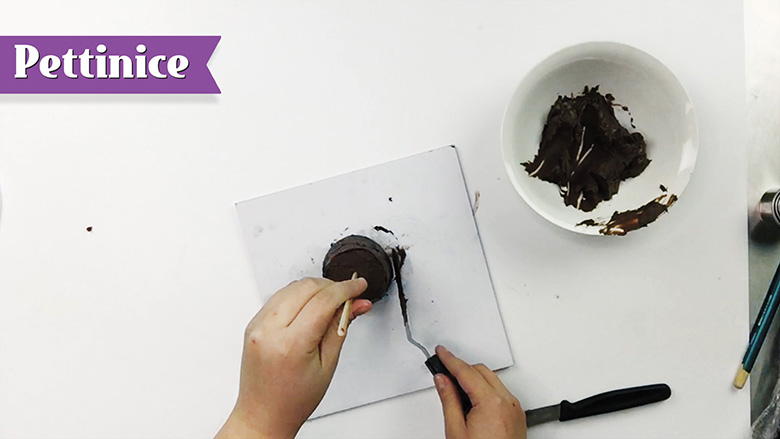
Use a kebab stick for more stability when masking cake, and then clean board for the next step.
Finishing the planter pot with Pettinice fondant icing
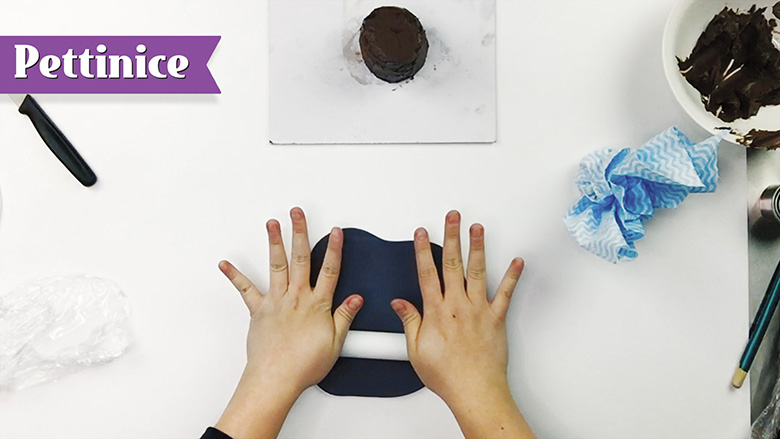
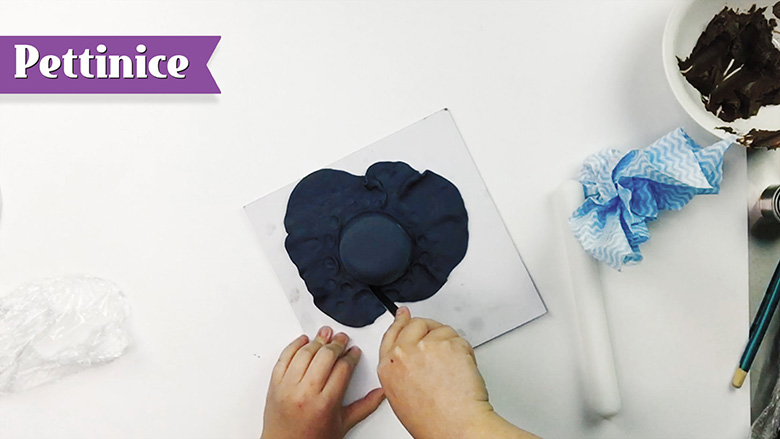
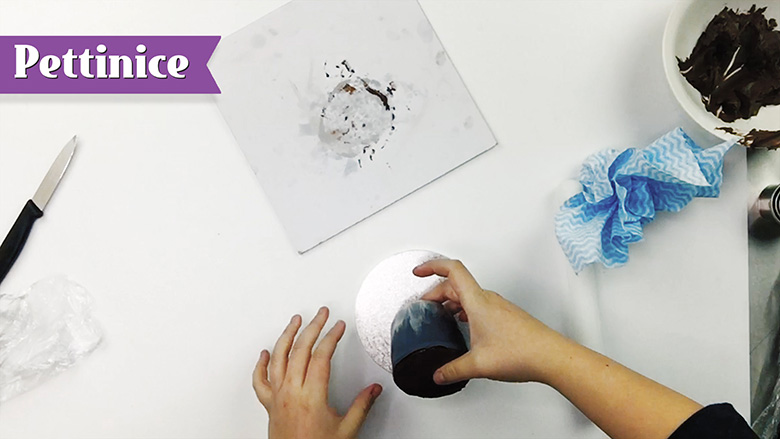
Roll your 1:1 ratio Pettinice for the planter pot.
Cover the cake.
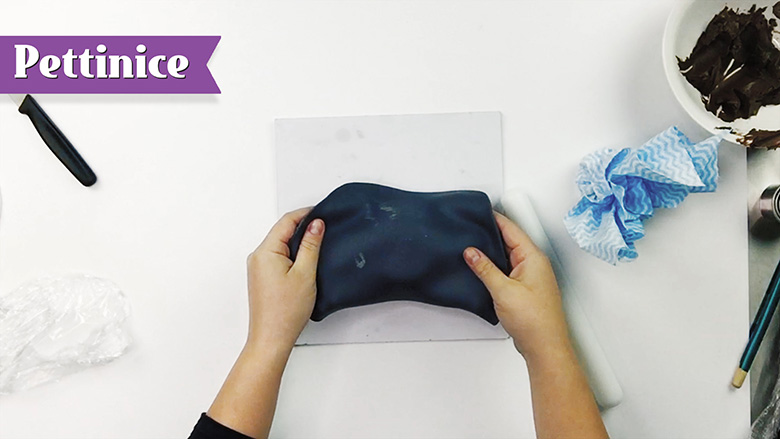
Smooth out the edges, slightly pulling out the edges gently to prevent folds as you smooth.
Trim excess fondant icing.
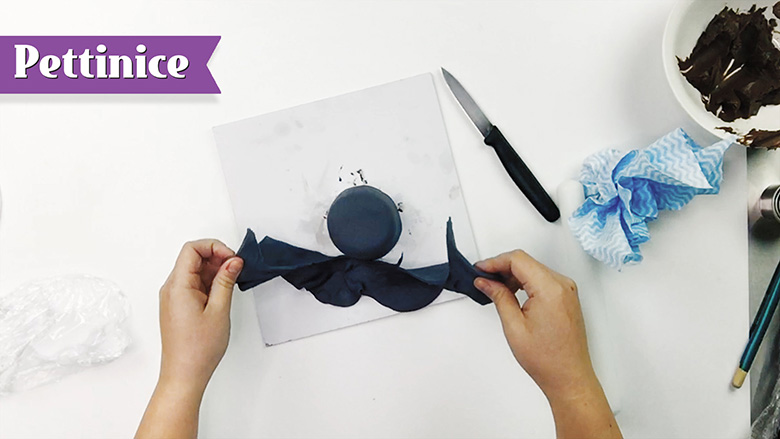
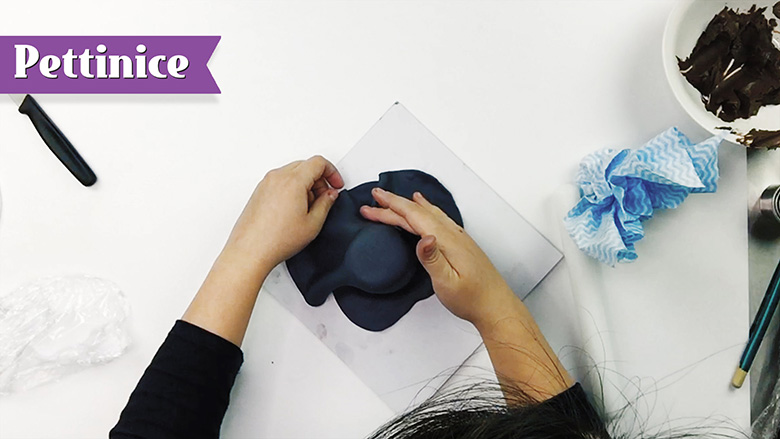
Remove fondant.
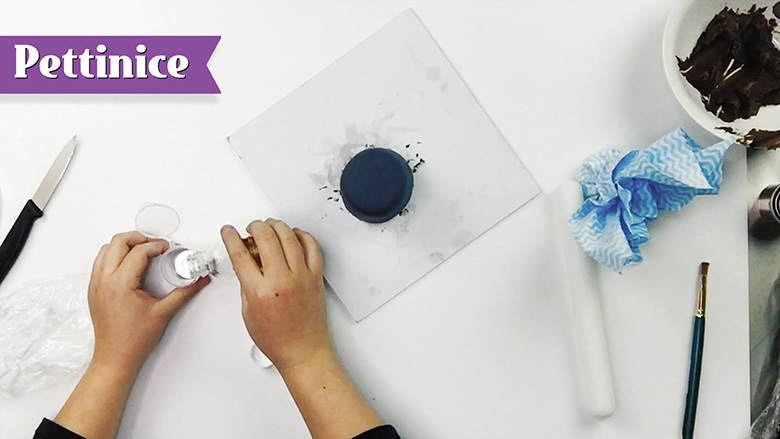
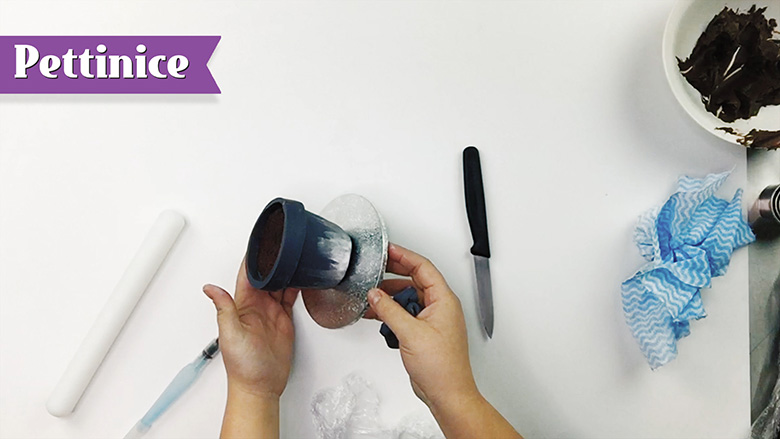
Mix edible metallic paint lustre with decorators spirit.
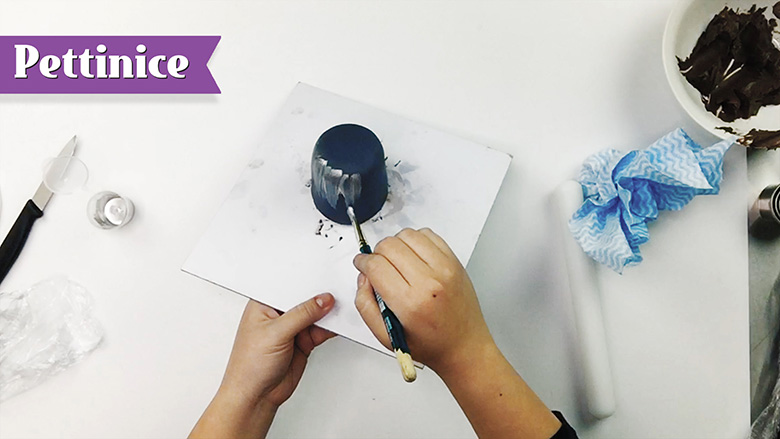
Paint design. Have fun!
Dab a bit of melted chocolate to secure cake to final cake board.
Place your cake to the final cake board.

Roll out sausage of the same 1:1 ratio fondant to form pot detail at the top.
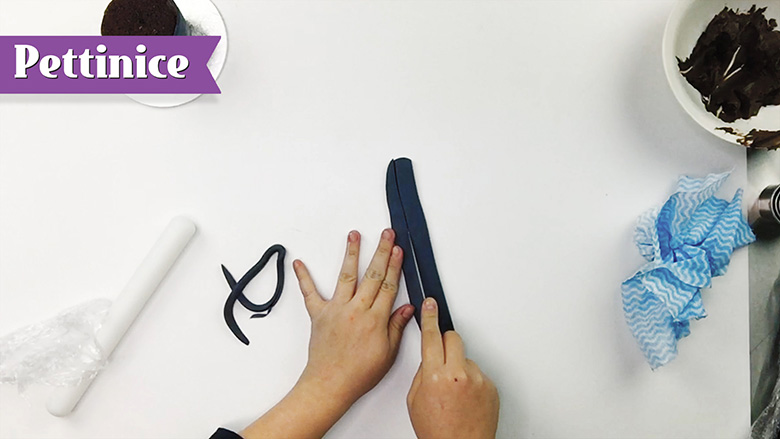
Use a knife to trim straight edges on both sides.
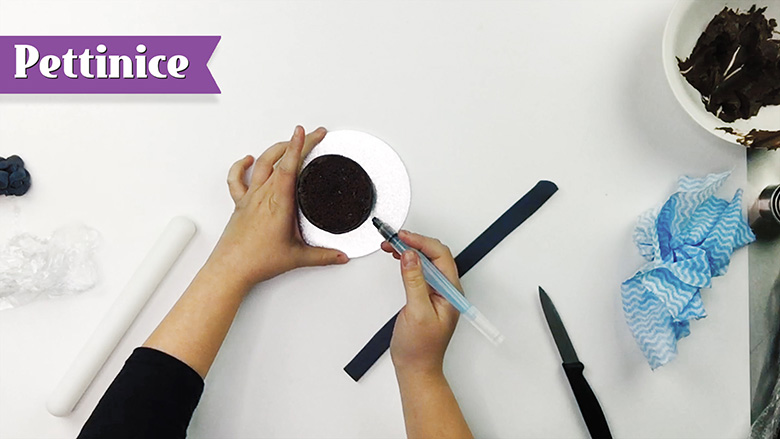
Brush top edge of cake with a damp, but not overly wet brush.
Be light with the amount of water you use to secure the trim to the pot. Too much water will make it slide off. A damp brush will suffice.
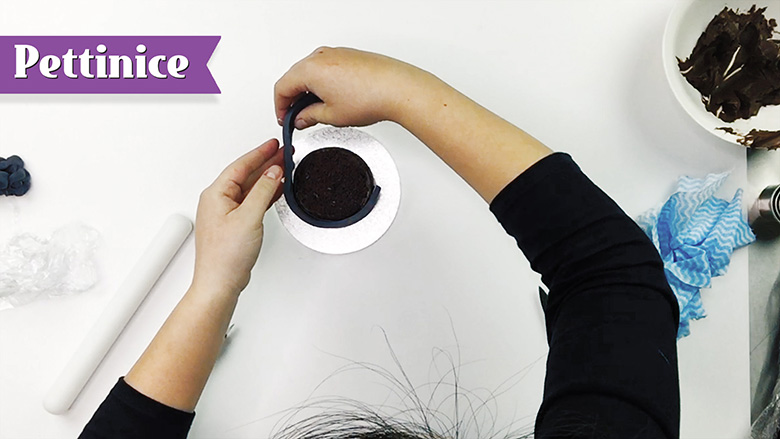
Place your trim and start wrapping around the cake.
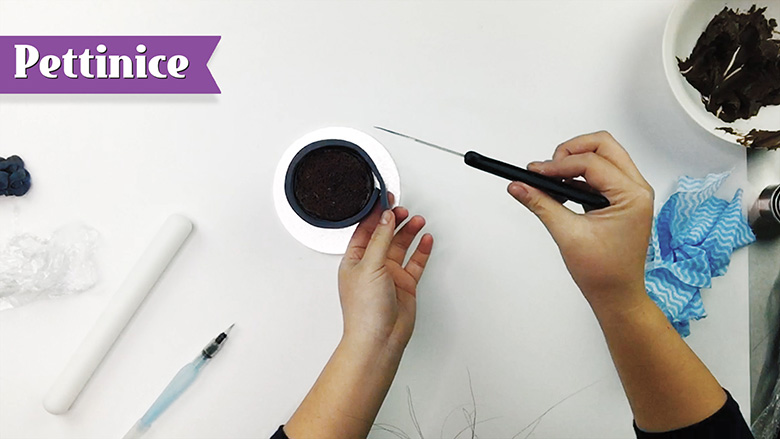
Use sharp knife to trim off any excess.
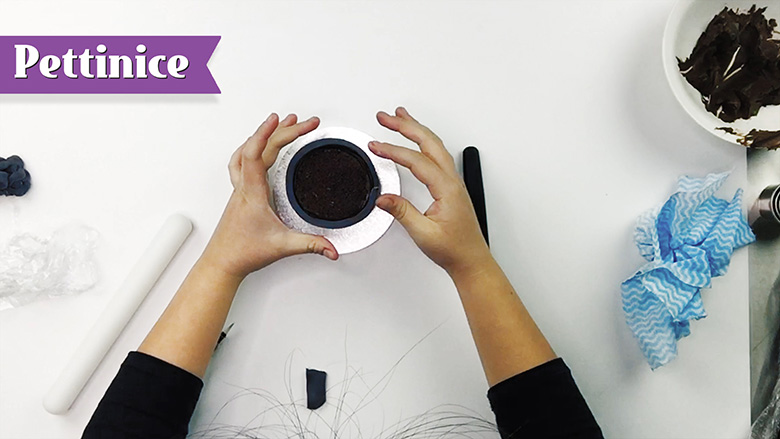
Pat down and smooth where joins meet.
Ta da! Looks super cute.
Creating the succulents
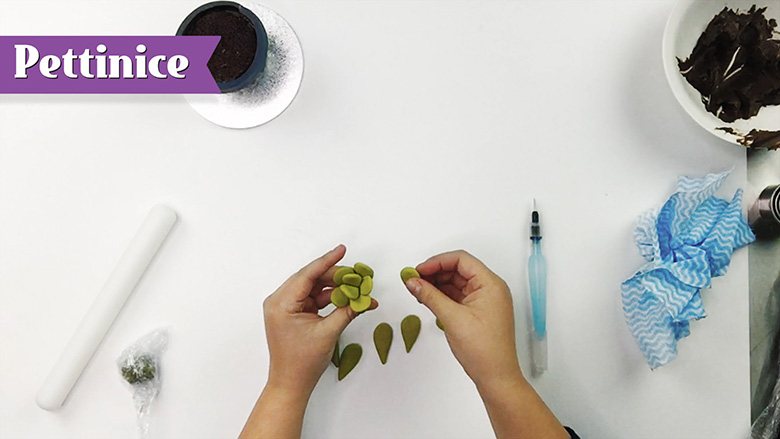
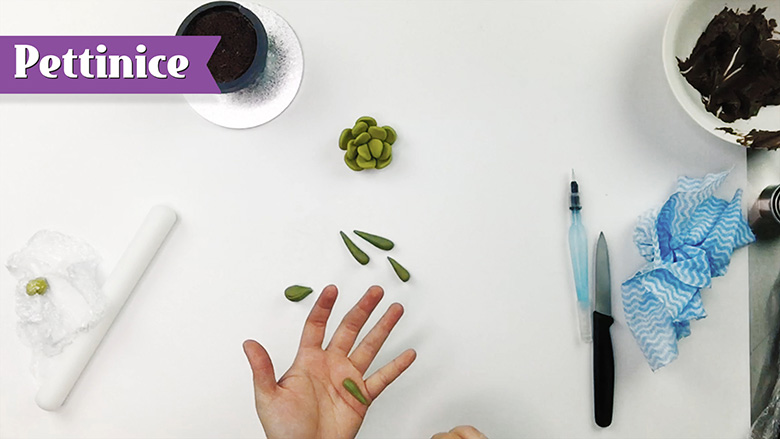
No special cutters needed. Simply divide and roll your yellow 20 : 1 purple into little tear drops.
Large flower:
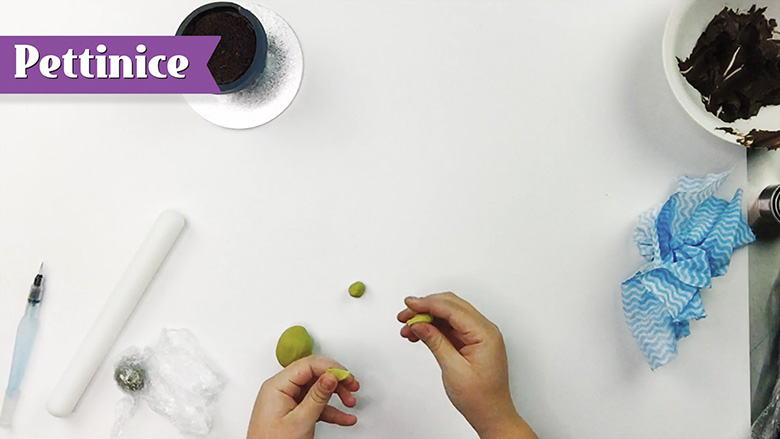
Divide your yellow 20 : 1 Purple ratio into 13 little balls.
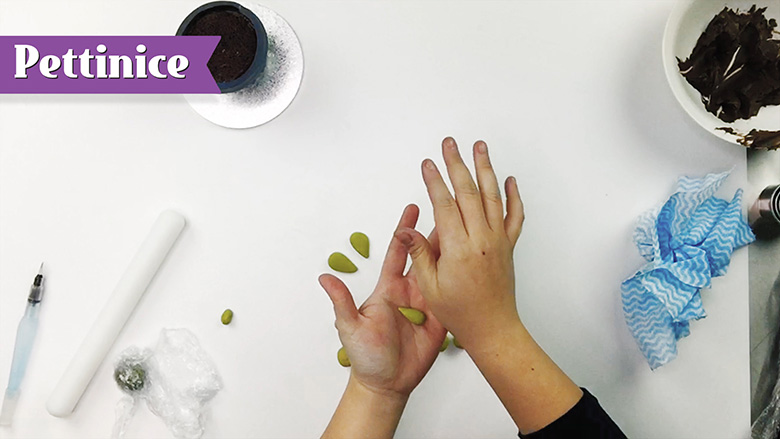
Roll into little tear drop shapes...
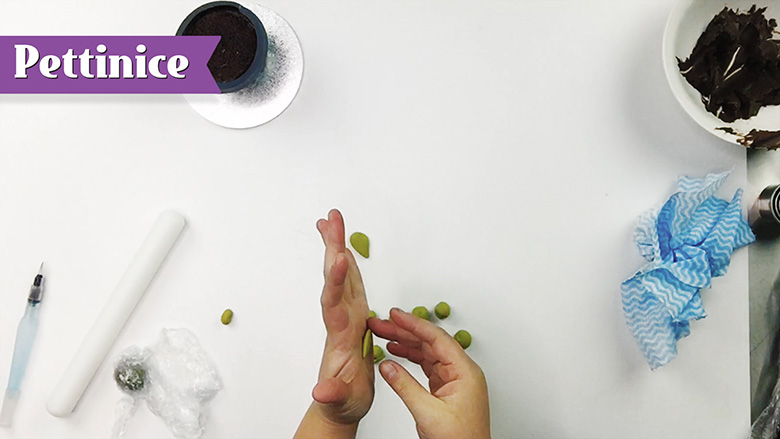
...and squash! Repeat for all the "petals".
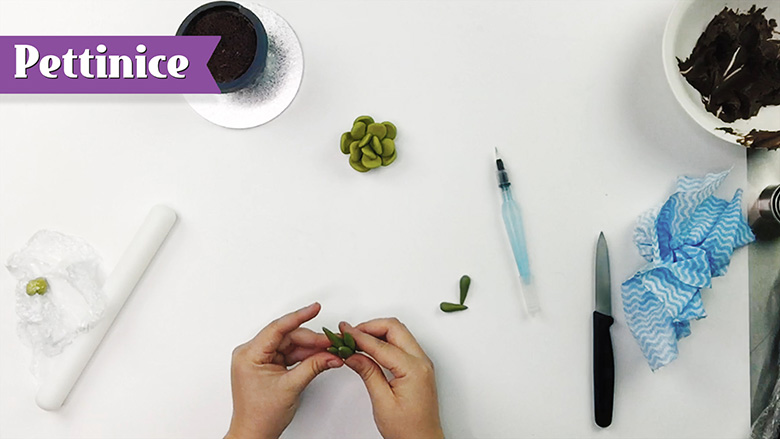
Brush bottom tip of three succulent petals.
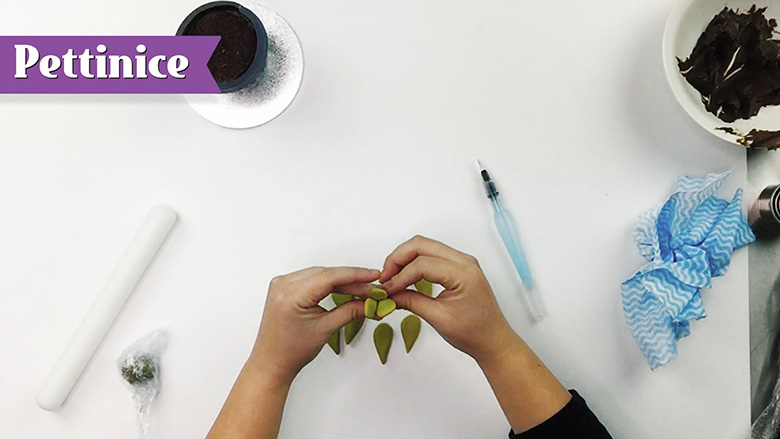
Stick together.
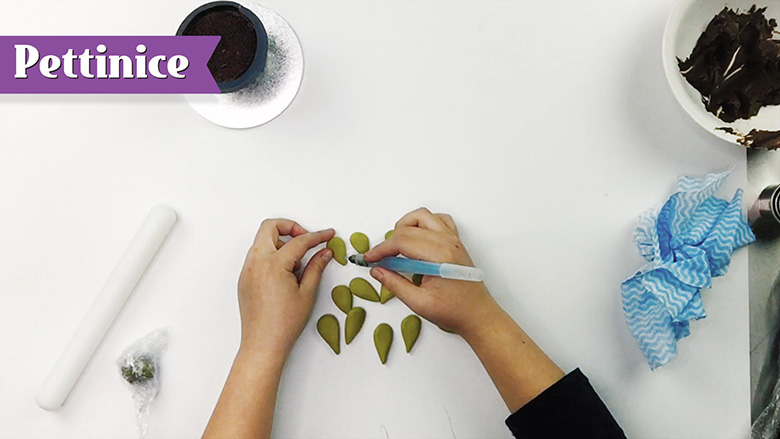
Next, dampen the next five, and place.
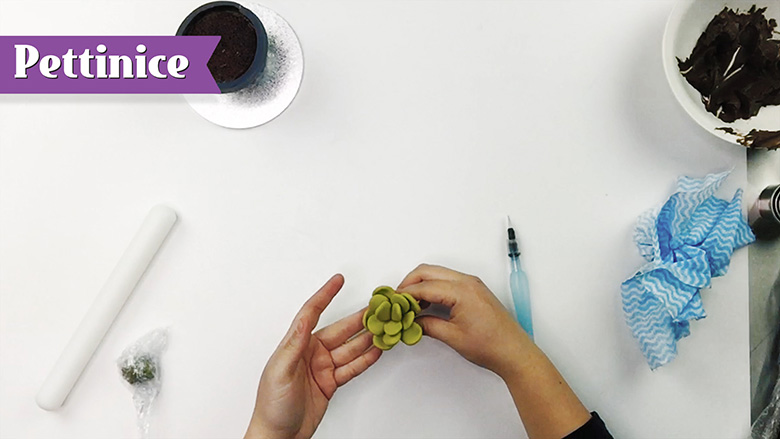
Complete you succulent by adding the final five outer petals. Use your thumb to slightly indent a ridge at the edge.
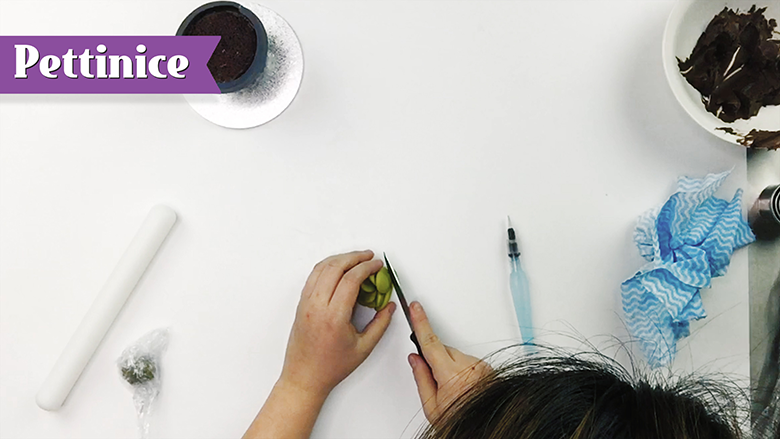
Trim bottom edge of succulent so it sits flat in the pot and set aside.
Medium succulent flower
Use your yellow 8 : 1 purple Pettinice to create little clusters of this medium sized succulent.
Roll into tall cones as shown.
Use a damp brush at bottom edges to group together and set aside.
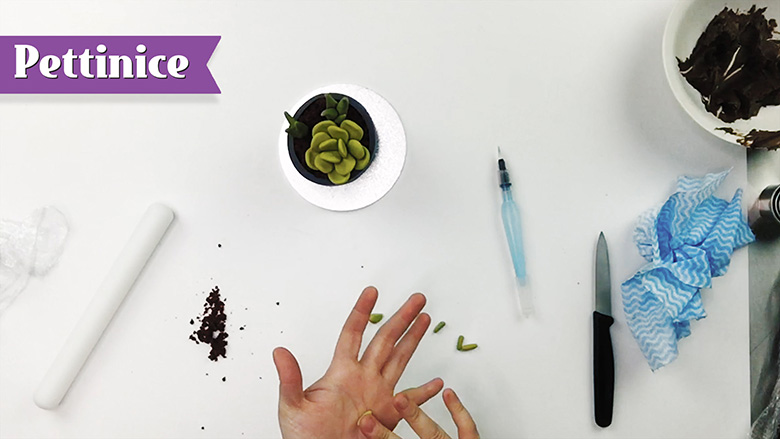
"Planting" your succulents
Make a crumb from your sheet cake to act like potting soil for your little cake.
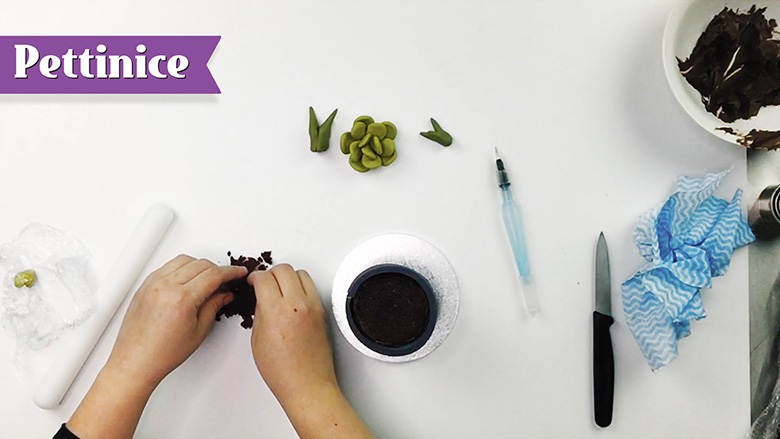
Crumble your cake to create potting soil. :)

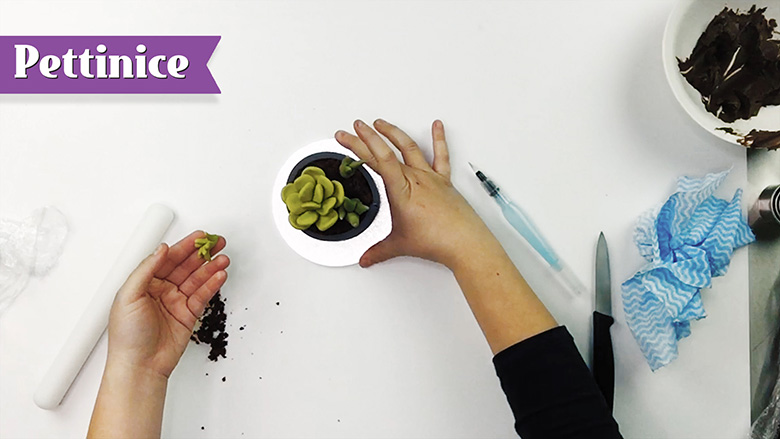
Place main succulent first.
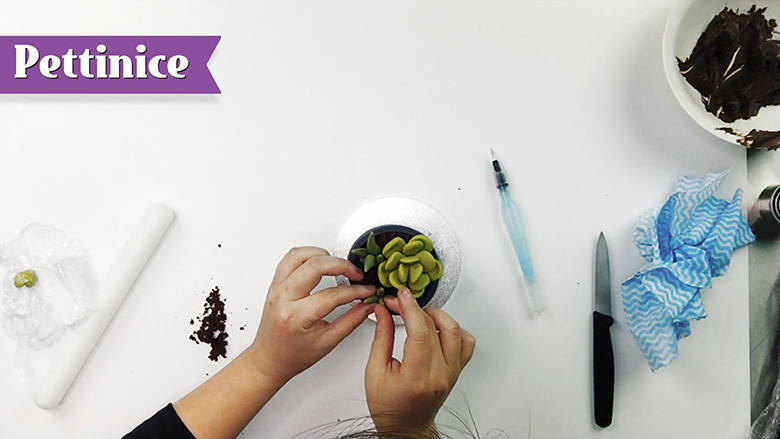
Arrange medium succulents in the pot.
Small succulent flower
Sharon decided to use an additional yellow 50 : 1 purple Pettinice to create a little over hanging succulent to add interest to the final design. This same colour mix will be used for the cake board as well.
Roll small cones as shown.
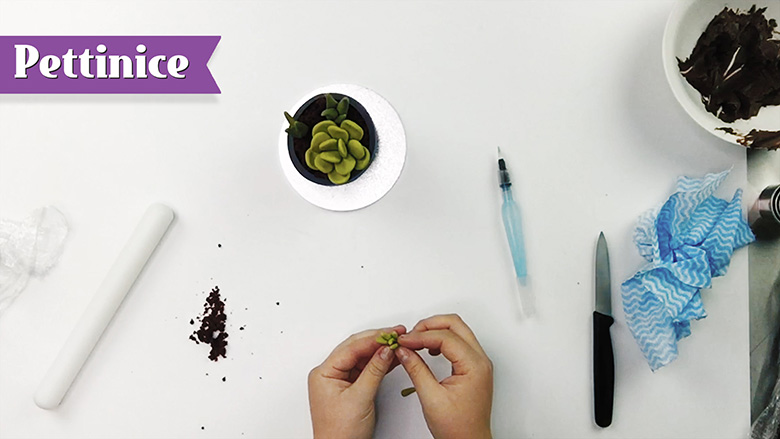
Assemble into small clusters.
Add a touch of water to the bottom...
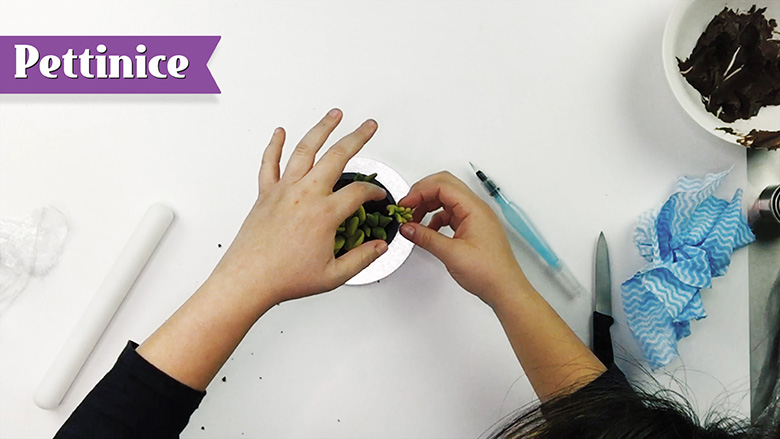
...and place on the edge of the pot so it also adheres along the side.
Covering the board
You can also choose to cover the entire board in advance and allow it to set. Otherwise, this is a great way to cover the cake board with a cake already in place.

Roll your yellow 50 : 1 purple as big as your board.
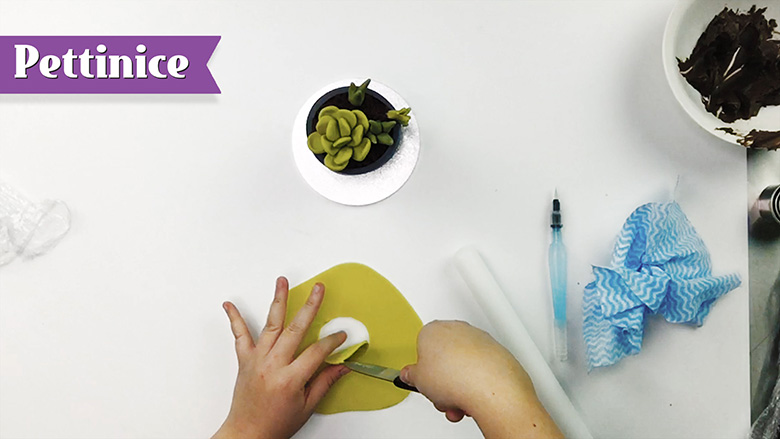
Cut out a center circle.

Wrap around the cake, on the board.
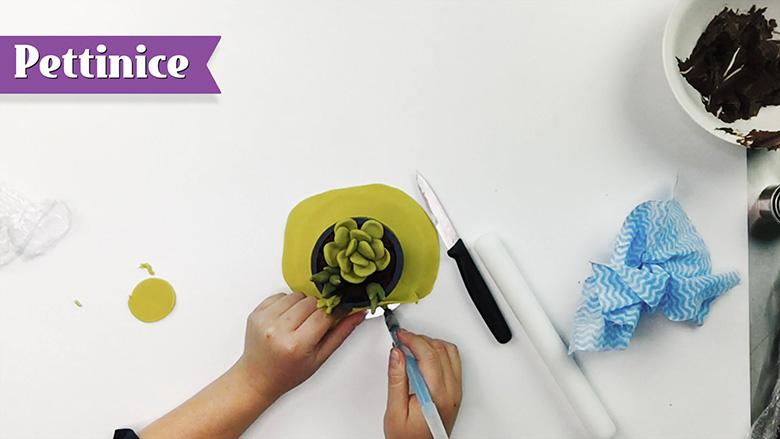
Add water along the edges to stick.
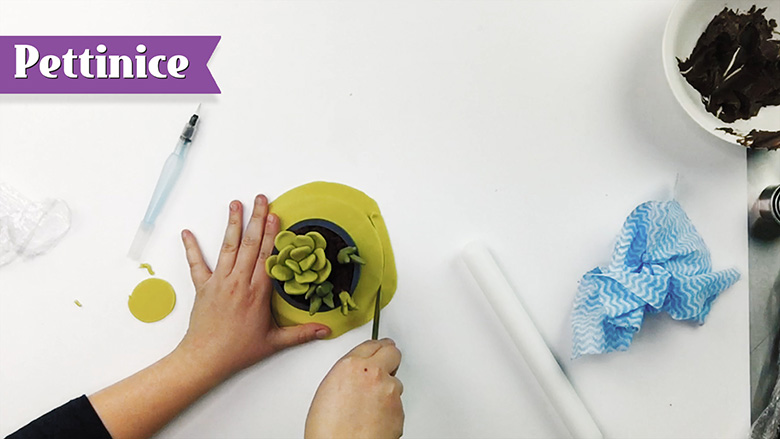
Trim Pettinice so it is flush with board.
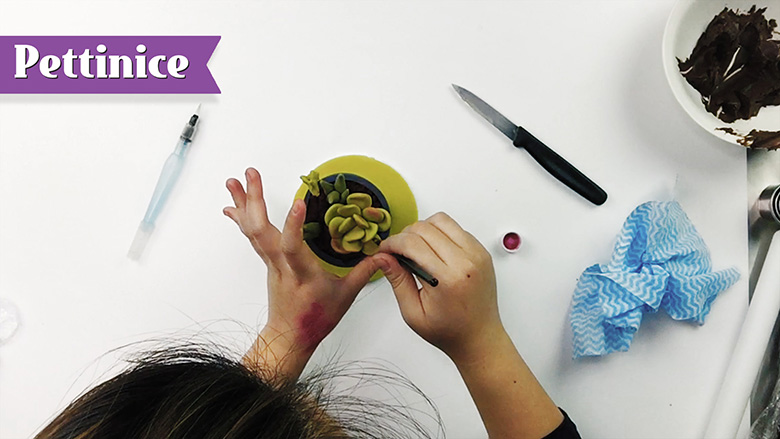
Add some colour dust to the petal tips.

Sharon Wee is a Pettinice Ambassador based in Sydney, Australia.
Sharon's style has been described as clean, fun, cute and whimsical. She spent many years focusing on wedding cakes and it was only in the last couple of years that she decided to start teaching. Through teaching she discovered she loved getting to know students from all different backgrounds and watching them learn and achieve projects they never thought they could. The experiences are always fun and rewarding. Today, she focuses mainly on teaching locally, nationally, and internationally.
You can find Sharon on Facebook and Instagram.
![]()
![]()