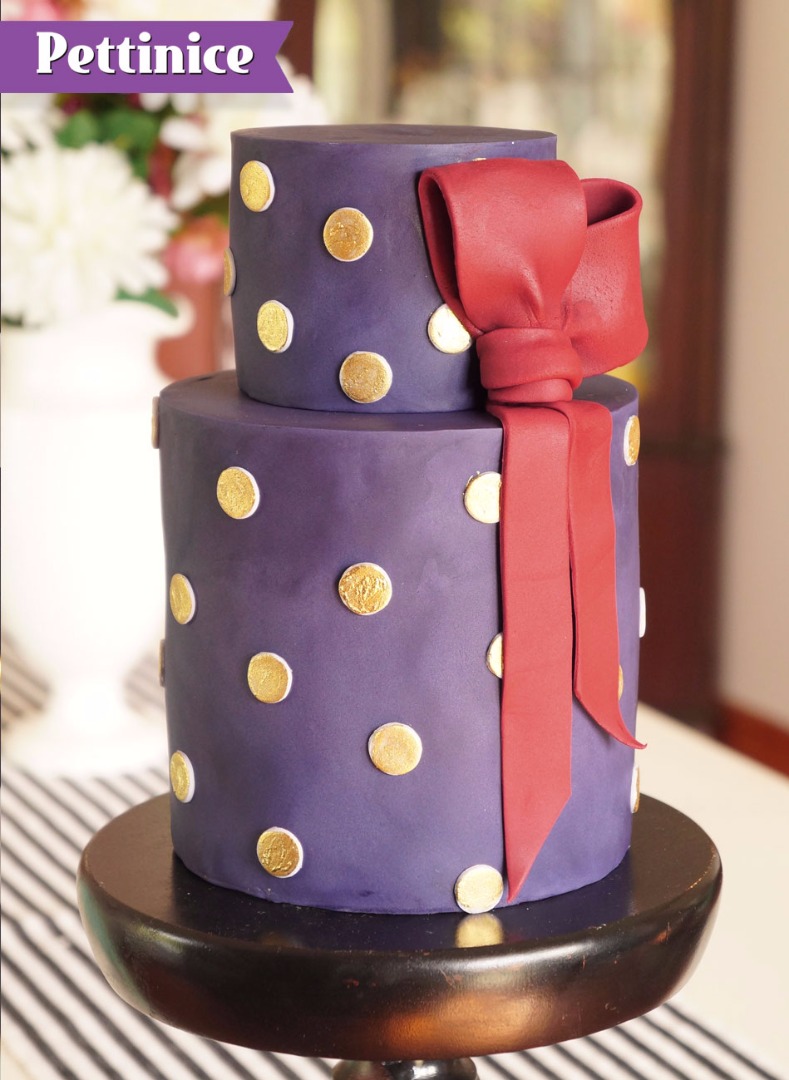
Dots and bow cake tutorial with Jessica Atkins
Rosy Cakes owner Jessica Atkins shares her dots and bow cake tutorial with us.
Edibles needed:
- 6" base cake
- 4" top tier cake
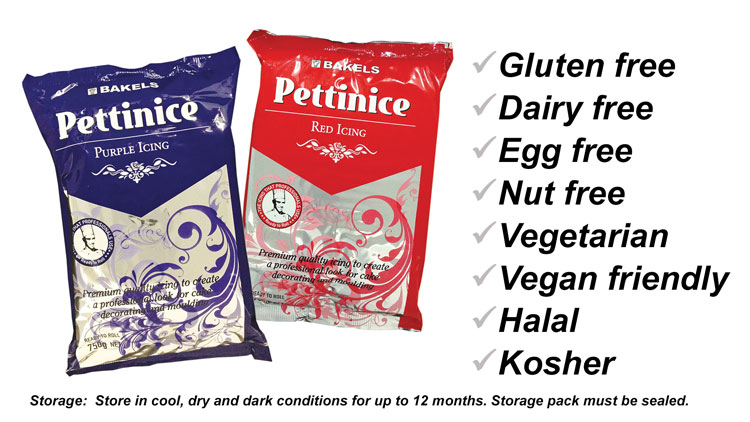
- 12g Purple Pettinice
- 100g Red Pettinice
- Tylose powder
- Rolken Super Gold lustre dust
- Vodka, Rose spirit or similar
Tools needed:
- Small brushes for painting
- Sharp blade
- Circle cutter
- Cling film
- Rolling pin
- Small brush for water

Pettinice is gluten free, egg free, nut free, dairy free, vegetarian, halal, and kosher.
The size of the cakes pictured are 1 x 6" and 1 x 4, One 750g packet of Pettinice was used to cover both cakes.
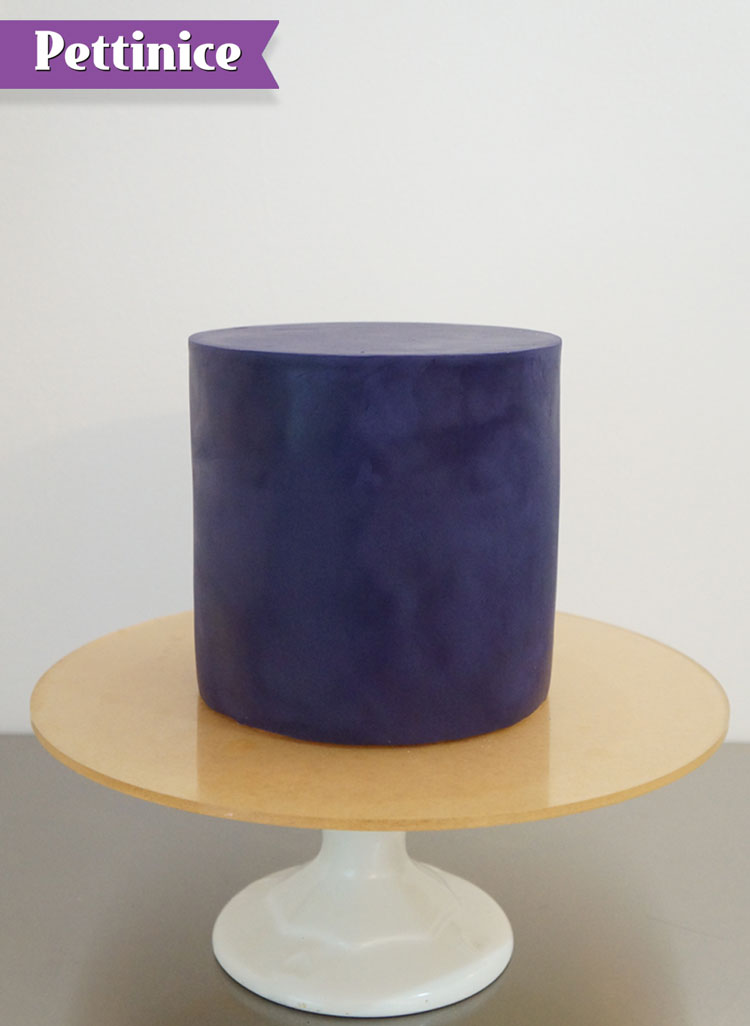
The base of this modern cake design has been created using Pettinice Purple. Please refer to this helpful tutorial on covering cake with sharp edges.
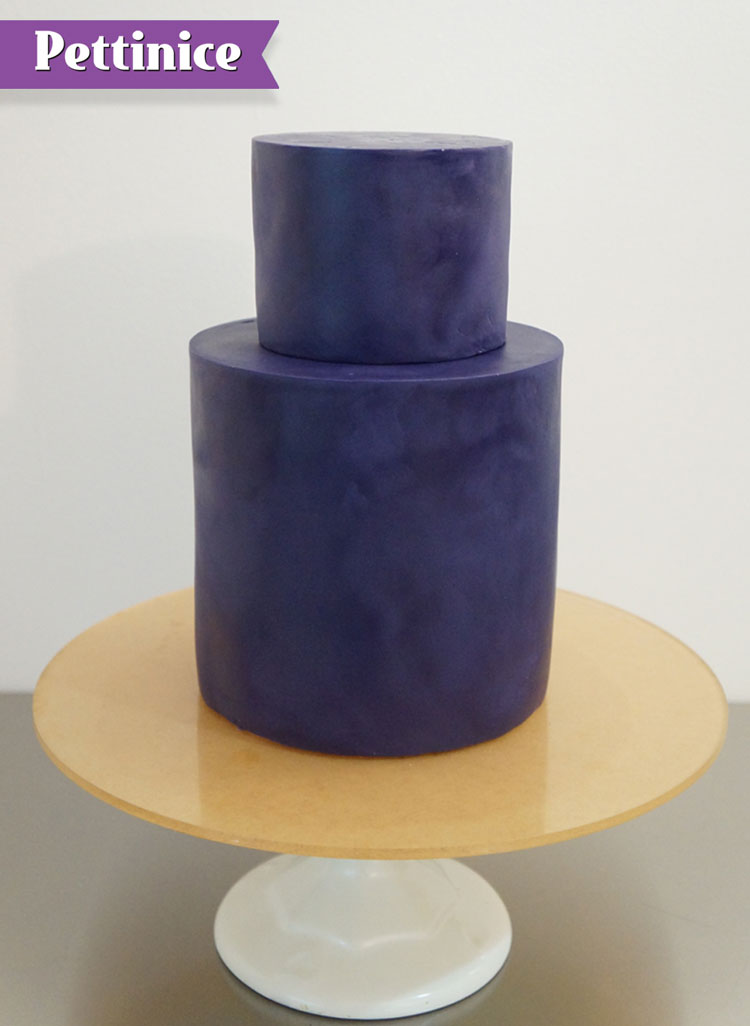
Once cakes are covered and dry, dowel and stack your cakes.
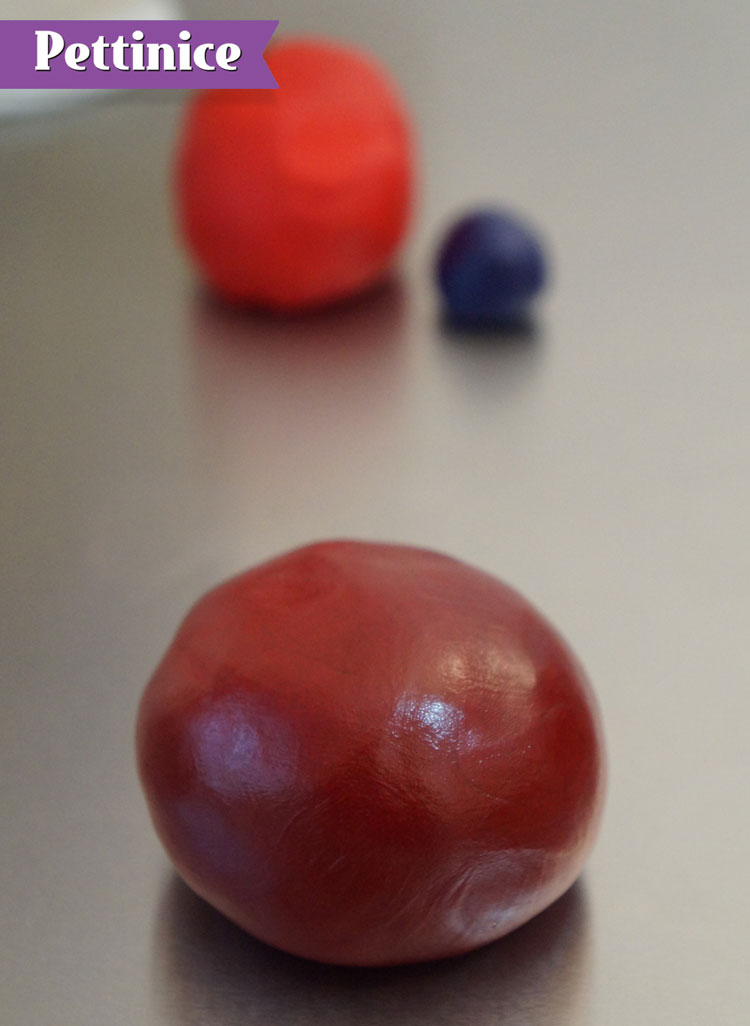
To create a beautiful Burgundy shade of fondant, mix Pettinice Red (100 grams) with Pettince purple (12 grams)
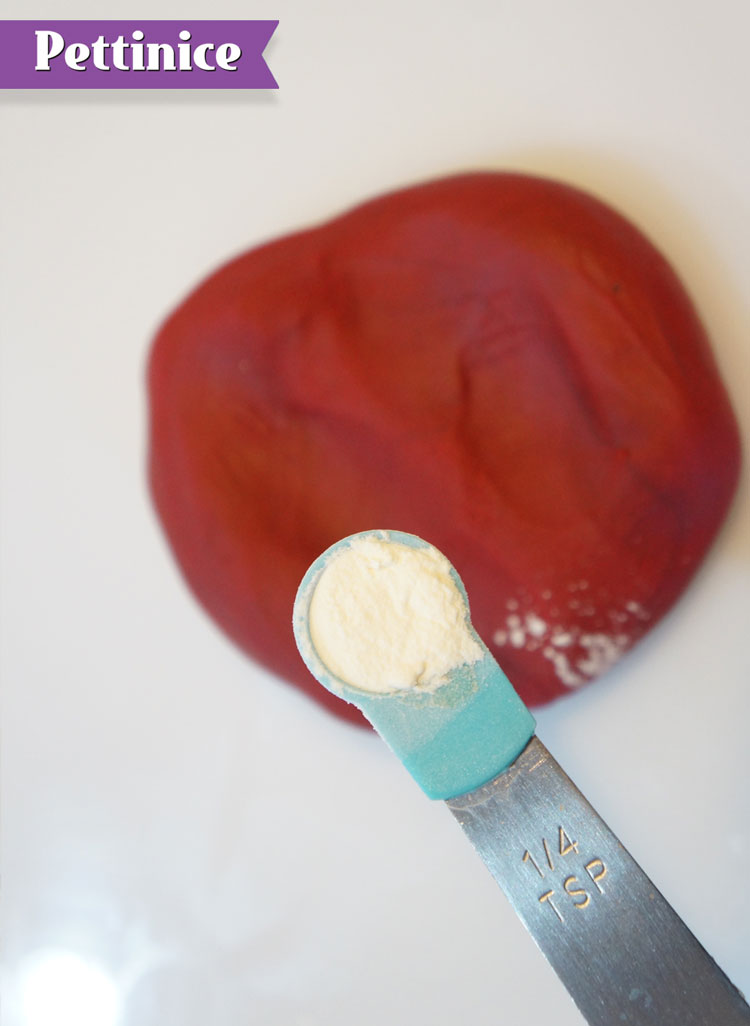
The burgandy is going be used to created the modern bow and needs to dry very hard. Add approximately 1/4 tsp of tylose powder to the fondant.
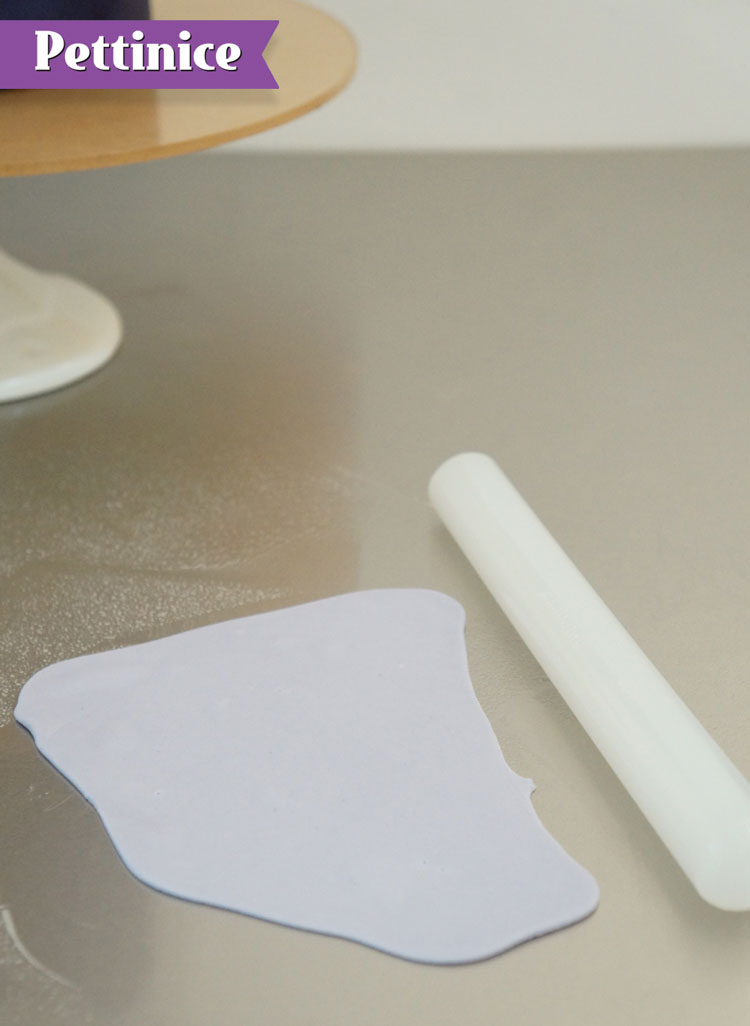
Take some additonal fondant (any shade is fine as it is going to be painted gold) and roll it out thinly. Use conrflour or Vegetable oil spray to stop it from sticking to the bench.
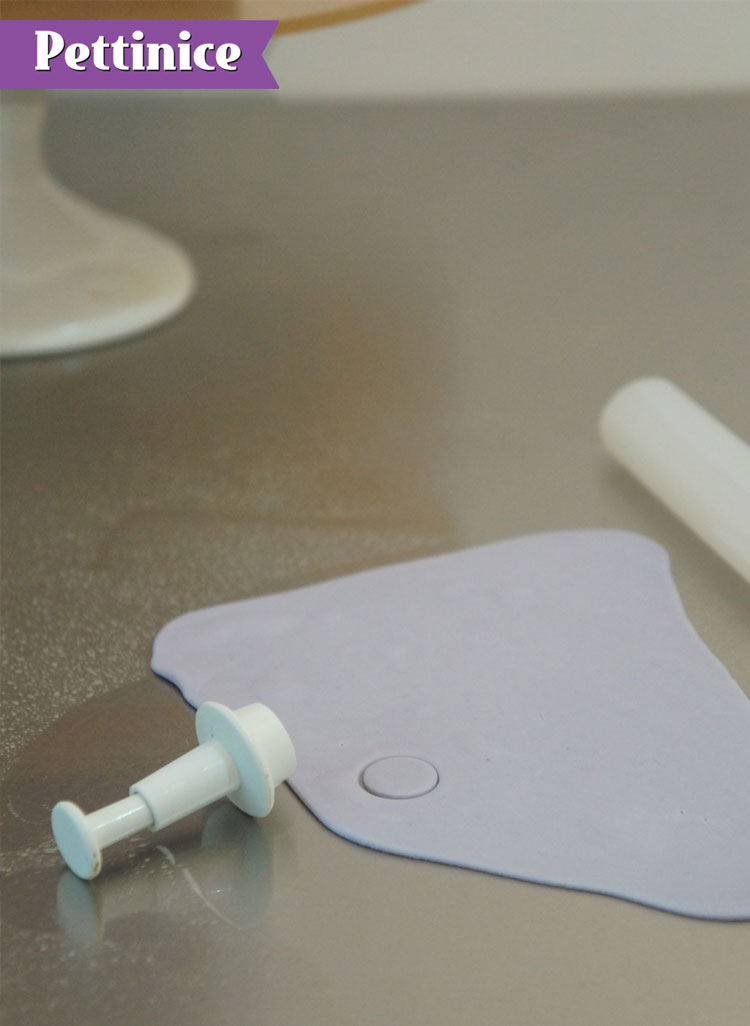
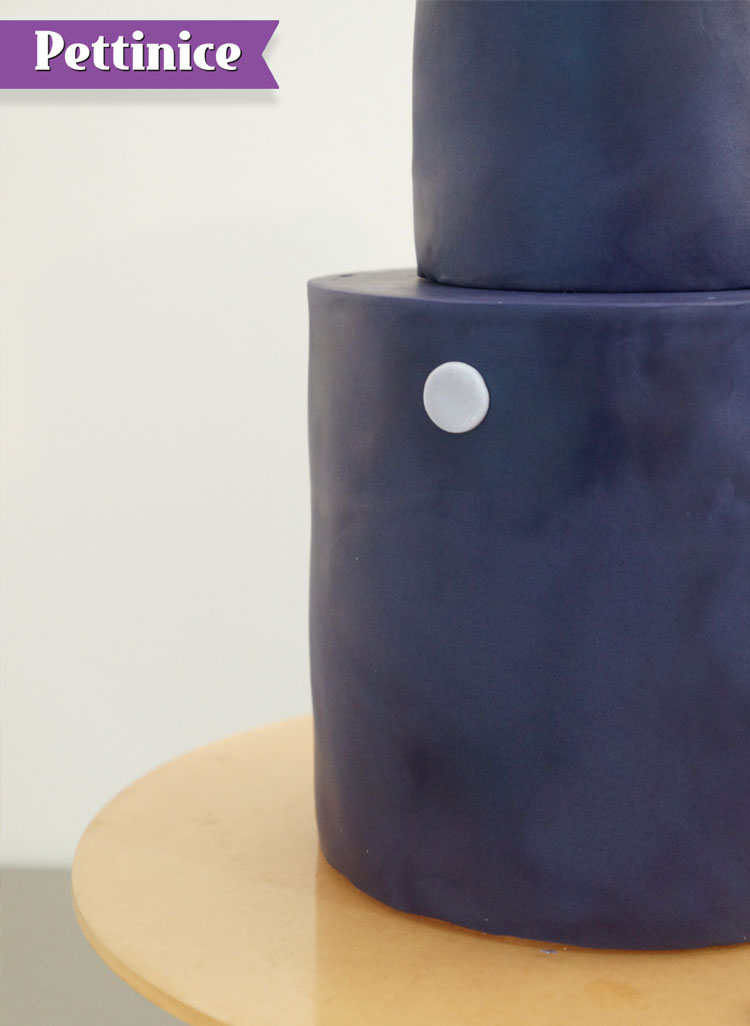
Use a small circle cutter to cut small circles.
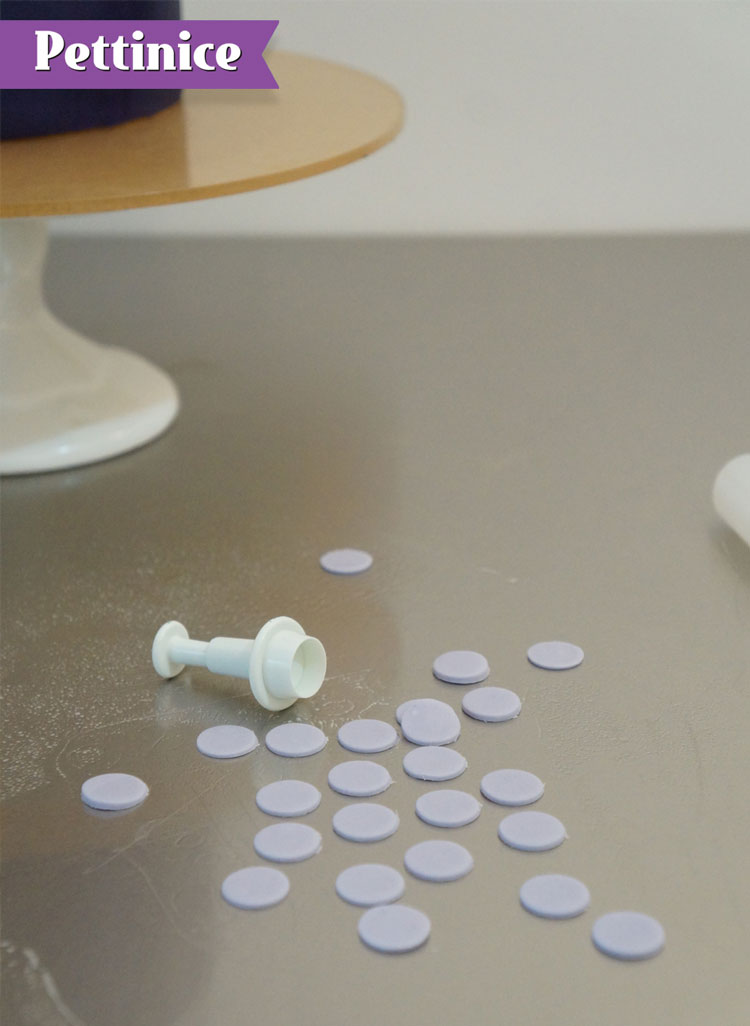
Cut out as many as you can, re rolling out the fondant if necessary to cut more, enough to cover both cake with the dots.
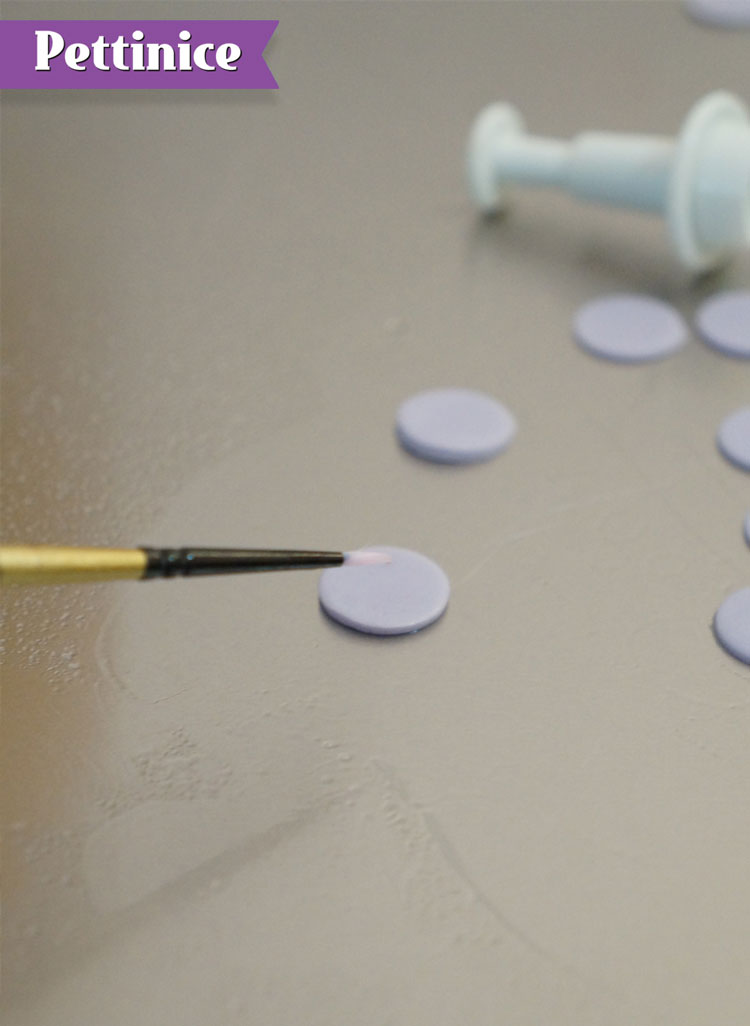
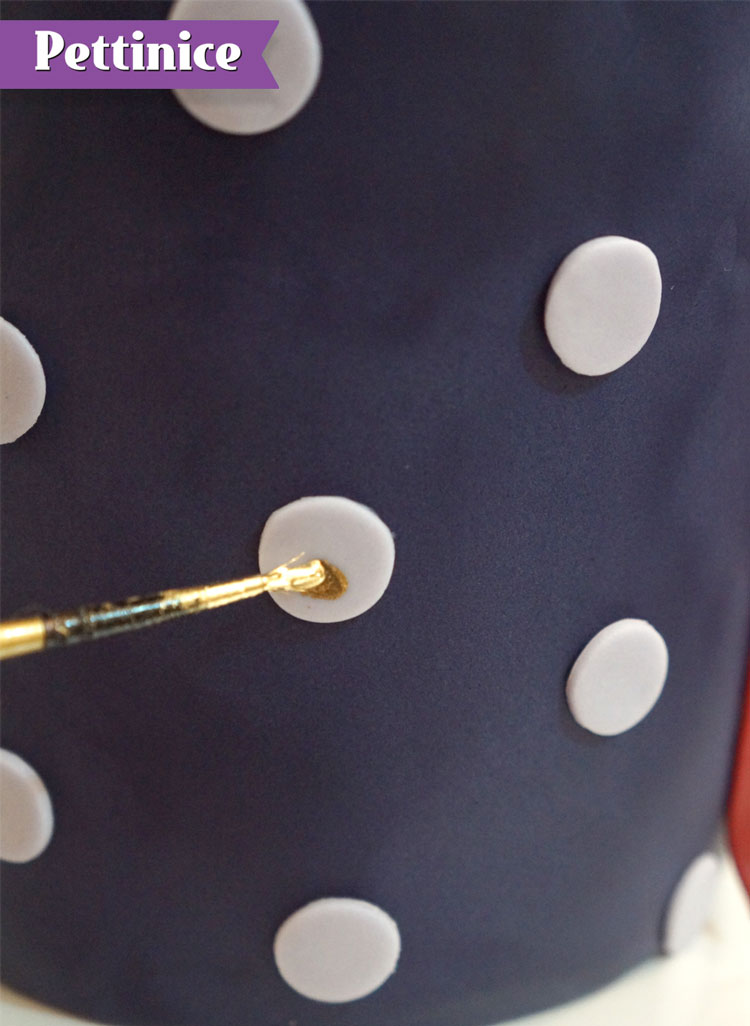
Use a fine paint brush (reserved for cake decorating) and small amount of edible glue (or just a water is fine) to apply the dots to the cake
Continue to apply the dots the whole way around both tiers until the entire cake is covered in dots.
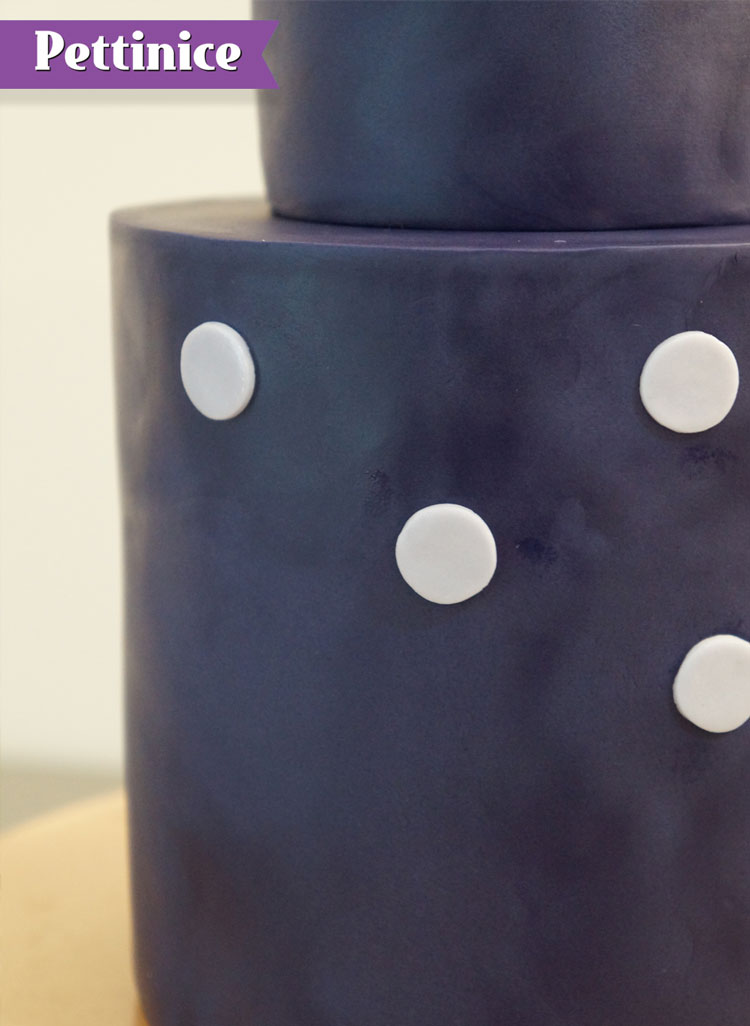
...more dots
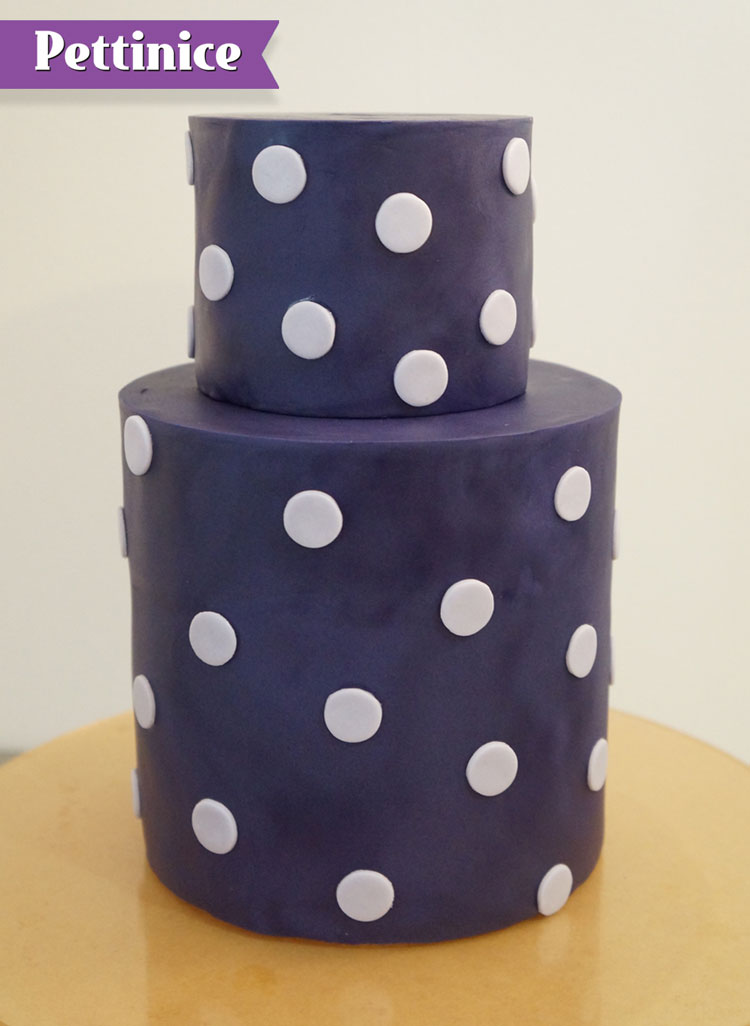
Finished!
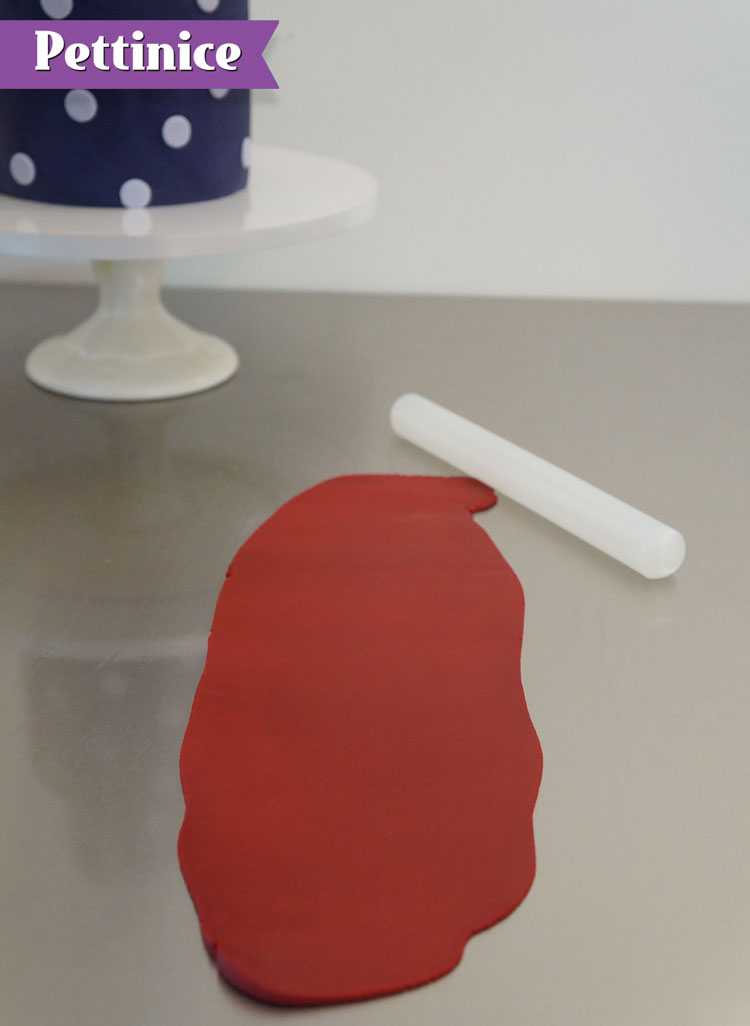
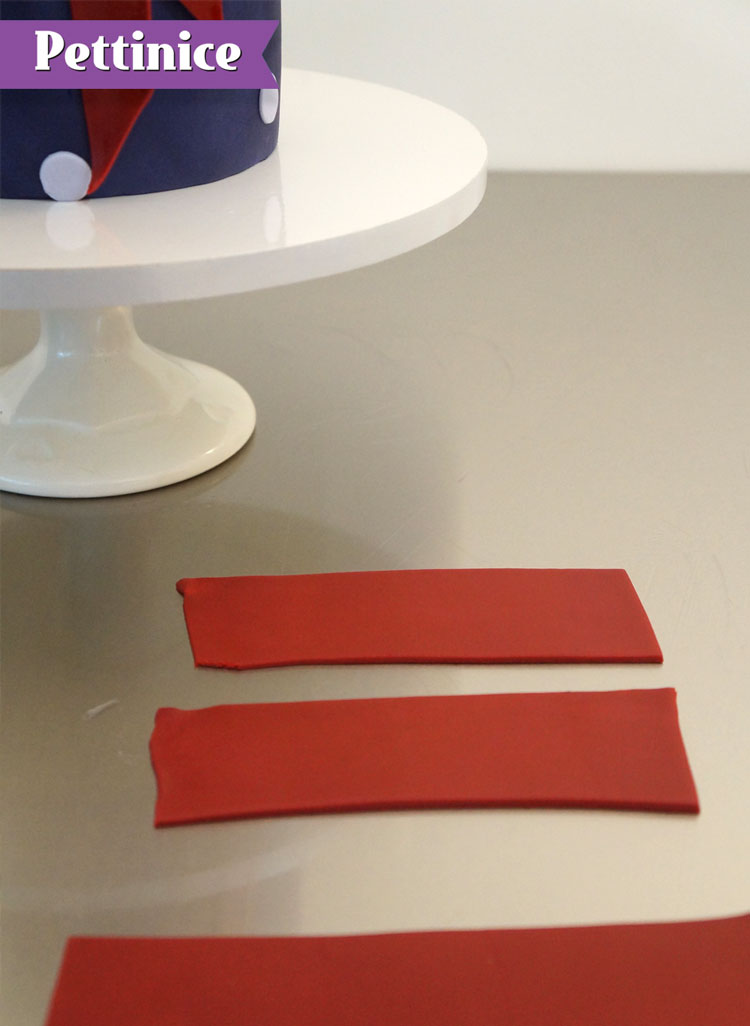
Roll out the burgundy fondant into a long rectangular strip as pictured.
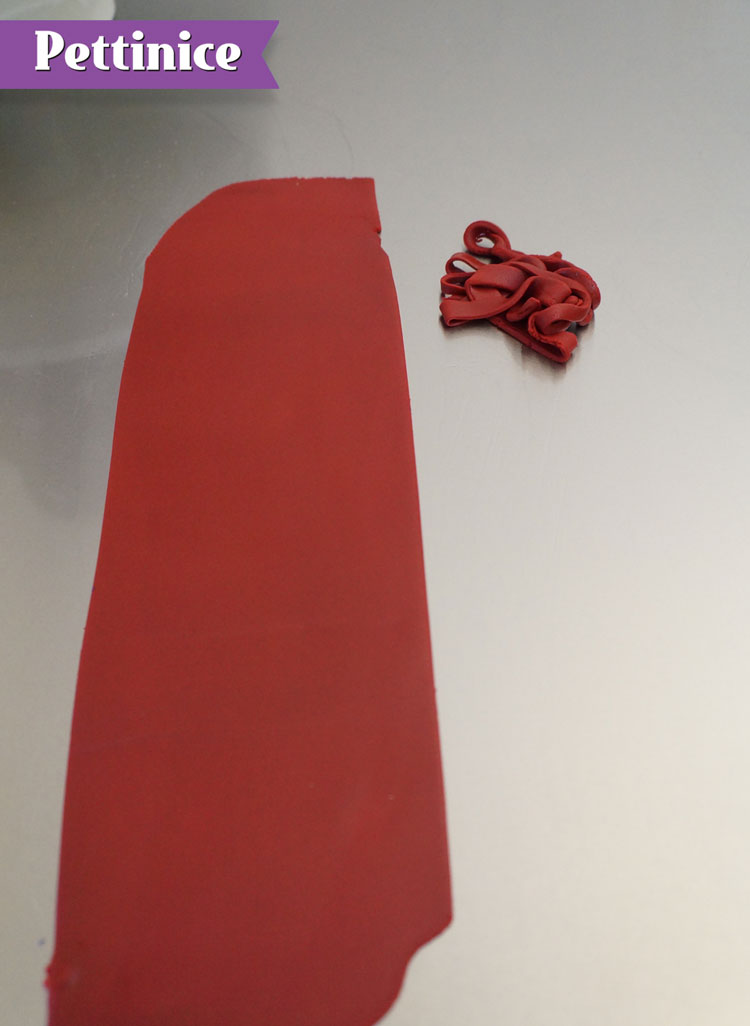
Use a sharp knife or a pizza cutter to trim the edges.
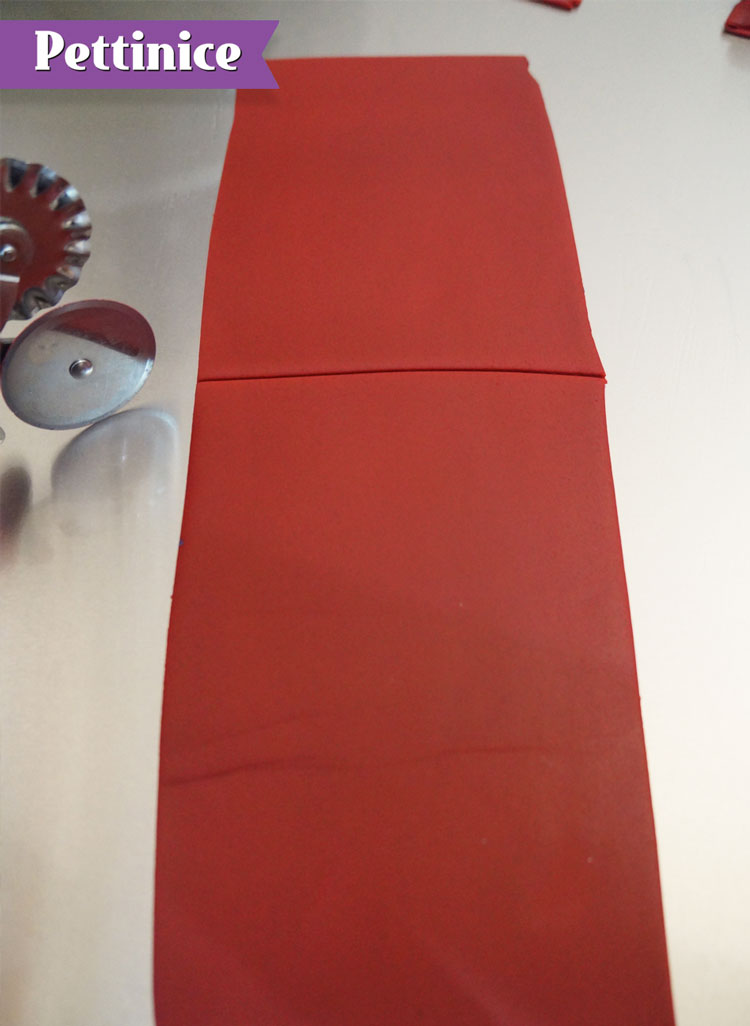
Cut in half again, so there is four small rectangular strips.
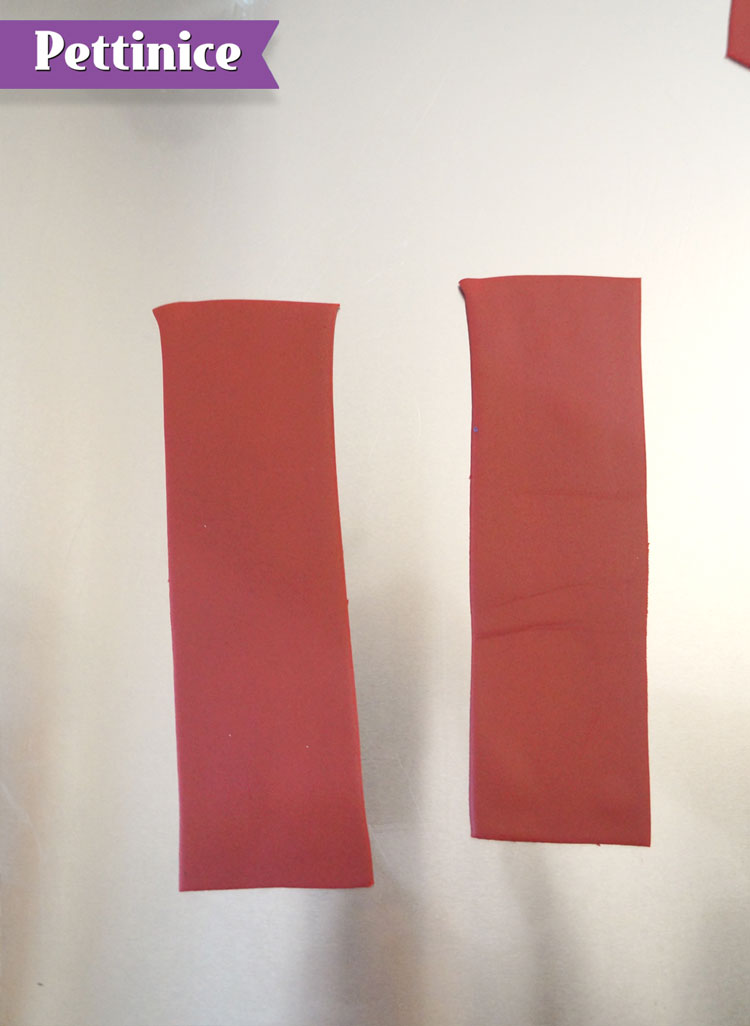
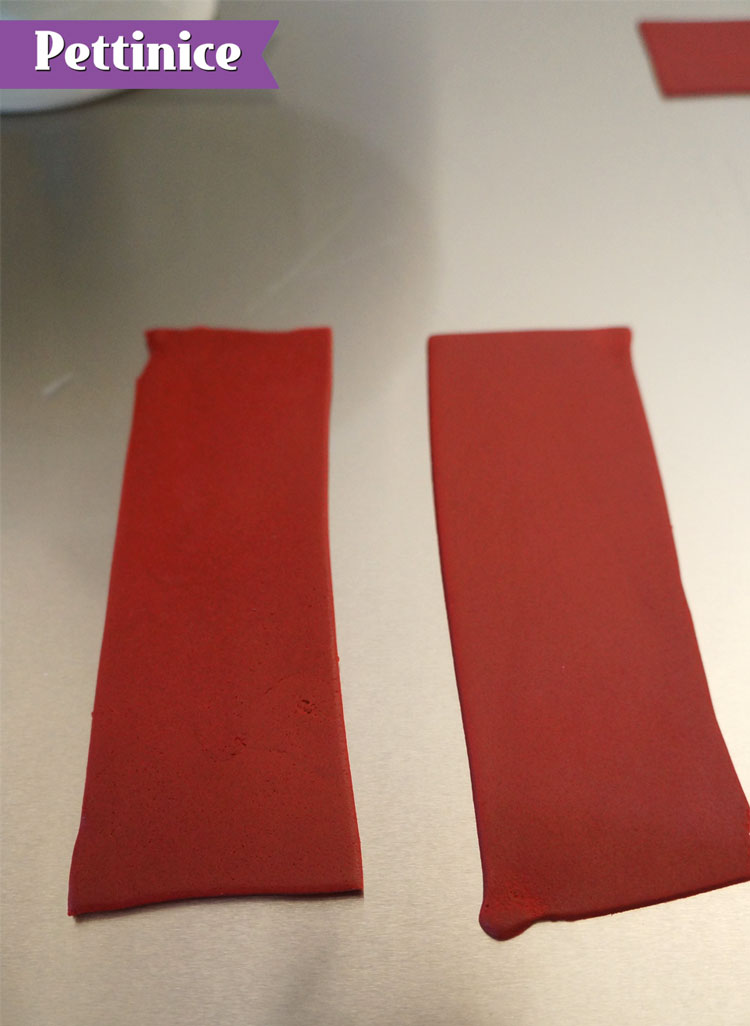
Take one of the strips, and put the other three aside for a moment, you can cover these with a piece of Gladwrap to avoid drying out.
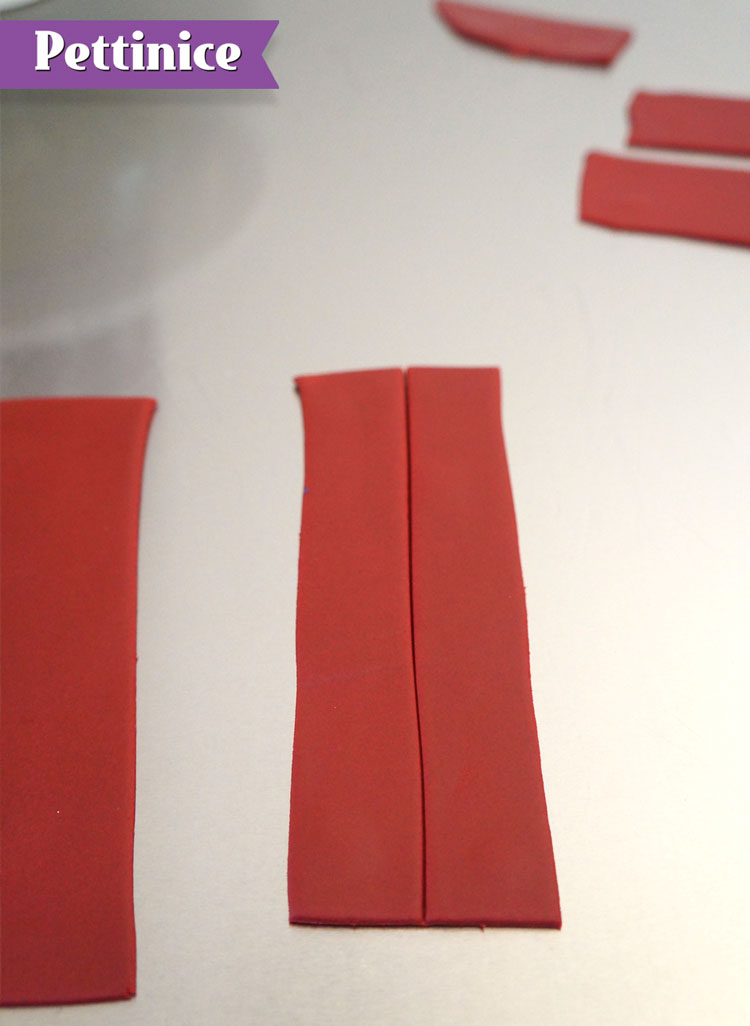
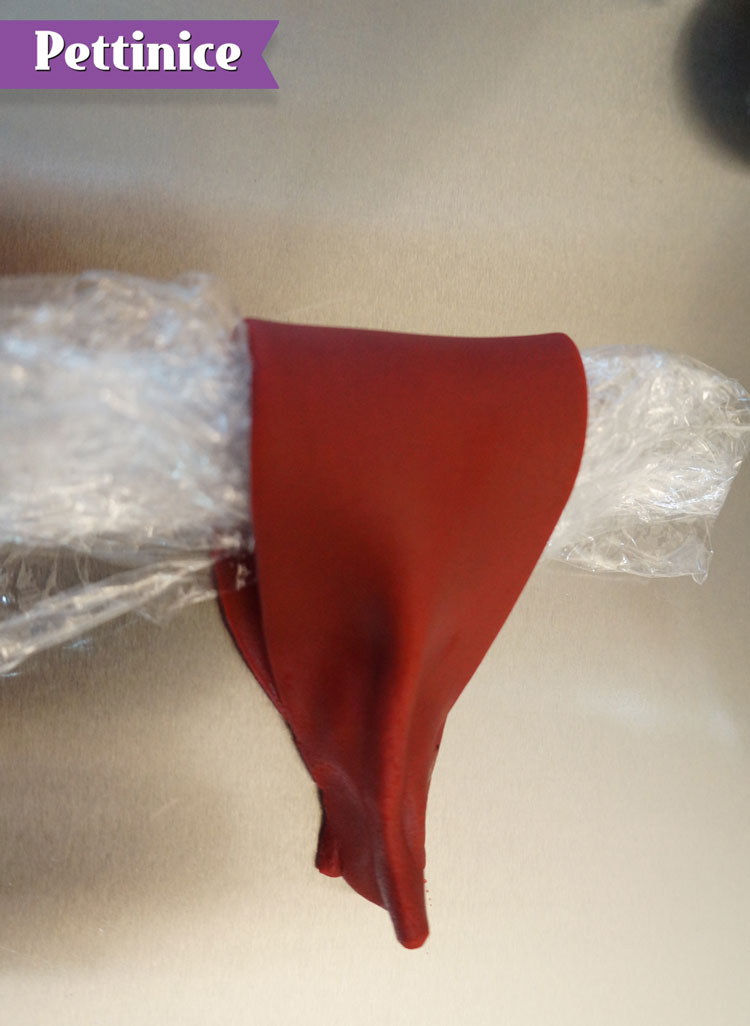
With the rectangular strip you have in front of you, cut vertically, as pictured.
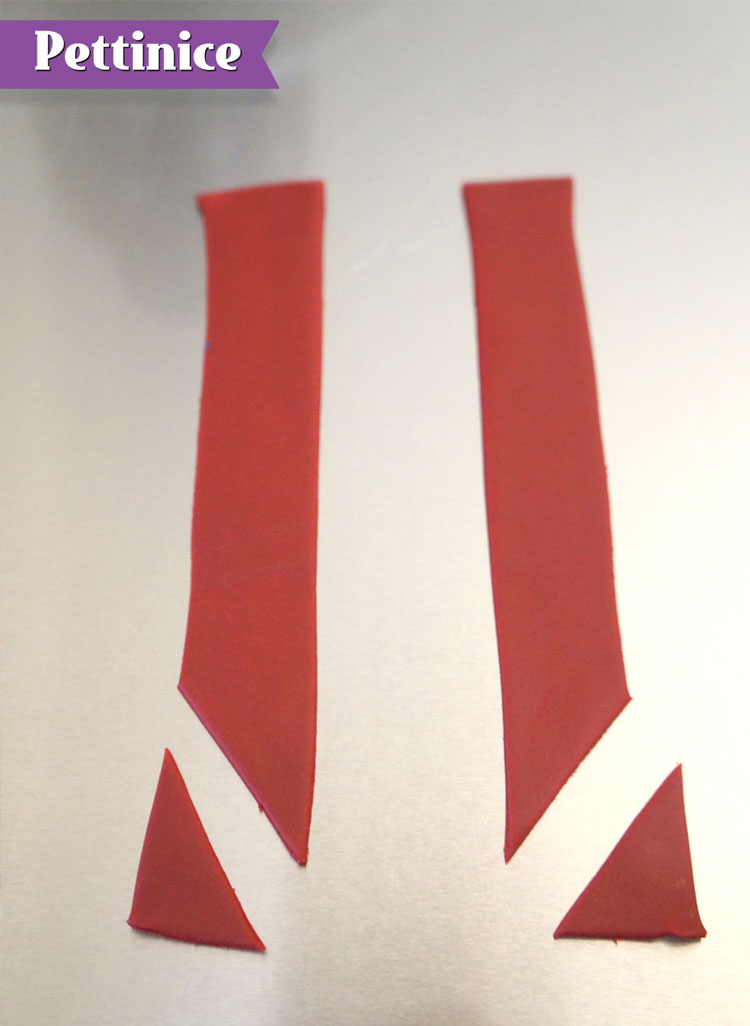
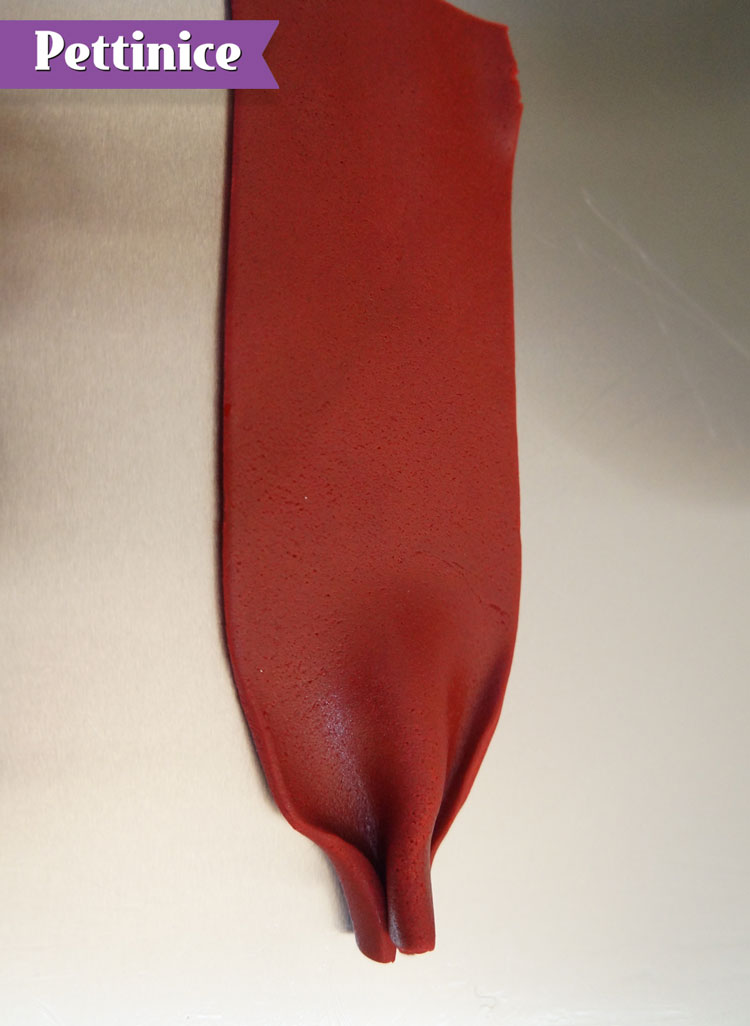
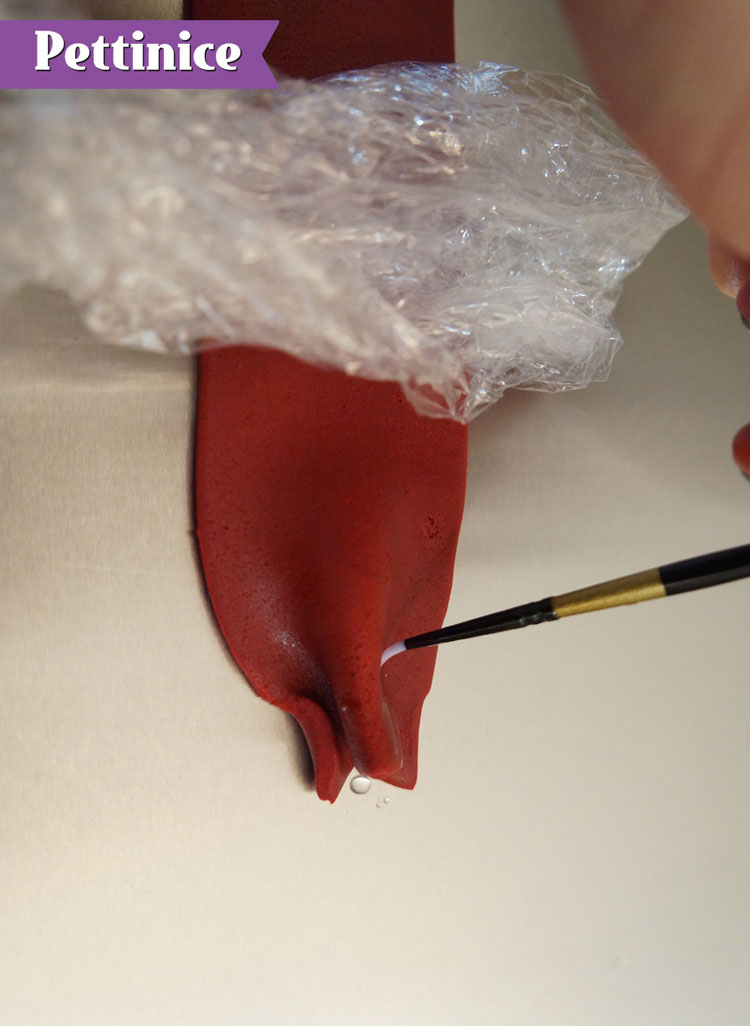
Trim the bottom edge of both pieces to an angle as pictured, creating the hanging part of the bow.
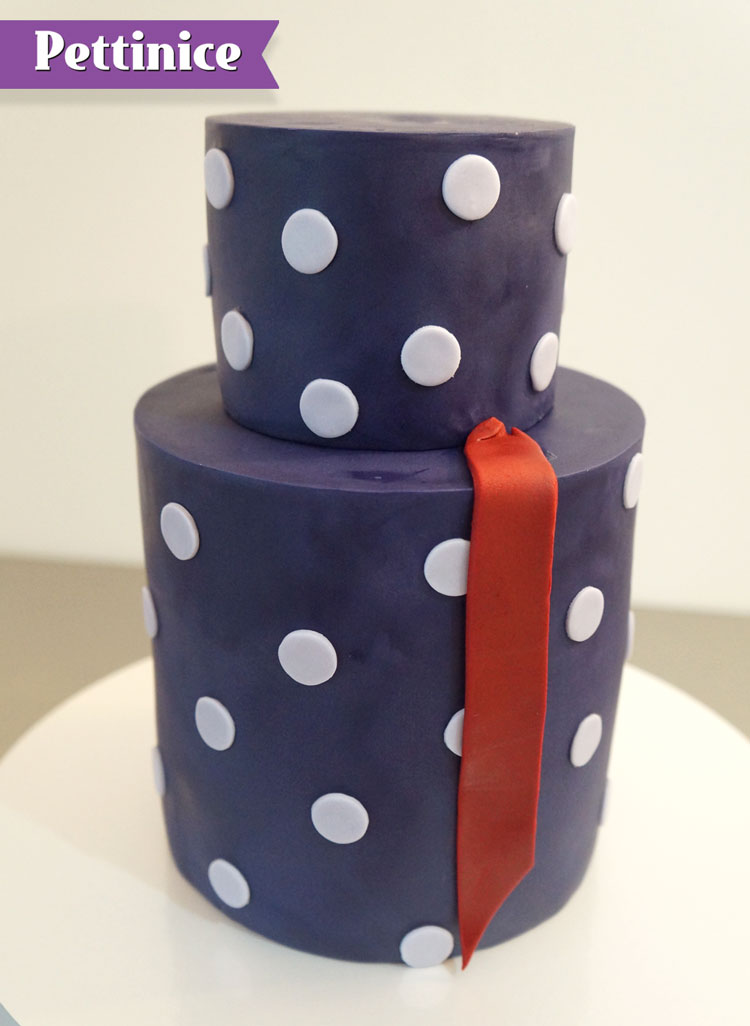
Using edible glue to adhere the first part of the bow to the cake, so that it falls/hangs as a real fabric bow would.
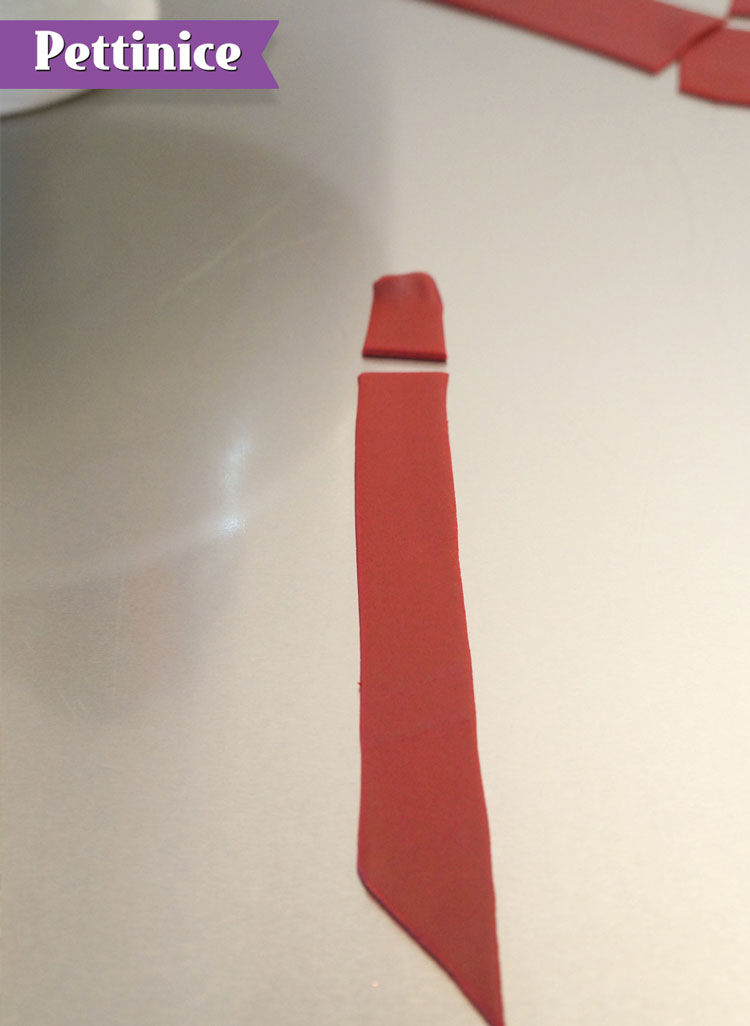
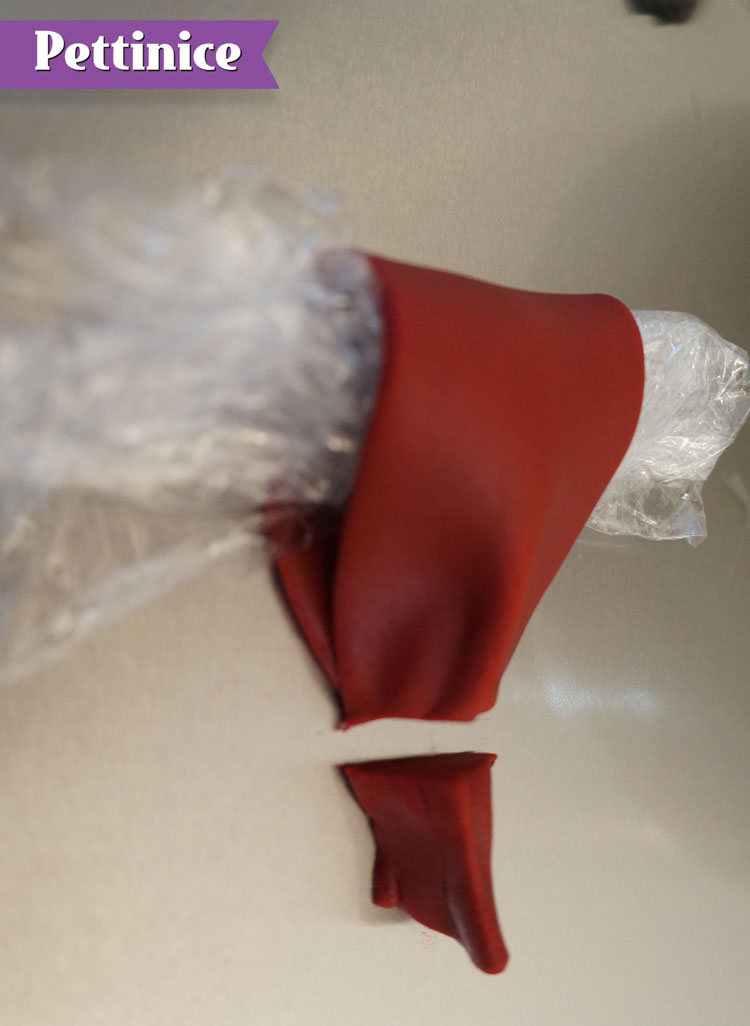
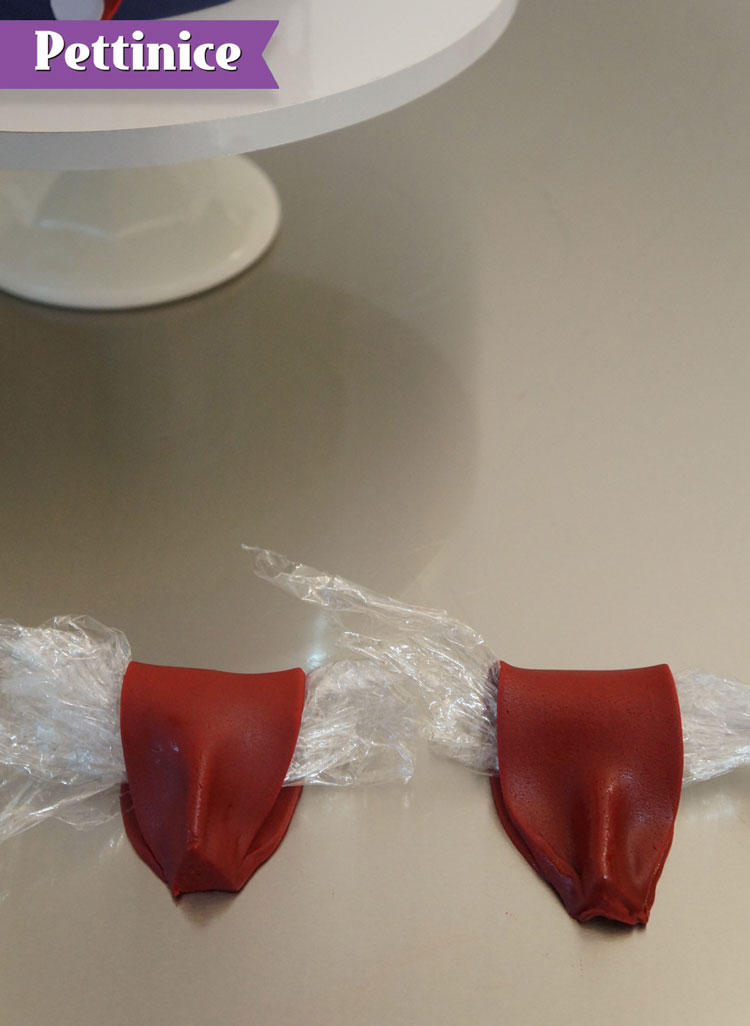
Trim approximately an inch shorter.
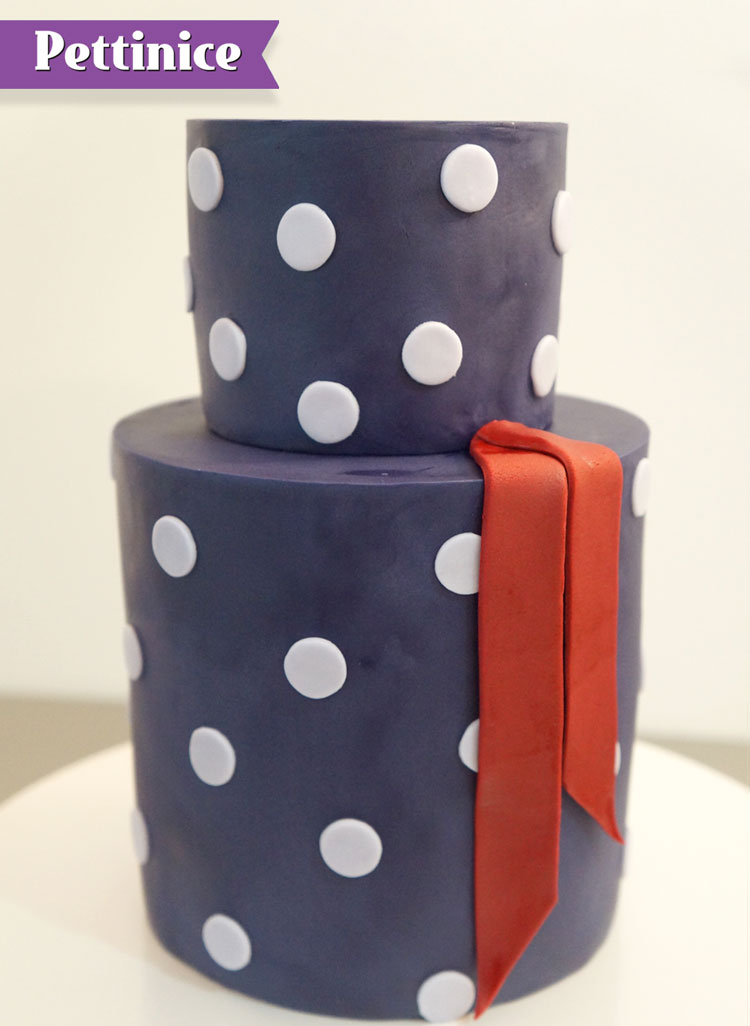
Using edible glue to adhere that part to sit next to the first part.
Take the three remaining rectangular pieces in front of you.
Using two of them to form the main part of the bow.
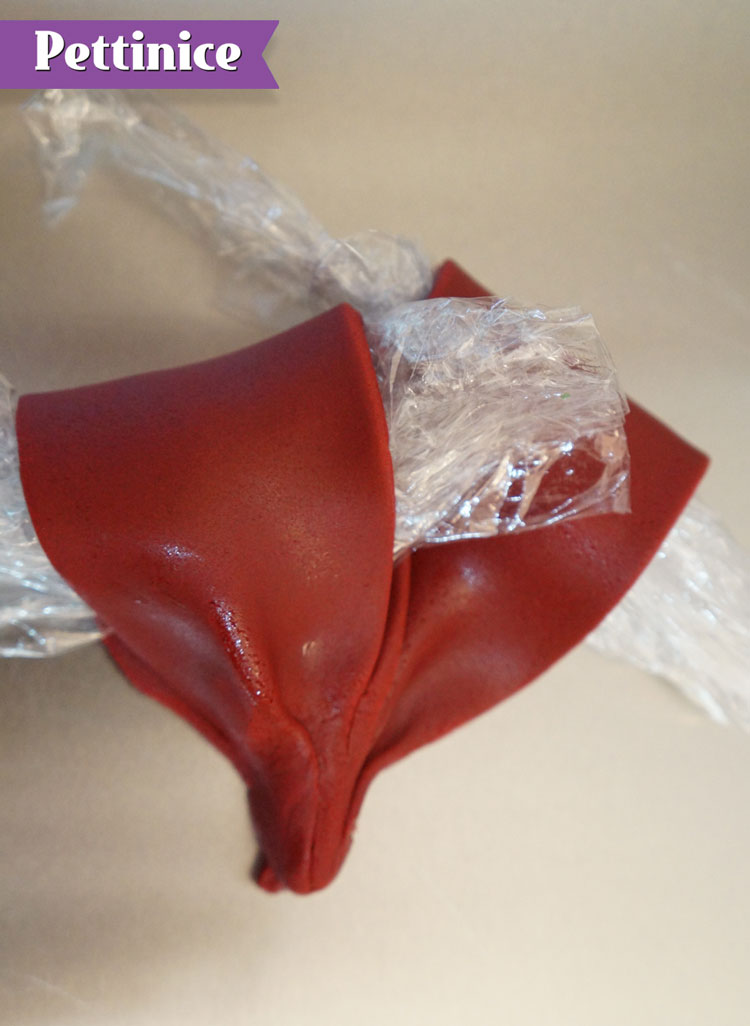
Use your fingers to apply pressure and "squish" the end together as pictured to create a pleat effect.
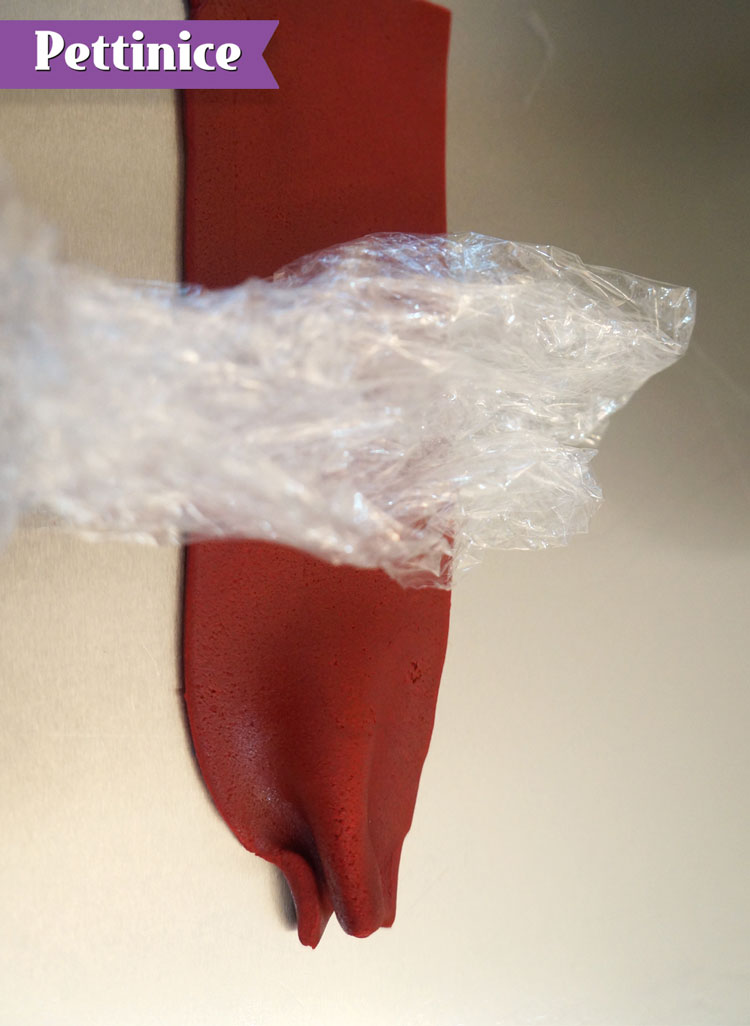
Place some glad wrap (or foam) on the fondant to create the shape as it dries.
Apply edible glue to the pleated end.
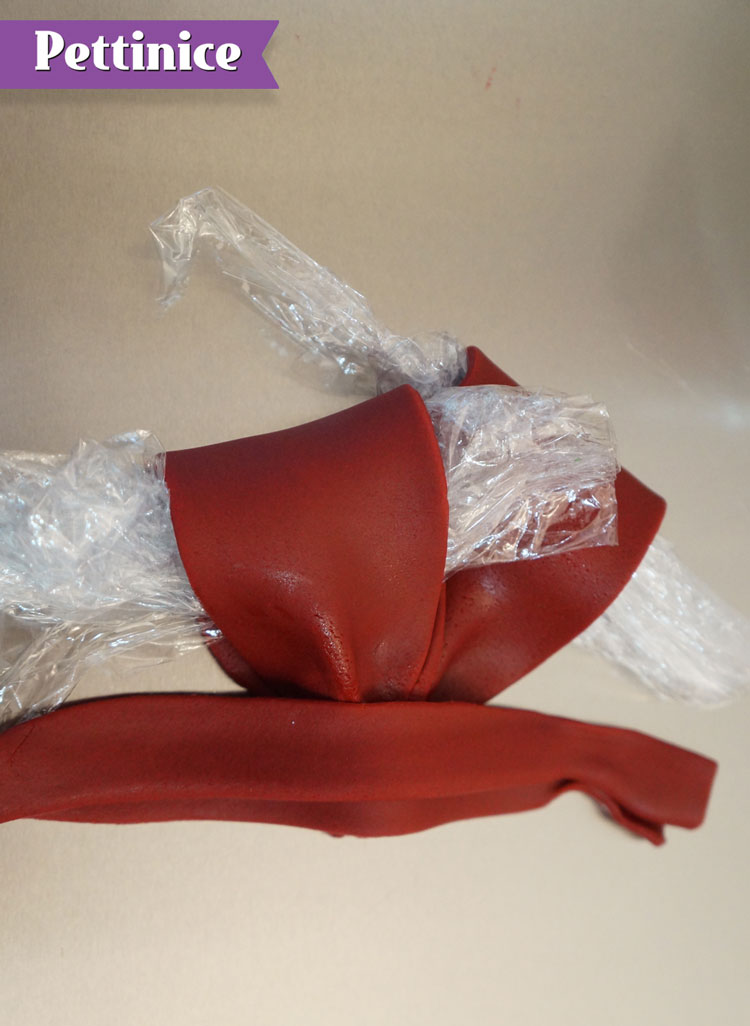
Join the other end to it, "squishing" that part too.
Trim (as pictured)
Repeat the above step to create the second part.

Take the remaining part of burgundy.

Pinch together to create a pleat, this can be done by using your fingers or even using a skewer underneath to create the shape.
Apply edible glue and place one loop of the bow over the other as pictured.
Apply edible glue and place one loop of the bow over the other as pictured.
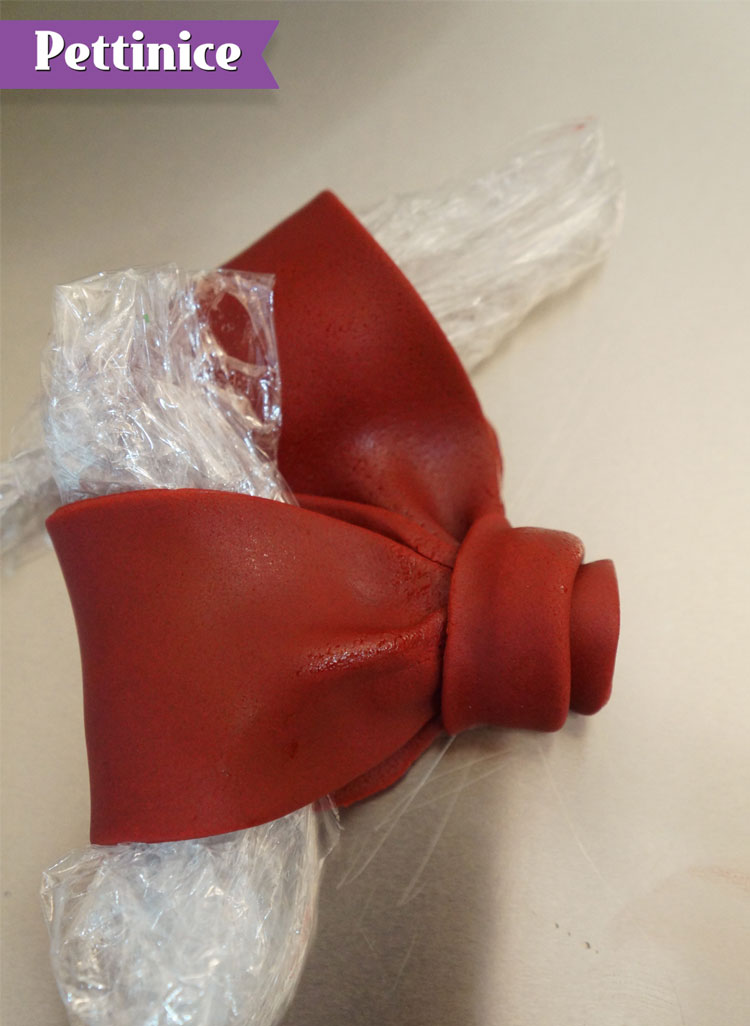
Wrap the peice of pleated fondant right around, using edible glue to secure.
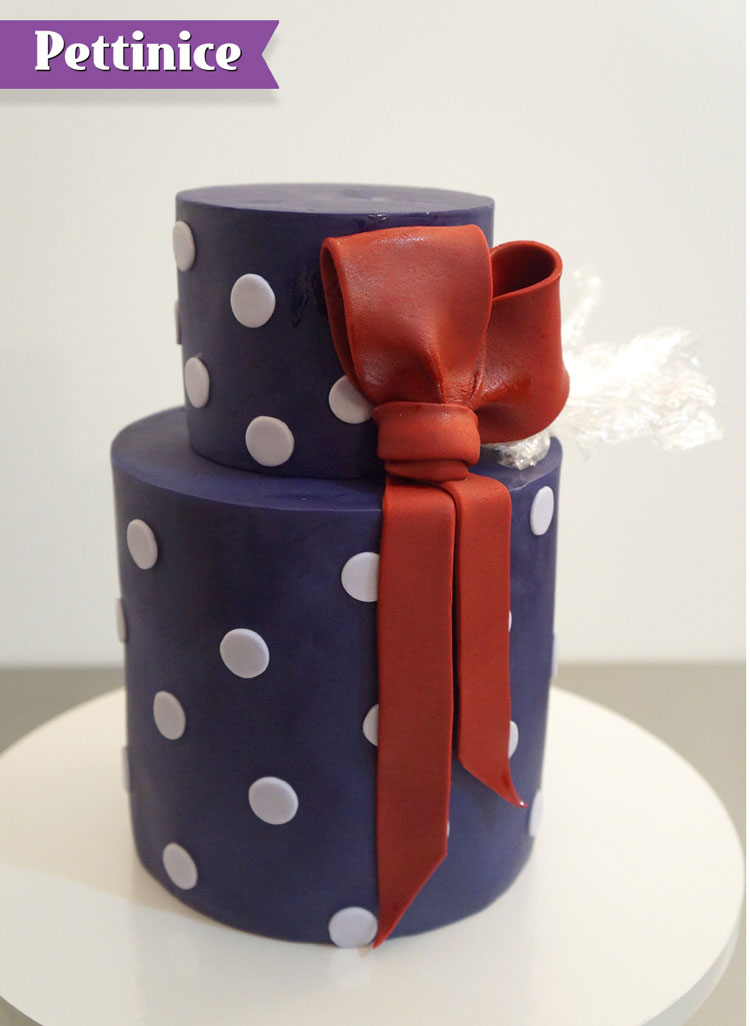
Adhere the loops to the cake as desired and use more glad wrap to support the bow as it dries.
Adhere the loops to the cake as desired and use more glad wrap to support the bow as it dries.
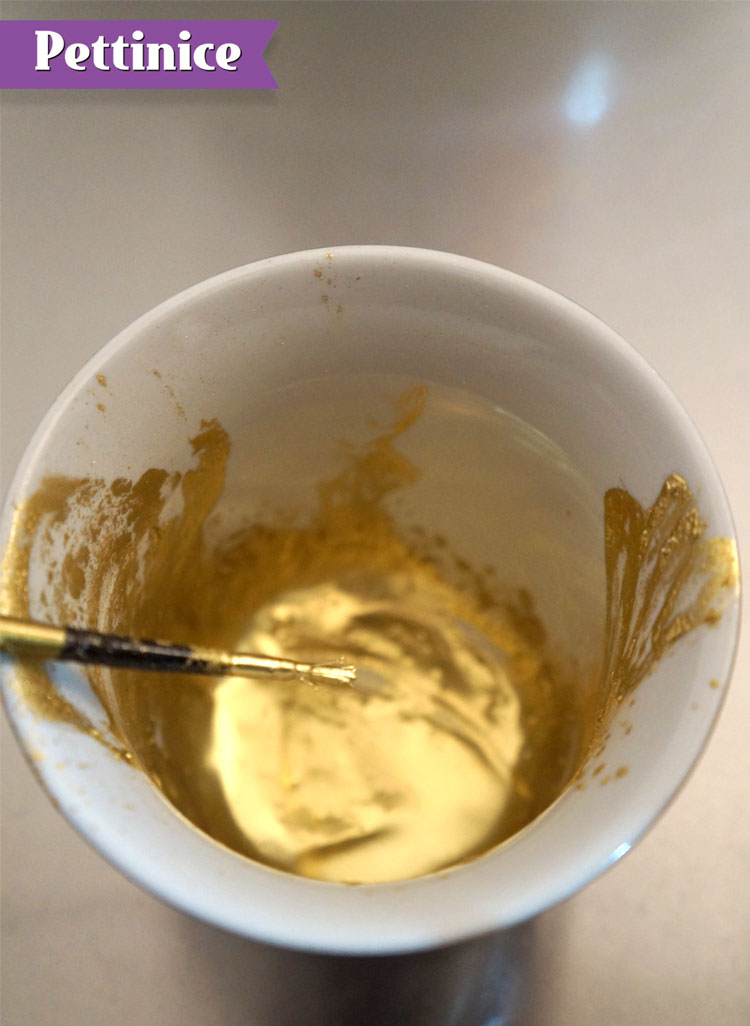
Prepare you chosen gold paint (Rolken Super Gold lustre dust has been used, it has been mixed with Vodka to create a beautiful gold paint)
The dots can be any colour as you are painting them gold.
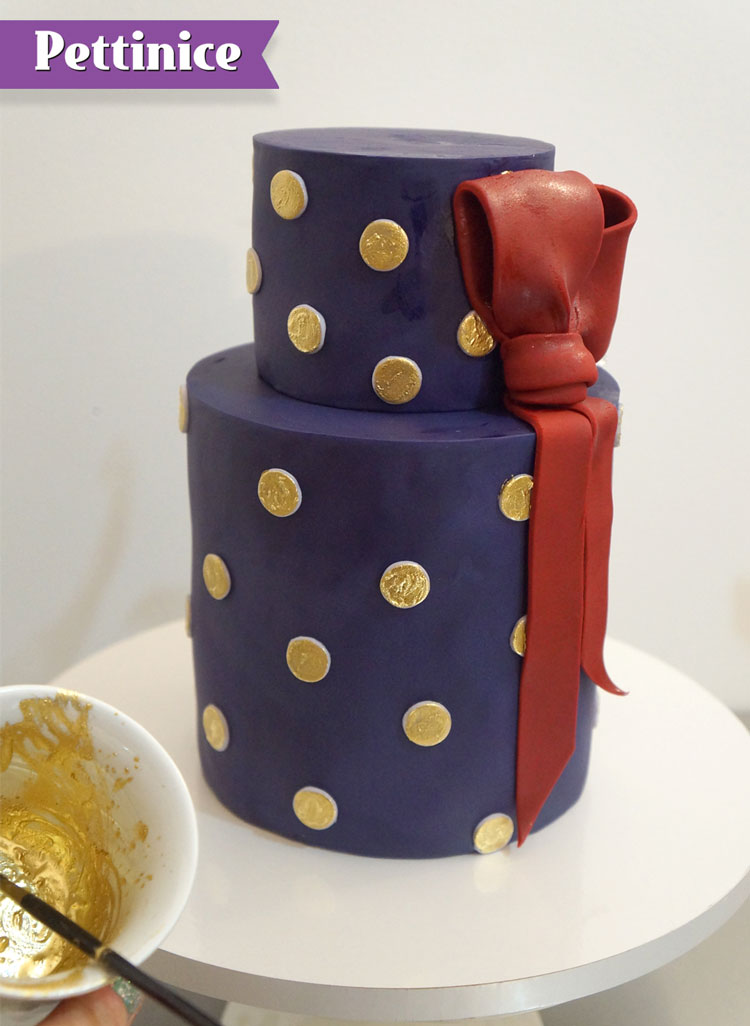
Finished!
Jessica a self-taught cake decorator who has two beautiful children who were her initial reason for first trying her hand at cake decorating. It has since become her passion. Jessica has won awards for her cakes, and her work has been published in several magazines. Her favourite thing about cake decorating is the creative outlet and that there are so many elements of cake decorating such as sculpting, hand painting, creating sugar flowers and more. She loves to incorporate textures and colours to achieve unique pieces of art.
You can find Jessica on Facebook and Instagram. ![]()
![]()