Carol's Rose by Lisa Templeton
I dedicate this tutorial to my mum, Carol. Mum was a keen gardener who loved all flowers, but especially adored roses. She knew the names of everything she grew and kept the most incredible garden. People would often knock and ask for a complete garden tour.
Mum loved to share her passion for flowers with everyone and I have carried it through in my sugar art. I dedicate her rose to everyone who has ever wanted to try making sugar flowers. Enjoy. .

What you will need for this project:
Skill level: Easy
Time: 5 - 10 minutes
You will need:
- Gumpaste or Pettinice Modeling paste. See how to make it here.
- Sugar glue or water
- Plastic bag


Prepare your flower modeling paste (gumpaste). You can use Lisa's easy recipe here.

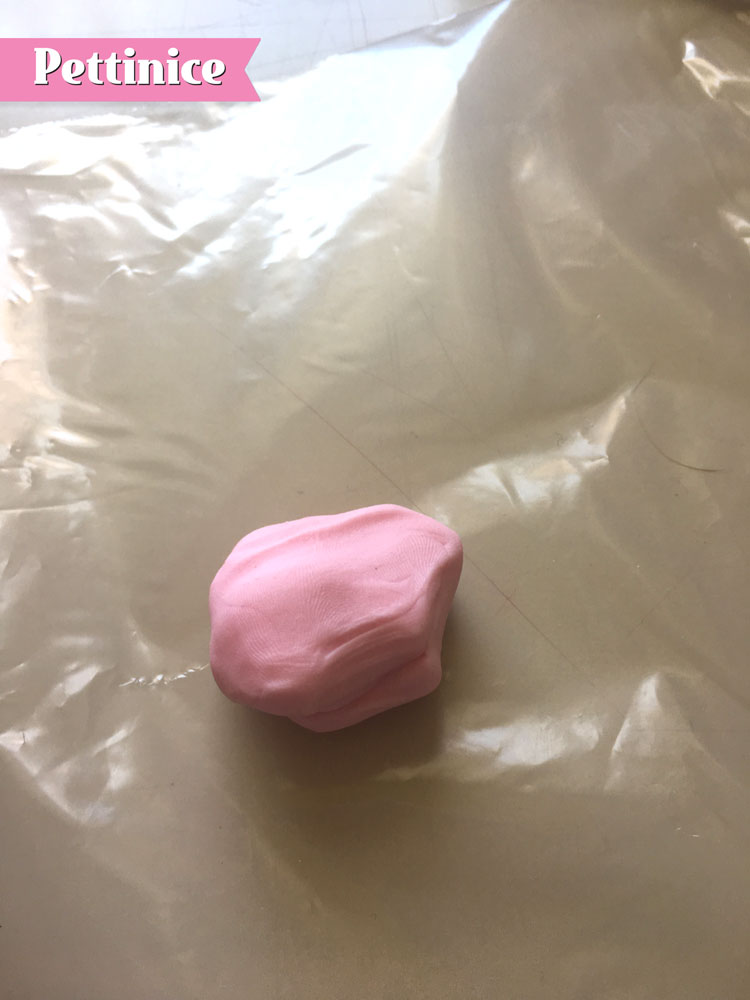
I like starting with Ivory Pettinice as my base coat.
Roll into a sausage.
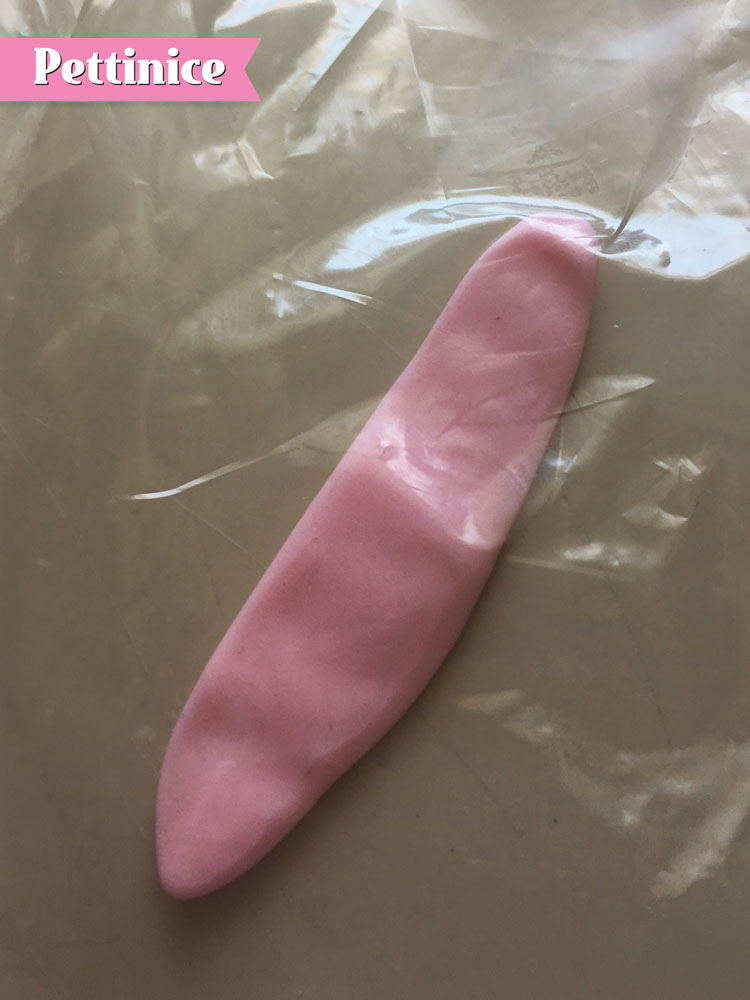
Place between your plastic and start by flattening it out.
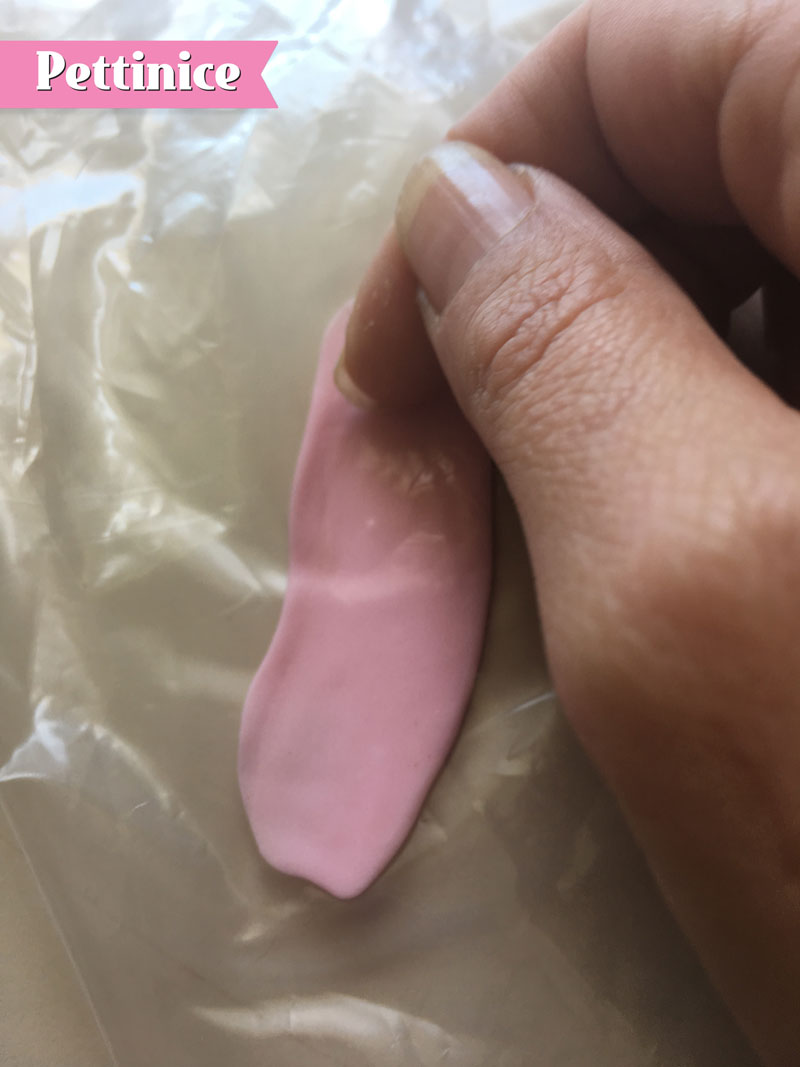
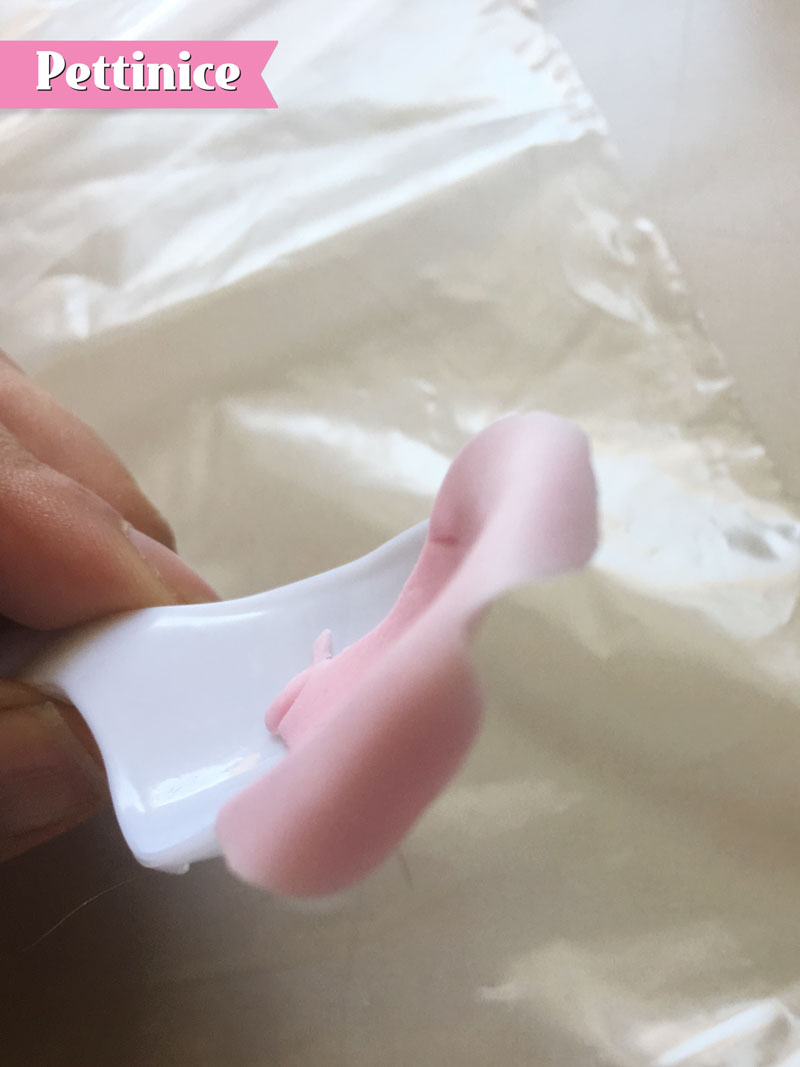
Use the side of your finger to further thin out the top edge only.
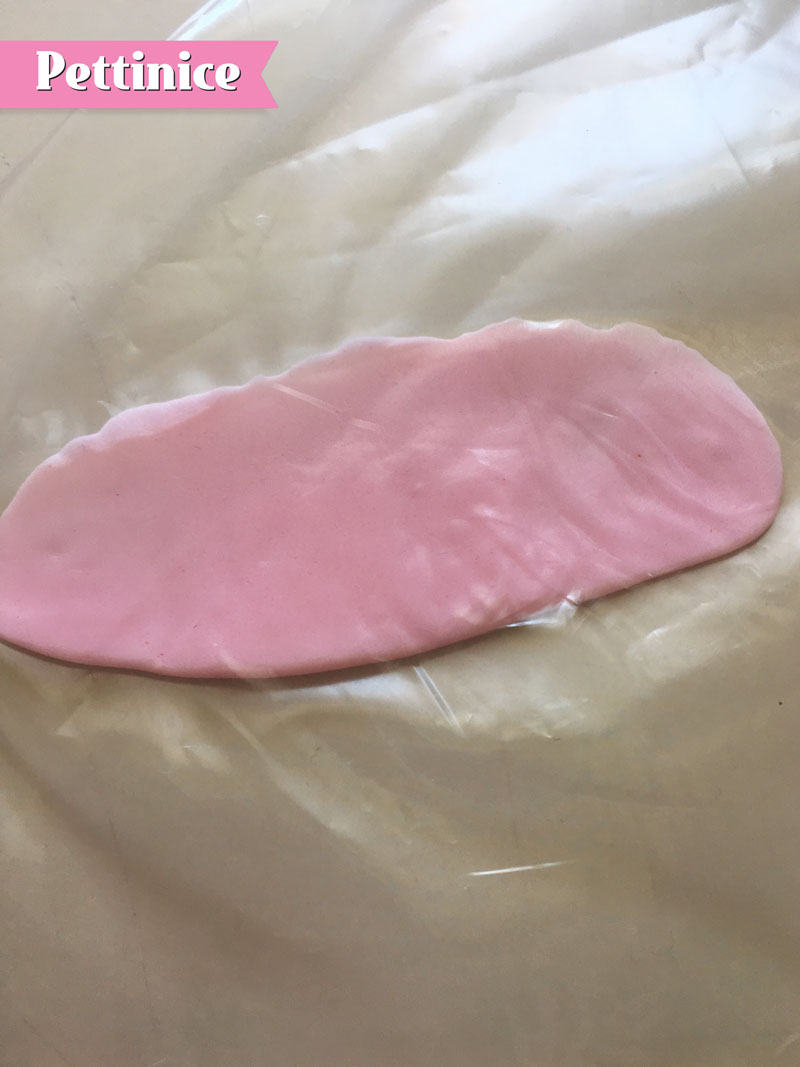
What it looks like after you've finished shaping it.
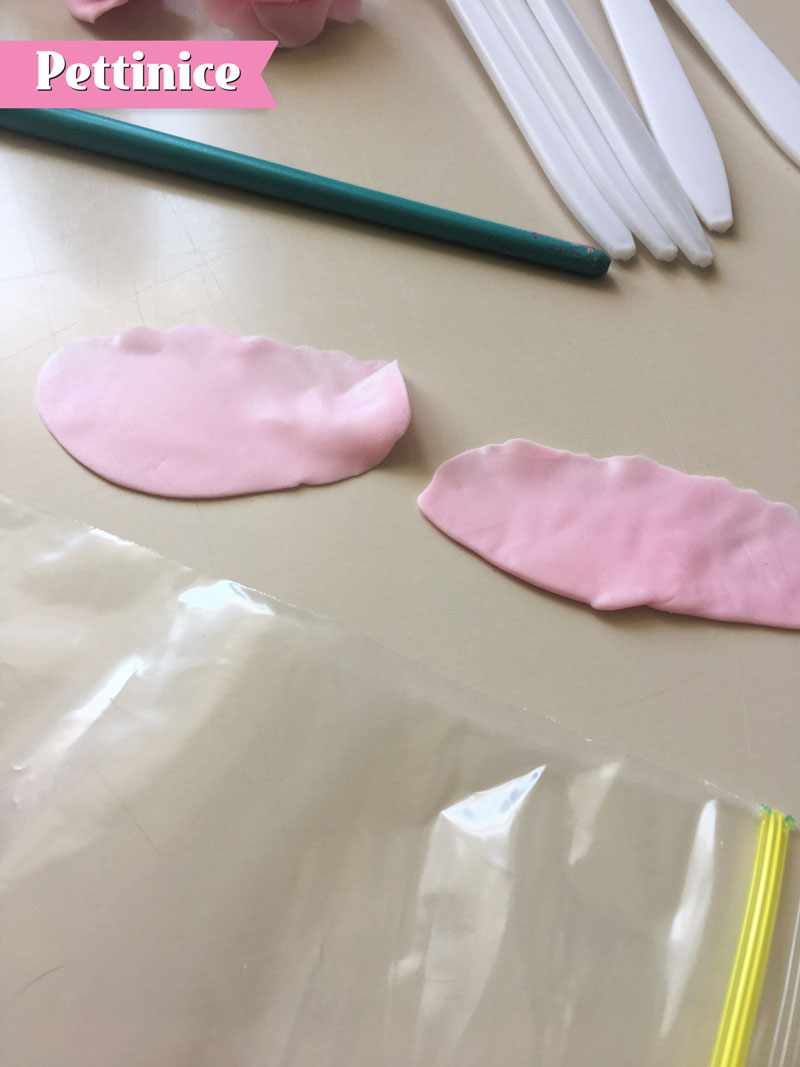
Place on the counter and make at least two centres. If you want to copy the rose from the video tutorial, make three.

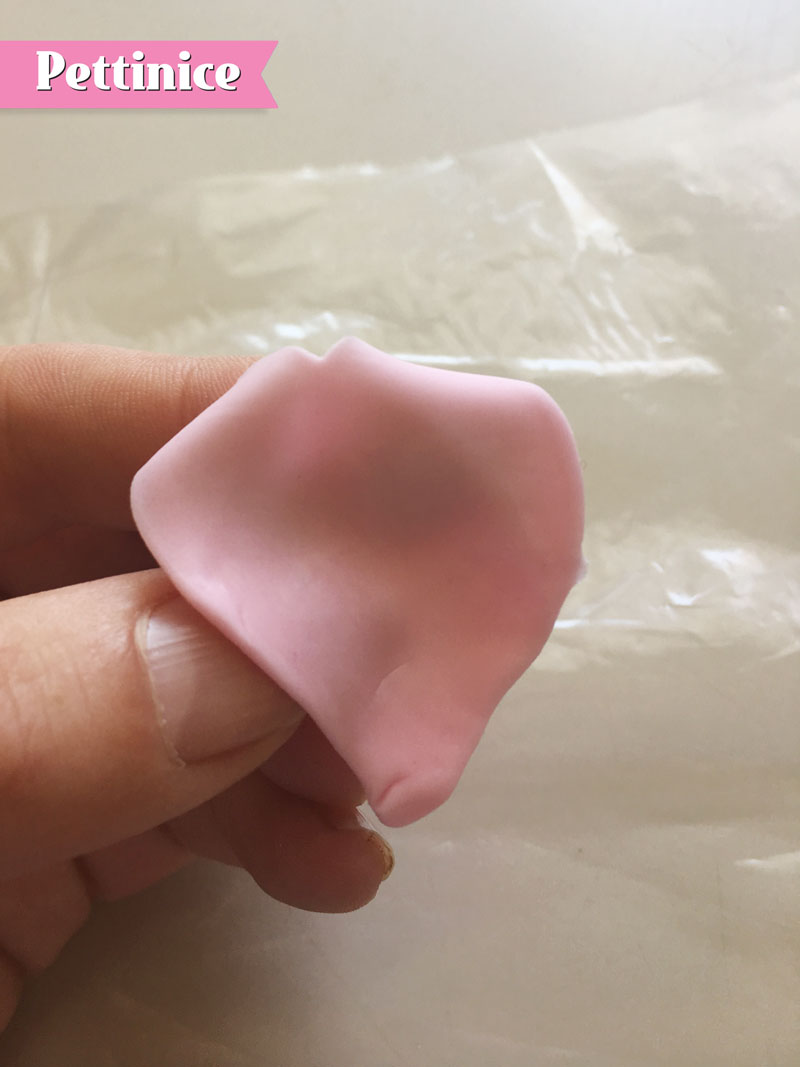
Layer the pieces with the thinned edge at the top as shown.
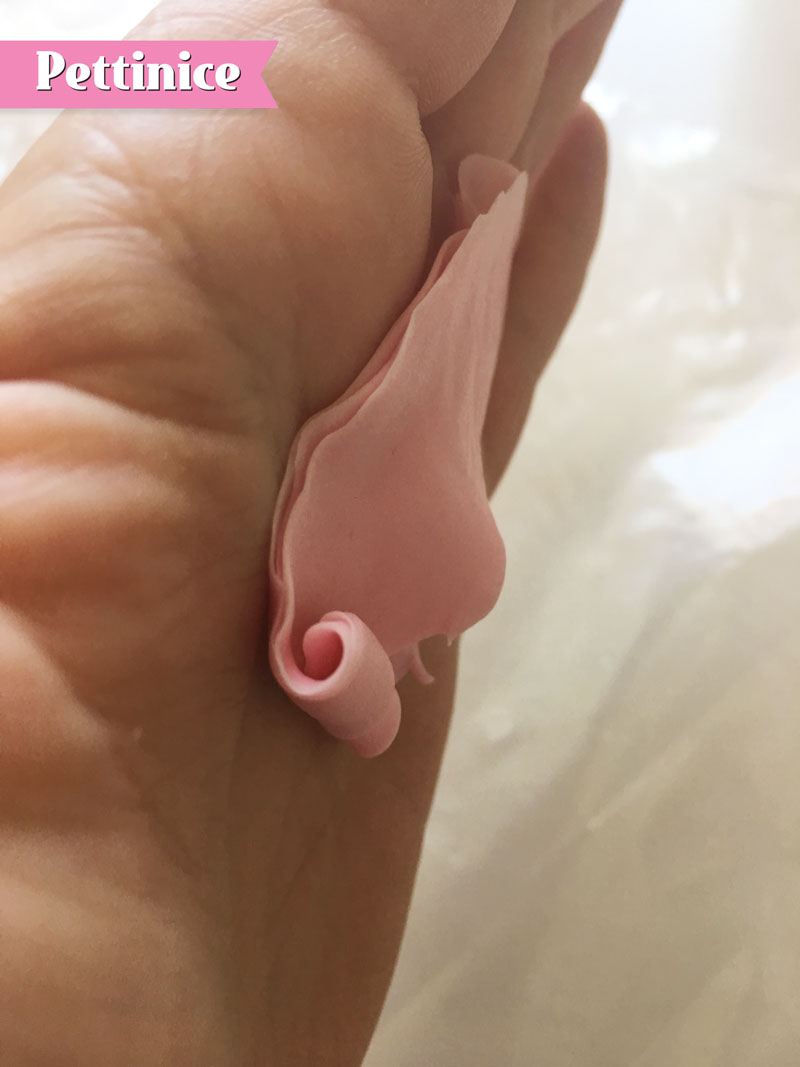
Twist and twirl from one side to the other, creating the rose bud.
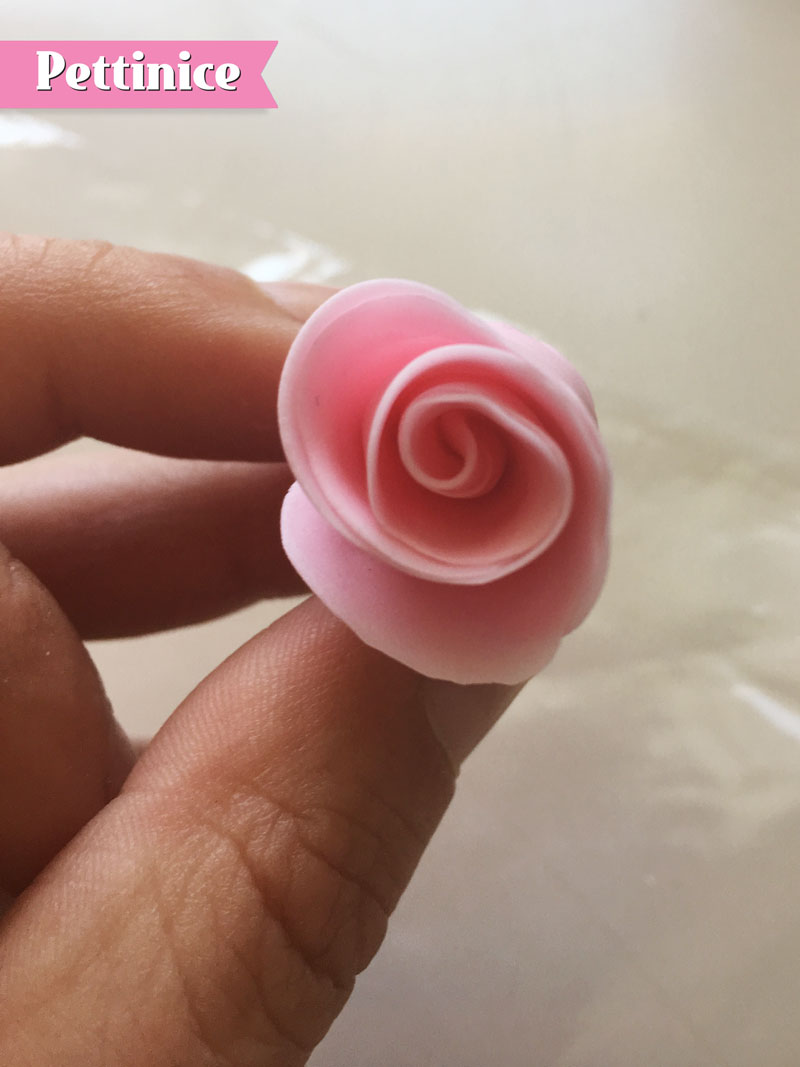
This is a two-layered center.
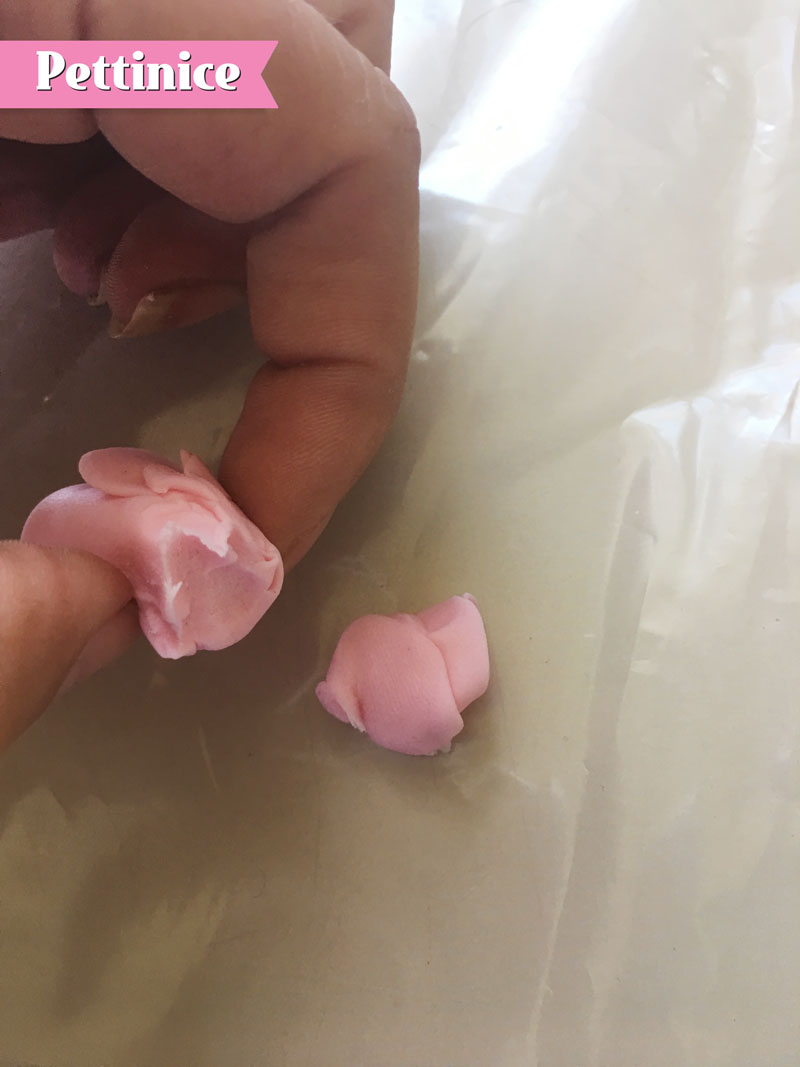
Pull or cut the excess fondant from the bottom so your bud can sit on the counter.
Assembling the petals
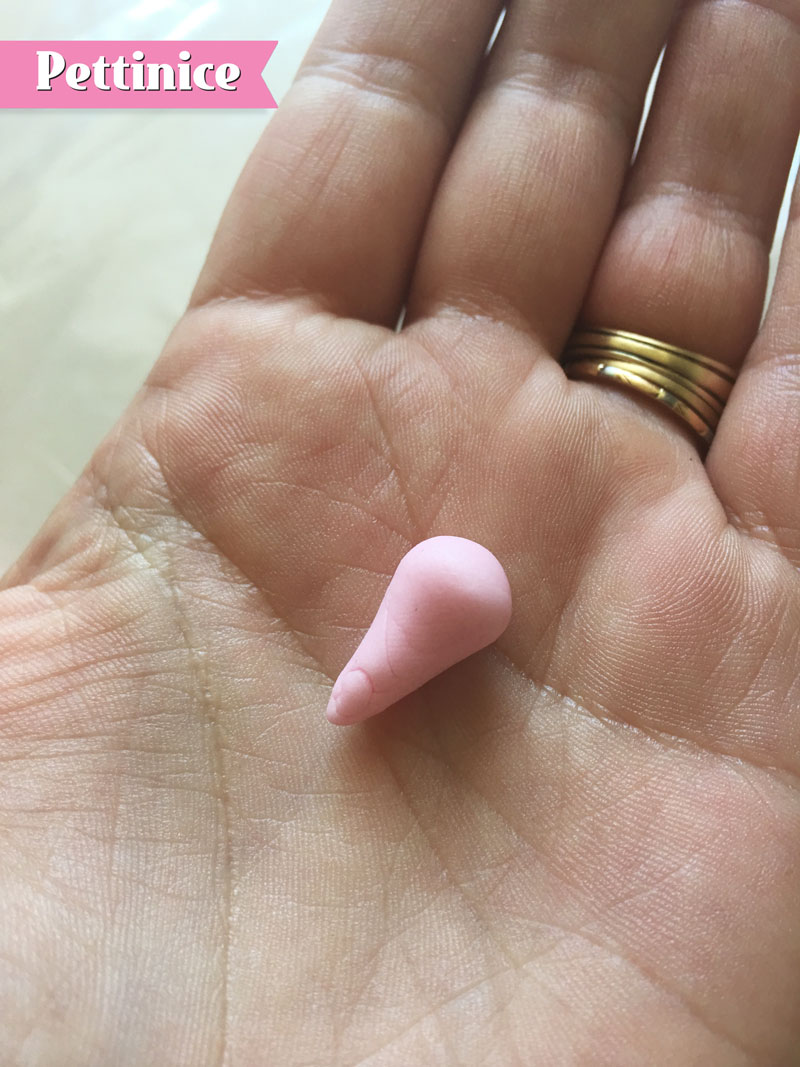
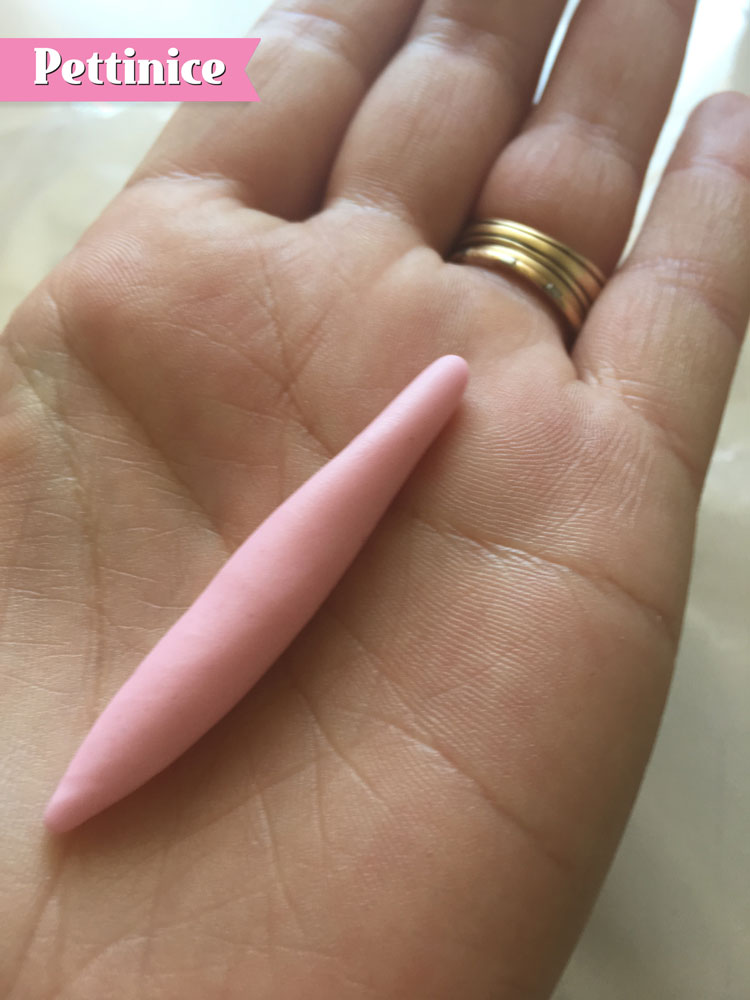
Start by rolling three small cones. Next, roll at least four or five slightly bigger cones for the outside petals.Start by rolling three small cones. Next, roll at least four or five slightly bigger cones for the outside petals.Start by rolling three small cones. Next, roll at least four or five slightly bigger cones for the outside petals.
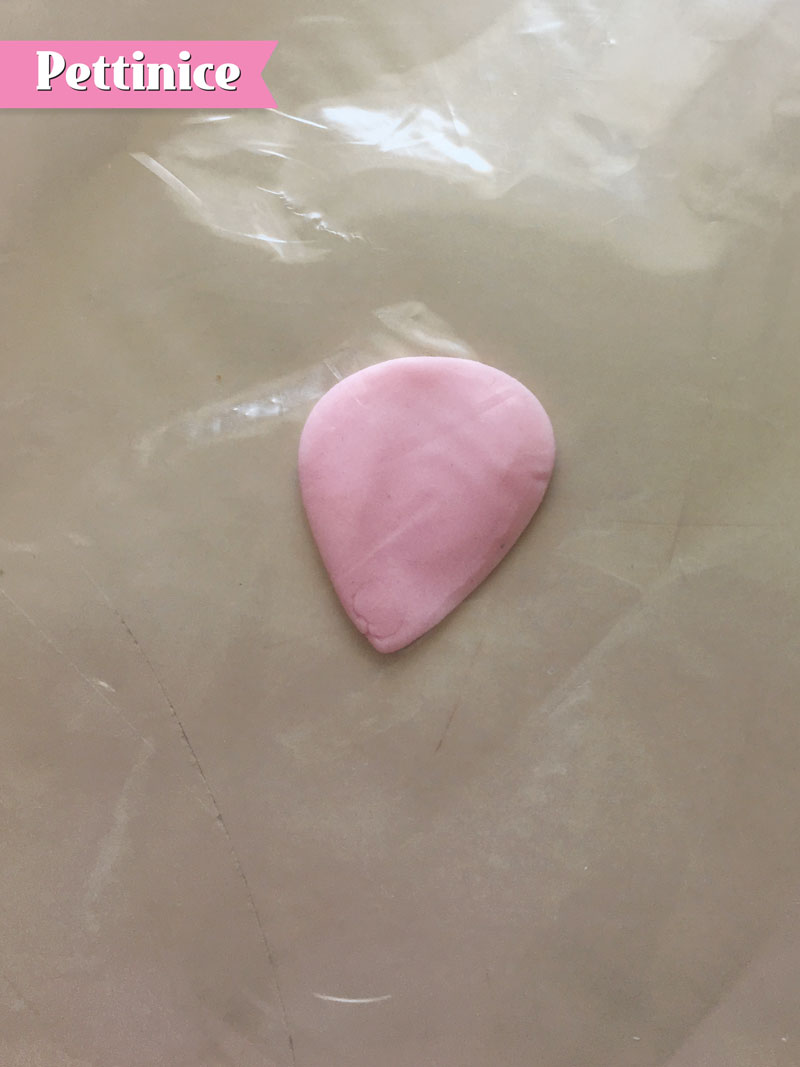
Again, place between your plastic sheet and slightly flatten.
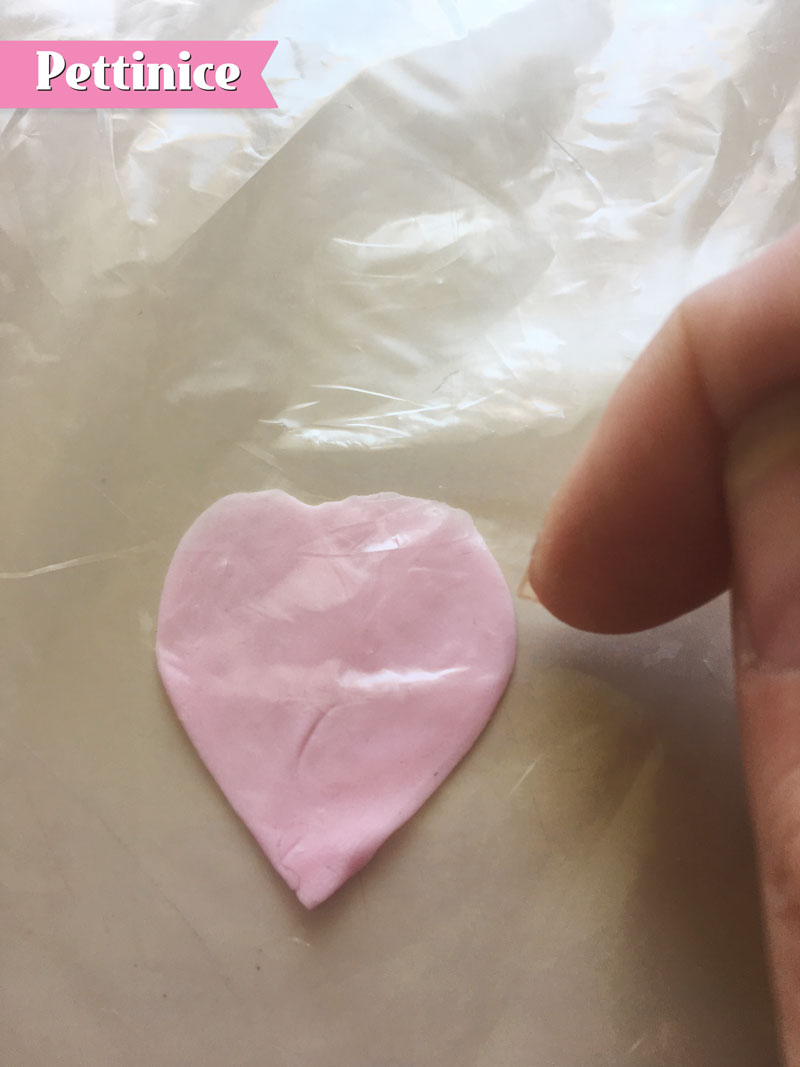
Use the side of your finger to press into a petal shape.
I love making free-form flowers with Pettinice. I often deconstruct a real flower from my garden so that I can duplicate it in sugar petal by petal.
Optional! If you want a quick way to curl the edges, fold your petal over a spoon as seen here.
If you are finding assembling a little awkward, you can hold the like this, brush the bottom half of the petal with sugar glue and lay the bud on top of it.
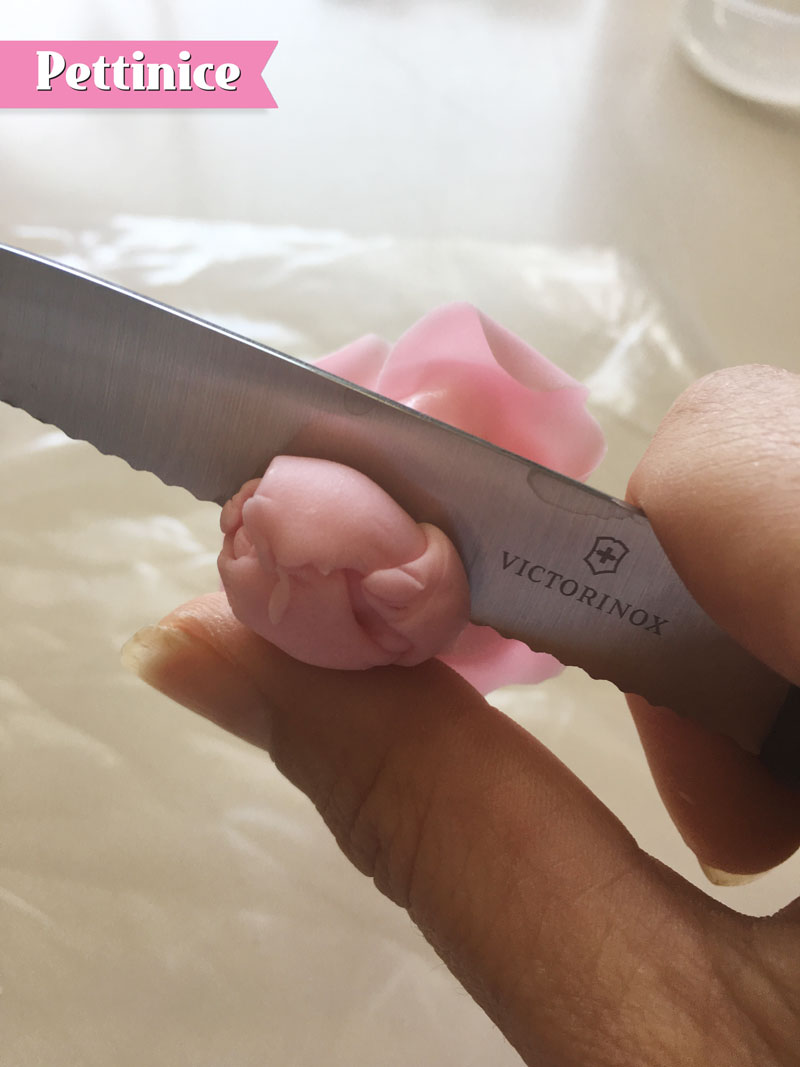
Finally, you will need to trim to flatten the bottom of the rose.
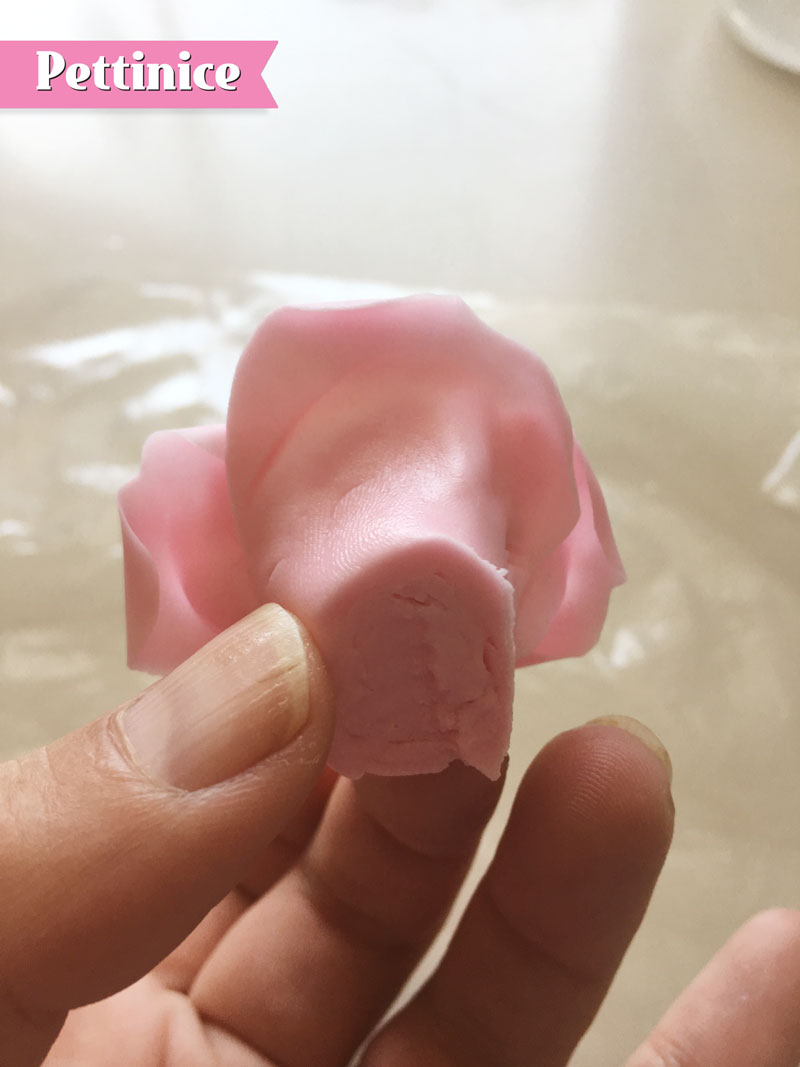
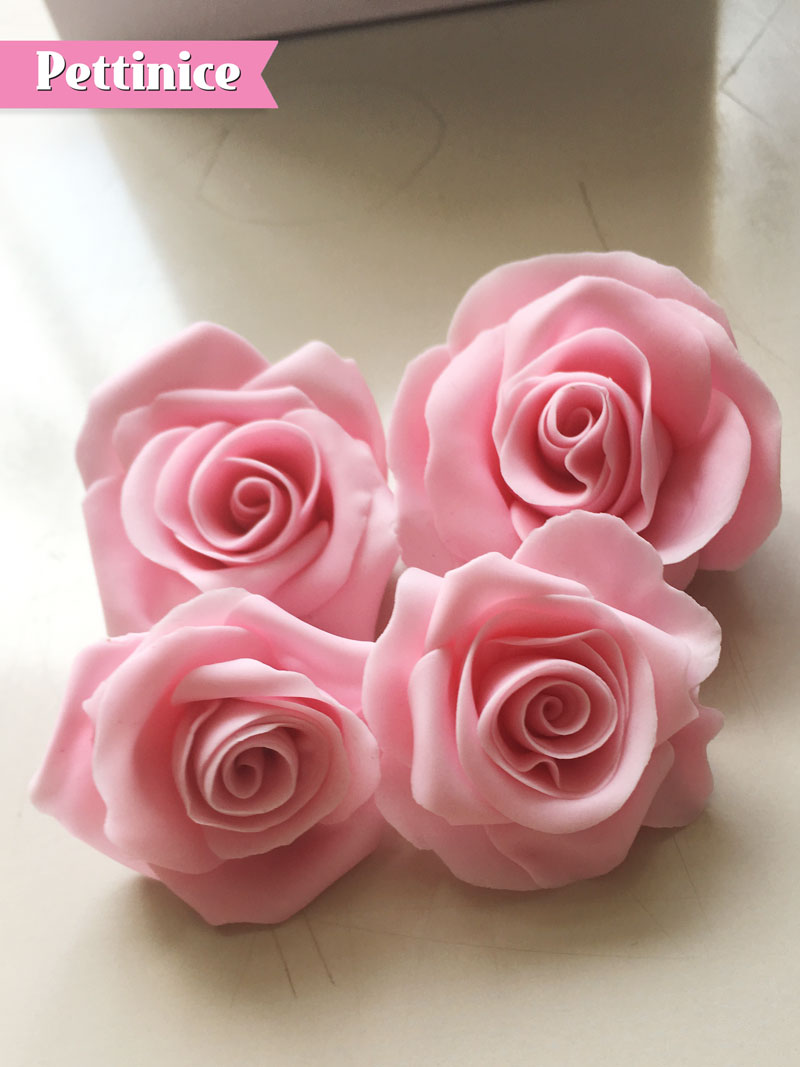
The trimmed flower.

Lisa Templeton is a Pettinice Ambassador and owns LM Cake Design in Timaru, New Zealand. She is known for her beautiful gumpaste floral work.
Freeform flowers are not just a passion and addiction for Lisa, but also a therapeutic pastime. She loves creating such beauty out from Pettinice and enjoys teaching others her art even more.
![]()