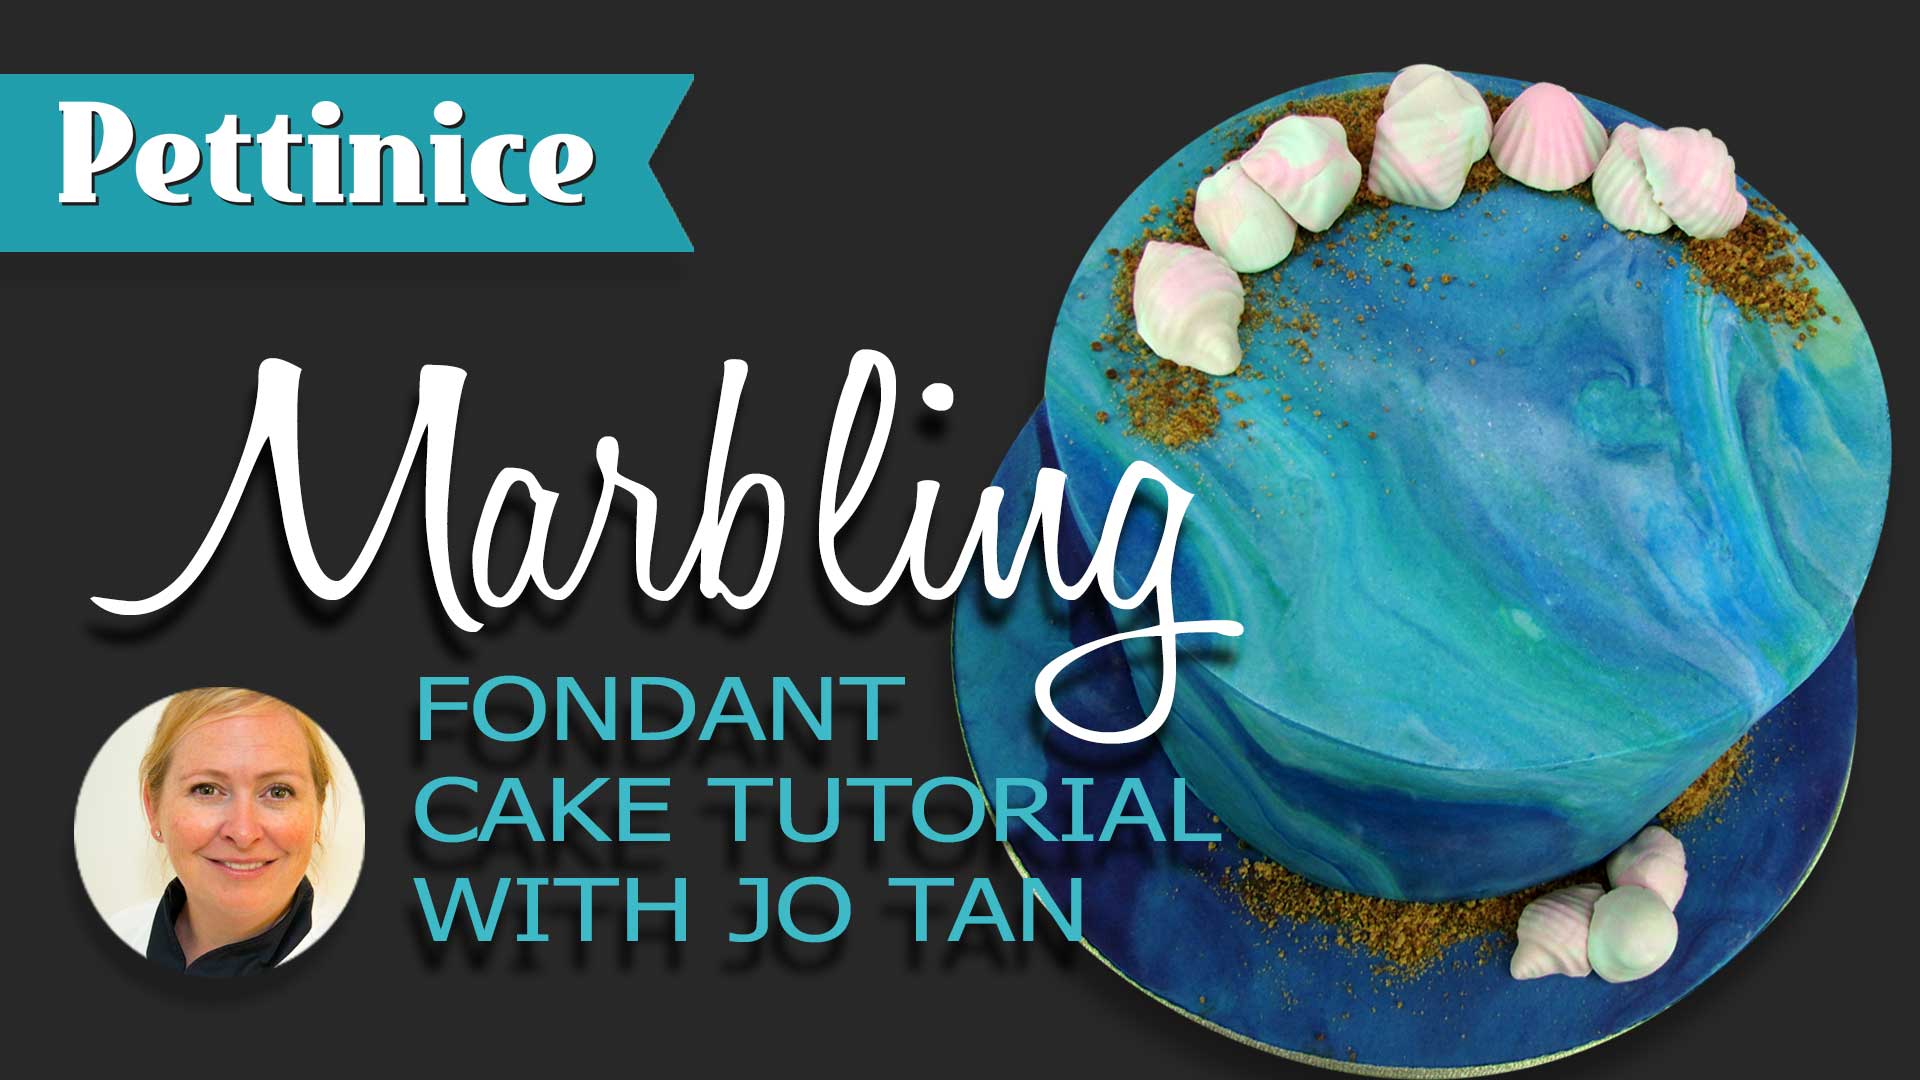
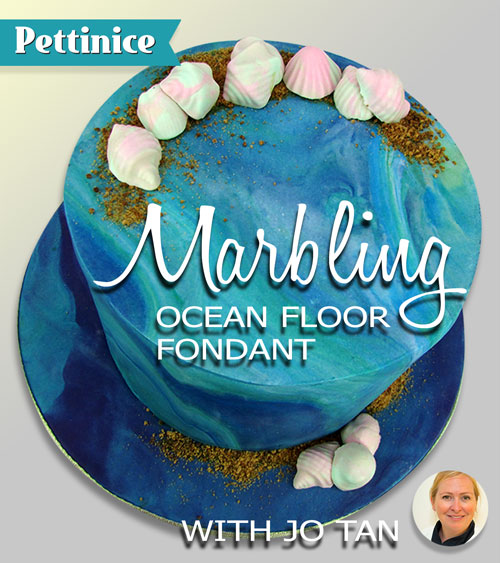
Creating ocean floor with marble effect
Full feature video tutorial >> https://goo.gl/UFksDS
High Speed >> https://goo.gl/NA3Qiw
Pin it >> https://goo.gl/w9bkna
Edibles needed
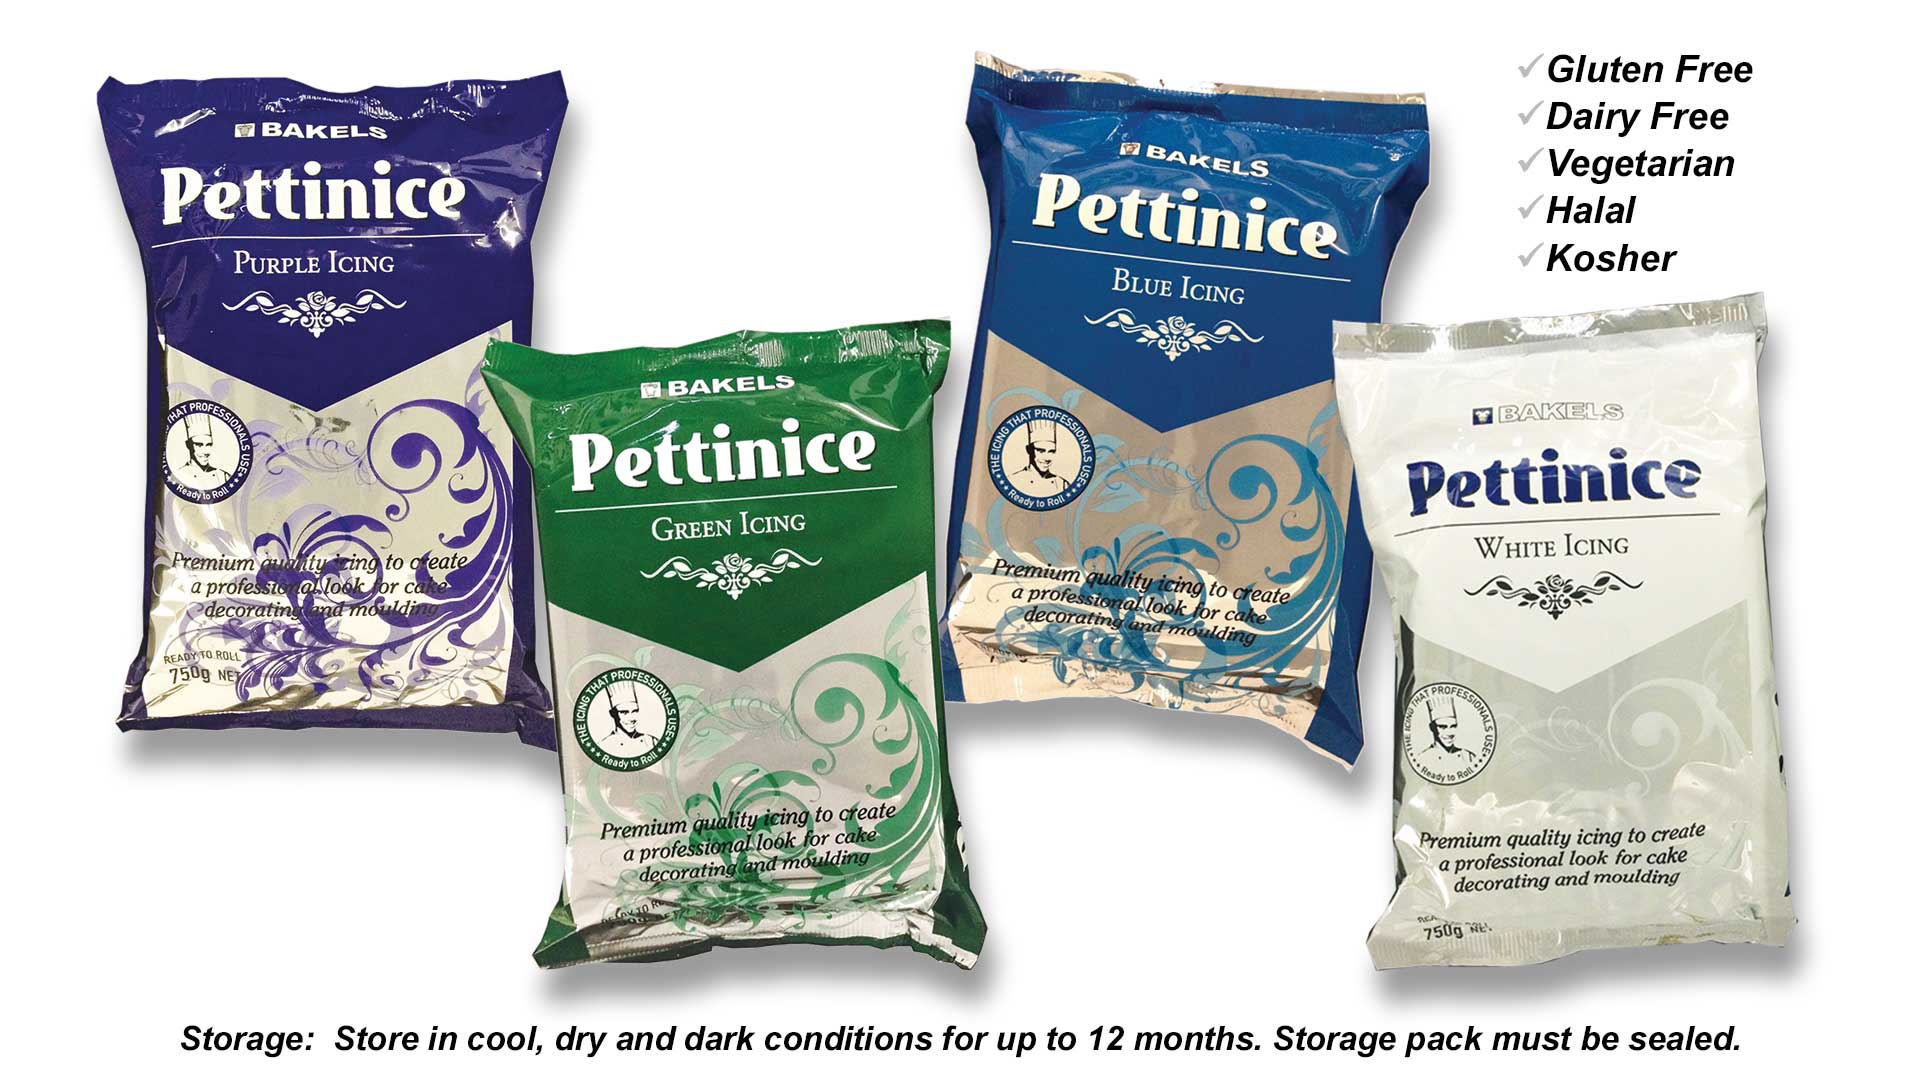
- 1 packet each of Purple, Green, Blue and White Pettinice
- Sugar glue (50/50 jam and water mix)
- Sprink canola oil spray
- Cornflour for dusting
- Brown sugar
Tools needed
- Turntable helpful
- Smoothing tools
- Knife
- Needle for bubbles
- Wooden skewer
- Chocolate shell mold
- Rolling pin Small
- Small cake board
- Large cake board (for flipping)

Pettinice is gluten free, dairy free, vegetarian, halal, and kosher.
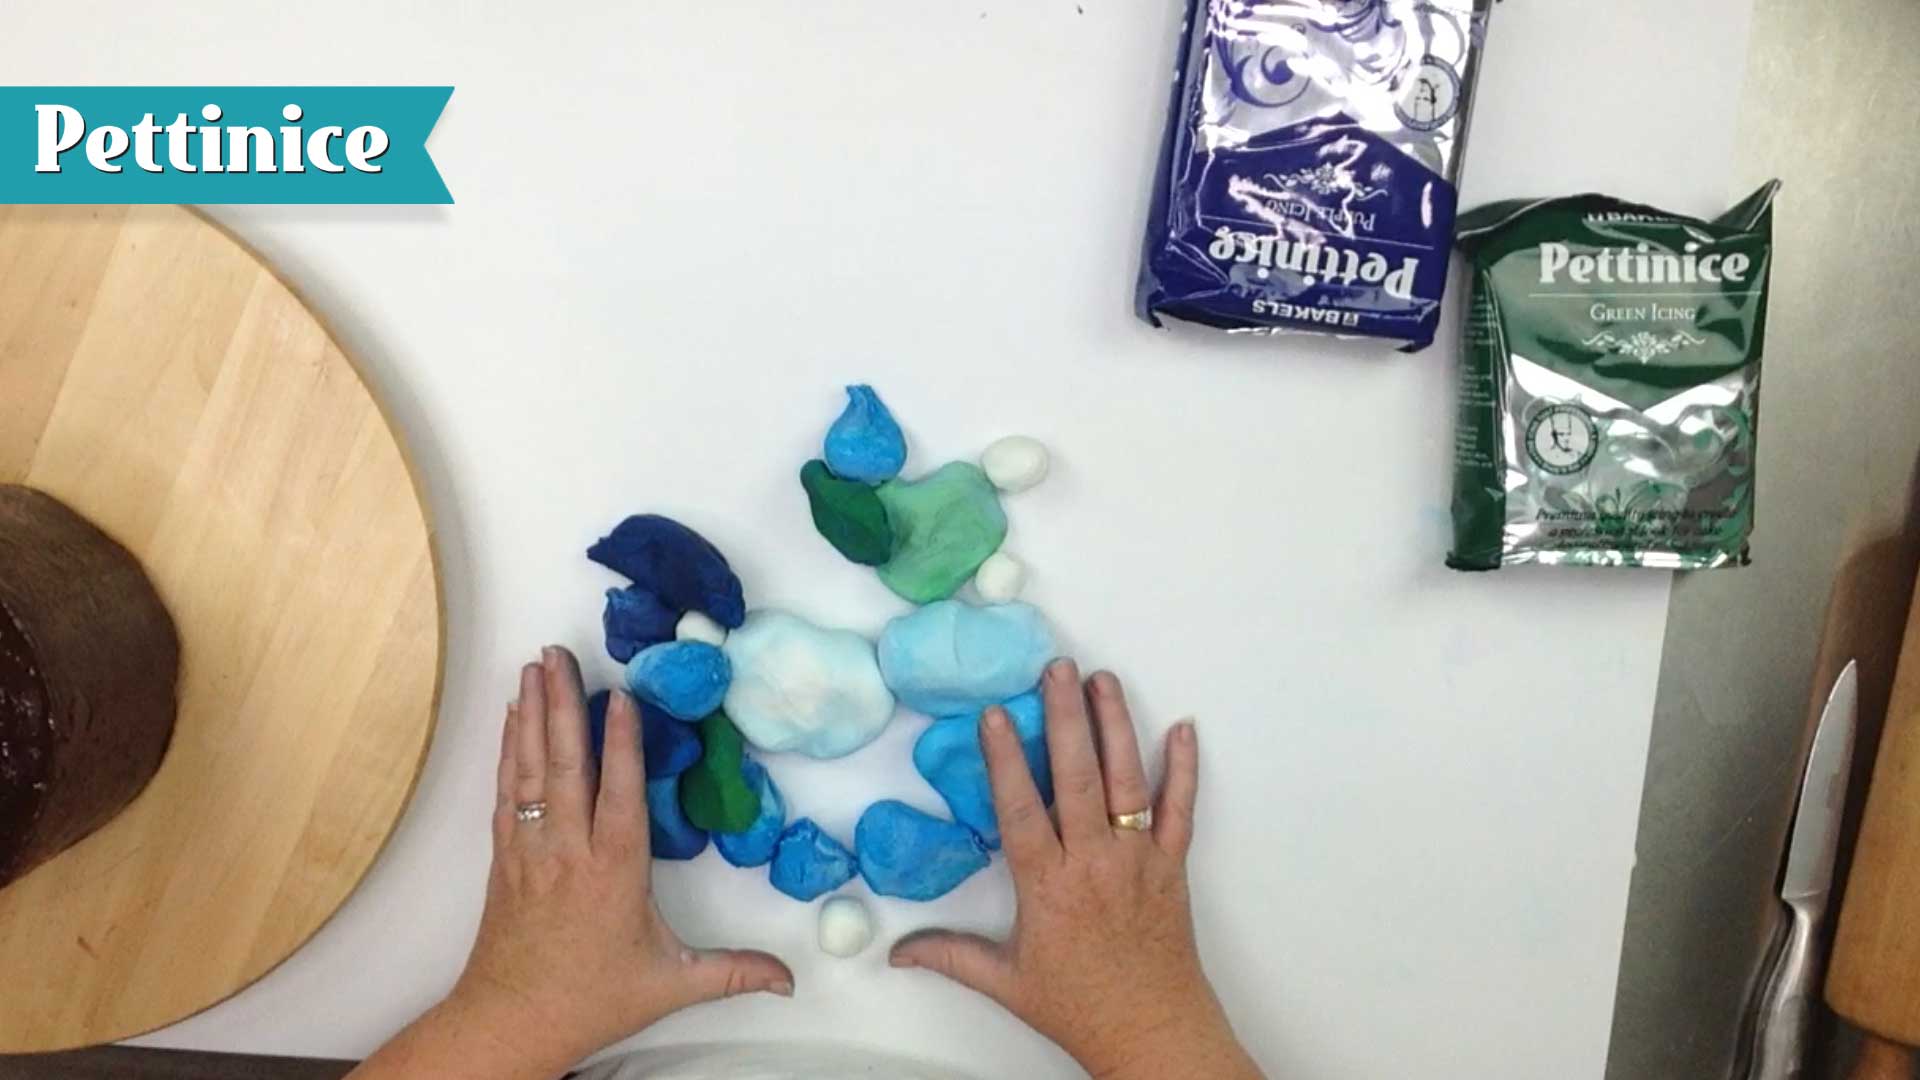 Tear small amounts of each of the colours - mixing a few to get lighter shades.
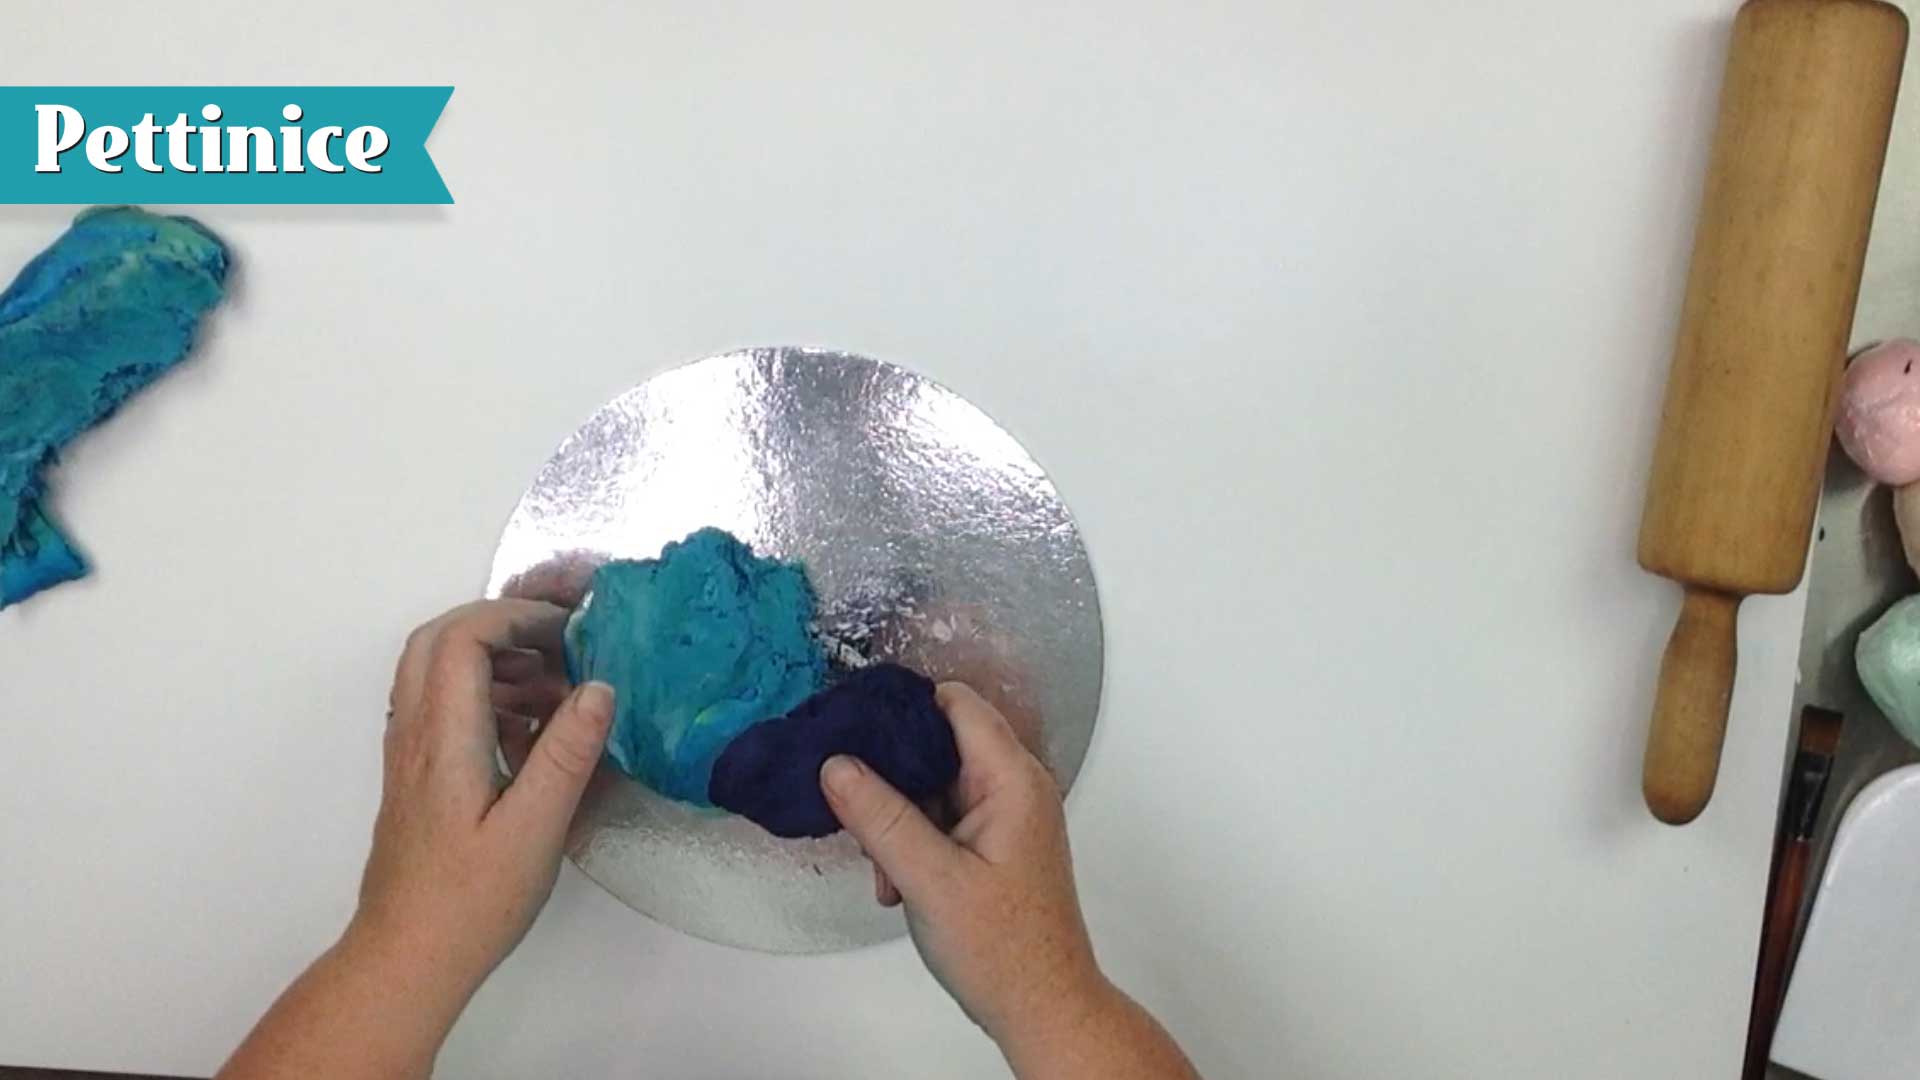
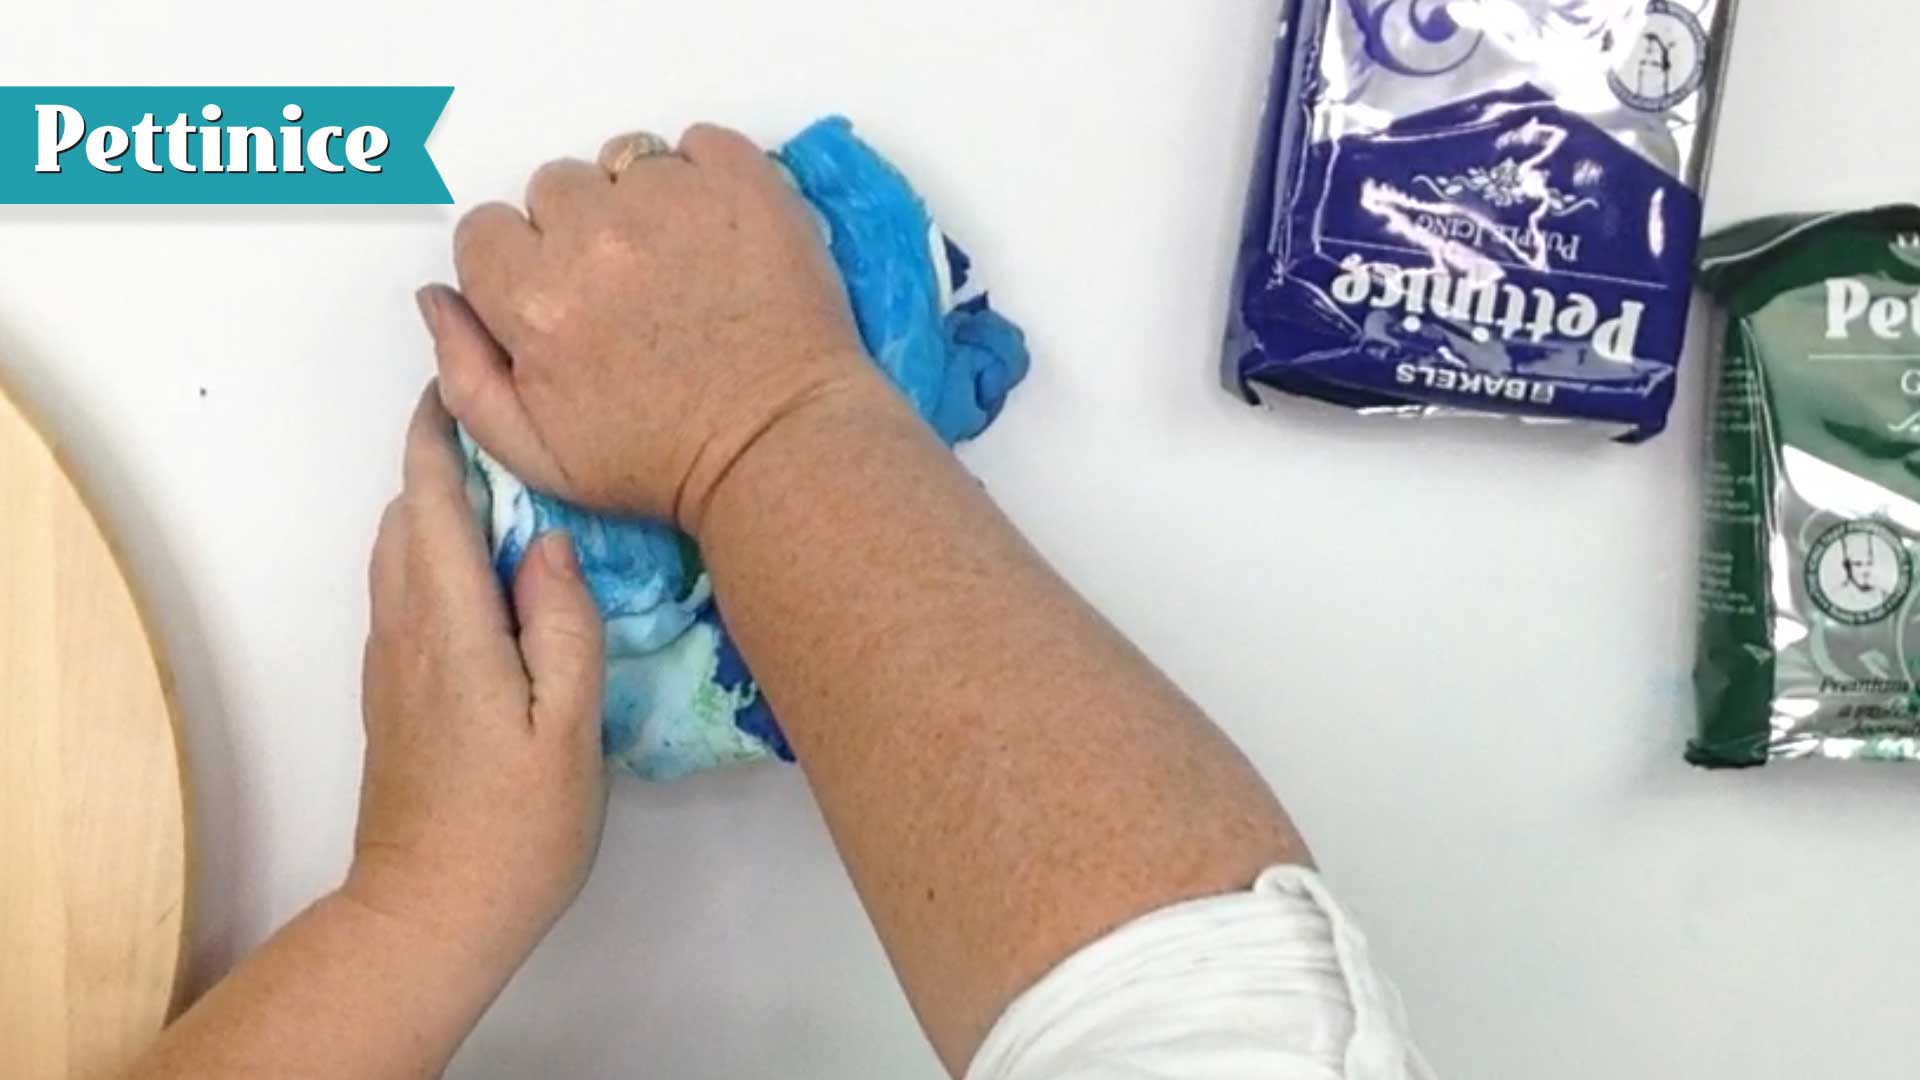 Knead all the colours together.
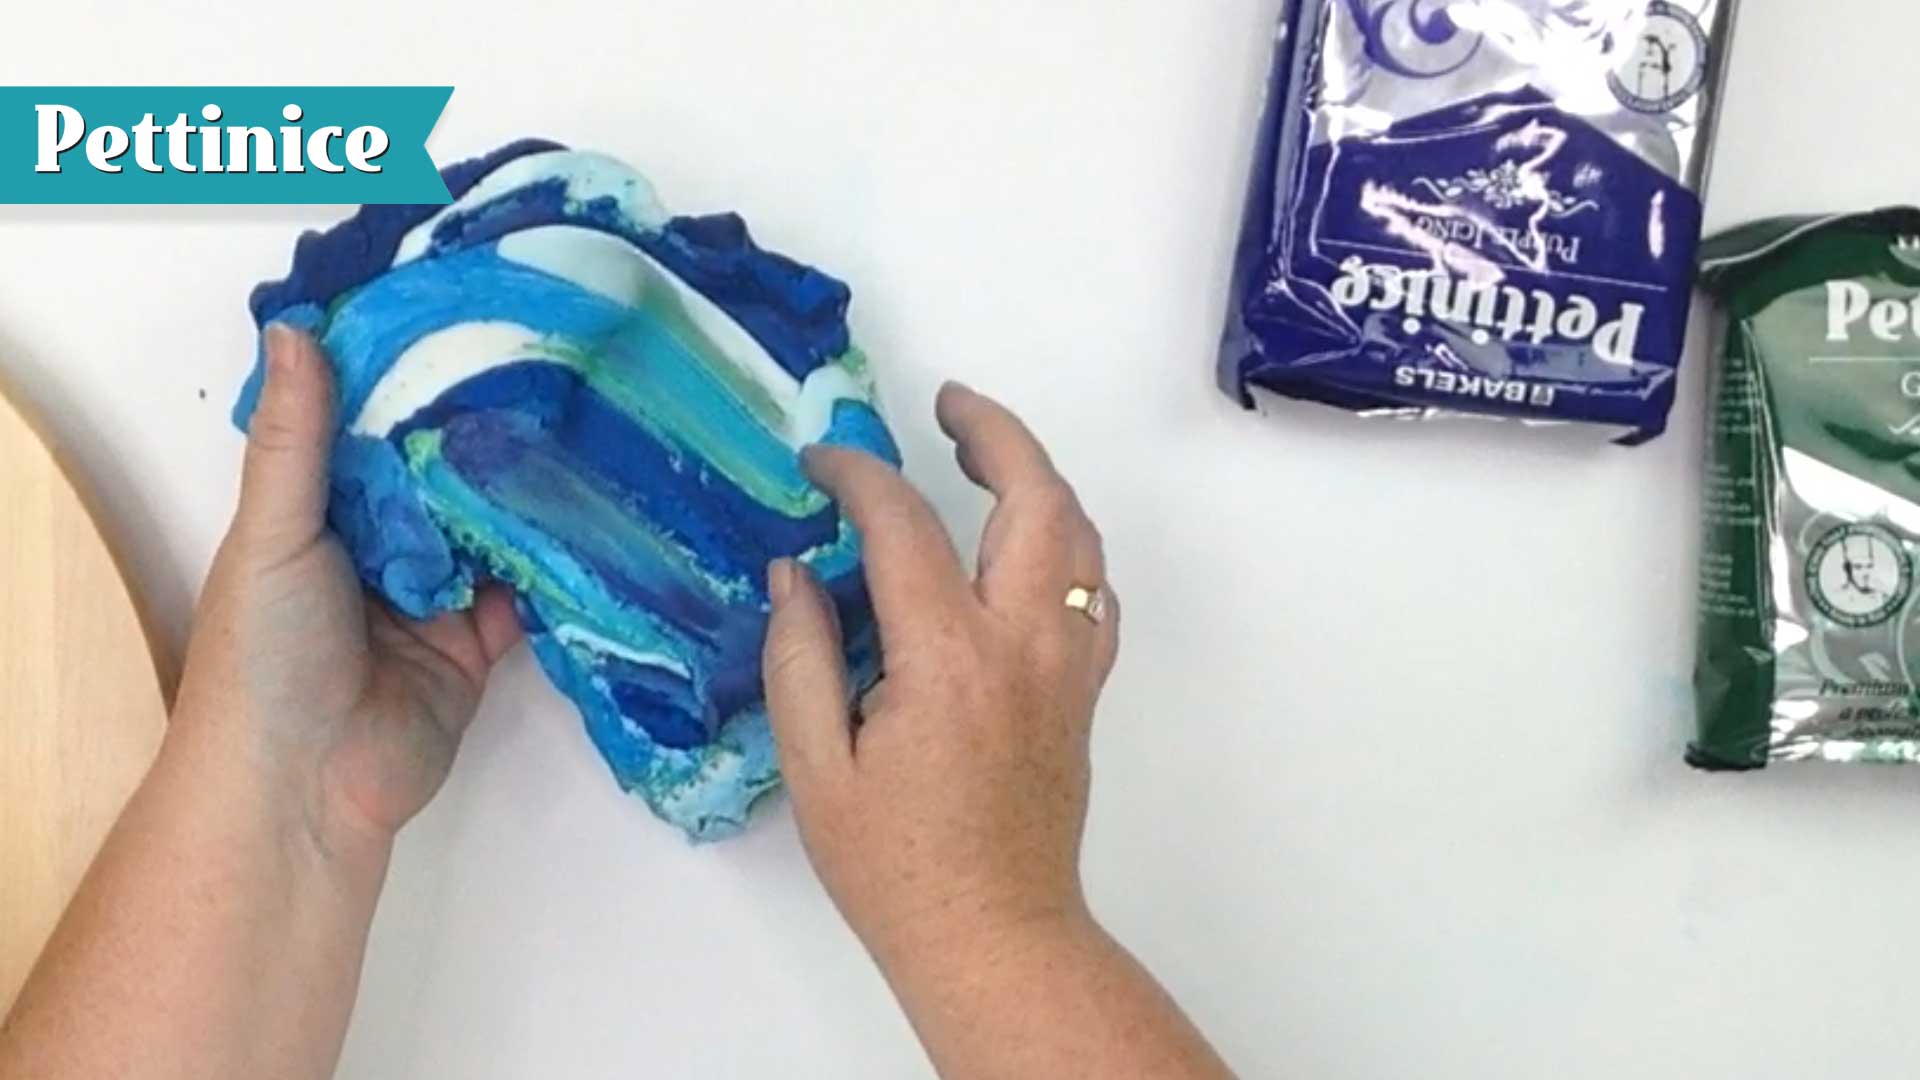 Stop when you are happy with the results.
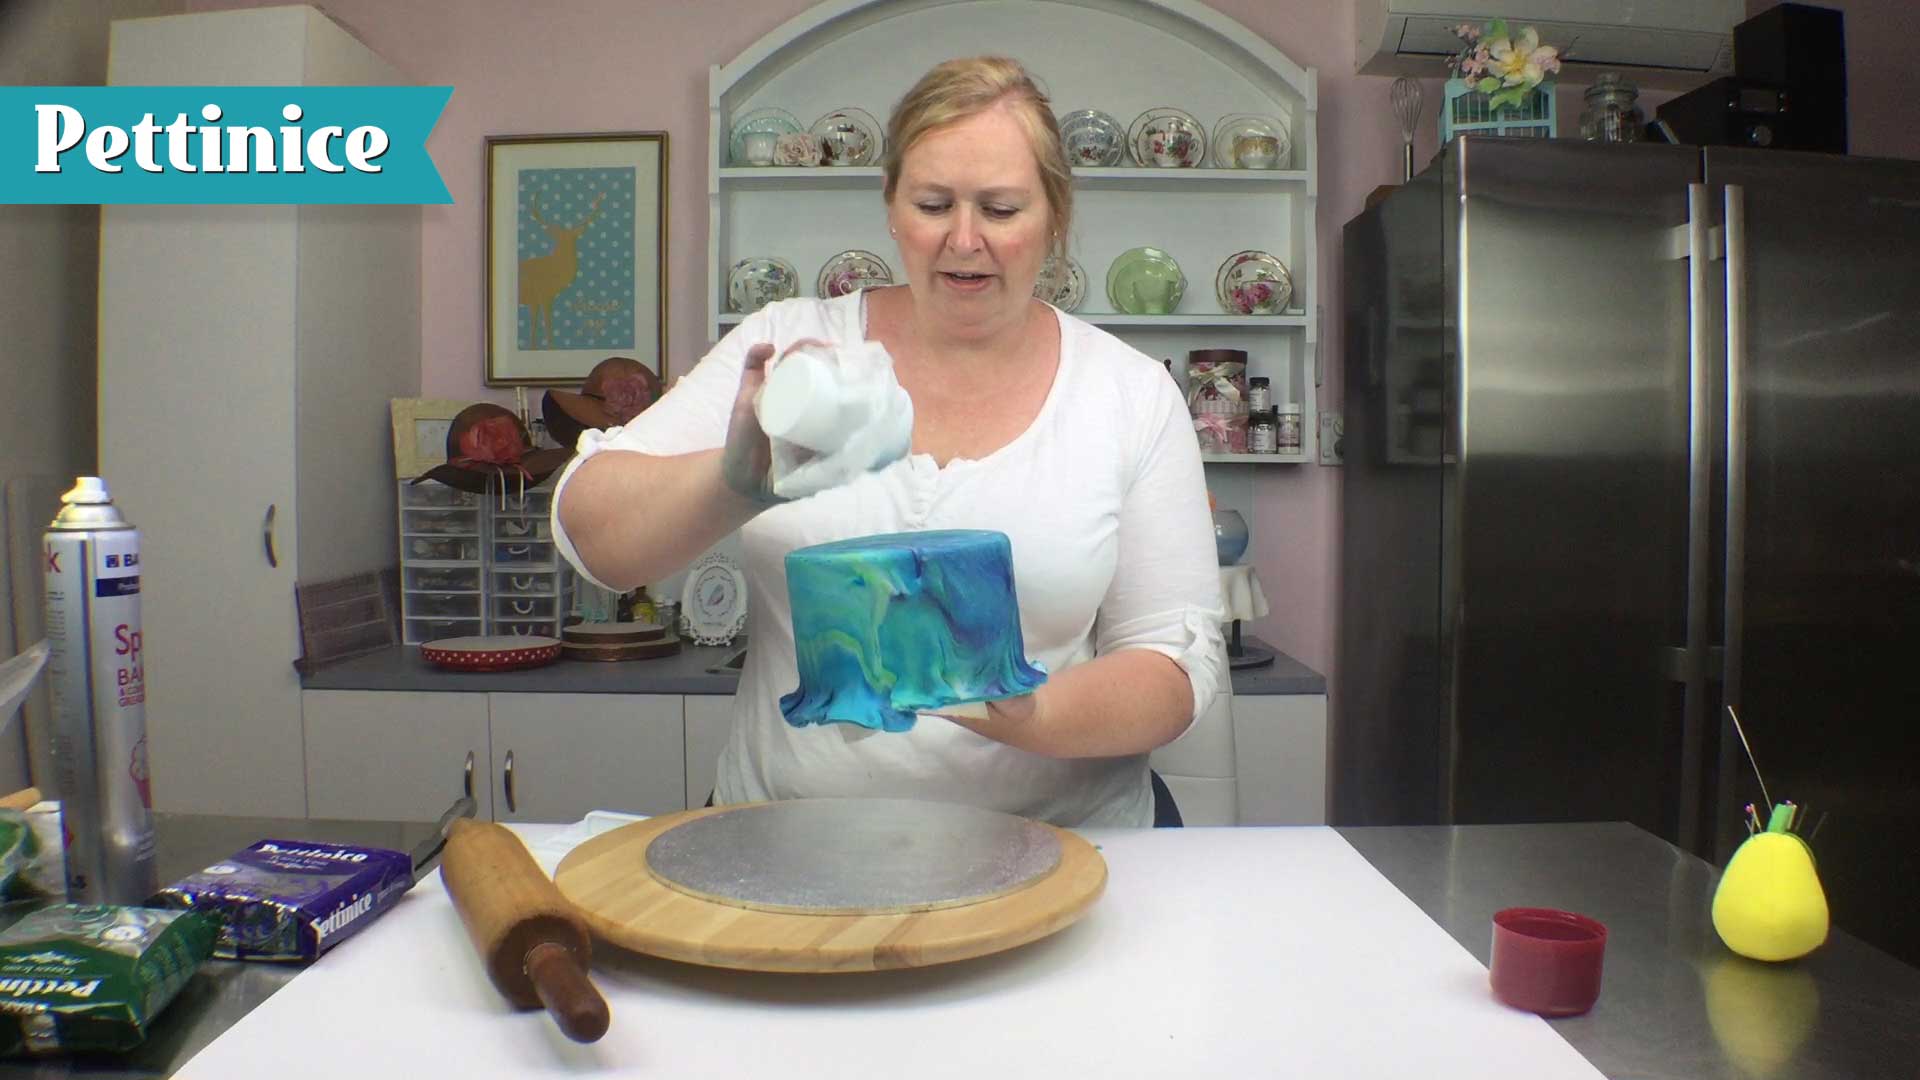
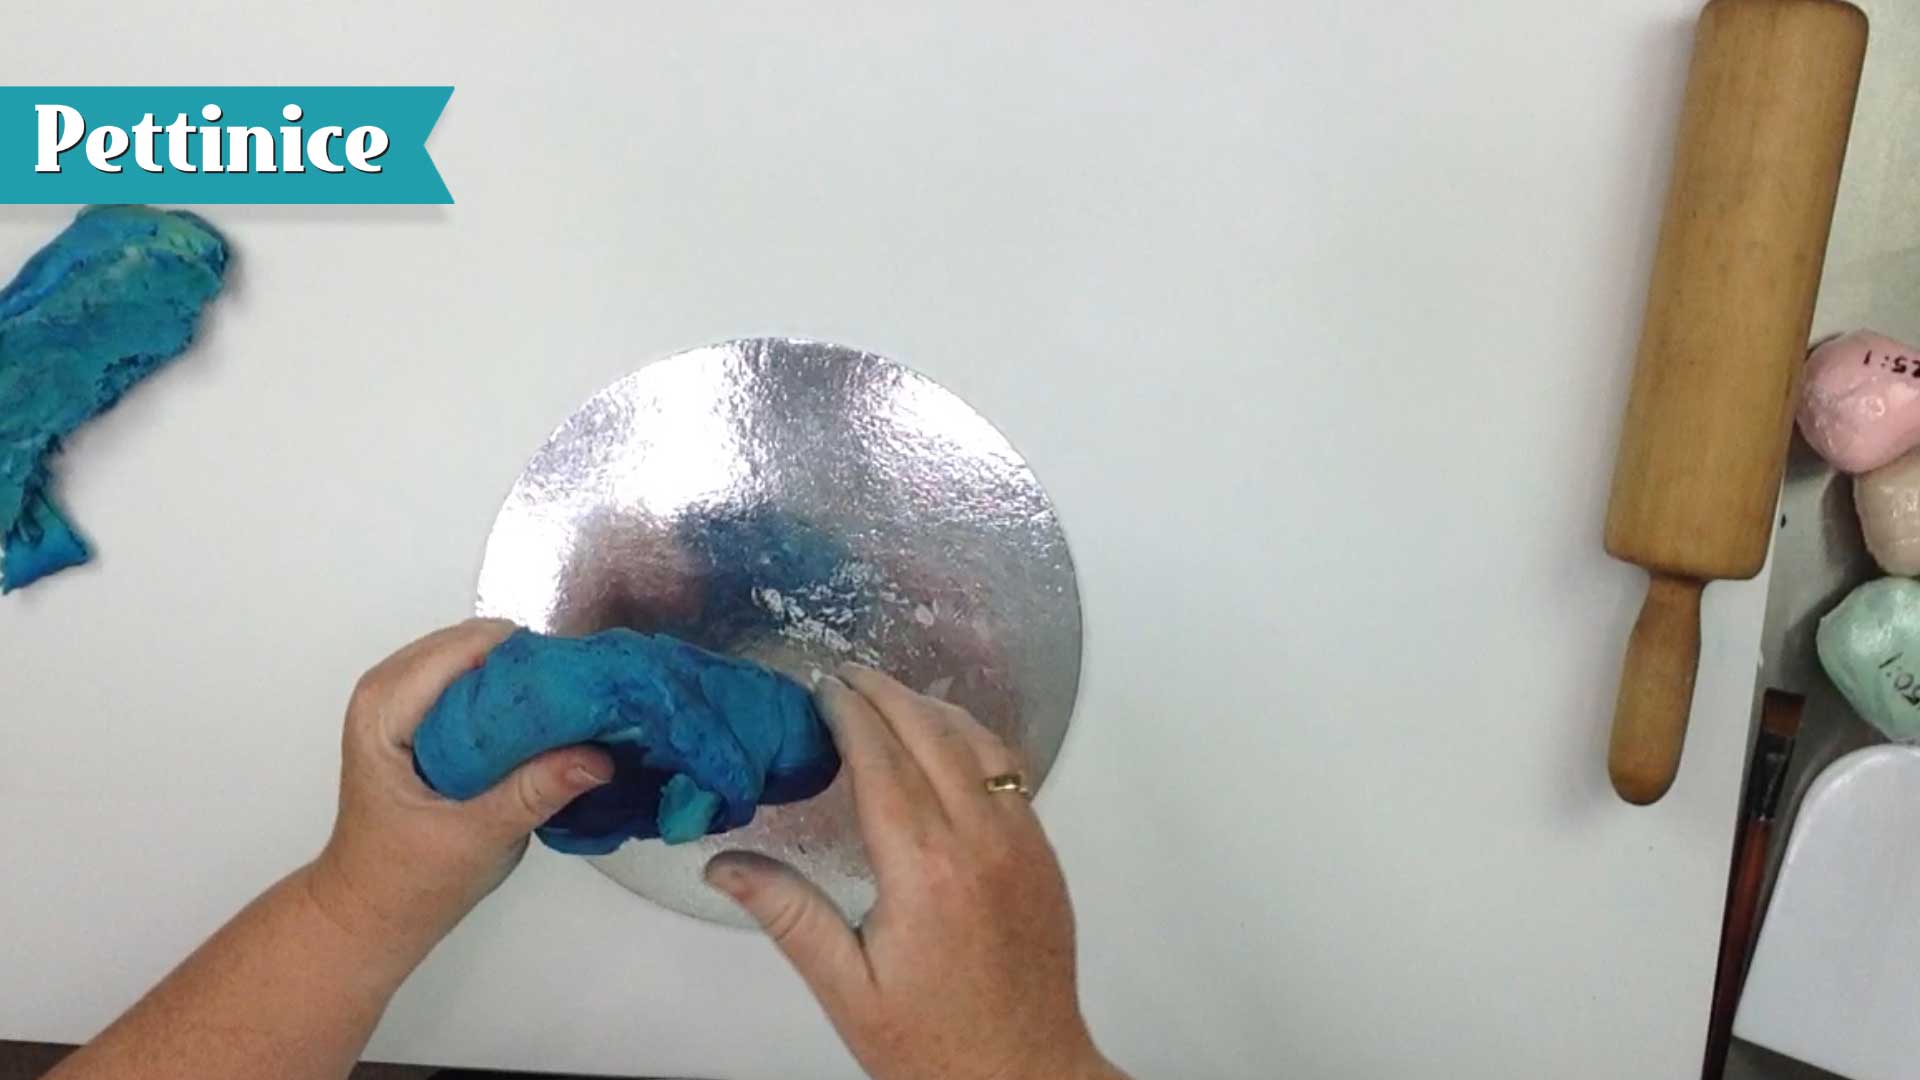
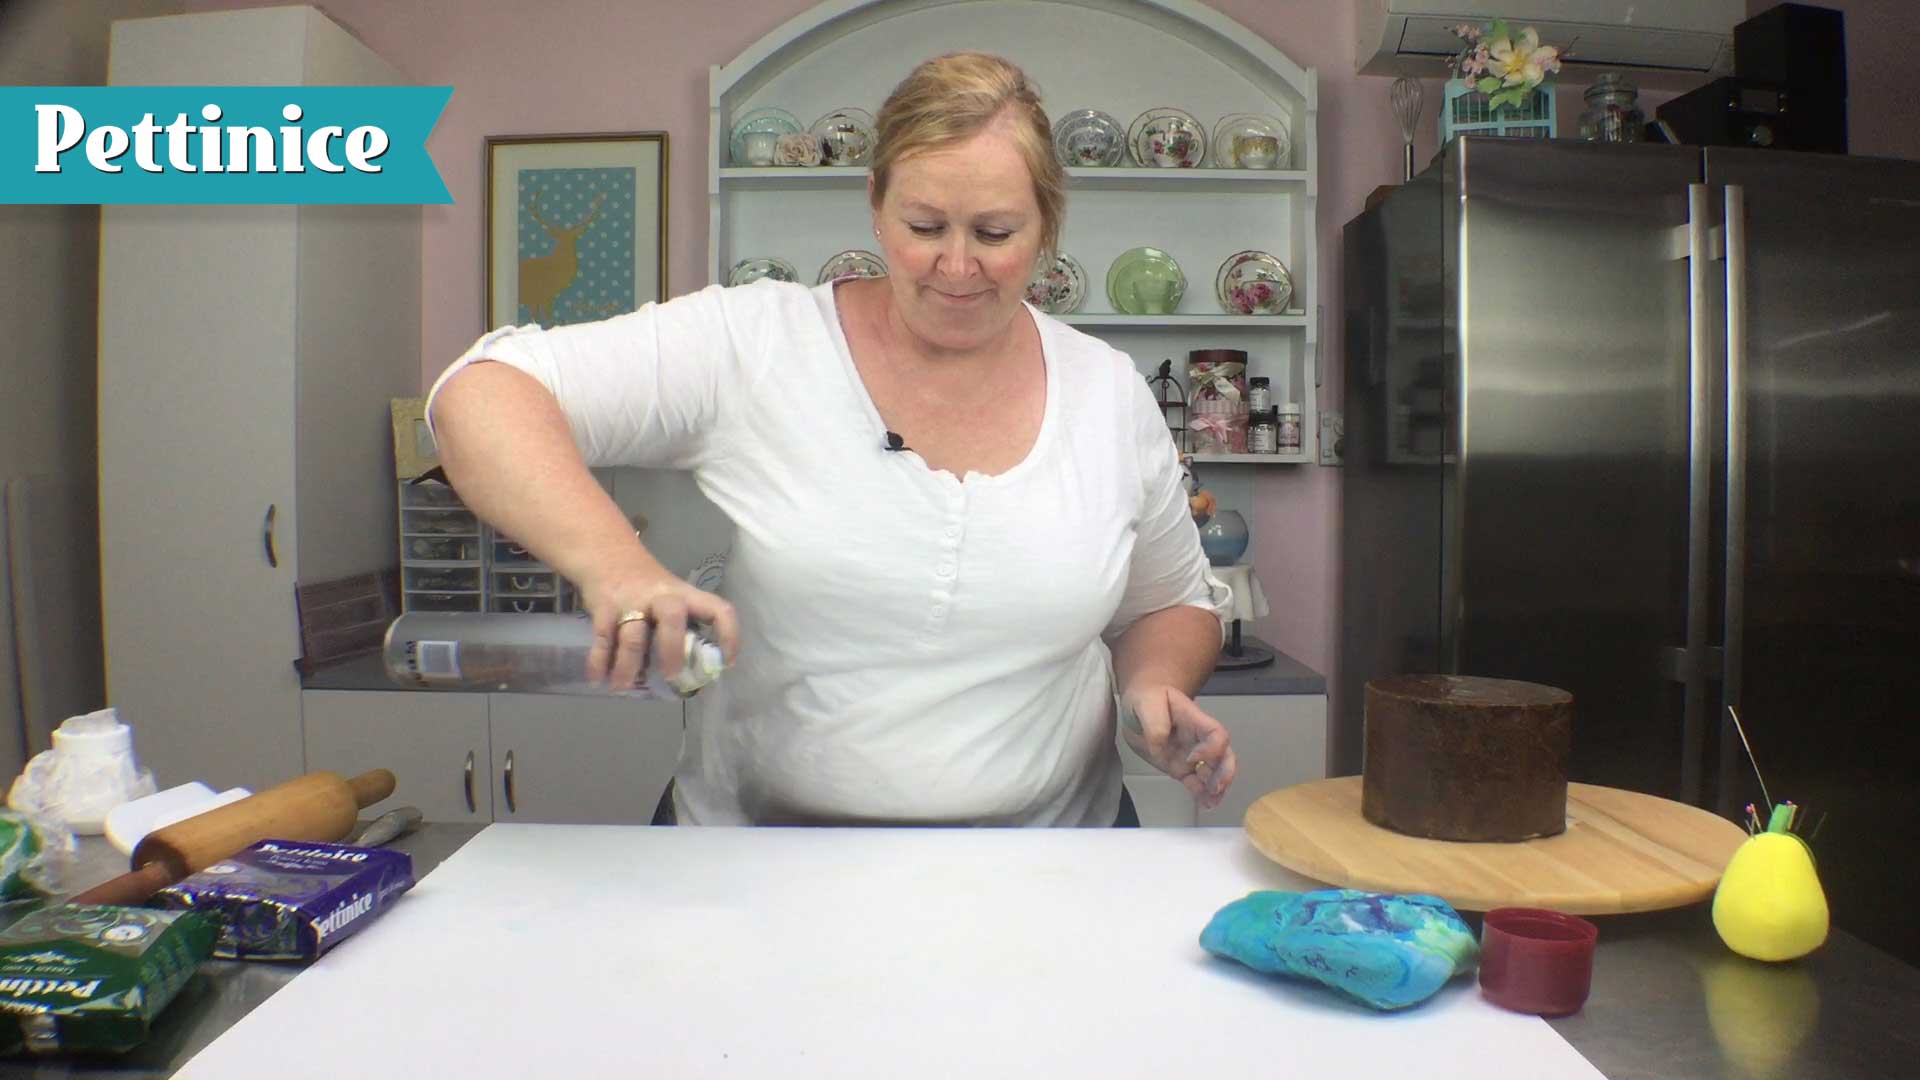 Prepare your surface with Sprink (canola oil)
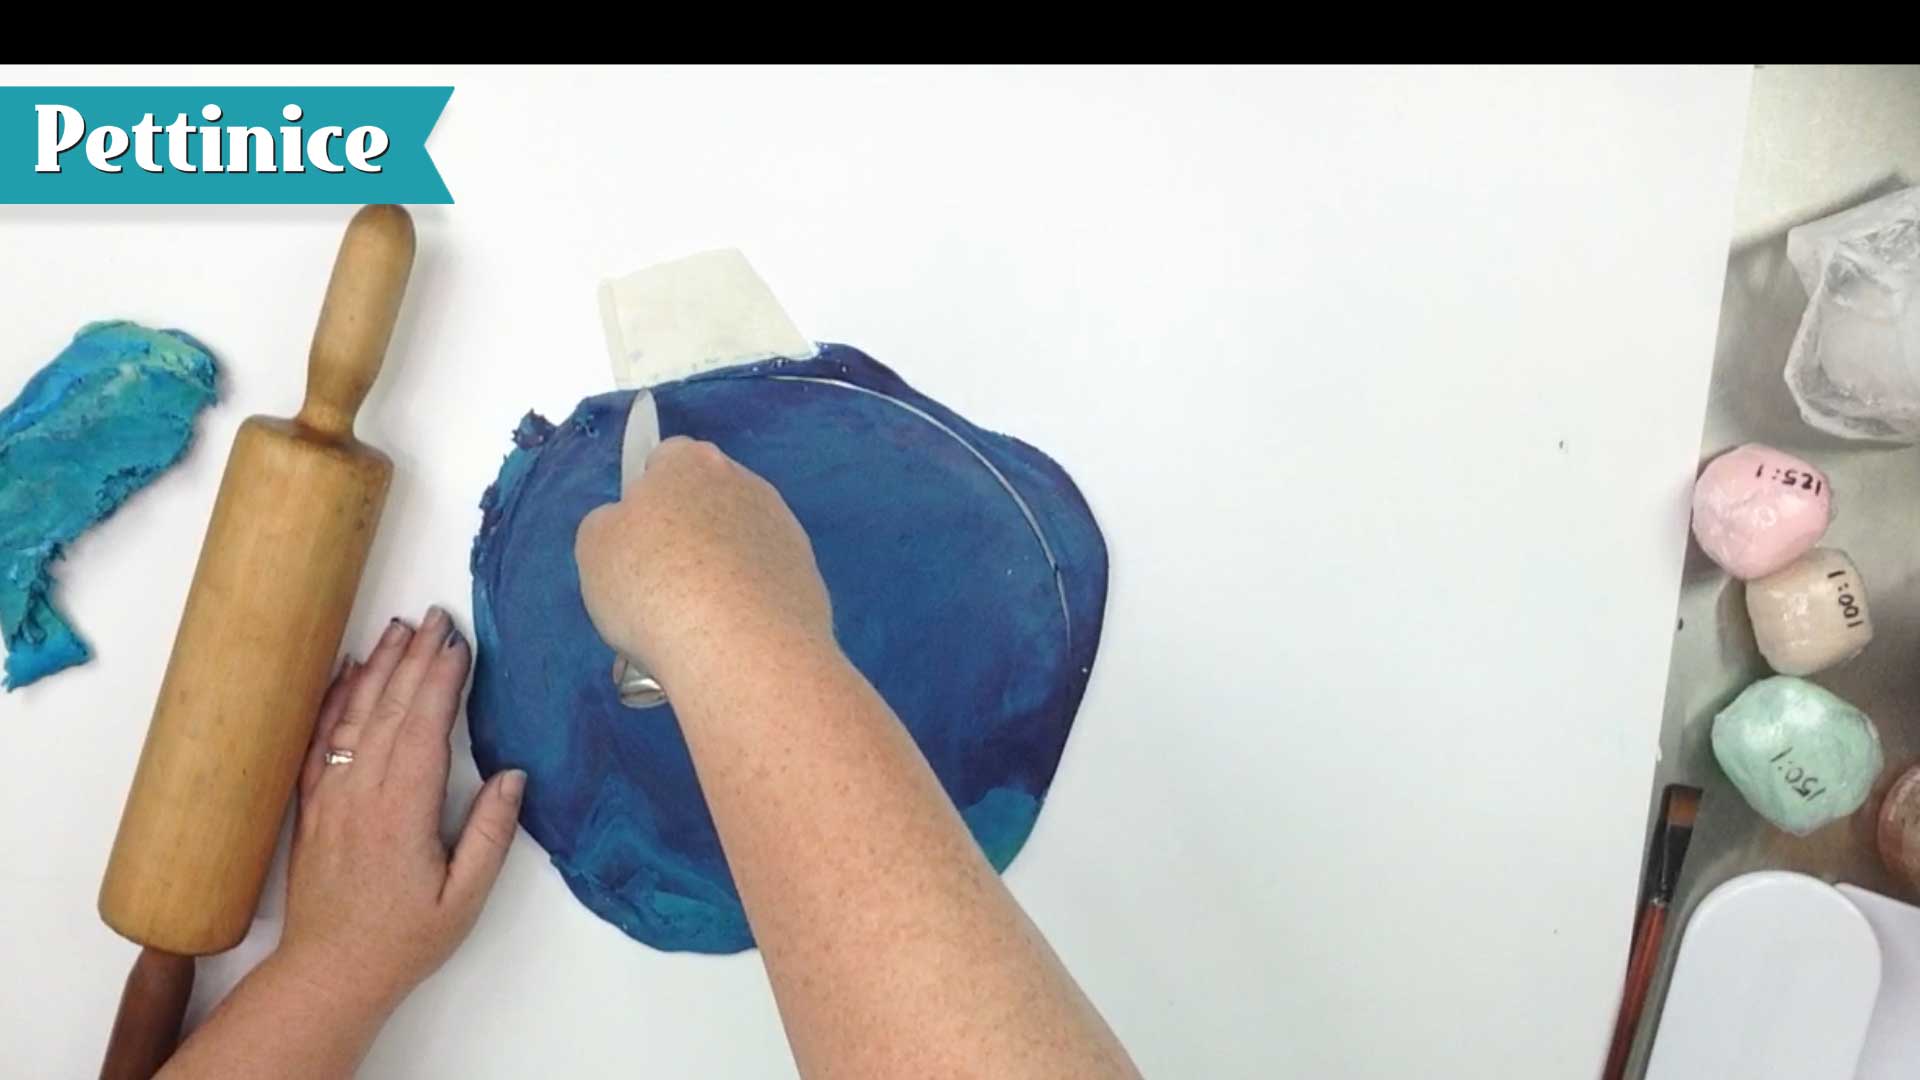
Roll out your Pettinice. The benefit of using Sprink is being able to decide which marbled side you want to use.
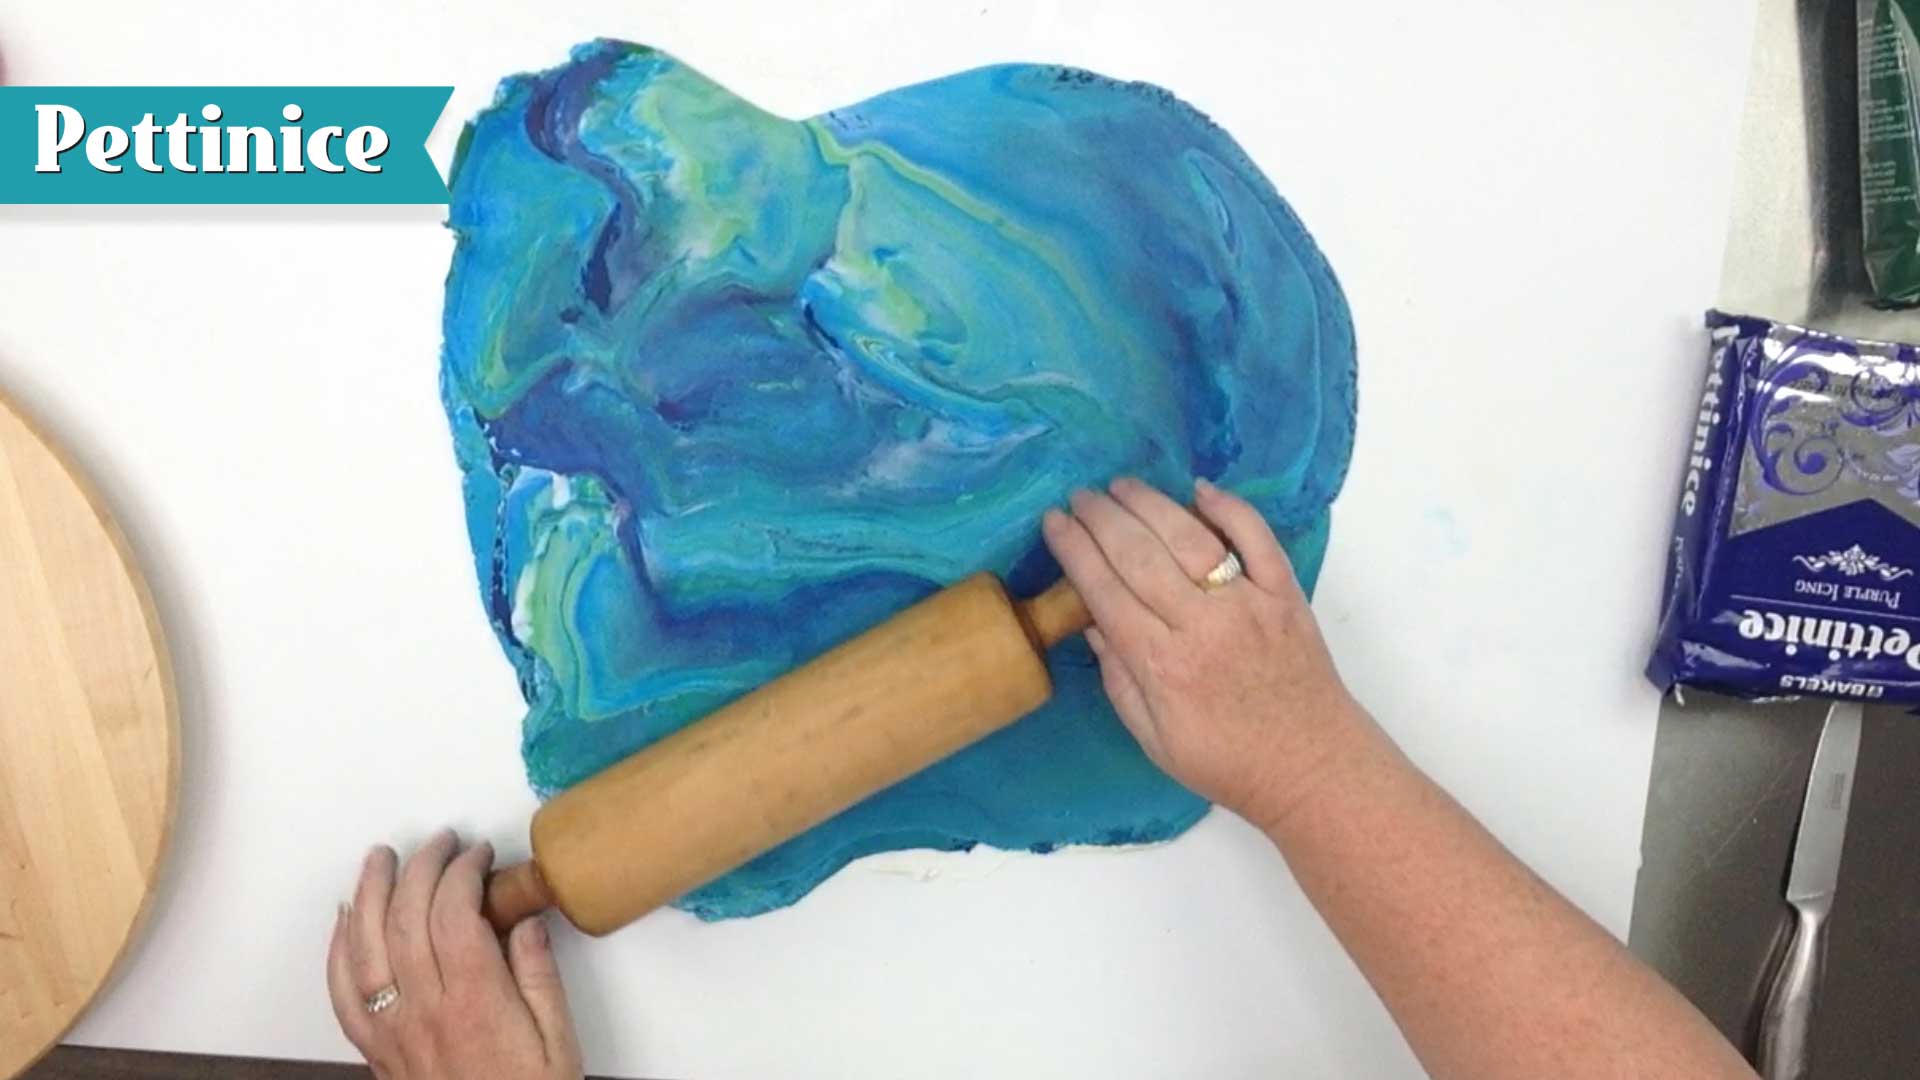
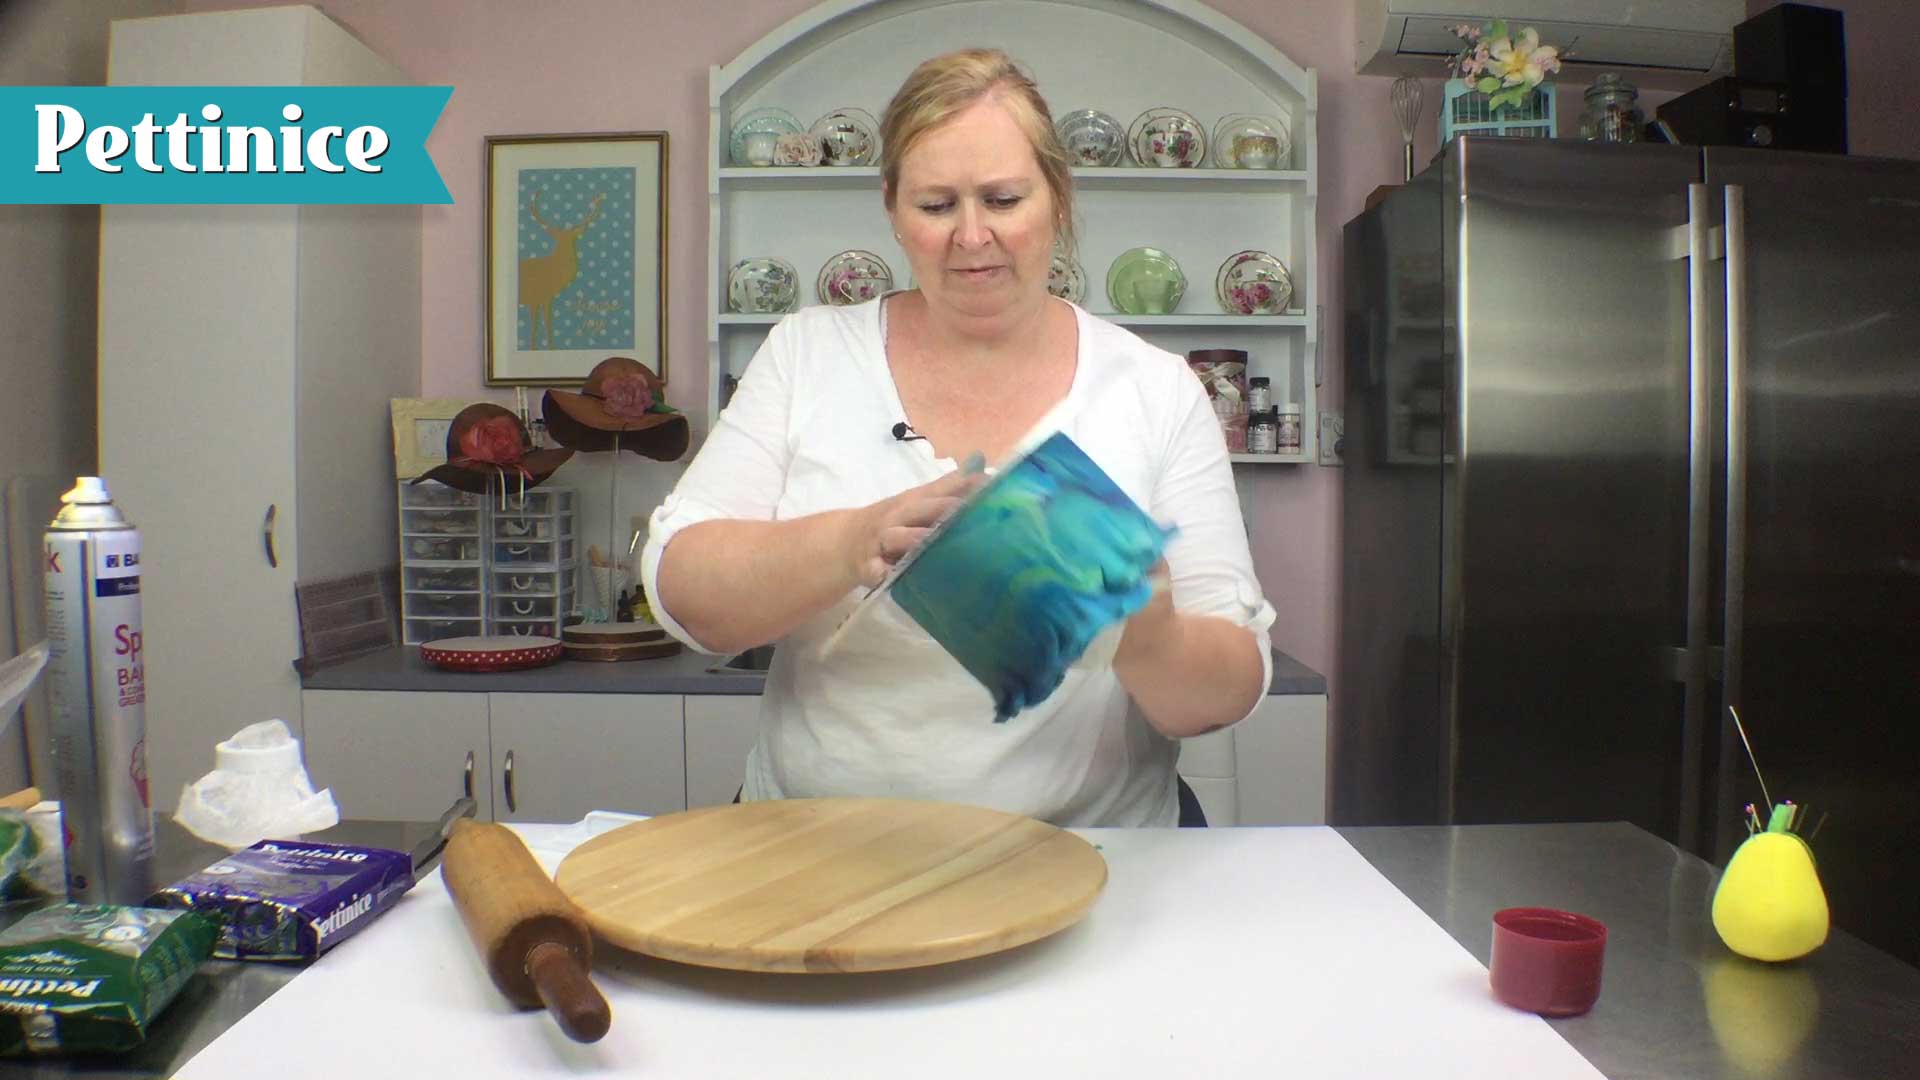
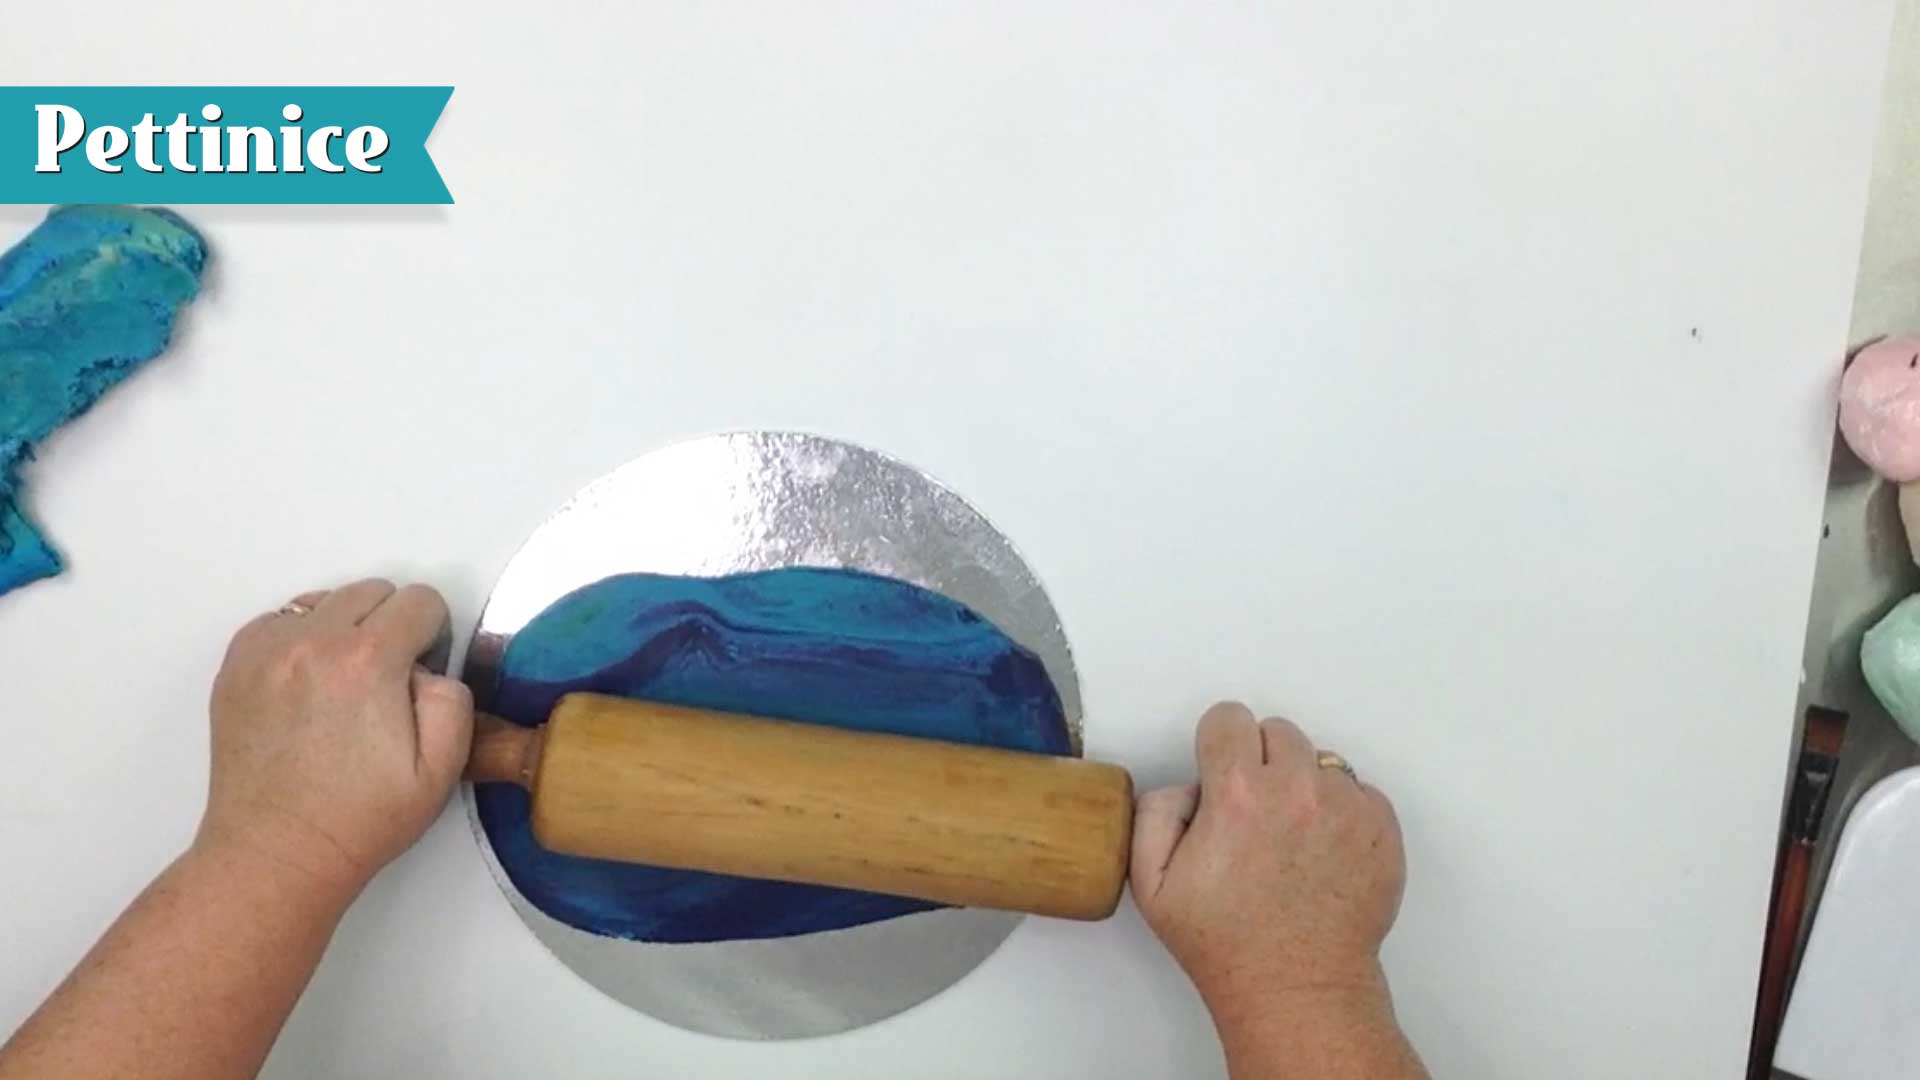
 Use your rolling pin to secure your fondant. Sprink will ensure it doesn't stick together.
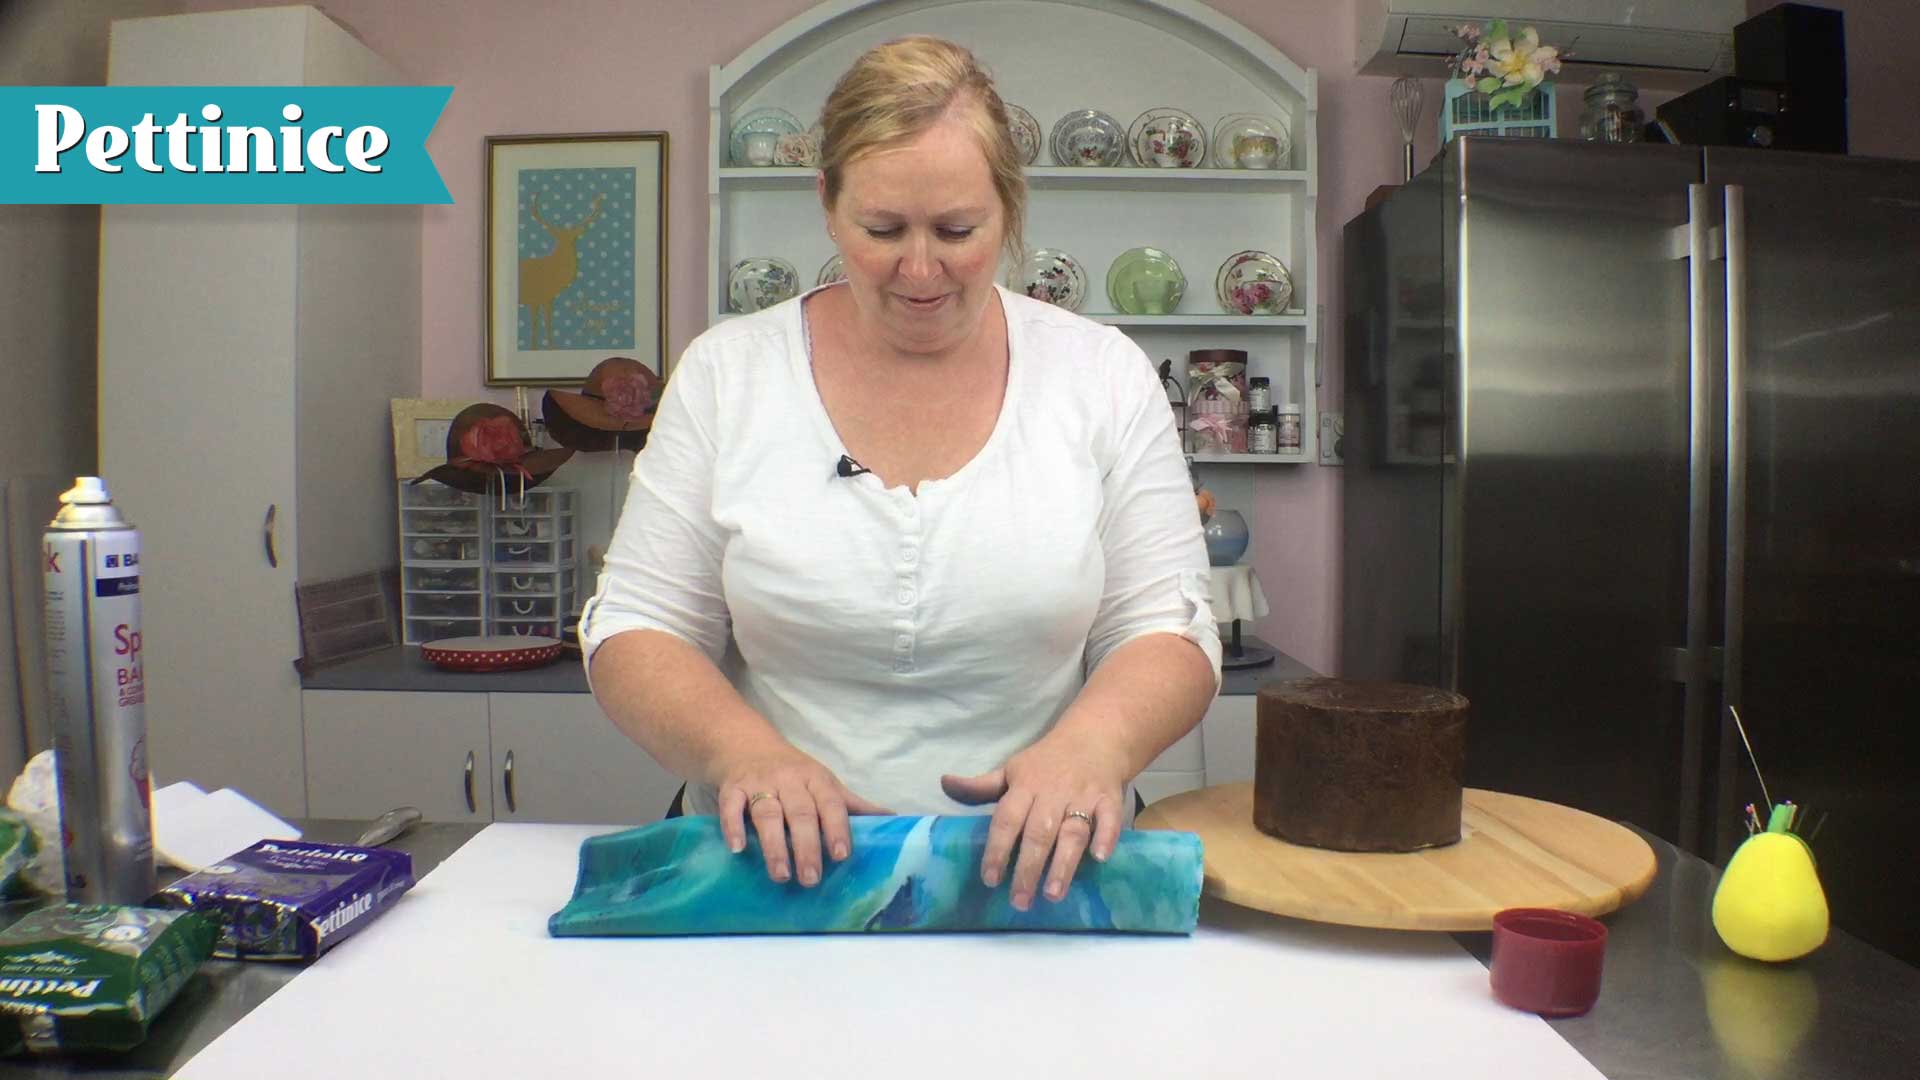
 Roll out your Pettinice over your cake.
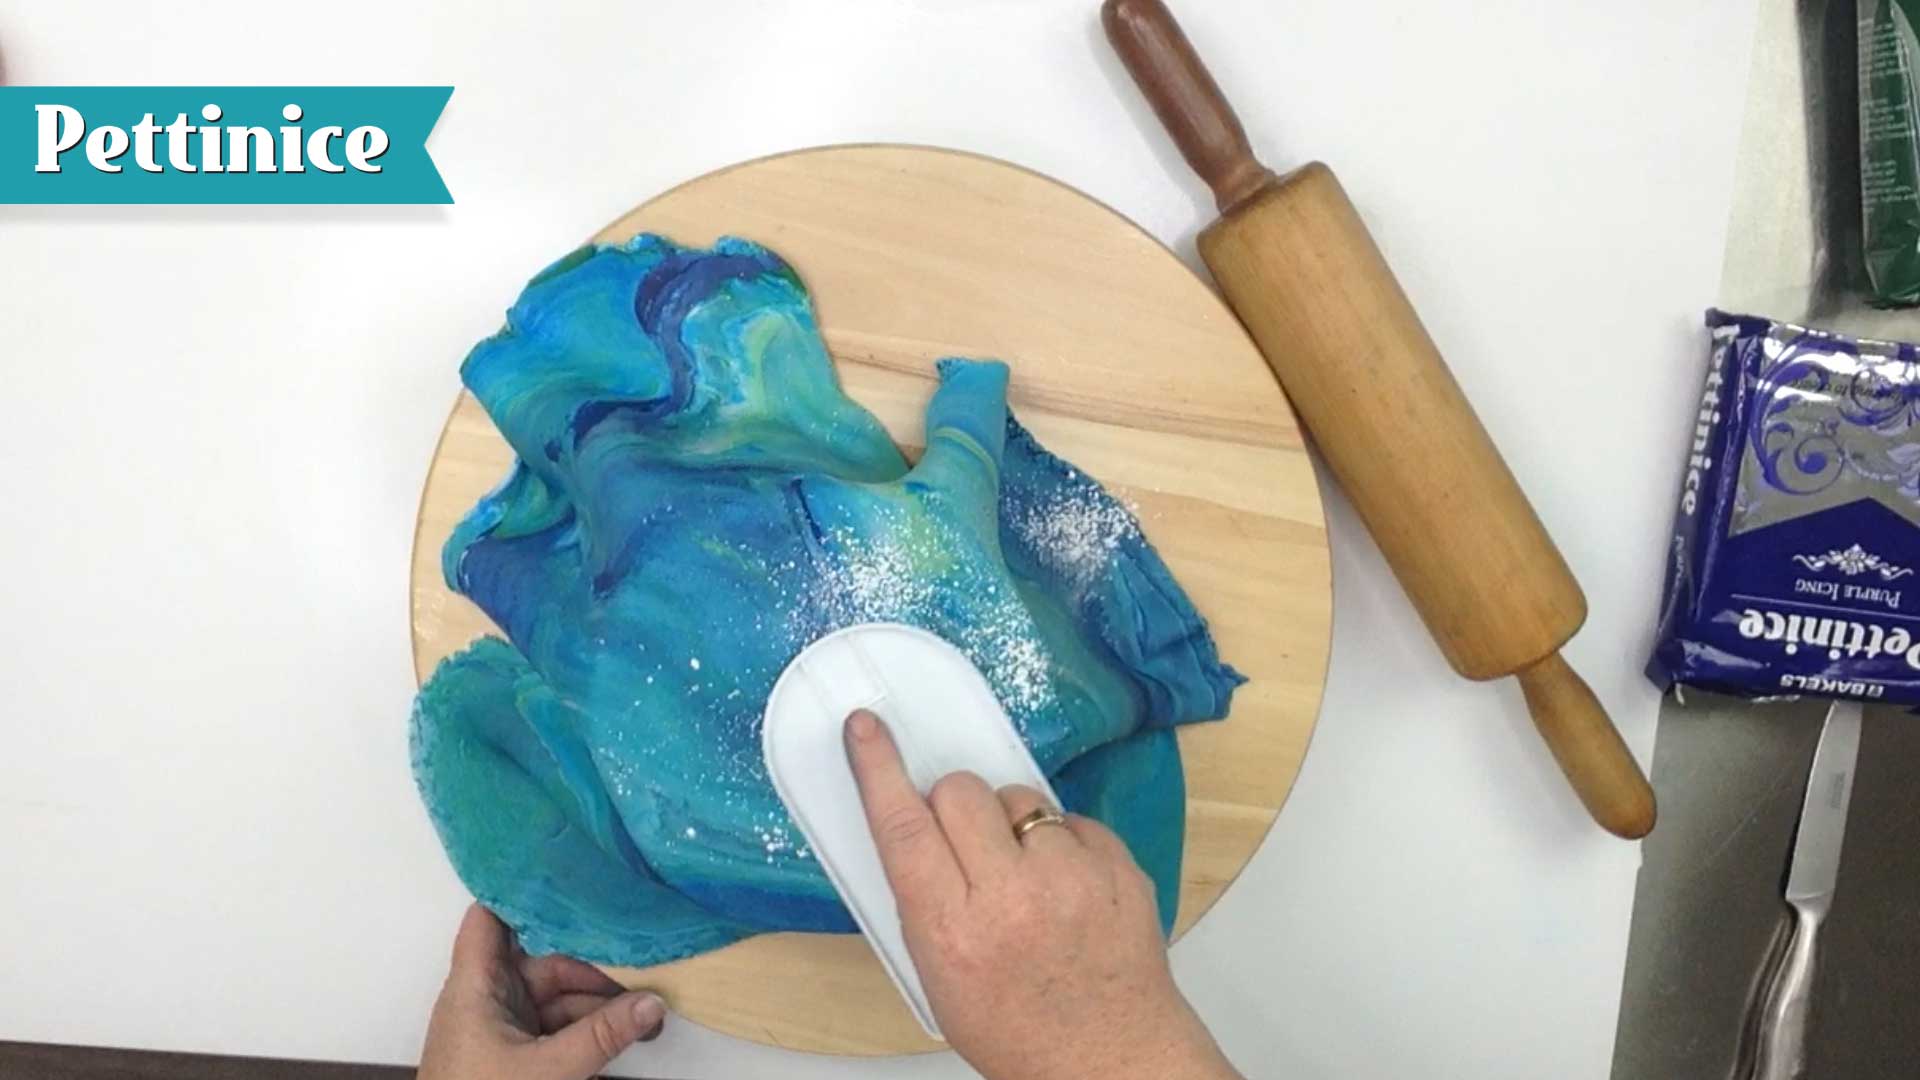 Dust cornflour to allow your smoother to glide over Pettinice. Push out any trapped air to the edges.
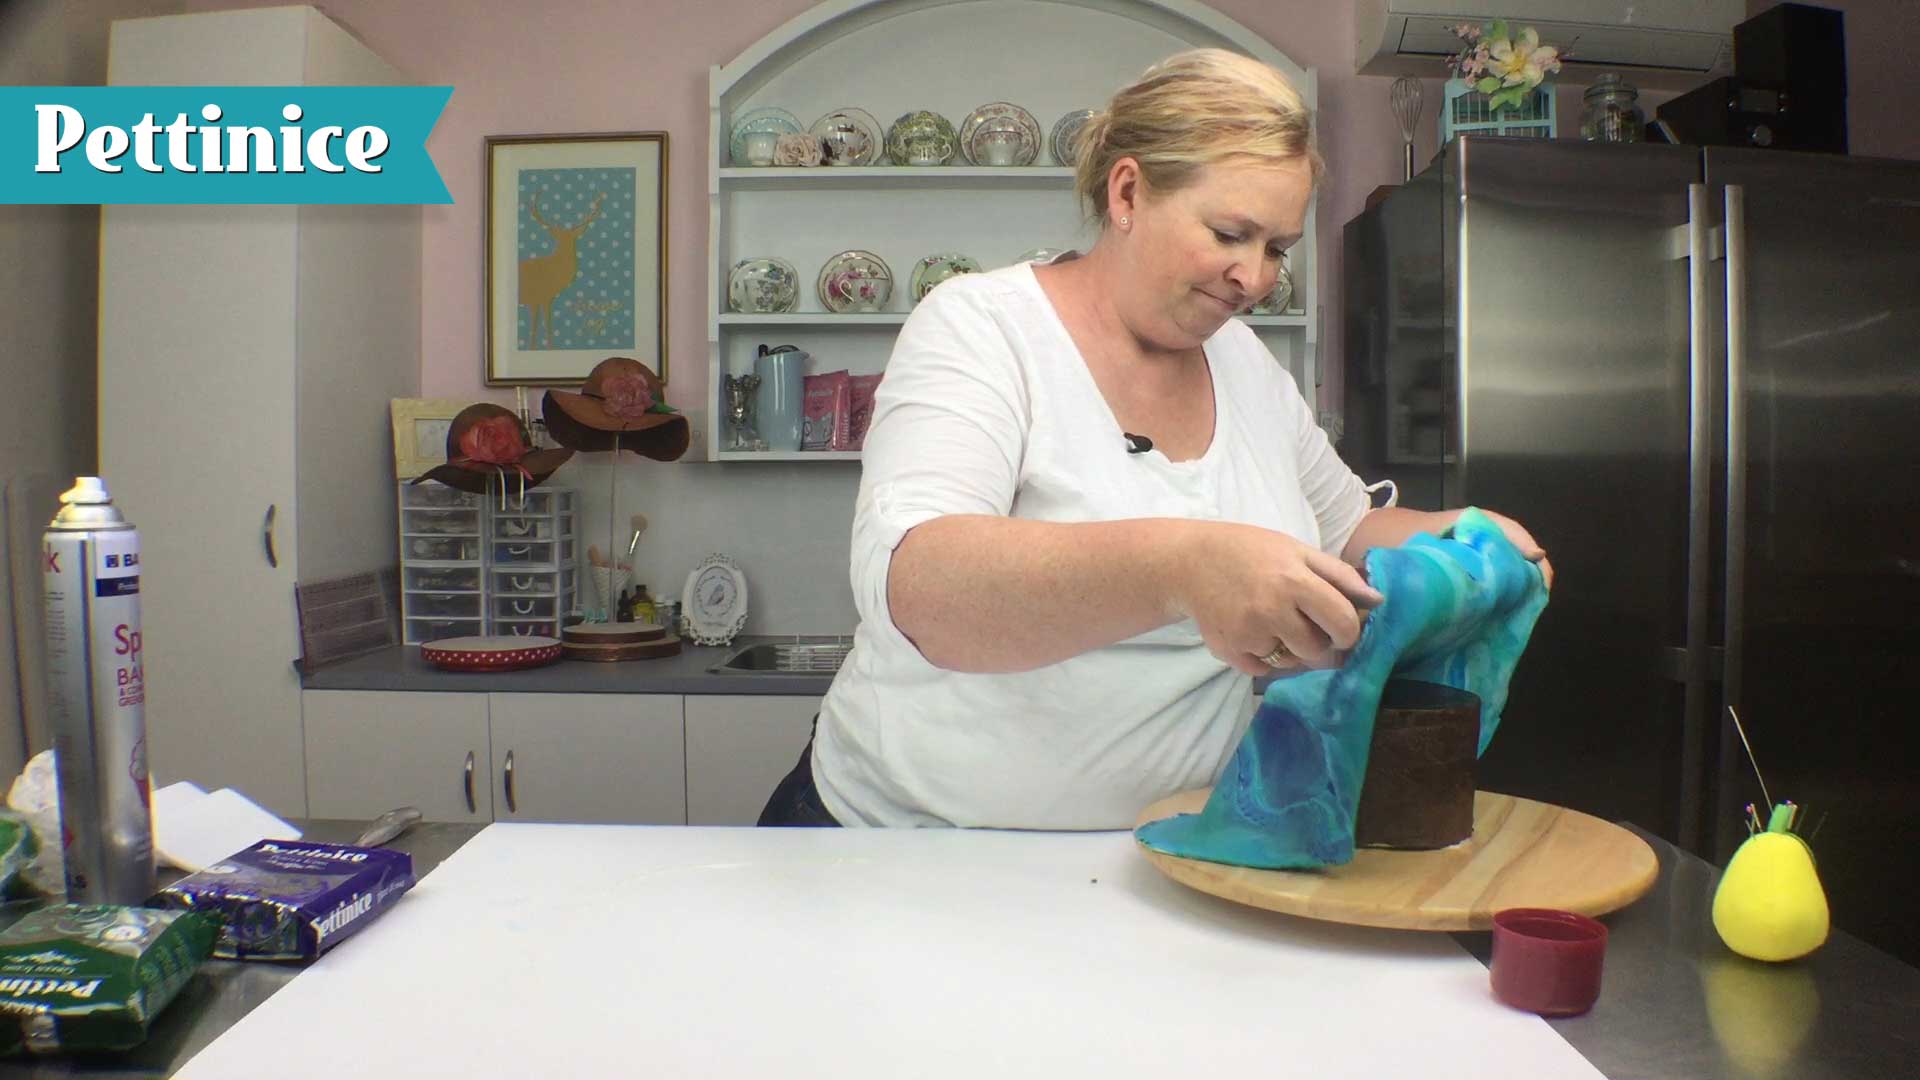
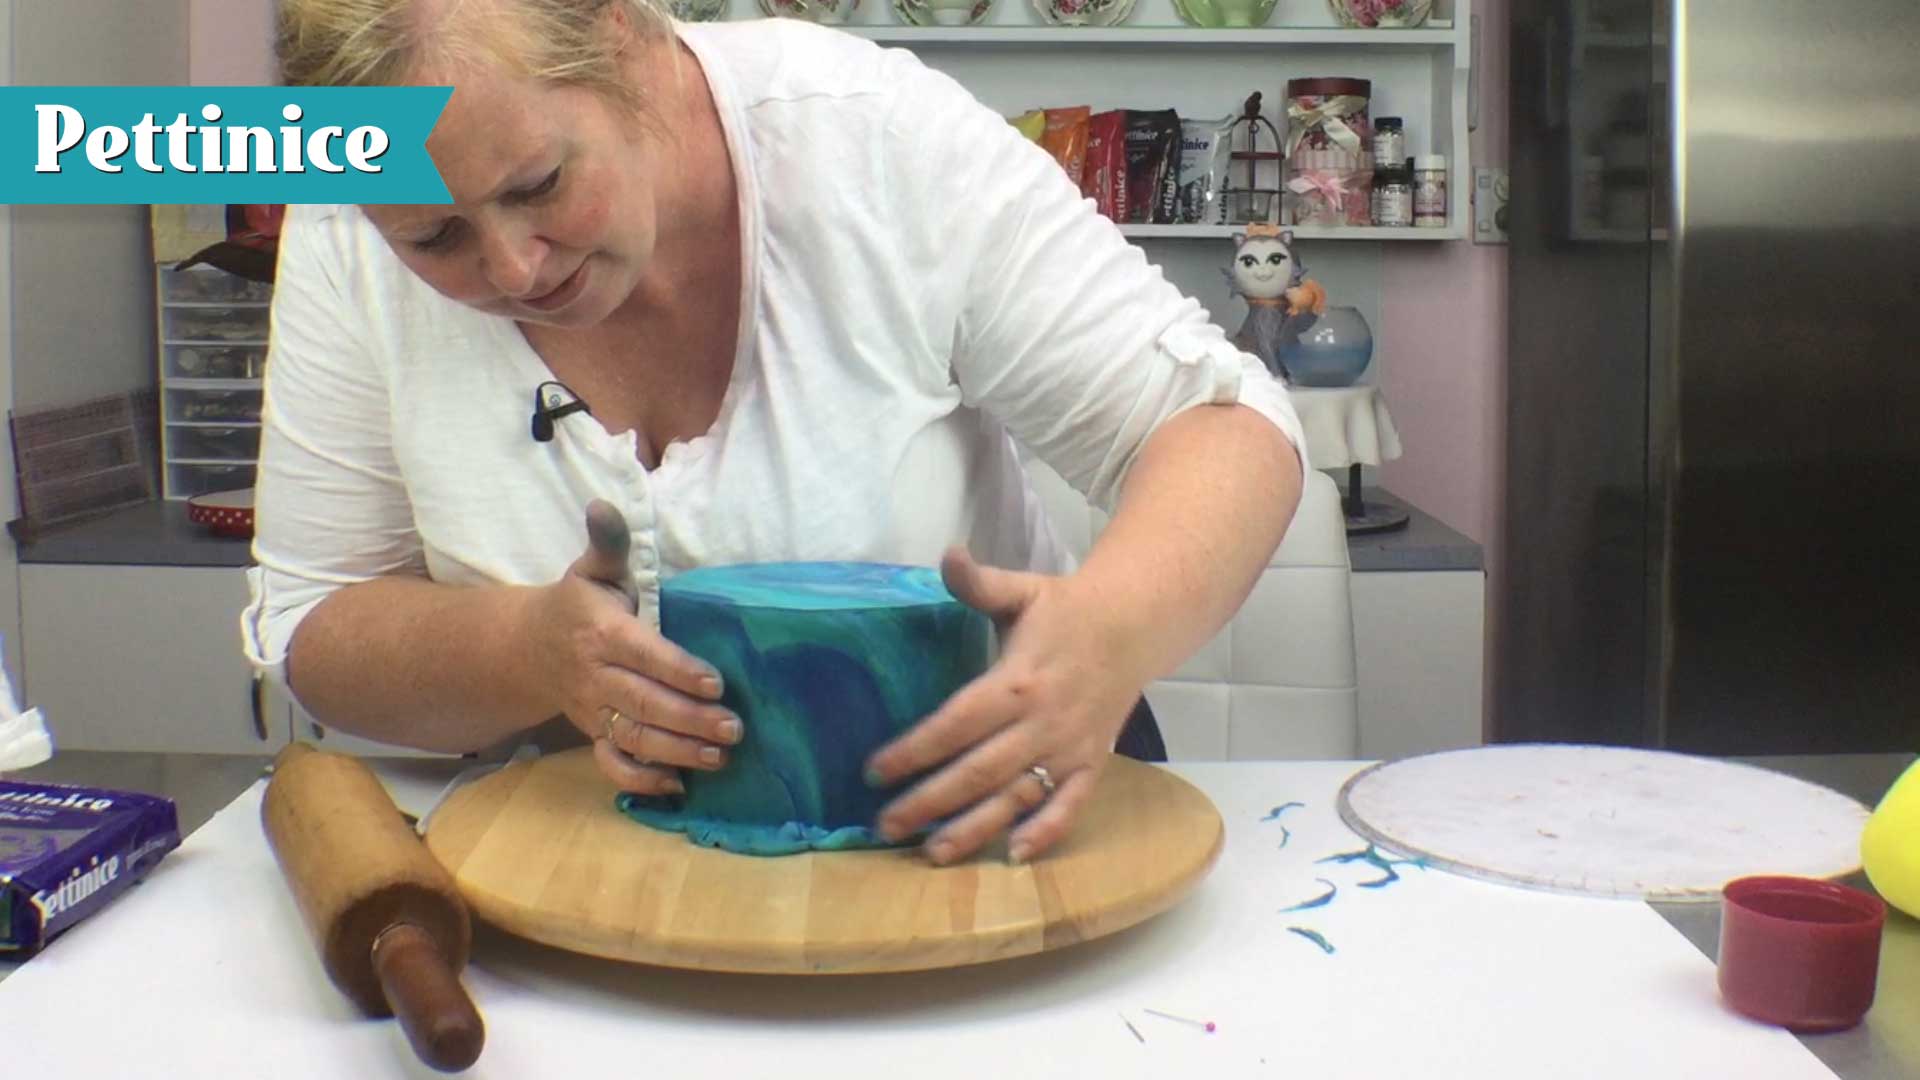
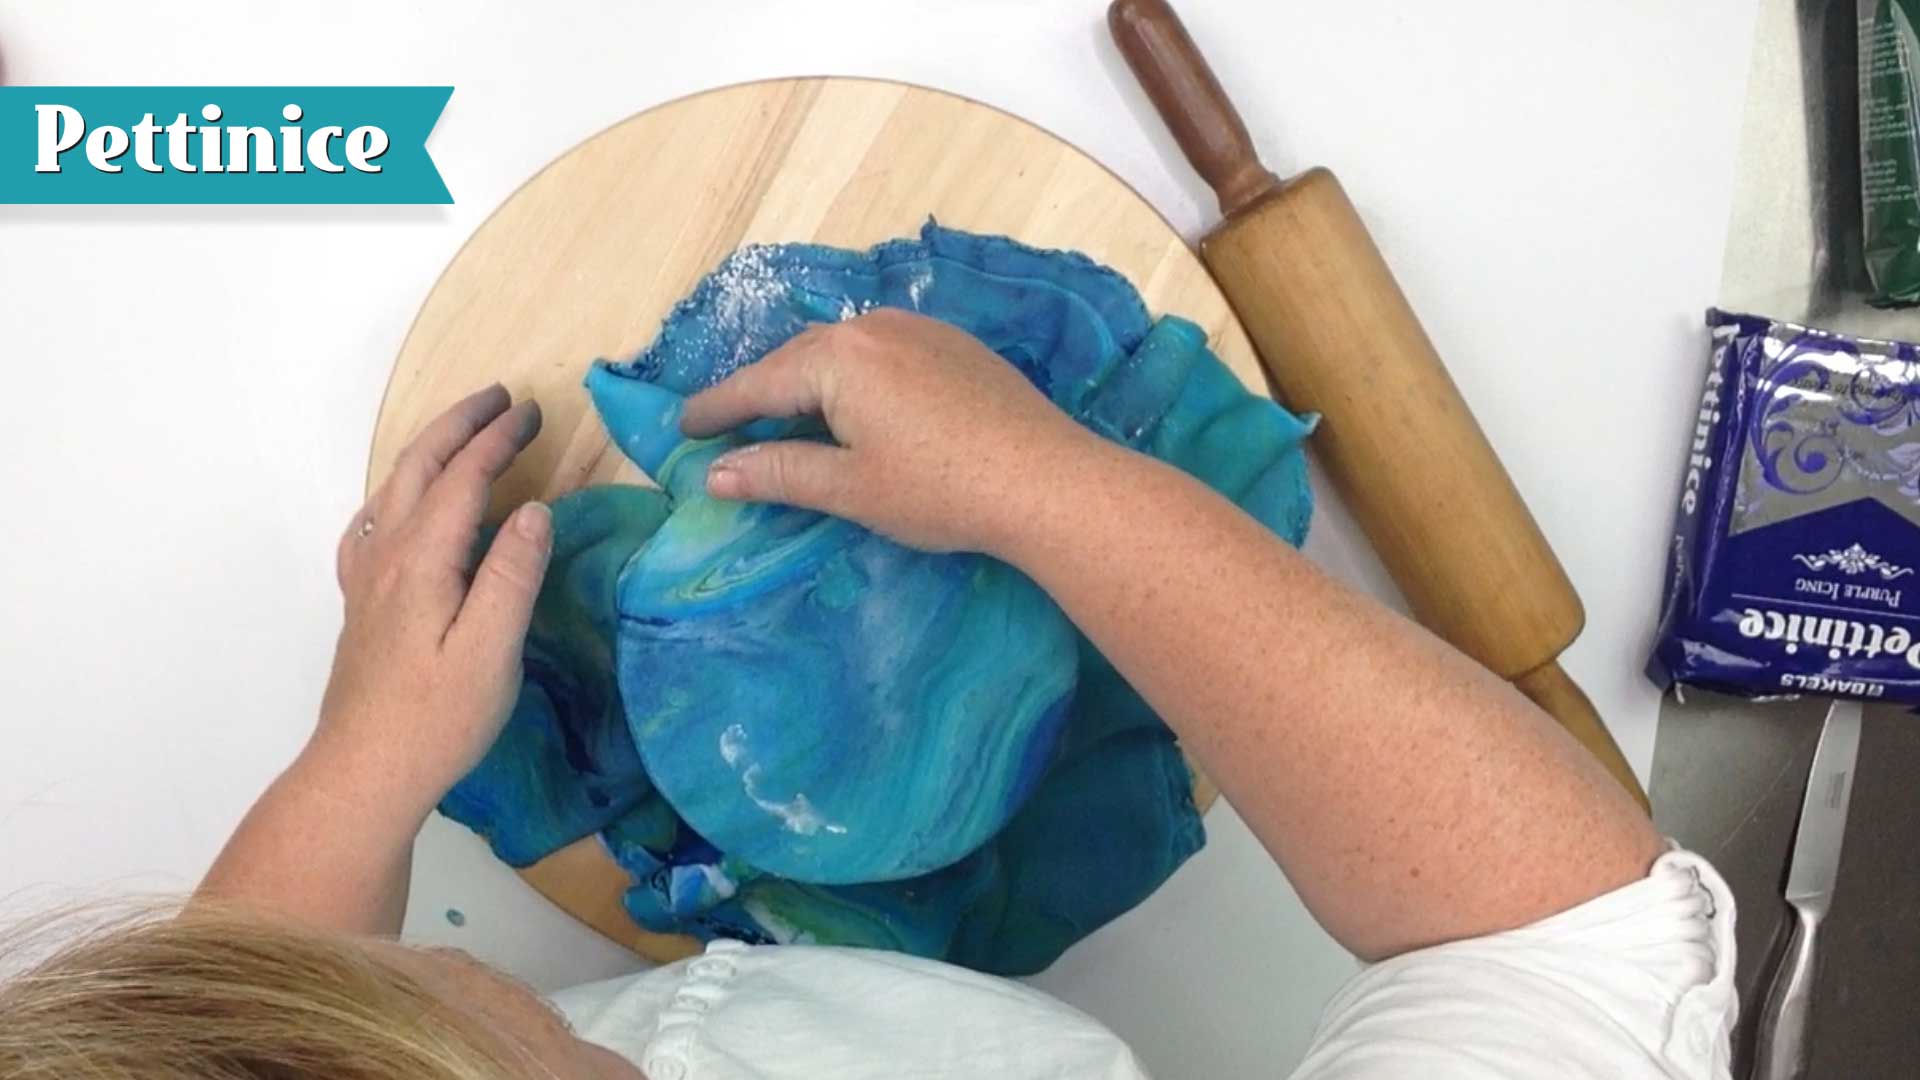 Press your fondant to the cake, working your way down and around
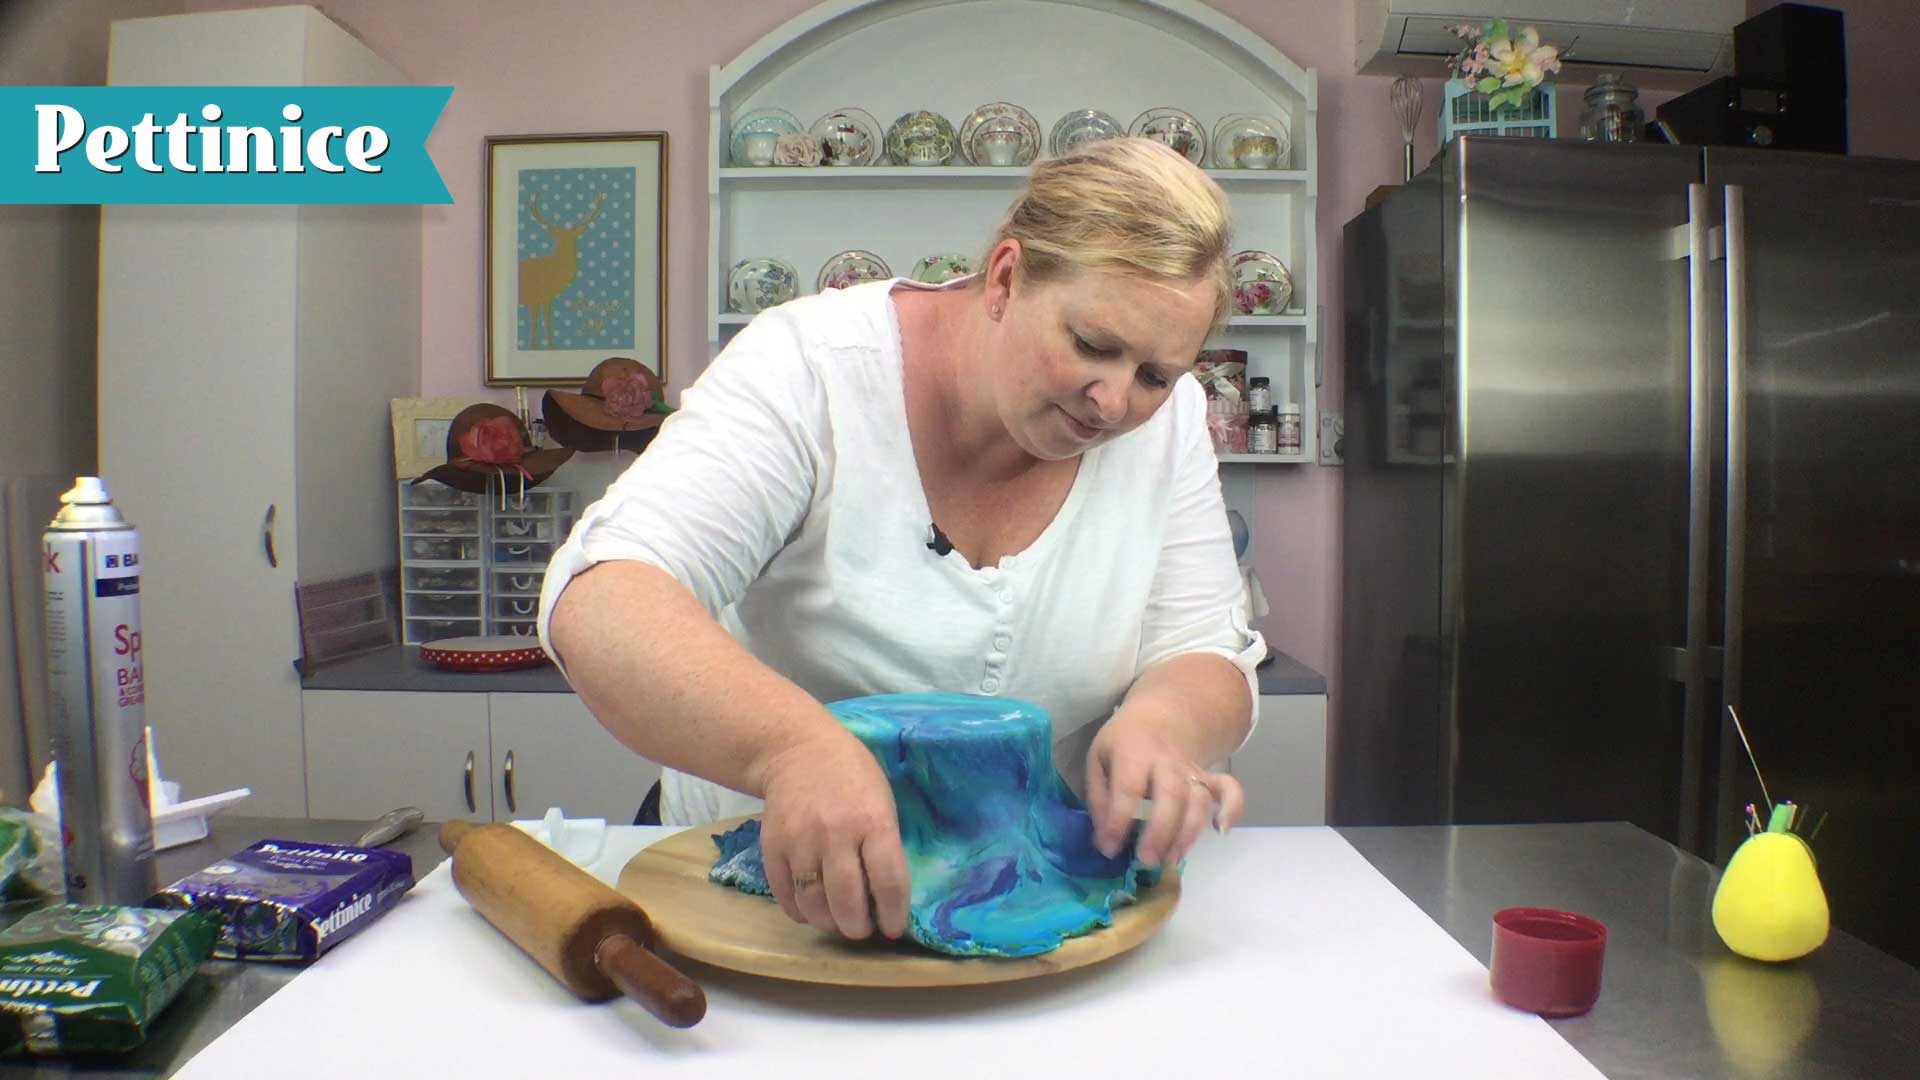 Pull the skirt out as you work, to help prevent creases. If you get creases, don't worry - we'll show you below how to work them out.
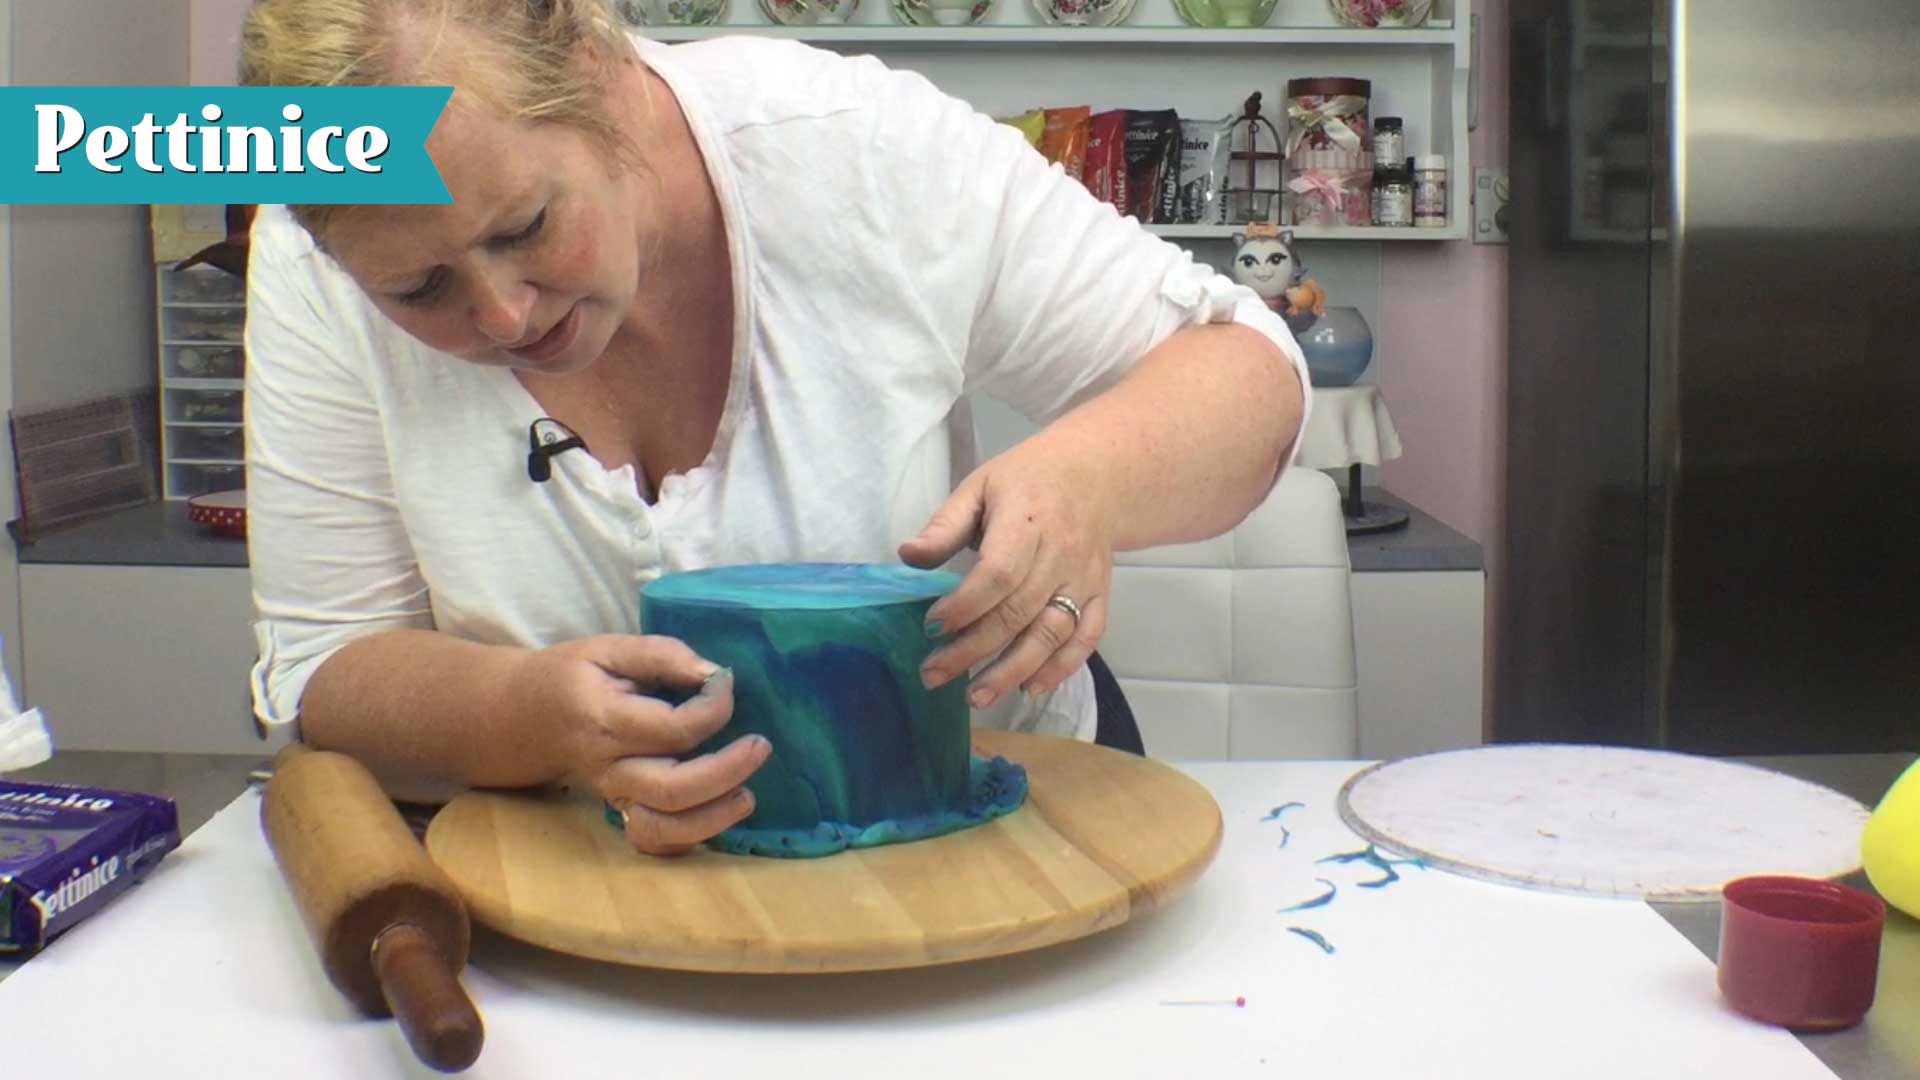
Remove any imperfections with your smoothing tool. This is Pettinice's real bonus - the ability to achieve a flawless finish!
 Trim away excess Pettinice.
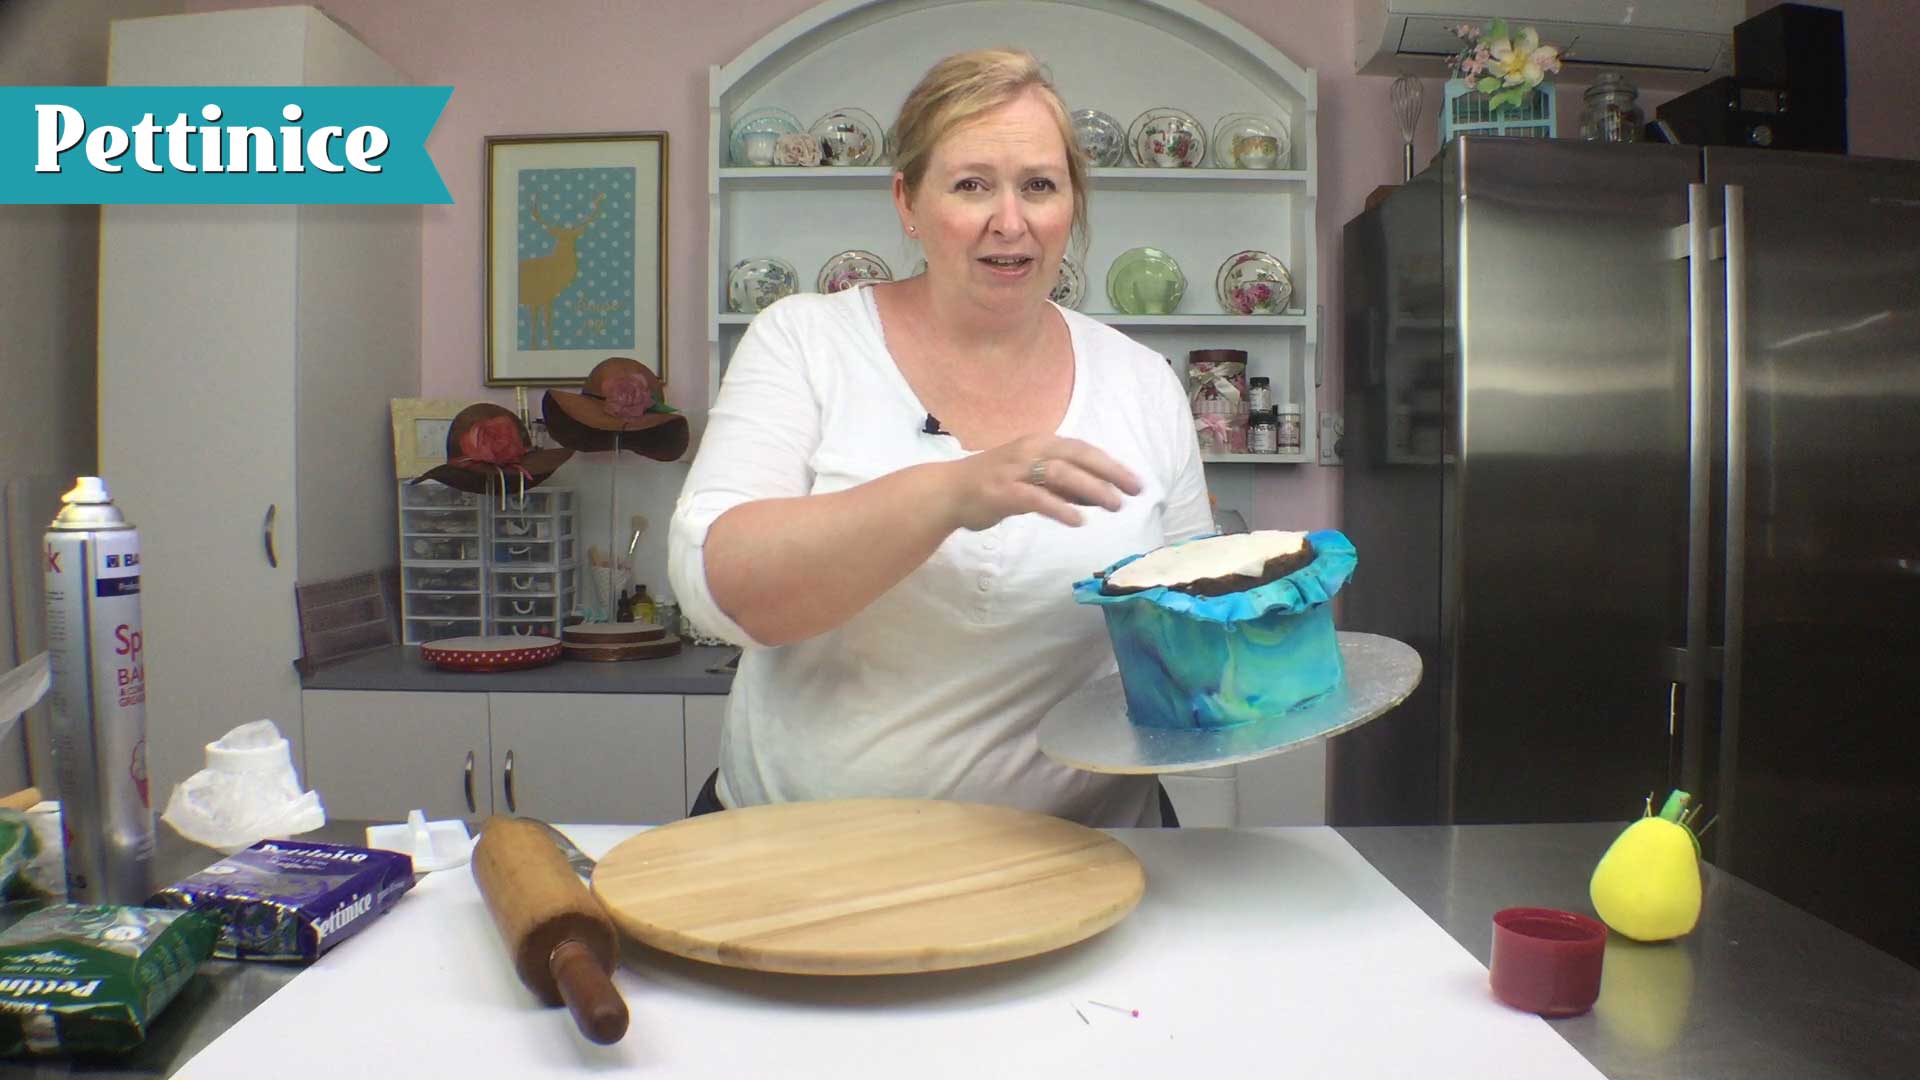
 Lightly dust top of cake and working cake board with cornflour.
Click here to watch the tutorial in full. Be sure to subscribe to our channel for upcoming free cake tutorials.
 And....
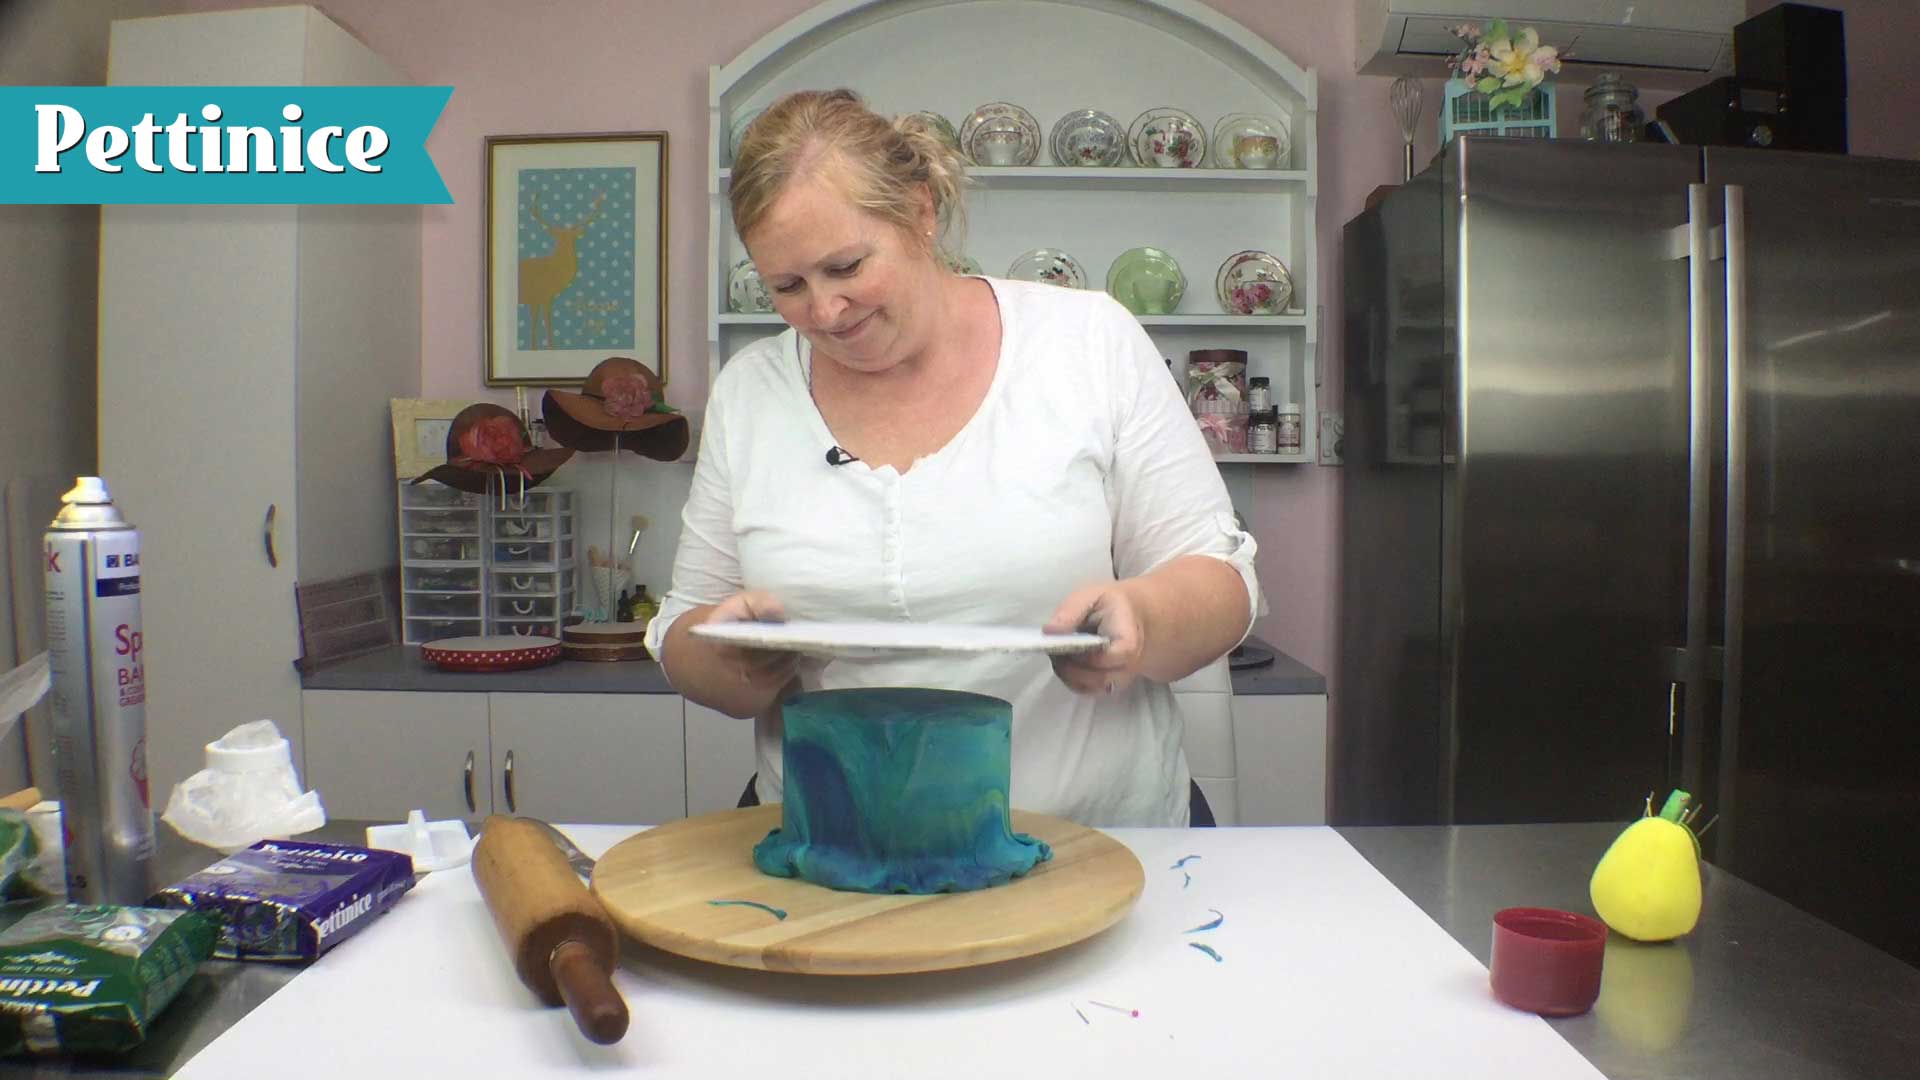
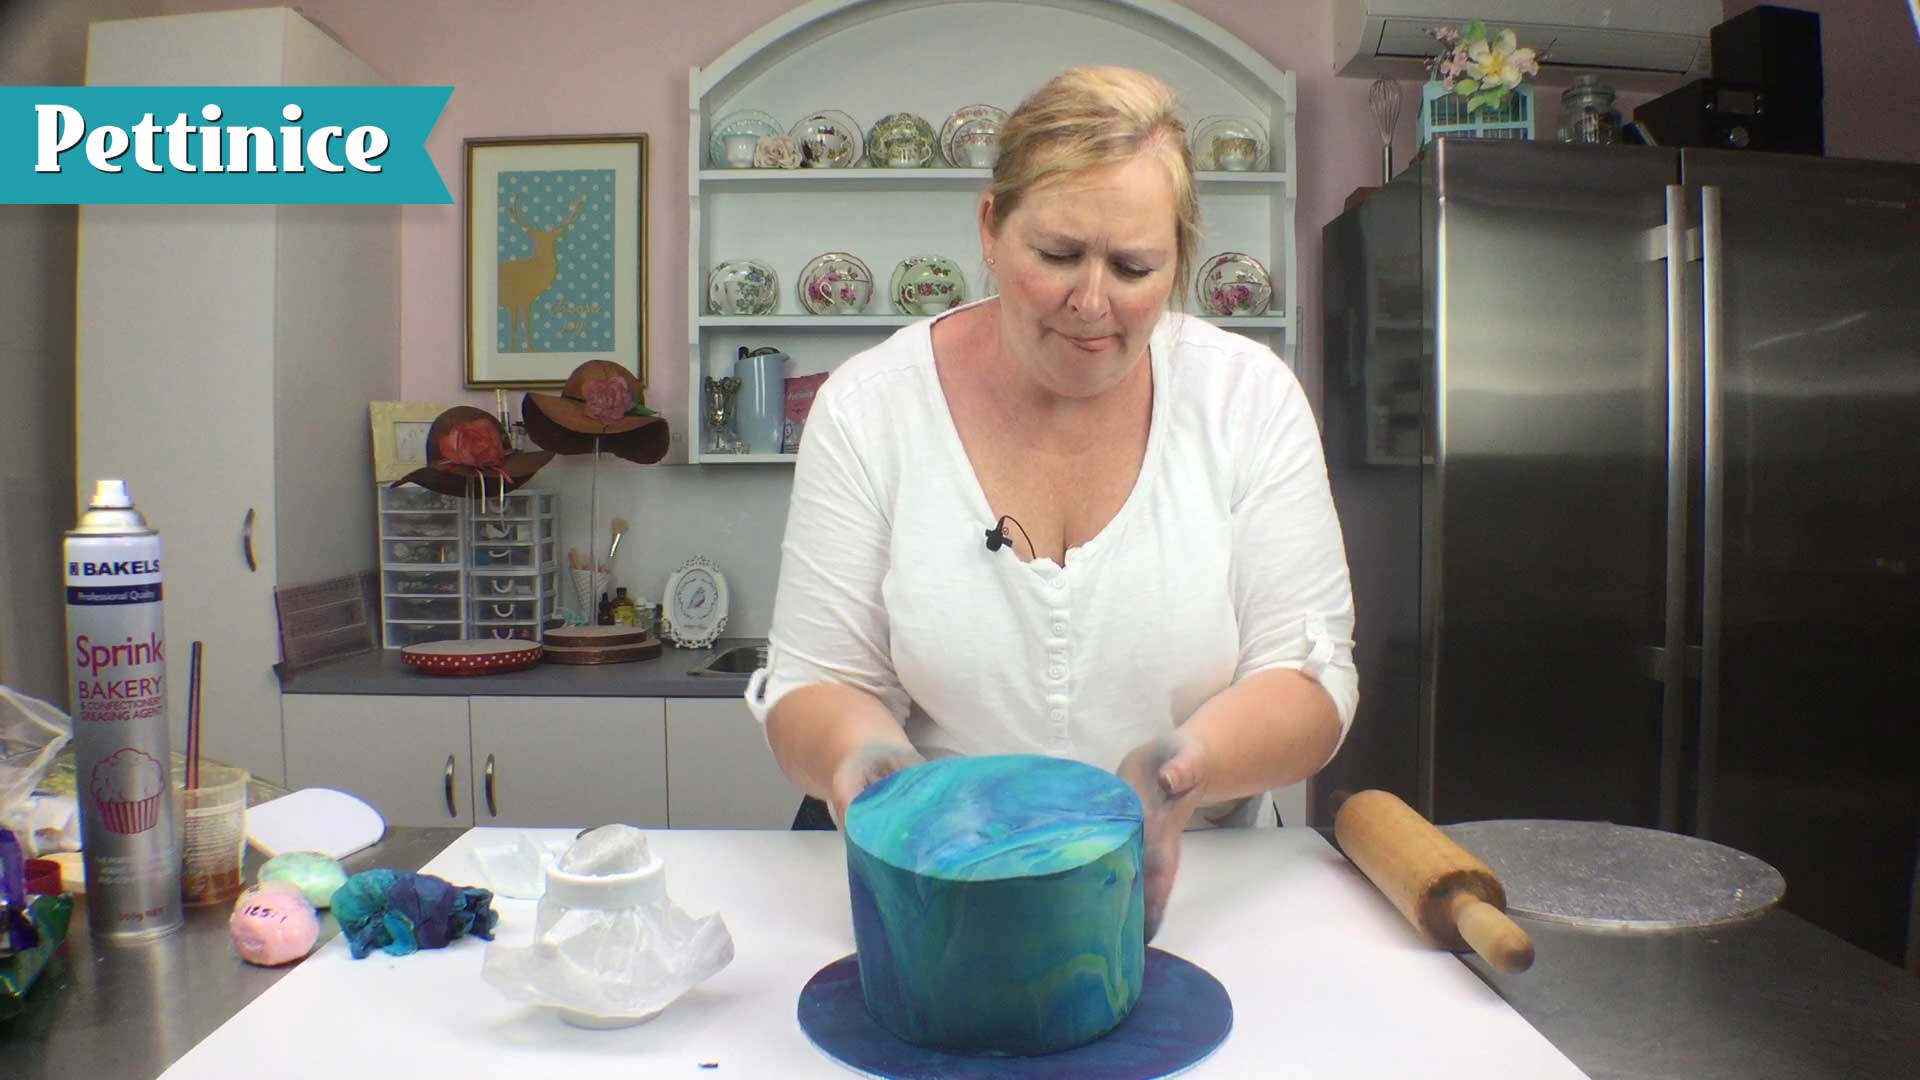
 Flip your cake!
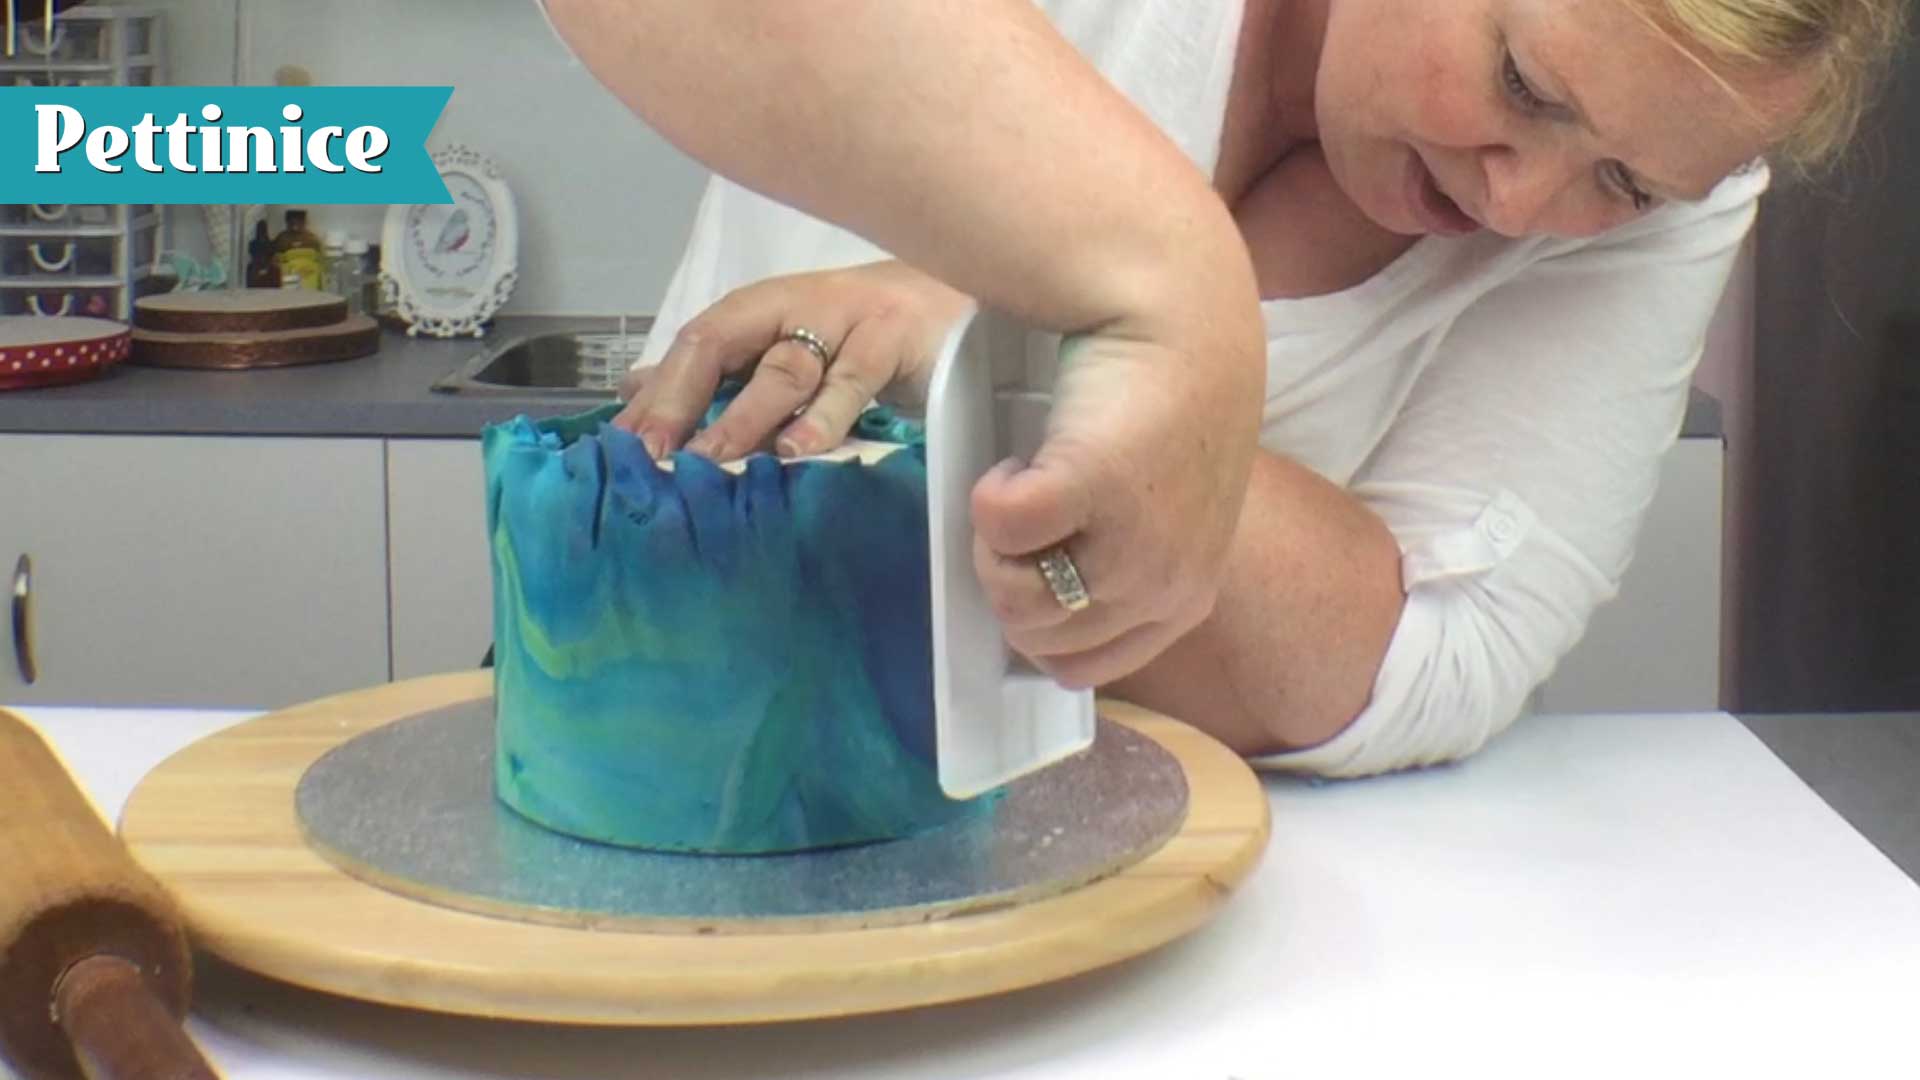
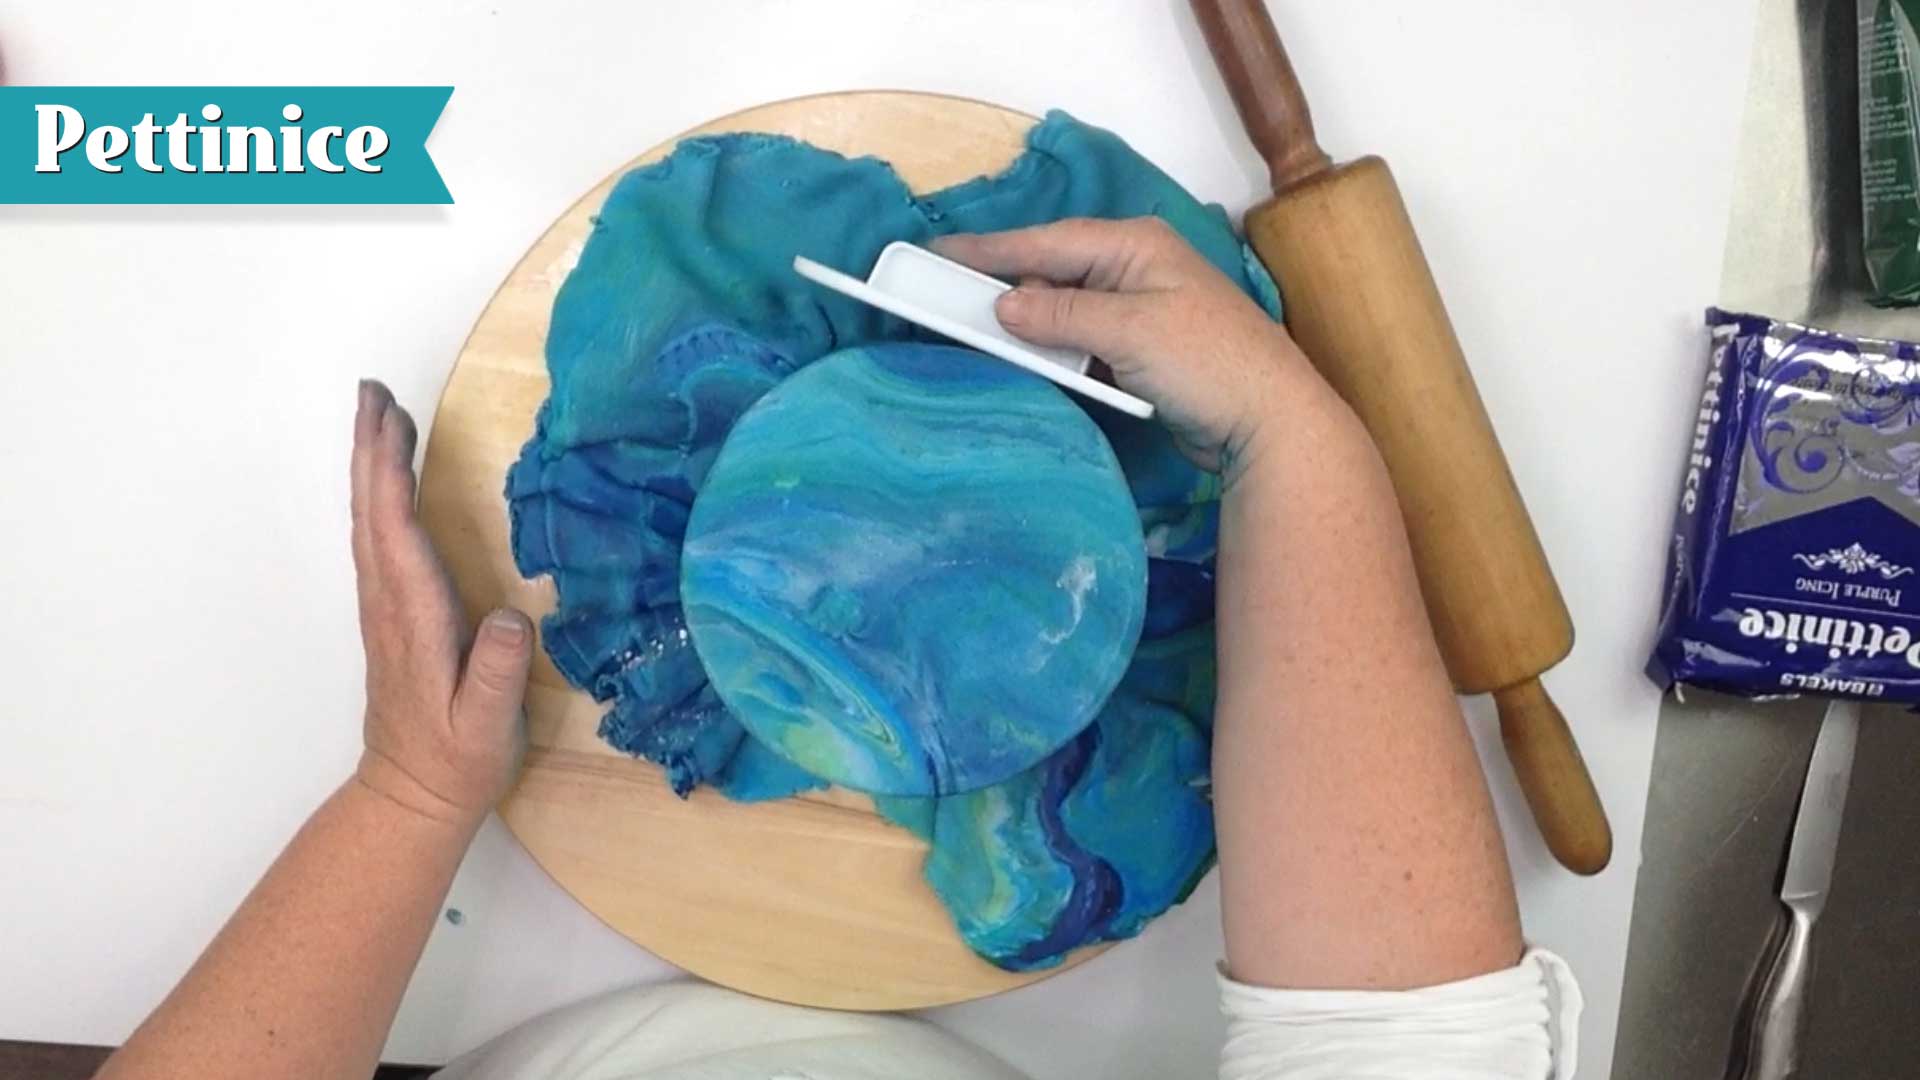
Use your cake smoother to push fondant to the board, working your way around the cake. You will trim off the excess next. We will demonstrative removing the folds shown here. Because we used Sprink, it allows us more working time with our fondant.
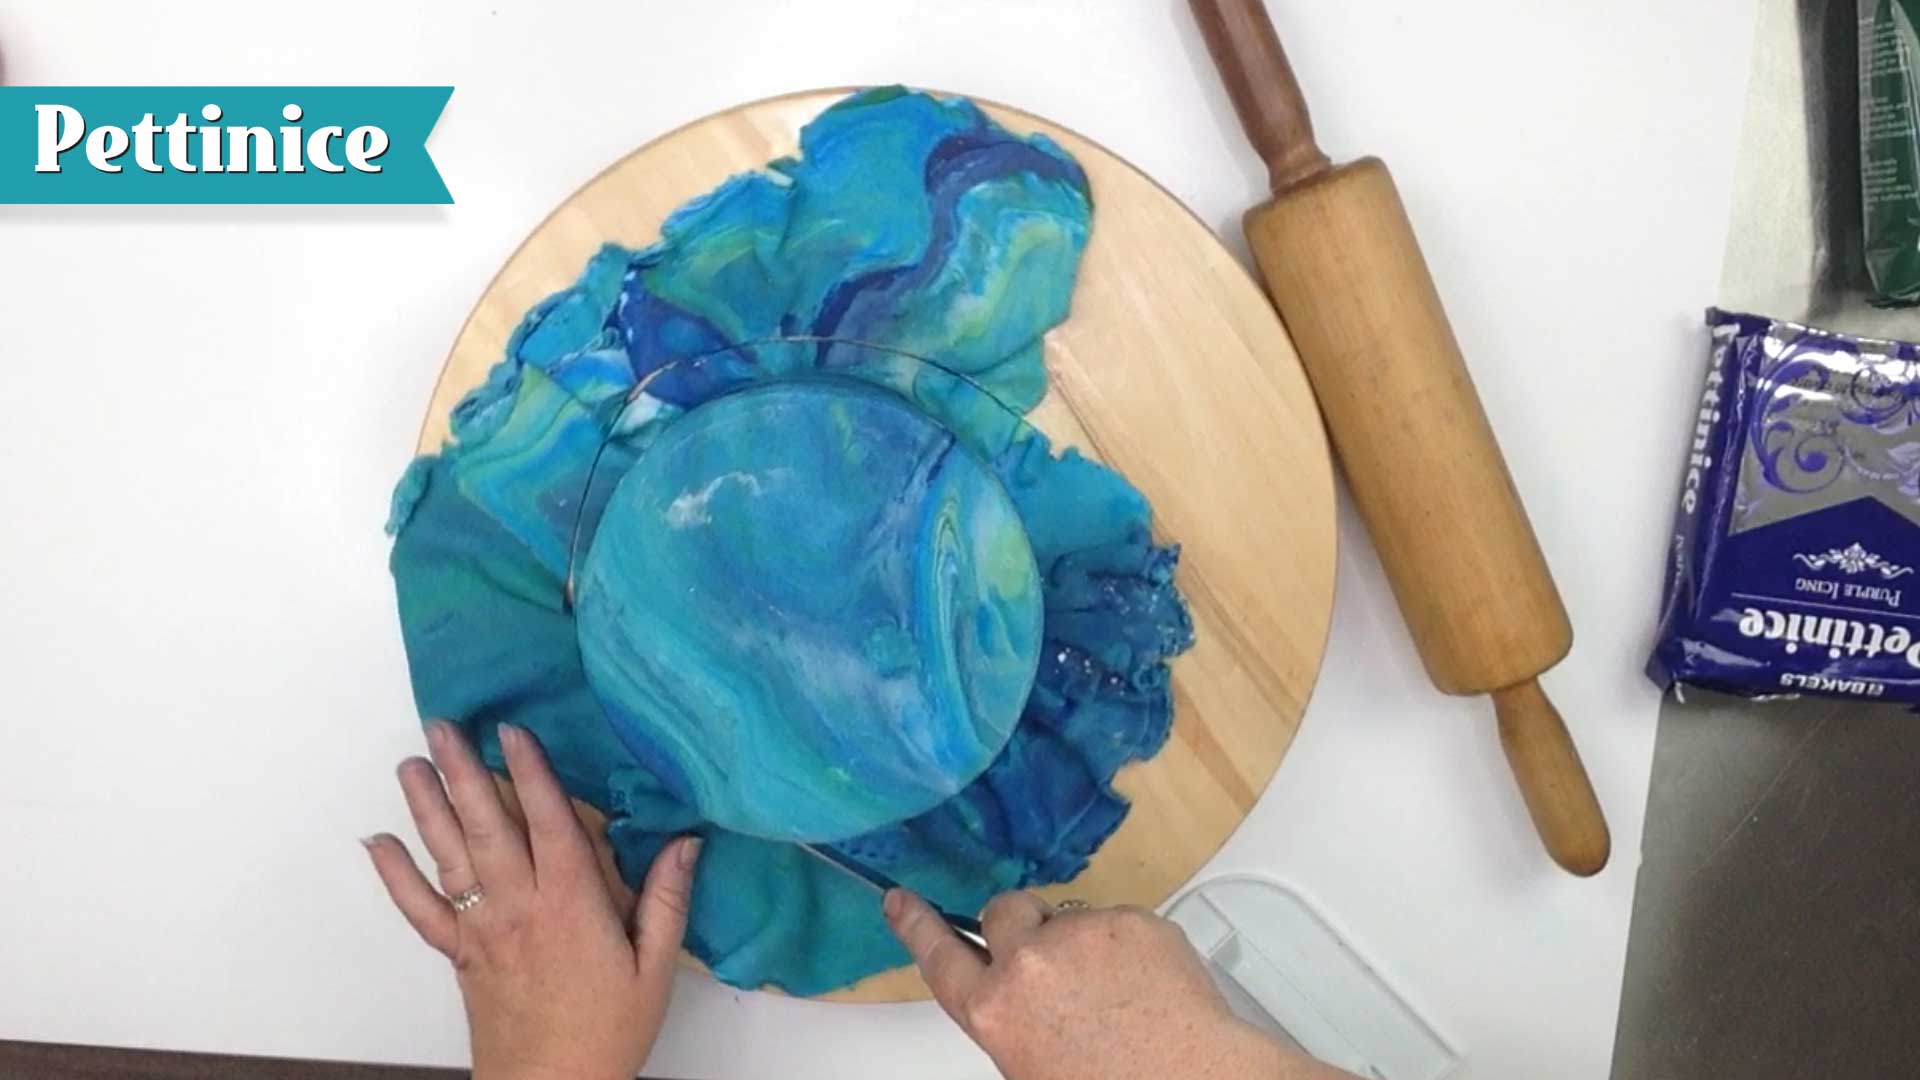
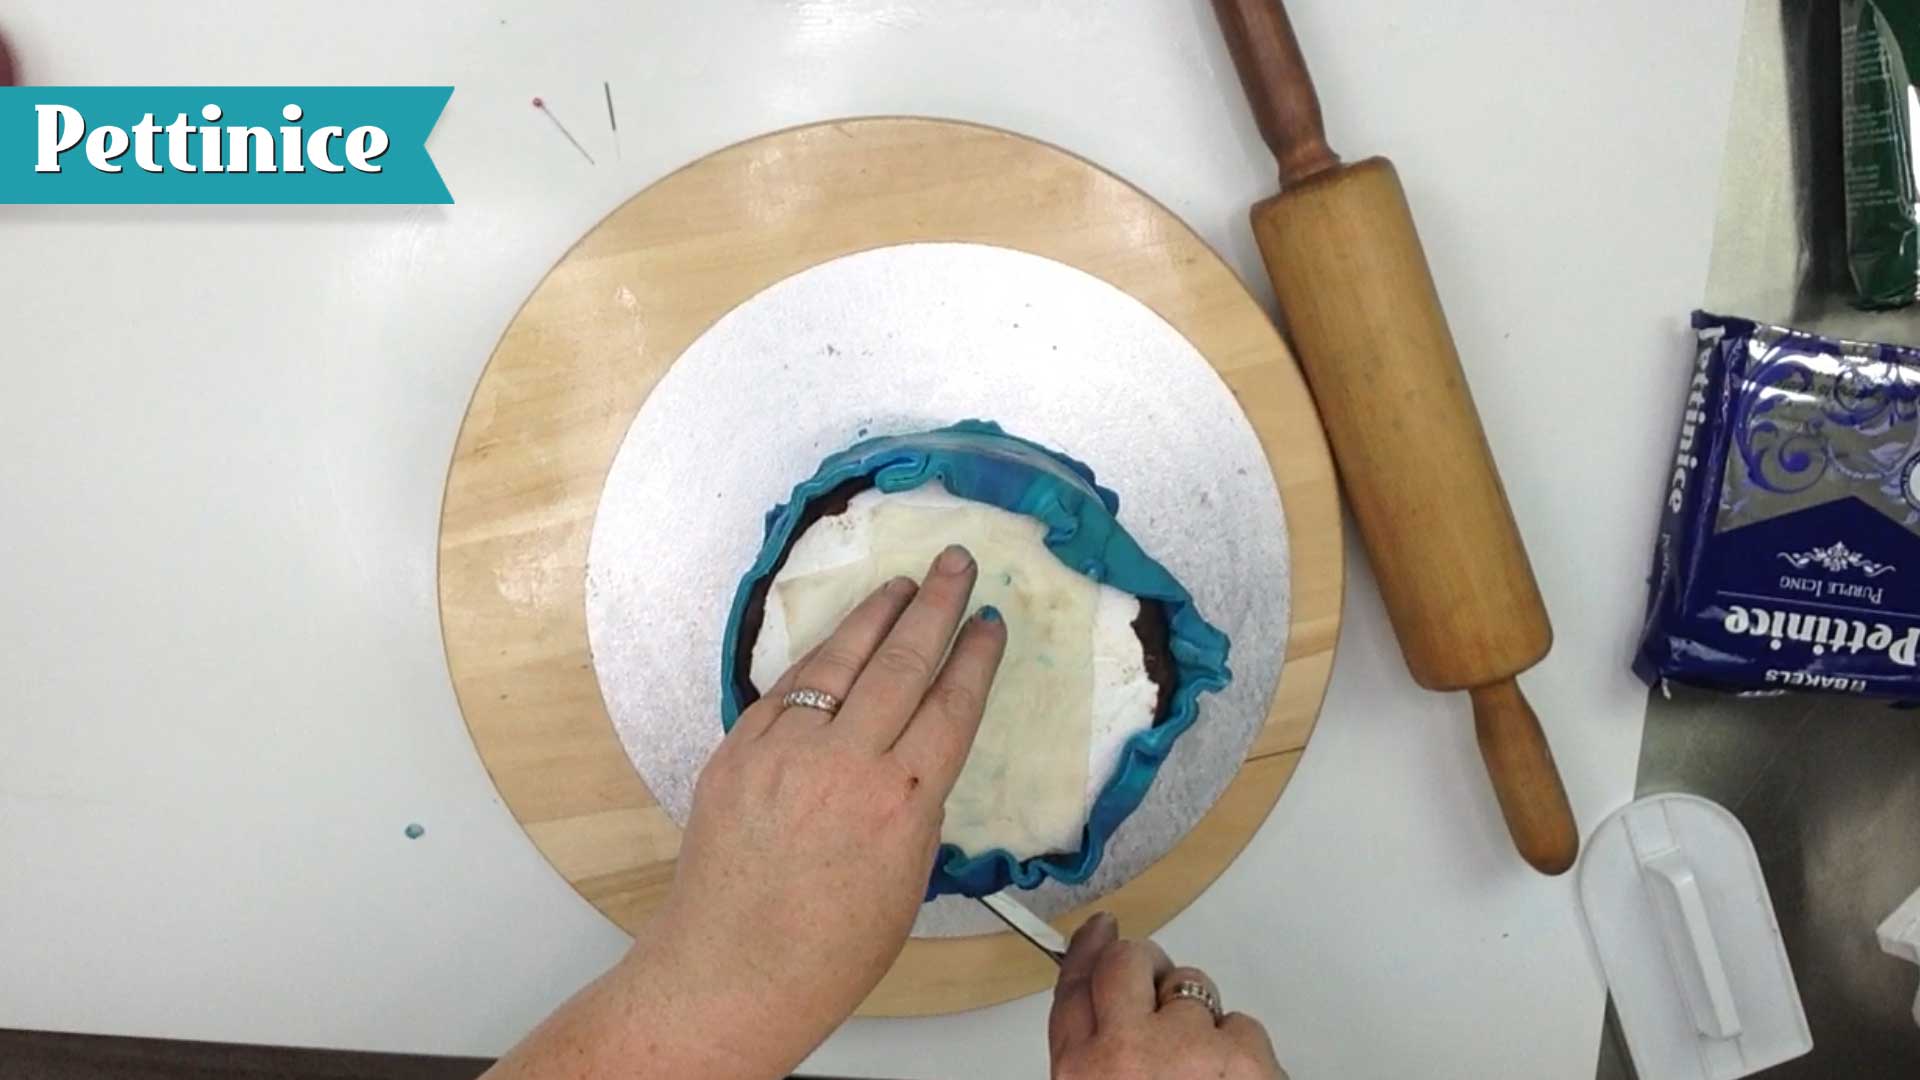 Keeping knife straight, trim off excess fondant.
 Fan out excess fondant, remove paper towel used to keep cake from slipping.
 Flip cake back around. Lift off work board and trimmed fondant falls away.
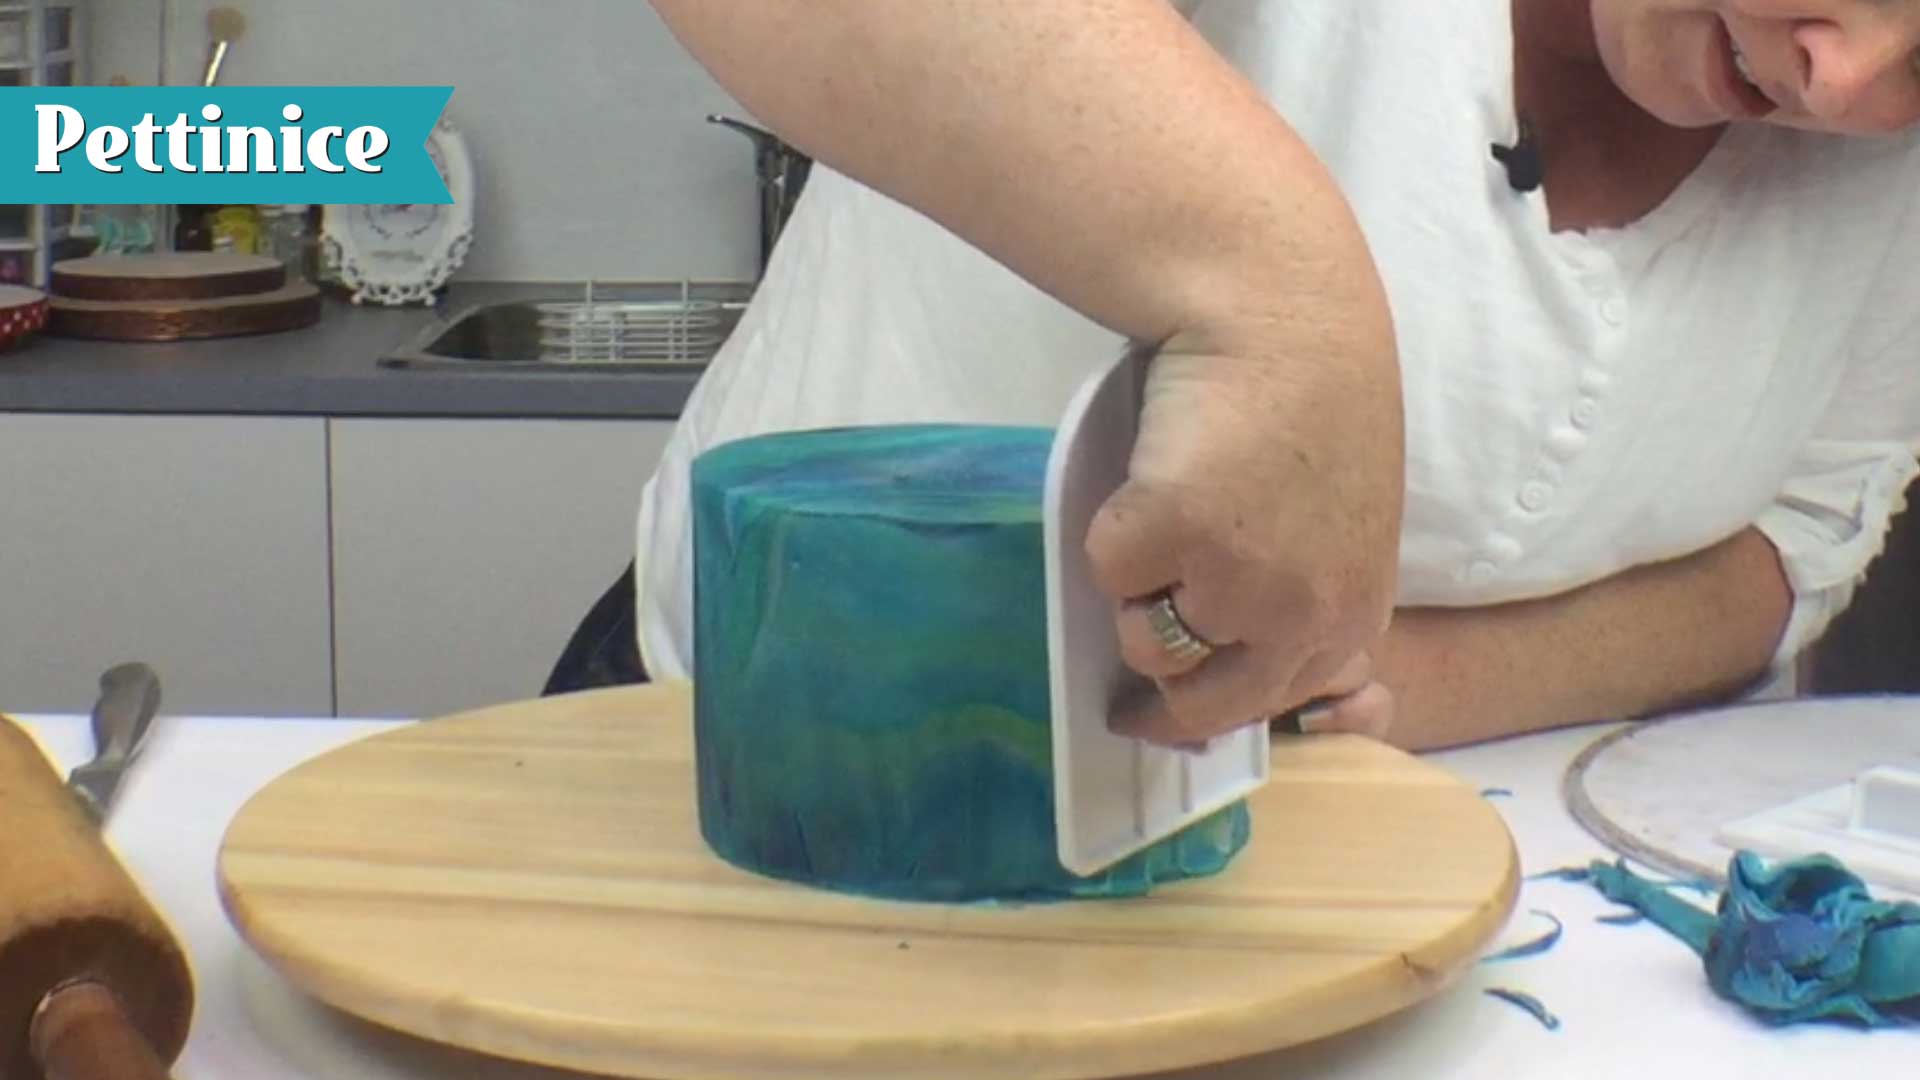
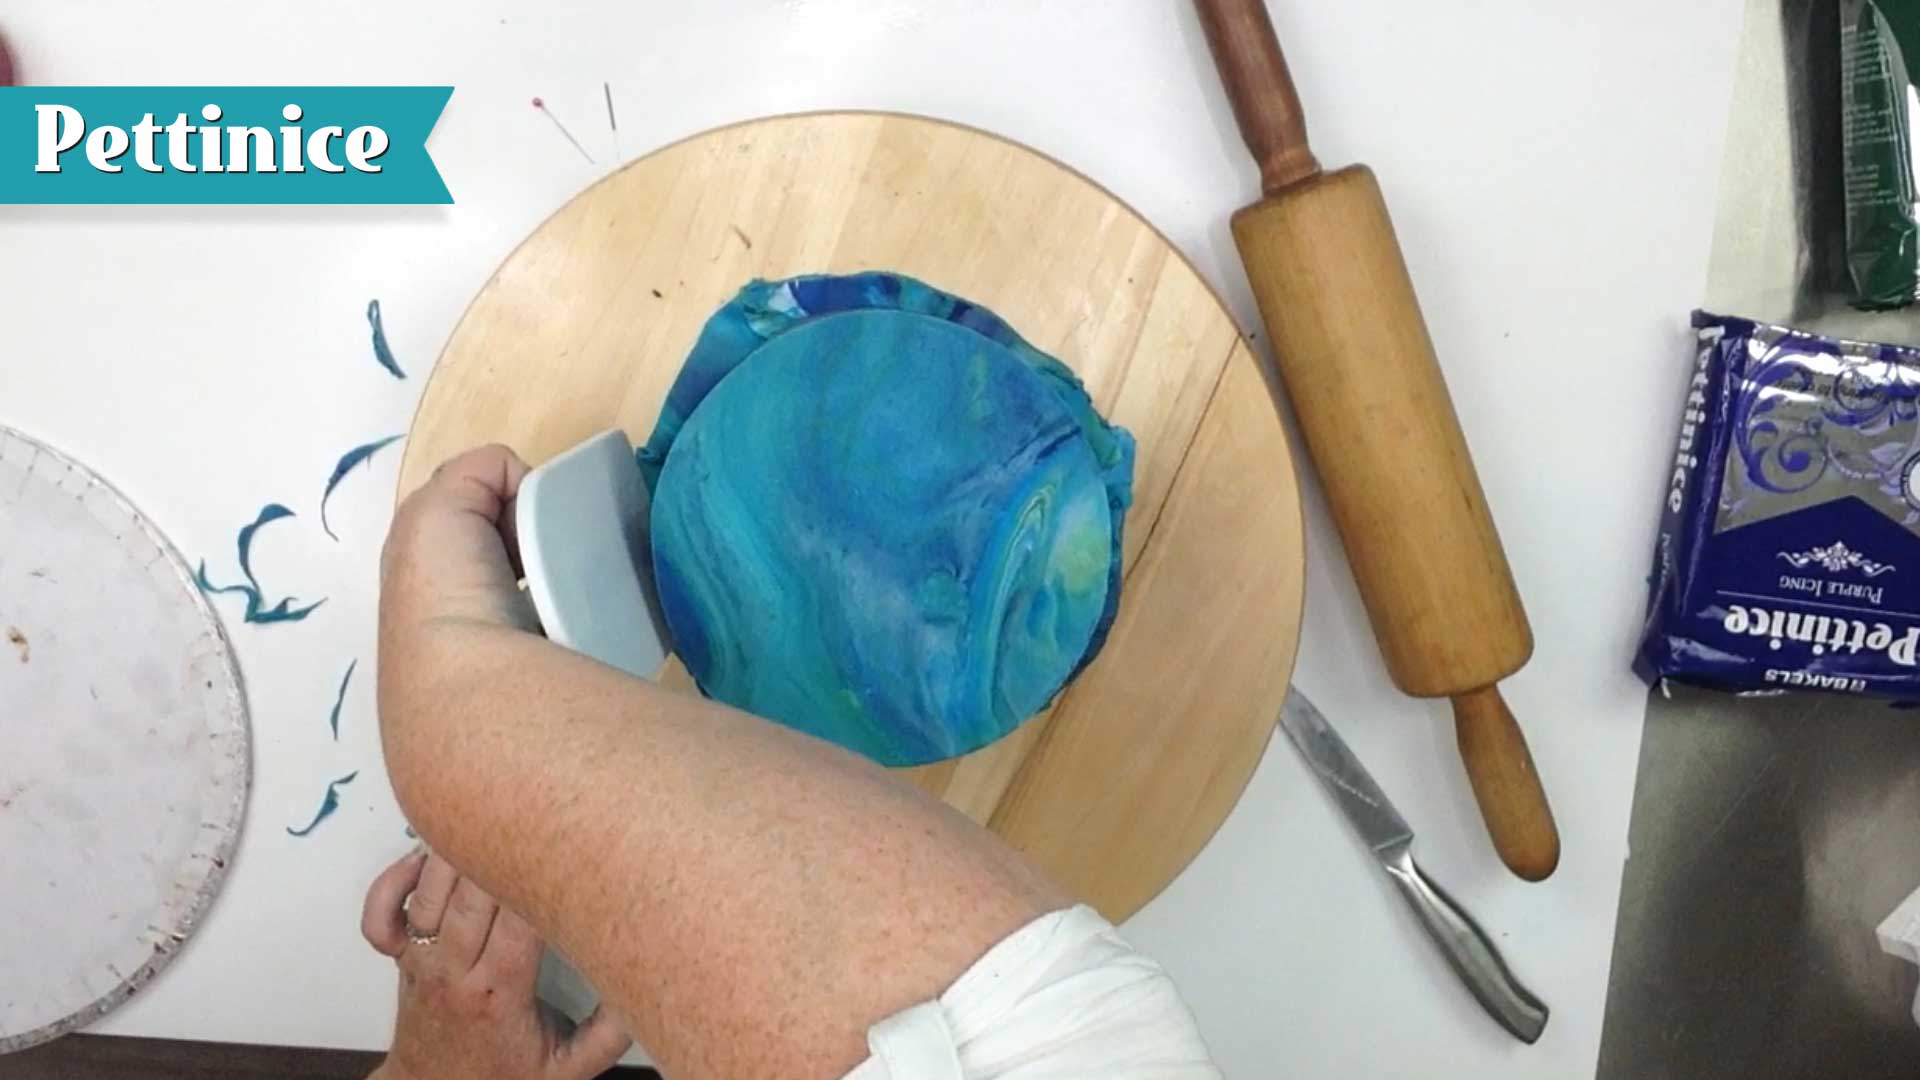 As per step above, push fondant down on the board.
 Push down and out.
 Feel for any air bubbles.
Use your boiled pin to make a small hole over the bubble, then gently release the air by pushing.
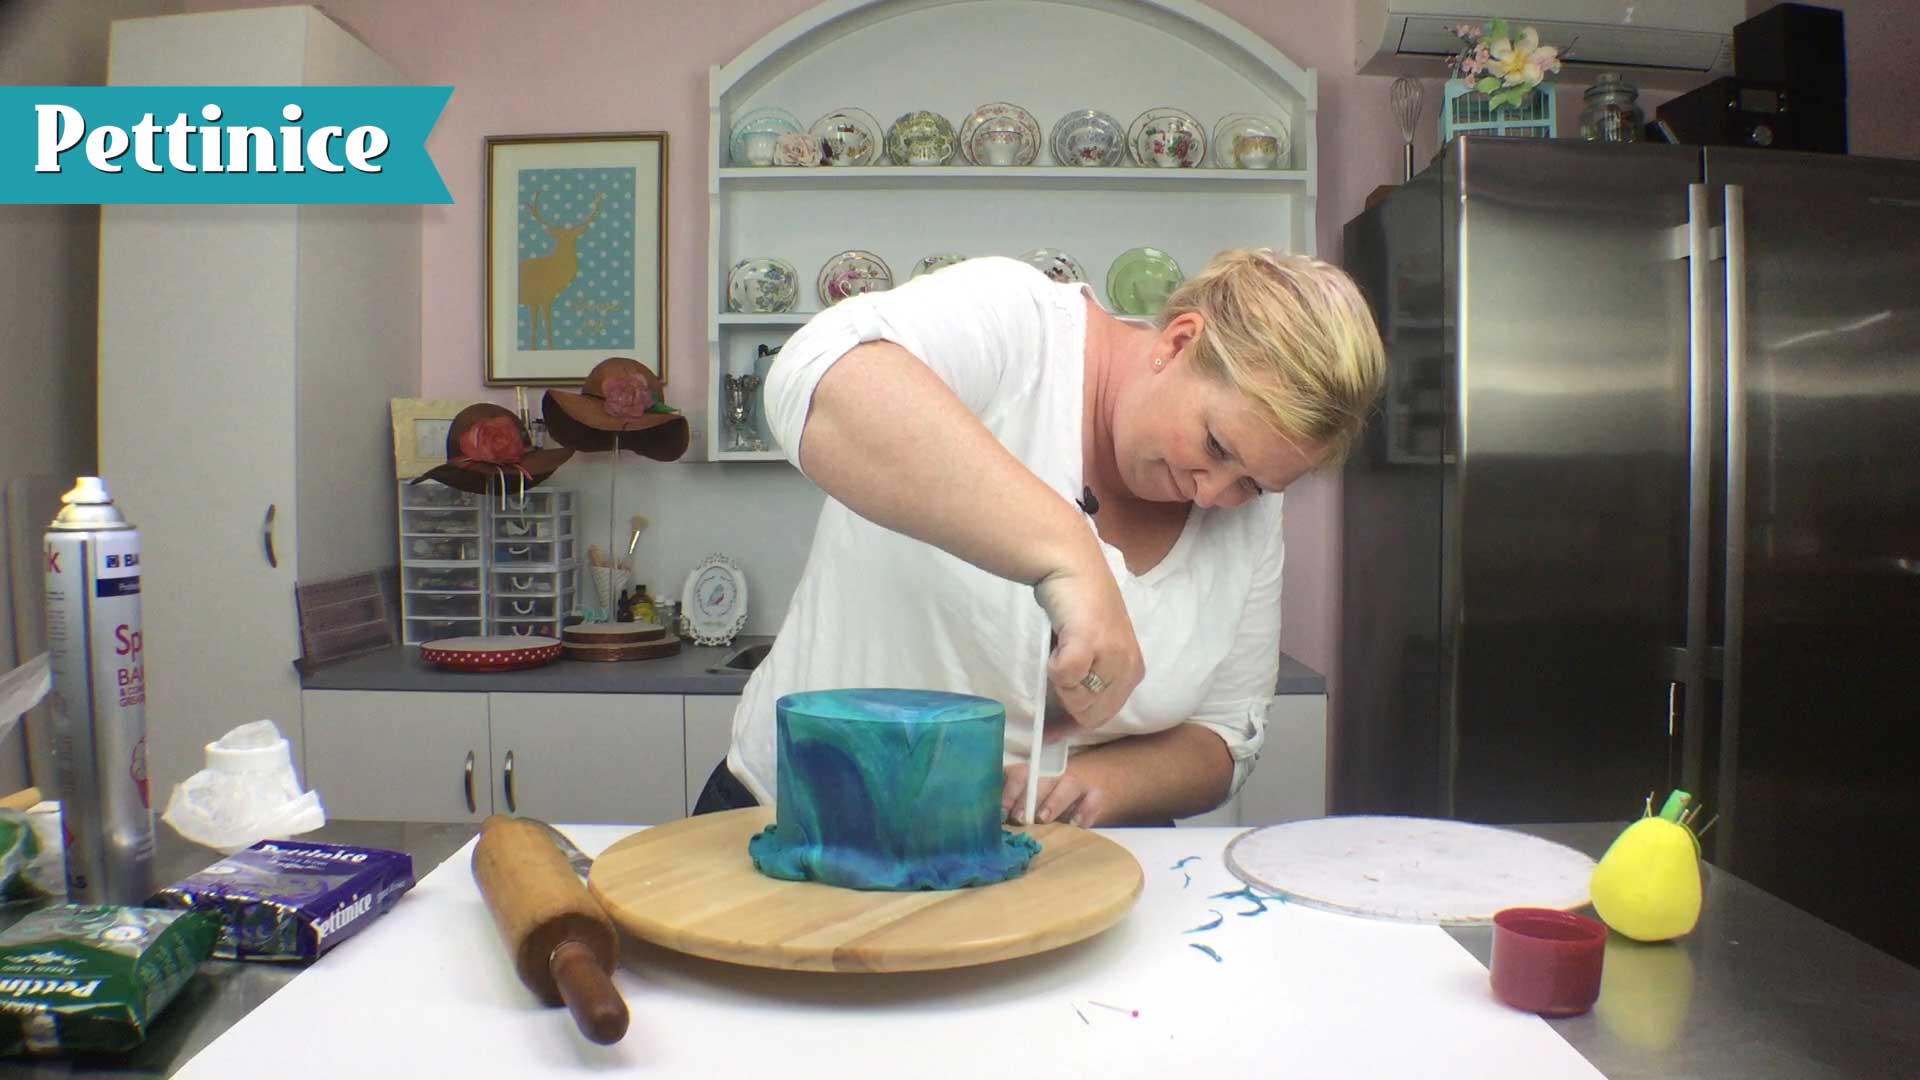
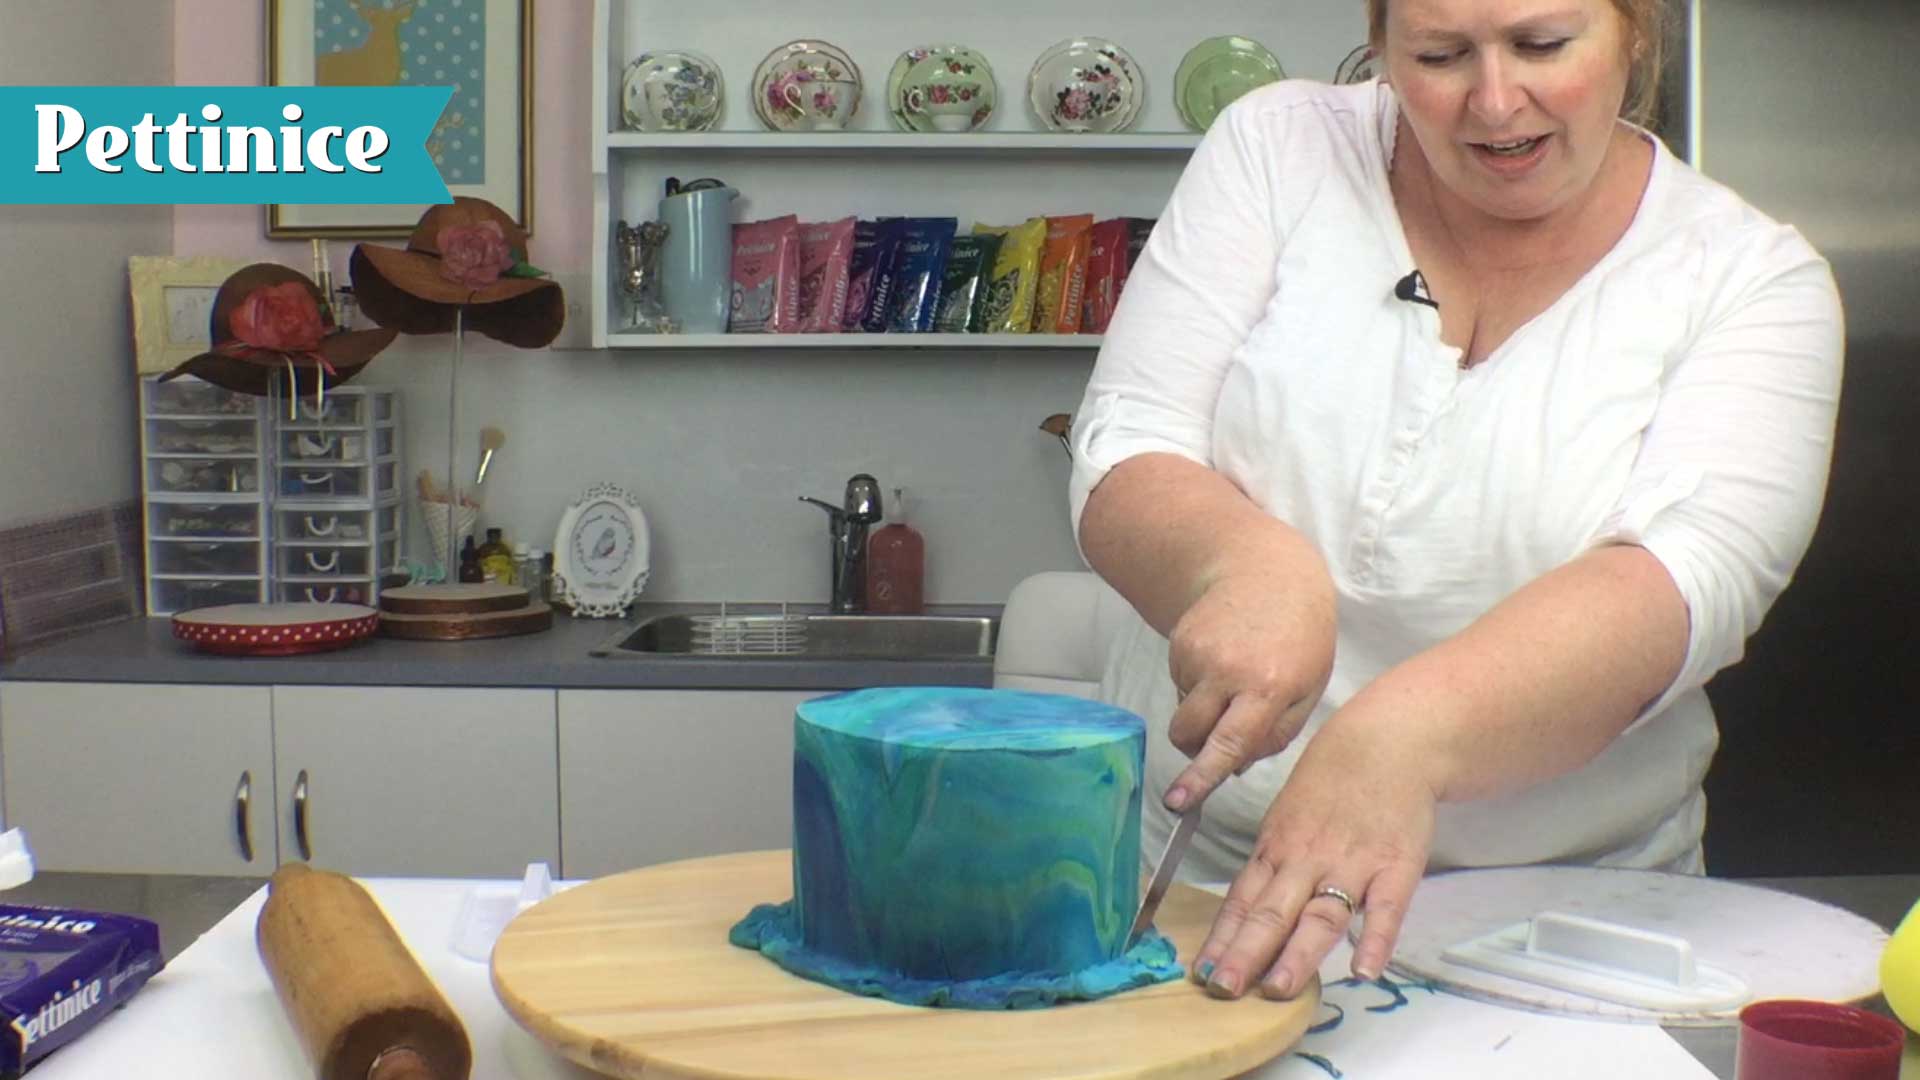 Keeping your knife at a 90 degree angle, trim away excess fondant.
 Fix any creases or folds by pushing down and out.
 Repeat as needed, and trim as before.
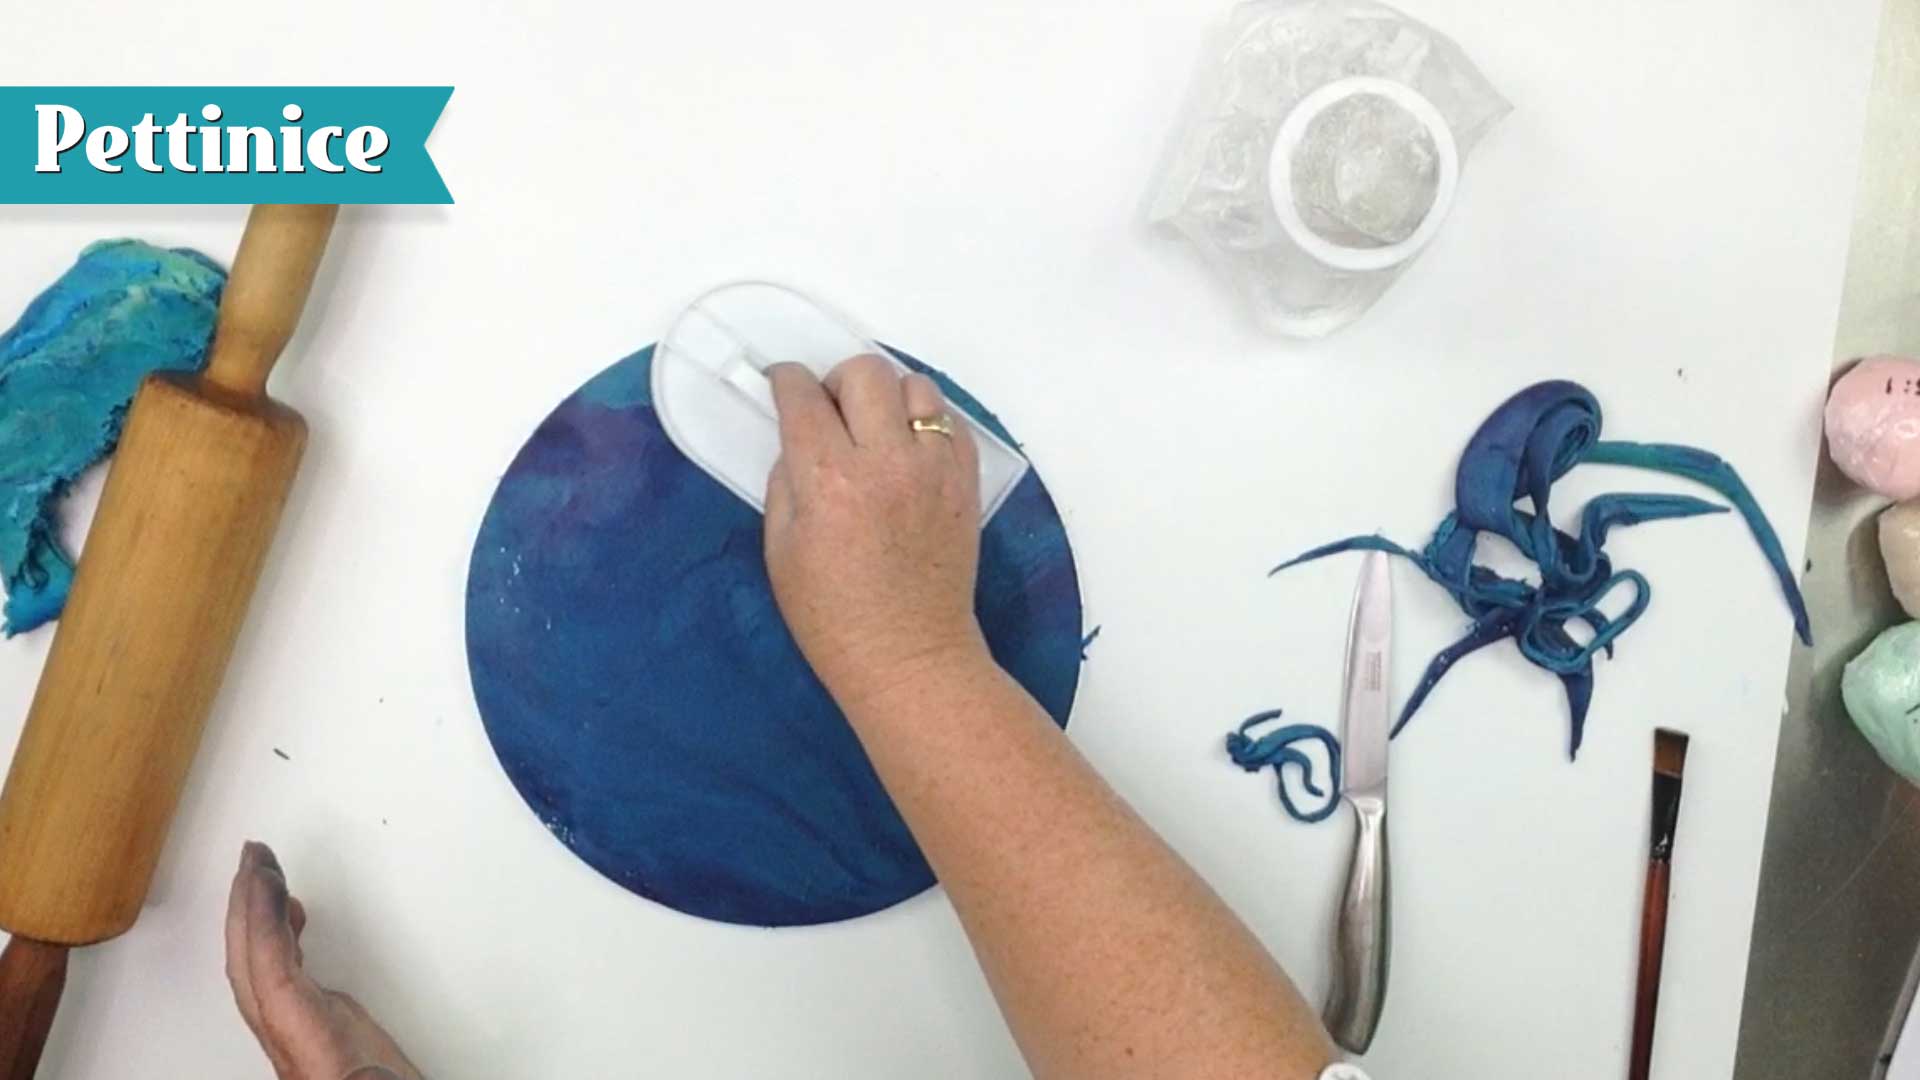
 Use your marbled off cuts, adding purple for a darker board.
 Mix as before.
 Roll directly on your cake board.
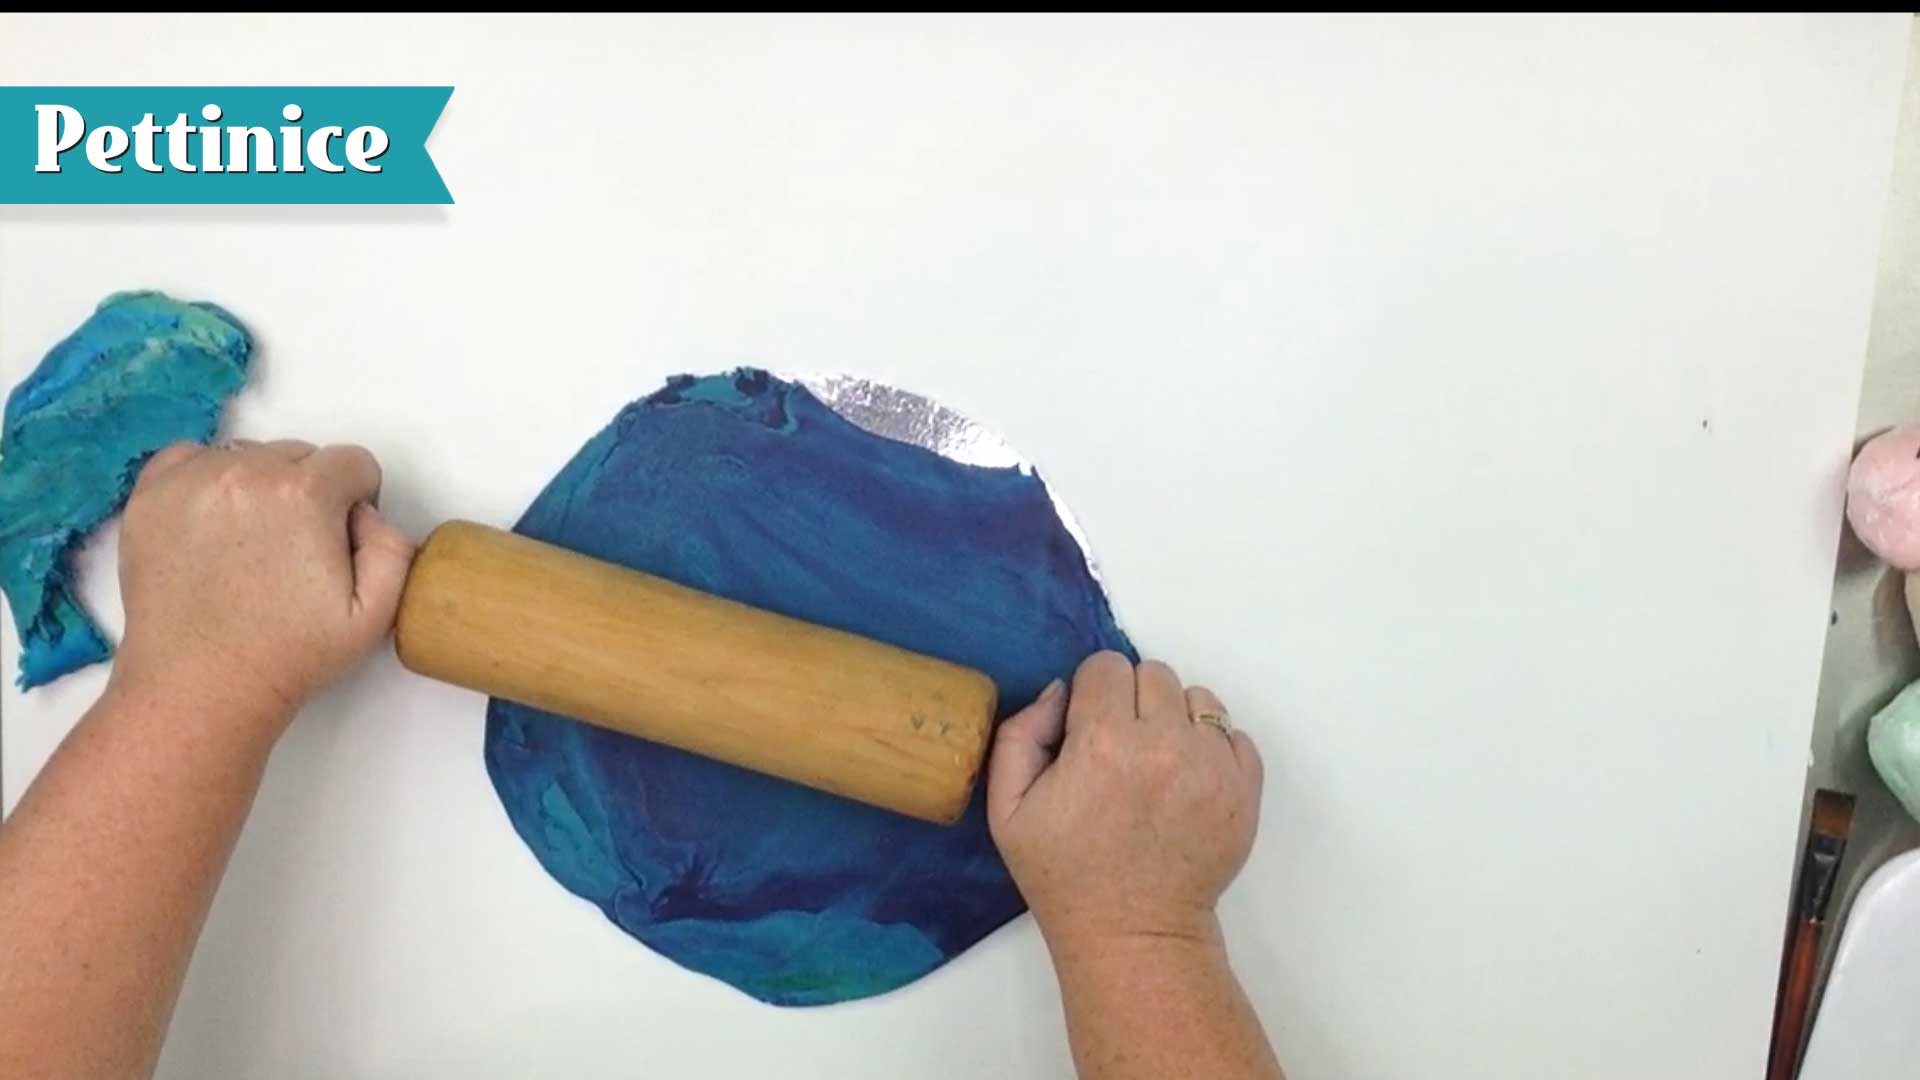
Beautiful shades of blue!
 Trim excess fondant from the board
 One final smooth.
Jo uses a 50/50 mix of jam and water as her glue.
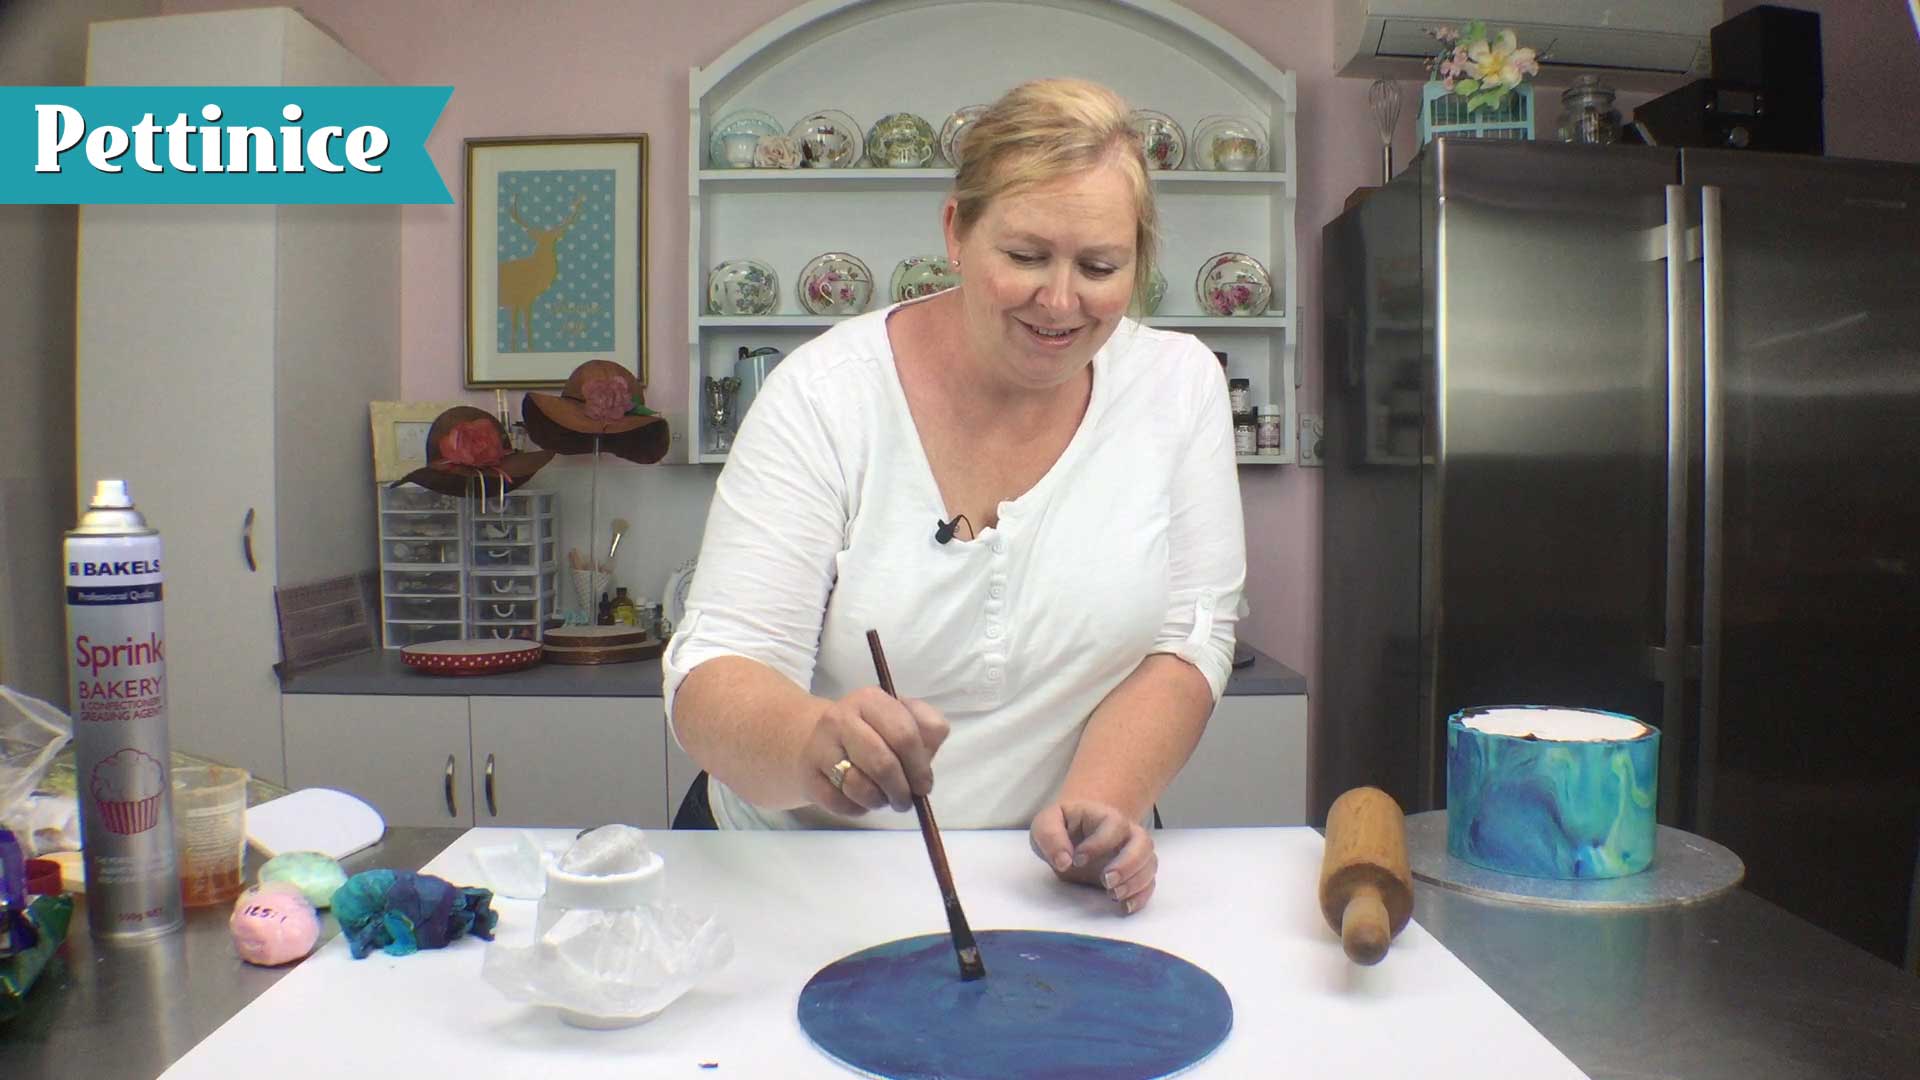 Brush glue
 Place your cake on the board.
Now to make the seashells. You will need a chocolate shell mold, or similar.
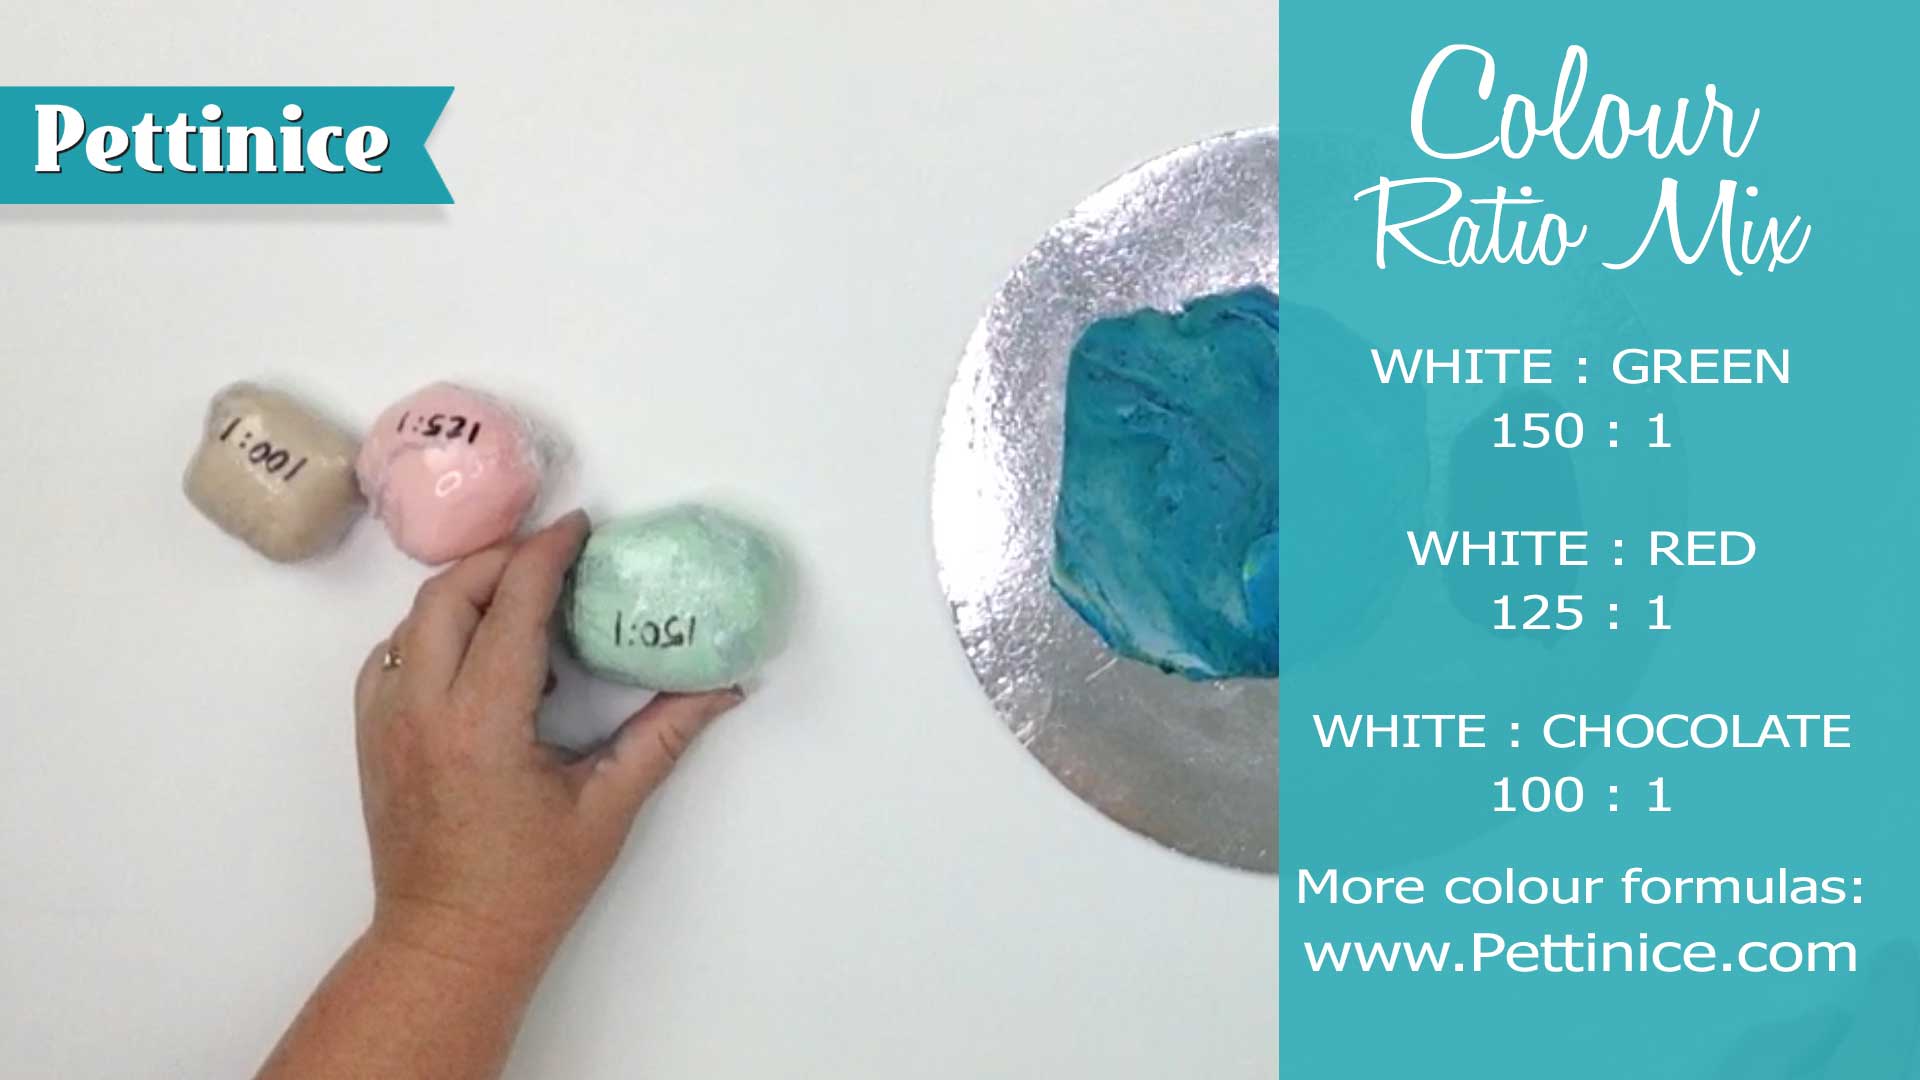
Using the Pettinice colour ratio guide, we chose these three shades to marble for our seashells.
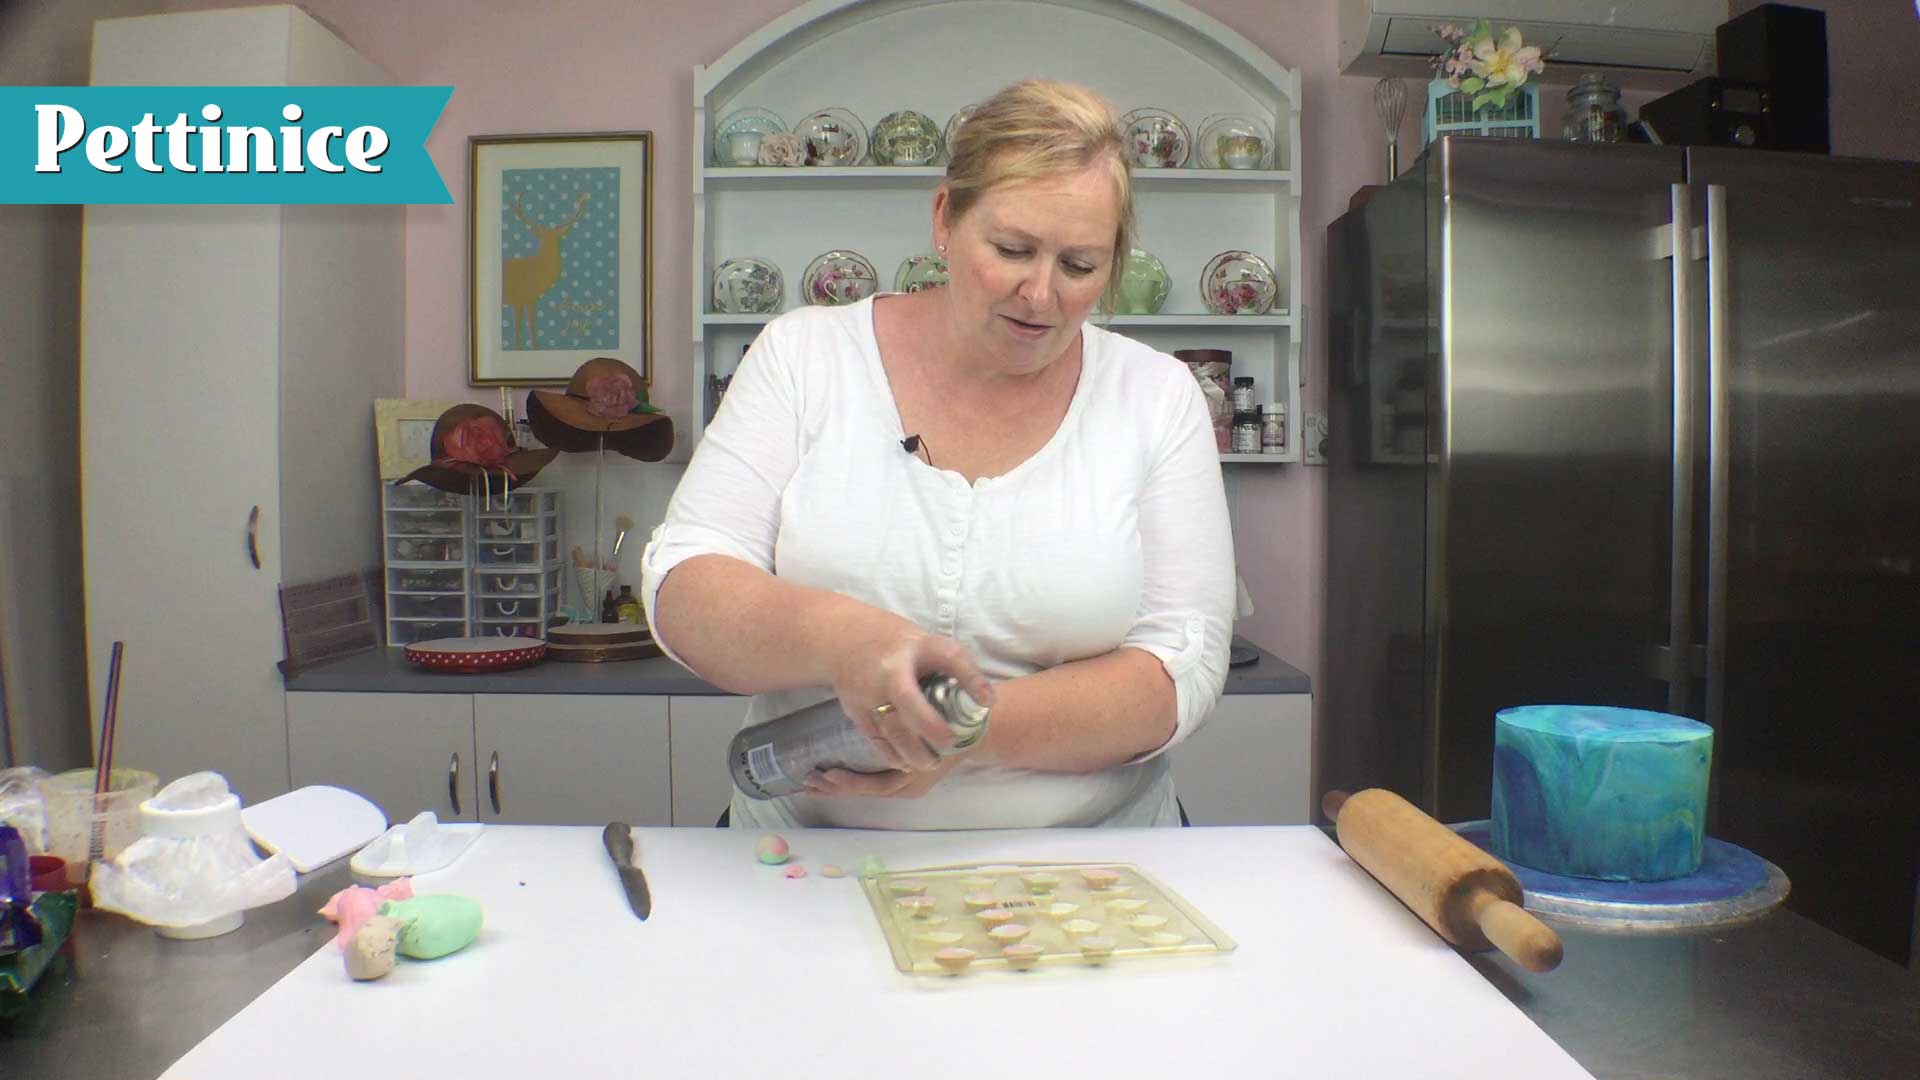 Spray your chocolate mold with light coat of Sprink to stop your fondant sticking. Fill and place in refrigerator for 10 minutes.
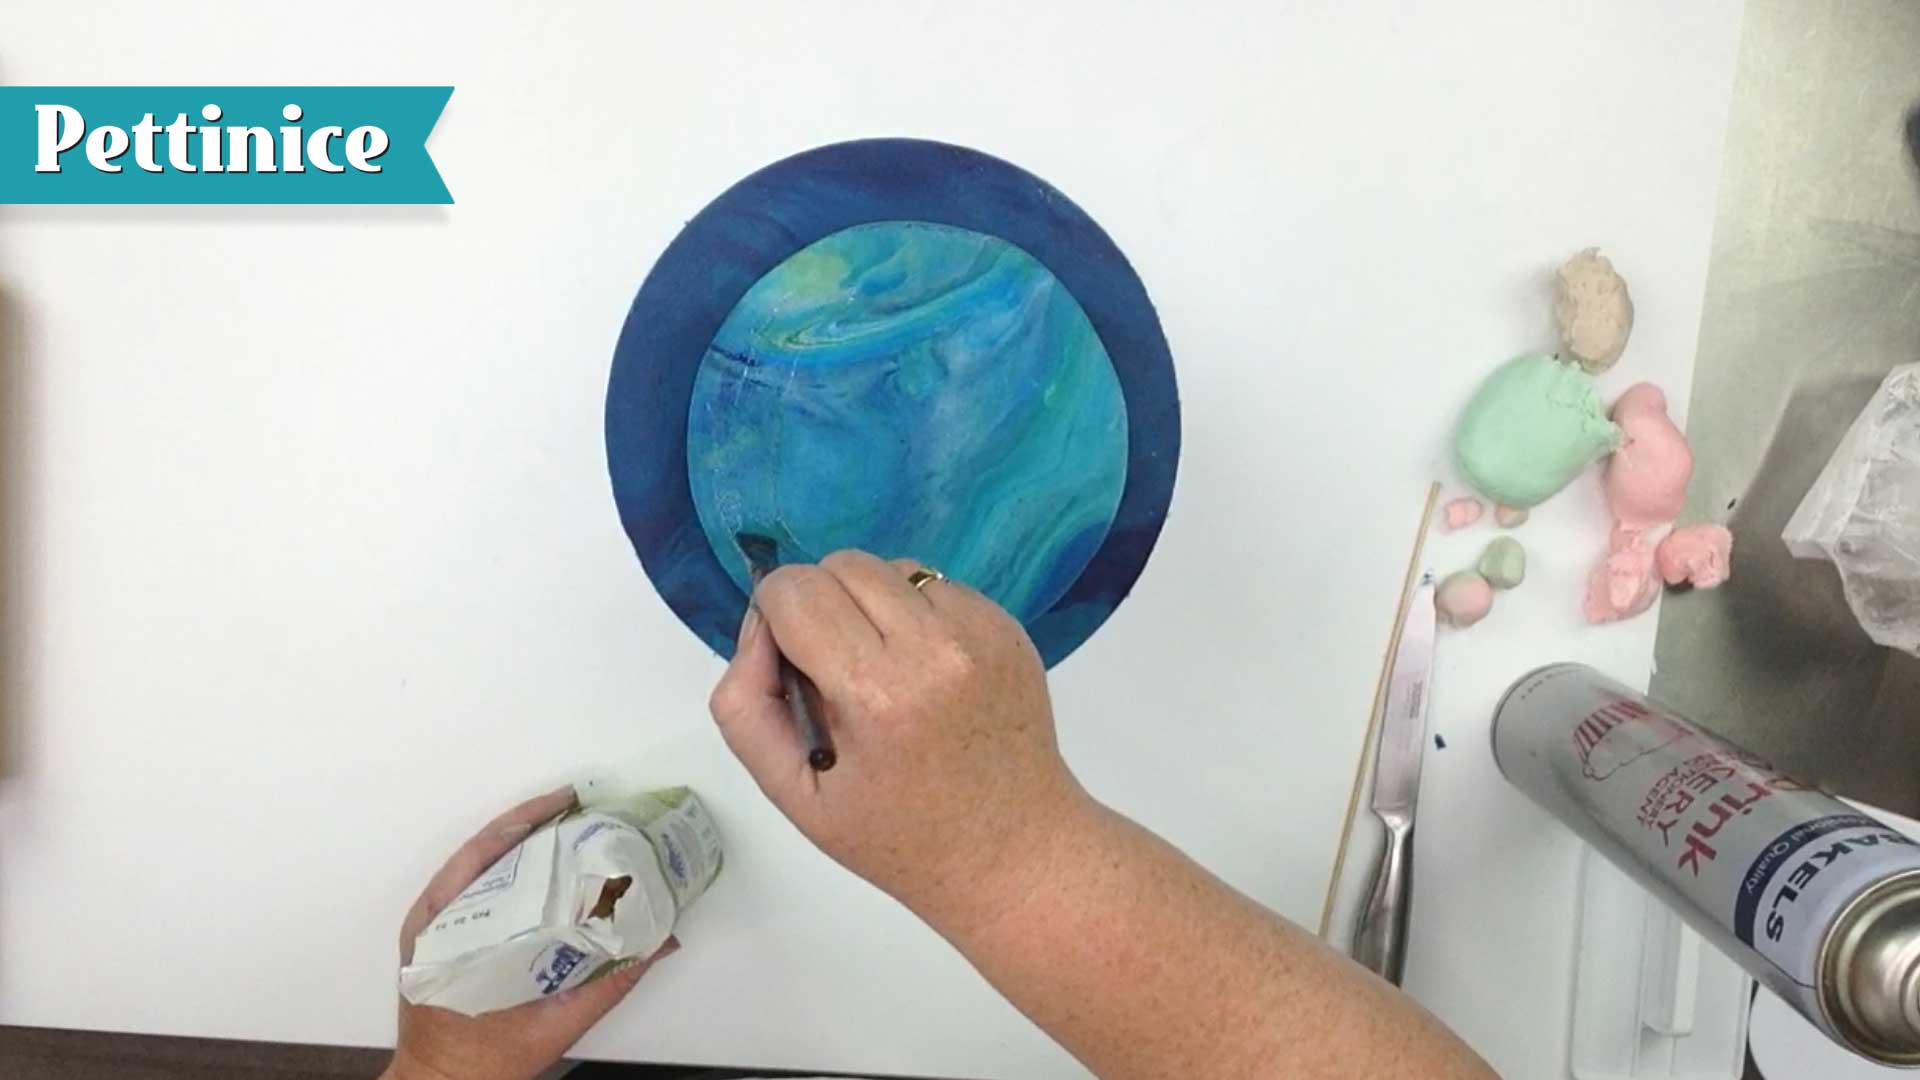
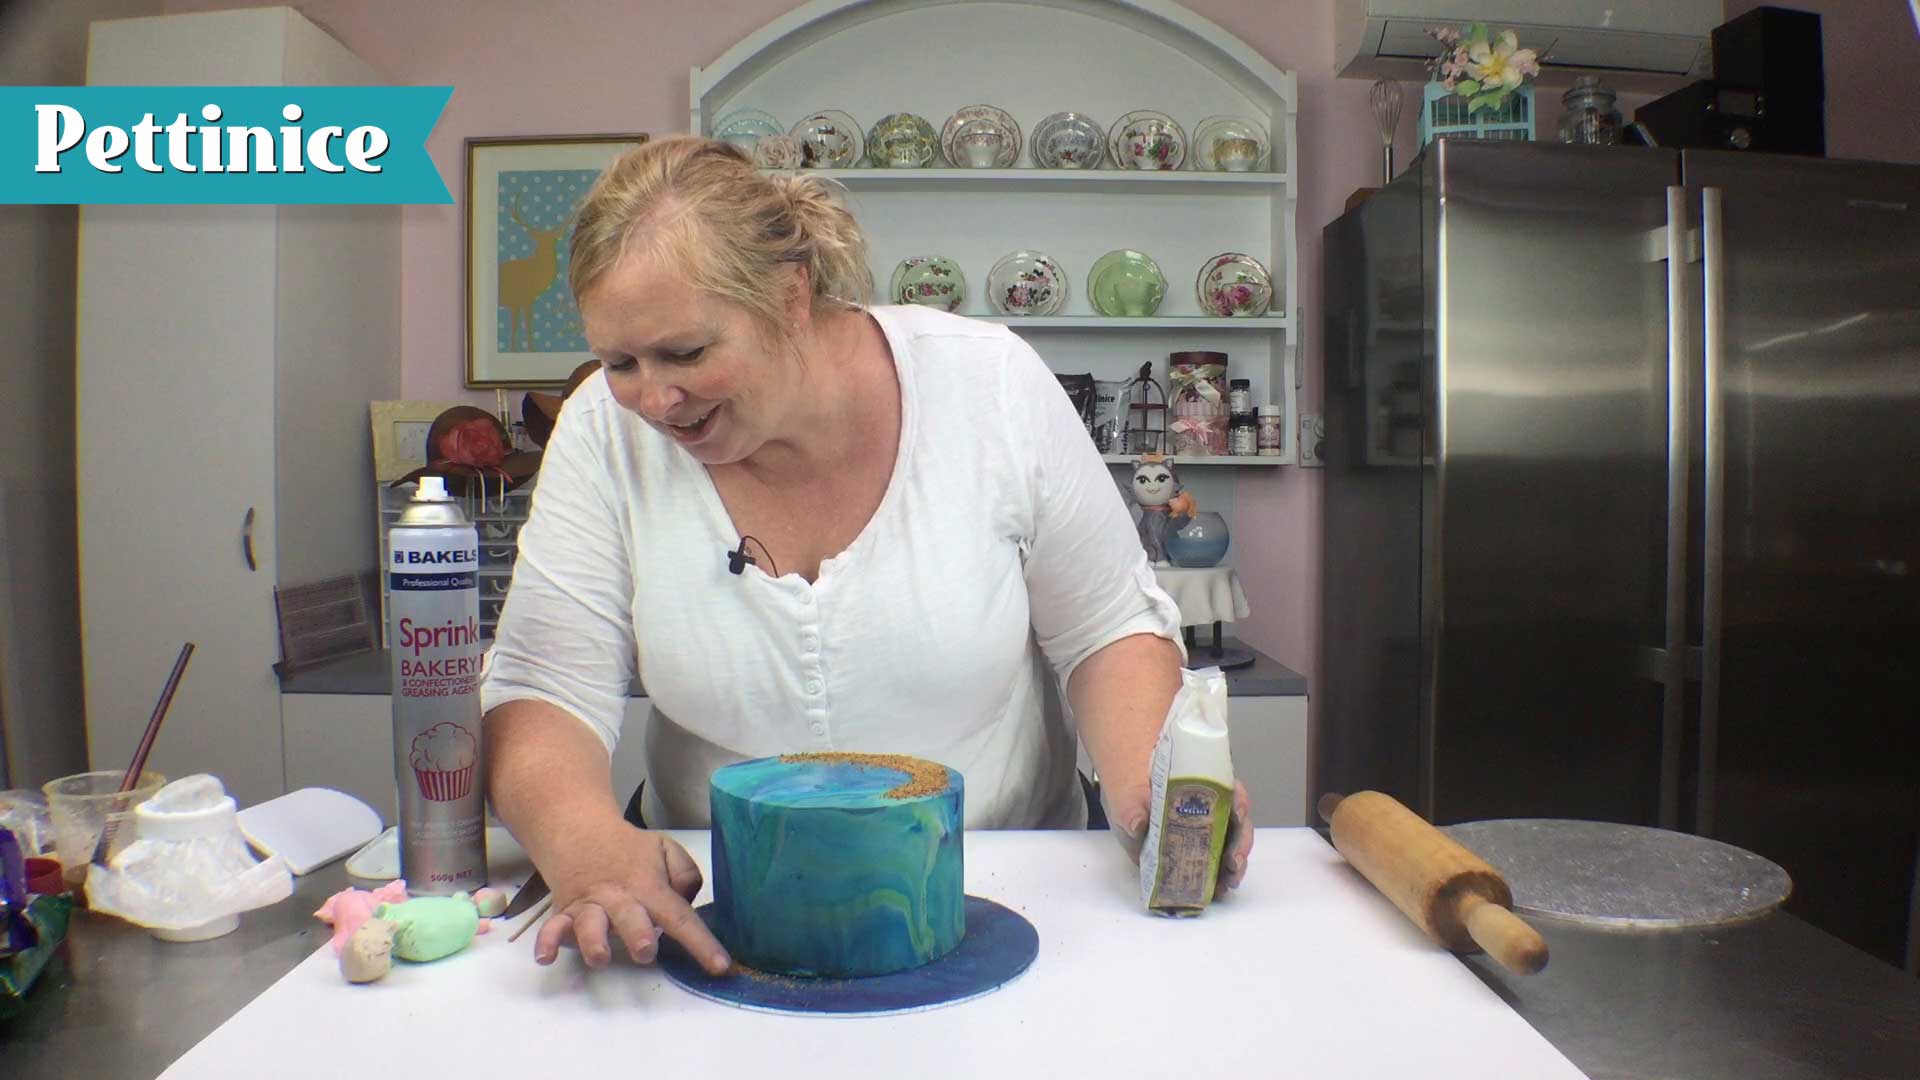
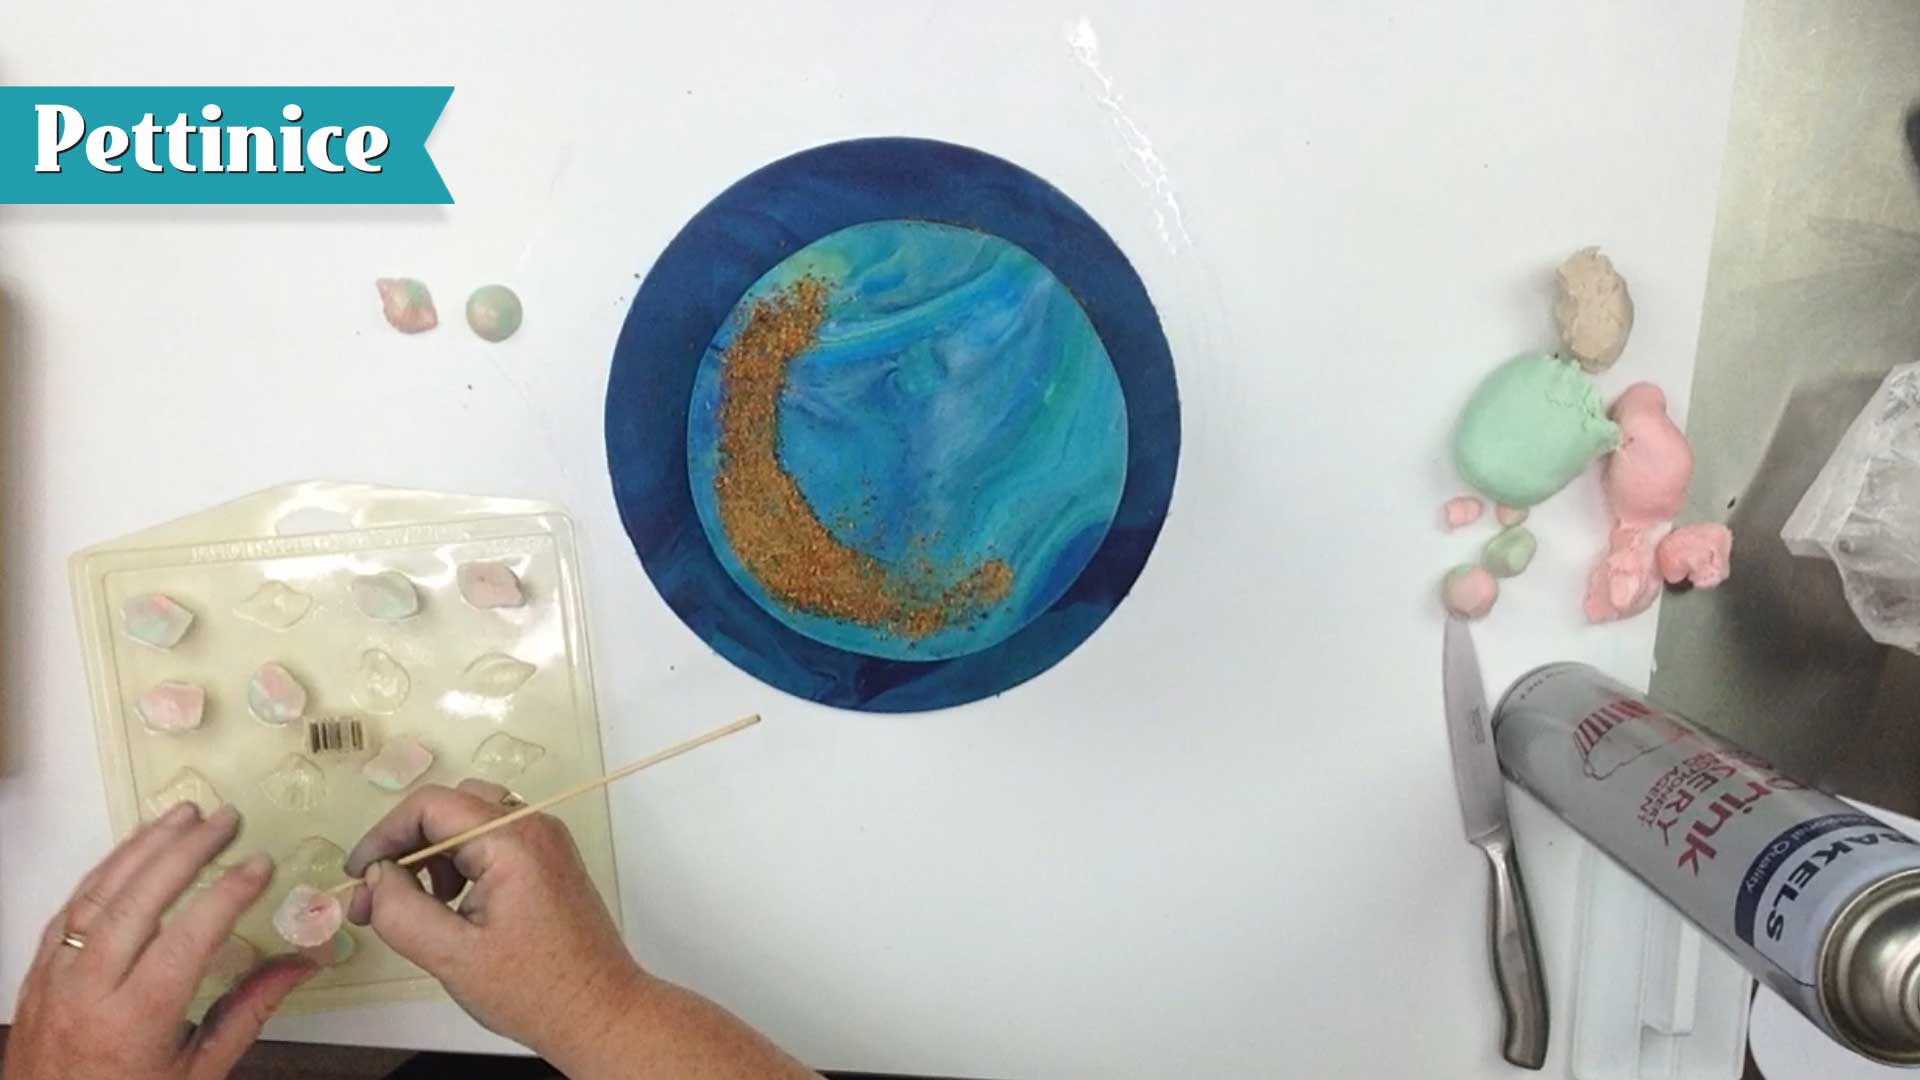
Brush 50/50 jam and water glue for the sugar to stick.
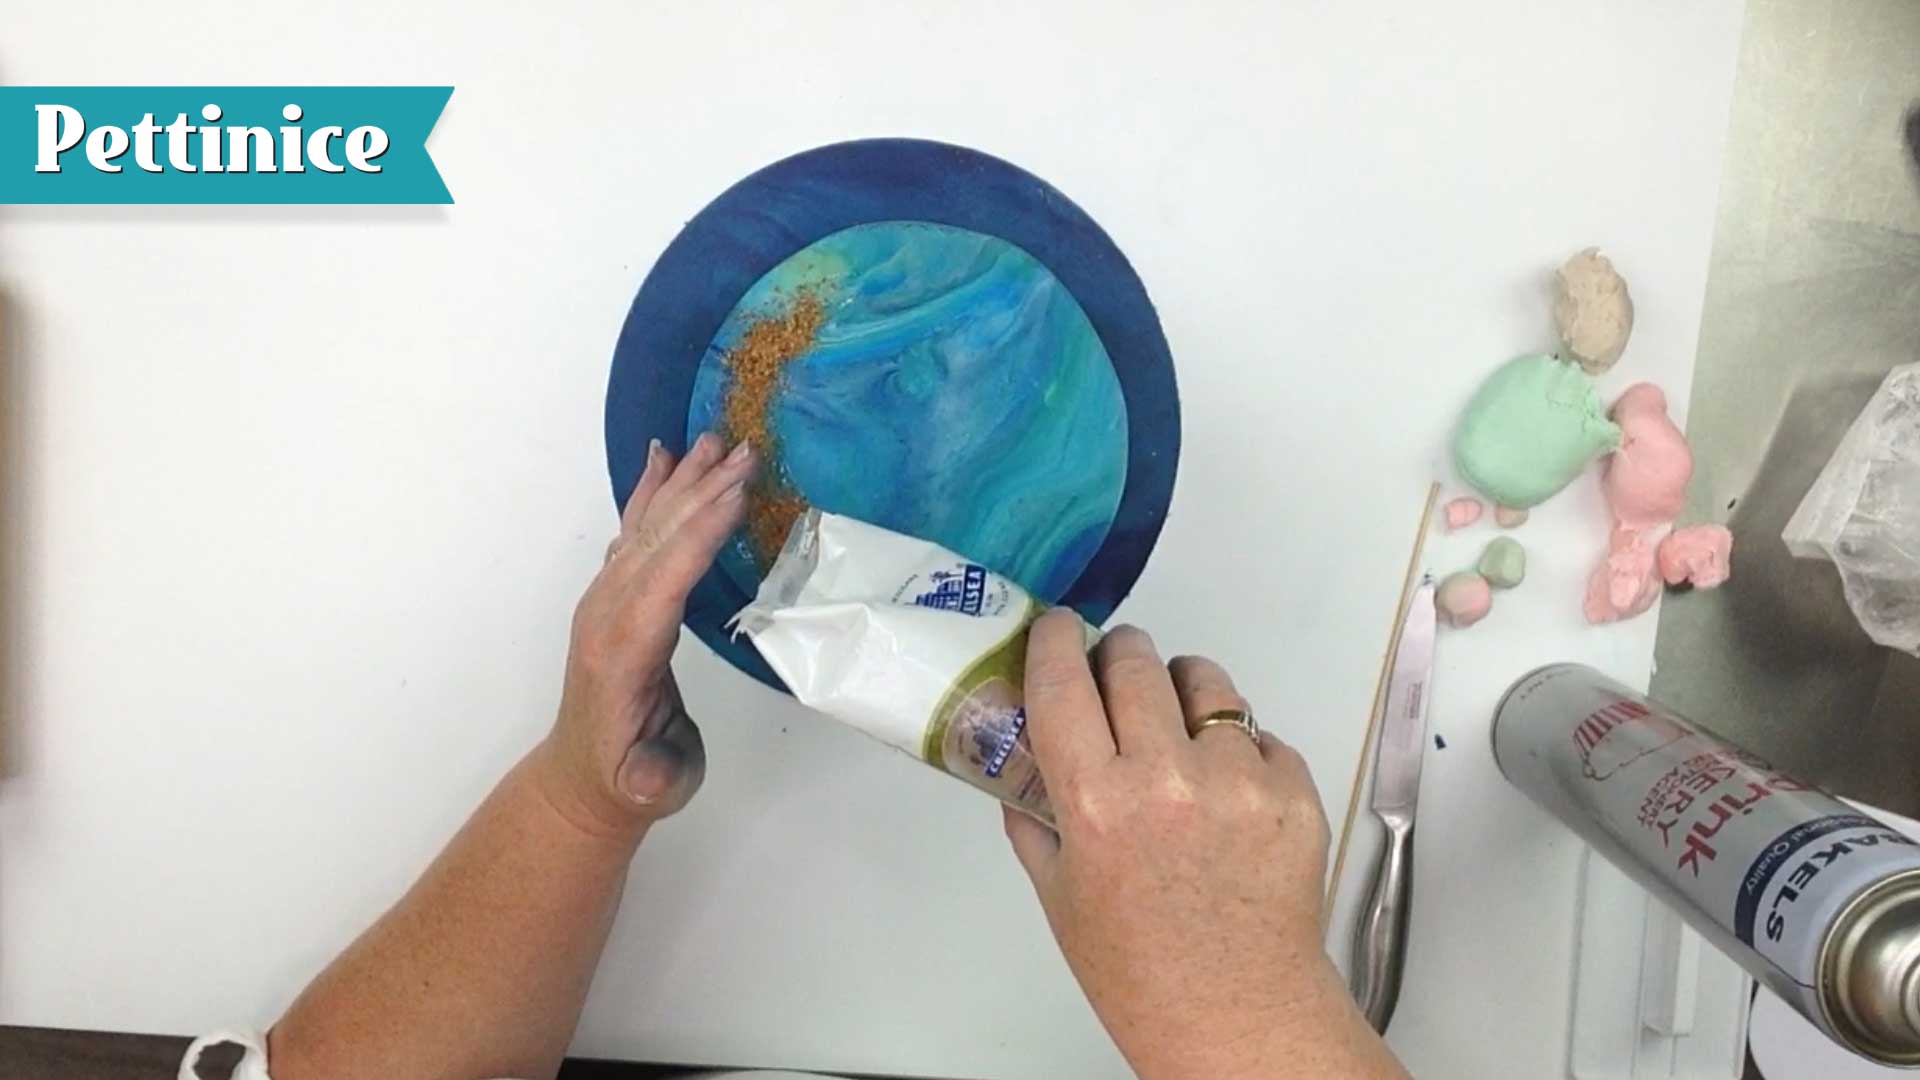 Sprinkle brown sugar onto the cake
 Repeat on opposite bottom.
Use a kebab stick to pull out the shells from the mold. Watch the video to see how it's done.
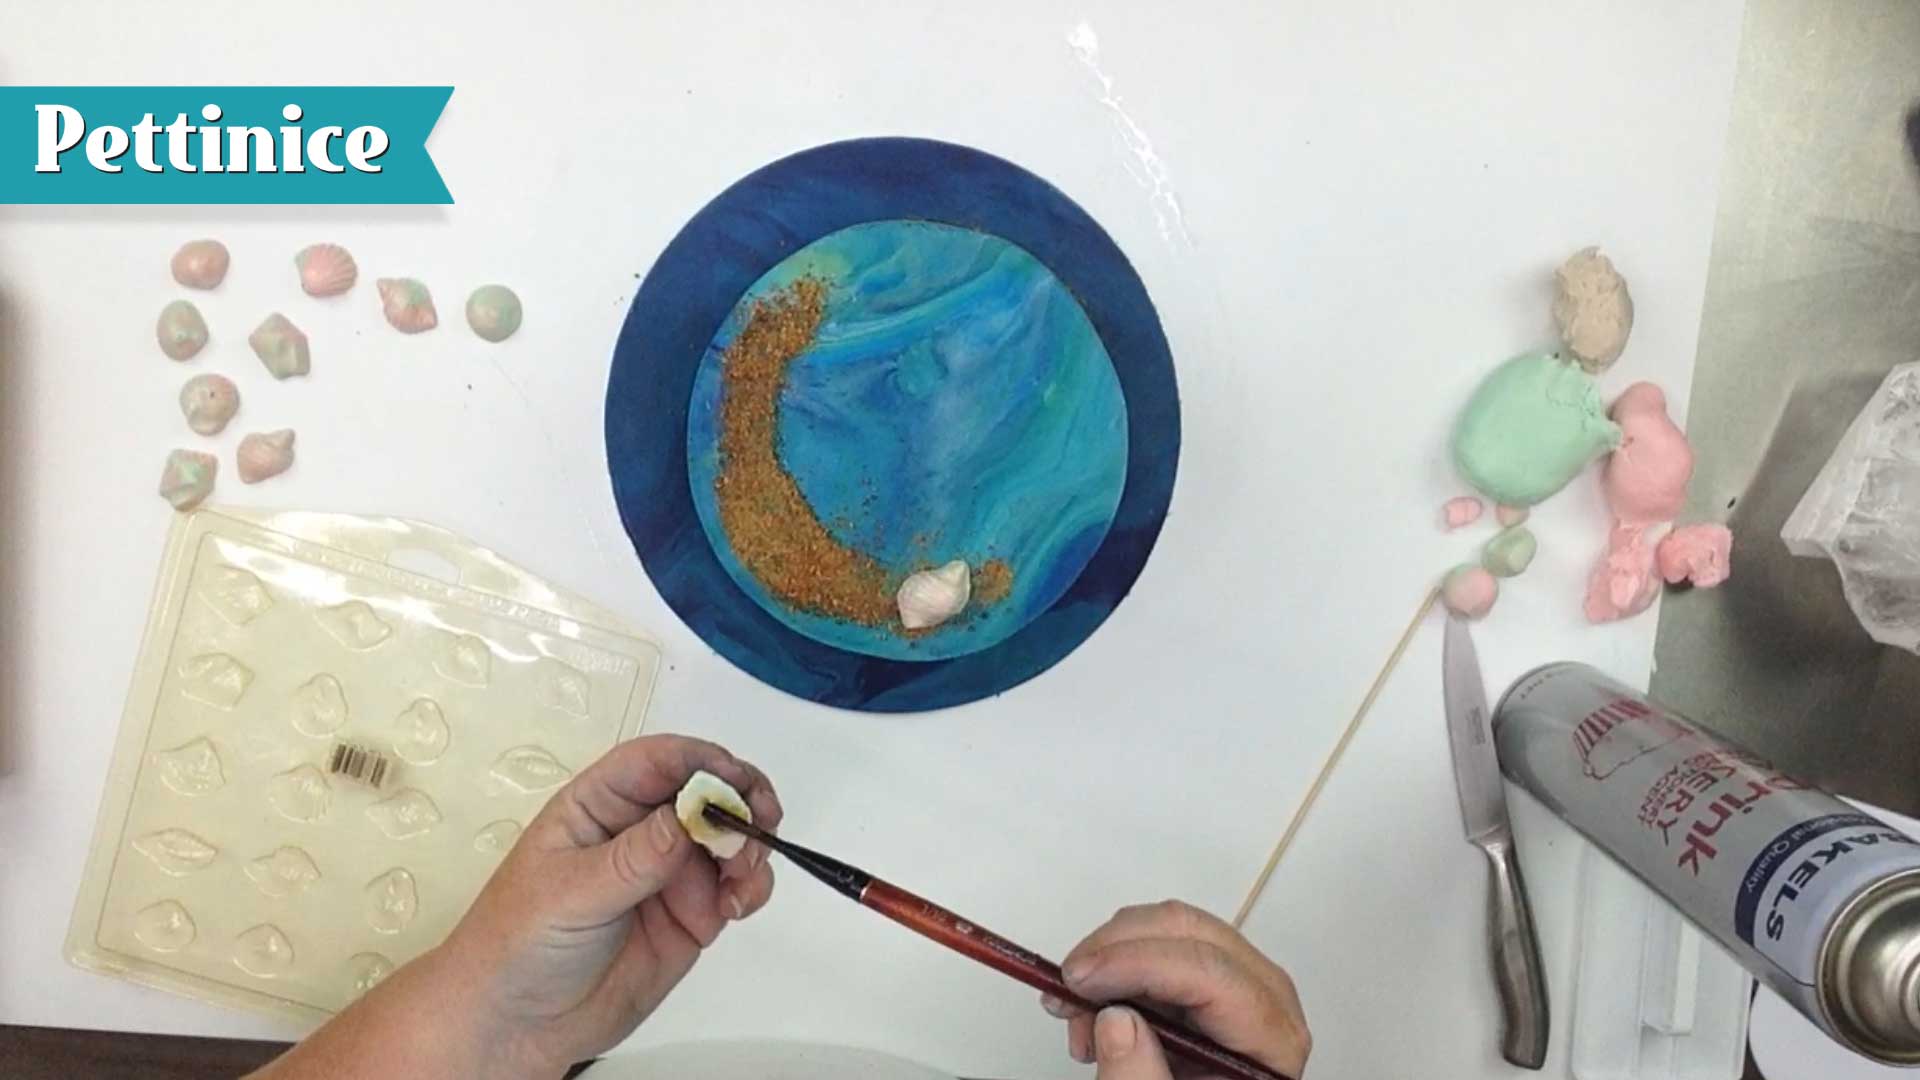 Use edible glue to stick your shells into position
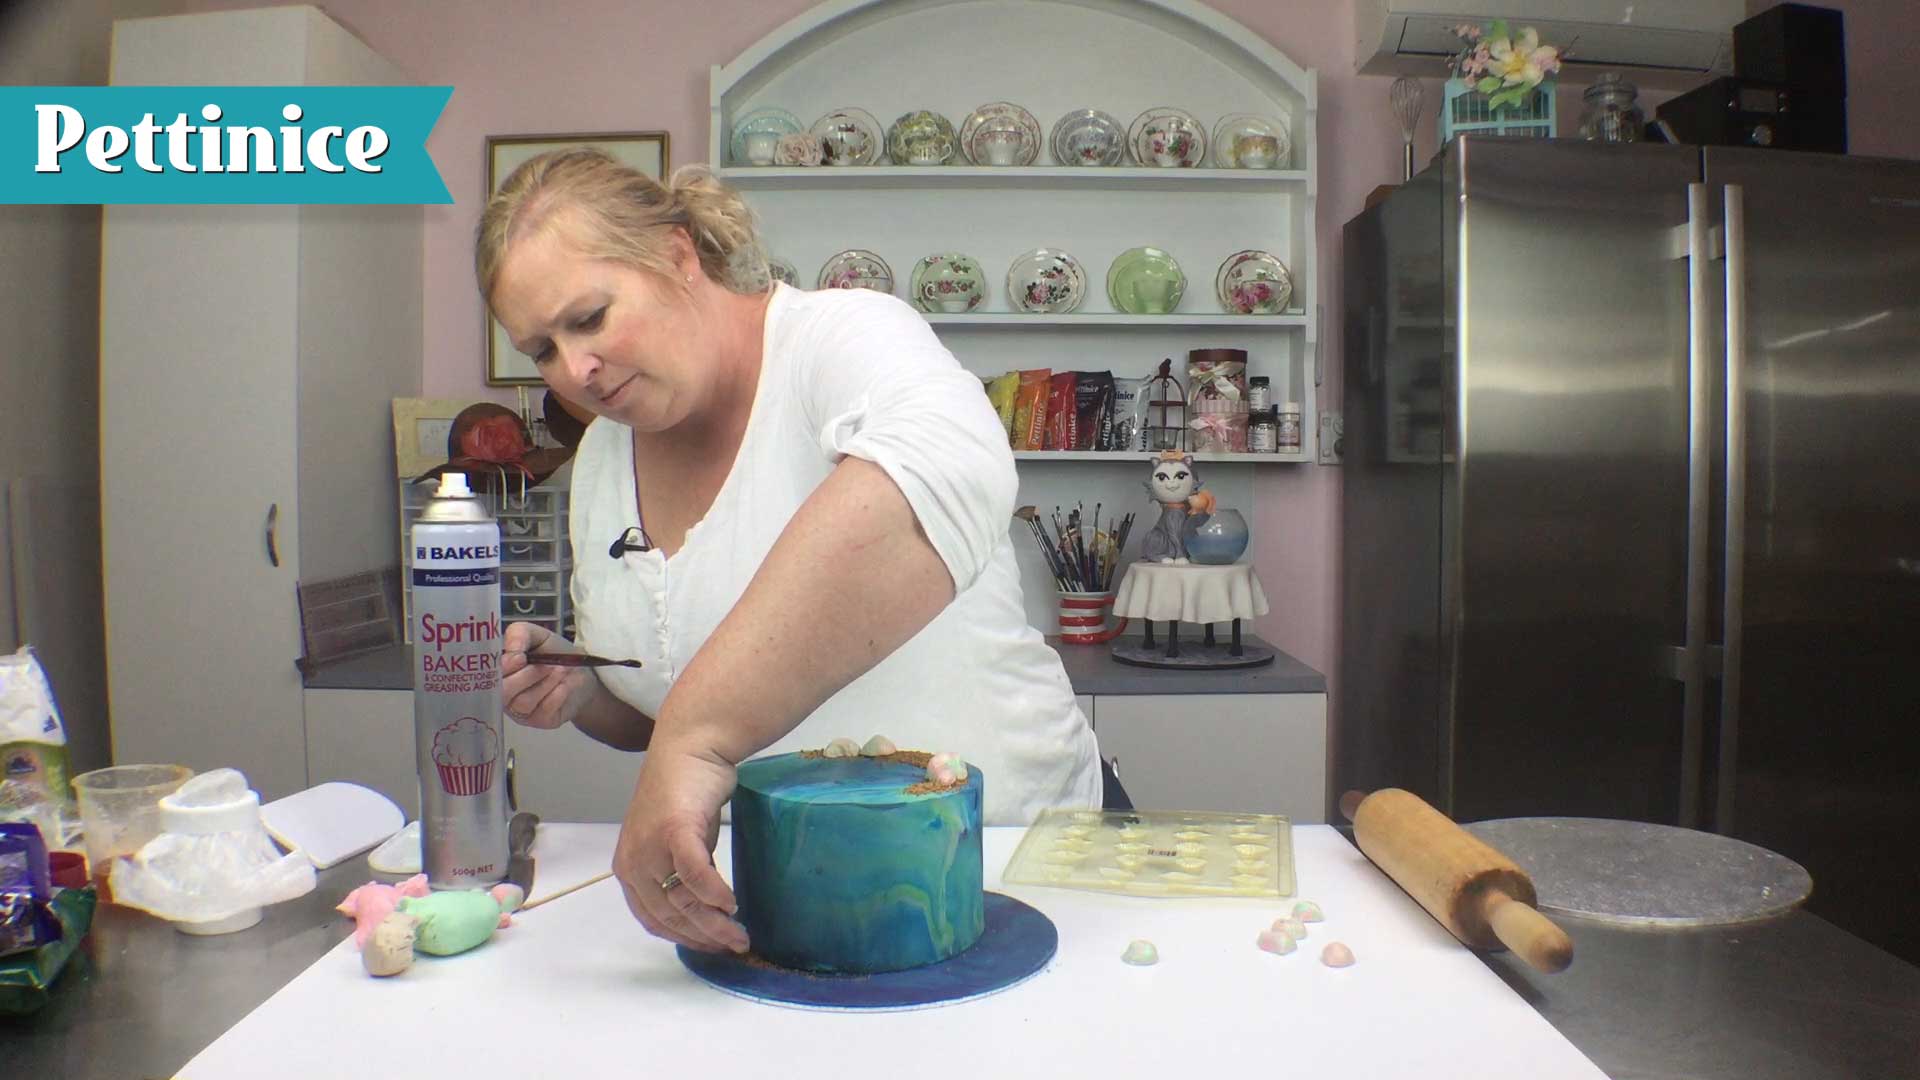 Finish placing shells.

Jo started making cakes for her children around 2001 and her designs have been fun and varied, including an octopus sitting on bananas to a rainbow tree. She laughs when she recalls how terrible her first cakes turned out, but enjoyed making them so much she decided to learn how to decorate a cake properly. Now she enjoys sharing her skills while teaching and demonstrating. Her number one tip: “Patience is a virtue, so spend that extra time to get it right."
See more of Jo's cakes at