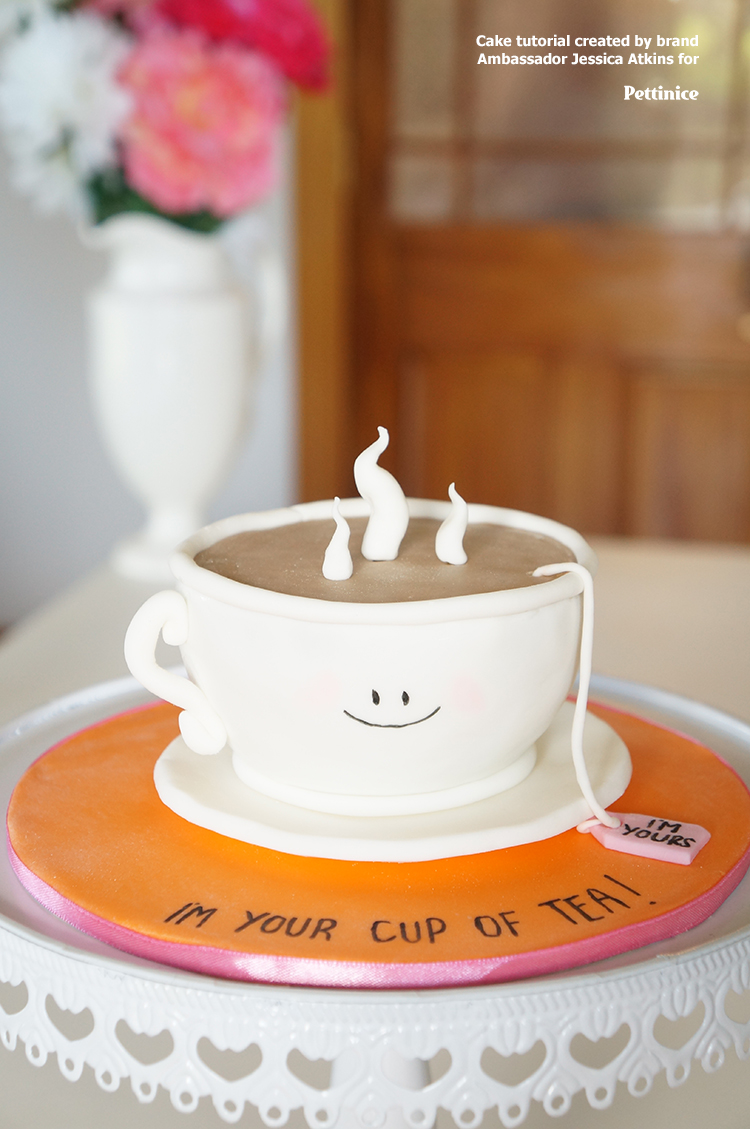
I’m your cup of tea with Jessica Atkins
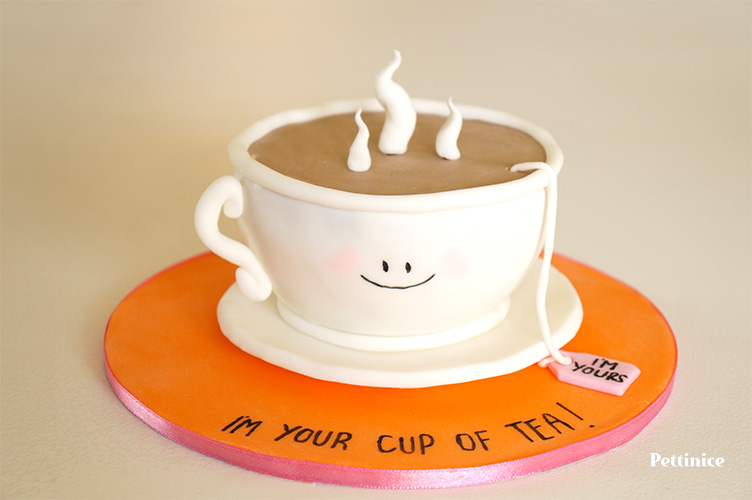
How to make a 3D tea cup cake
Decorating time: 2 hours. Make some pieces the night before.
Skill level: Beginner
You will need:
- 6 inch hemisphere shaped cake that has been iced
- 1 x 750g packet white Pettinice
- 10 grams of brown chocolate Pettinice
- 10 grams of pink Bakels Pettinice
- Sharp knife
- Rolling pin
- Smoother
- Edible glue or water
- Cornflour or icing sugar (to dust your surface)
- Tylose powder
- Edible marker
- Small circle shaped plunger cutter (or a straw)
- A real tea cup saucer
- pink petal dust (optional)
- Cake board covered in orange Pettinice
How to steps
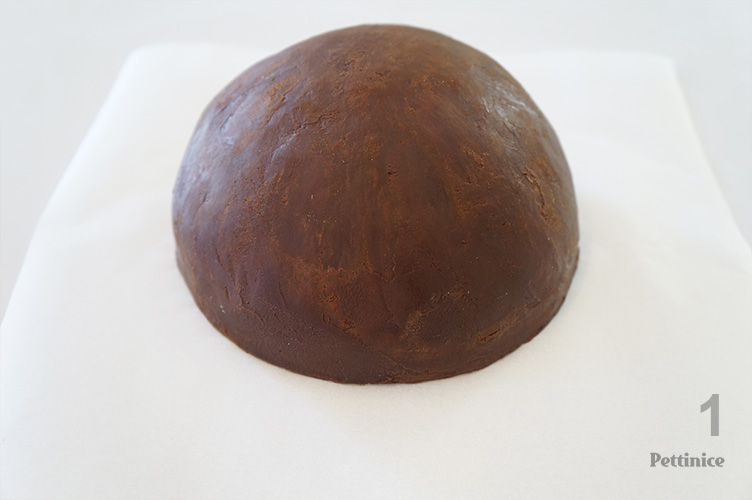
1. Bake and ganache a 6 inch half round cake
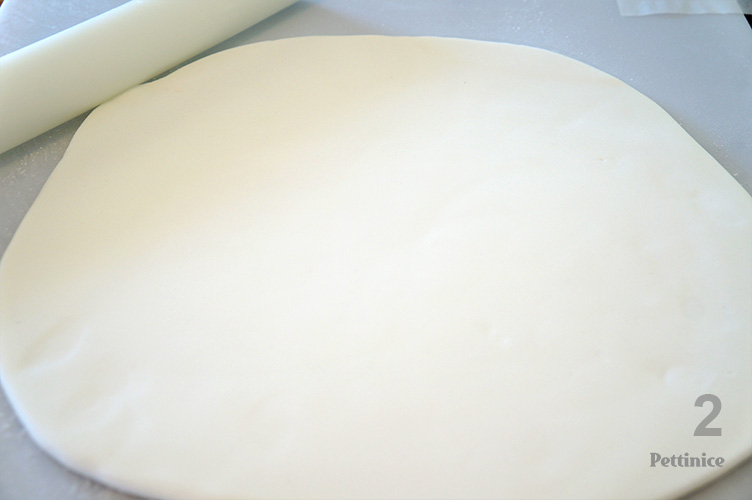
2. Roll out approximately 600 grams of white Pettinice
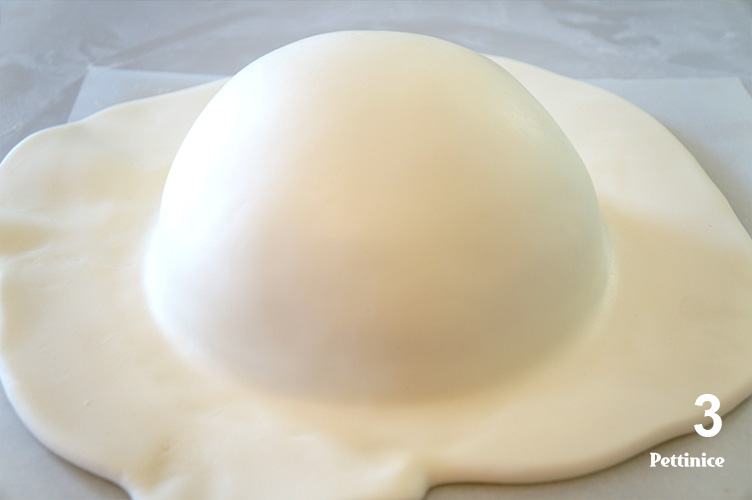
3. Cover your cake with the Pettinice
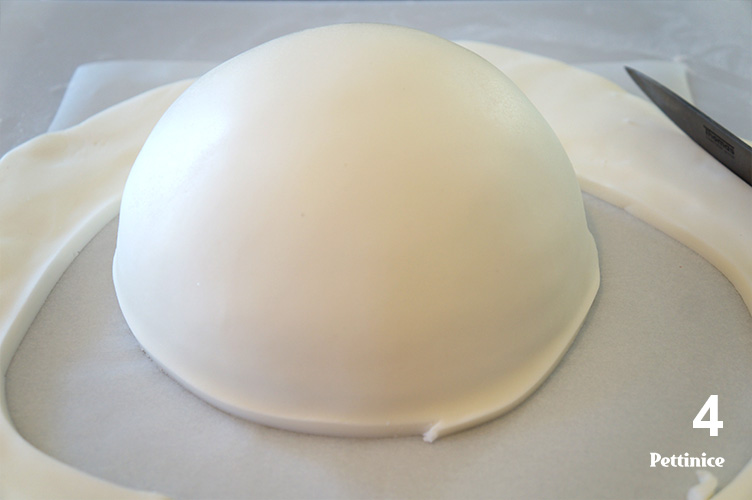
4. Trim Pettinice closely to the edge
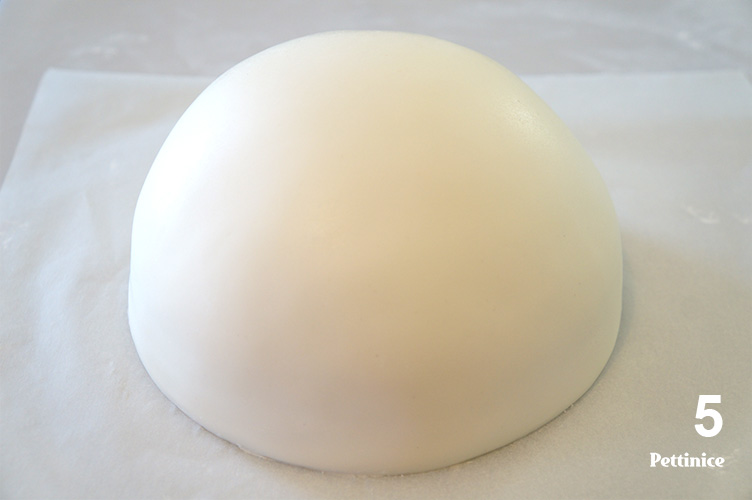
5. Use a smoother (or your hands) to smooth Pettinice and do one final trim
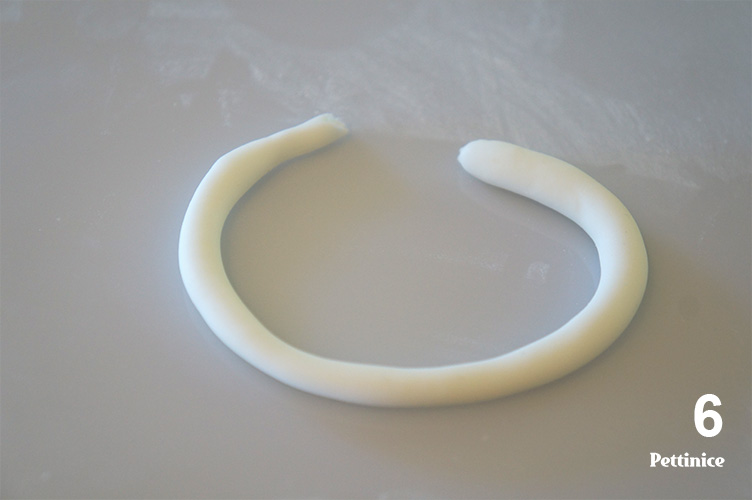
6. Roll out a long sausage shape of white Pettinice
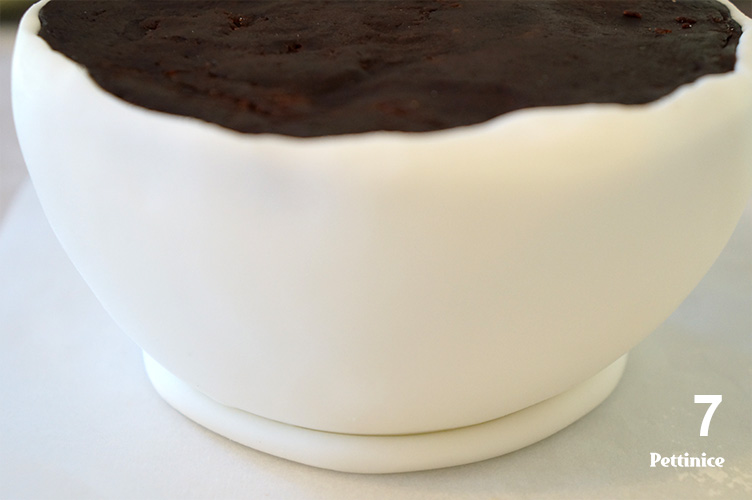
7. Turn the cake over and using the edible glue adhere the sausage shape to the bottom of the cake to look the base of the tea cup
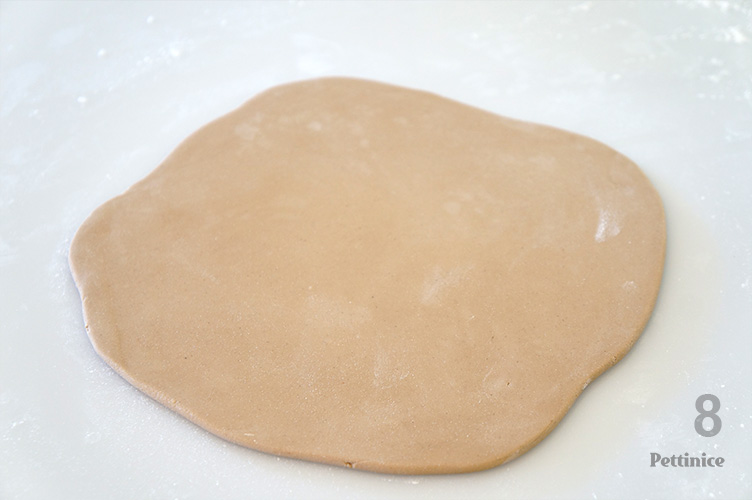
8. Colour mix 100g of white and 10g of chocolate Pettinice and roll out 2-3 mm thick
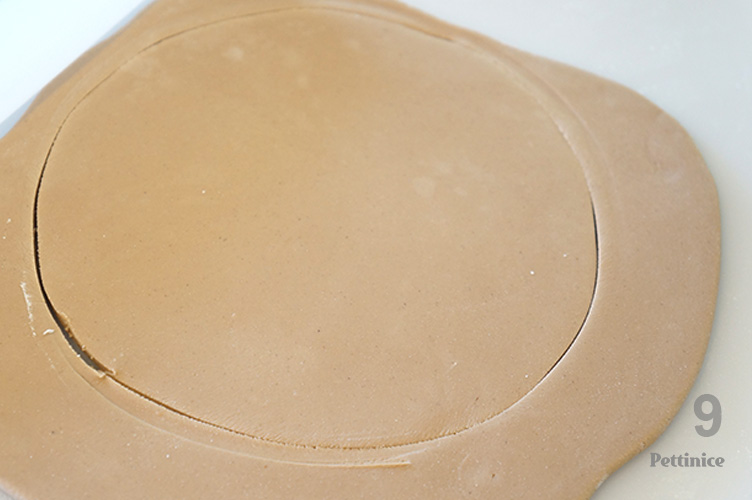
9. Use tin used to bake dome as guideline to trim using sharp knife. Cut inside the line so that it fits nicely

10. Use edible glue or water to adhere the "Tea" coloured Pettinice to the top of the cake and then smooth to create a tidy finish
11. Roll out another long thin sausage of white Pettinice and use edible glue to adhere it the outer edge of the cake. Creating the lip of the tea cup and also hiding the rough edge
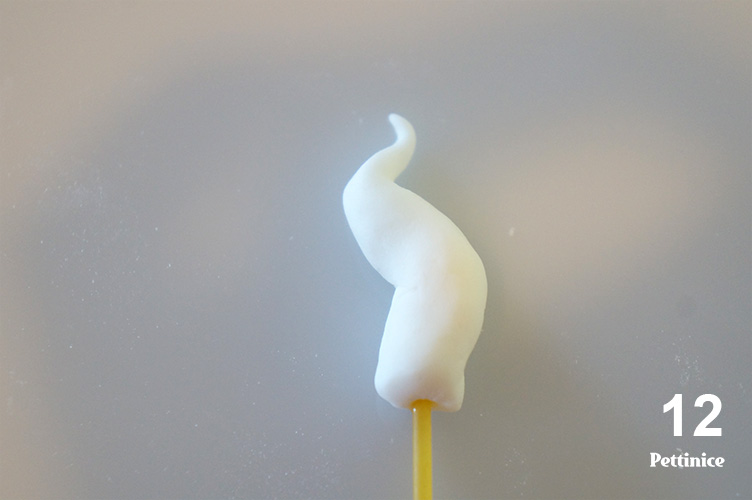
12. Roll out thin pieces of "Steam" out of white Pettinice and use edible glue to insert pasta inside

13. Create three pieces of "steam" and using the pasta to insert them into the cake.
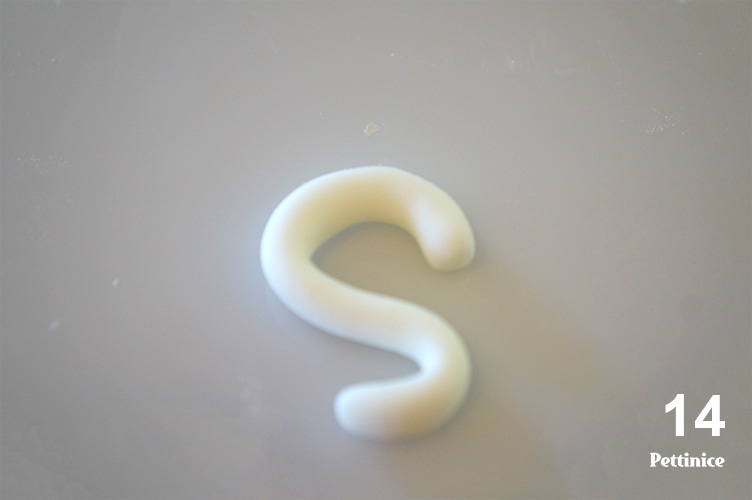
14. Roll out a small white sausage and shape it into a tea cup handle shape, allow this to dry (this step can also be done the prior day to allow further drying time)
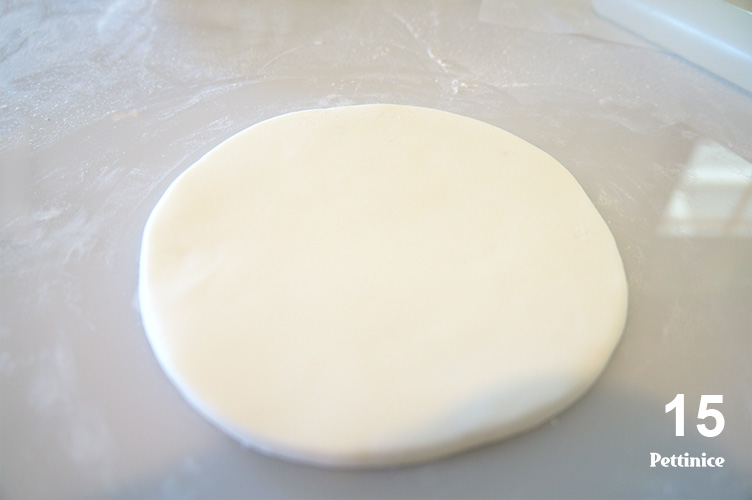
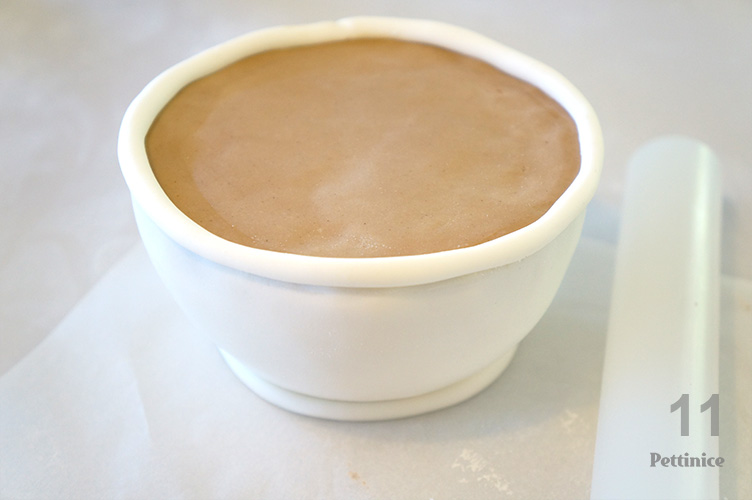
15. Mix approximately 100 grams of white Pettinice with 1/4tps of Tylose powder and then roll out and cut into a circle shape that is large enough to be a "Saucer"
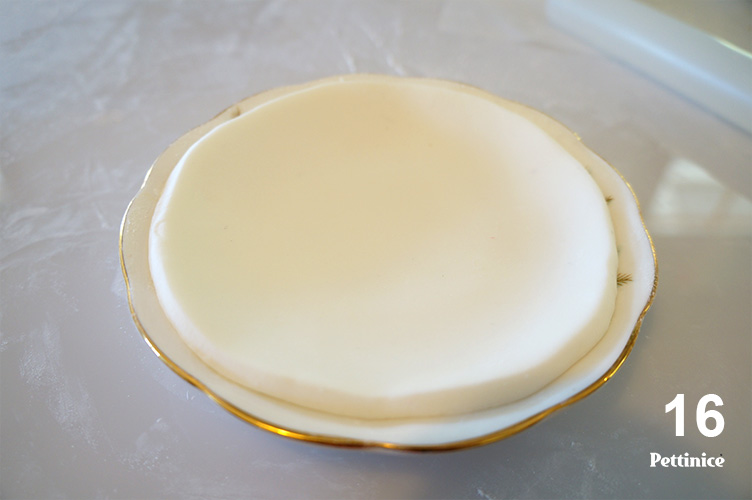
16. Dust the real saucer heavily with either cornflour or icing sugar and allow your piece of fondant to dry on top of the saucer to create the saucer shape, this step can also be done a day before for additional drying time but the addition of Tylose Powder helps the drying time)
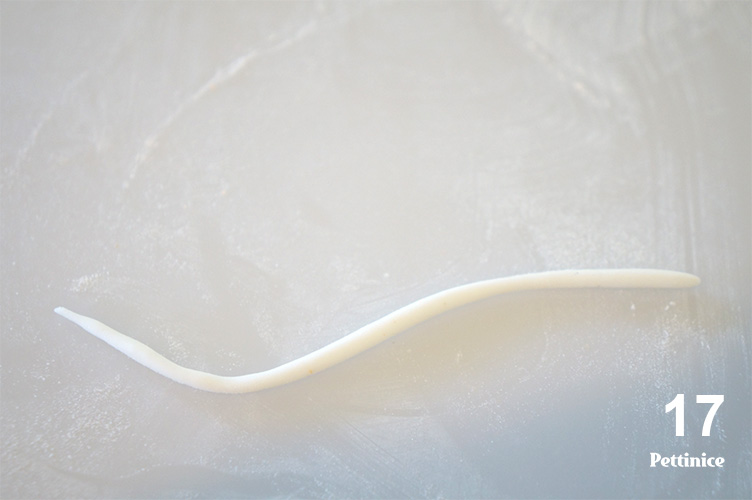
17. Roll out a very thin piece of white Pettinice to look like a piece of string
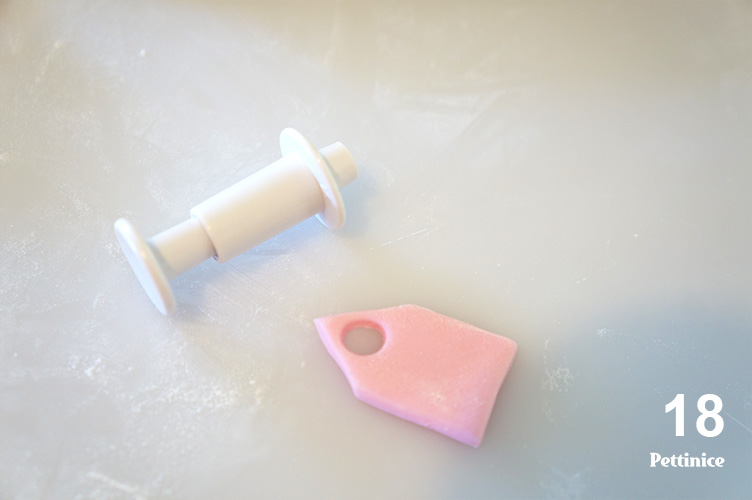
18. Roll out the Pink Pettinice thinly and cut into the shape of a "Tag" and cut hole. Thread the thin "string" into the pink "Tag" and place it so it appears to be hanging out of the Tea Cup. Use the edible marker to write your desired text, for example "I'm Yours"
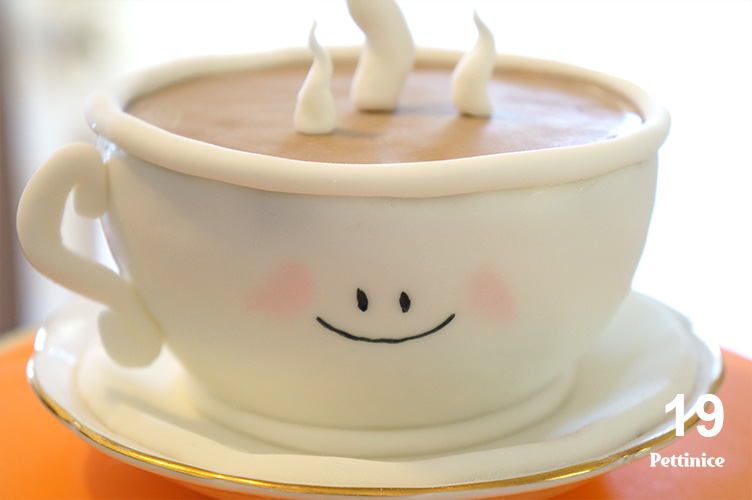
19. Use edible glue to adhere the tea cup handle. (Royal Icing or melted chocolate can also be used for this step). Use edible marker to draw a smiley face on the tea cup, draw the two eyes and the mouth. Pink petal dust can be lightly brushed on to give the effect of rosy cheeks.

Jessica a self-taught cake decorator who has two beautiful children who were her initial reason for first trying her hand at cake decorating. It has since become her passion. Jessica has won awards for her cakes, and her work has been published in several magazines. Her favourite thing about cake decorating is the creative outlet and that there are so many elements of cake decorating such as sculpting, hand painting, creating sugar flowers and more. She loves to incorporate textures and colours to achieve unique pieces of art.
You can find Jessica on Facebook and Instagram. ![]()
![]()