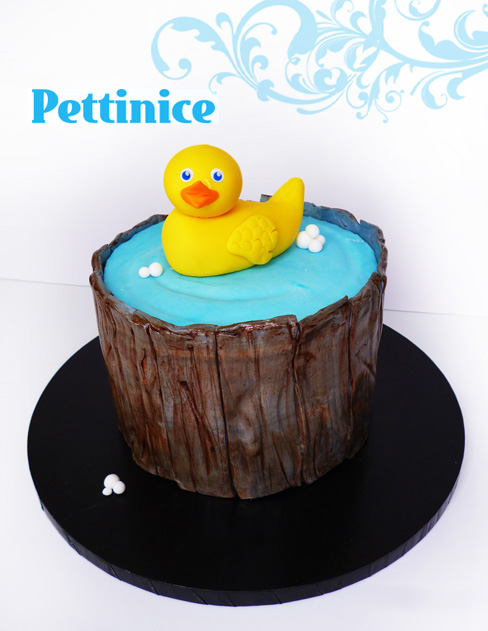
Rubber Duck Cake
Tutorial with Joanne Tan and Nina Blackburn
Decorating time: 1 hour
Decorating skill: Beginner
This cake project was created with a single pack of white Pettinice, and a 4-colour combo pack of Pettinice.
You will need:
- 1 packet of Pettinice White
- 1 box of Pettinice mix (yellow, red, blue and black)
- 1 tsp cocoa powder
- Small cup of water
- Ganached cake
- Bake, tort and ganache your cake on a board as per normal. We used a 7” cake round that was 5” tall.
Tools:
- Toothpick
- Drinking straw
- Small paint brush
- Scissors
- Fondant smoother (optional)
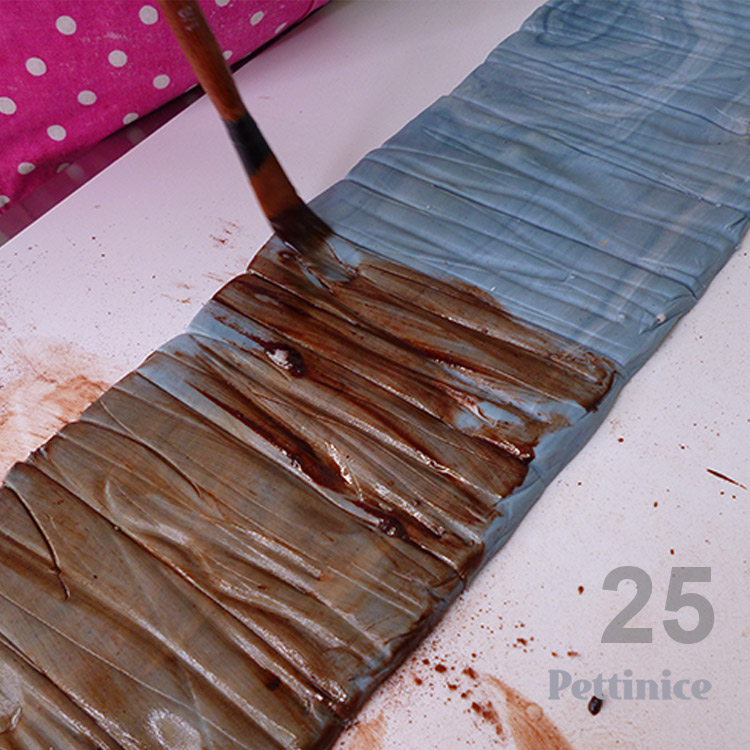
Cool tip: Use cocoa powder to paint wooden colour onto your fondant.
Add any final details you want, like the name of the person, bigger bubbles, banners, birthday number on the front of the cake, or even create a little piece of inscribed soap. We would love to see what you create!
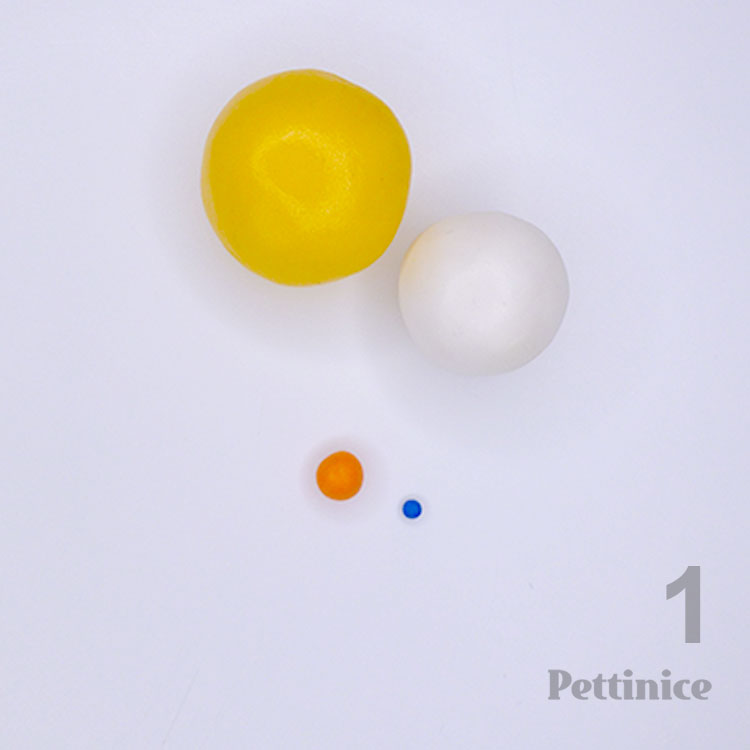


Creating duck body and wings:
- Mix 100g Pettinice Yellow with 60g Pettinice white. Divide as follows:
40g Head
110g Body
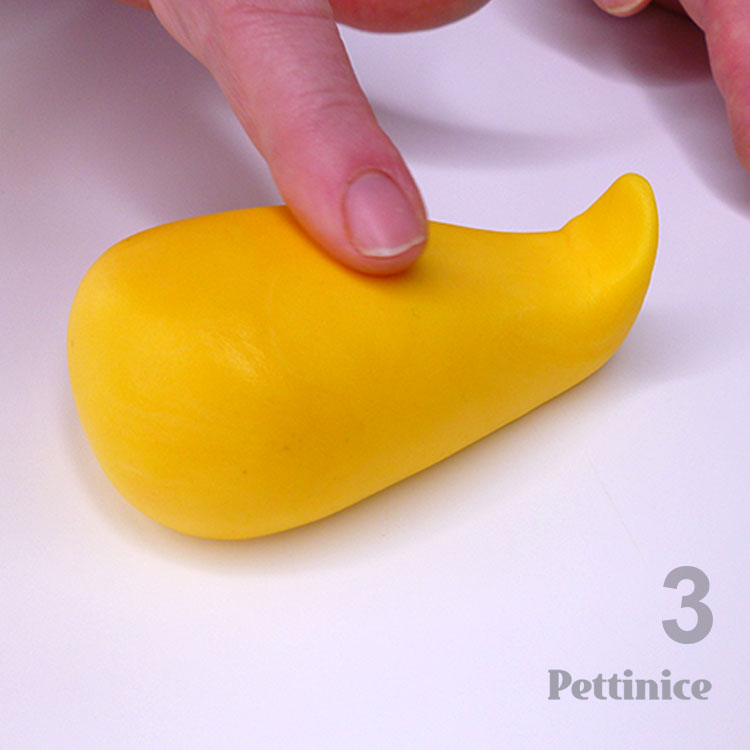
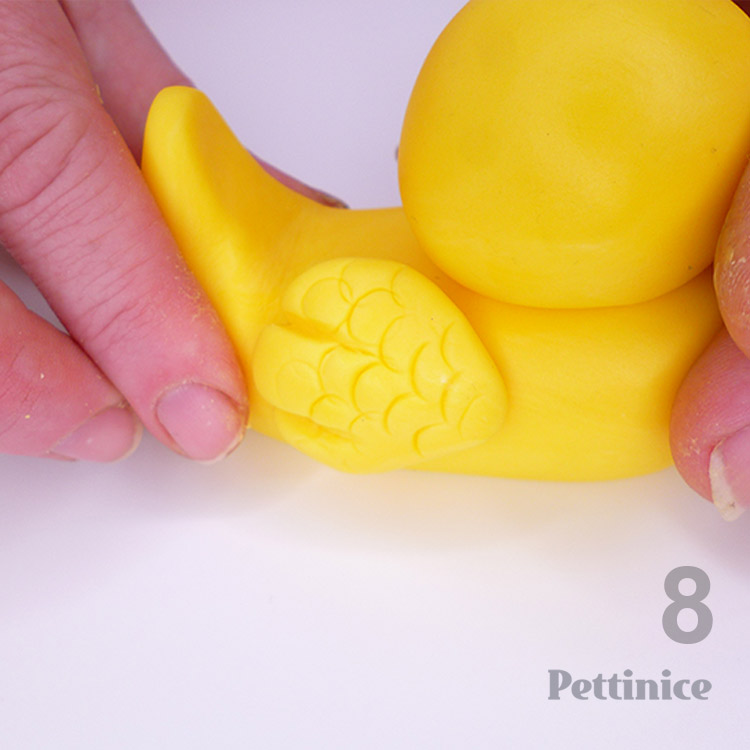
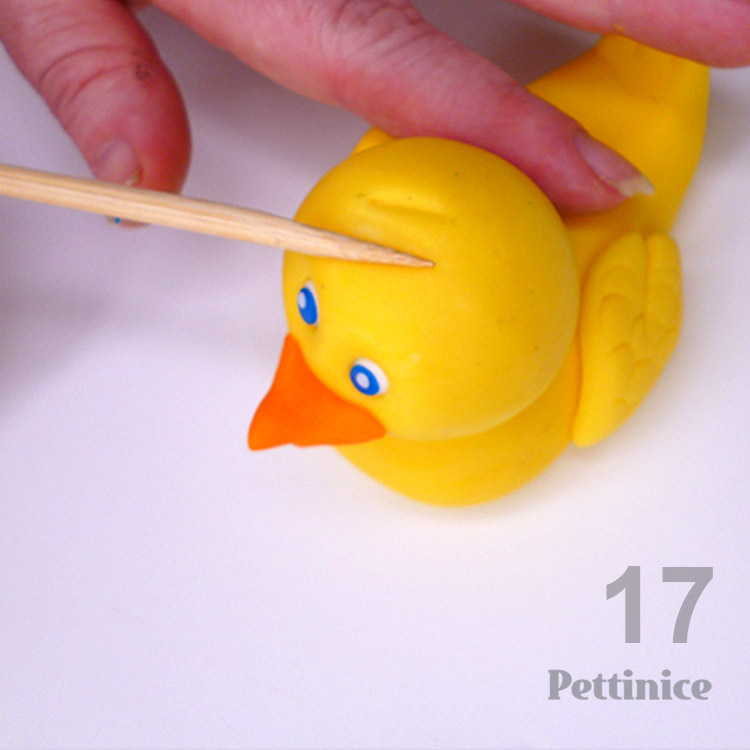
5g x 2 Wing - Roll the 110g body into a cone shape approximately 9cm long. The widest part of the cone is 4.5cm. Optional: You can use your cake smoother to roll cone against the table. Turn the tail up with your fingers. Smooth the top of the body a little flat. At this point, you can place the body on the cake, and use a lolly stick or skewer to secure it in place, leaving enough at the top to join the head.
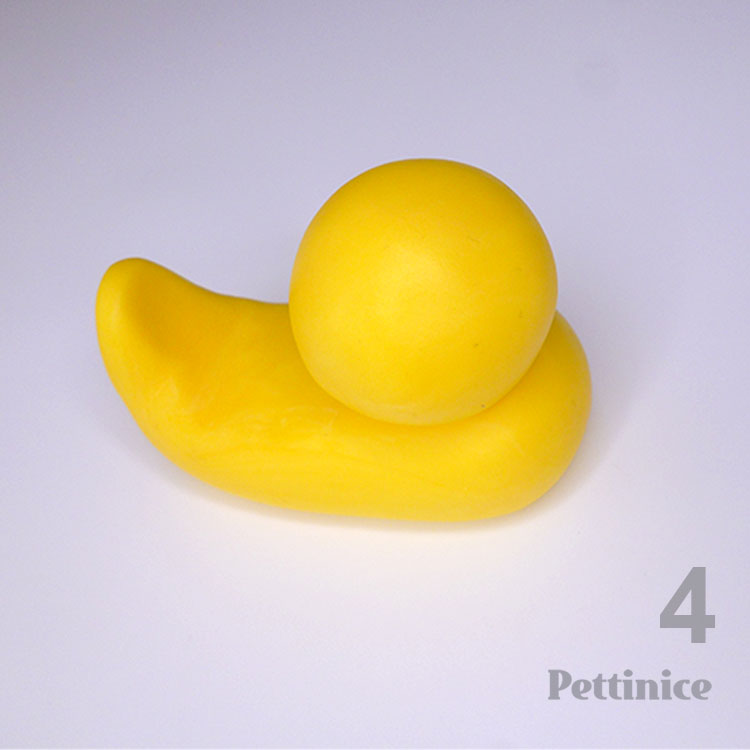
- Roll the head into a circle and fix onto the body.
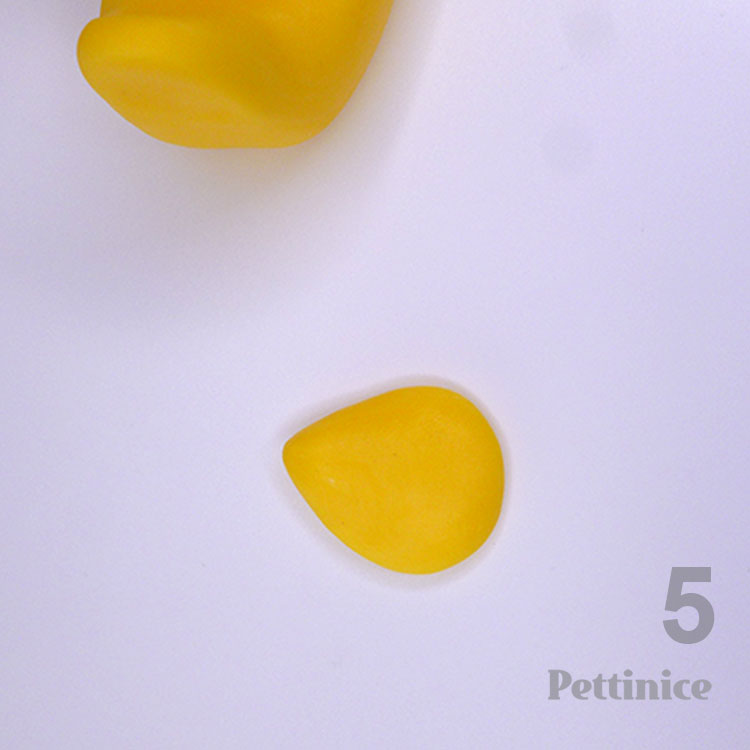
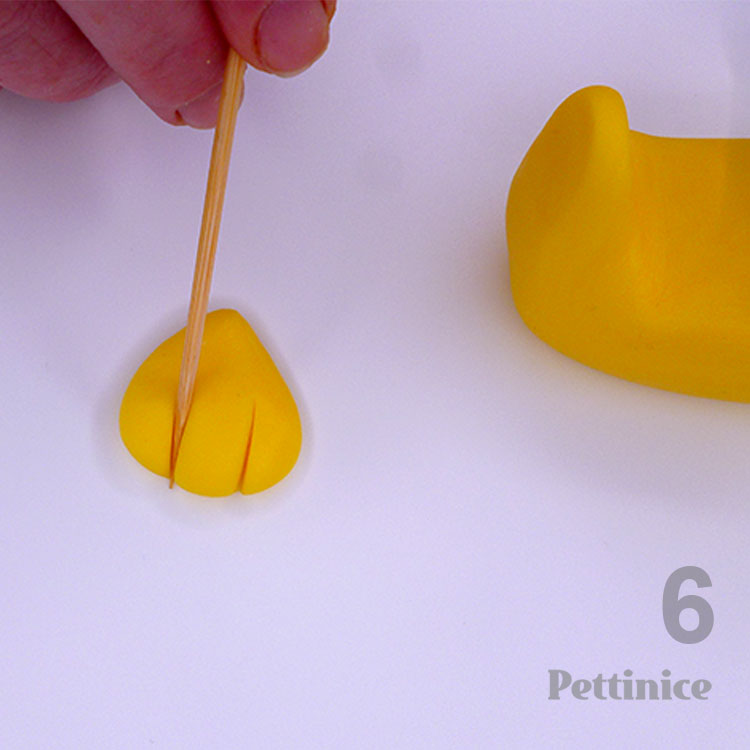
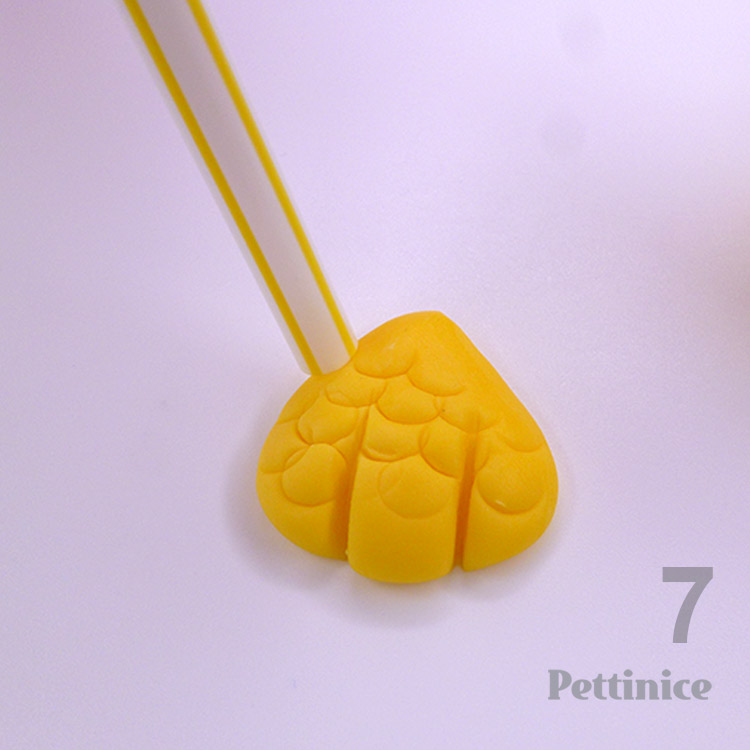
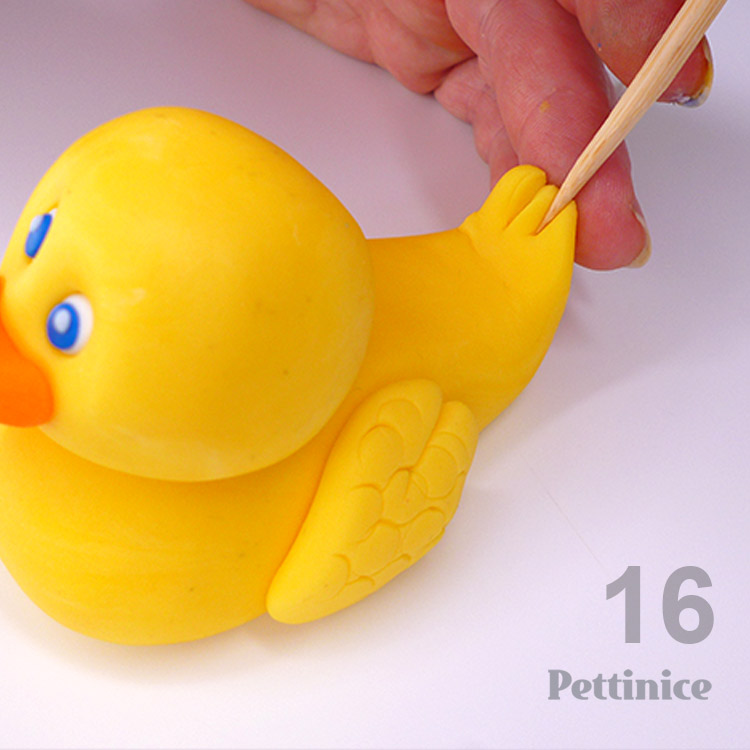
- Roll the wings into tear drop shapes and use your toothpick to create some separation in the feathers. Use your straw to emboss feathers, if desired. If your fondant is sticky due to humidity, you will be able to affix your wings without water. Otherwise, you will need to lightly dampen with water to adhere in place. If you use too much water, it will slide off so take care its damp enough to be sticky.
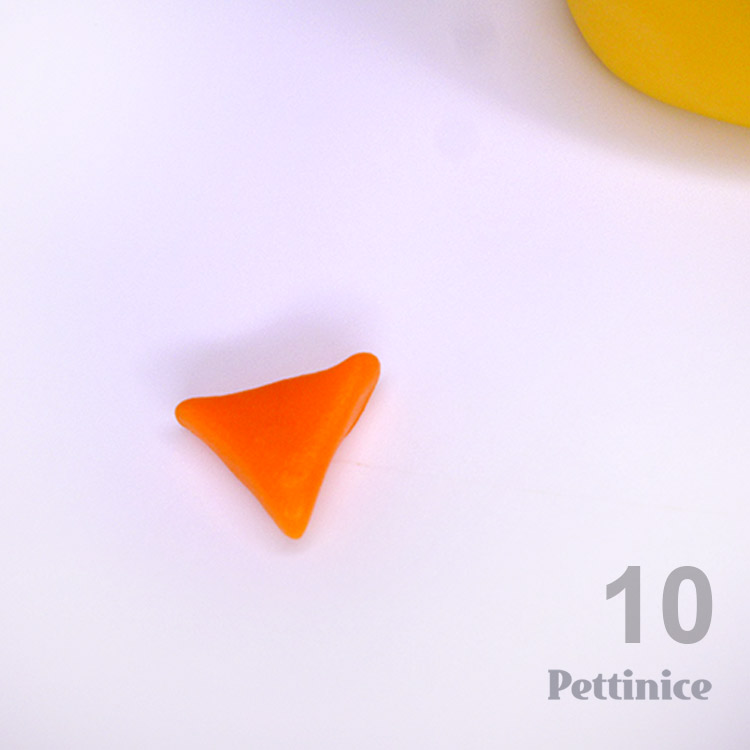
Creating duck head:
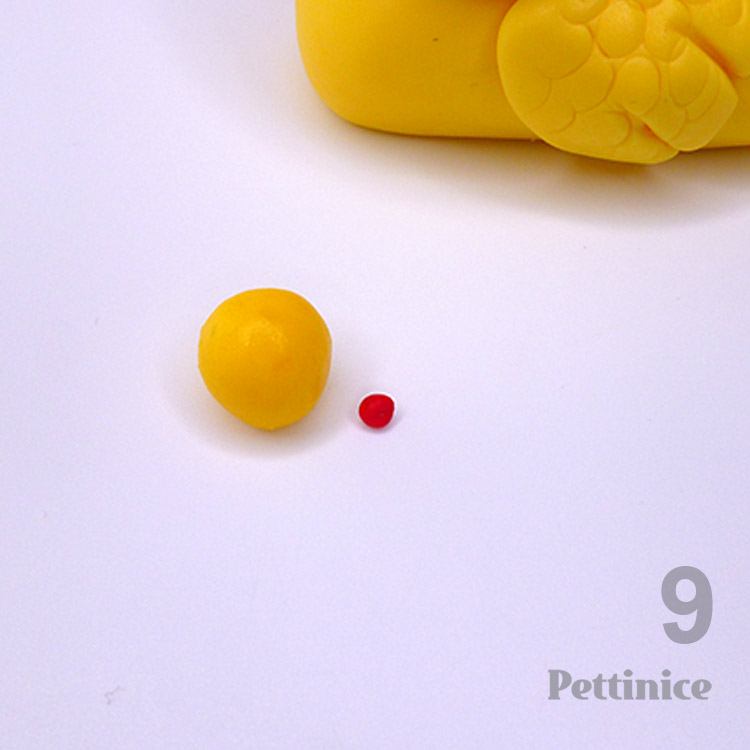
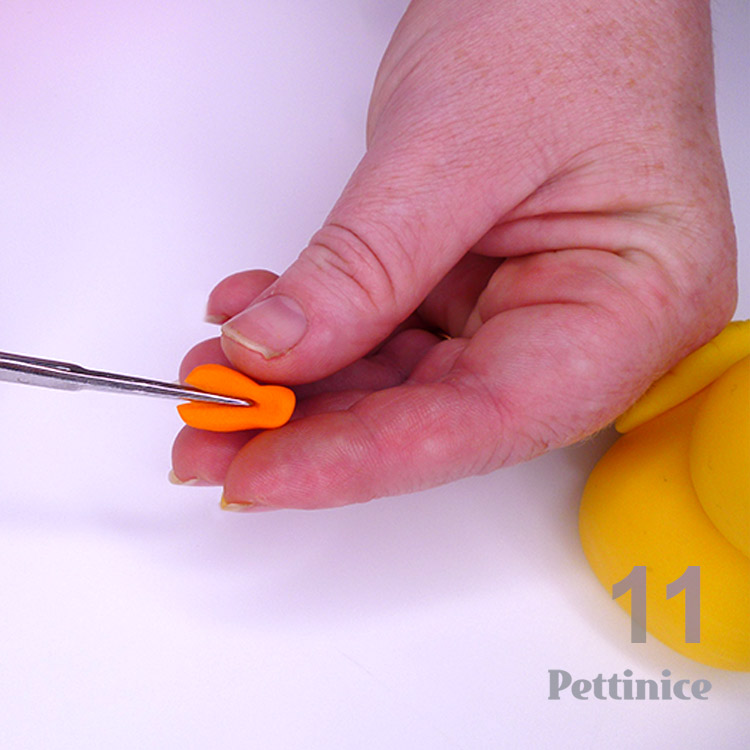
- Create orange by mixing a small dot of red to a larger yellow as shown. Shape into a triangle with your fingers, and use scissors to separate the top and bottom.
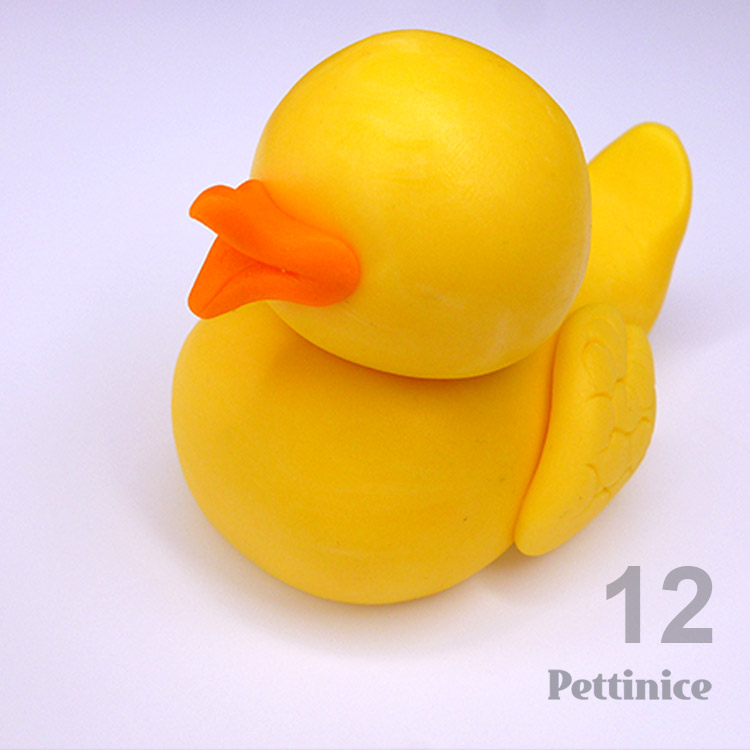
- If your fondant is sticky due to humidity, you will be able to affix your duck bill in place as described before.
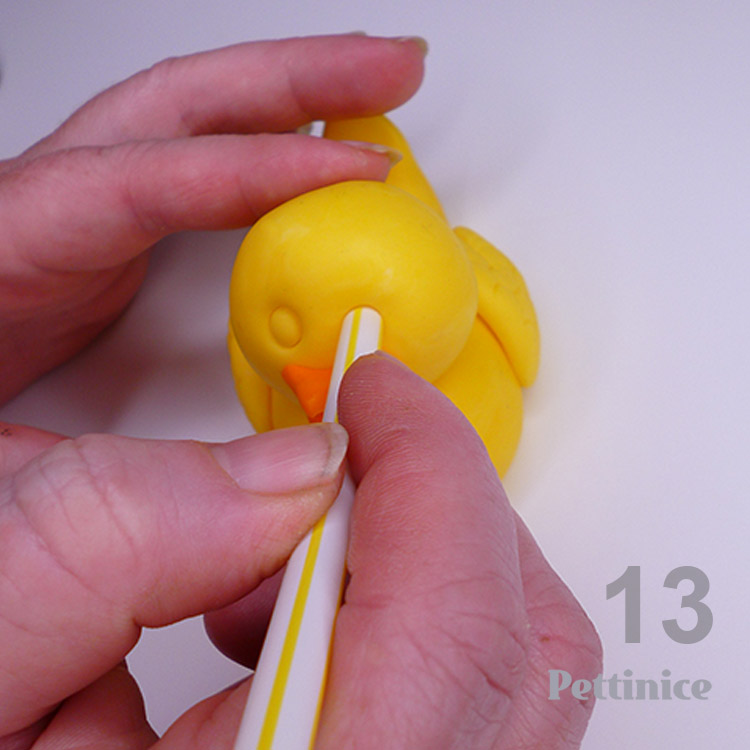
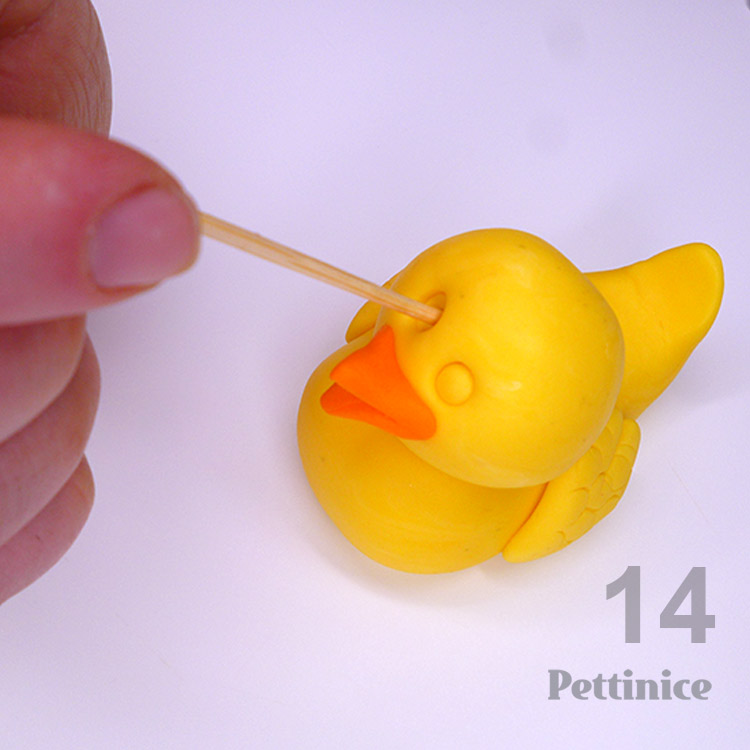
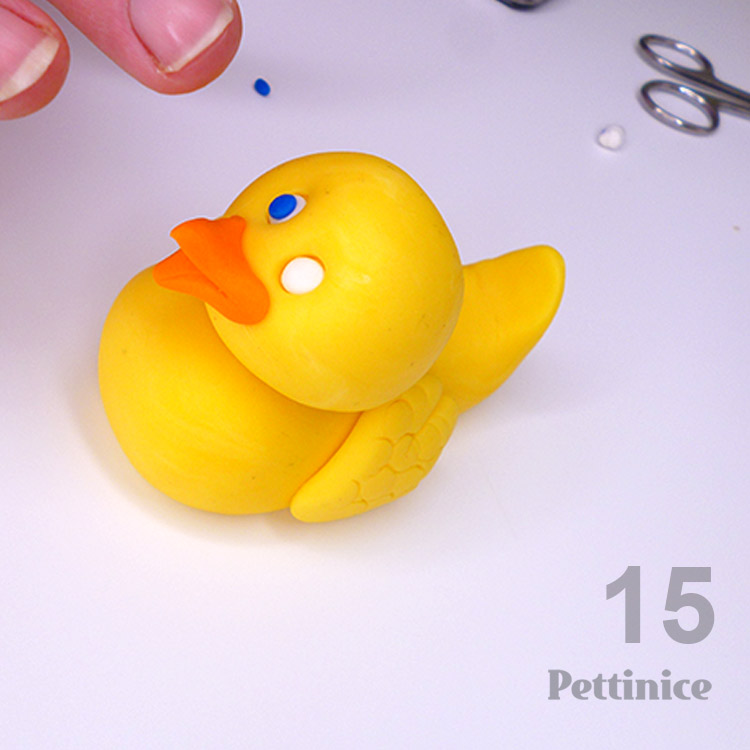
- Use your drinking straw to mark the eyes. Use your skewer or top of a small paint brush to create sockets. Roll two small white balls and fill the sockets. You can roll very small dots of blue or black for the eye colour, pressing in place. Repeat with smaller white dots.
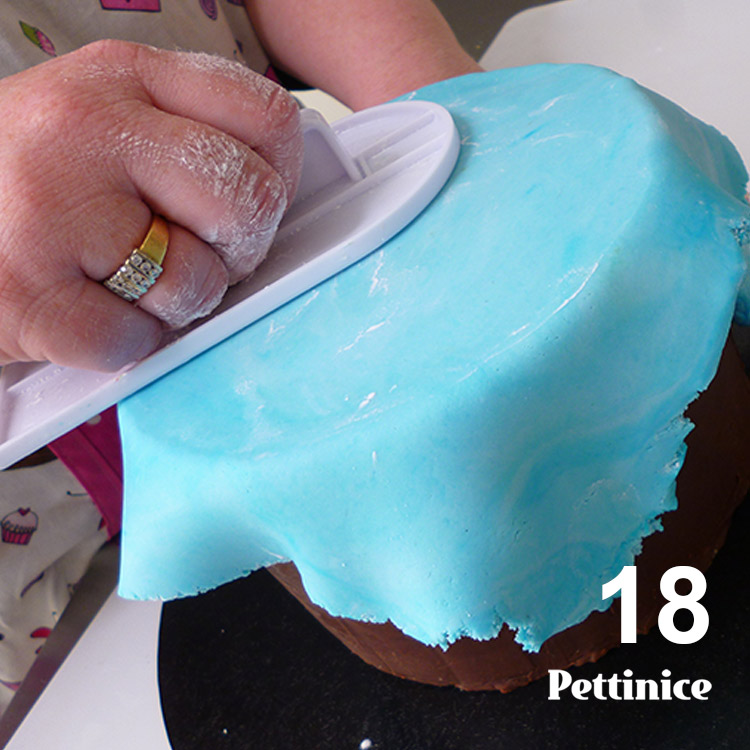
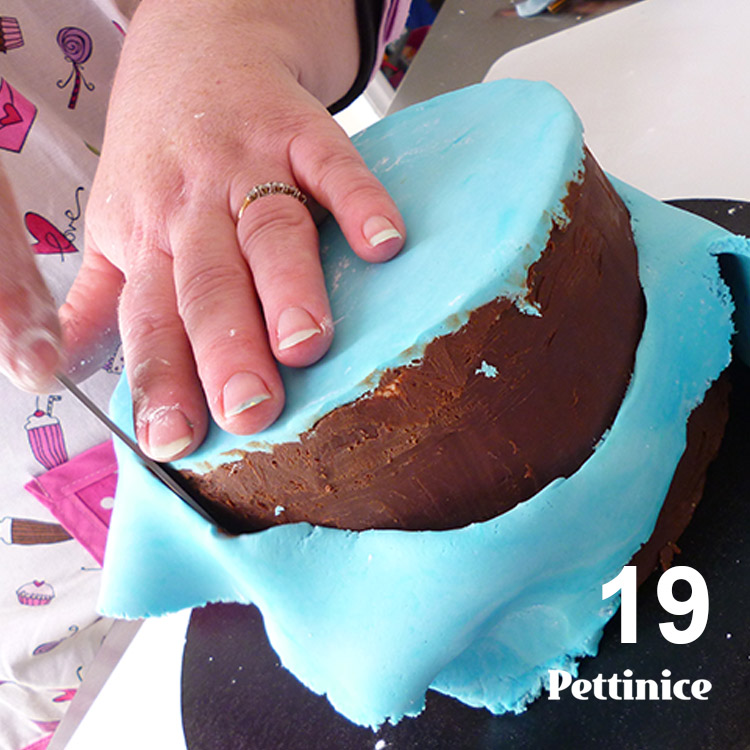
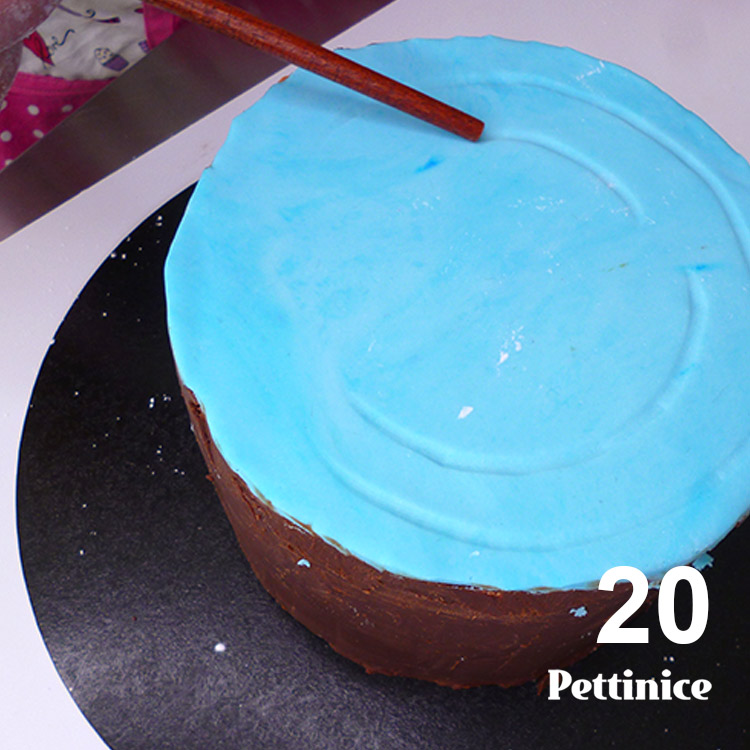
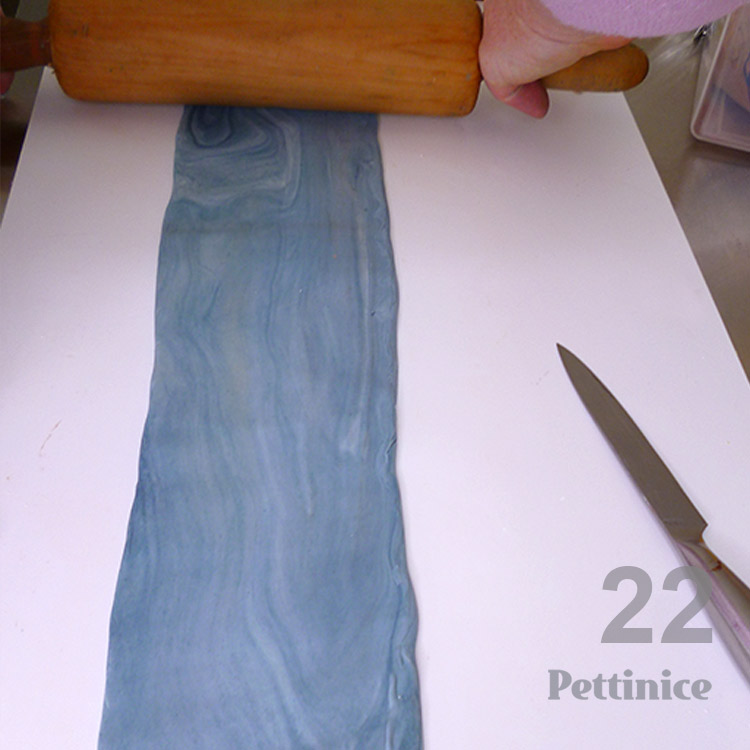
Creating water top layer:
- Mix 125g White Pettinice and add 25-50g of Blue Pettinice, depending on the shade you wish to achieve. Leave a little marbled. Roll out to less than 3mm thick and cover over the top of the cake, using the cake smoother to gently press and smooth. For tips on rolling fondant, please see this tutorial. Use a knife to trim the excess away as shown.
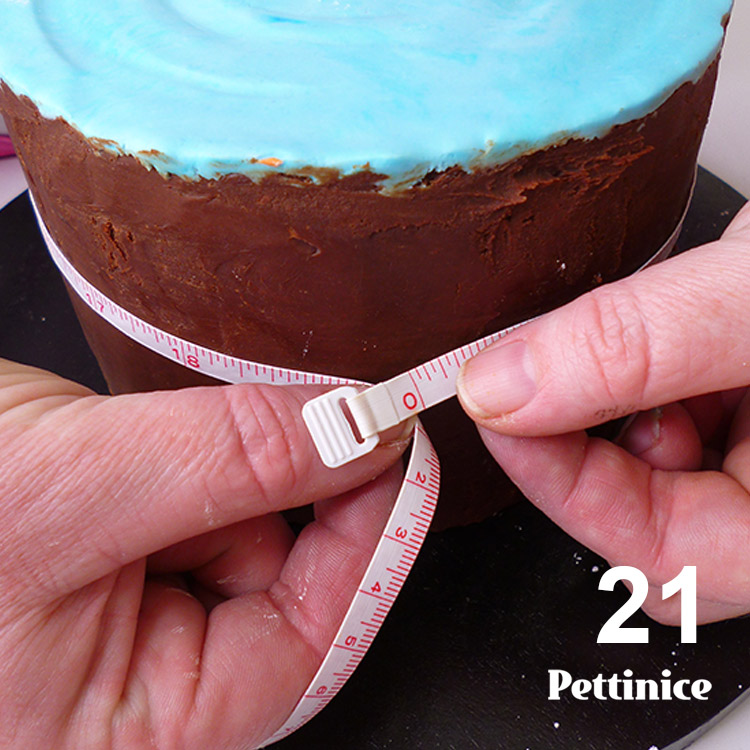
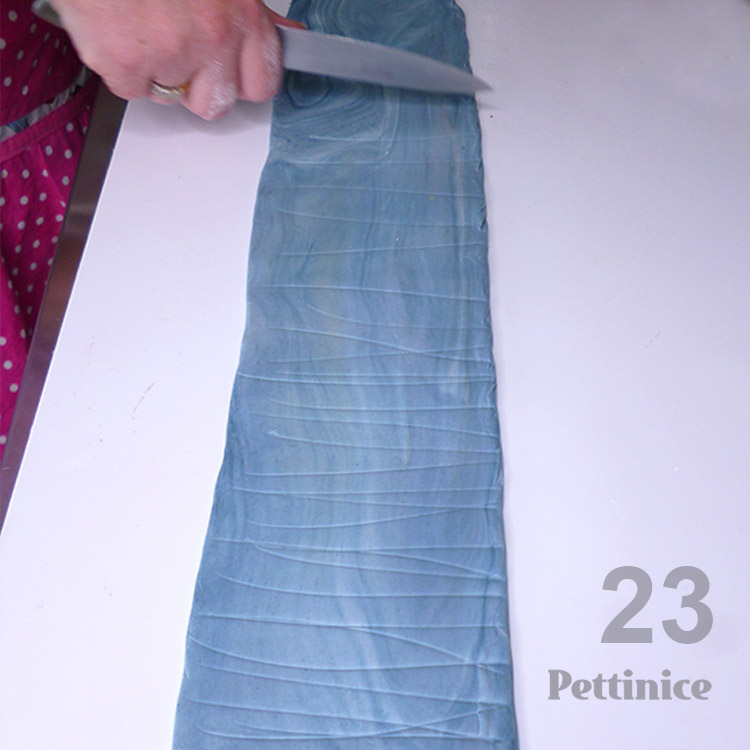
Creating wooden panels
- We are going to use cocoa powder to colour the panels, and thought it would be nice to have a darker base colour by combining 378g White Pettinice, 4g Black Pettinice and 2g Blue Pettinice. Don’t fully mix to tease the idea of wood grain.
- Measure the height and circumference of your cake and roll out long panel as shown. Use a knife or toothpick to score your fondant to create look of woodgrain. Use the bottom of a teaspoon to add more knots and texture. Be sure to re-measure height as sometimes this step will make your panels taller than you intended.
- Cut slats and place on the prepared cake. Start at the front and work to the back, in case you need to adjust panel widths and it’s less noticeable on the back of the cake.

Jo started making cakes for her children around 2001 and her designs have been fun and varied, including an octopus sitting on bananas to a rainbow tree. She laughs when she recalls how terrible her first cakes turned out, but enjoyed making them so much she decided to learn how to decorate a cake properly. Now she enjoys sharing her skills while teaching and demonstrating. Her number one tip: “Patience is a virtue, so spend that extra time to get it right."
See more of Jo's cakes at