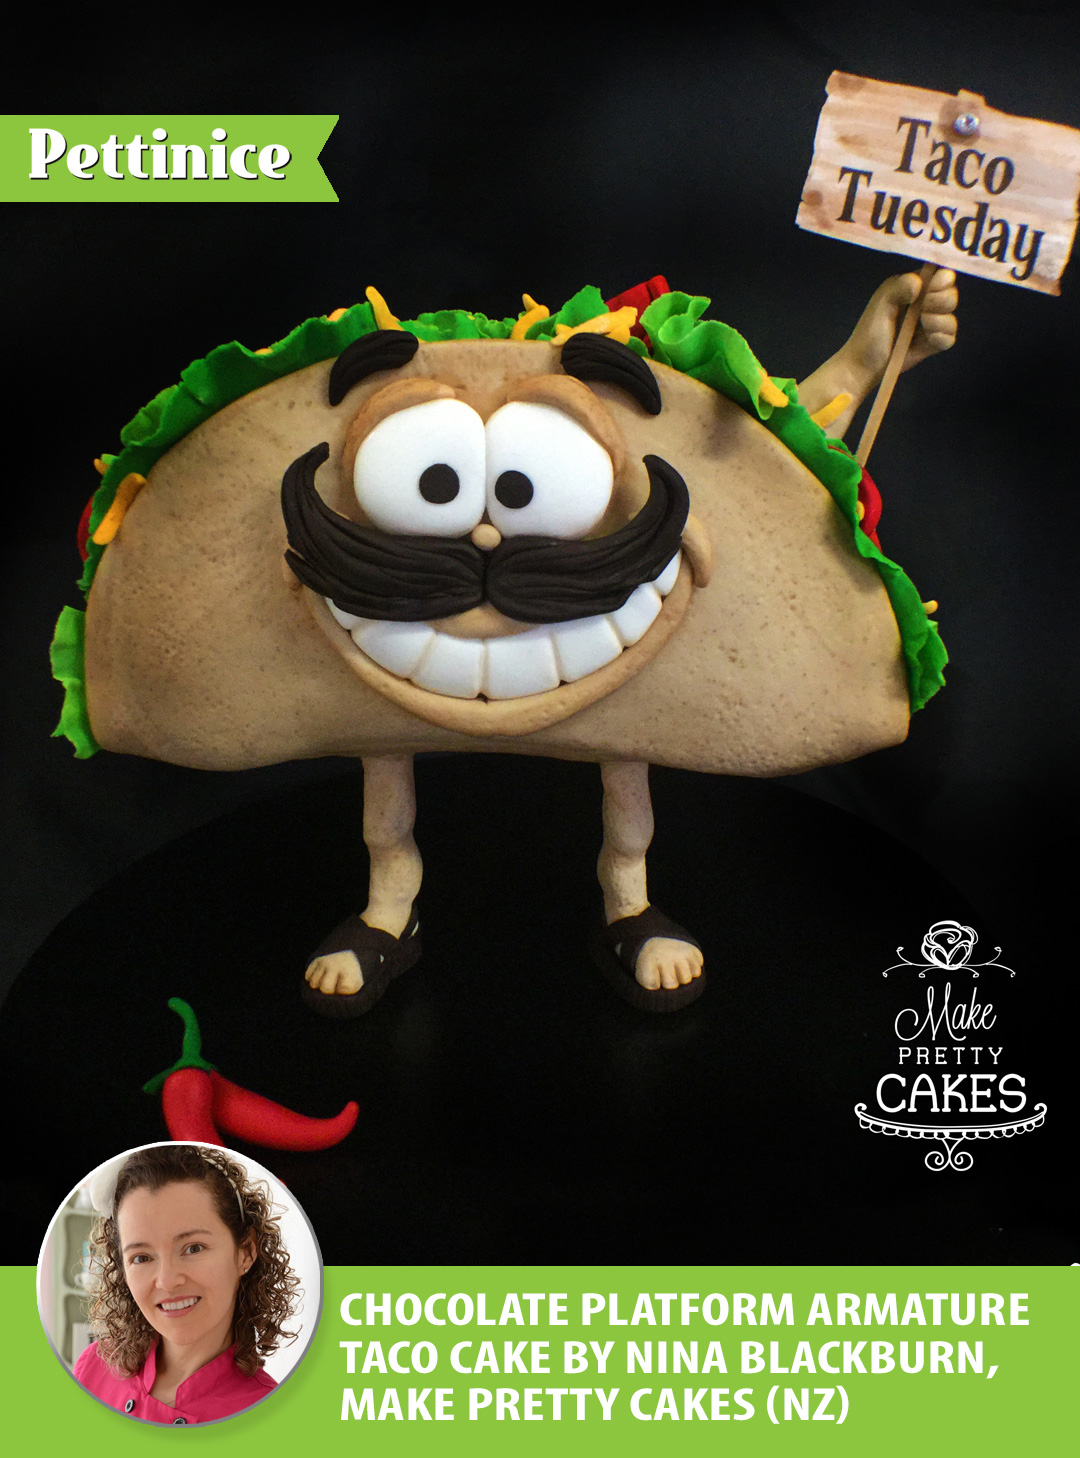
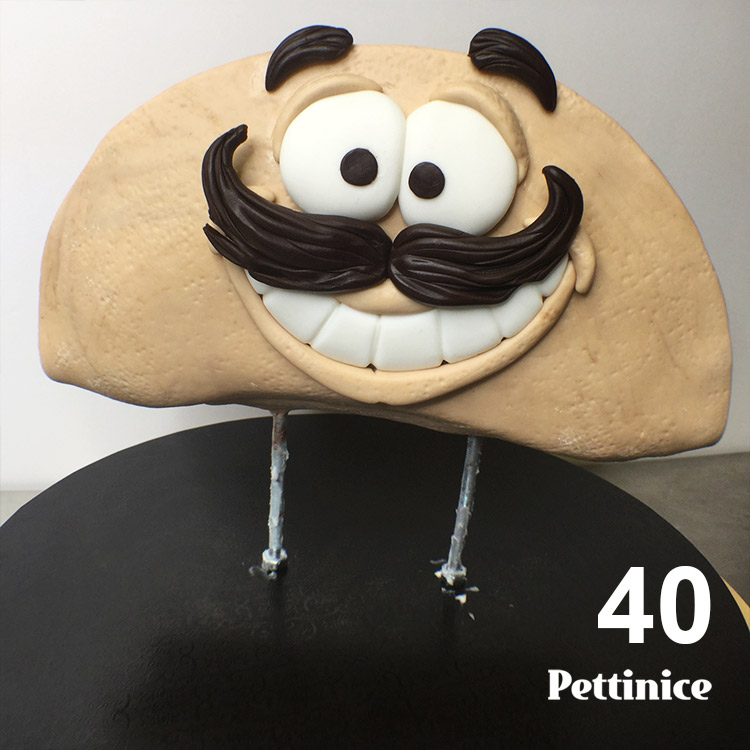
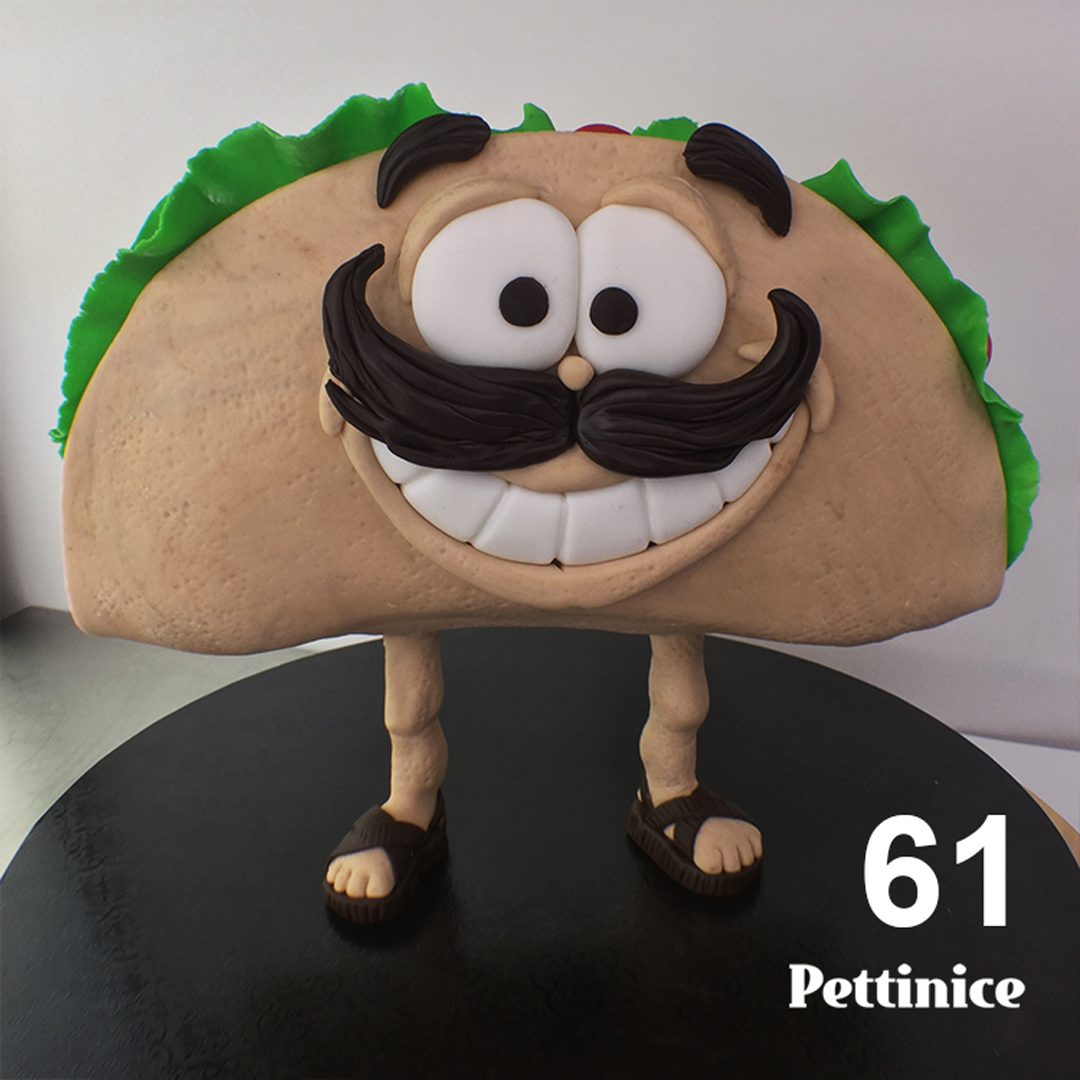
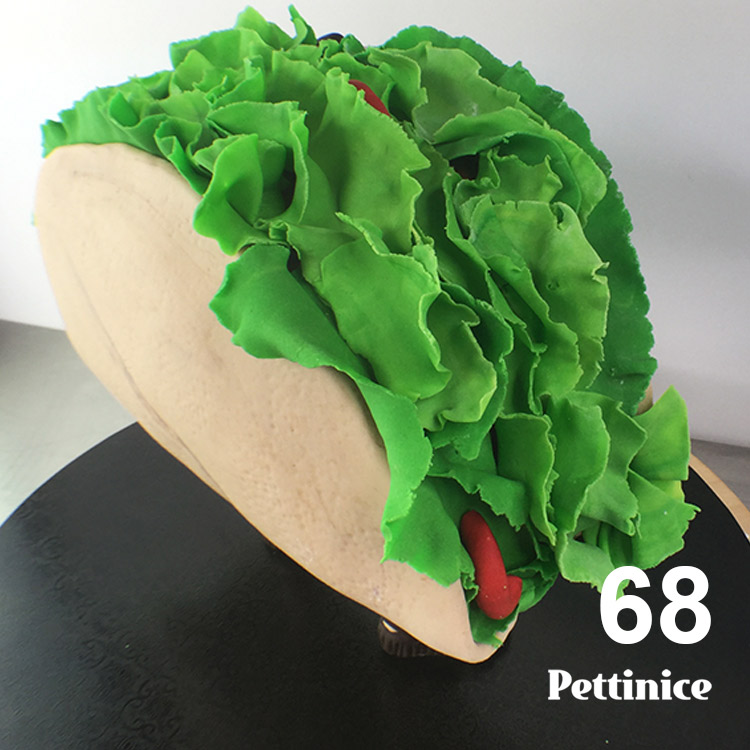
Taco Cake - creating chocolate platform armature by Nina Blackburn
You know when you get a cake idea to try something different, and it doesn't let you go? It's that 2 a.m. bolt of creative lightning that hits you and you simply HAVE to get up and try it right away? Who relates? This project was exactly that for me: Creating a chocolate platform as cake armature with nothing else. And you know what? IT WORKS!!!!!
Like many of you, I've got lots of tools and tricks of the trade tucked away in my cake studio. For instance, when I created my pug cake, I happily shaped my own Styrofoam and tin foil to fill in areas of his belly and front legs. When I created my standing flamingos for the Waitakere Big Day out, I made four of these babies back-to-back as 40 minute demonstrations. A Styrofoam egg was an easy choice, which incidentally I haven't been able to buy in that size again since. Aaargh!
Now, I have absolutely nothing against Styrofoam, apart from the fact it's really hard to source exactly what you want in New Zealand easily, or cheaply. When I visited a local Michael's in the States - I may have shed a tear for the insane mark-up we are charged, and was envious of all the sizes, grain and shapes on offer. It simply isn't the same in New Zealand. If you want a very specific size, there's every chance you have it custom made, or worse, order online from an overseas outlet. Those of you reading this in NZ are nodding your head - you know what I'm talking about! :P
So I think my little successful experiment with Señor Taco Tuesday will get you fired up and you can share my excitement in adding yet another armature option. I am giving this another go with a bigger cake and will post photos of the result. If you like this tutorial, please give it a thumbs up on our Facebook page. Happy caking everyone! xoxo
What you will need for this project
Chocolate Platform Armature
- 6mm threaded rod (7.5 inches)
- Top cake board (I used 3mm thick 12" round masonite board)
- Bottom cake board (at least 6” or bigger. I used 9mm thick MDF) See pug cake tutorial for photos
- 1 screw
- Drill with Countersink drill bit and 6mm drill bit
- 2 x small washers (hidden by Taco man's shoes)
- 2 x large disc washers (to hold chocolate platform)
- 6 x nuts
- Cake decorators glaze to paint over armature if not using stainless steel
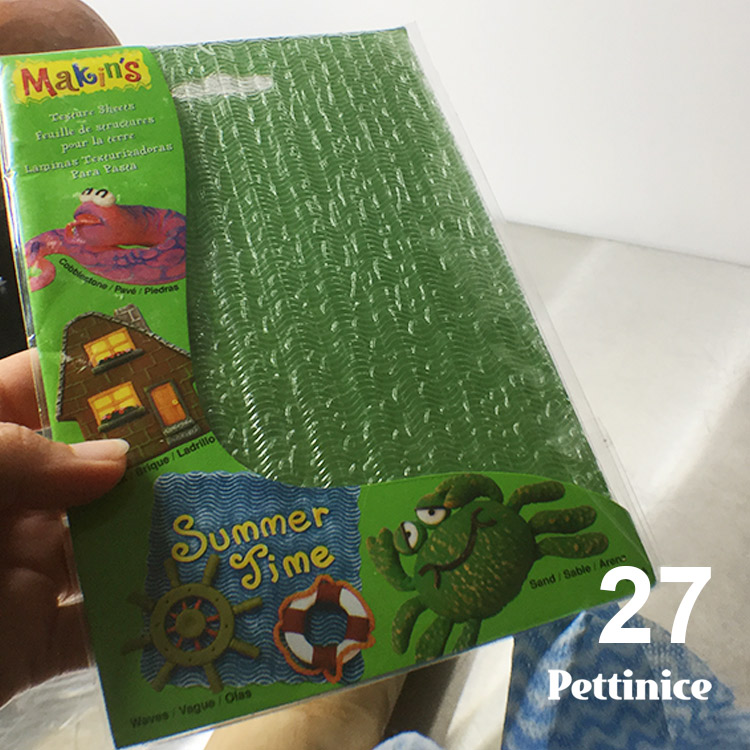
- Bubble tea straws to cover threaded rods
- Cake card disks, cut to act as dam
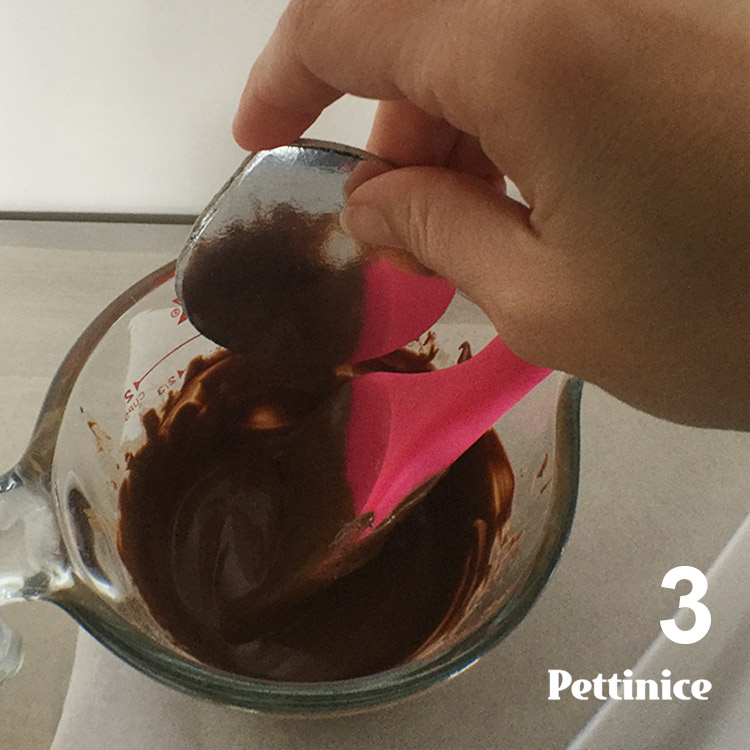
- Melted chocolate to pour and harden into chocolate structure base, inside of bubble tea straws, and inside gaps of threaded rod
- Baking paper
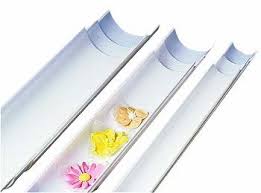
- Wilton flower former set (shown below) OR, create your own form
Edibles
- Cocoa Powder
- High % alcohol to combine with cocoa powder (or petal dusts) for white wash painting shadows and to splatter paint
- Icing sugar/cornflour/Bakels Sprink /canola oil spray to roll out / Crisco, etc. / water for sticking fondant
Taco colour:
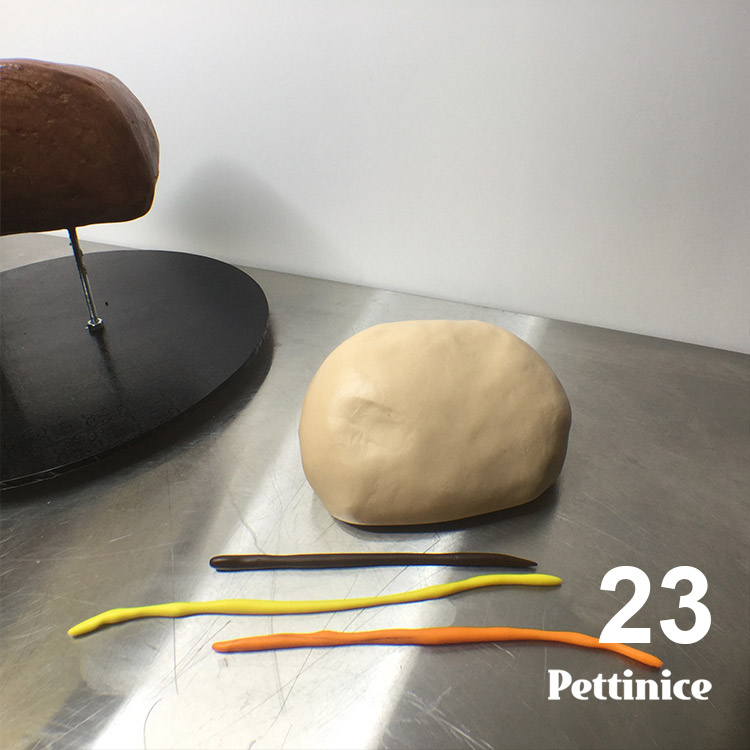
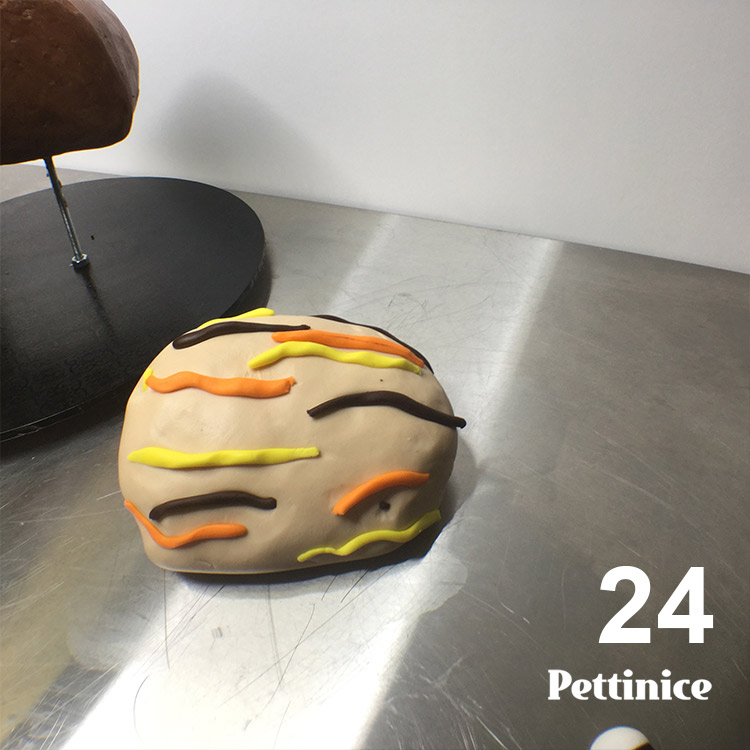
- 1 packet of Ivory Pettinice
- 5g Pettinice – Chocolate
- 15g Pettinice – Orange
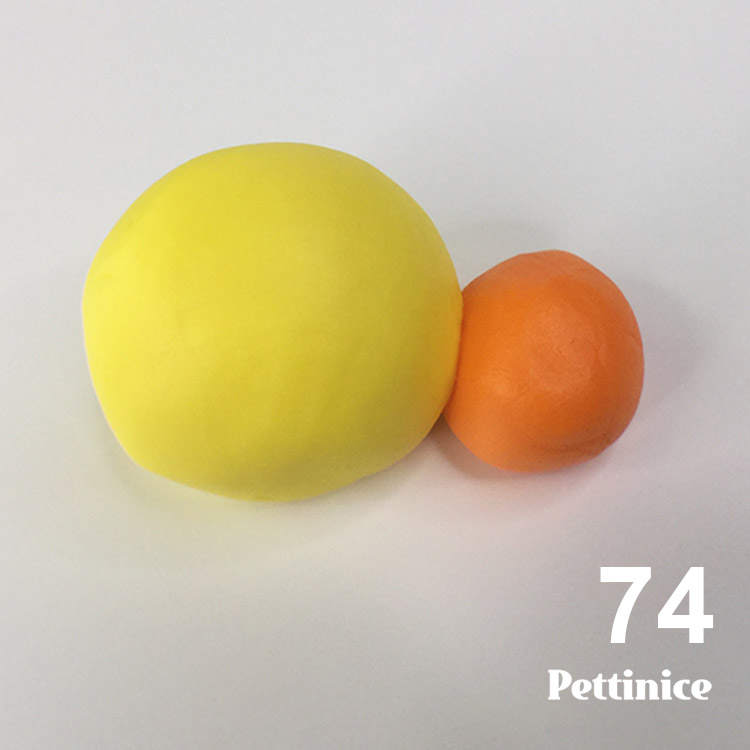
- 25g Pettinice – Yellow
Condiments and face:
- 100g Pettinice – White
- 50g Pettinice – Chocolate
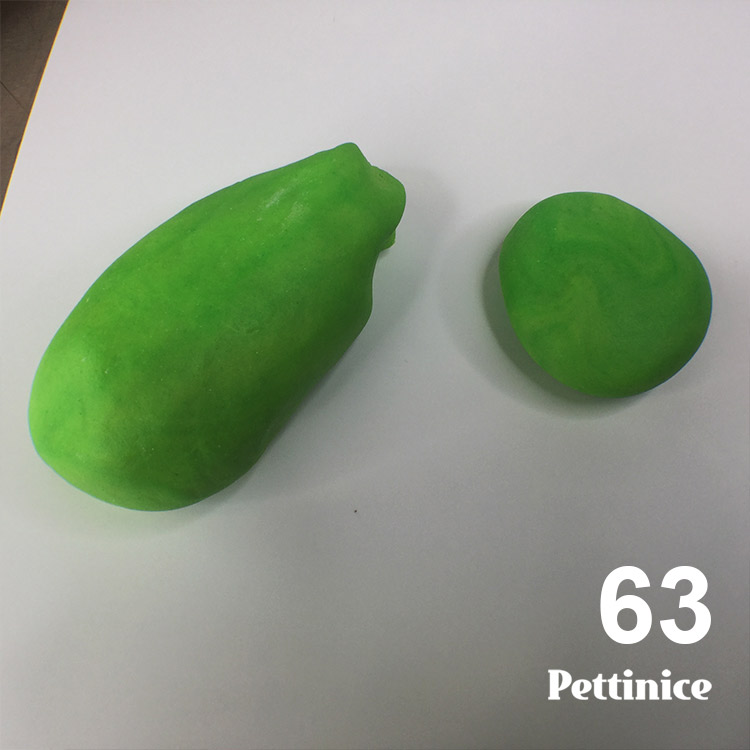
- 100g Pettinice – Green
- 25g Pettinice – Red
- 25g Pettinice – Orange
- 25g Pettinice – Yellow
Body:
- 8” round cake, at least 2-2.5” high
- 3:1 ratio Ganache. I used 600g chocolate to 200g cream
- Compound chocolate for melting
Tools
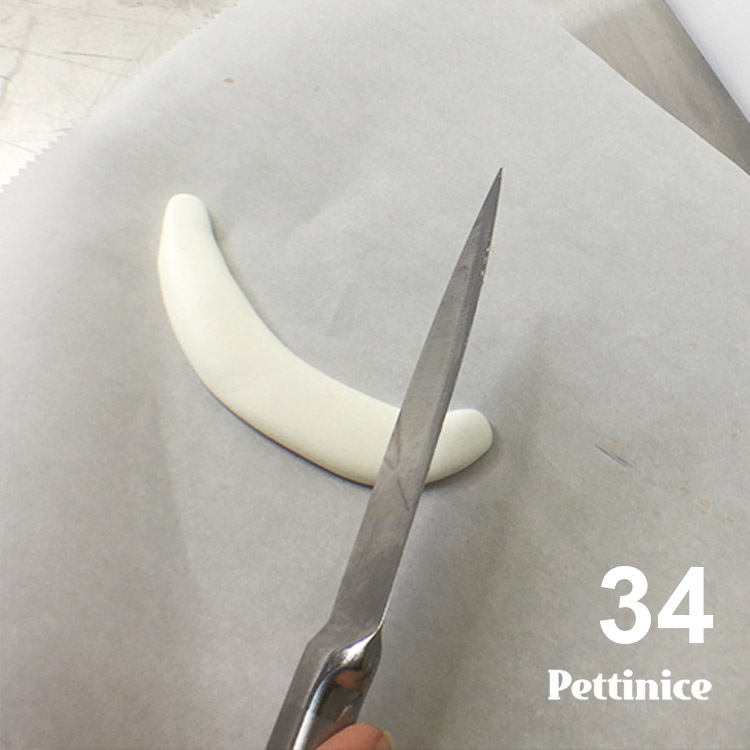
- Scissors
- Spatula
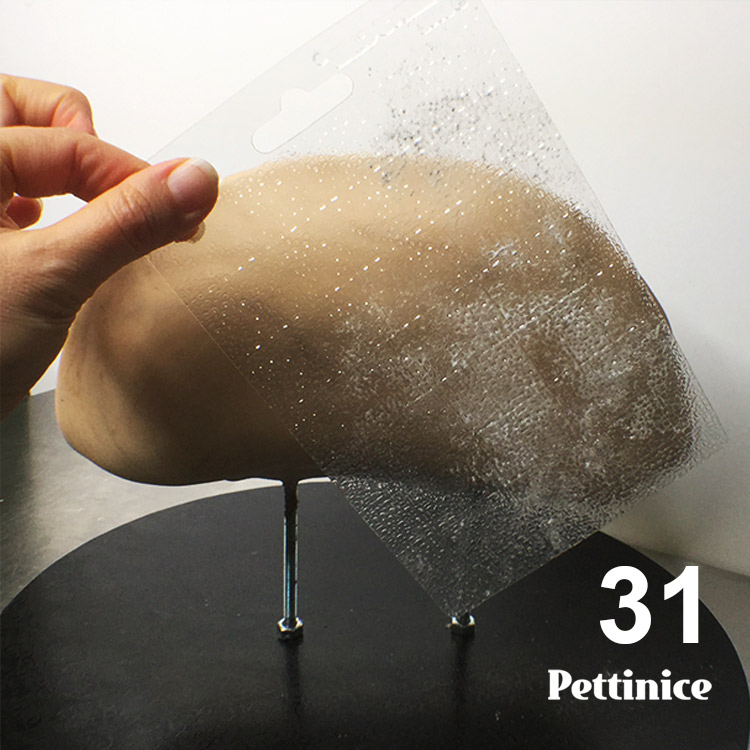
- Acetate
- Rolling pin
- Sharp Knife
- Toothbrush or hard bristled brush for paint spatter
- Pointed hard sugar shaper or similar bulb cone tool, or toothpick for frilling
- Dresden tool
MAKING THE CHOCOLATE PLATFORM
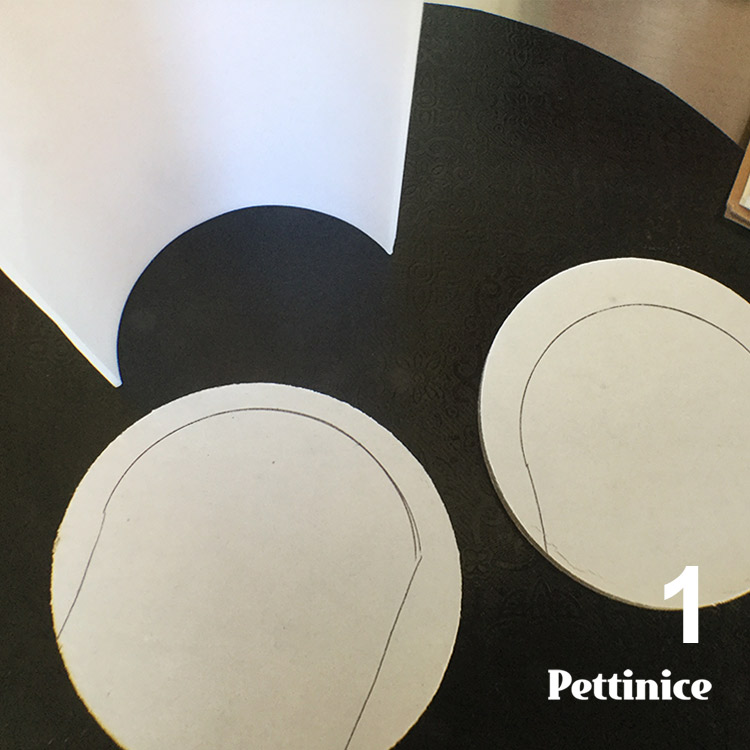
Trace the curve onto your cake cards and cut.
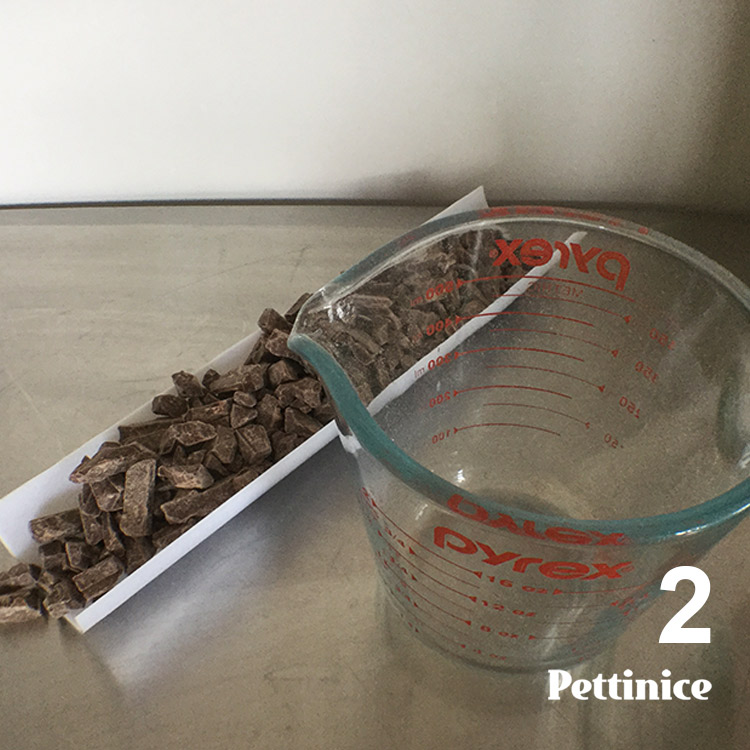
This worked out to be 2.5 cups of compound chocolate
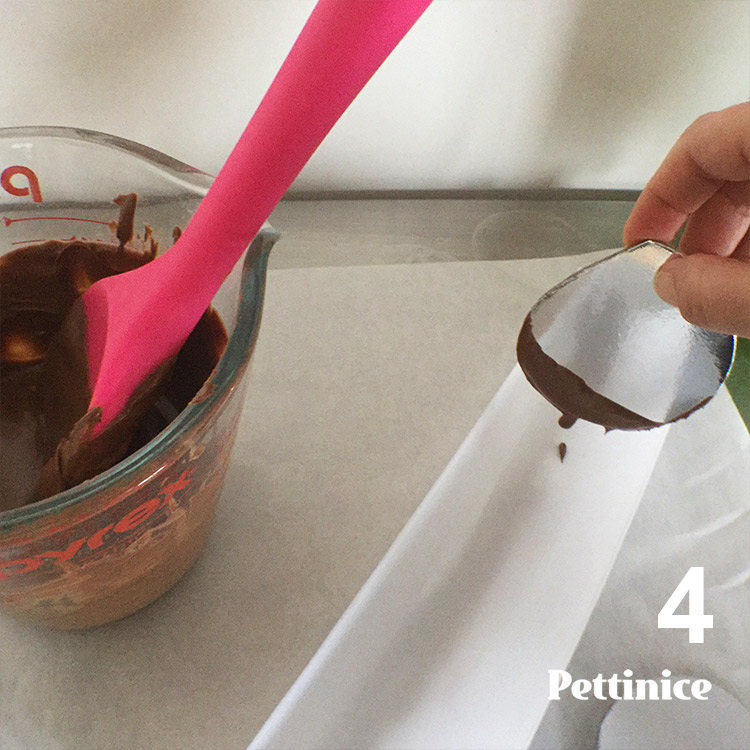
Dip cards in chocolate and place into your half pipe
You may need to hold it place for a few seconds so it sets.
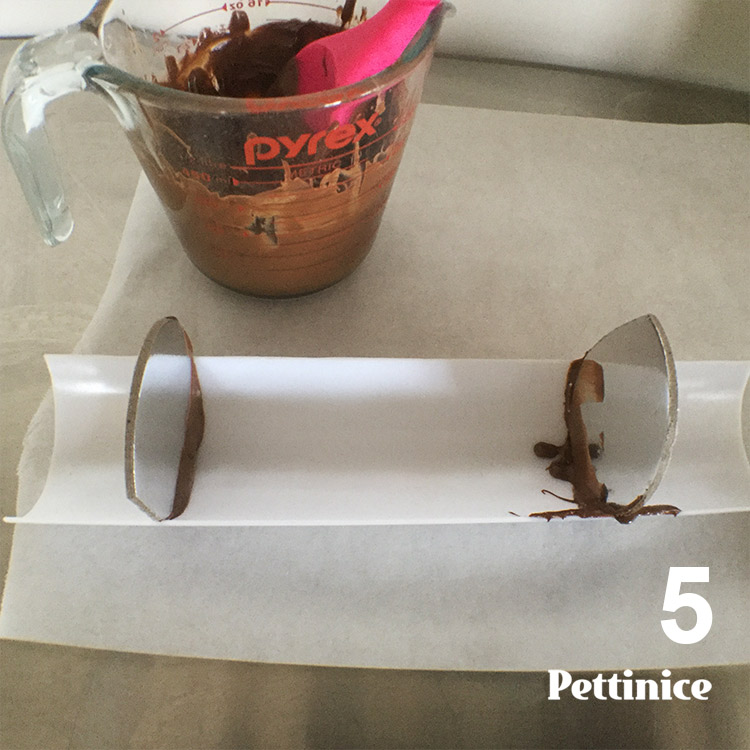
If you see any gaps, just add a bit more chocolate.
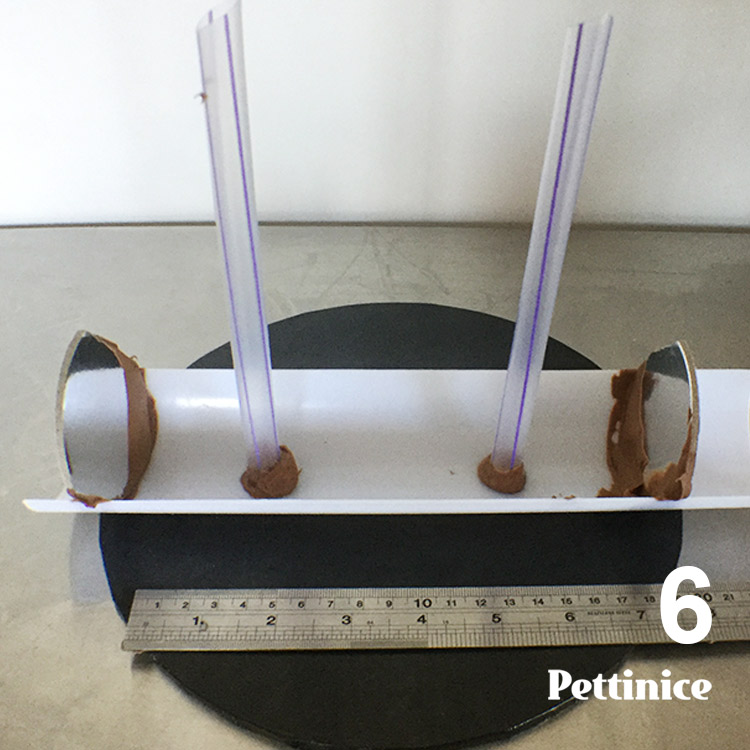
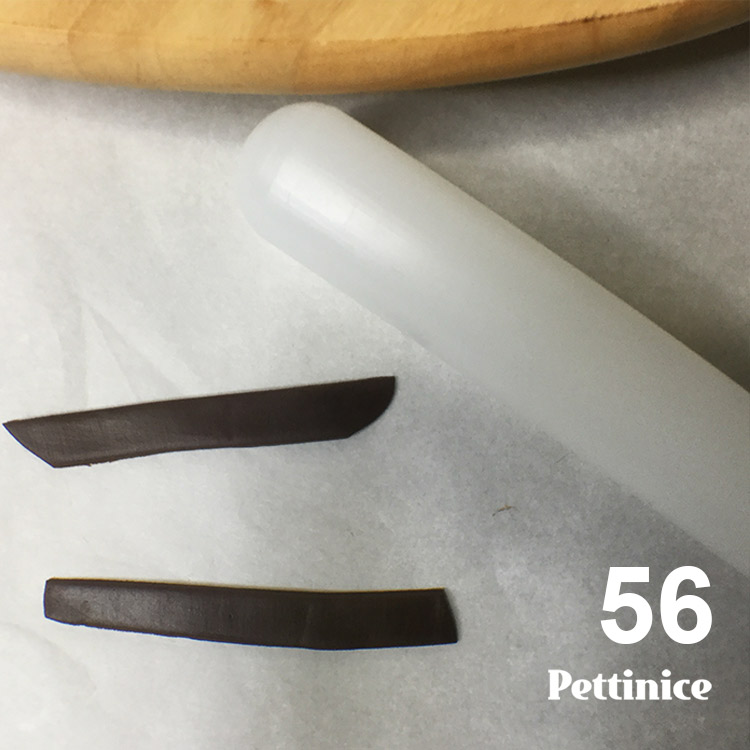
After three attempts, it's easier to skip this step and add the straws AFTER you pour the chocolate. I kept the photo in as a reminder to use your ruler to check length before pouring.

Put into fridge to harden. It took 25 minutes for me as I let the melted chocolate cool a bit before pouring.
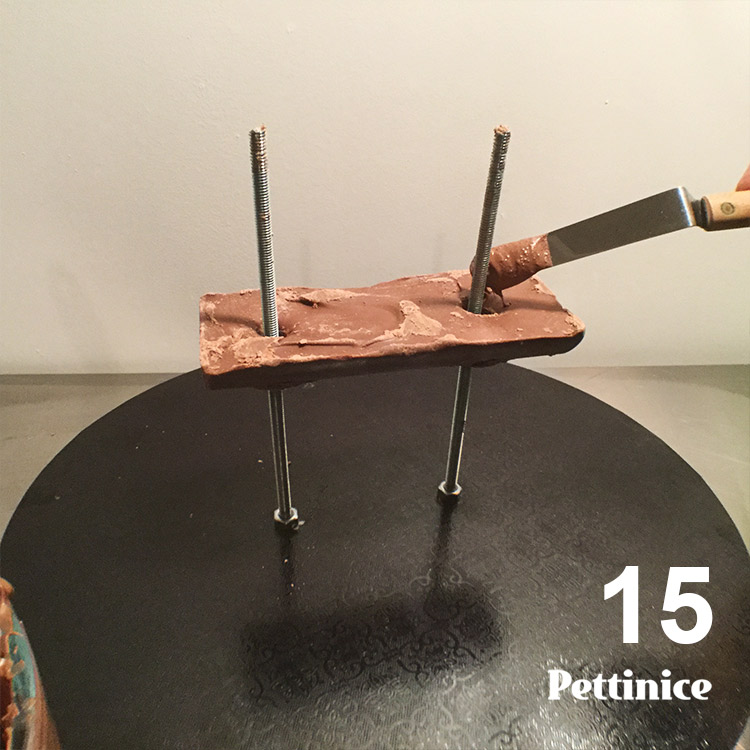
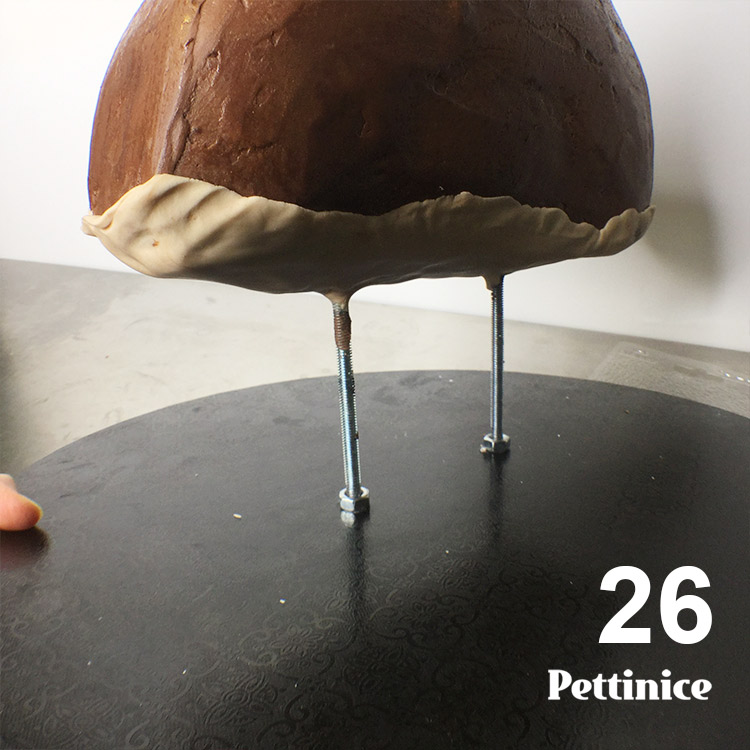
Use the touch test - if the chocolate feels warm, it's not ready. Use this time to paint decorators glaze on threaded rod, nuts and washers. Note: Do NOT leave the chocolate in the fridge longer than you need to.
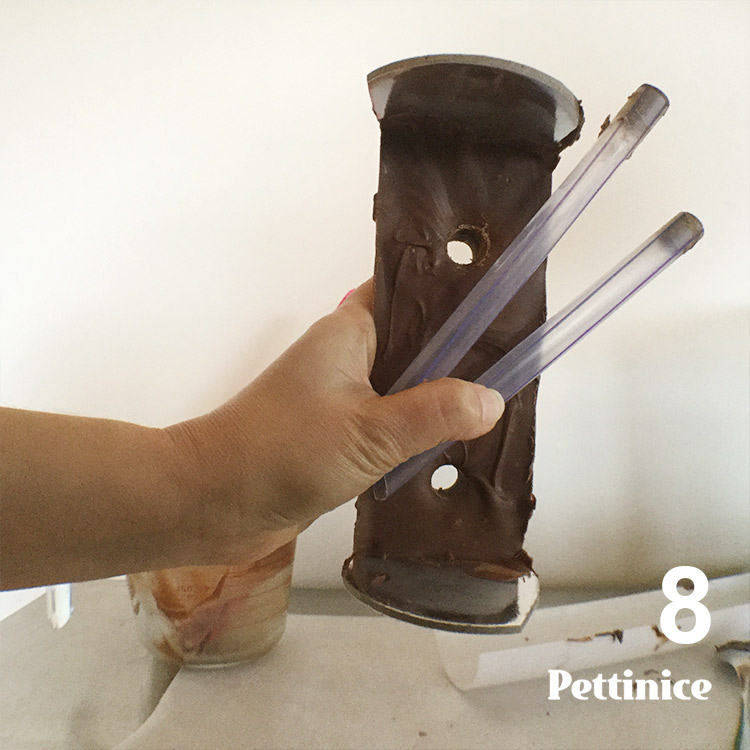
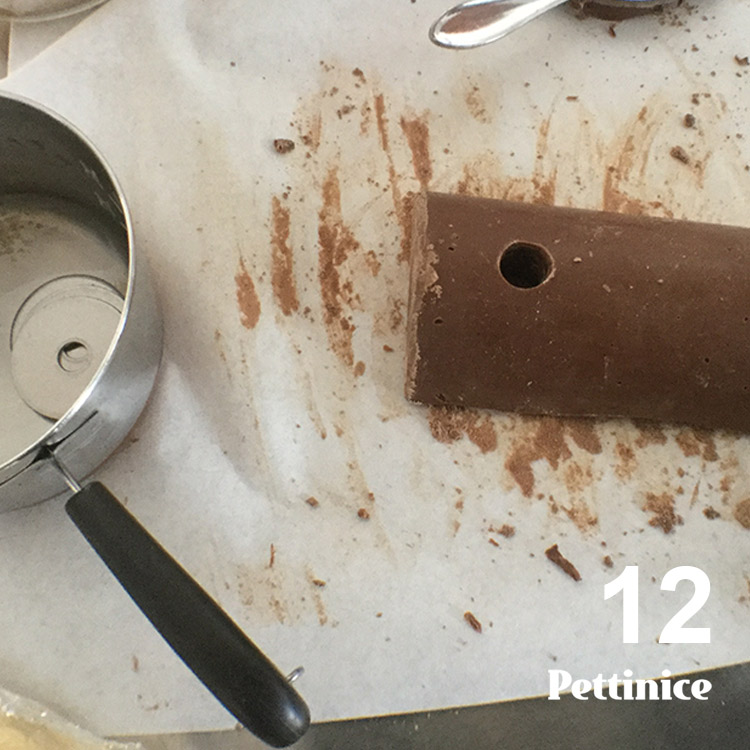
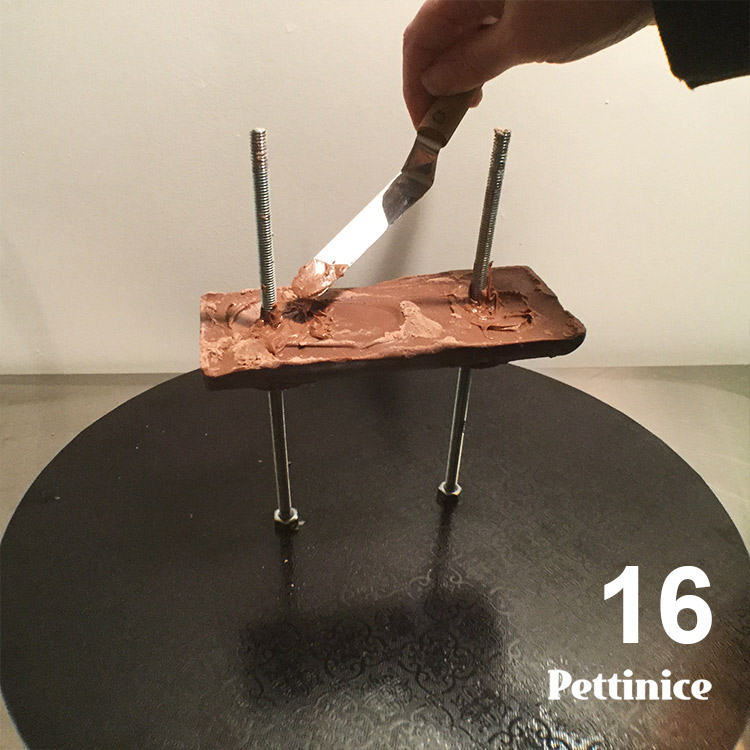
Pull straws out and remove cake cards.
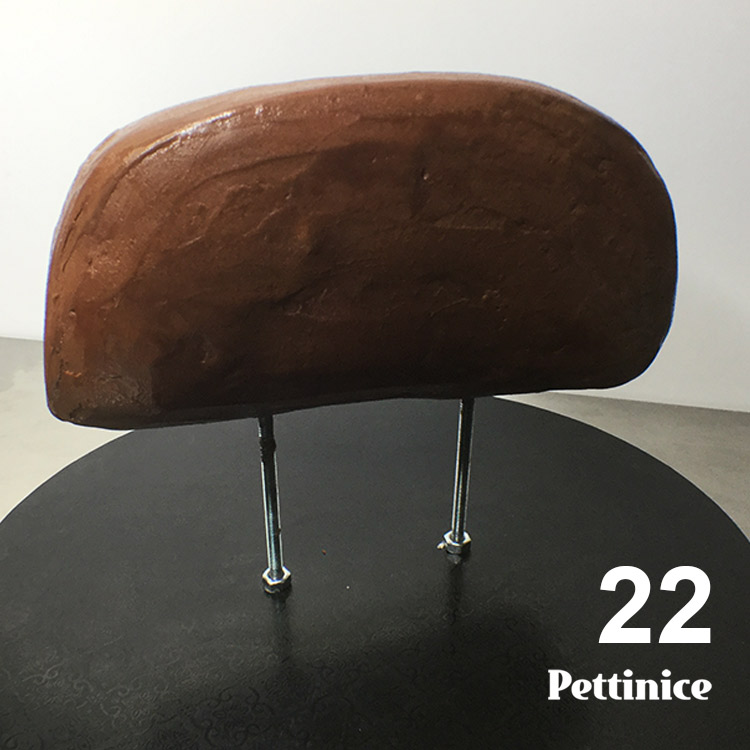
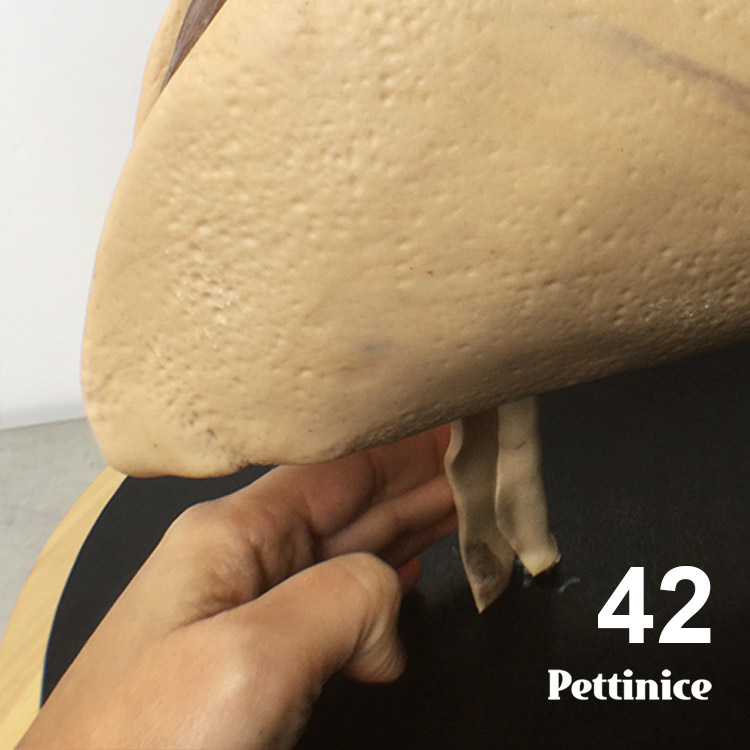
Carefully “sand” off any chocolate by rubbing on baking paper. (Chocolate is soft enough to allow this without having to apply heat source. If you want a perfect platform, heat up a baking tray in the oven, and put chocolate on top of baking paper and move it around until you are happy with it.
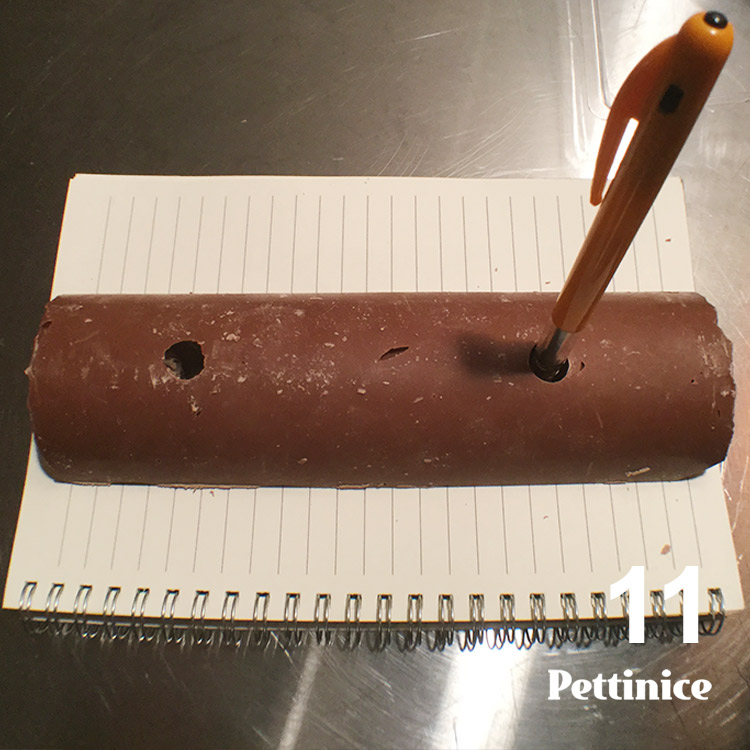
Create a template to use for drilling your cake boards.
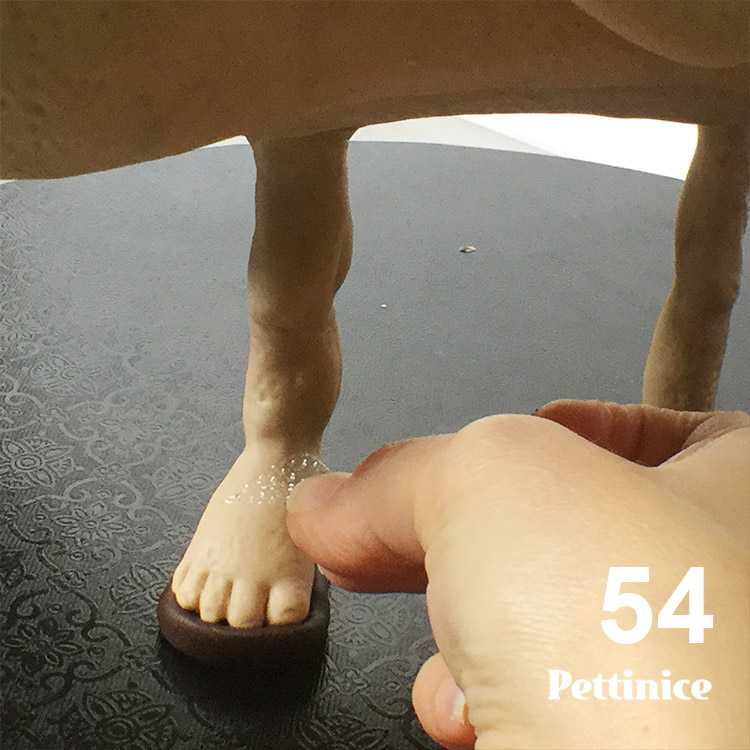
Boil a kettle, pour into a shallow dish with your washers.
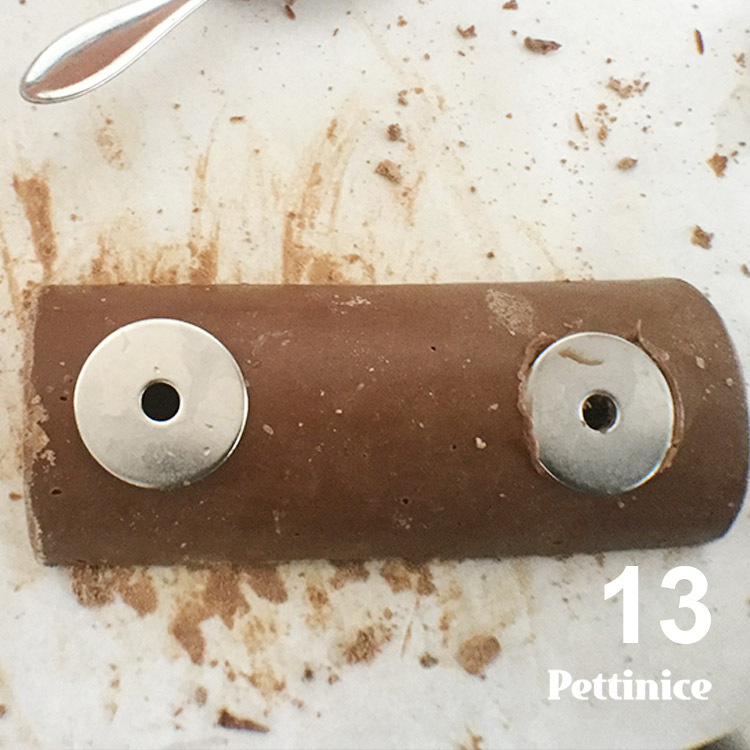
Rounded side up, carefully remove washer from boiled water and place onto the chocolate and lightly wiggle and push down until it lays flat and melts into the chocolate. You might have to do this two or three times to get it flush. Repeat on opposite side.
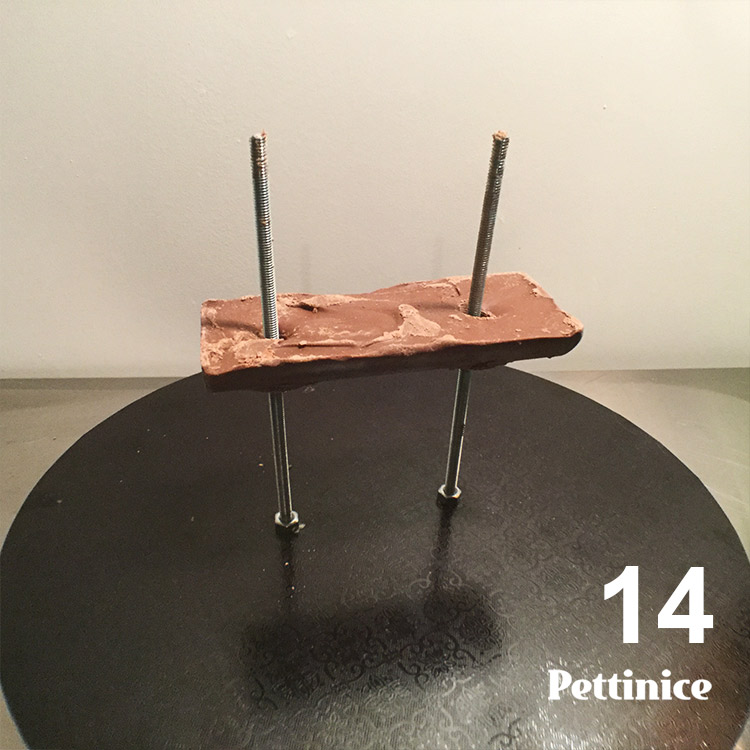
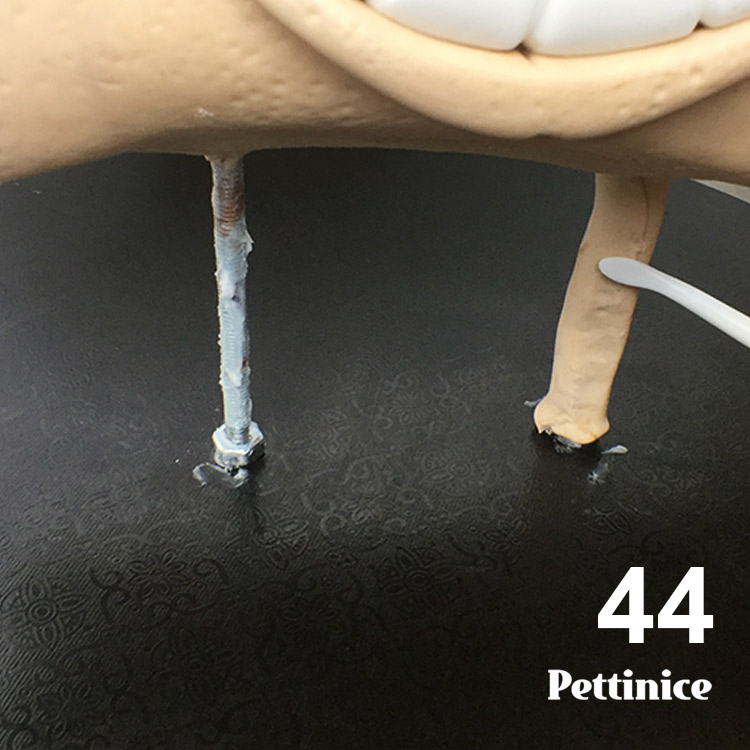
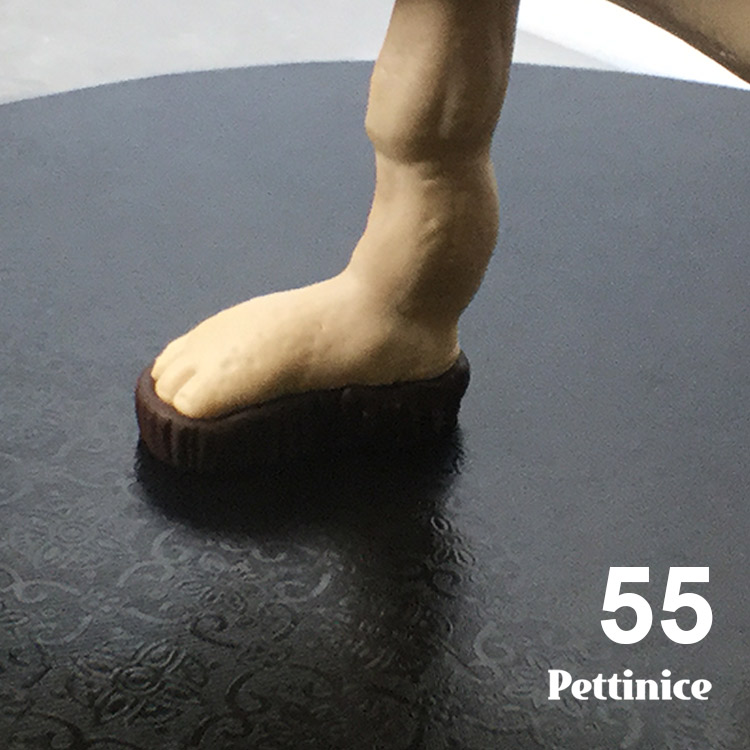
Flip your chocolate platform so rounded side is down, and place onto threaded rod.
Use your melted chocolate and fill gap. You can also fill any larger gaps in your platform if needed.
Use your melted chocolate and fill gap. You can also fill any larger gaps in your platform if needed.

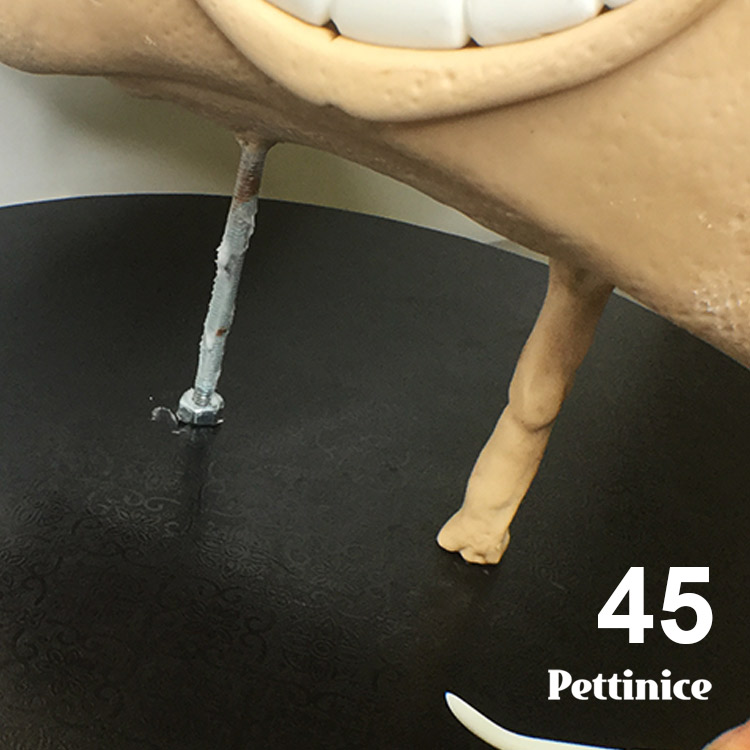
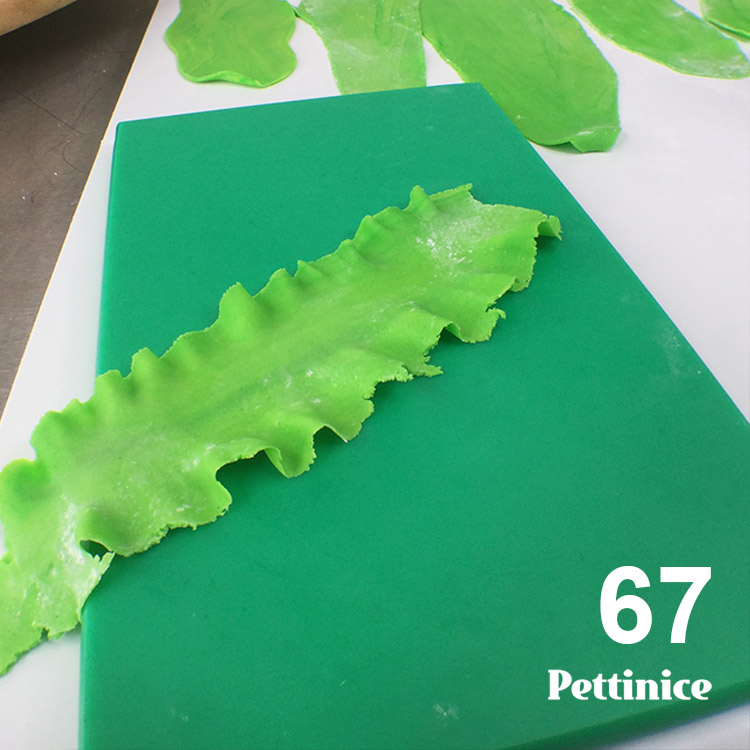
Trim your bubble tea straw to size
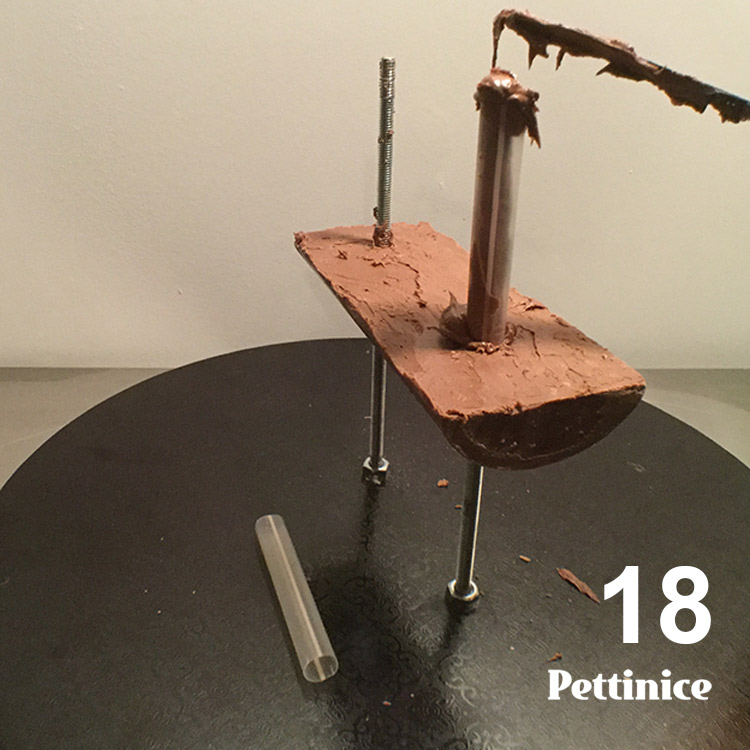
Cover your threaded rods with chocolate, put drinking straw over the thread and fill and cap with chocolate.
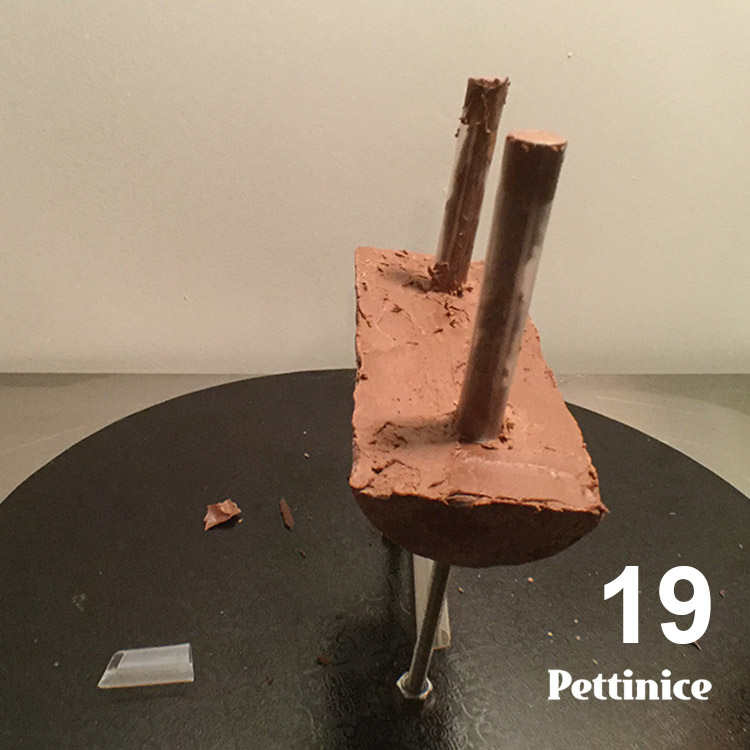
Repeat for other size. This seals the rods away from the cake.
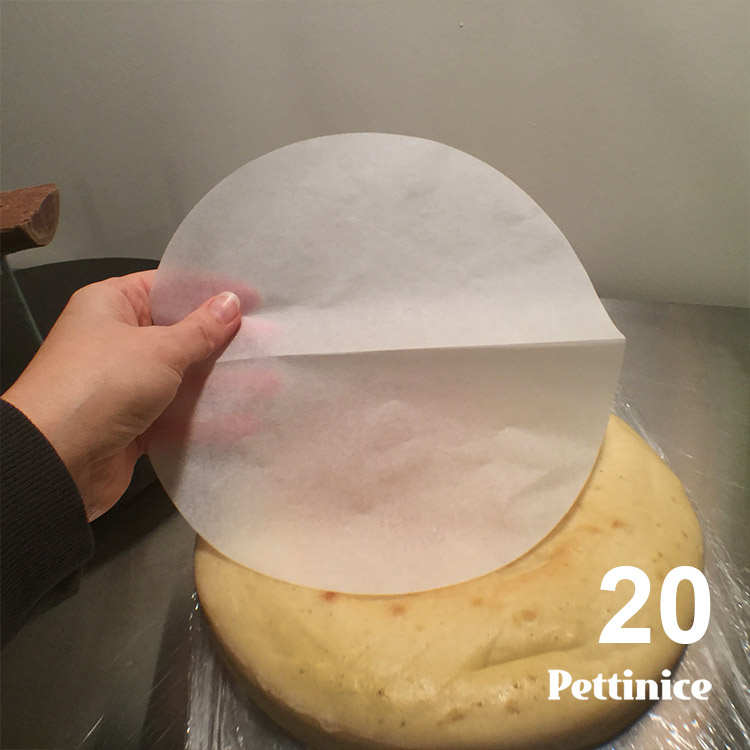
Top tip! If you know you are going to be cutting your cake in half for a project, fold your baking paper in half and the crease will leave a mark on your baked cake so you know where to slice. Easy!
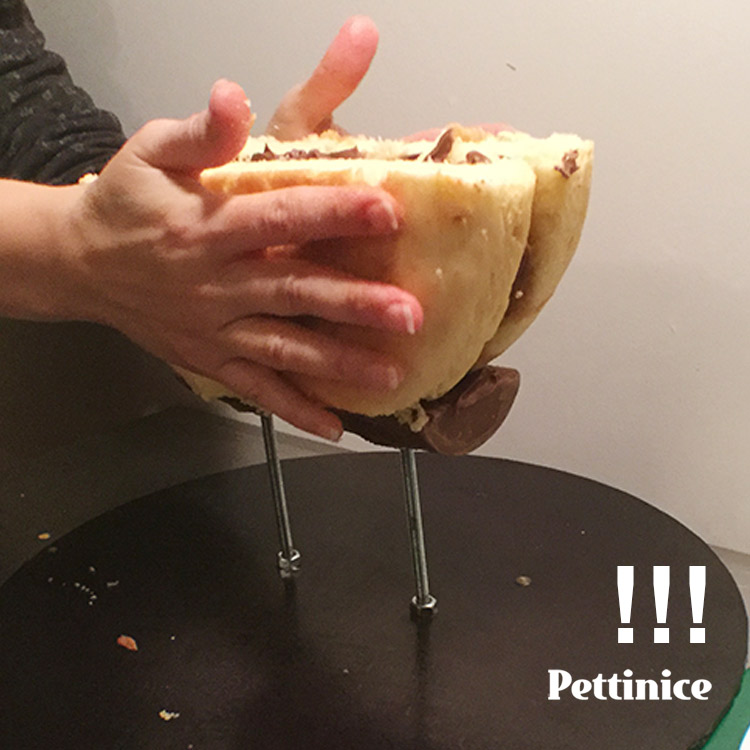
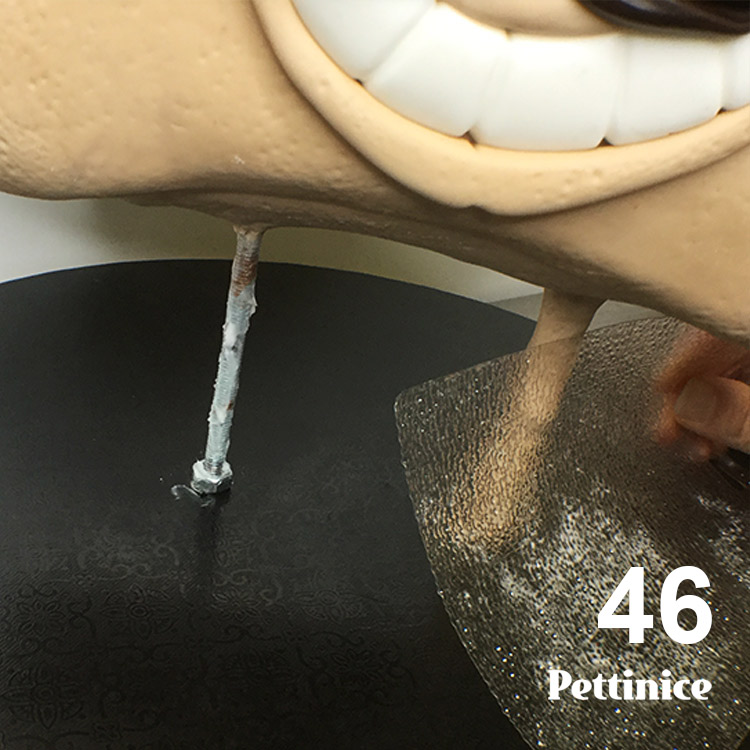
Press your cake against the straws to leave an indentation. Remove cake and carve out a small "v" shape to remove the cake.
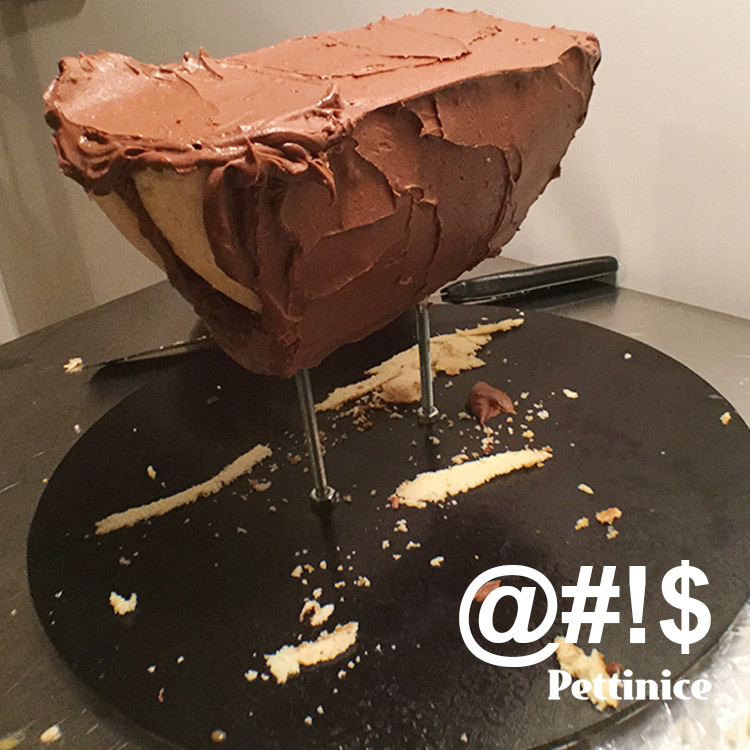
Start ganaching your cake, remember that it is now 2:30am in the morning, and you just placed your cake upside down....
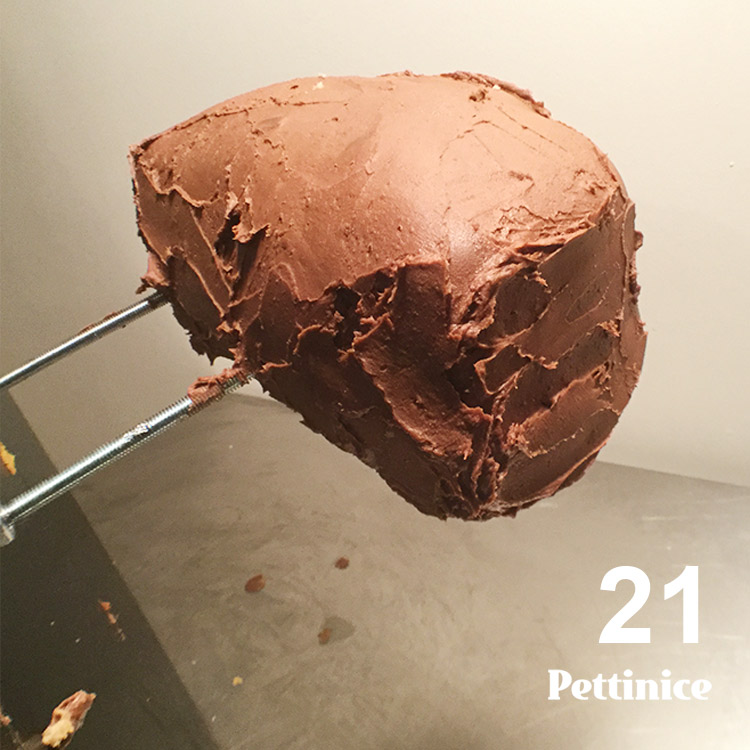
Have a giggle, remove and flip the cake around and ganache that baby like you mean it. :)
Smooth it out and let it set.
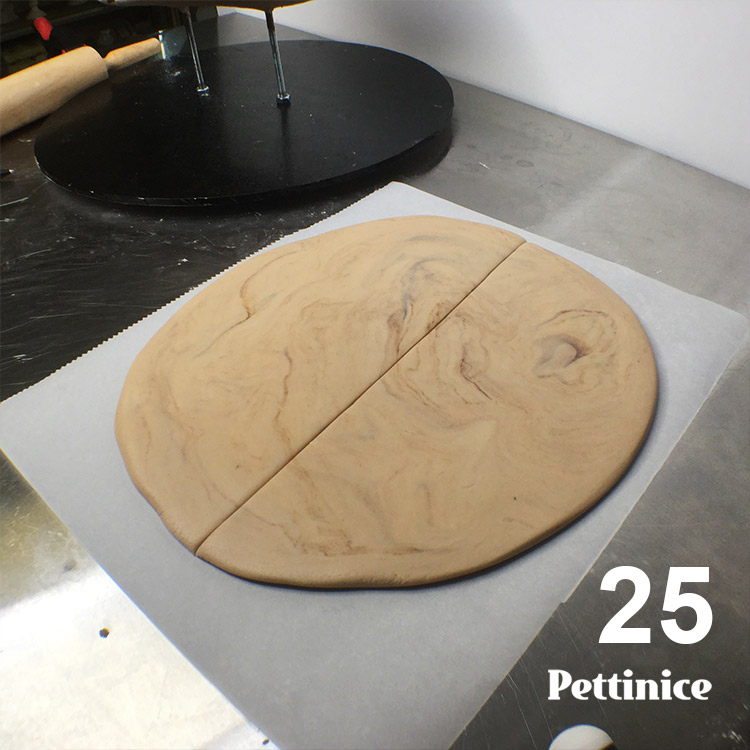
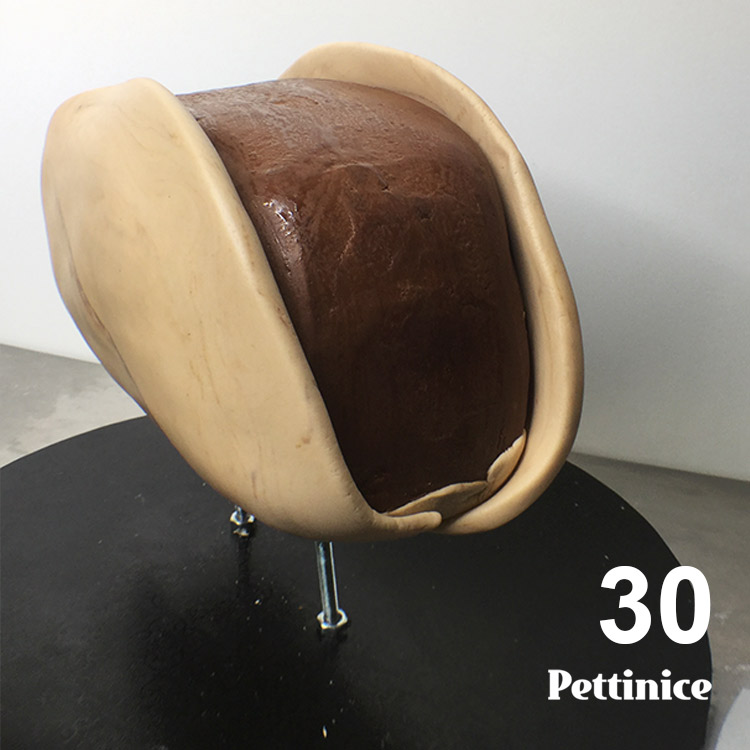
Roll thick, and larger than 8".
This is set A.
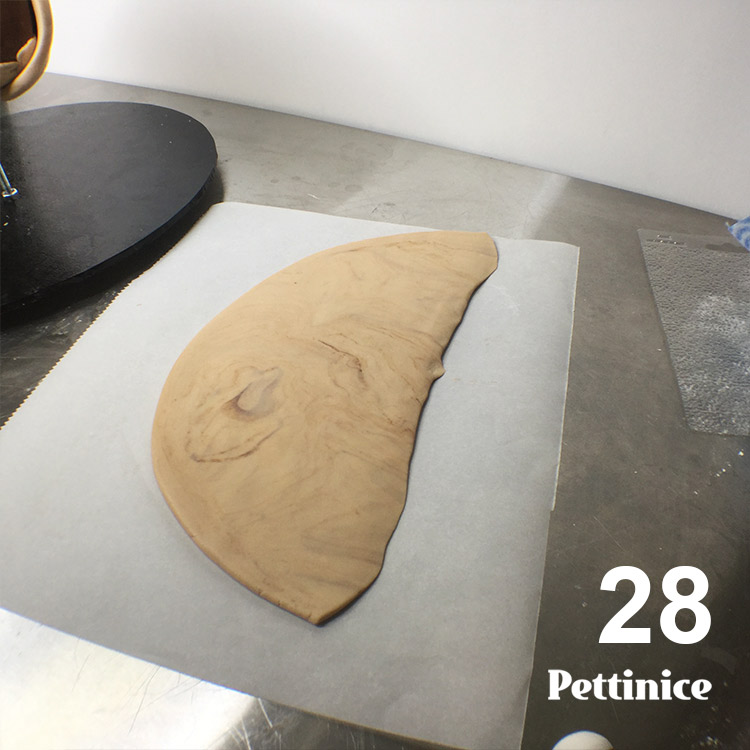
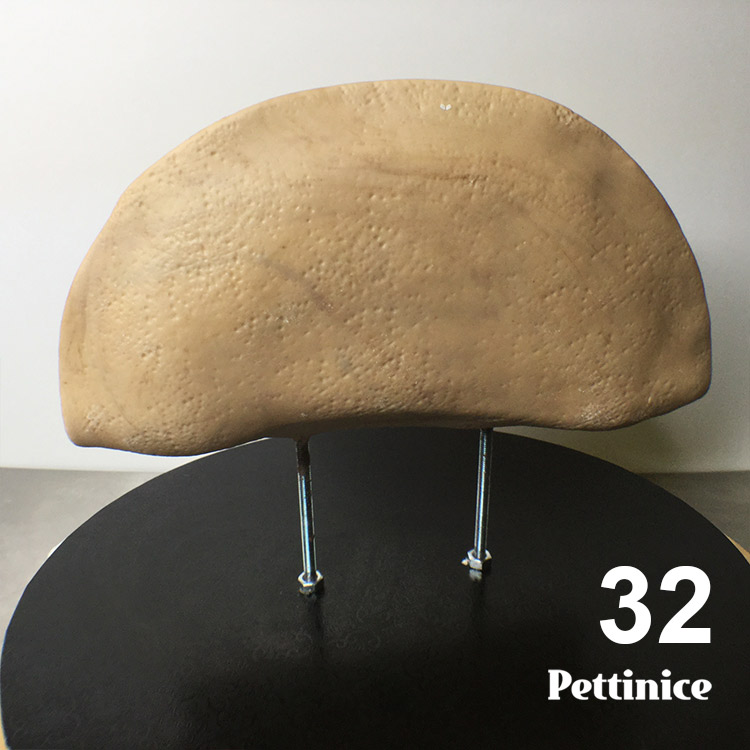
Thin and bevel out the bottom end
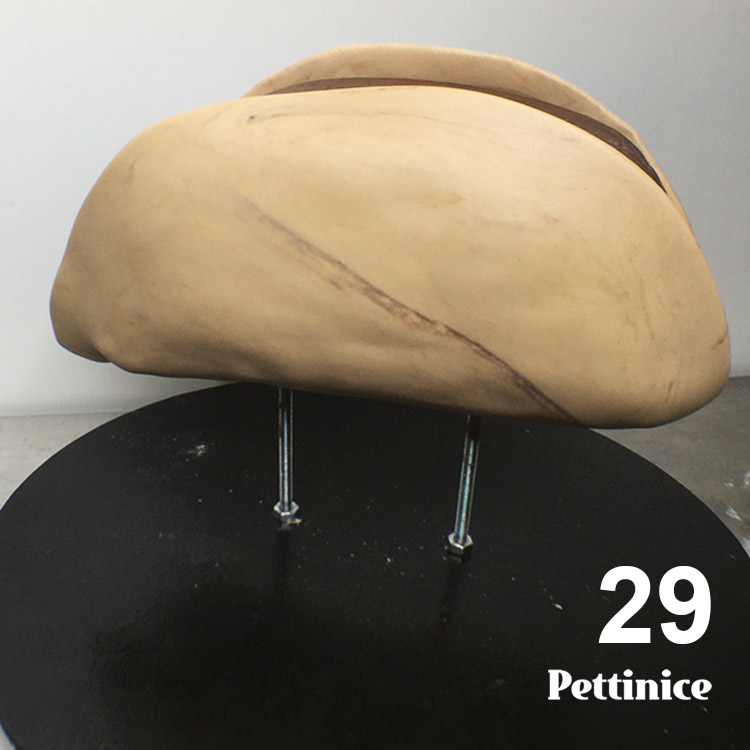
I used Sprink canola spray to attach together
I recommend jumping to step 76 at this point! Prevent getting any splatter on the features.
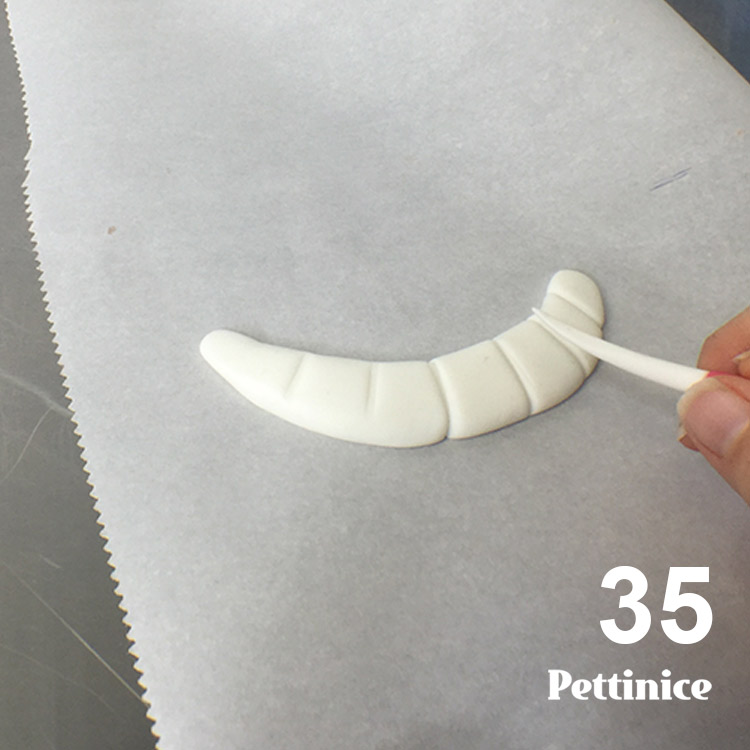
Use the dull side of the knife to emboss

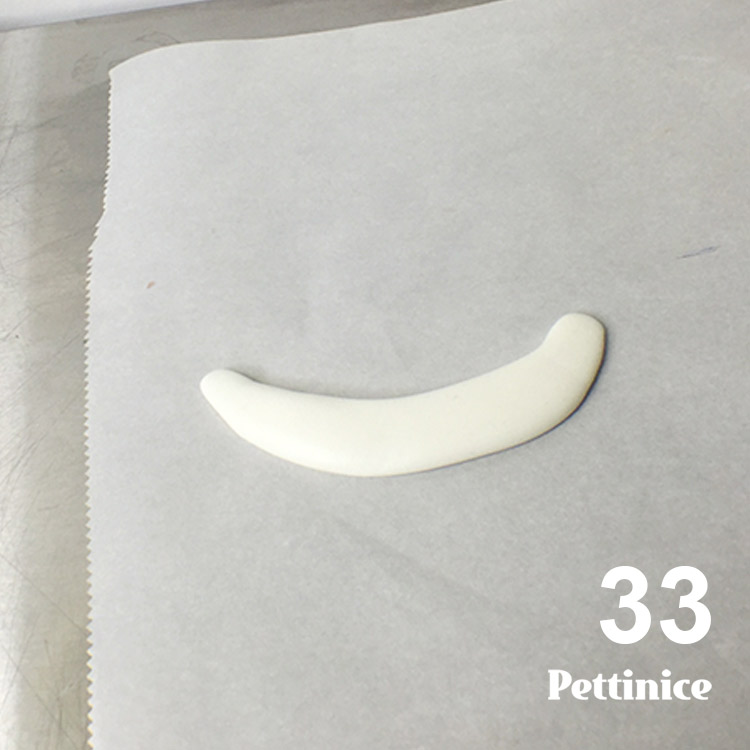
Roll and cut a circle in half for the eyes
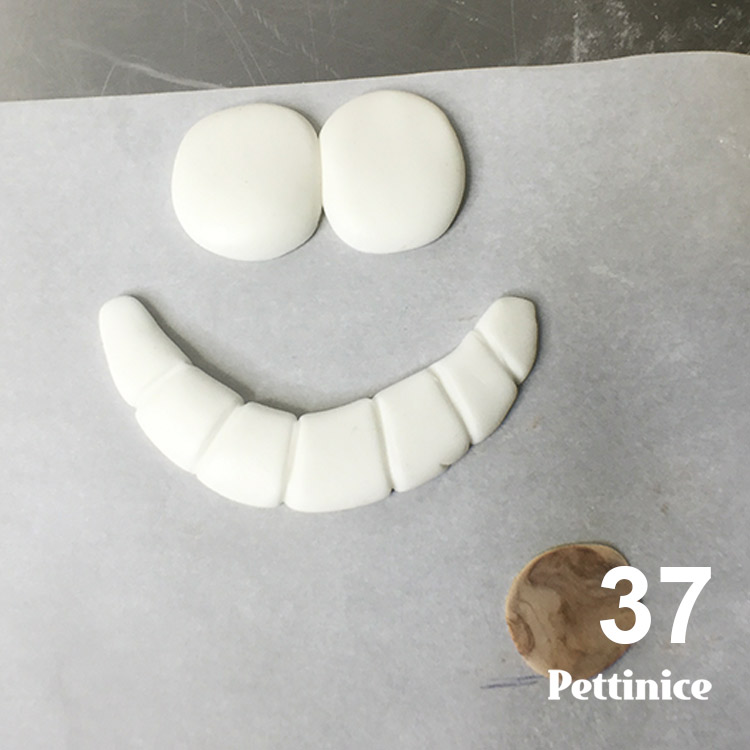
Roll little sausages to place as eye lids and lips.
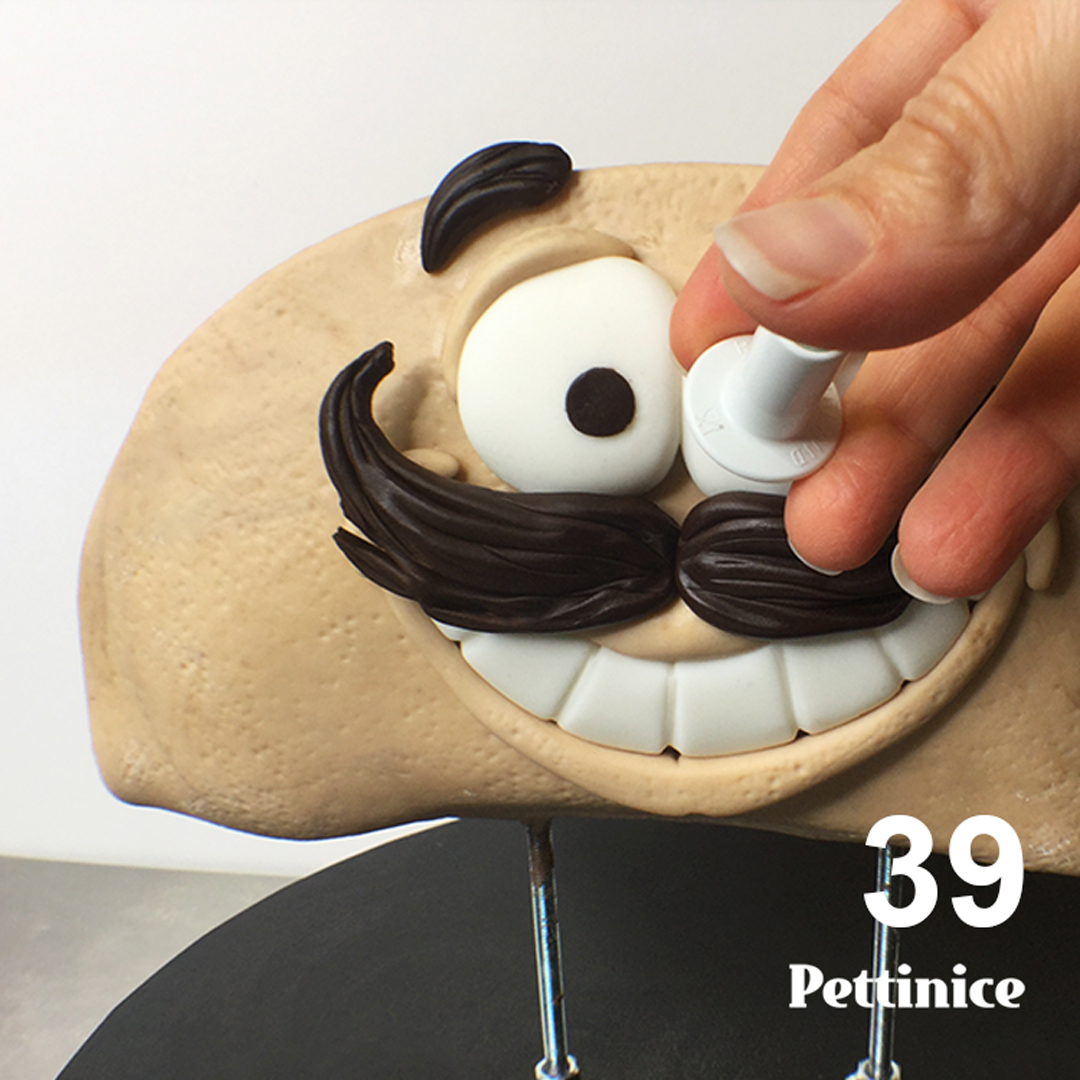
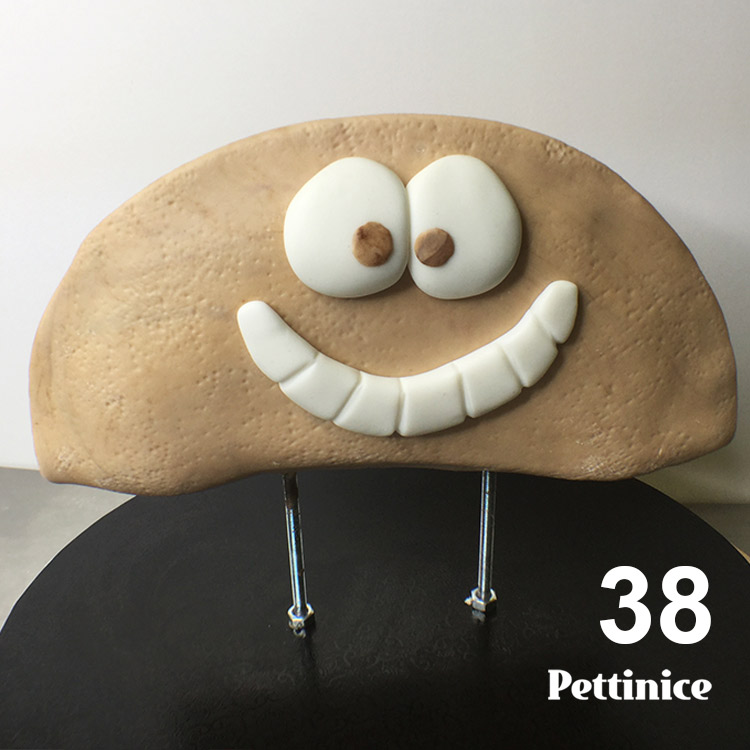
I like using my hole punch to place pupil directly onto cake without finger marks.
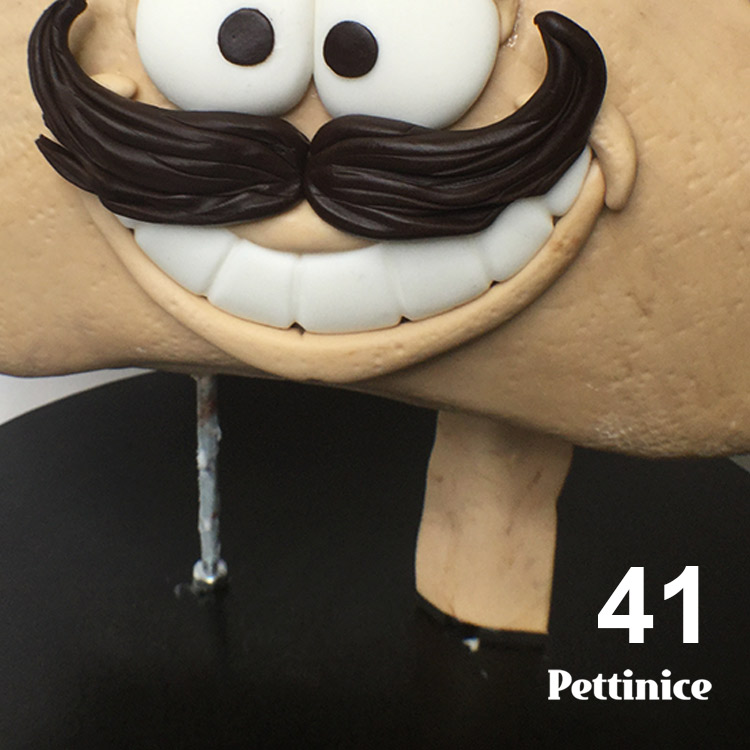
Use your Dresden tool to add texture to mustache and eyebrows.
Roll rectangle for the legs.
Wrap rectangle onto itself.

Work quickly and you can make the seams disappear.
And this is where you will see Pettinice fondant excels! You can build your shapes, as shown in these photos, and seams totally disappear when you blend them together using your fingers, or the blunt side of the Dresden tool. The main thing is to work quickly while your fondant is fresh. You can also wet your fingers with cool water and blend together as if it were clay. It will dry out completely without marks.
I am using my Dresden tool first, then I will smooth with my fingers.
Pinch a little for the knee
Emboss
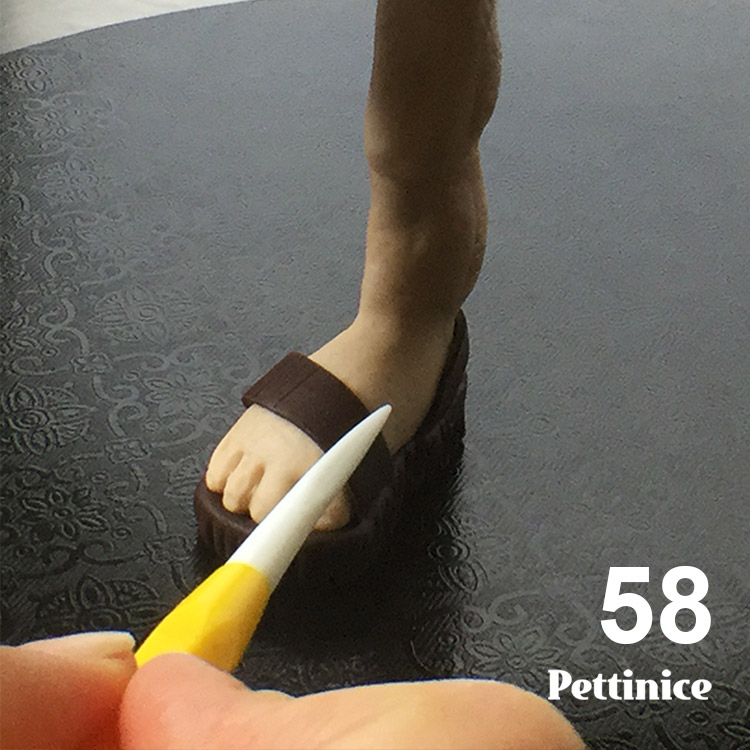
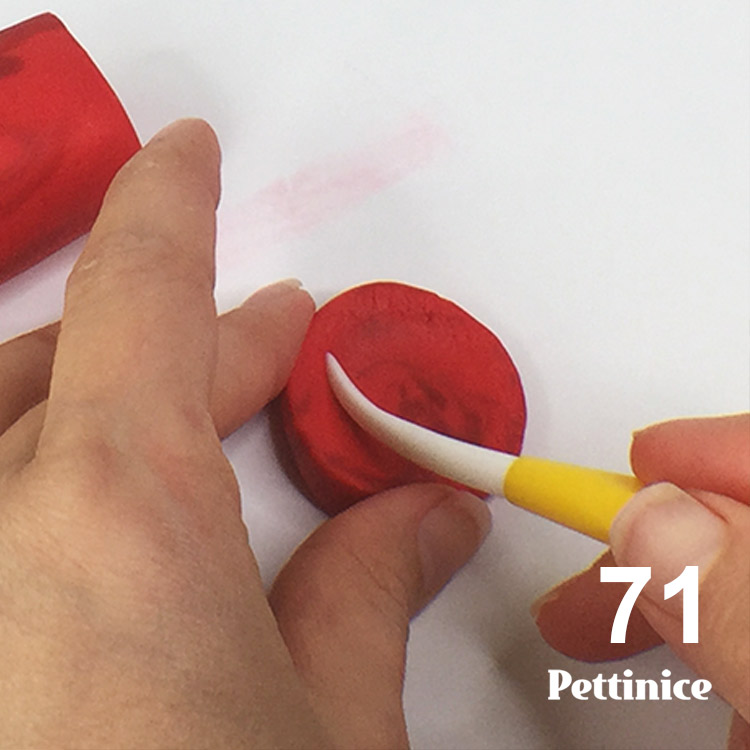
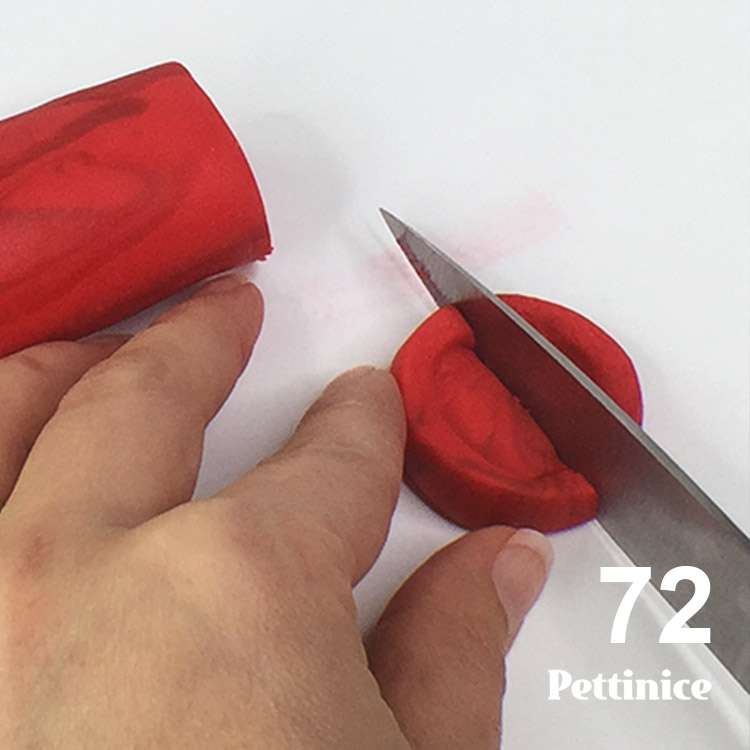
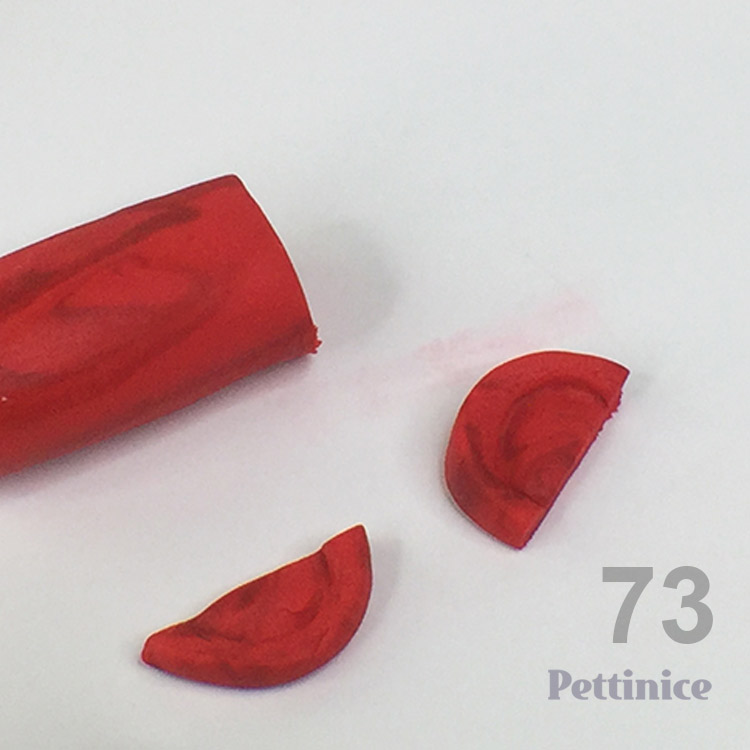
Roll circle and cut in half
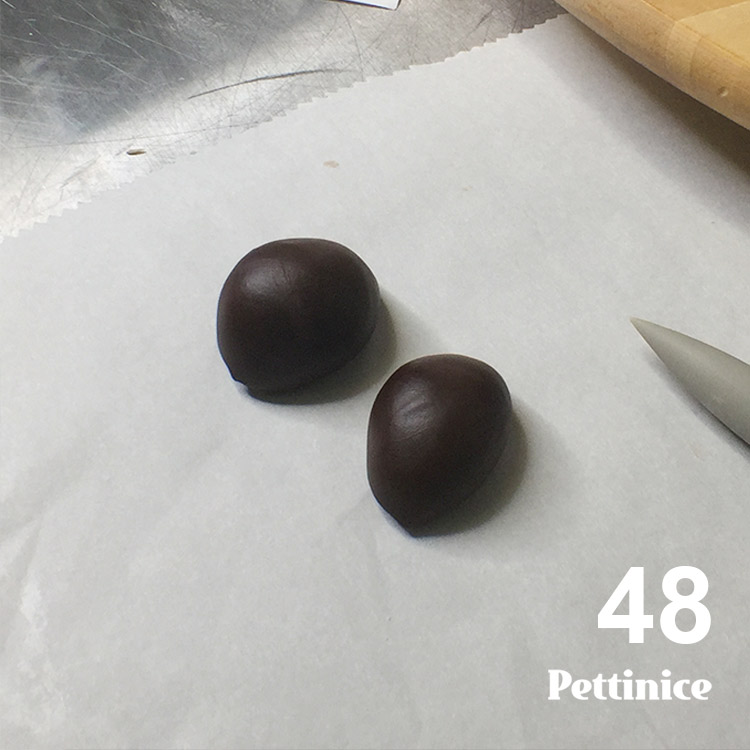
This will form the sandals

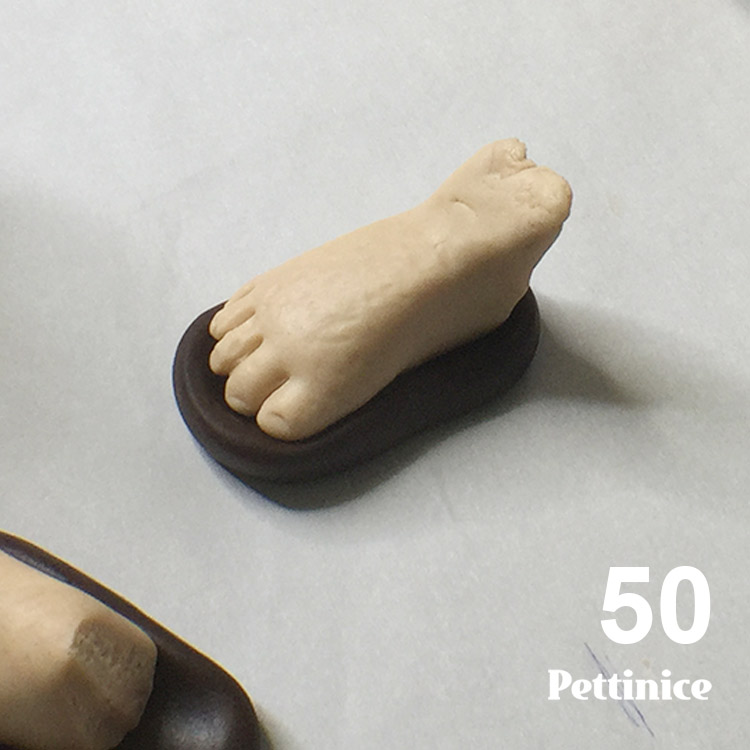
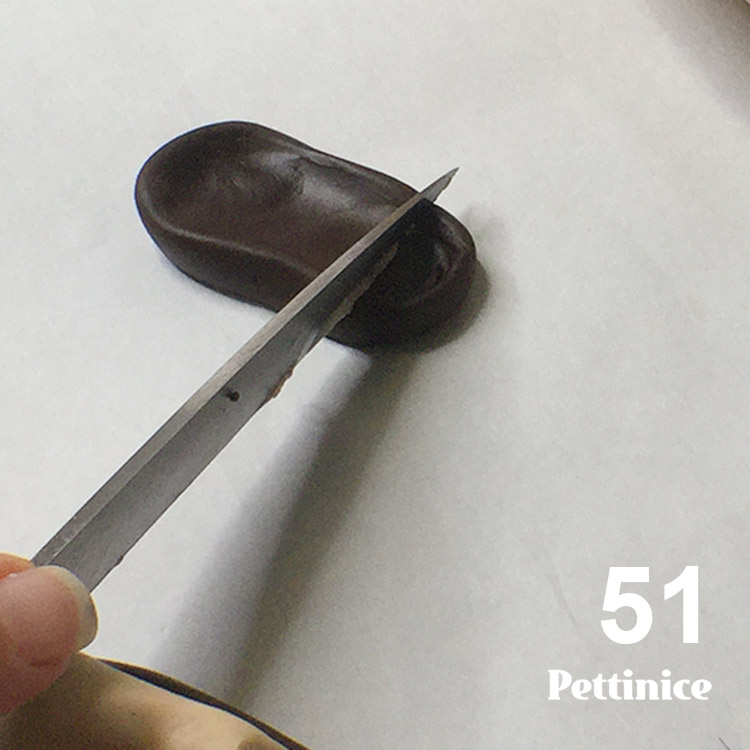
Cut the back, so that you can piece together around the threaded rod.
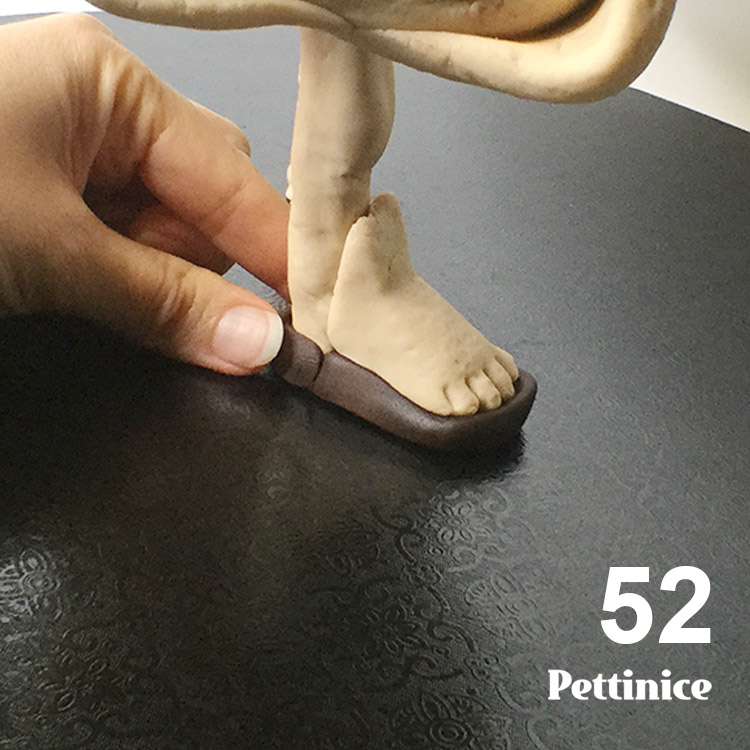
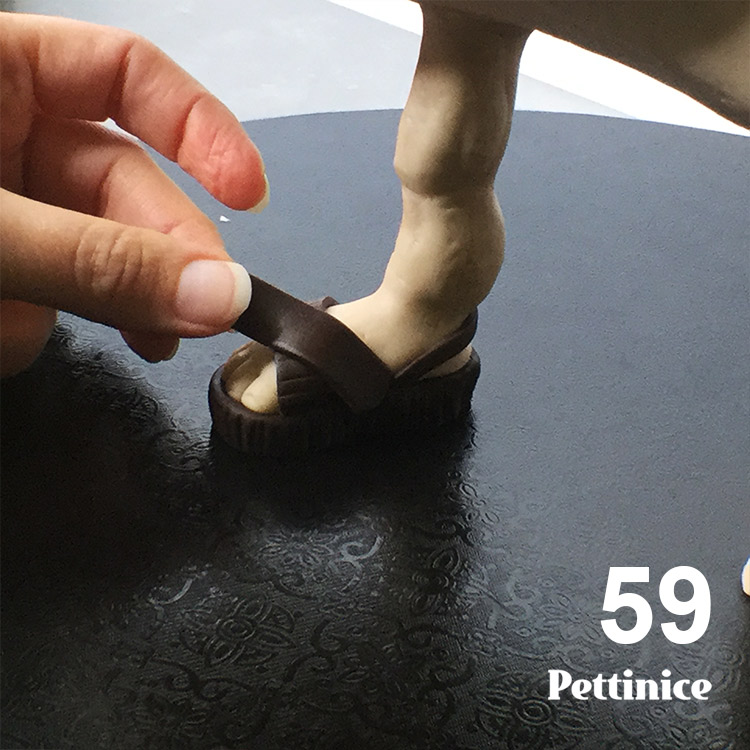
Put everything together and smooth out the seams.
I cut a little section off my embossing mat to focus on little areas.
Use Dresden to emboss grooves
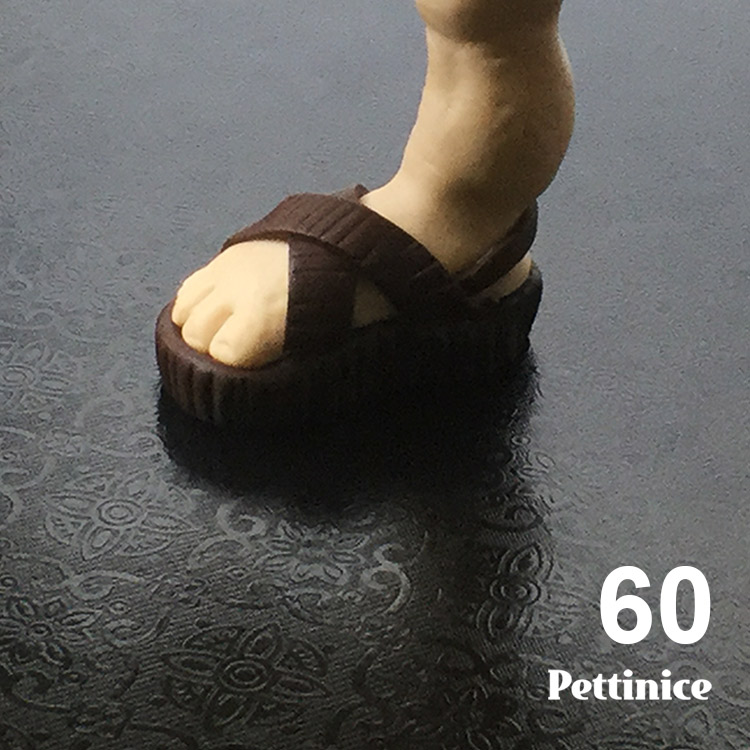
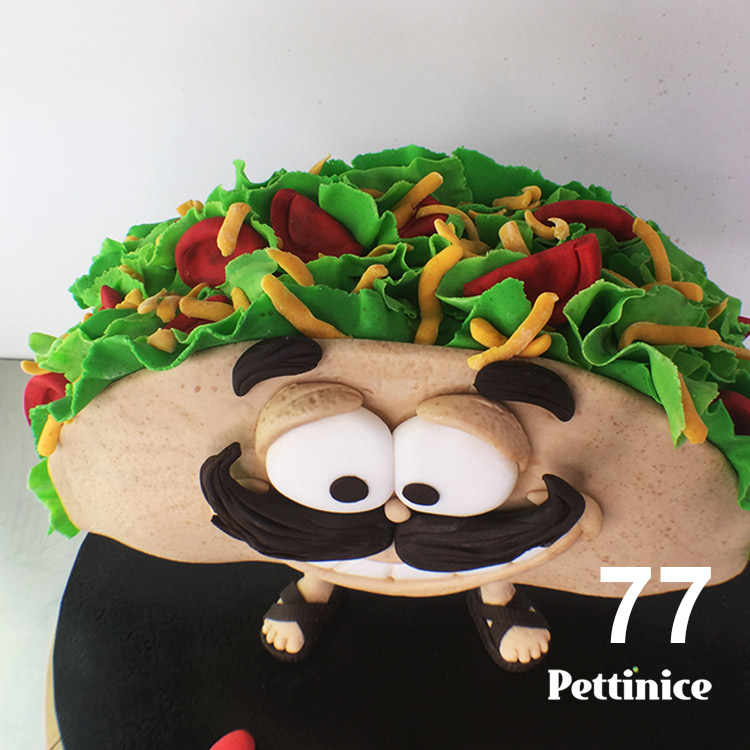
Cute!
Repeat on other side

Tylose powder
Roll out and let air dry for at least 10 minutes. Depends totally on your environment.
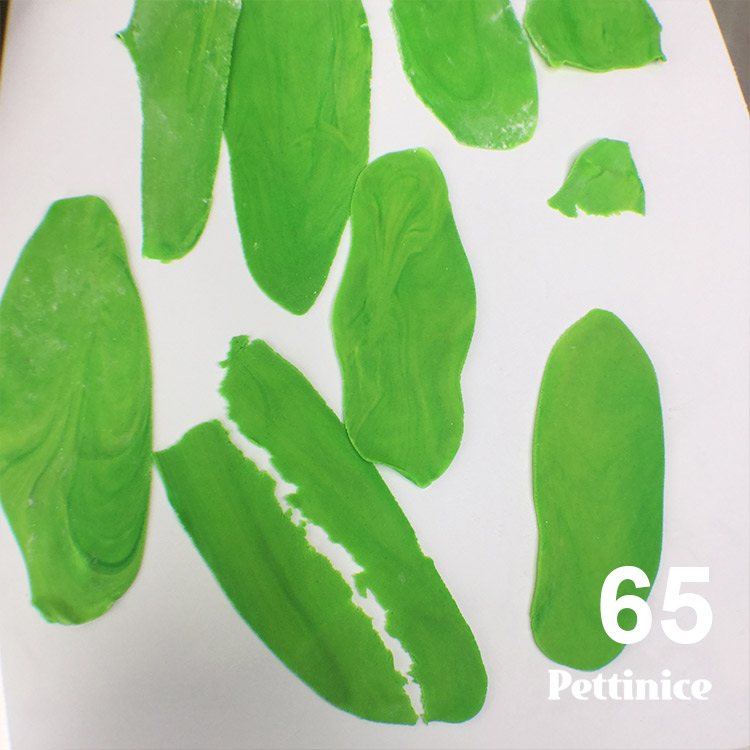
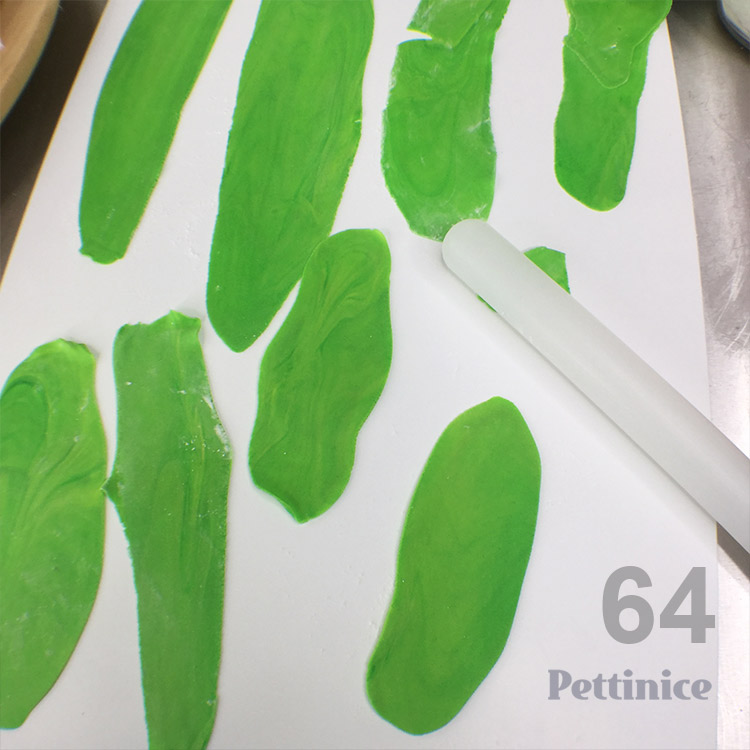
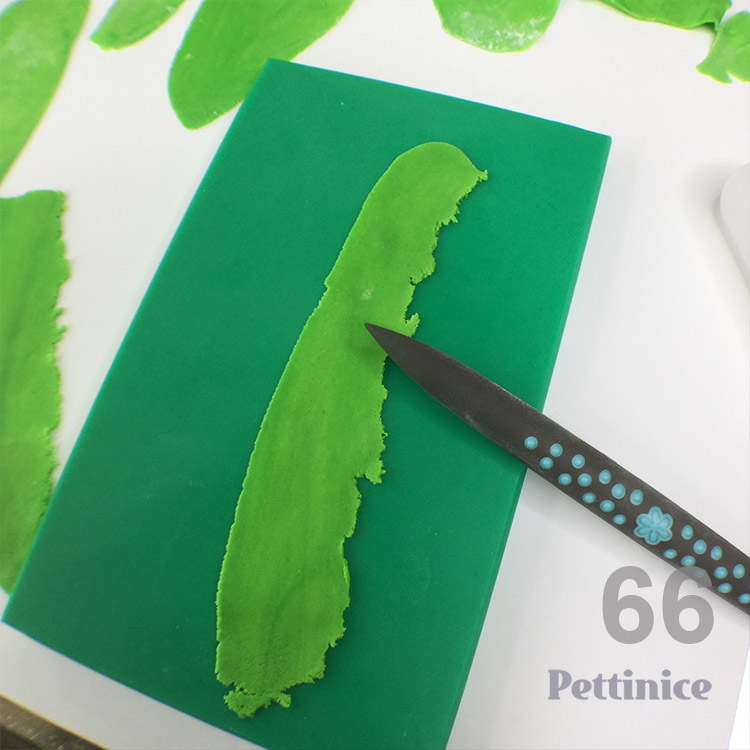
Inspired by Angela Morrison, I then separated each piece to have a torn effect.
Fold down the centre and stick in place.
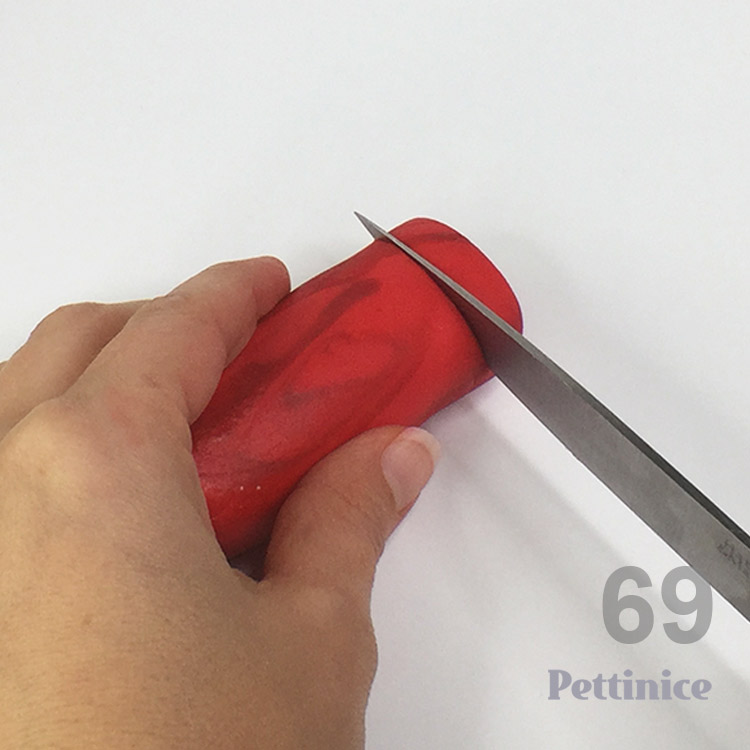
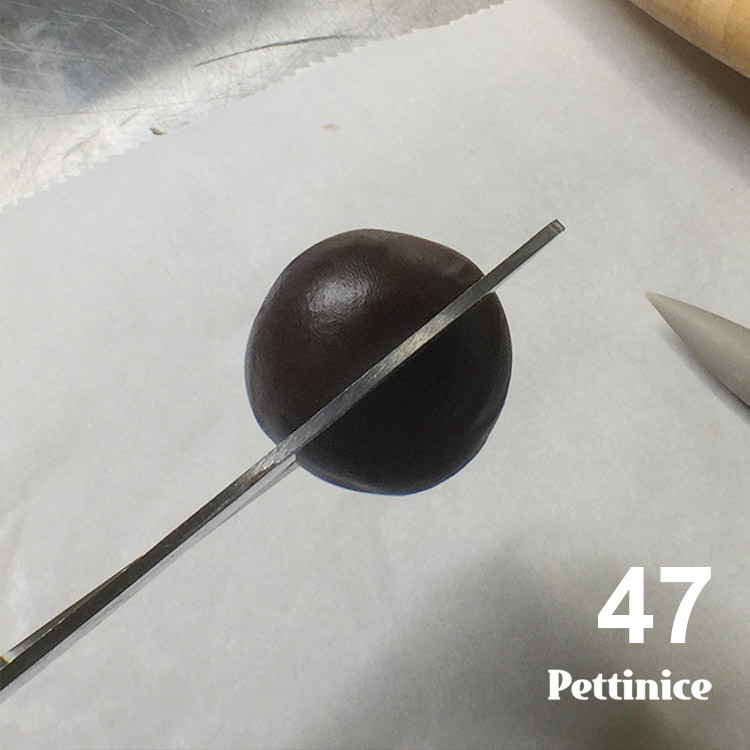
Pettinice red, marbled with a small ball of Pettinice chocolate.
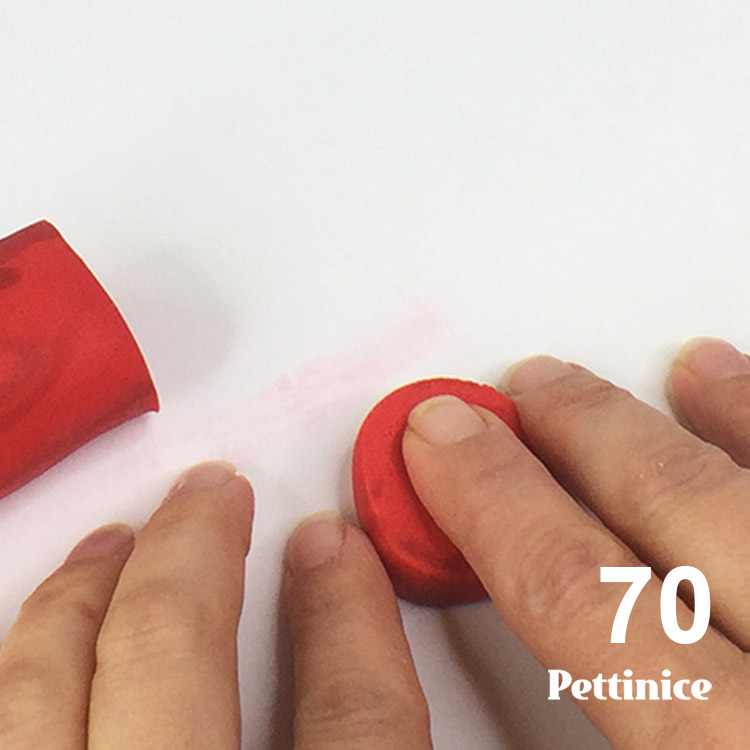
Keep it quick and simple for this cartoon cake!
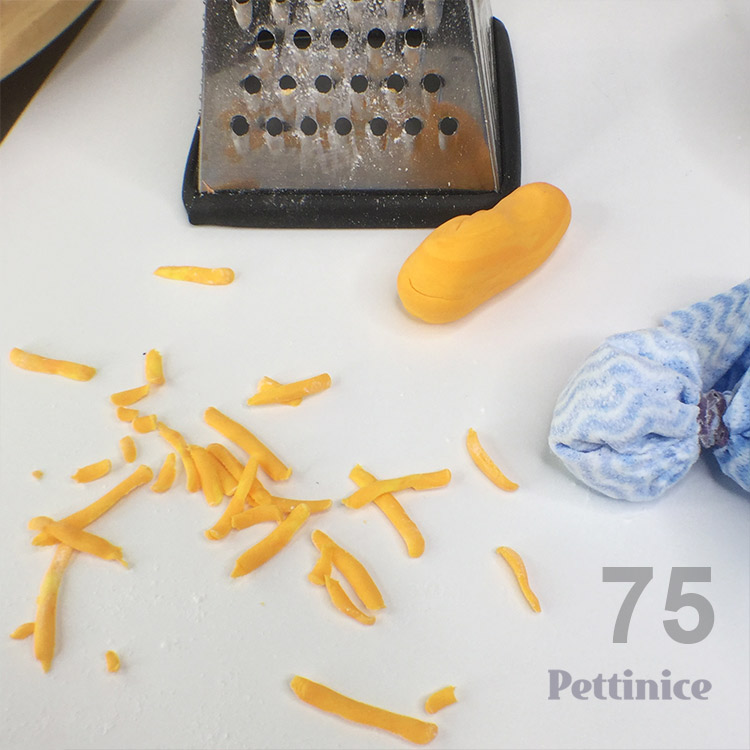
Use a real cheese grater!
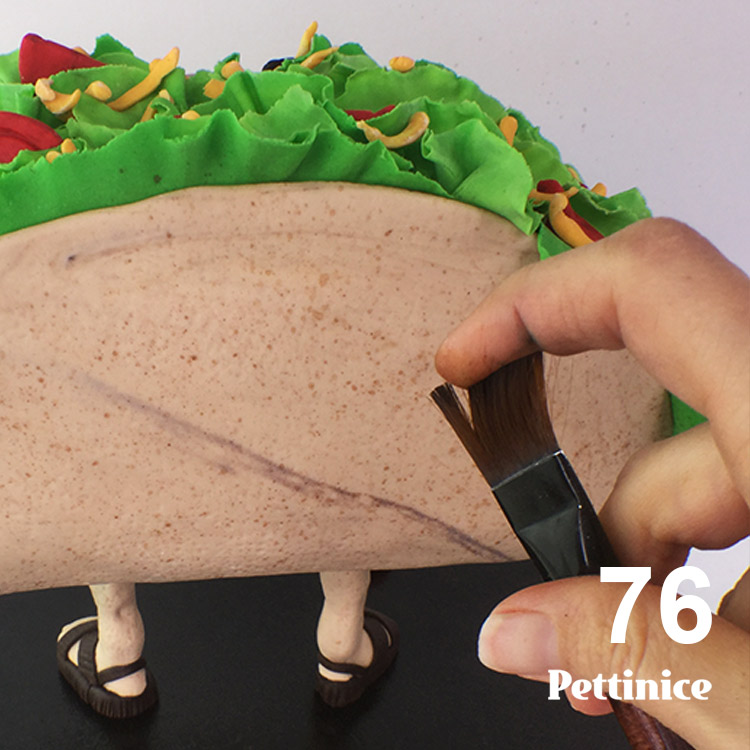
I used cocoa powder and rose spirit to create brown pain. Here I am pulling back on bristles and it is splattering colour perfectly. I recommend doing this step before adding the details.


Nina Blackburn is an award winning cake artist who owns Make Pretty Cakes in Auckland, New Zealand. A proud Pettinice Ambassador, and self confessed cake-a-holic who not only enjoys creating specialty 3D cakes, but also hosting and teaching cake decorating classes.
You can find Nina on Facebook and Instagram.