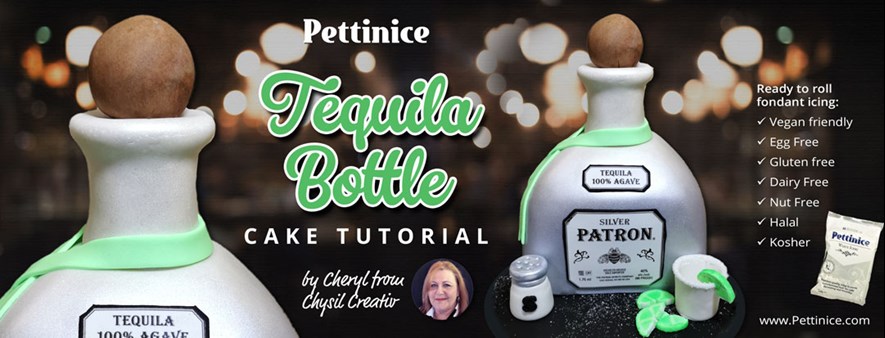
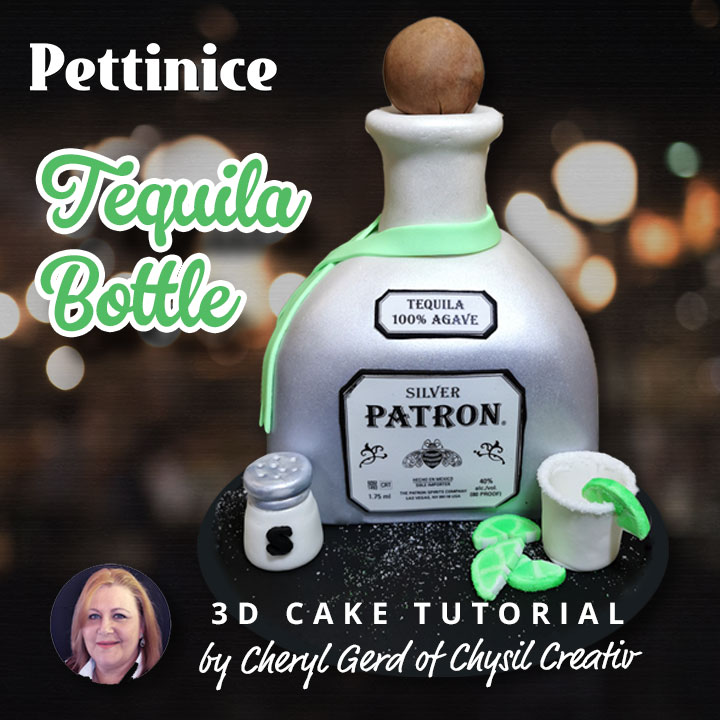
How to make a 3D tequila bottle cake by Cheryl at Chysil Creativ
What you need
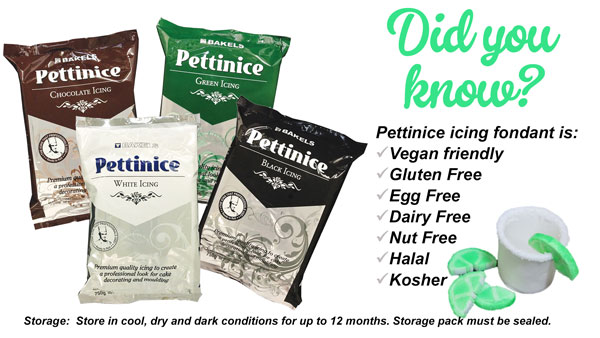
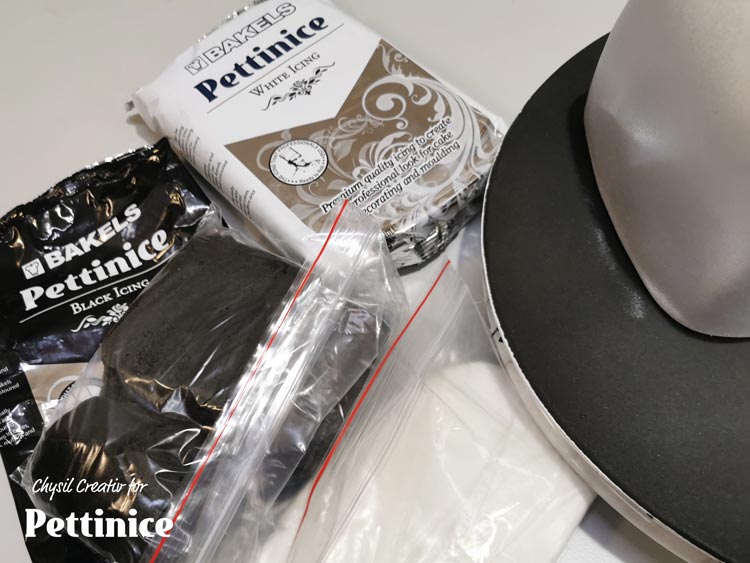
- Pettinice fondant in black, white, green and chocolate.
- Printed sheets (labels printed to your preferred size) from templates found here
- Craft knife and sharp knife
- Cake smoothers
- Rolling pin
- Bone tool, or similar
- Tylose
- Edible glue and paintbrush (I use boiling water and tylose)
- Pearl and Silver luster
- Sturdy straws or cake dowels
- Sugar (for glass rim)
- Small plastic shot glass for molding
- Ribbon cutter (optional)
- Scissors
If you've been wanting to create a 3D cake for your next celebration, here is a great tutorial for making an easy structured cake for the tequila lovers in your life! It doesn't require much carving and can be scaled to suit the size you need.
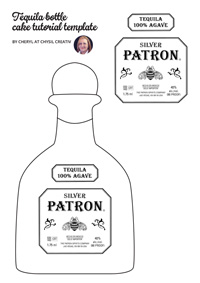
Download your bottle and label templates here.

Creating the bottle
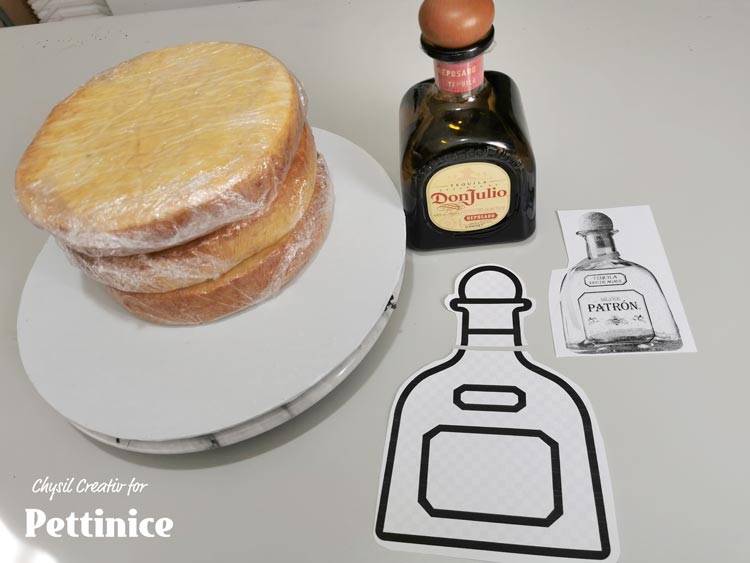
Download template to shape cake, filling and then turning upright.
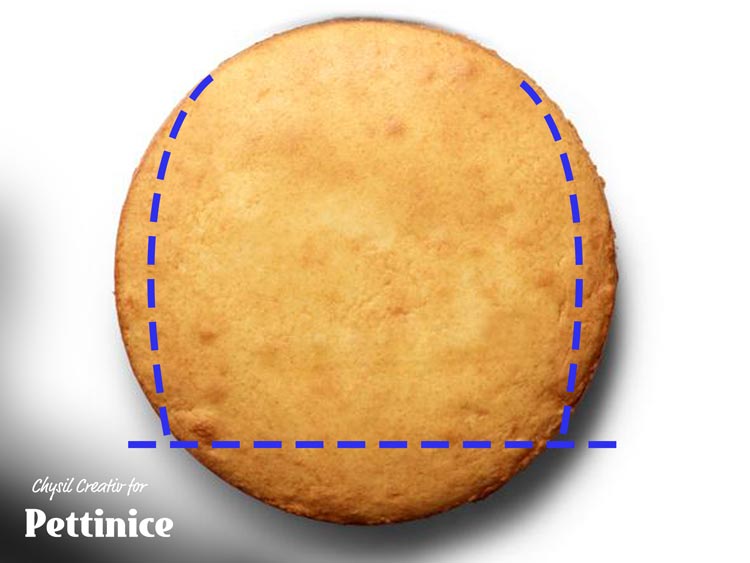
Fill your cakes, then stack them. Here is a visual of how you will shape your cake before turning upright.

Check shape against the template, and cover with ganache or buttercream.
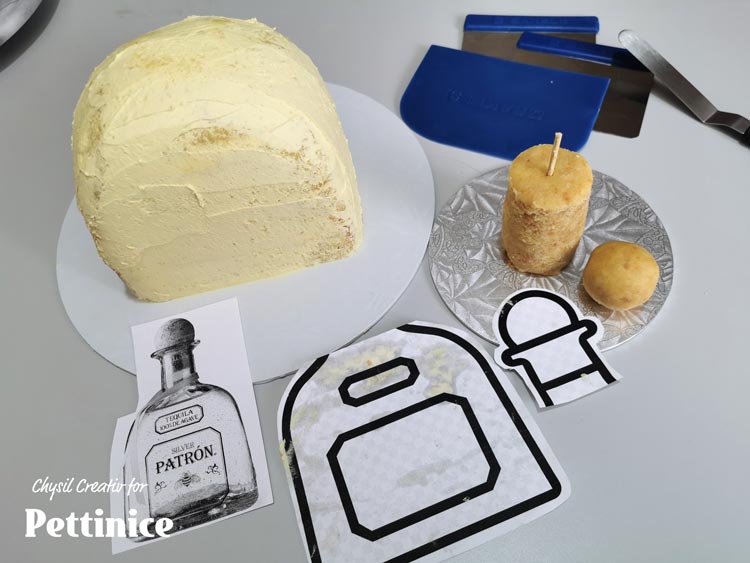
Use your cake scraps to shape a bottle top and cork.

Marble Chocolate and white Pettinice and then cover your "wooden" bottle top.
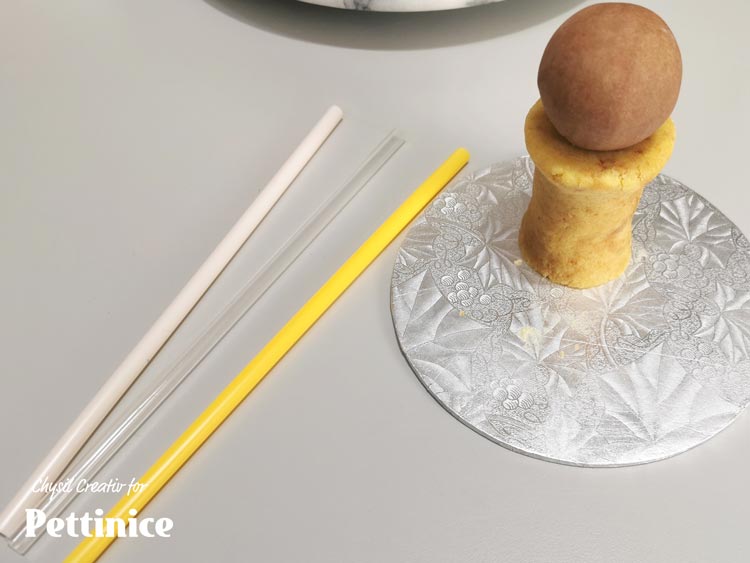
Cover bottle "neck" with white Pettinice. You will later use a straw to anchor this to the main body of the cake. To make it easier, first "drill" a hole through the pieces with your straw to prevent misshaping when assembling.
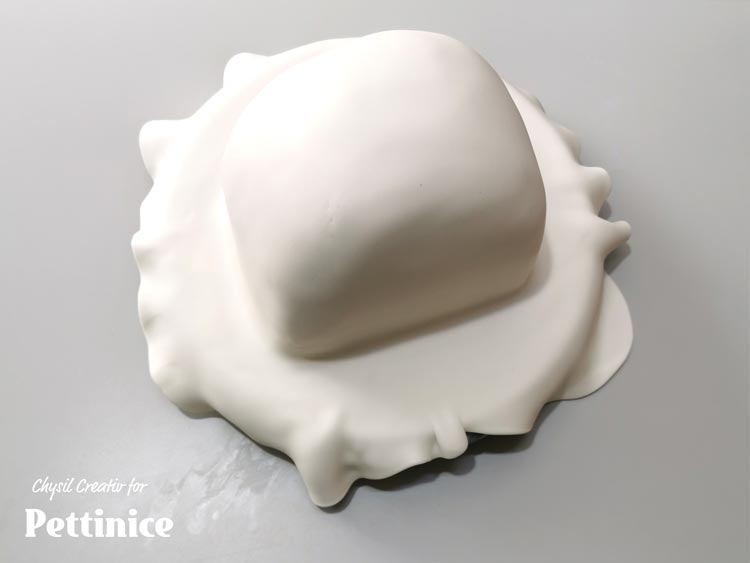
Turn your cake flat side down, and cover in Pettinice.
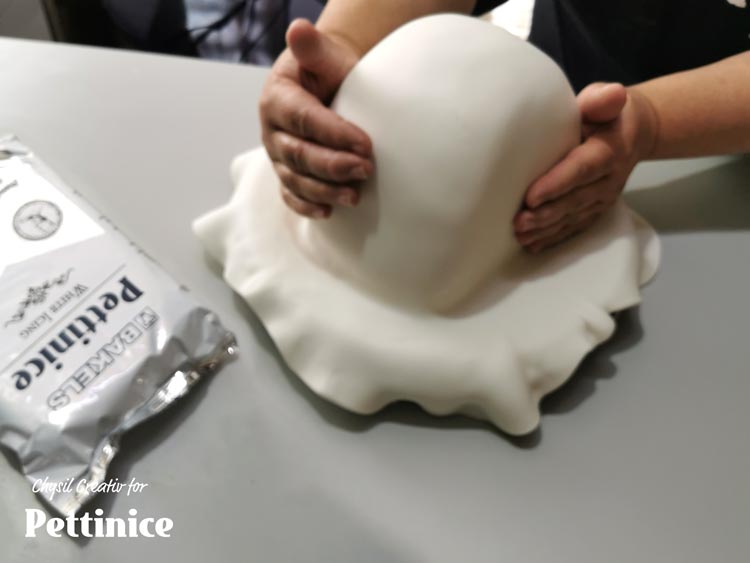
I initially smooth Pettinice using circular motions with my hands.
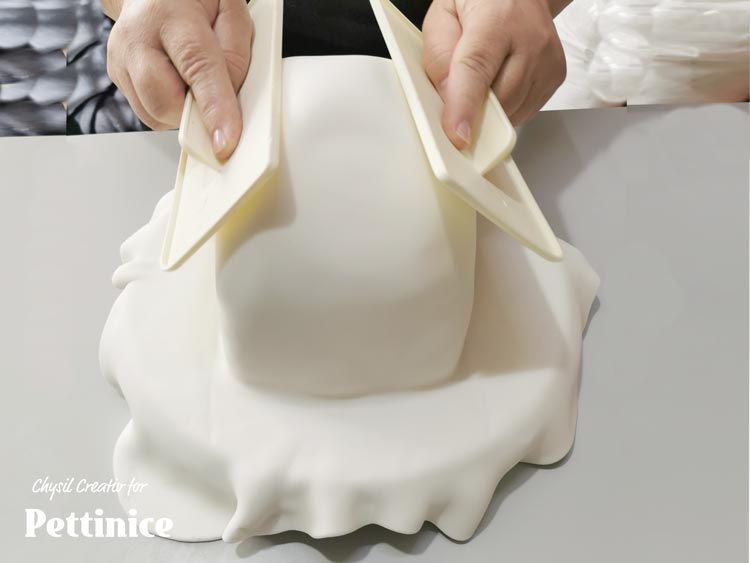
I then use my cake smoothers to define the shape further.
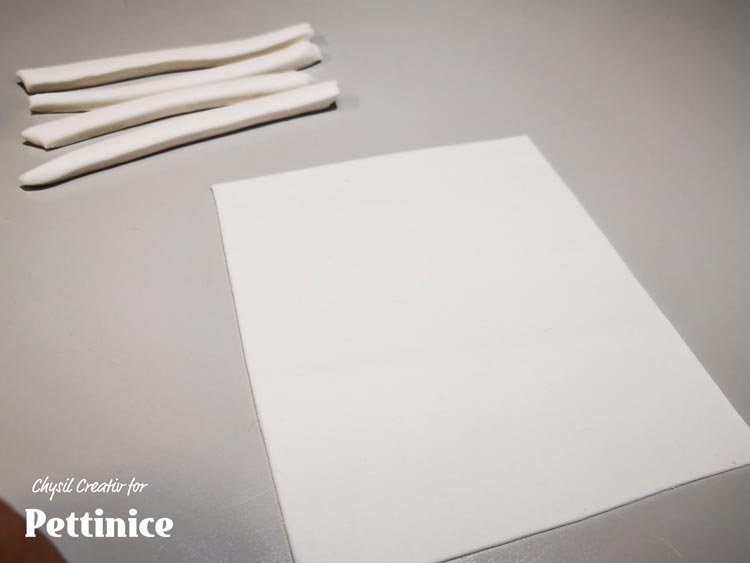
Roll out thin layer of white Pettinice and 3 thicker strips for lime wedges, as well as a thin strip for the lime..
I find it easier to divide my project tasks based on fondant colour. As I am already working with white, I will create all the elements needing white Pettinice first, before moving on. Covering the bottle neck, creating the name ribbon, creating the shot glass, salt shaker and lime wedges are the next steps. If you work slower, be sure to cover your rolled out Pettinice between clear folder, or into an airtight ziplock bag to prevent it from drying out.
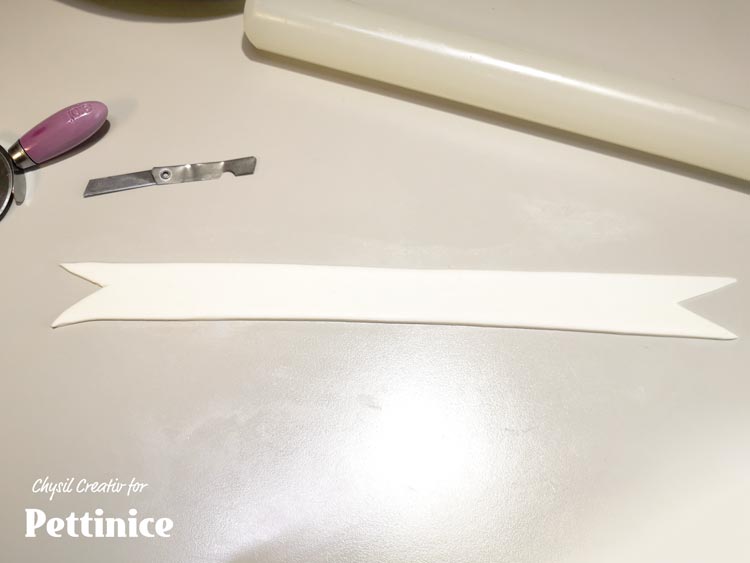
From this piece, I will also cut a ribbon strip for name or message for the cake board.
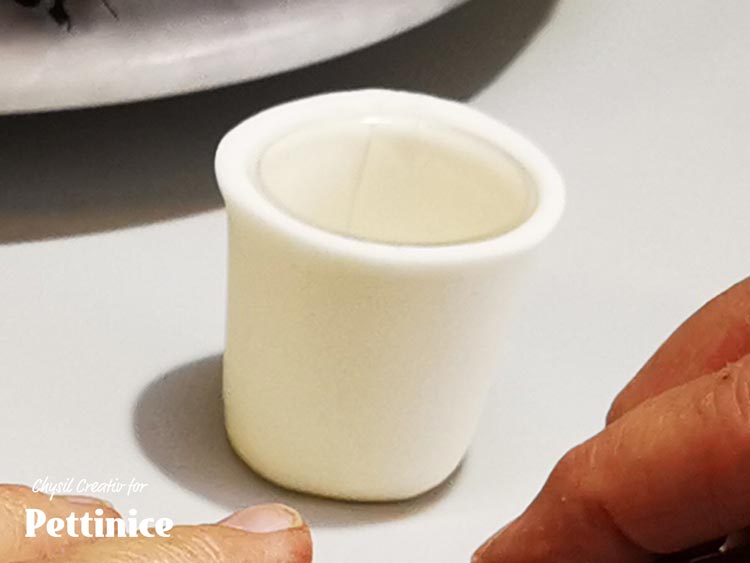
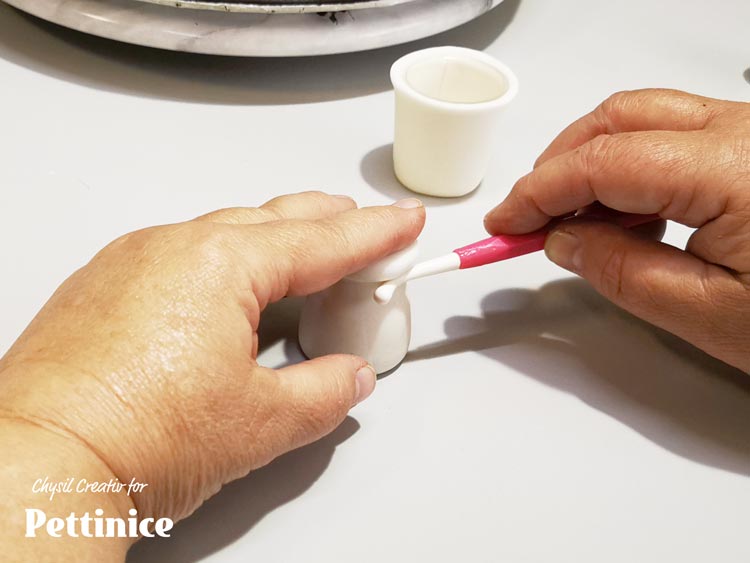
Dust a small plastic shot glass with cornflour and wrap and shape the fondant around and allow to set.
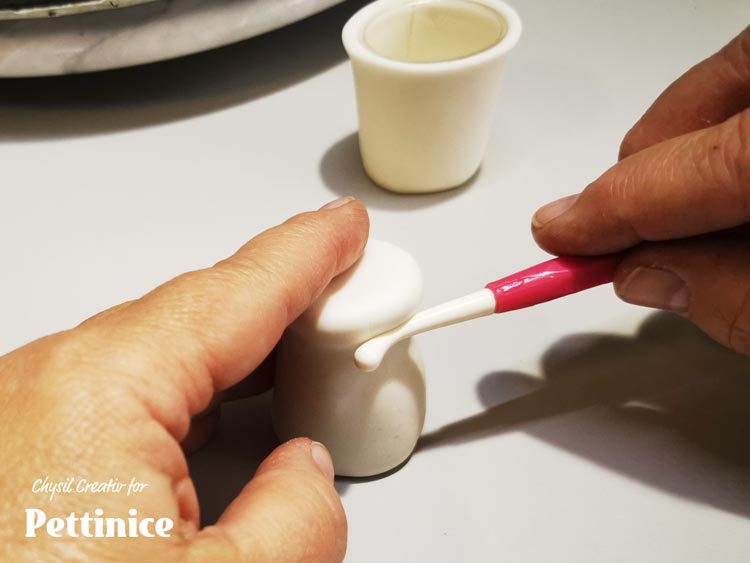
Cover your bottle neck with White Pettinice. Exaggerate the tip lip by holding the paste flat with one hand, while you force the paste using a boning tool with the other.
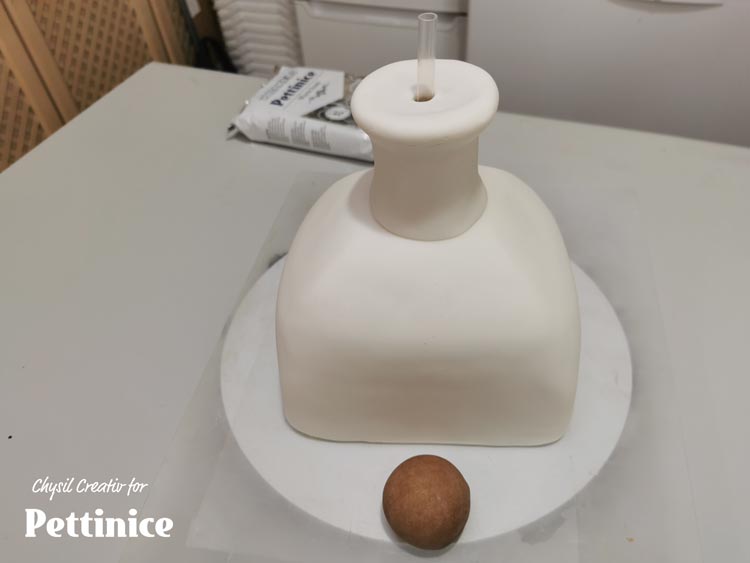
Secure neck you just shaped onto the bottle and insert thick pvc straws for support.
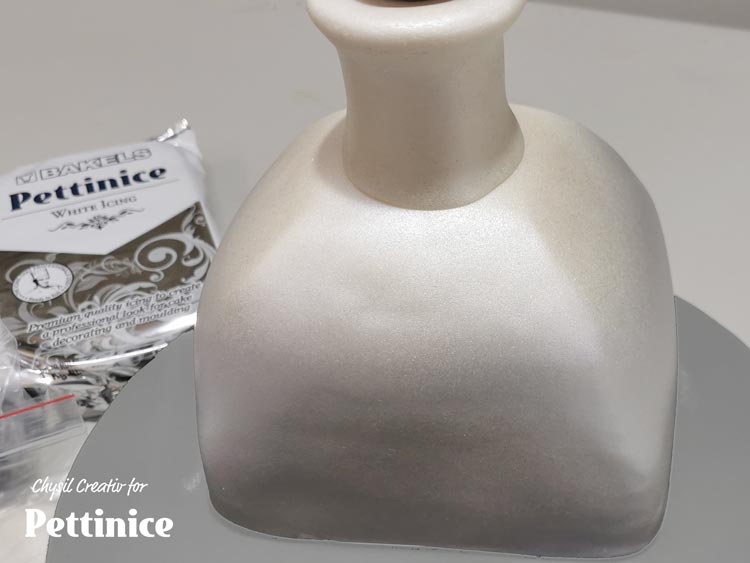
Airbrush the cake using pearl and silver liquid colours now, to allow time to dry before moving on to the labels..
Fondant salt shaker (salt pot) tutorial
Similar but this time smaller than the neck, roll a cylinder shape and tease the top edges to represent the salt top with your boning tool and your hand for support.
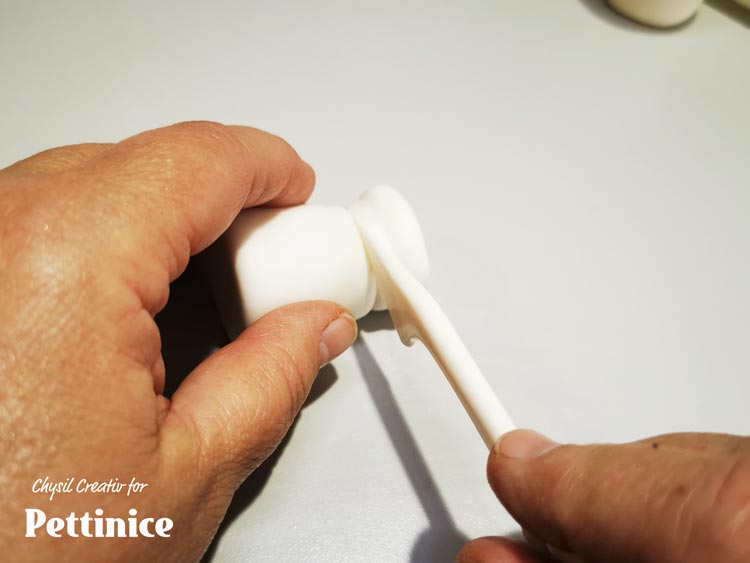
Using the edge of our knife tool, emboss a line to define the salt lid.
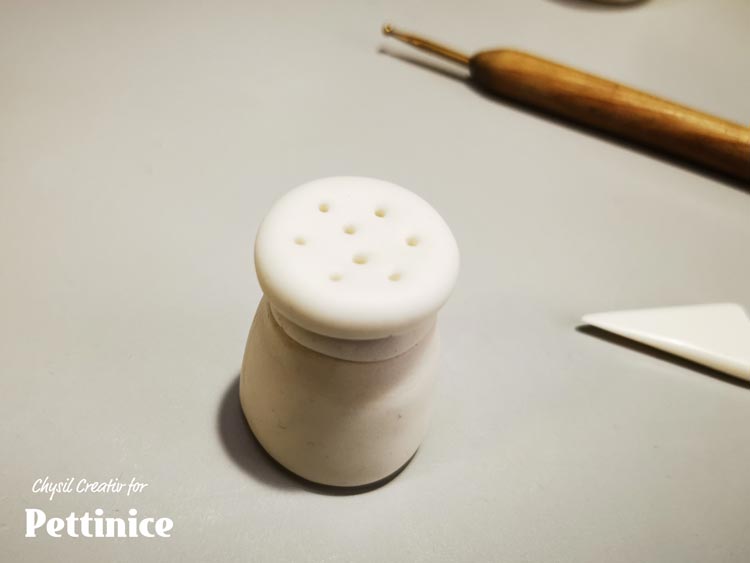
Use a toothpick or small ball tool to indent some holes.
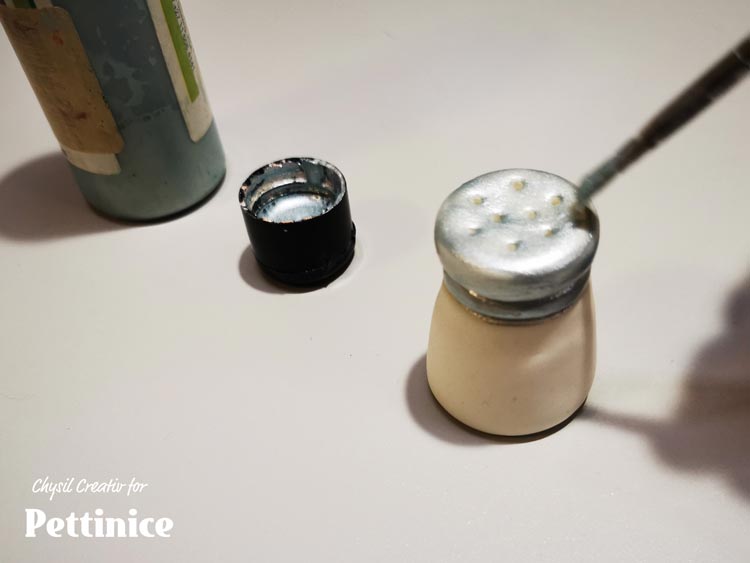
Paint the lid with edible silver.
Fondant lime tutorial
Combine small amount of green and white Pettinice.
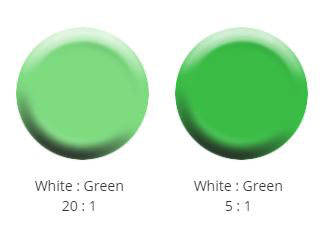
Either of these colour mix shades will work, i.e., 20 parts white to 1 part green.
Likewise, click here for more colour mixe options for shades of lime!
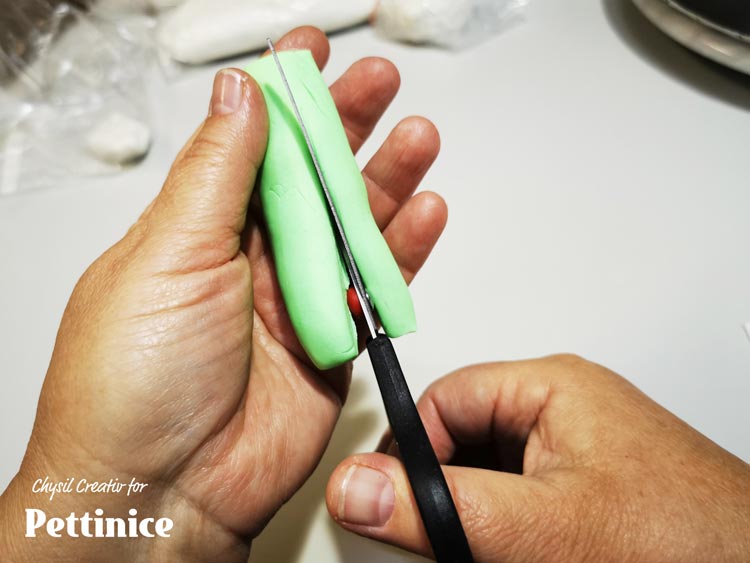
Use your scissors to cut thick 3 triangular strips for lime segments.
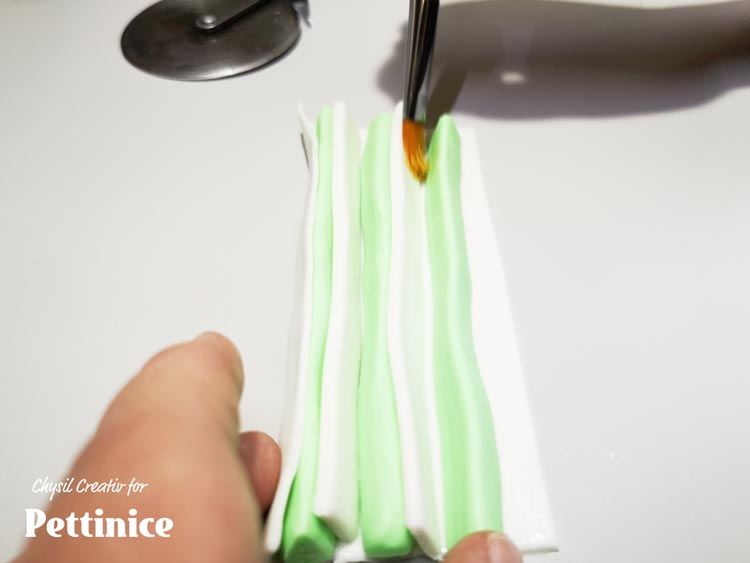
Lay your flat white strip down, and alternate between the strips you cut earlier and your triangle shapes.
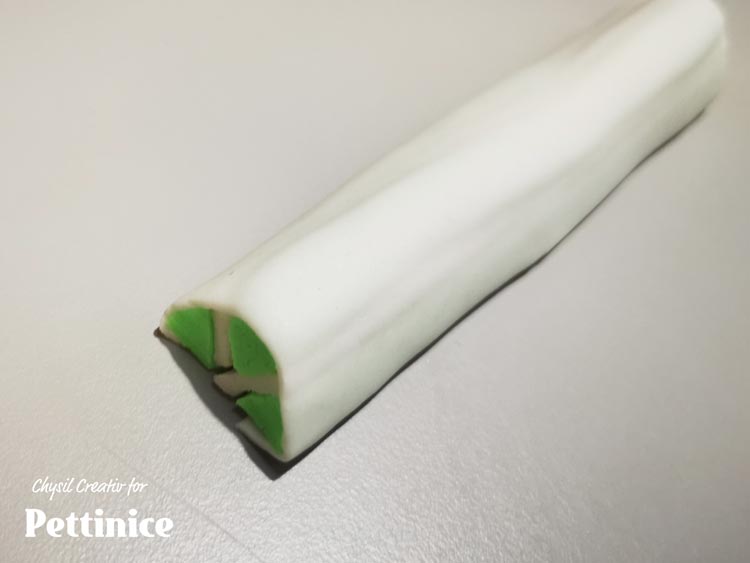
Once glued, flip and roll into a half circular tube like so. Press and smooth to secure. Roll out a thin green layer and glue on top for the lime peel.
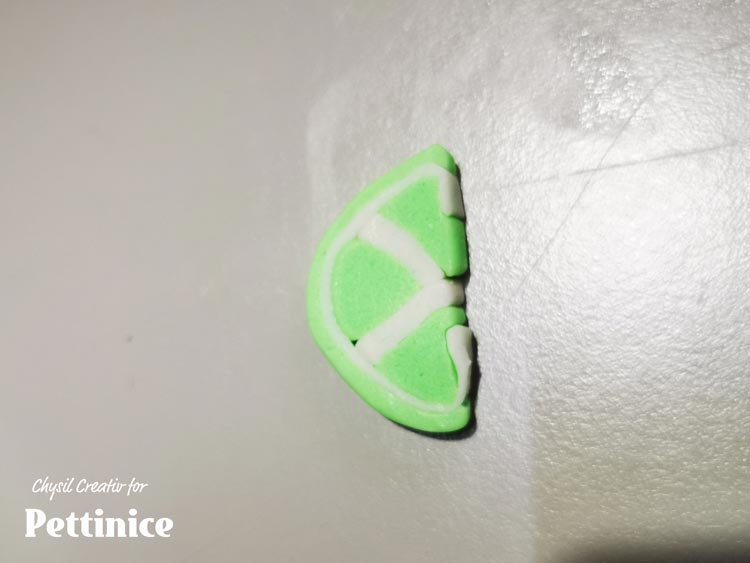
At this point, you can pop your lime "log" into the freezer for 10 minutes to harden a bit so that you can then slice into wedges without disturbing the shape too much. Did you know that you could also wrap the remaining lime with plastic and place into an airtight container in the freezer for another project later?
Covering the cake board with fondant and making the labels.
If you are able, make your board a few days in advance to allow it to fully dry before using.
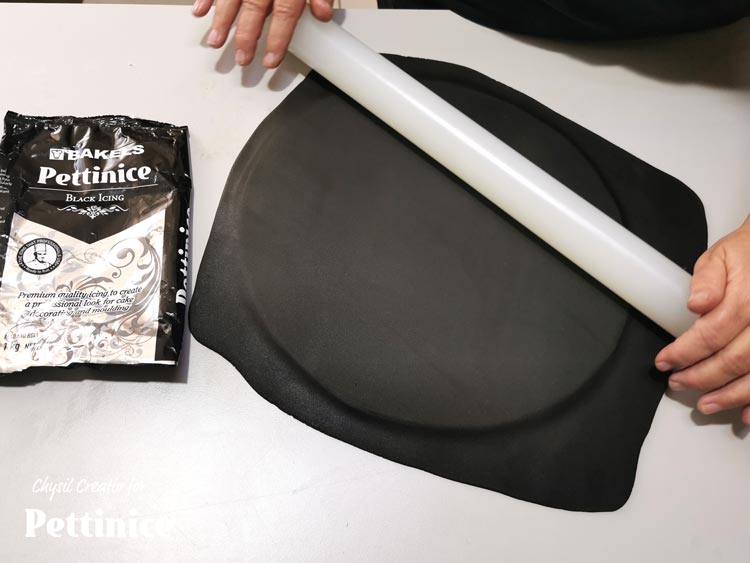
Roll out your black Pettinice and place over your cake board. To make sure it's totally smooth, I roll it on the board a few times too. Trim the edges.
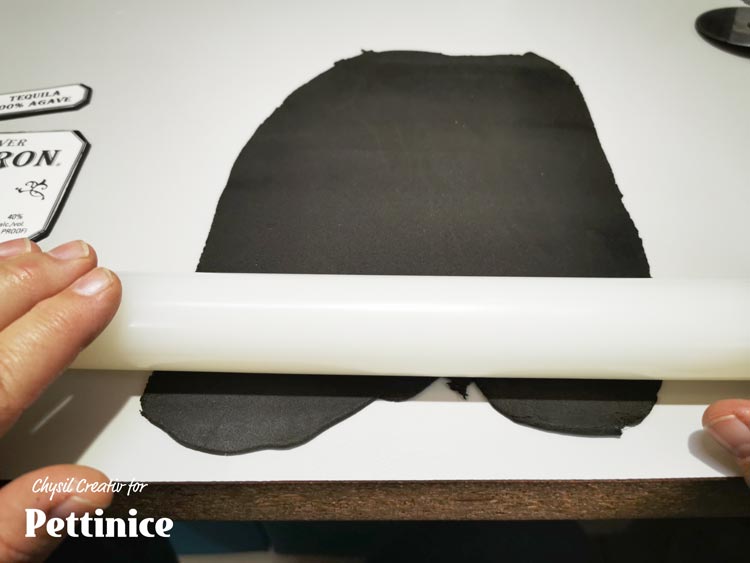
Roll more black Pettinice (this time thinly) for the base of the sugar sheet images.
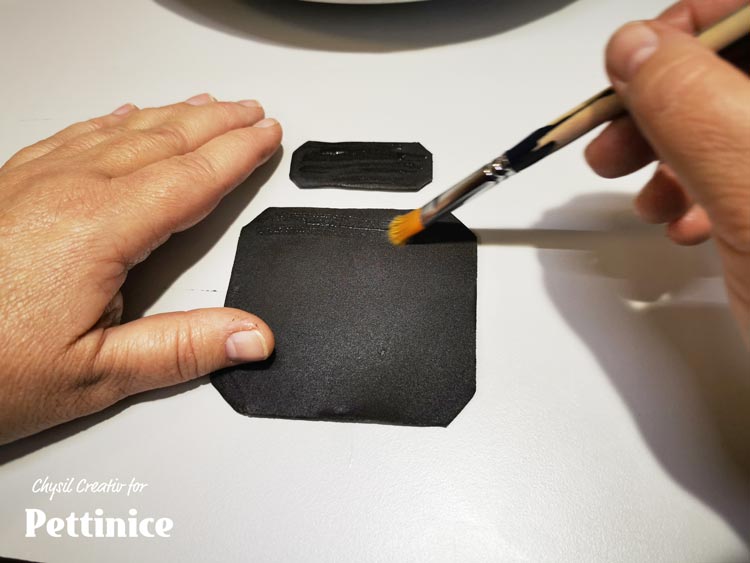
Trim the backings and brush with sugar glue to adhere the labels.
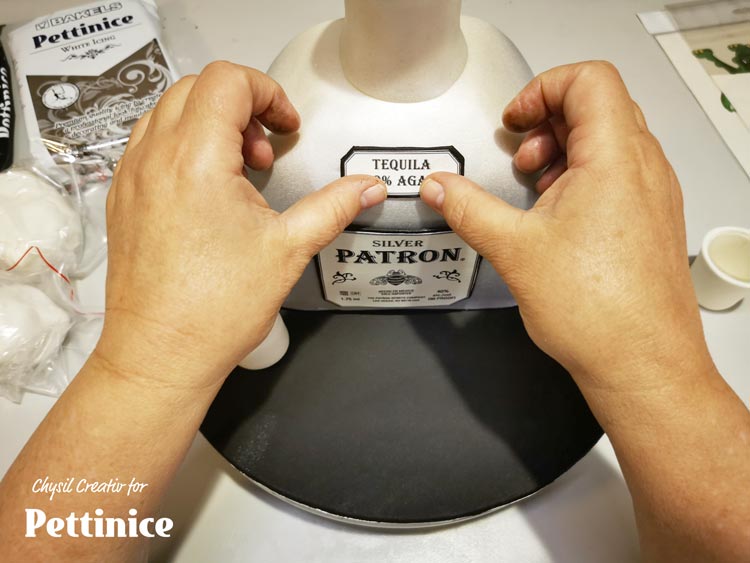
Brush a little sugar glue on the back of the labels and press down evenly.
Reminder to keep left over Pettinice airtight in ziplock bags in a dark cool place.
Almost finished! now the finishing touches...
Final details...
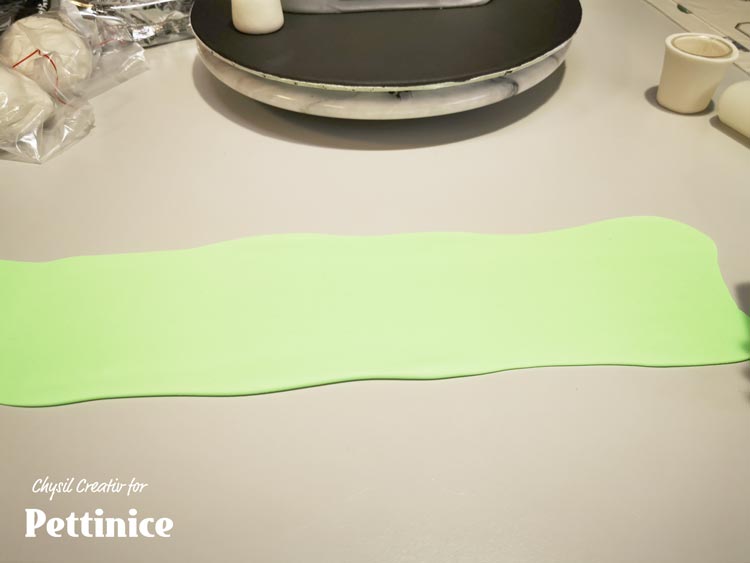
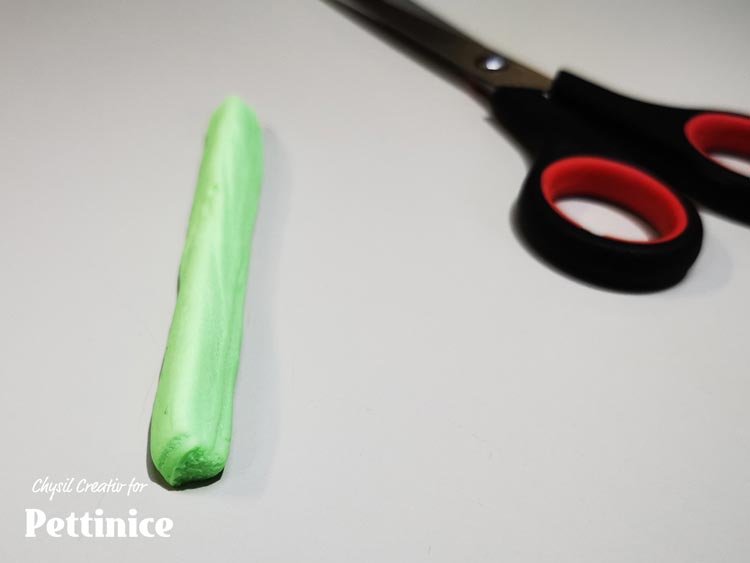
To create your bottle ribbon, roll out remaining green paste.
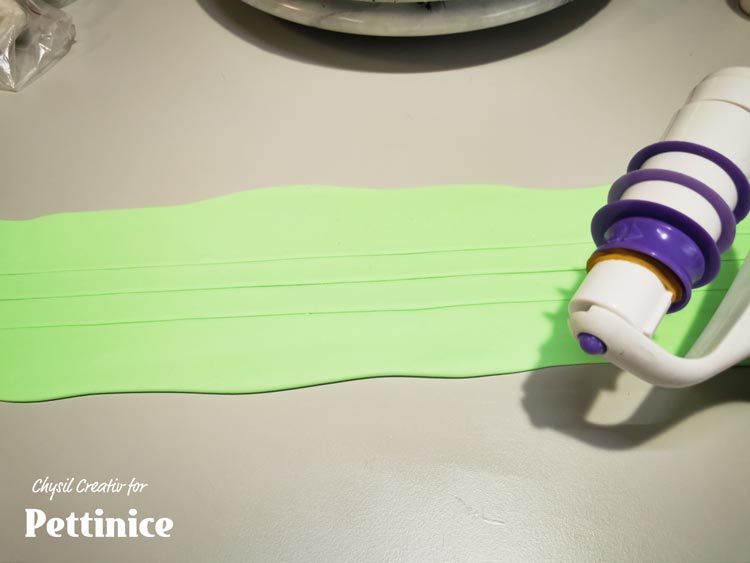
Use a ruler and sharp knife, or a ribbon cutter to cut a strip.
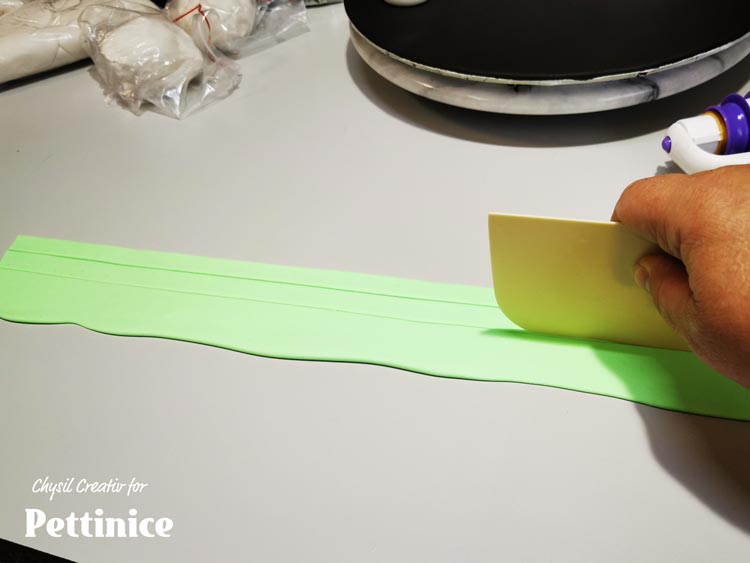
Here's one of my tips: use a cake smoother to run between lines for clean edges.
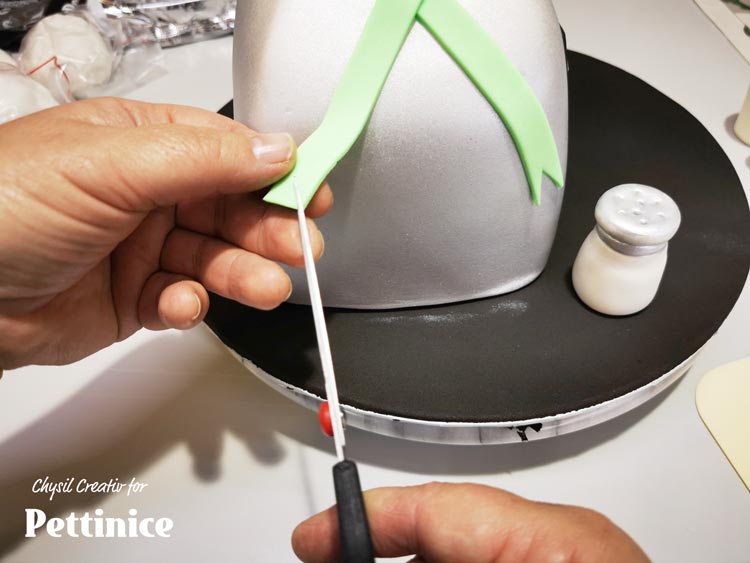
Wrap ribbon around bottle neck to hide the seam and trim the bottom with scissors.
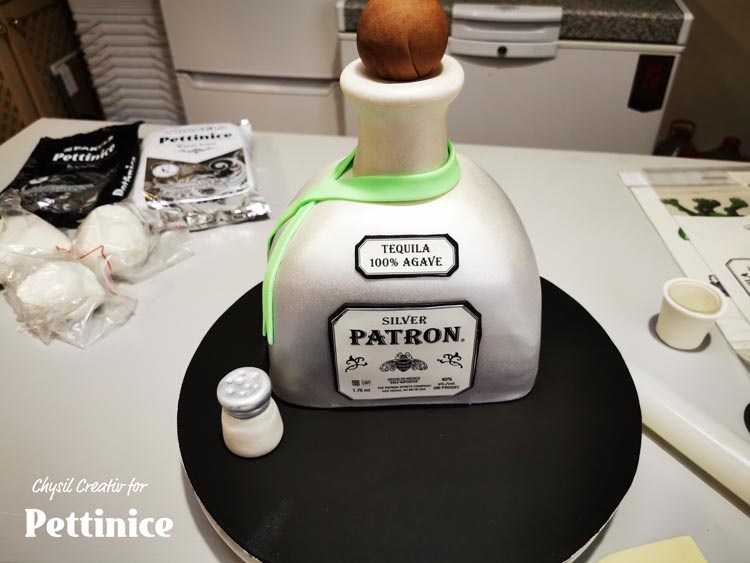
Glue the top in place.
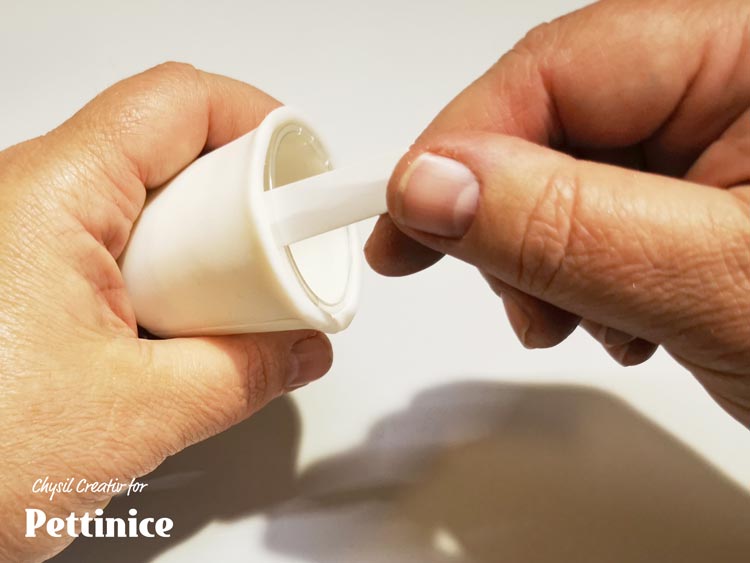
Using a thin piece of cardboard,release the shot glass from the plastic cup.
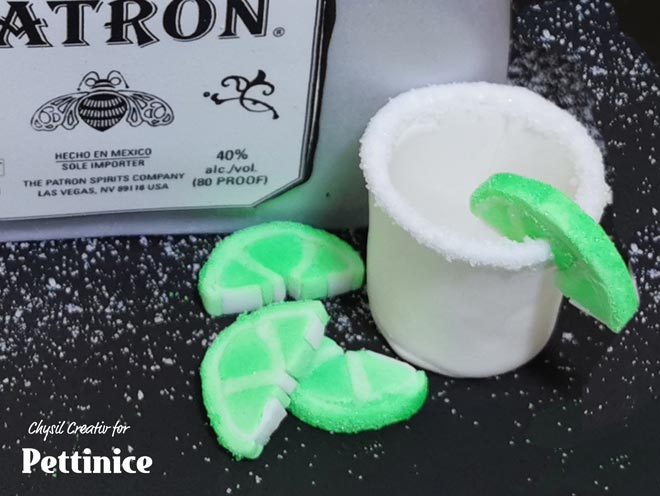
Brush sugar glue on the edges of the cup and dip in white sugar for the edge of your shot glass. Glue one of your lime wedges in place. Glue all the elements to the board and sprinkle some sugar around the board to add interest..
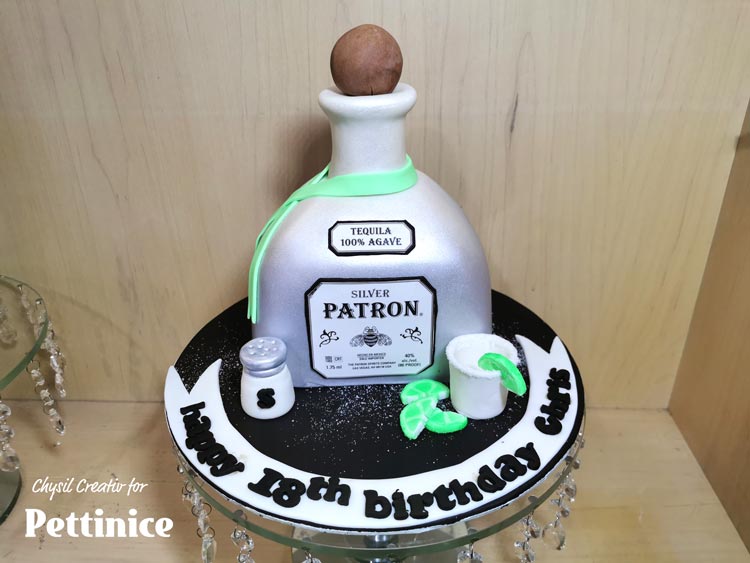
Finish dressing your board with the strip banner you made earlier. I used tappits for the lettering.

Cheryl Gerds proudly represents the South African Pettinice Ambassadors team.
Cheryl runs a small bespoke cakery called Chysil Creativ, a family business with a love for all things caking and creative. Cheryl has won a few professional cake awards in taste and design. Her drive for her cake business has always been "More than just cake!" She believes cakes should not just be beautiful to look at, but should have flavour that leaves a lasting impression.
See more of Cheryl's cakes at
![]()
Want to see more tutorials?