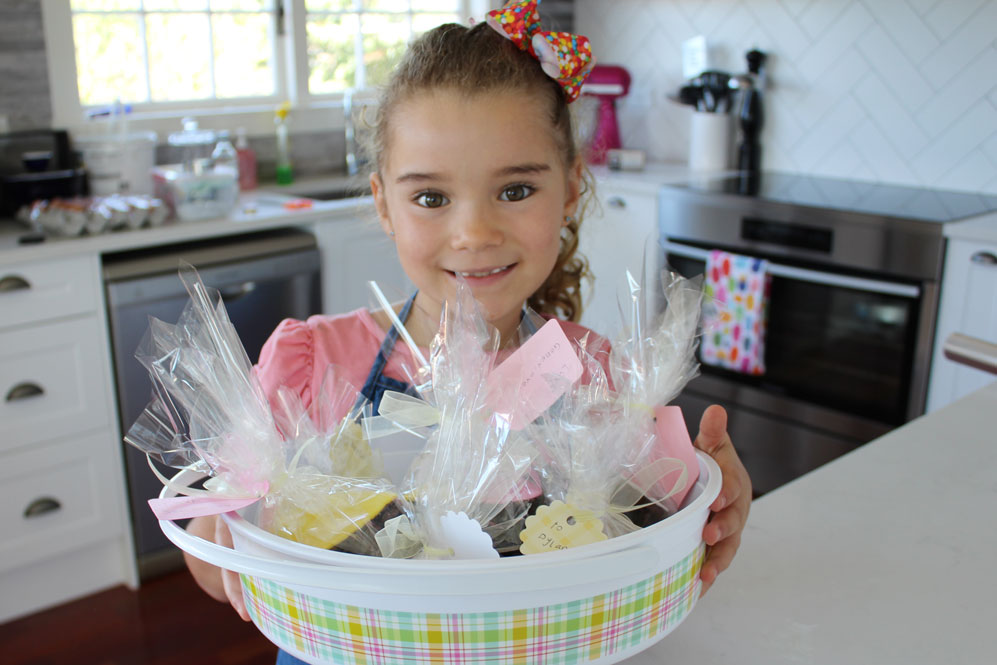
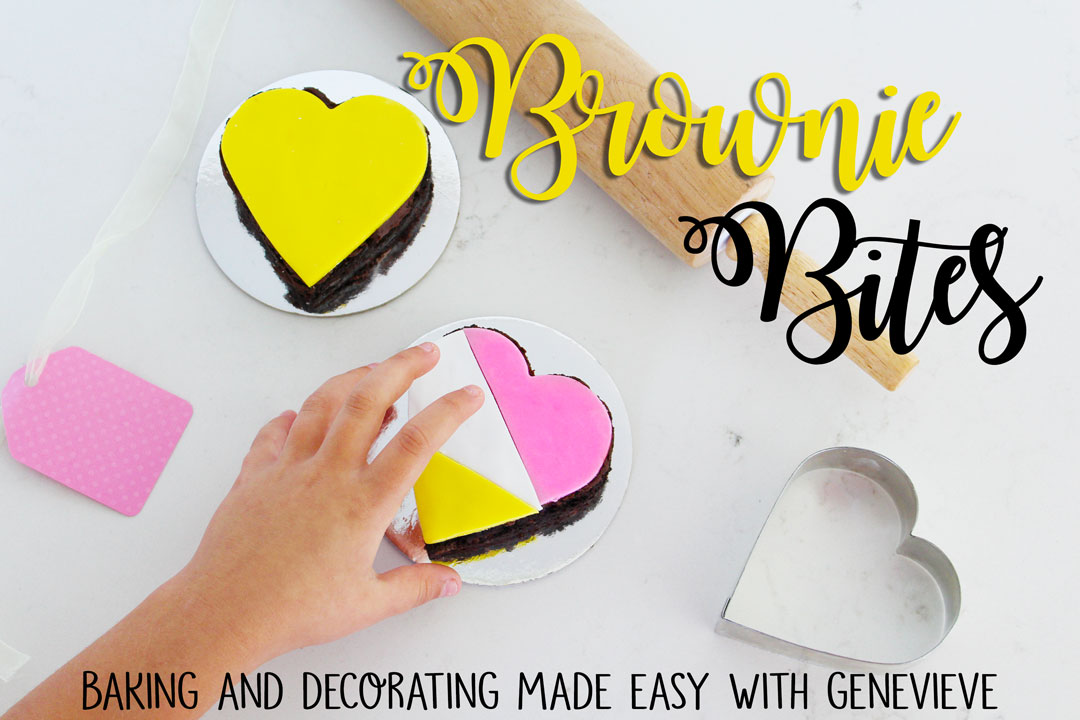
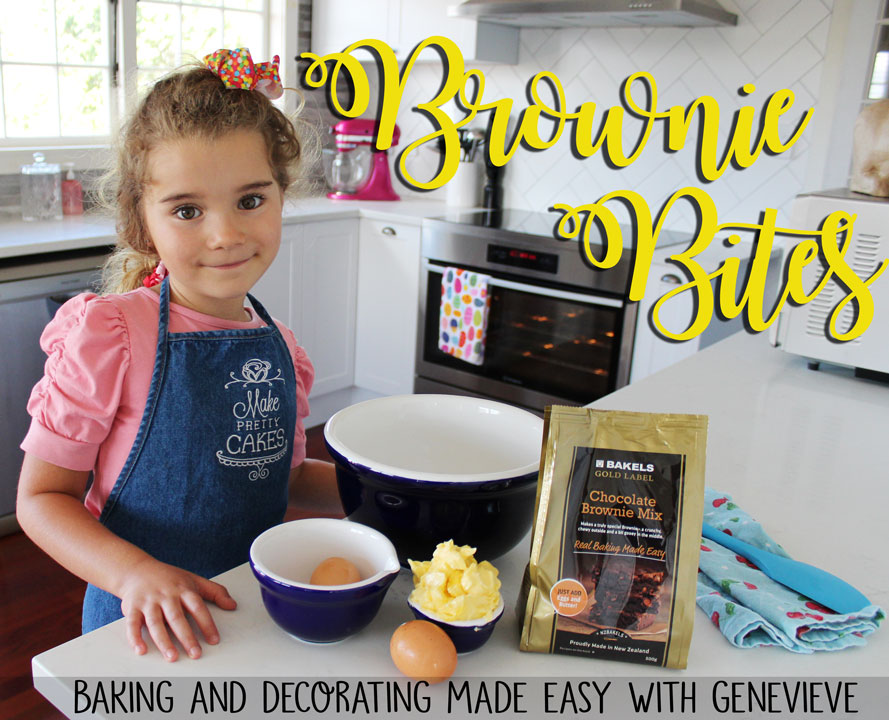
Bakels Brownie Bites
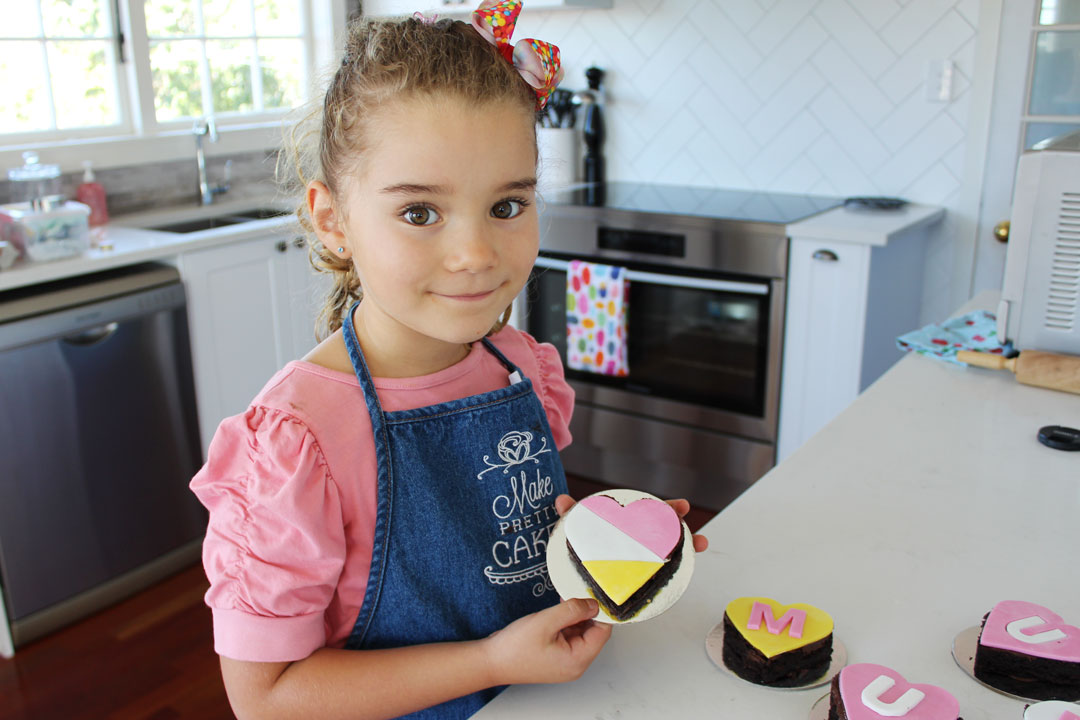
Genevieve (age 6) creates heart-shaped Brownie Bites to give as gifts. Real baking made easy with the Bakels Gold Label Brownie mix.
What you will need:
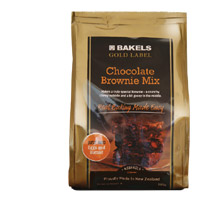
- Chocolate Brownie Mix
- 2 eggs
- 150g Butter
To decorate:
- Frosting to smooth (optional - we used Bakels Truffle)
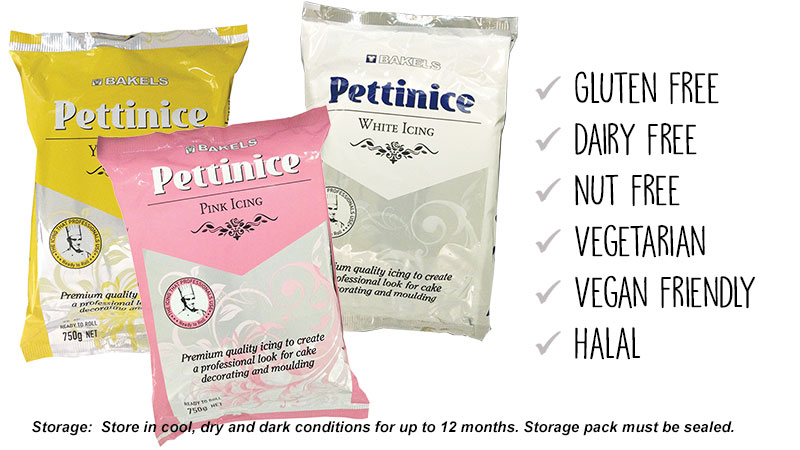
- Pettinice in your choice colours
Tools needed:
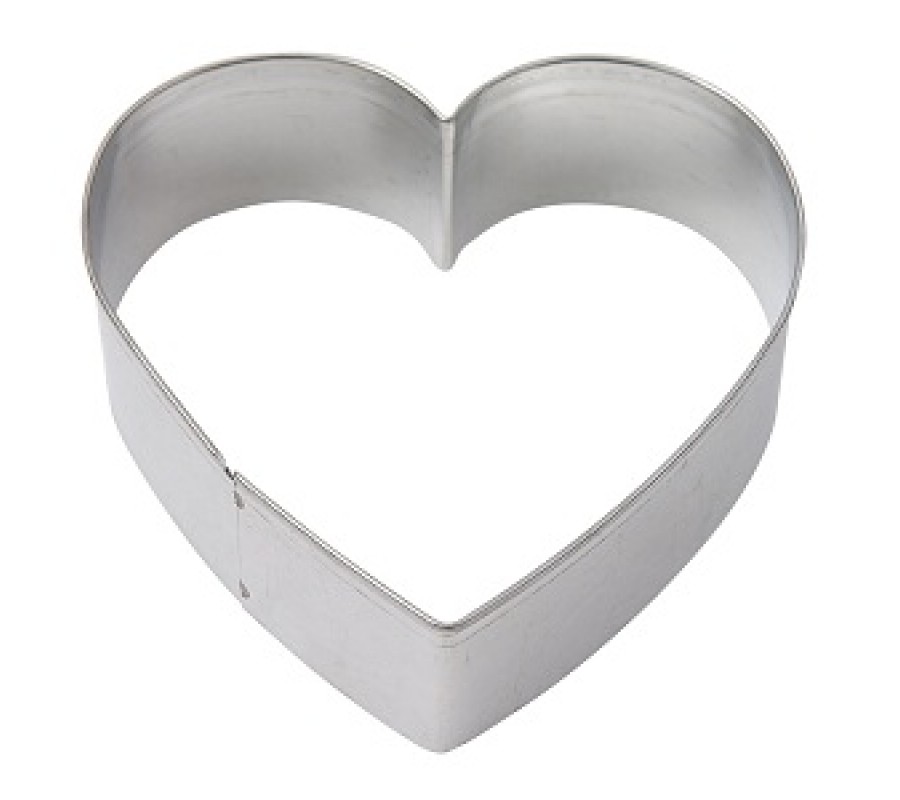
- Heart cutter or sharp knife and template*
- baking paper
- rolling pin for fondant
- Corn flour for rolling Pettinice on the bench
Optional gift items:
- 4" cake cards
- Roll of clear cellaphane
- Ribbon
- Gift tags
- Scissors
This project will yield seven 9cm tall hearts. Alternatively, you can make smaller shapes using smaller cutters.
Make the brownies!
Begin by pre-heating your oven to 180c while you prepare your chocolate brownie batter.
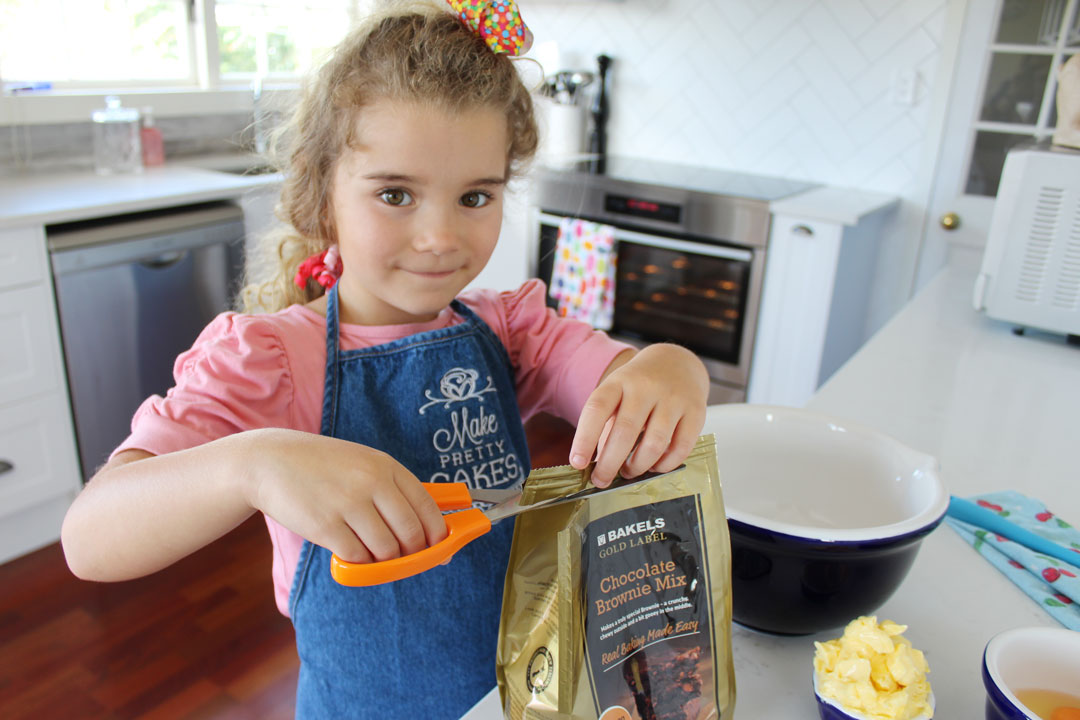
Easy open fresh pack!
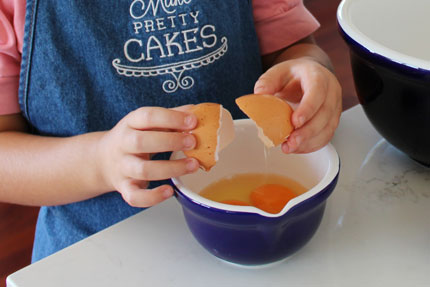
You will need two eggs. Top tip is to crack them into a separate bowl first!
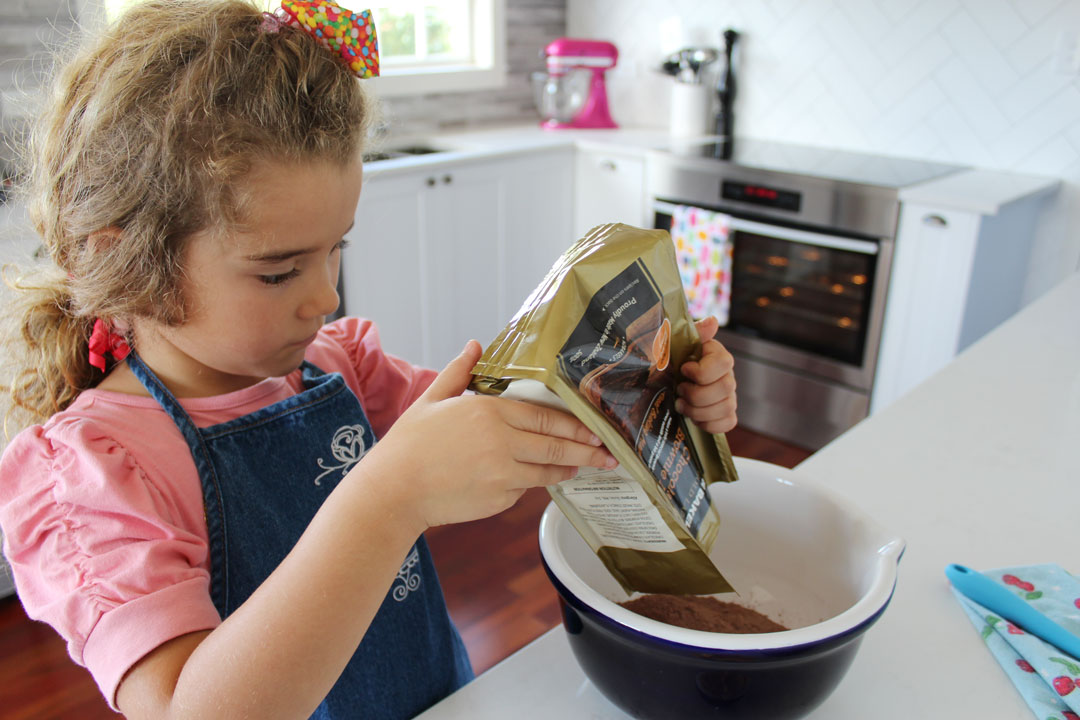
Use a large bowl and add entire bag of Chocolate Brownie Mix.
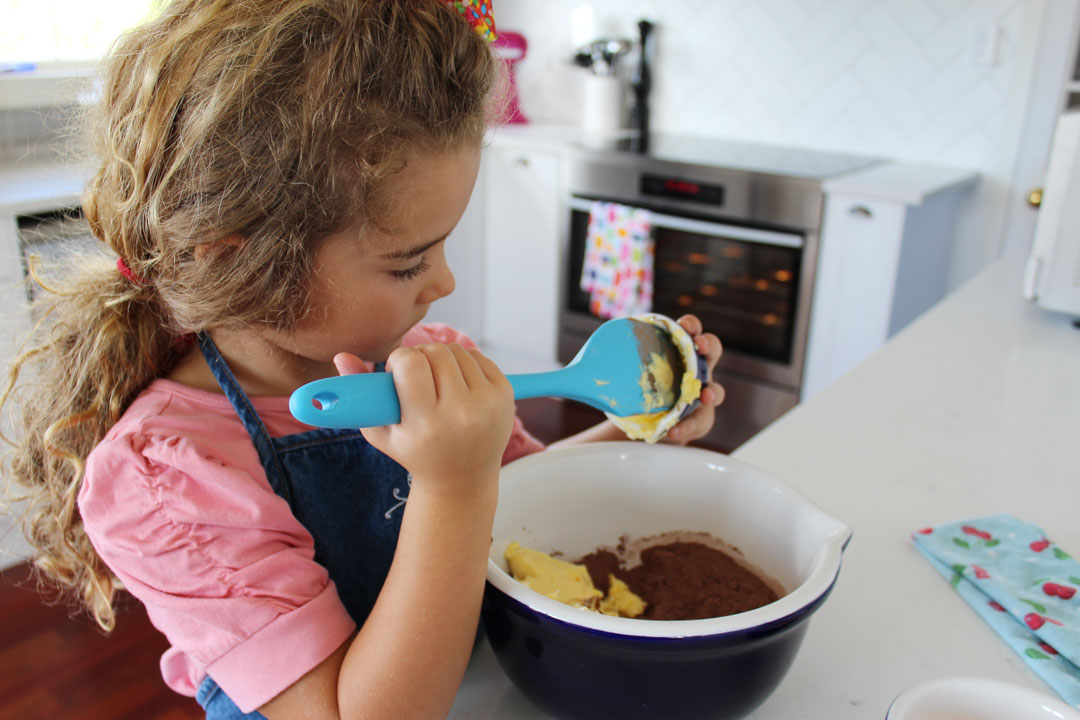
Put in your room temperature butter.
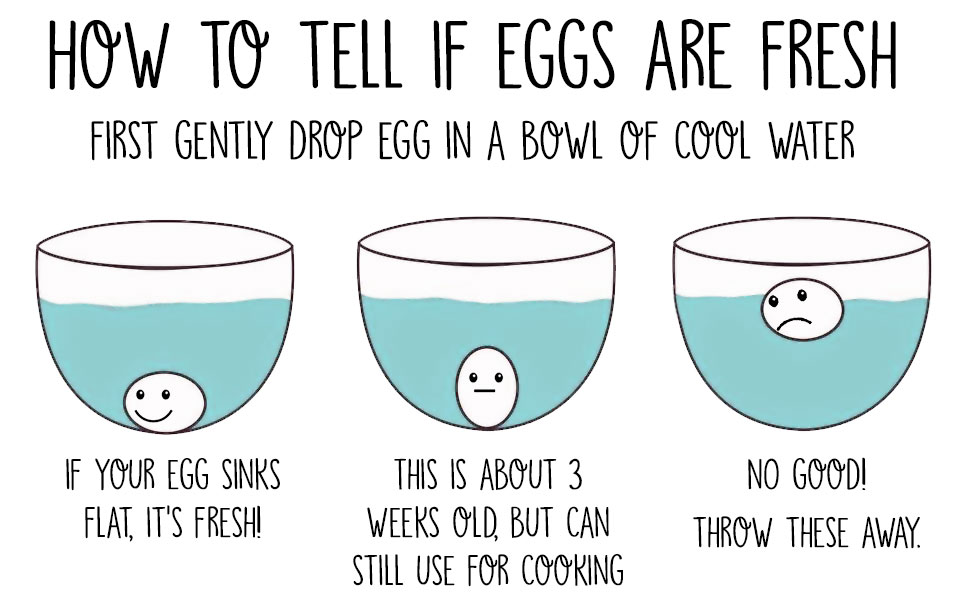
Top tip: How to tell if eggs are fresh
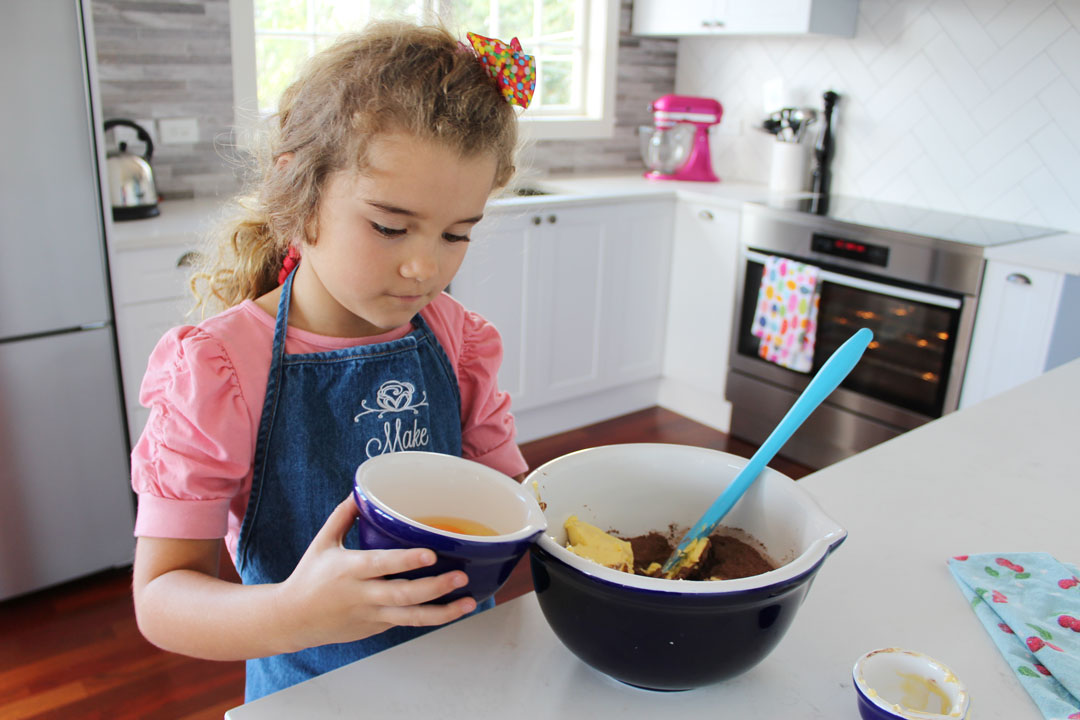
Pour in your eggs.
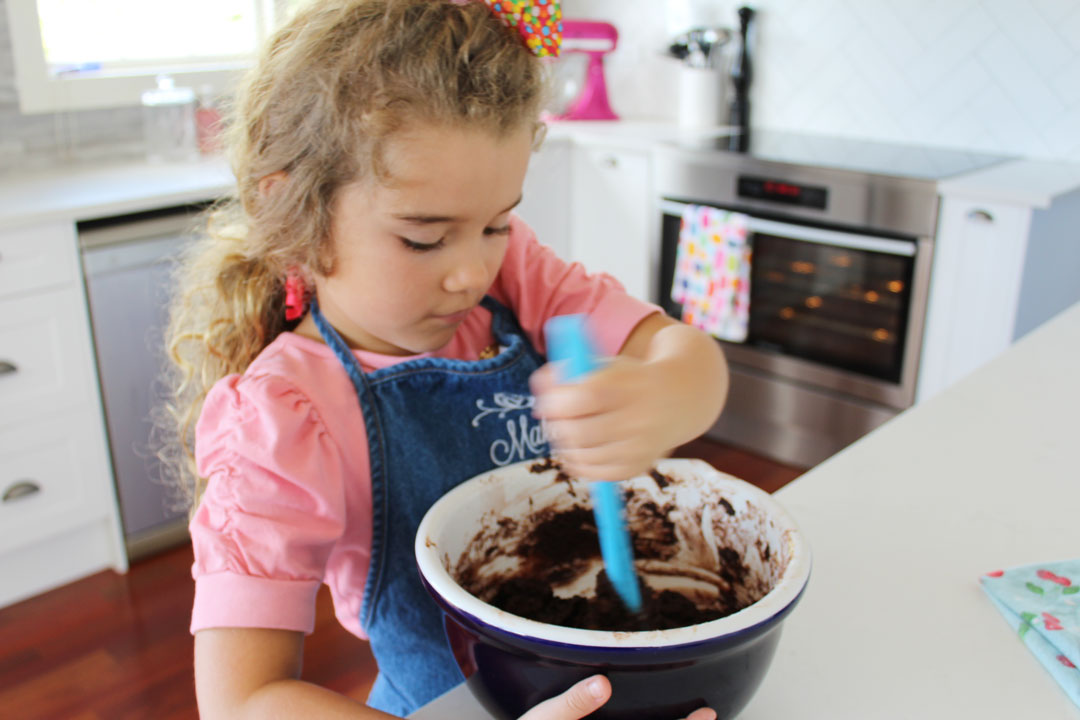
Mix it! You can do it by hand, or use the lowest speed on a mixer.
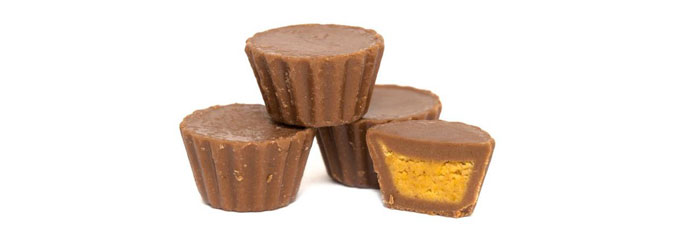
Any peanut butter lovers in the house?
After mixing your brownie batter, why not fold in some cut up peanut butter cups? YUM!
These brownies are so easy to make, and taste amazing! You can even add walnuts if you like crunchy bits too. - Genevieve

Preparing and filling your pan
You can grease a square pan with butter like this one from Kmart. If you prefer to use baking paper, here is a little trick to cover the bottom and sides with one piece:
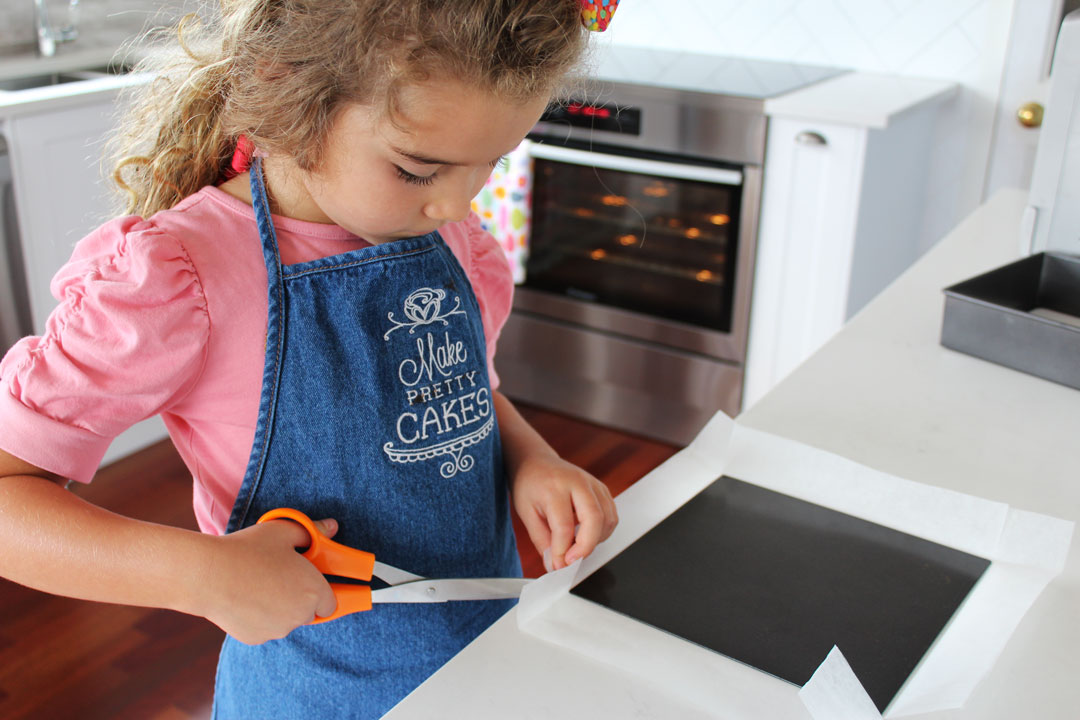
Cut your baking paper larger than your pan like so. Fold all the edges.
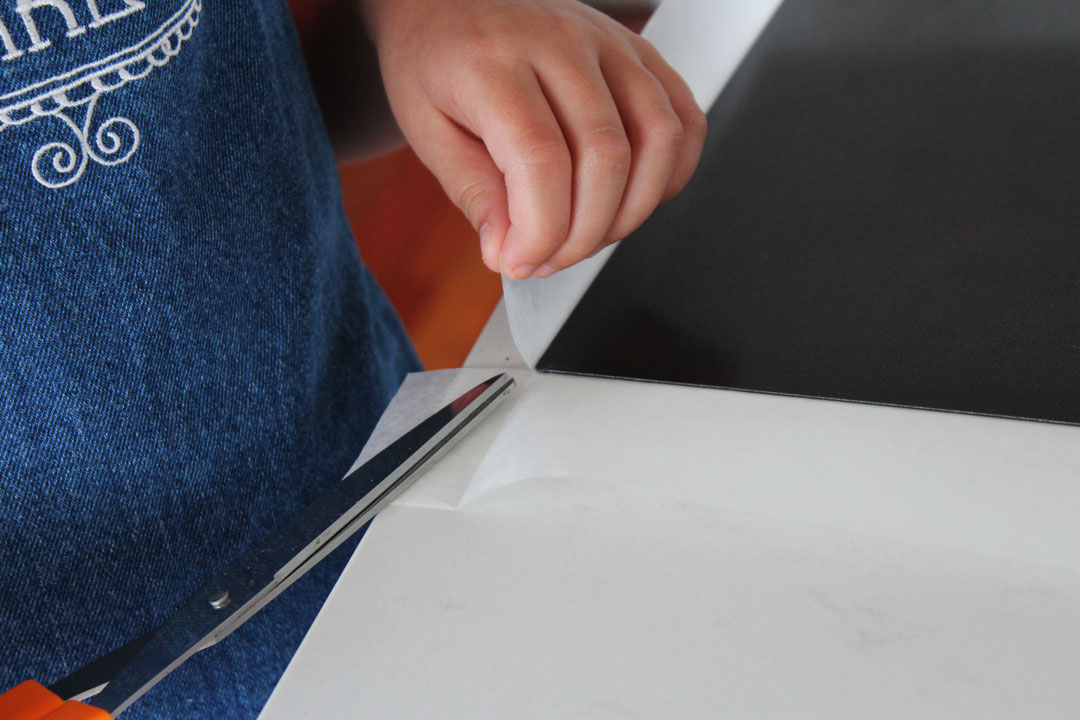
Here is a close up. Cut one of the folds to the edge of the pan like this. Repeat for all the corners.

Fold your sides over like this. You can still use a bit of butter to stick your paper to the pan if you want.
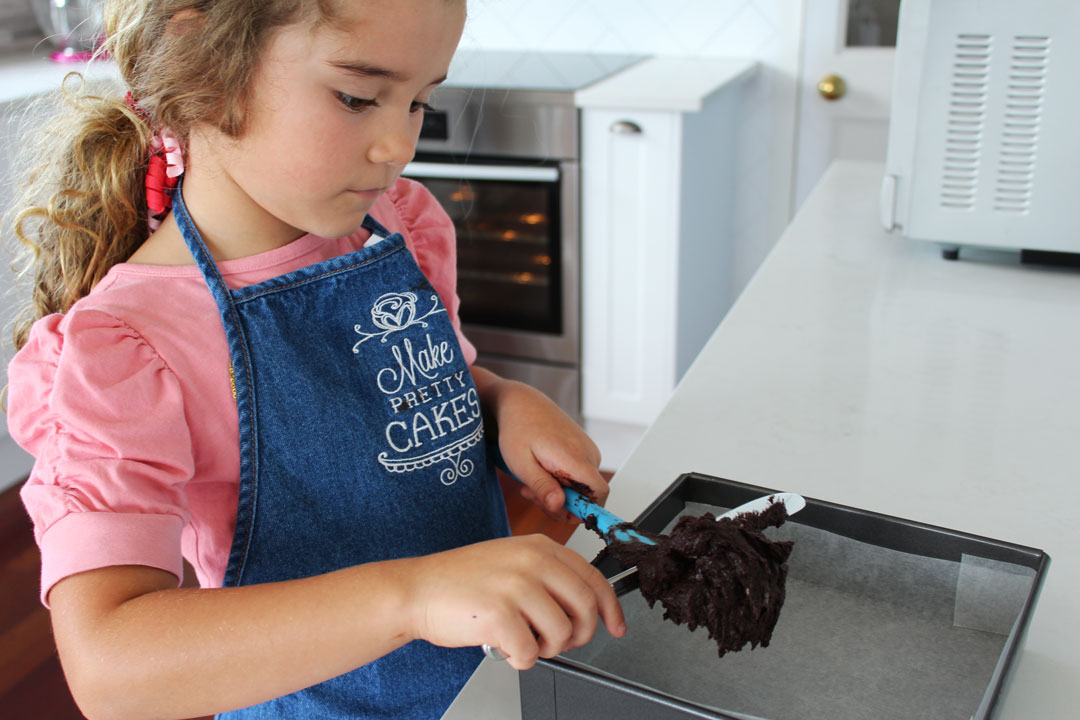
Fill your pan with batter. I used the dull side of a knife to push the batter off my spoon.
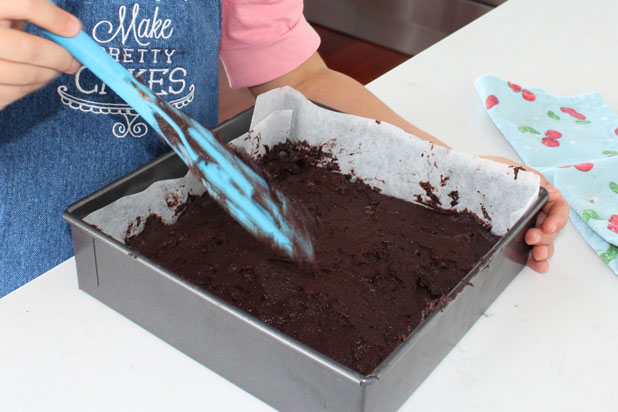
Repeat until all the batter is in the tray and smooth batter down with back of a spoon.
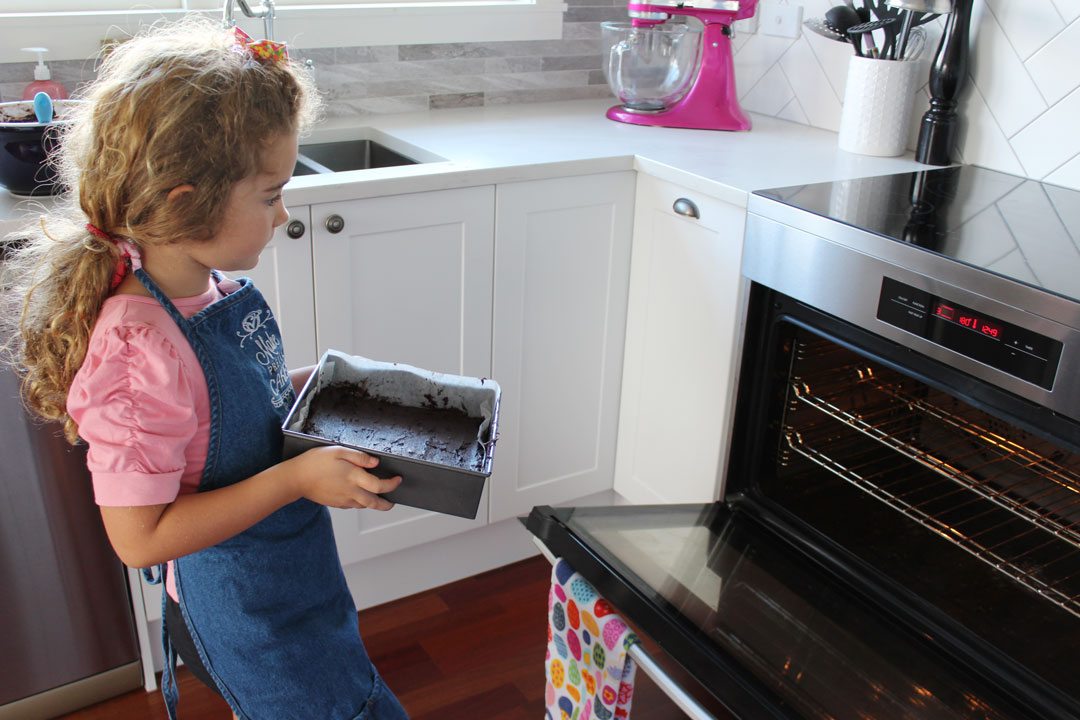
Time to put into the oven! Use the middle rack and keep an eye on the time. Usually you will smell when it's nearly done!
Did you know?
*Every Oven is Different.
*Heating Times May Vary.
If you are not sure if your oven runs too hot / not hot enough, it's worth investing in an oven thermometer, like this one from Living and Giving. You might be surprised why your cakes are always burning or sinking!
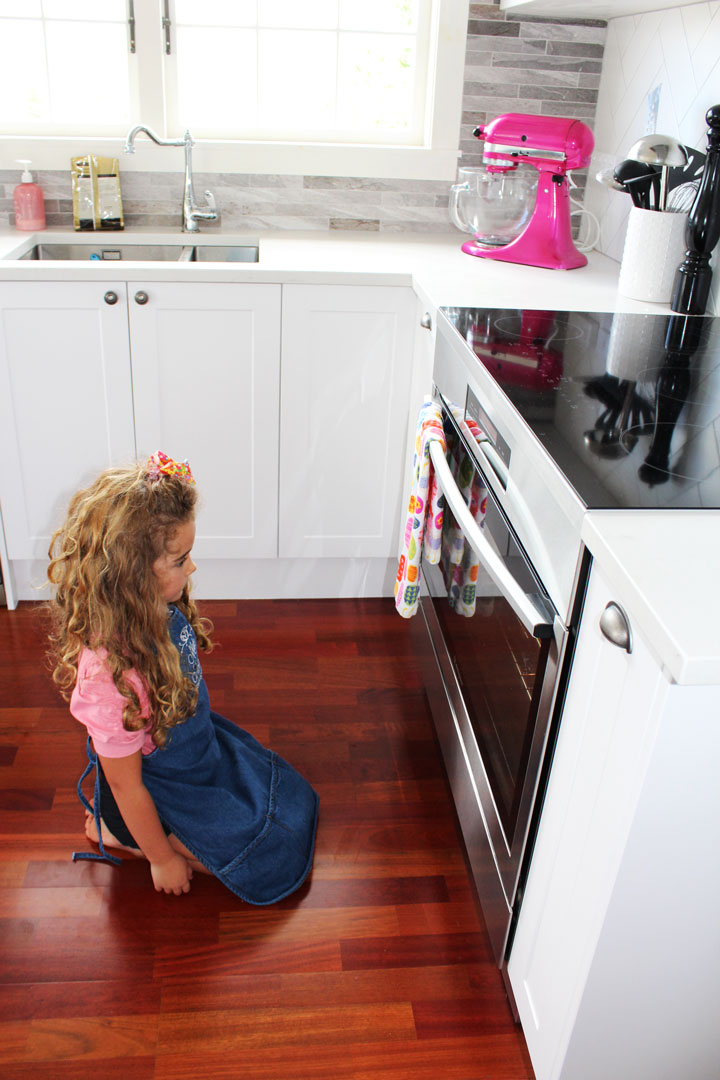
IT FEELS LIKE FOREVER!!! But it's really only 45-55 minutes, depending on your oven and pan.
A little extra...
Cut up your baked brownie into squares or slices for lunchtime treats or to make a party platter. If you want to create individual brownie bite gifts, you can do what I did here...
You can make large or small brownie bites using your favourite cutters. You will get much better results with simple shapes.
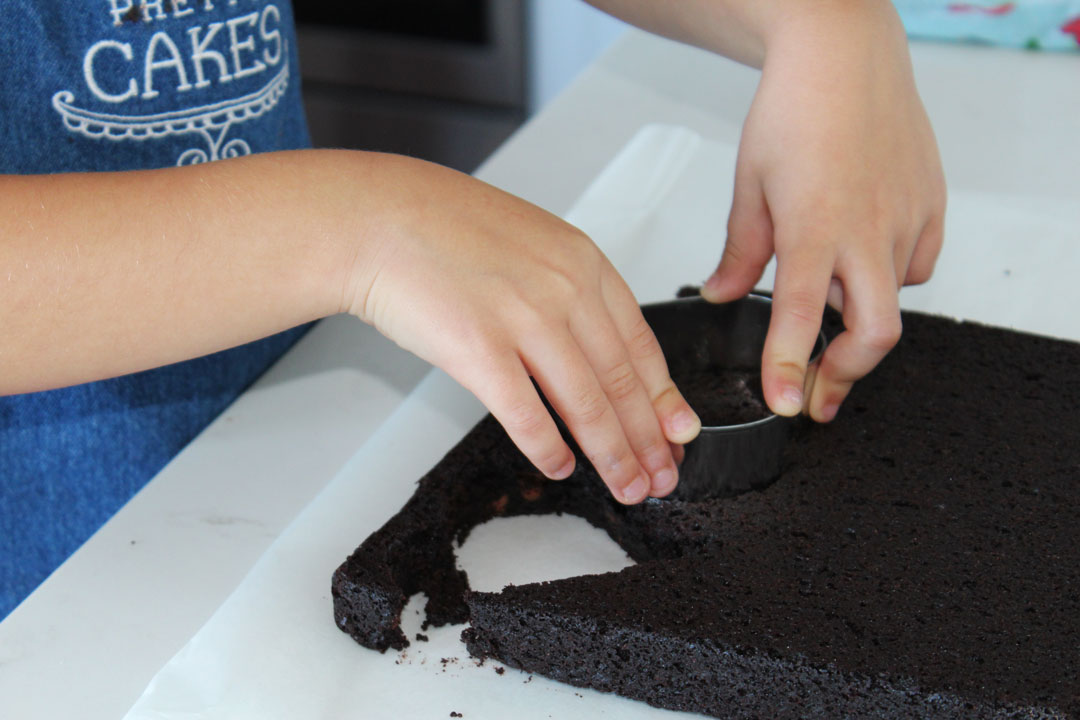
Once your brownie has cooled, use your cutters to make fun shapes. Use the heart cutters in both directions to get the most cuts!
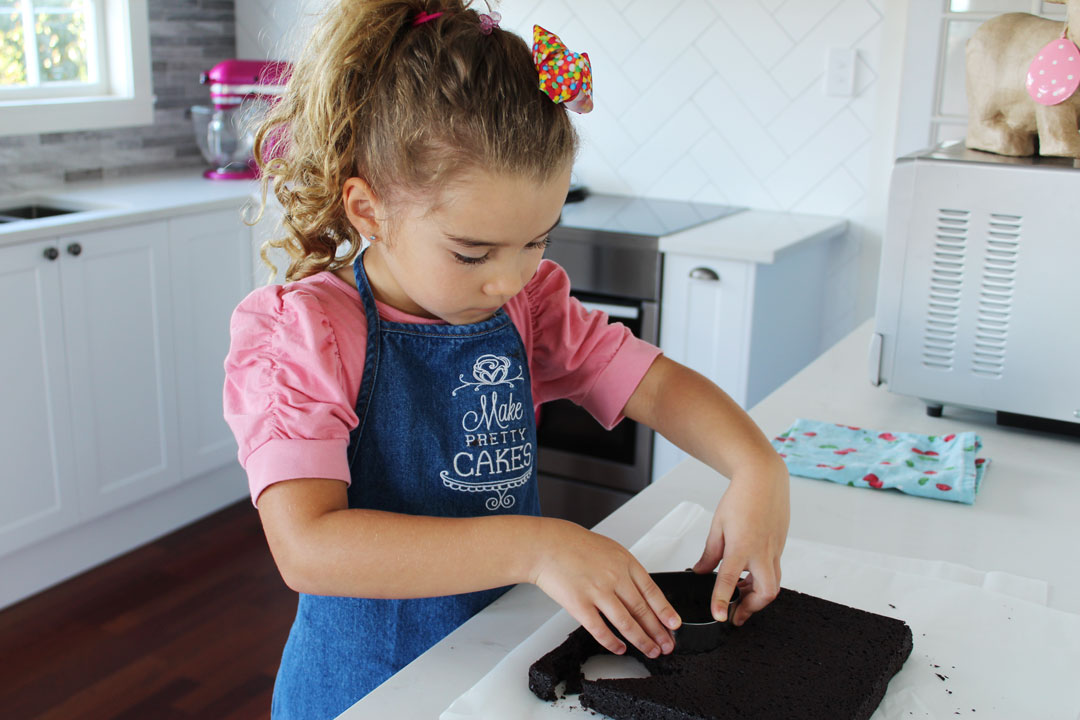
Work out your cuts before you begin, to make the best use of all your brownie!
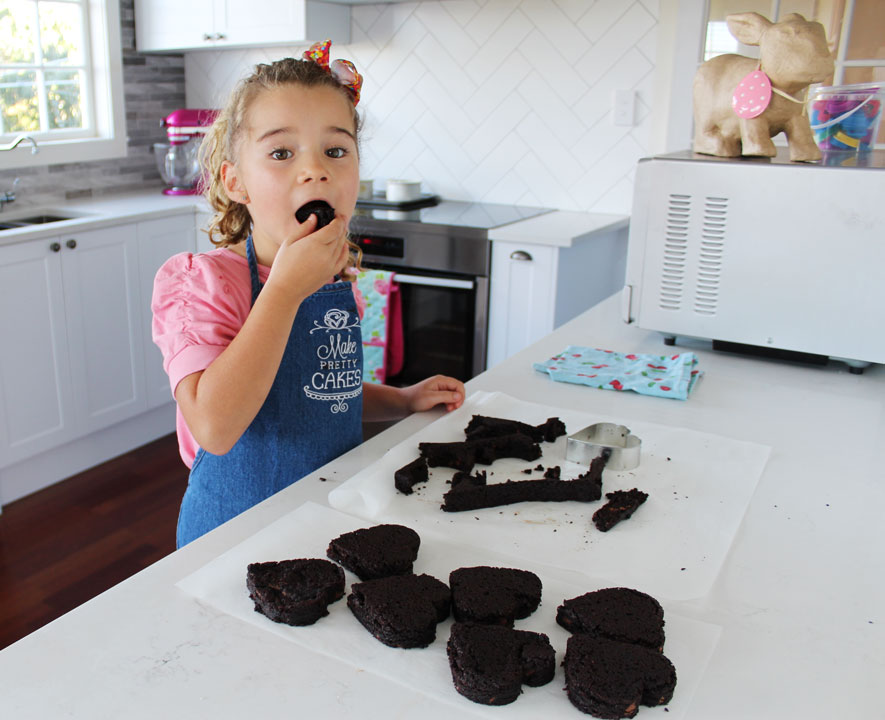
Save your scraps in an airtight container - you can even freeze them for later, and add as an ice cream topping.
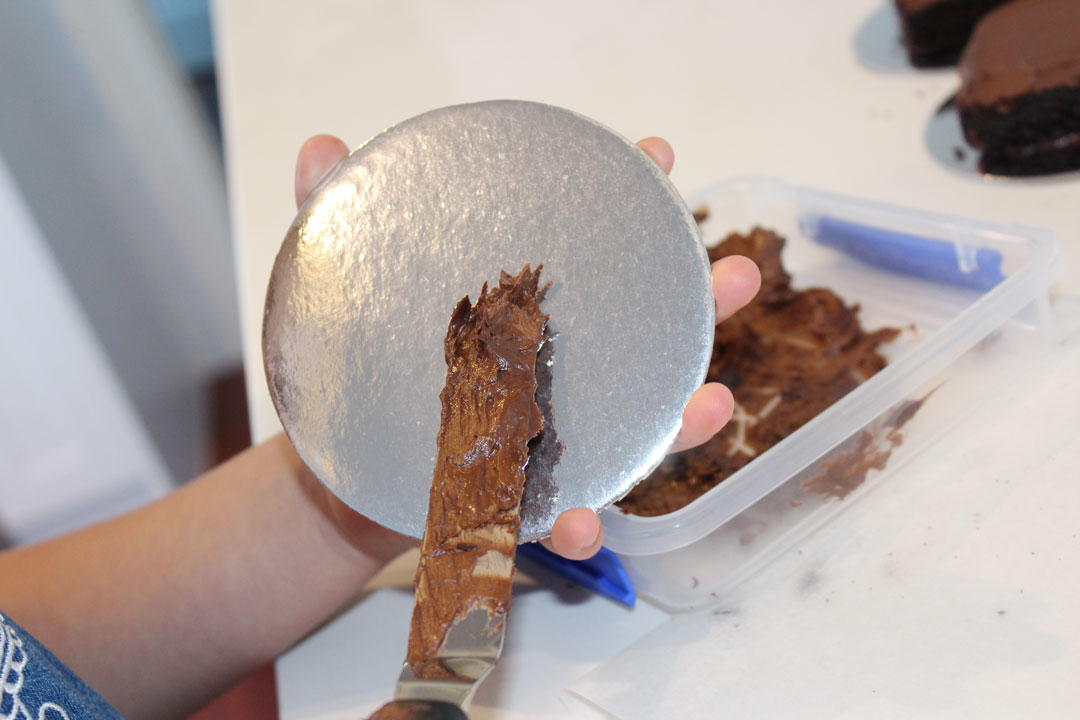
Grab your cake card and put a little frosting or ganache so the brownie will stick to it.
You can buy little cake cards to put your brownie on; here we used 4" rounds.
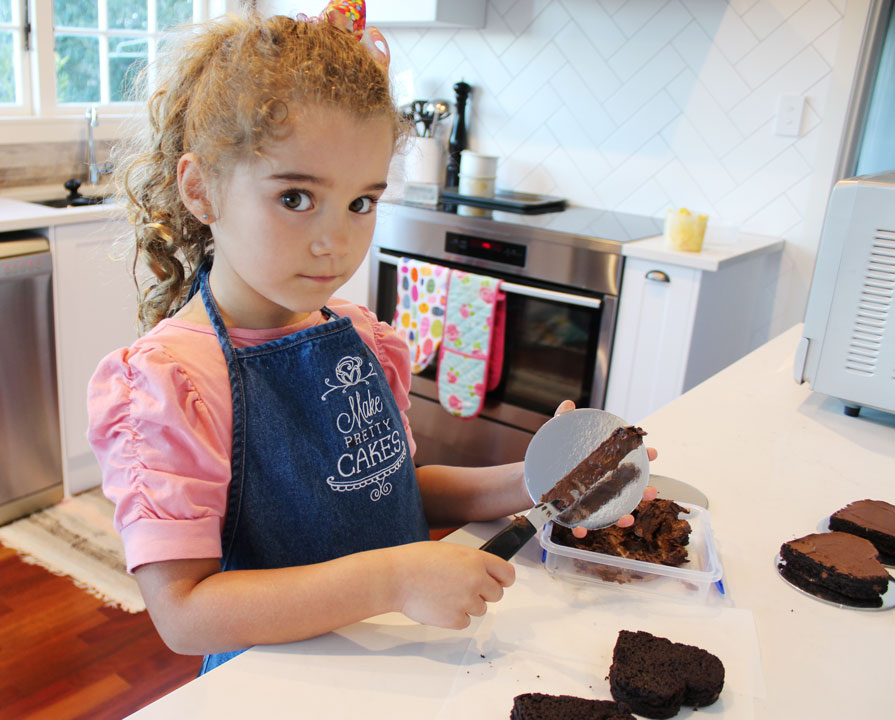
Put a dash of frosting on your cake card to stick the brownie onto it.
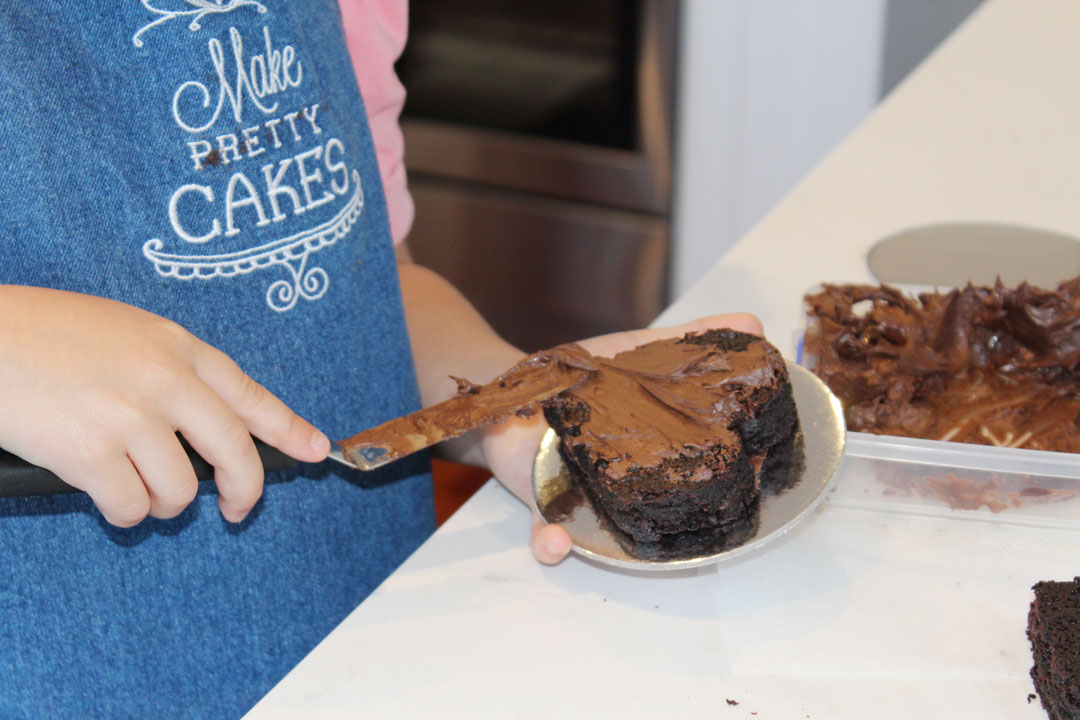
Spread a thin smooth layer of your icing choice on top of the brownie. We used Bakels Chocolate Truffle, but you can also use peanut butter! After you finish all your pieces, have a good tidy up for the next fondant decorating step.
Decorating with Pettinice
Genevieve designed her hearts and decided she wanted to use pink, yellow and white as her main colours.
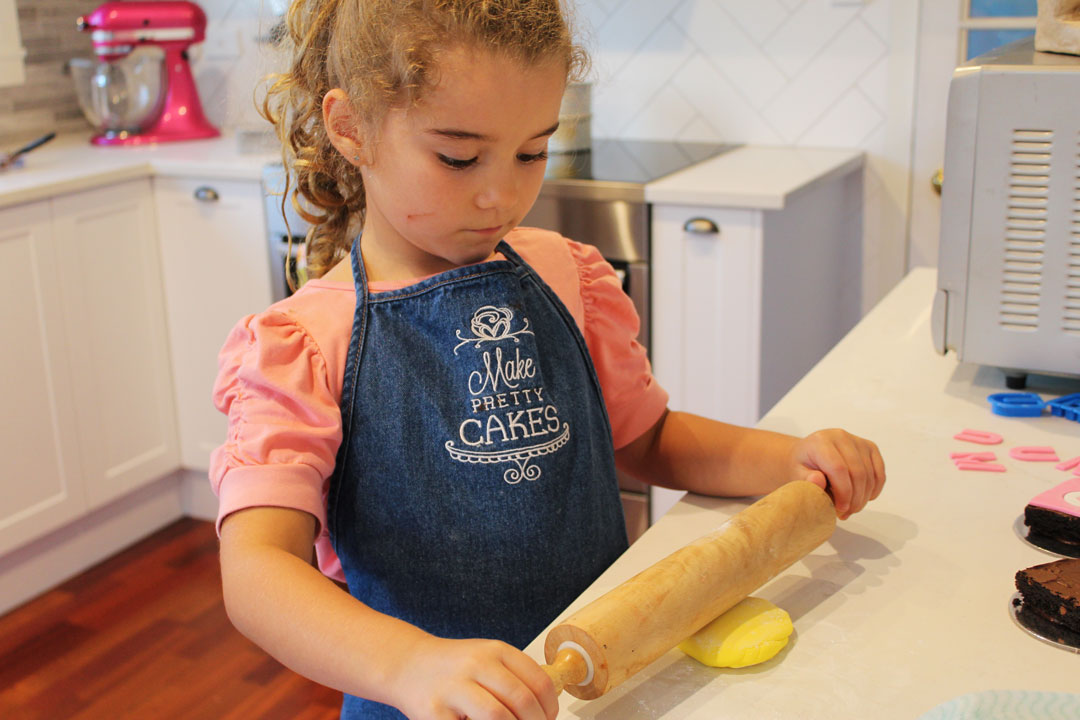
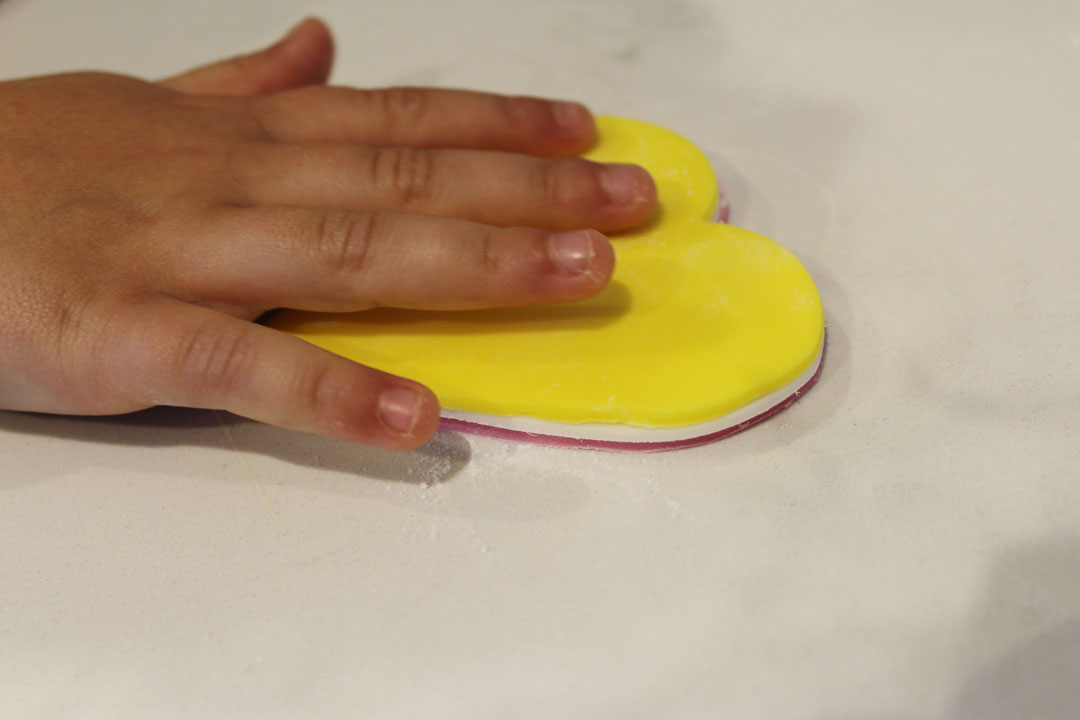
Roll your fondant. It helps to dust the counter and top of your fondant with a bit of cornflour or icing sugar.
Use the same heart cutter to cut out a few hearts. Repeat with the other colours and sets aside.
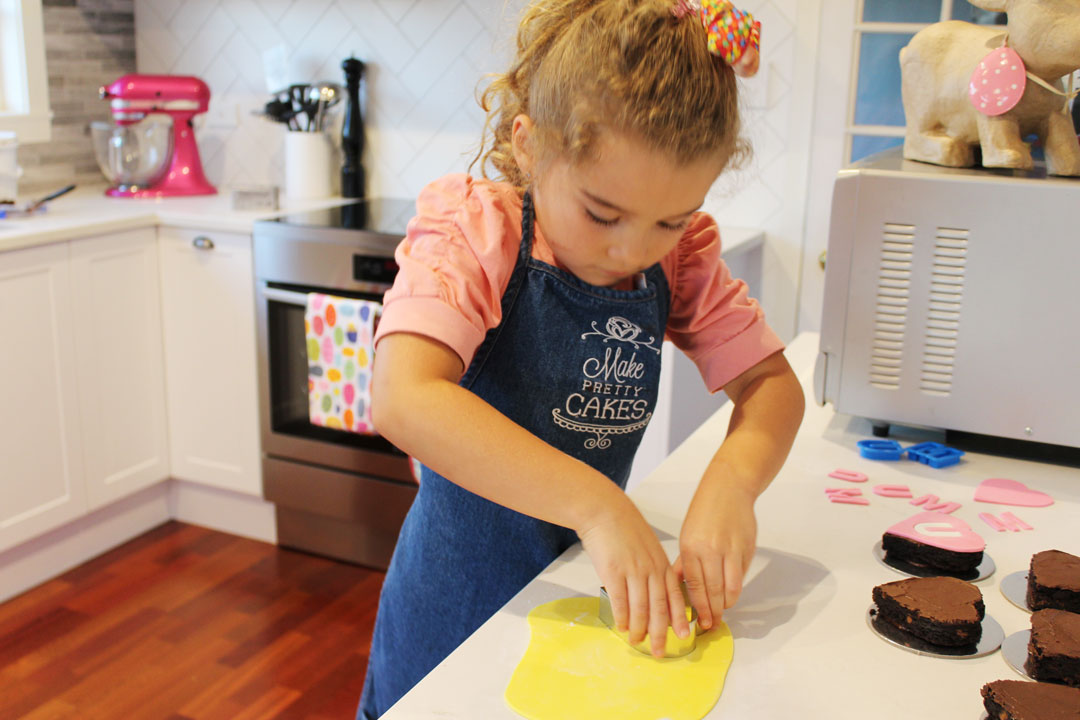
After your hearts have been air dried for a bit, dust with a little corn flour so they don't stick together and stack them as shown.
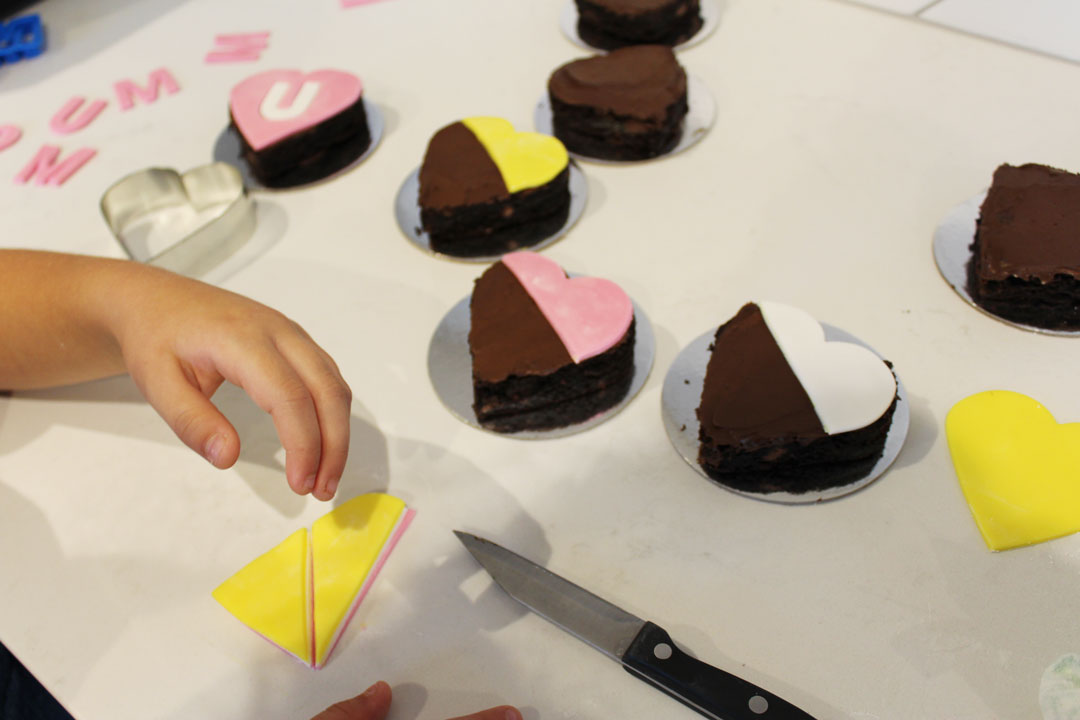
Make three cuts and place the pieces in alternate colours.

Have fun and be creative covering your brownies!
Ta da! Super fun. I got these alphabet cutters from the Warehouse.
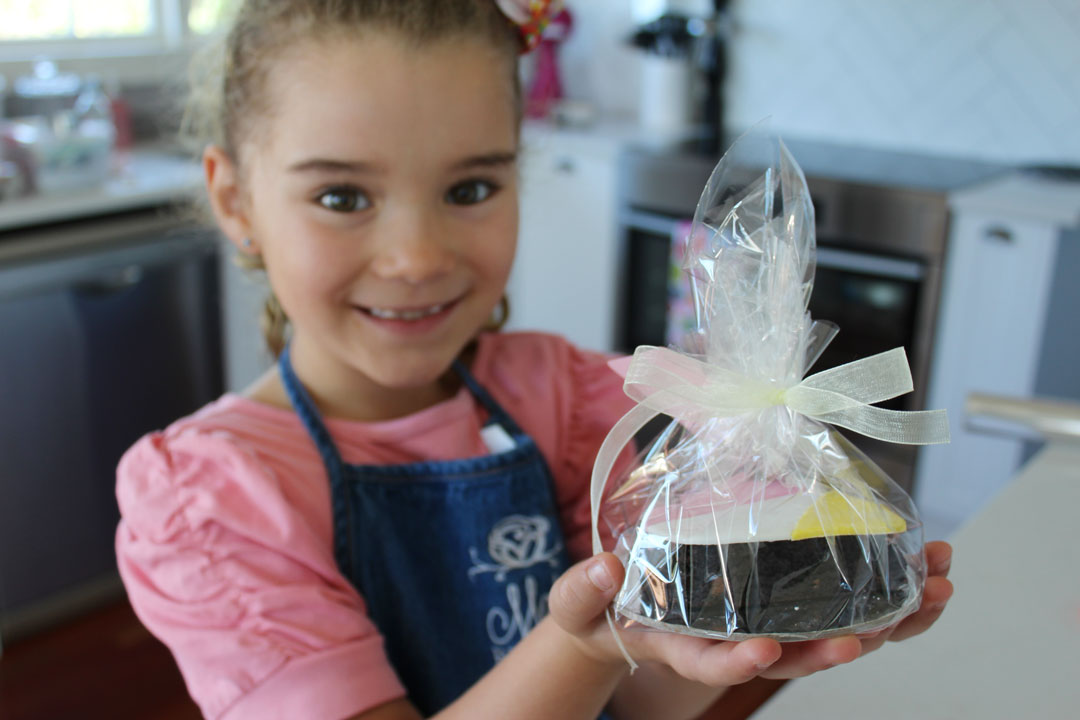
Creating the parcels
I wanted to give my treats as gifts, so this is how I packed them.
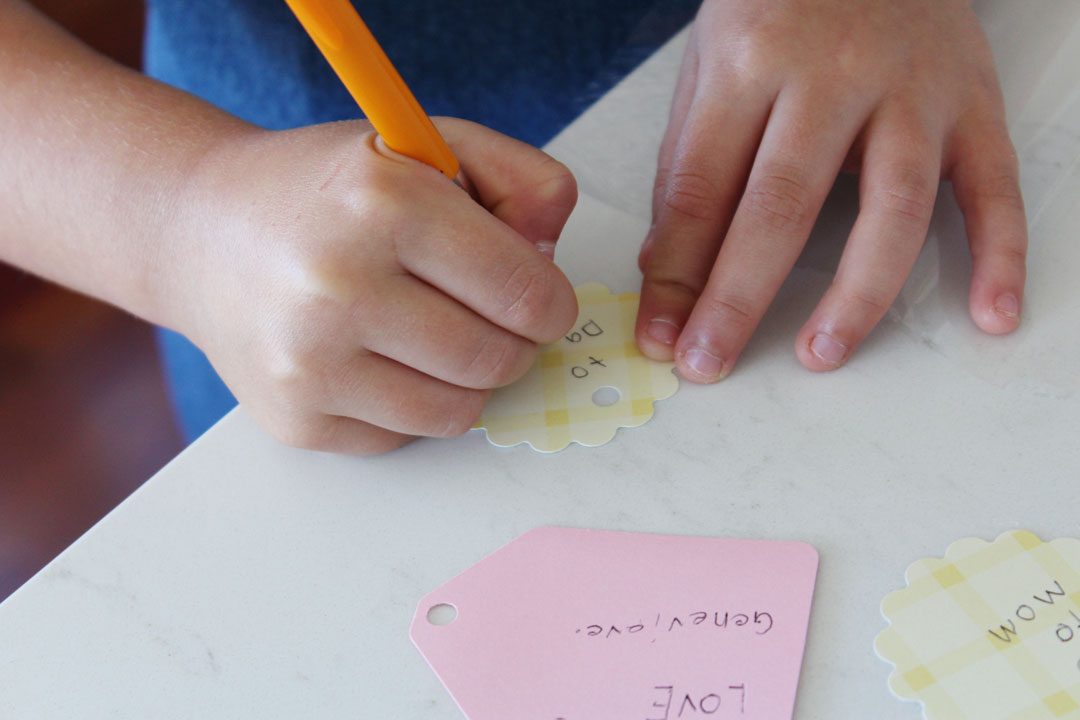
Prepare your gift cards and pre cut your ribbons.
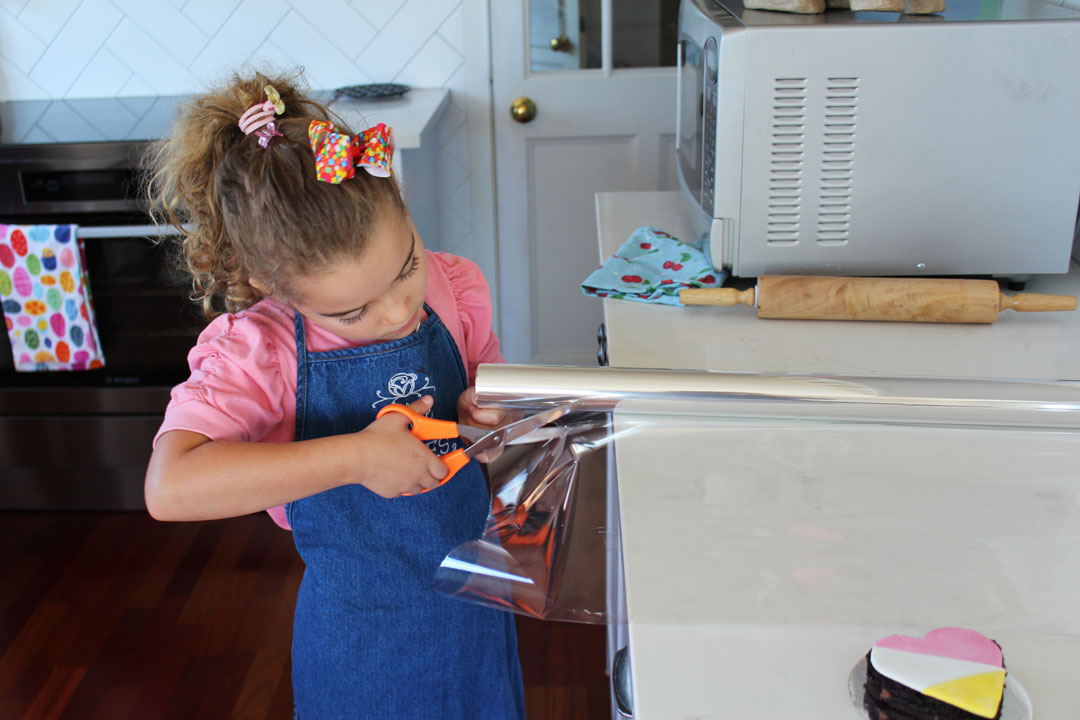
Cut rectangle of cellophane, and then cut across in half, so you are left with two squares.
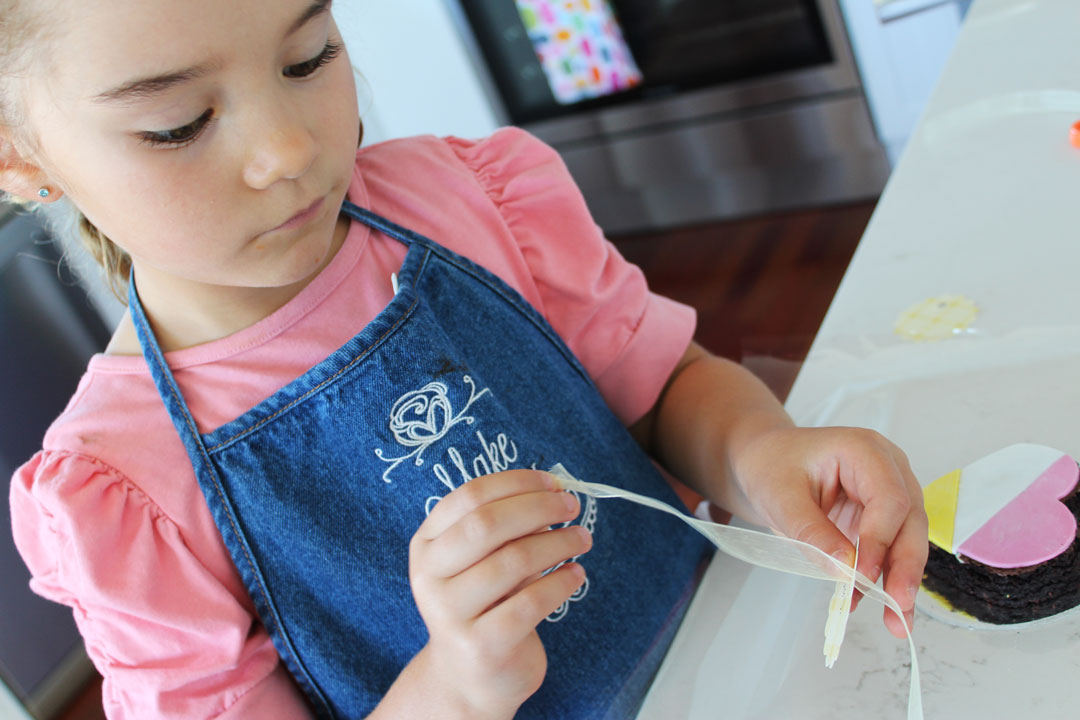
Thread your ribbon through the tag.
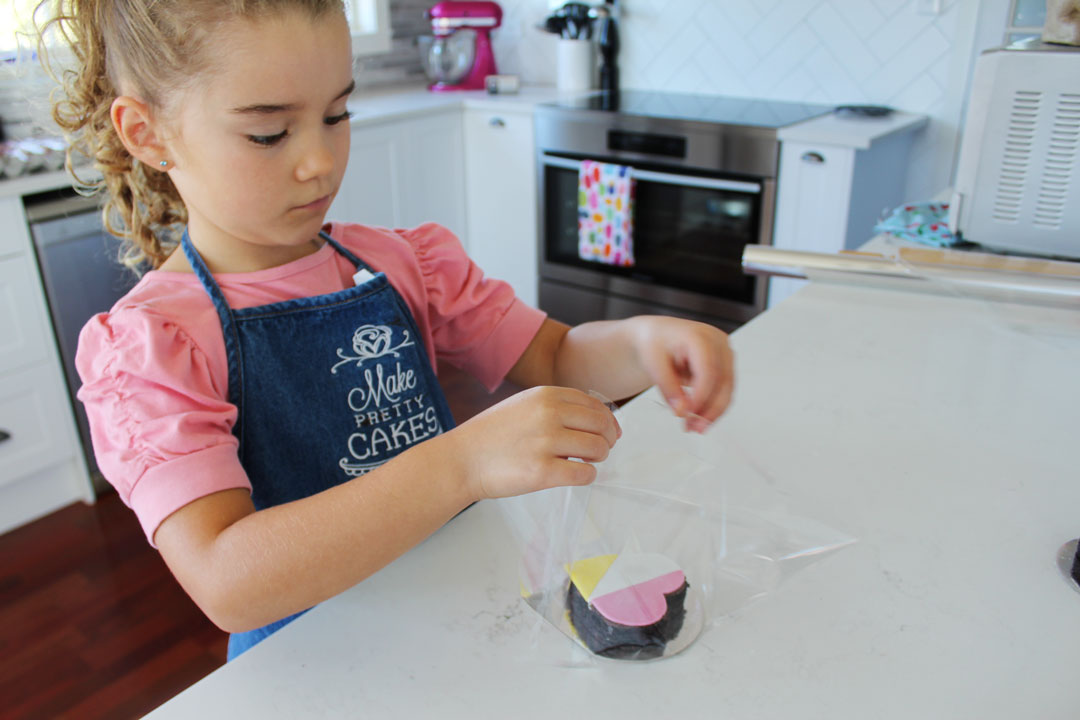
Center your gift in the square and bring up all the corners.
Bring all four corners together.

Tie your ribbon around and make a little bow.