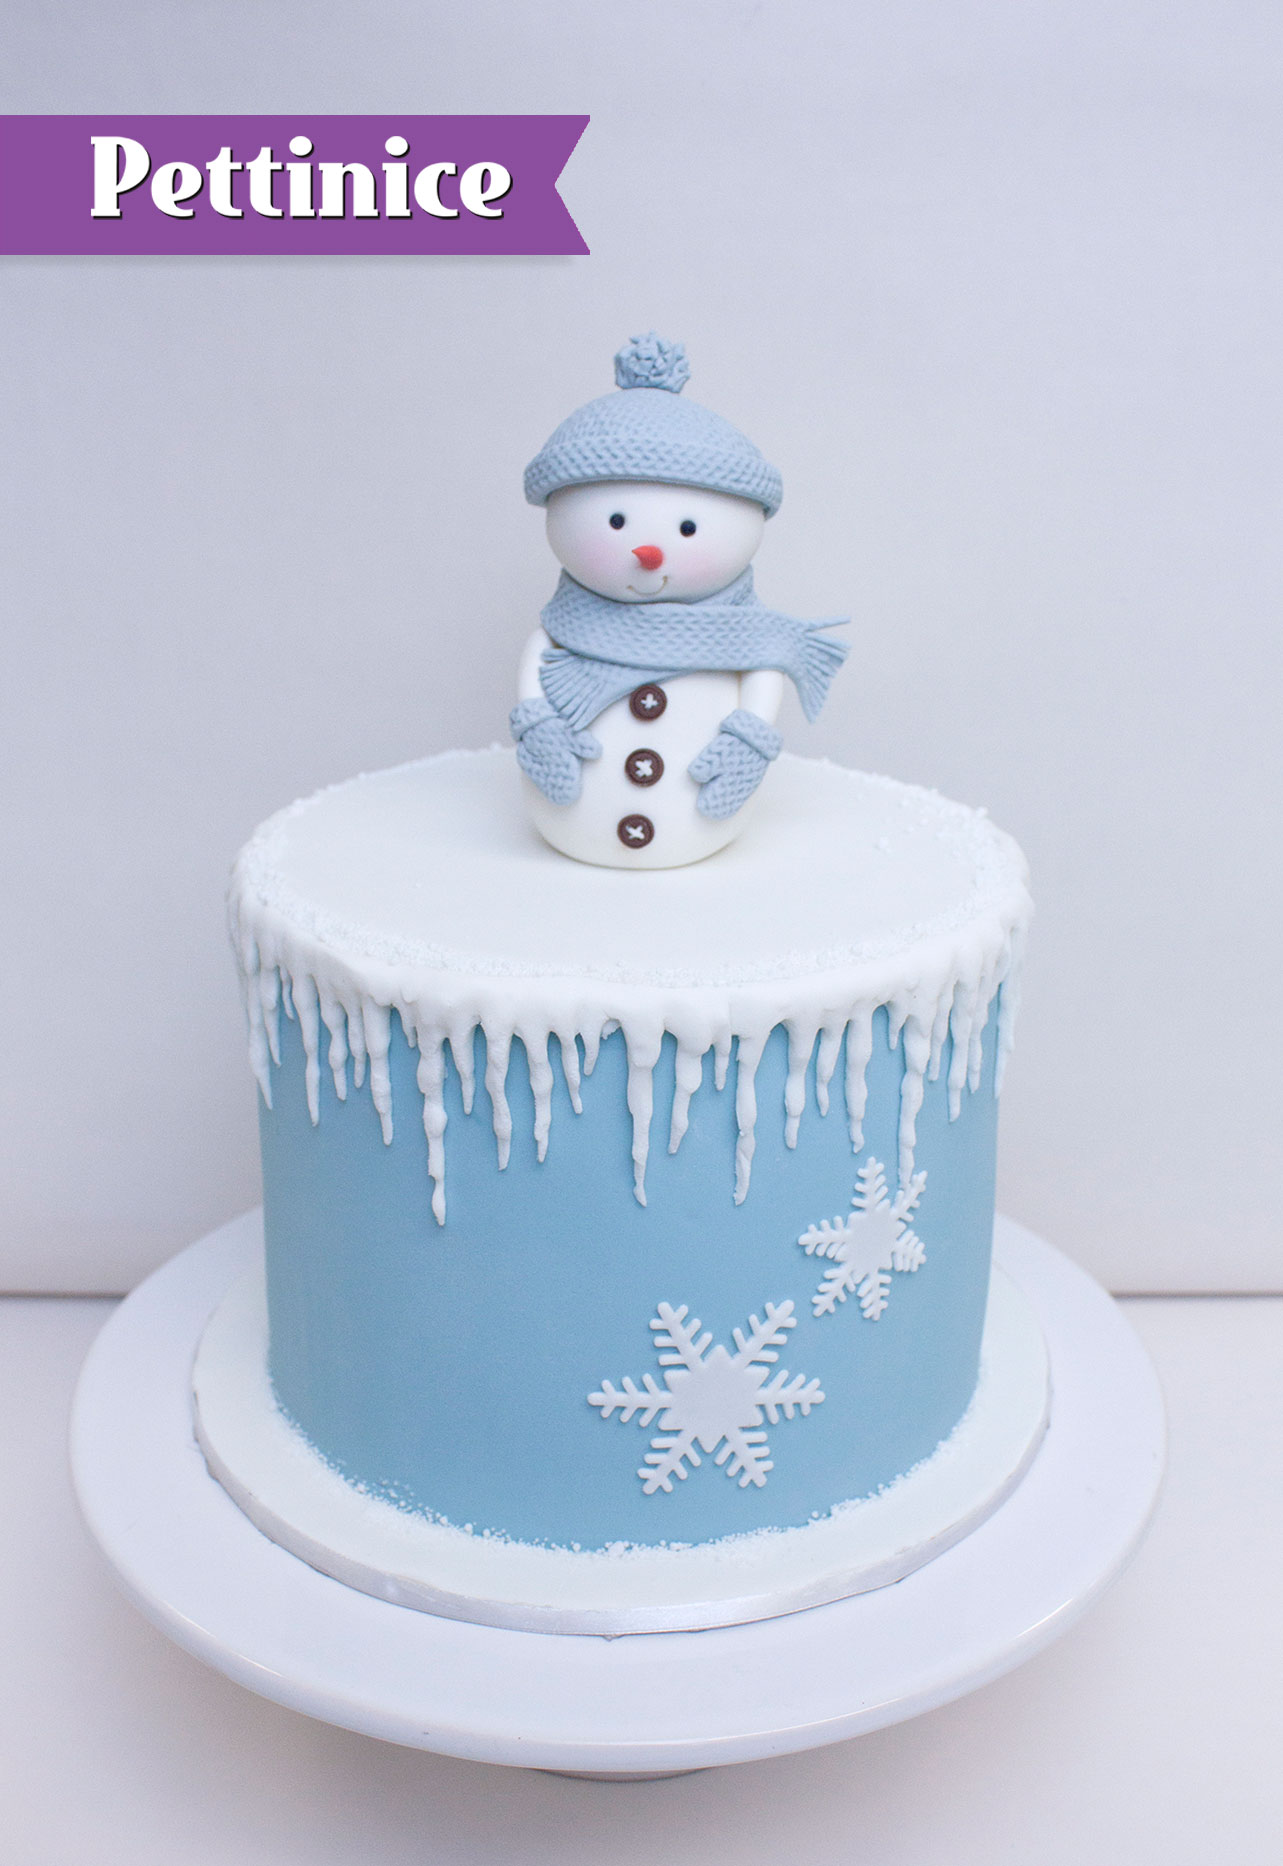
Christmas Snowman Cake Tutorial
Pettinice Ambassador Jo Orr (Ciccio Cakes) shows us how to make a cute snowman cake.
What you will need for this project:
Skill level: Moderate
Time: 2 hours+
You will need:
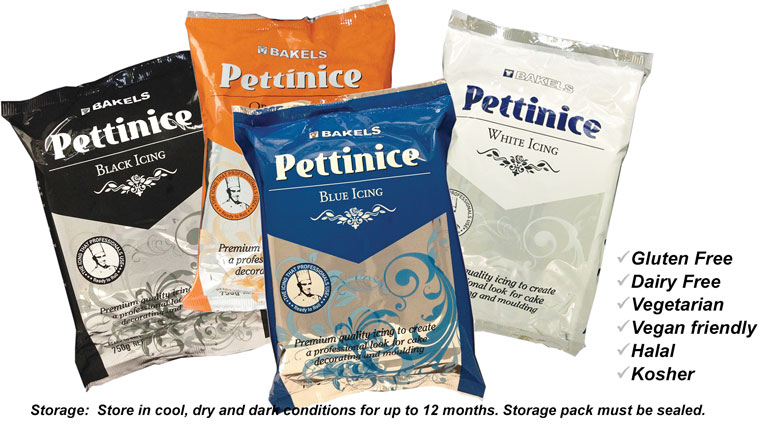
- 750g White Pettinice fondant
- 5g Black Pettinice fondant
- 5g Blue Pettinice fondant
- Pinch of Orange Pettinice fondant
- Isomalt crystals
- Optional: Icicle mold
- Optional: Snowflake cutters
- Optinoal: Knitted embossing matt
- Toothpick
- Tylose powder
- Sugar glue or water
- Rolling pin
- Small scissors
- Sharp knife or scalpel
- PME Scallop tool ("smile" tool)
- Soft brush for blush
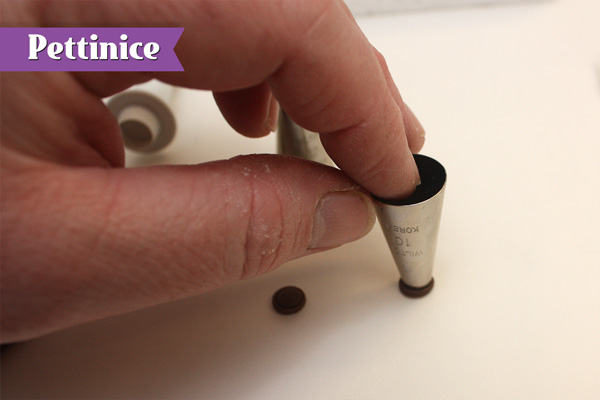
- Wilton Tip #10
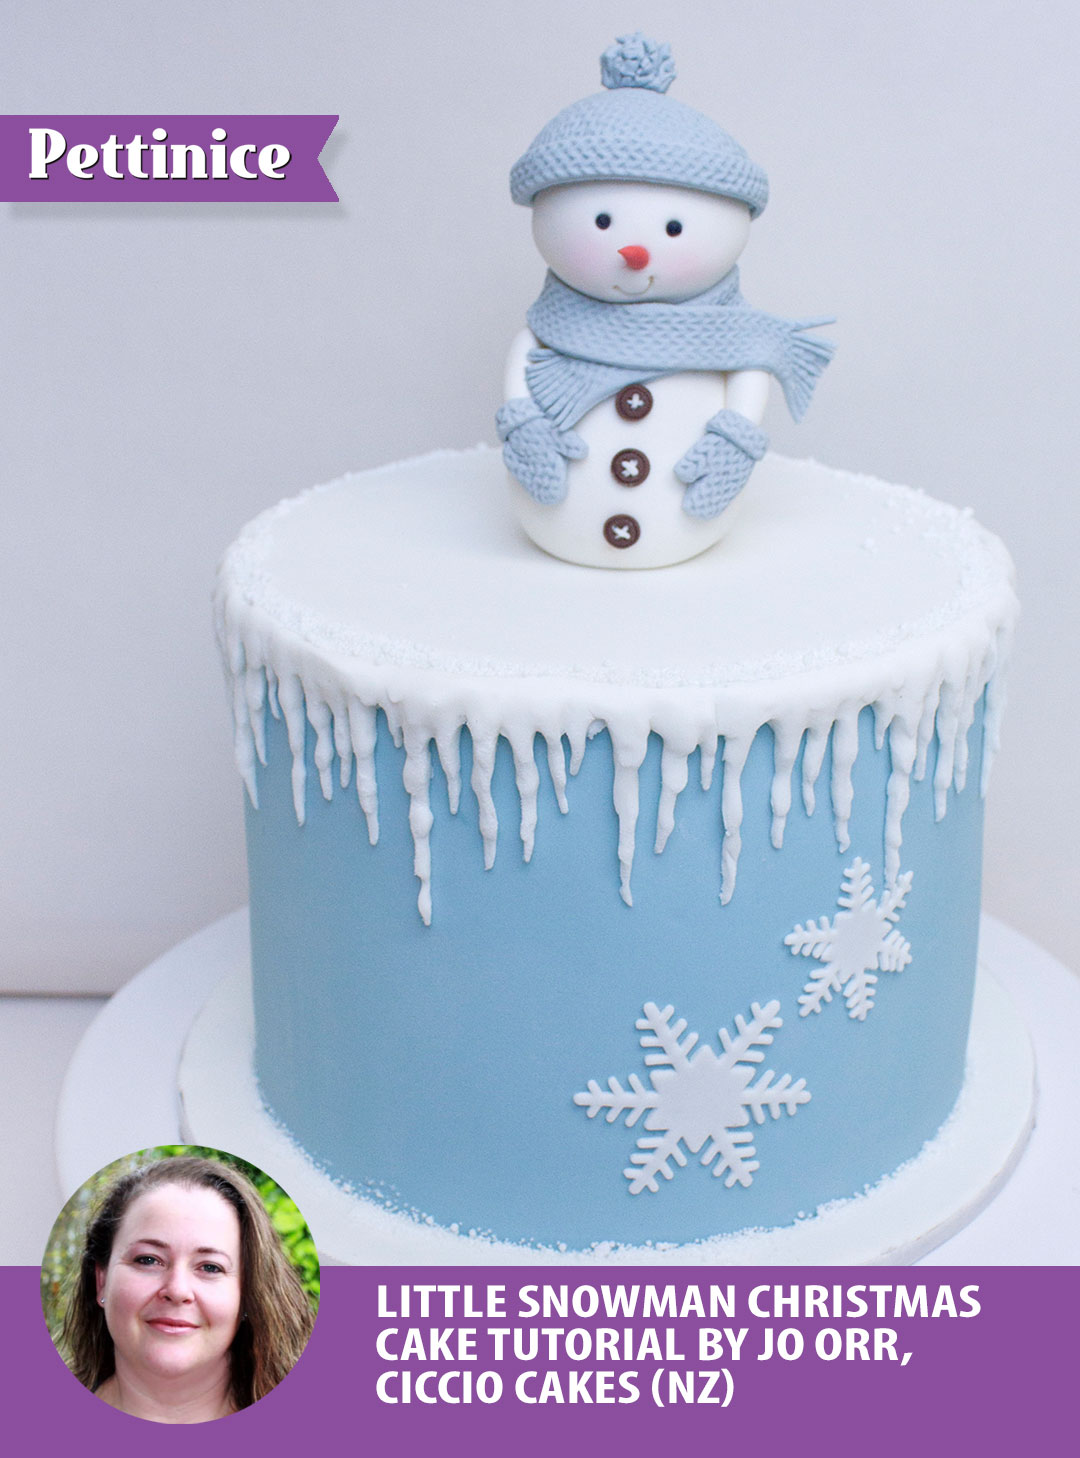
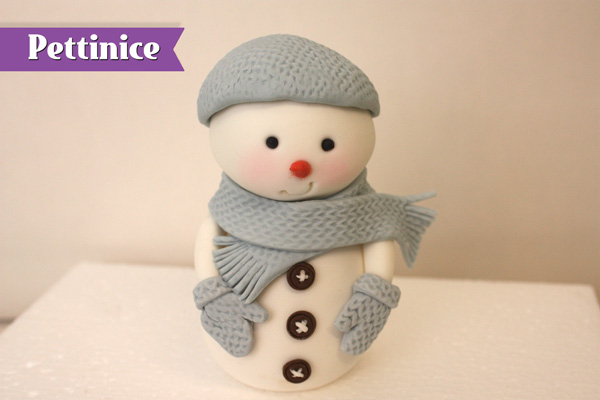
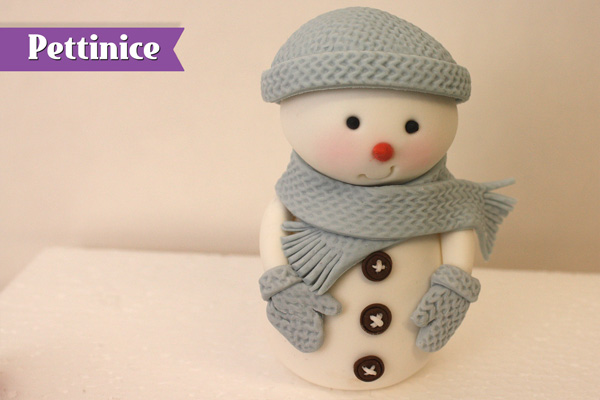
Create a cute little snowman figurine sitting on top of a sweet cake round decorated with icicles and snowflakes! Happy Holidays!
To make gumpaste, simply add 1 teaspoon Tylose per 250g Pettinice fondant.
Making the Snowman topper
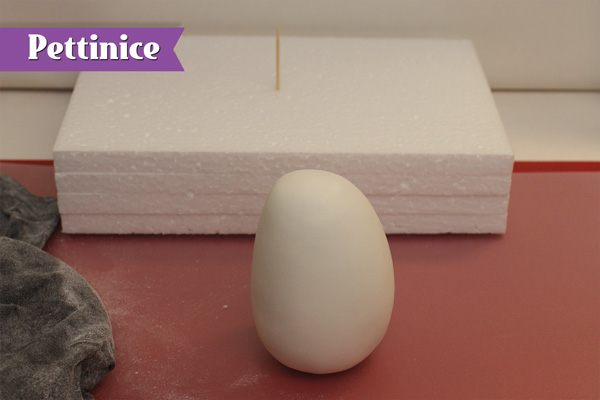
Roll your homemade gumpaste into an oval shape
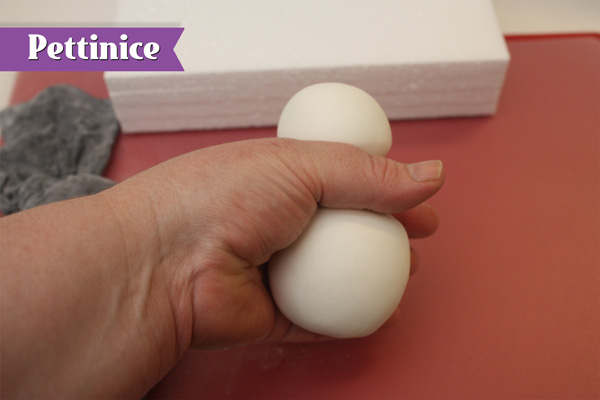
Squeeze 2/3 the way up.
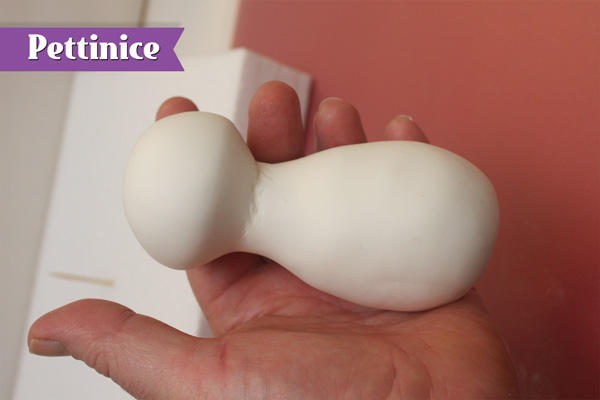
Form shape as shown.
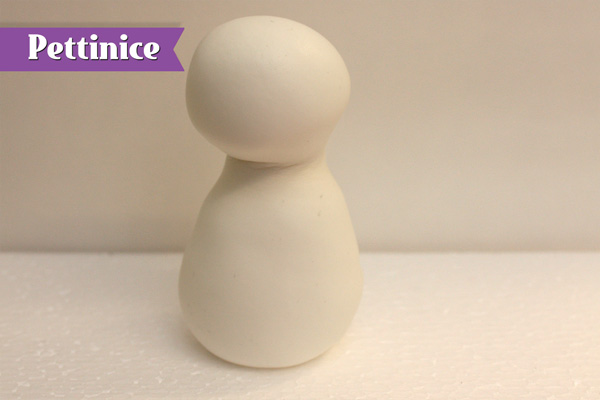
Stand body on a lightly glued toothpick on a polystyrene block.
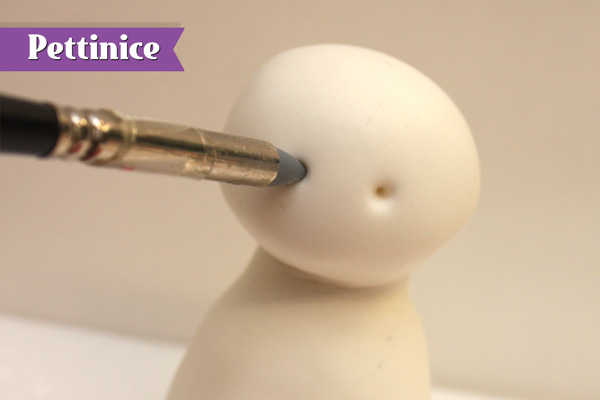
Indent the eye socket
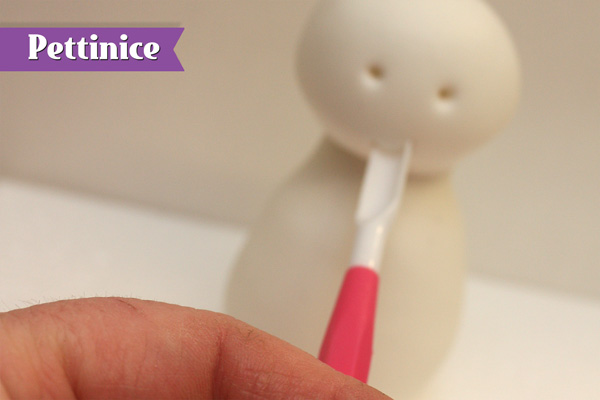
Mark the mouth using a scallop tool.
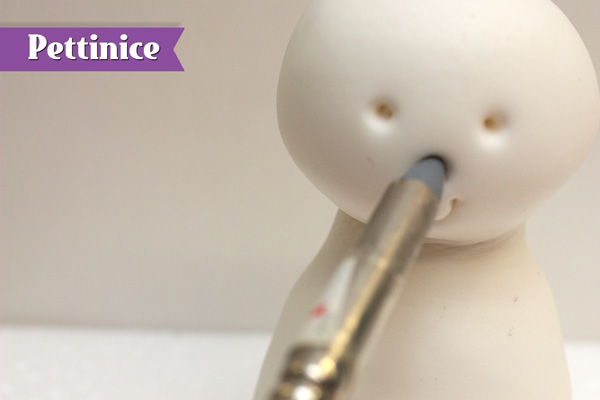
Make a deep indent for the nose.
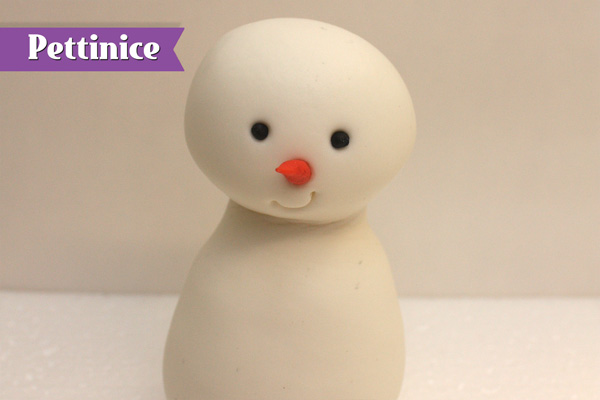
Add two small black balls of fondant and a cone of orange gumpaste for a carrot nose.
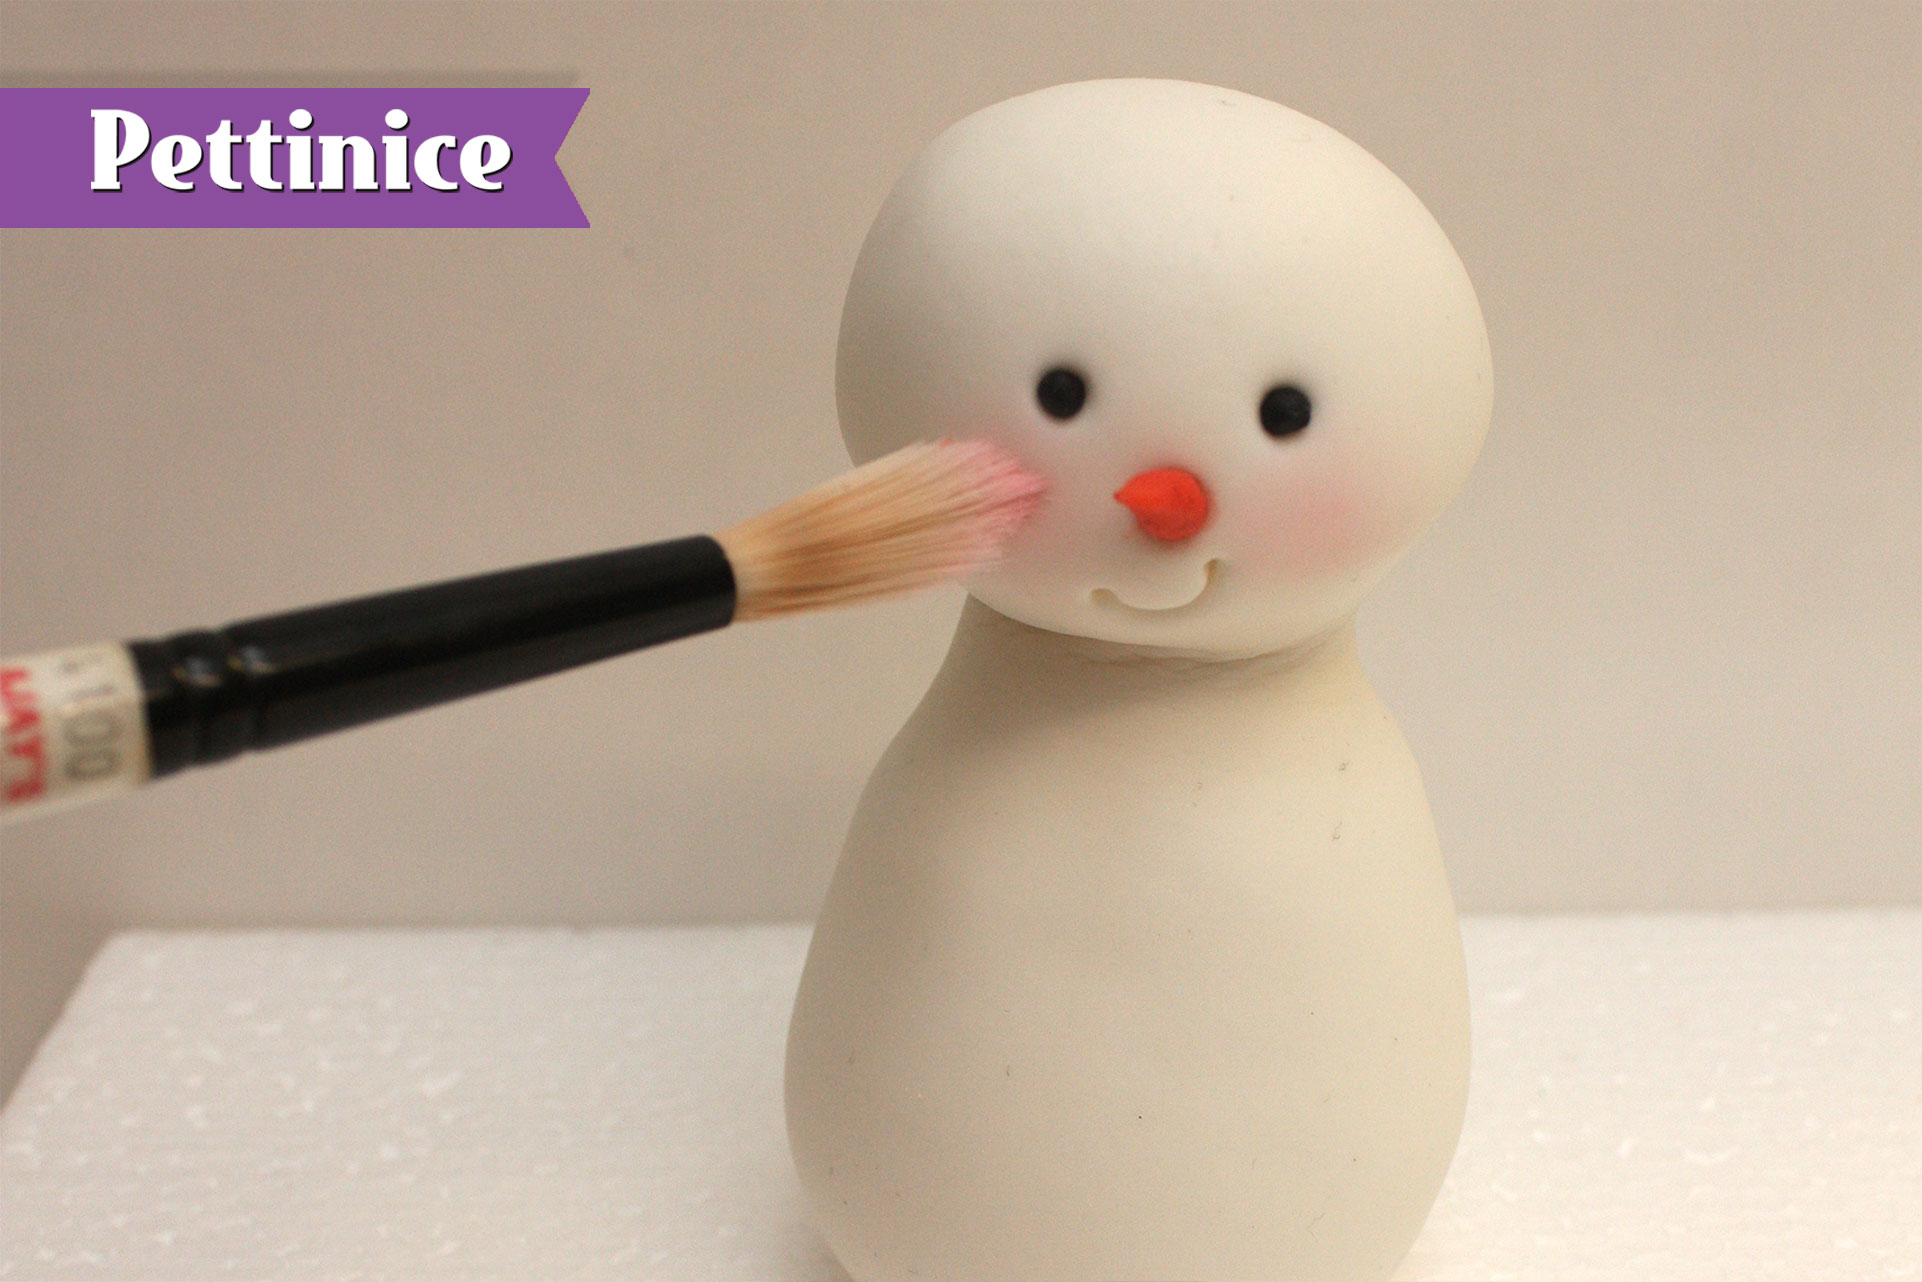
Add pale pink powder for blush to the cheeks.
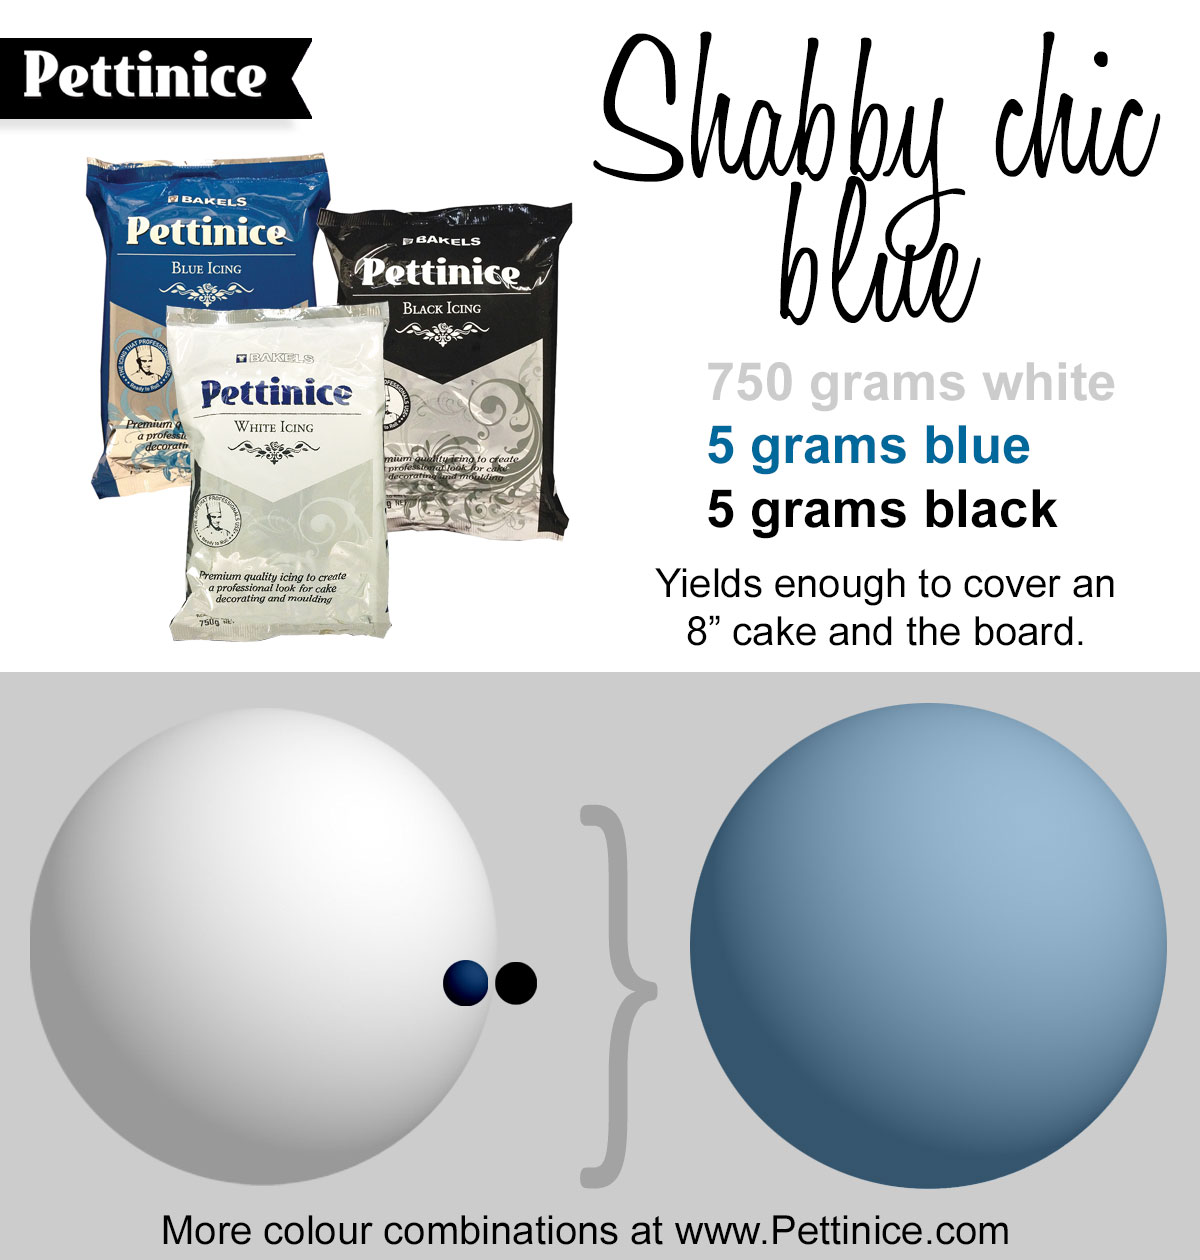
To cover an 8" cake with extras for dressing the snowman, we used 750g white, 5g of blue and 5g of black.
Indent small circles of brown fondant using the end of a piping nozzle.
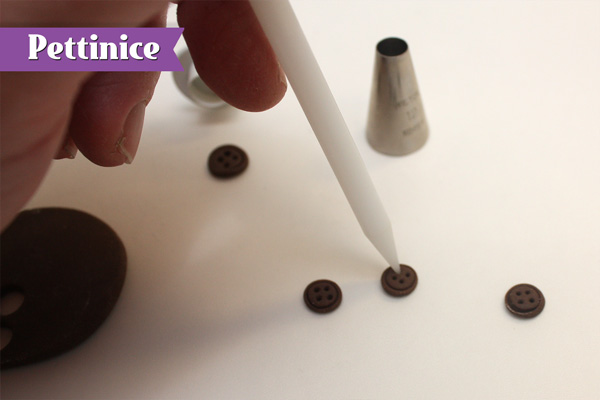
Poke holes for the buttonholes
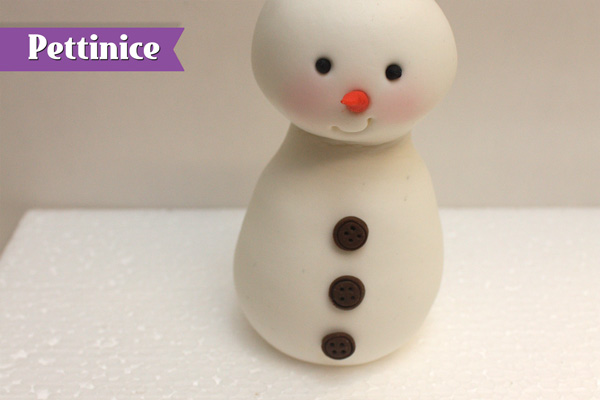
Glue the buttons to the belly of the snowman.

Roll very thin lines of white fondant and crisscross into the holes for thread.
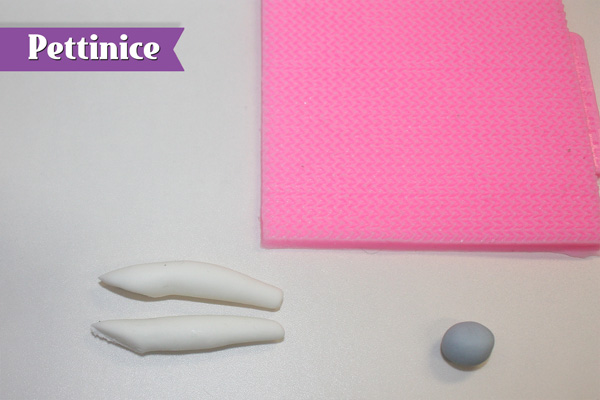
Roll 2 long tubes for arms and cut on the diagonal where they attach to the body.
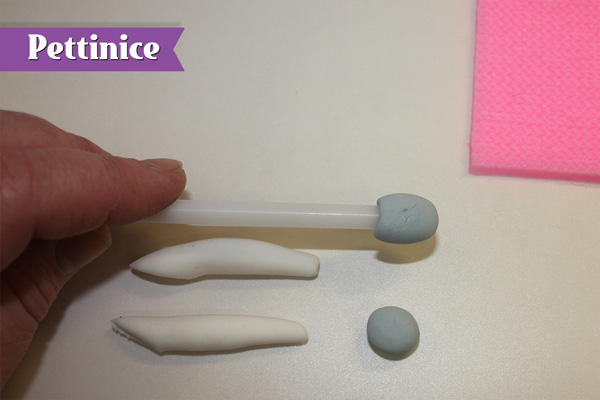
Roll a ball of blue gumpaste(I used same colour as on the cake)poke end of a flatten on the end of a cell pin.
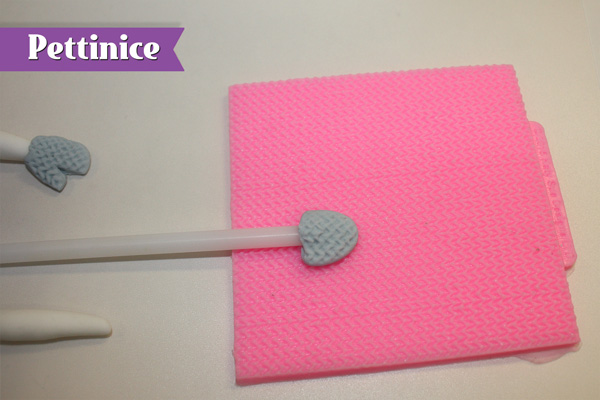
Use a impression mat to simulate knitted effect.
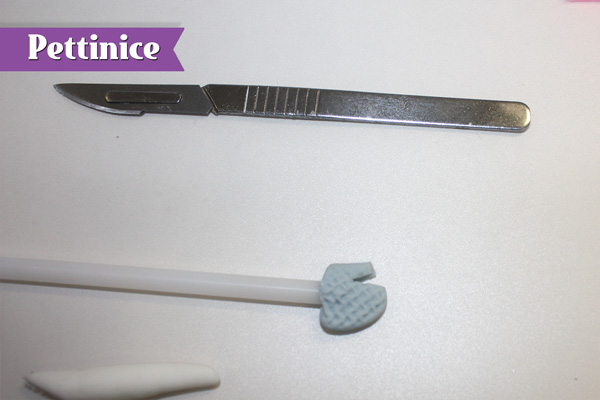
Cut a "v" for the thumb.
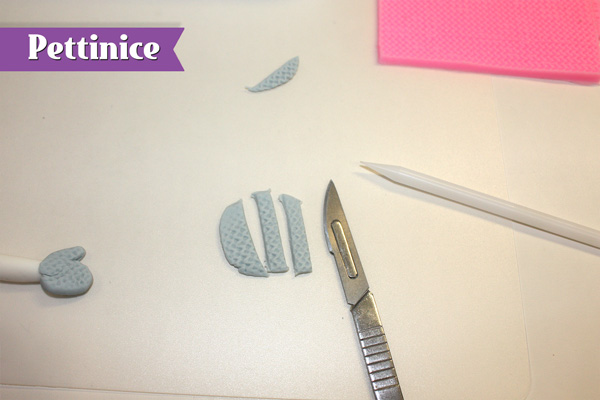
Remove from pin and glue to the arm. Roll out a little of the blue gumpaste texture and cut a ribbon as shown.
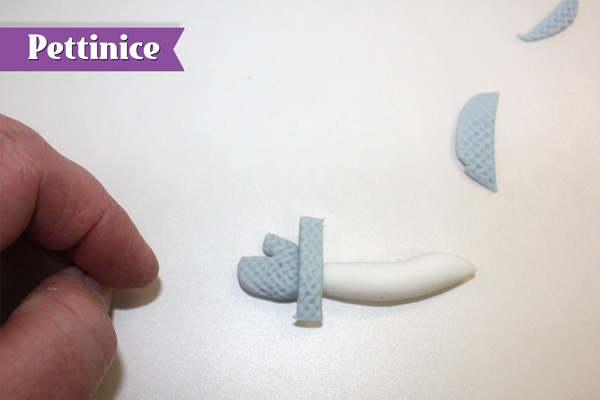
Wrap ribbon of blue around the top of the mitten where it meets the arm.
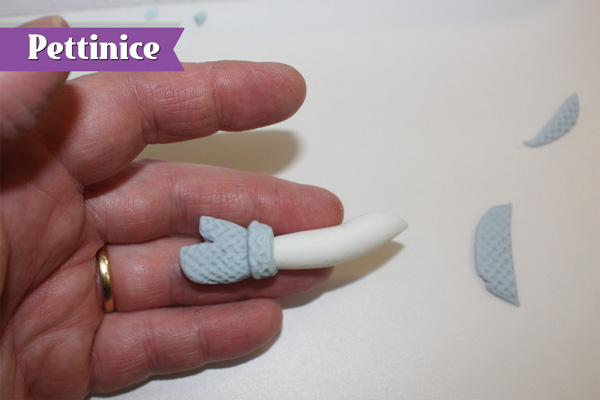
Ready to glue arms onto body.
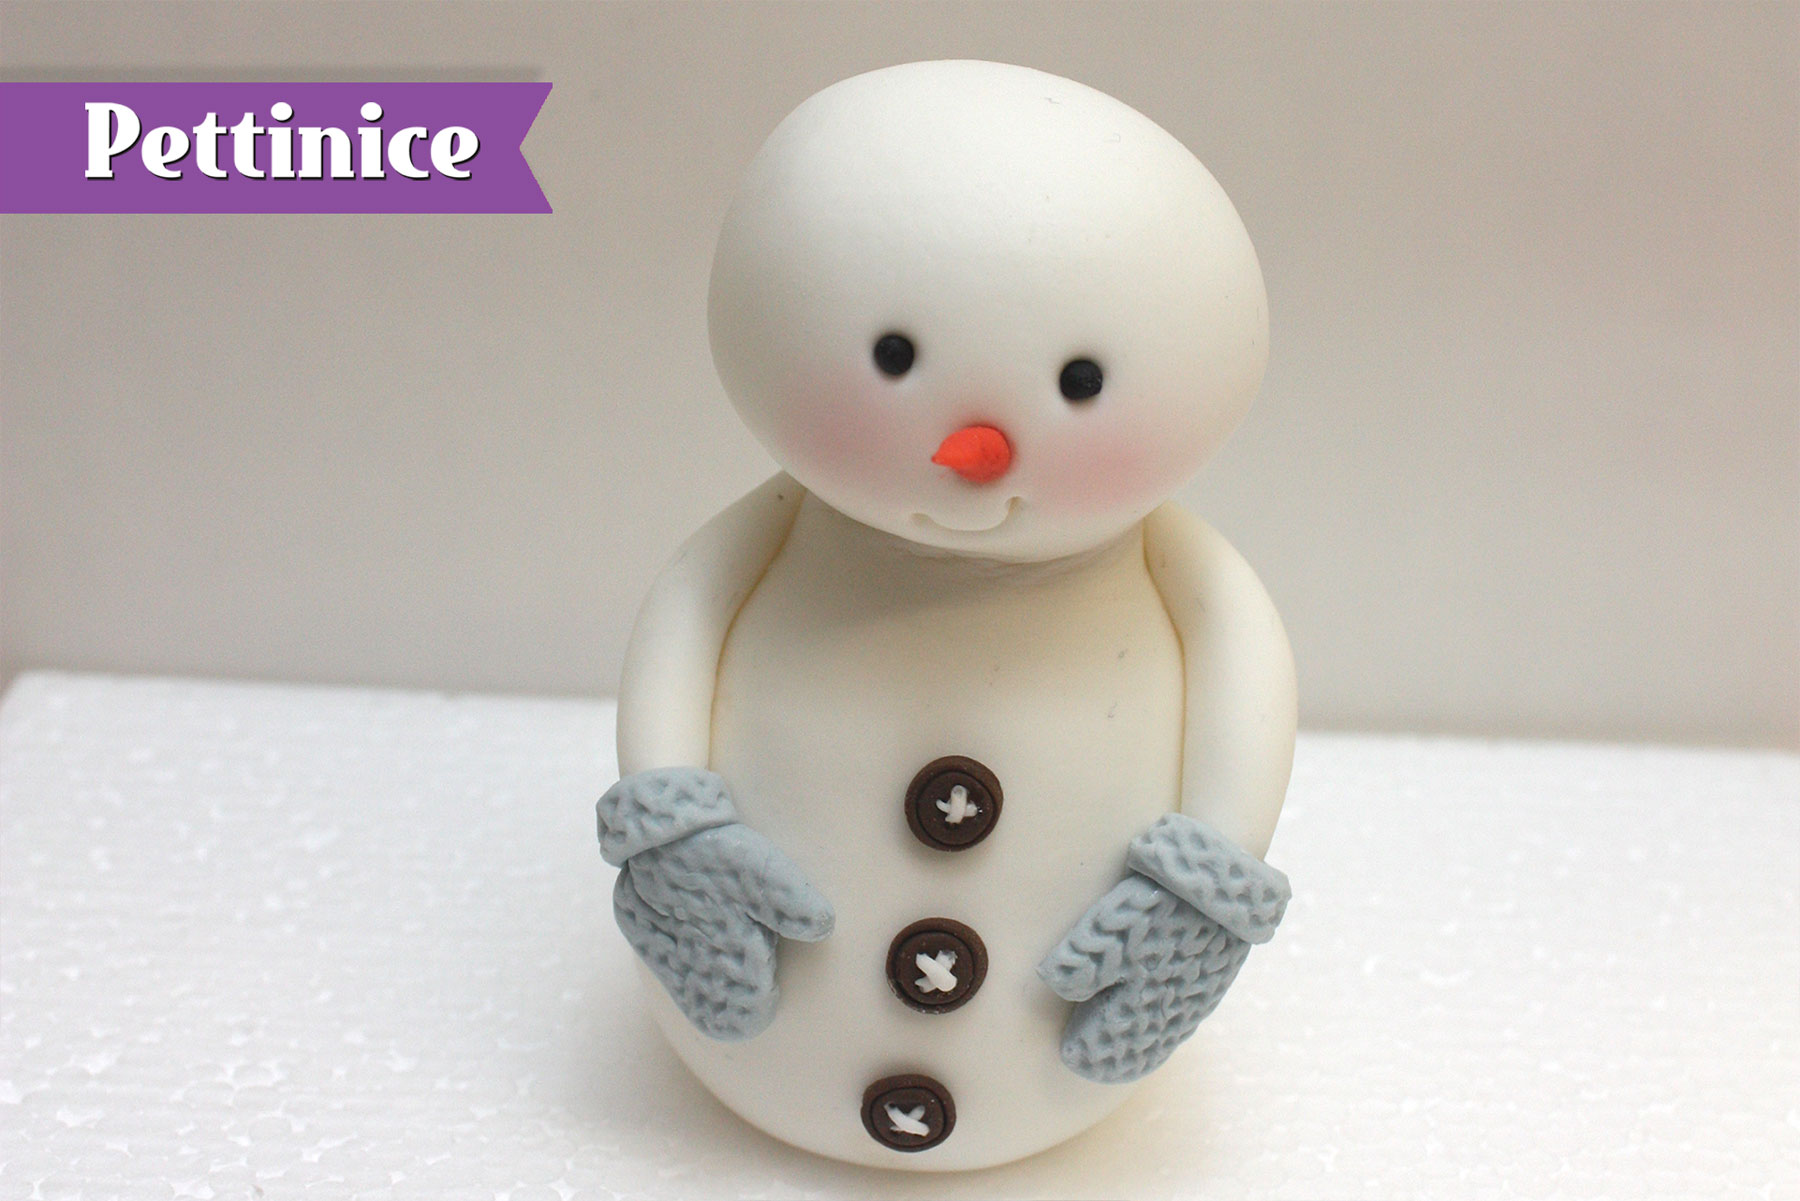
So cute! Arms glued to body.
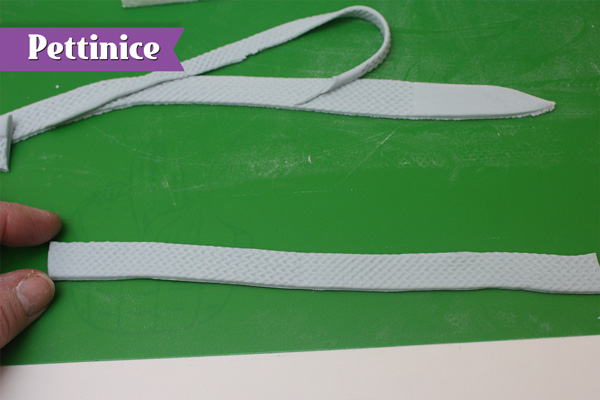
Make a long ribbon and texture with knitted mold.

Cut the ends of the ribbon as shown.
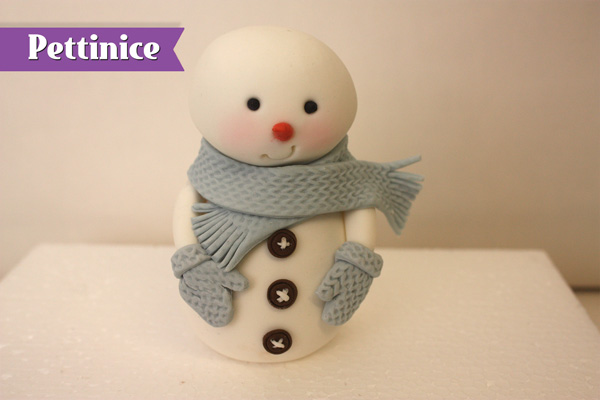
Wrap around the neck and secure with a little glue.
Make a circle of blue gumpaste and texture. Place as shown.
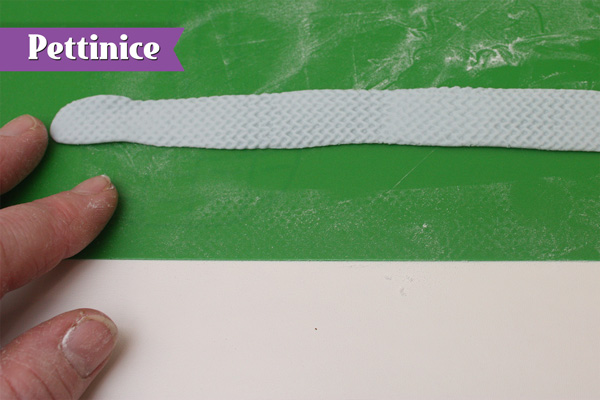
Make a long thin textured ribbon.
Add to the edge of the hat.
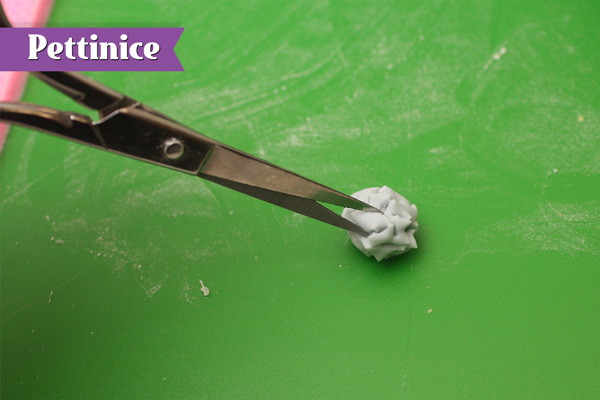
Take a small ball of blue and snip to make a pompom.
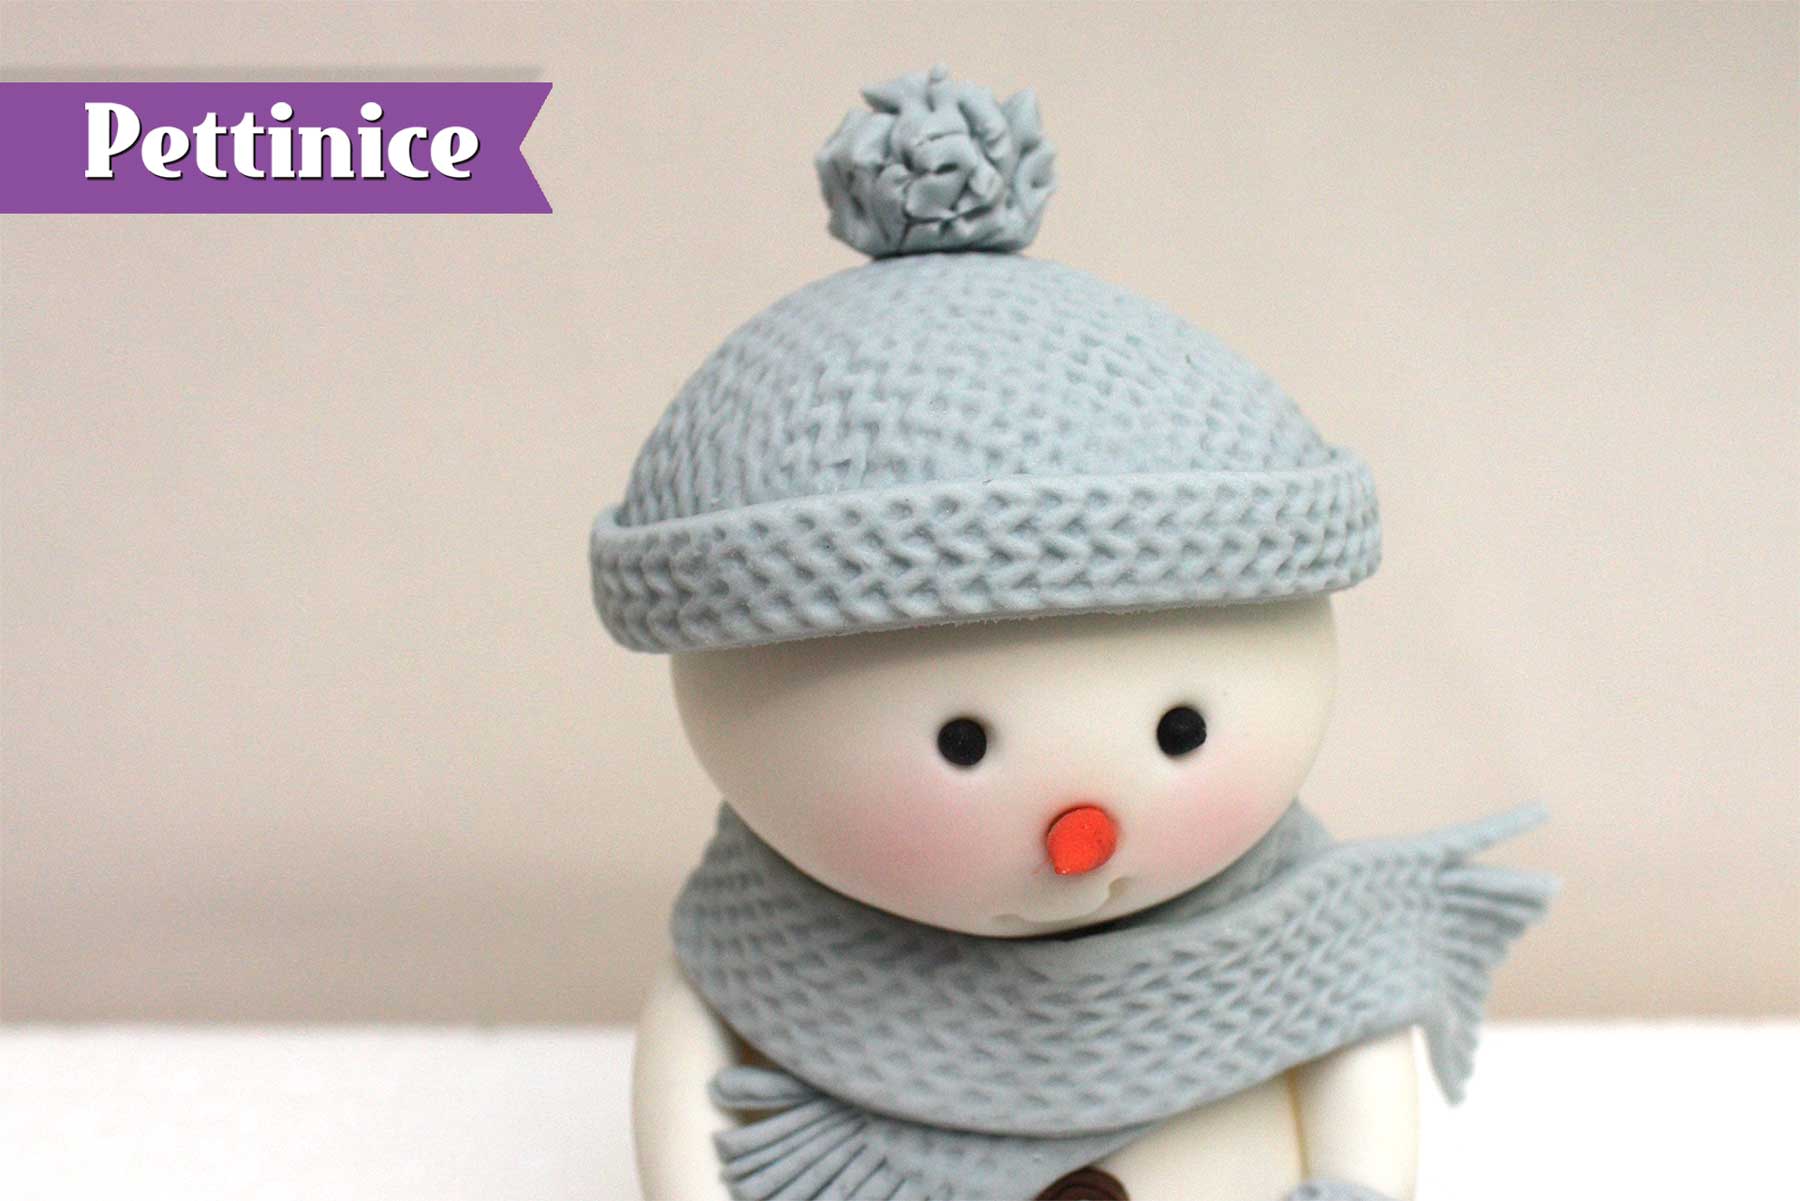
Secure your pom too the top of your hat.
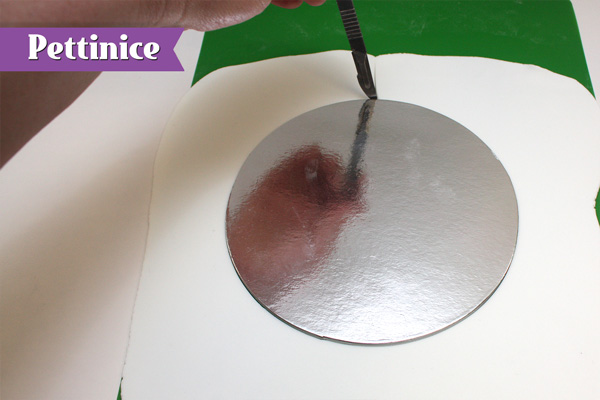
Making the icicle surround cake
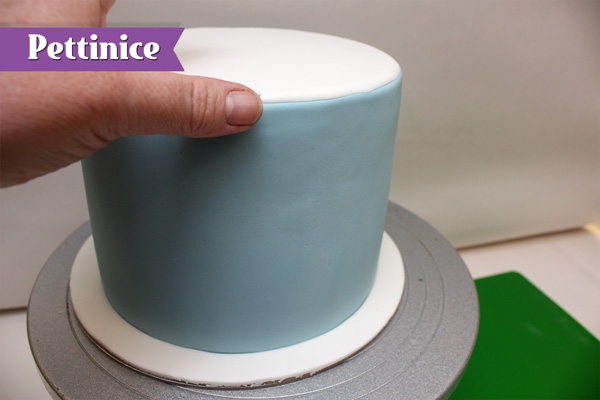
Begin by covering your cake with the blue fondant we mixed up earlier. You can panel the sides in the blue, or just cover the whole thing if that is easier for you. We think this design looks better with soft edges.
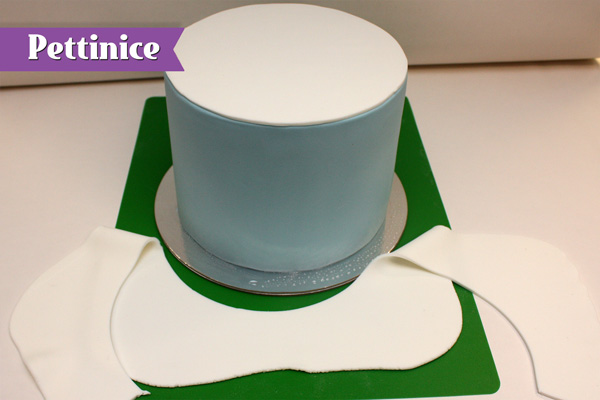
Roll out white Pettinice and cut a circle the same size as your cake.
Attach the circle of white fondant using water on top of the cake covered with the blue fondant.
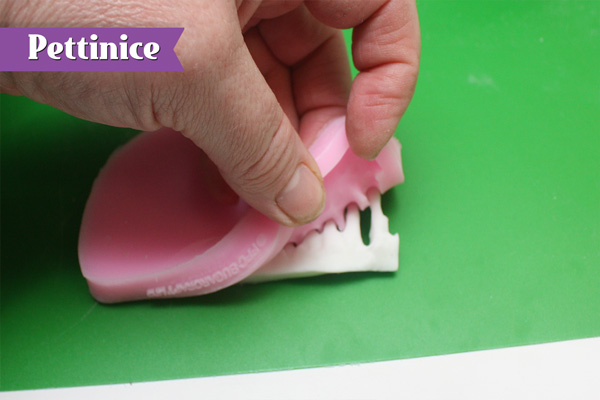
Fill Icicle mould with fondant and place in the freezer for 5 mins to firm up. Remove from mold as shown.
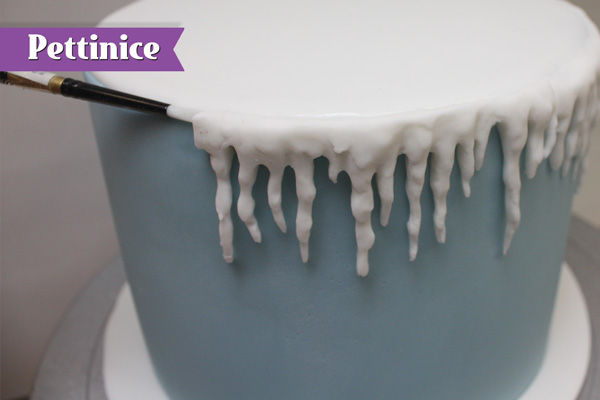
Attach the molded icicles to the top edge of the cake so it joins the white circle.
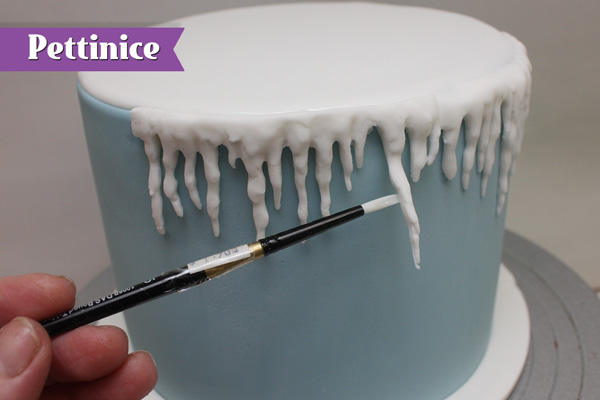
Make sure to attach the lower icicles using water.
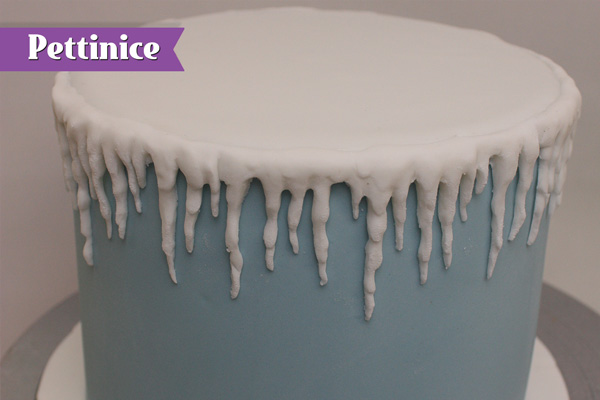
Keep attaching icicles around entire cake.
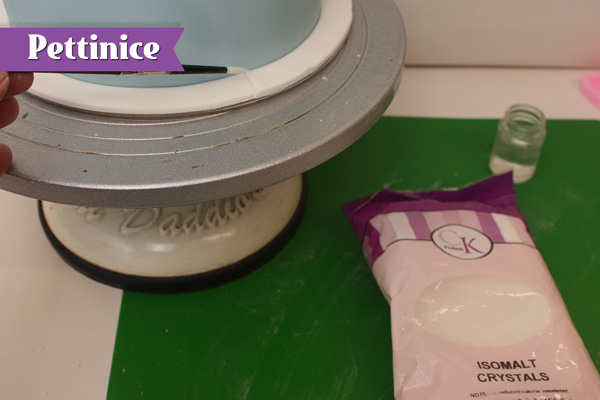
Optional: Use a little edible glue around base and add a few isomalt crystals for snow. Repeat around the top edge where the icicles meet the top circle.
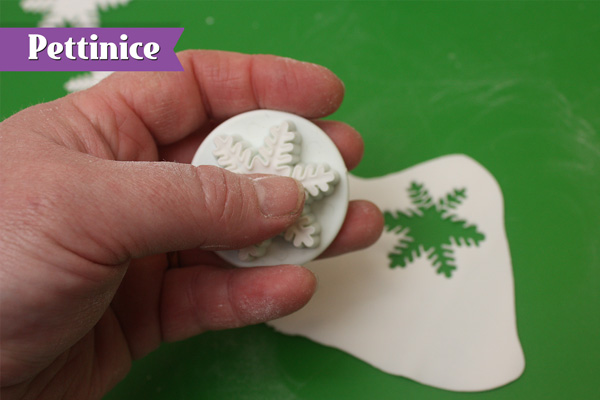
Roll white fondant thinly & cut a couple of snowflakes.
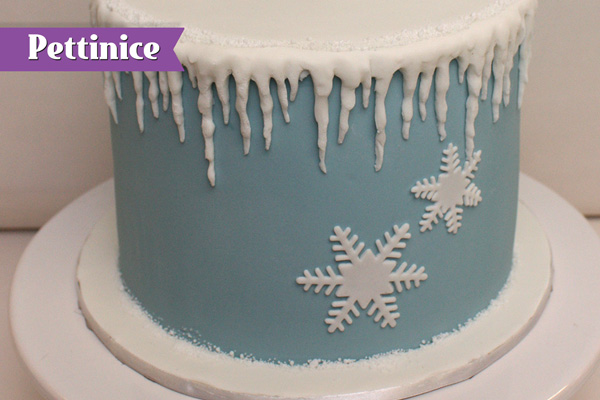
Attach snowflakes to cake as desired.


Jo Orr has been a working pastry chef for the last 20 years and runs Rotorua-based Ciccio Cakes. She is an encyclopedia of knowledge for all things cake. If you haven’t had the chance to try one of her famous cake slices from the Ciccio’s cake cabinet, be sure to put it at the top of your foodie to-do list.
You can find Jo on Facebook and Instagram.
![]()