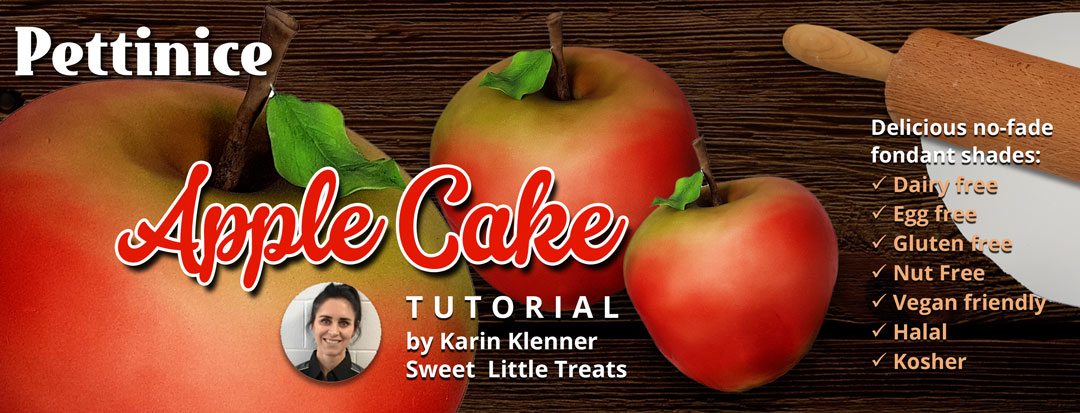
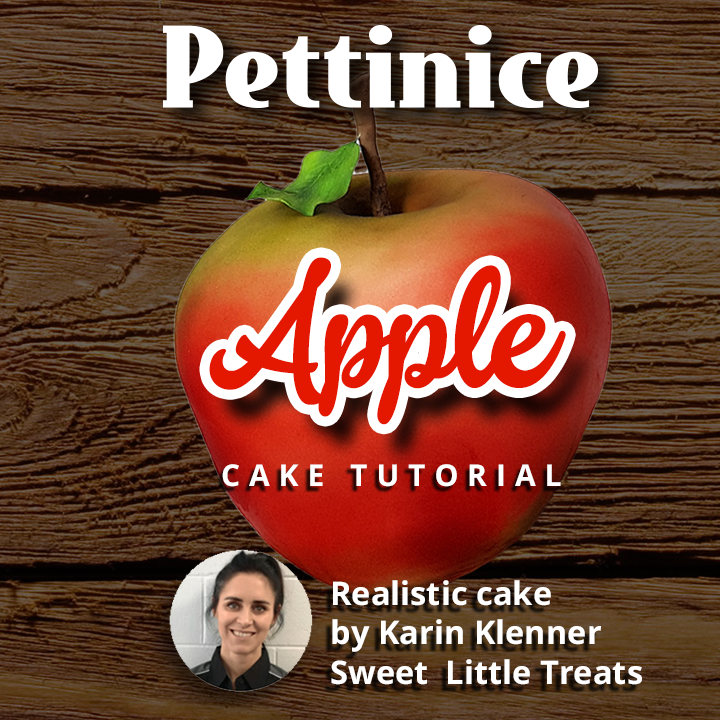
Realistic apple cake tutorial by Karin Klenner
What you need:
Edibles
- 1 x 7 inch mud cake / carving cake – 3 inches high
- 1 x 6 inch mud/carving cake – 3 inches high
- 1.5 kgs ganache
- 750 g white Bakels Pettinice fondant
- Ball of brown fondant
- Ball of pale green fondant
- Airbrush colours in green, yellow, red and brown – alternatively you can paint or dust - if so you will need a large poofy make up brush.
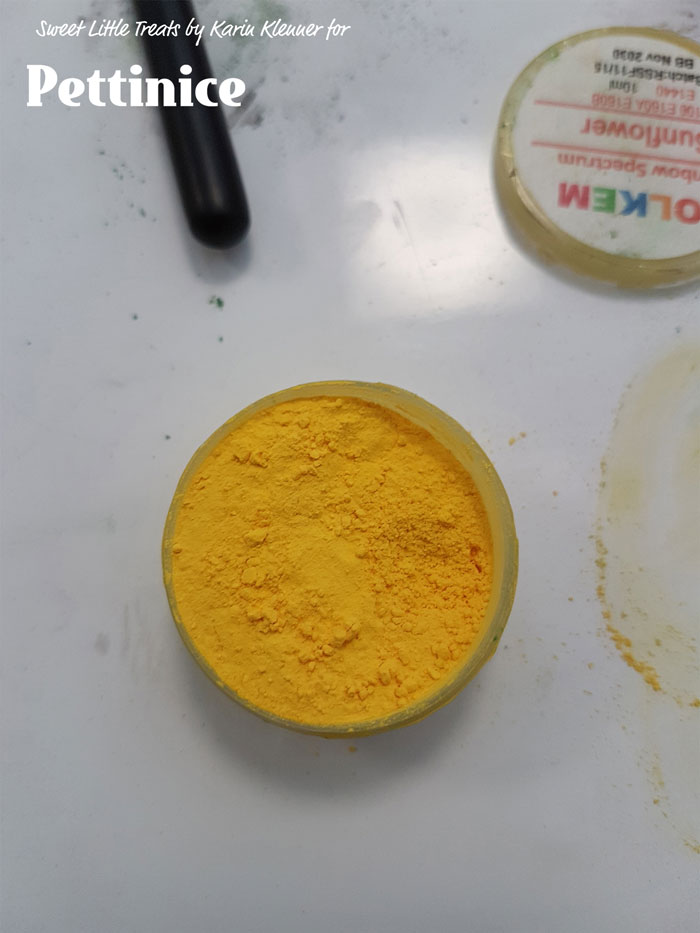
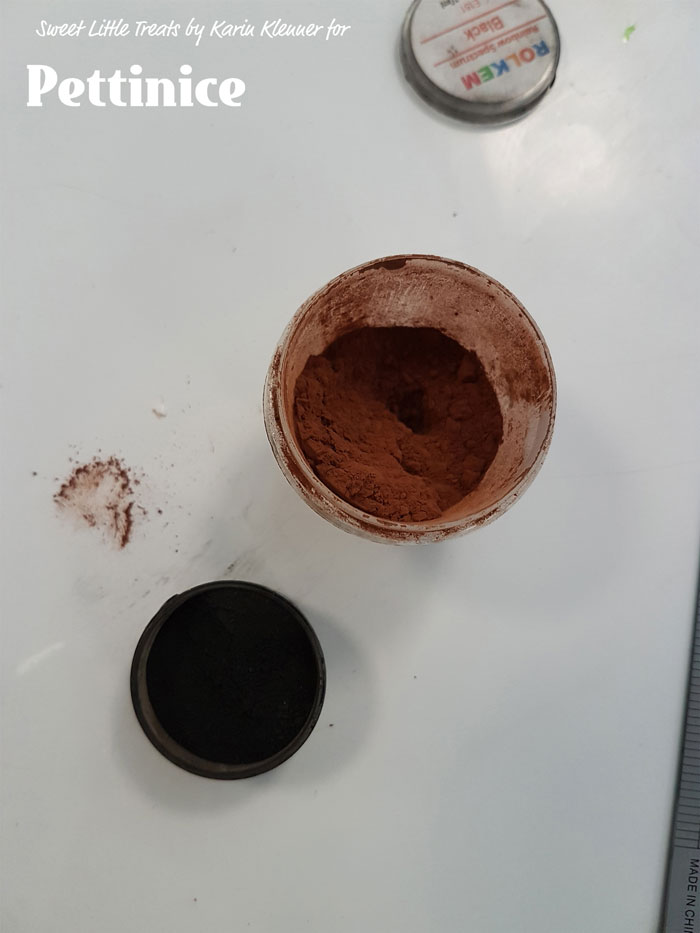
- Edible dusts in 3 shades of green, yellow, brown and black
- Edible glue and paintbrush
.
Tools, etc.
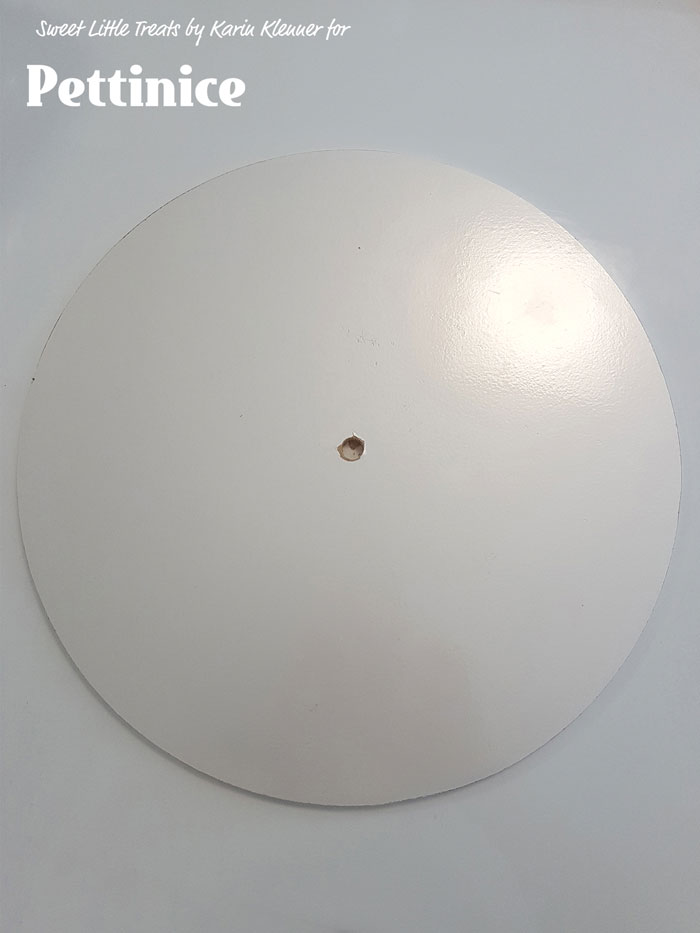
- 1x 13 inch mdf display board with 10 mm centre hole drilled
- 1 x 5 inch cake card with 10 mm centre hole drilled – a 5 inch dowel screwed and glued in. if this cake has to travel I recommend using a metal rod.
- 1 x large bubble tea straw
- 1 x florist wire
- Rose leaf cutter and veiner
- Ball tool
- Dresden tool
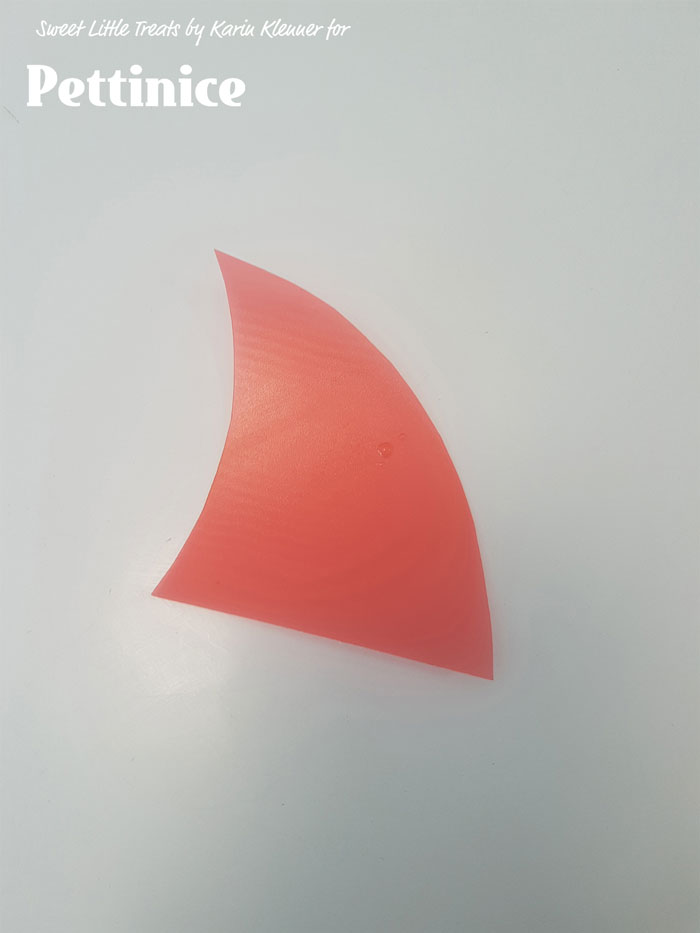
- Shark fin tool (optional but handy – I made mine with plastic folder cover)
- Angled spatula
- Small carving knife
- 5 inch blade
- Sharp blade for fondant trimming
- Bowl for cake scraps
- Poly dummy tier
- Fondant smoother/ acetate smoother

Pre-drill all your boards to fit over the final board dowel.
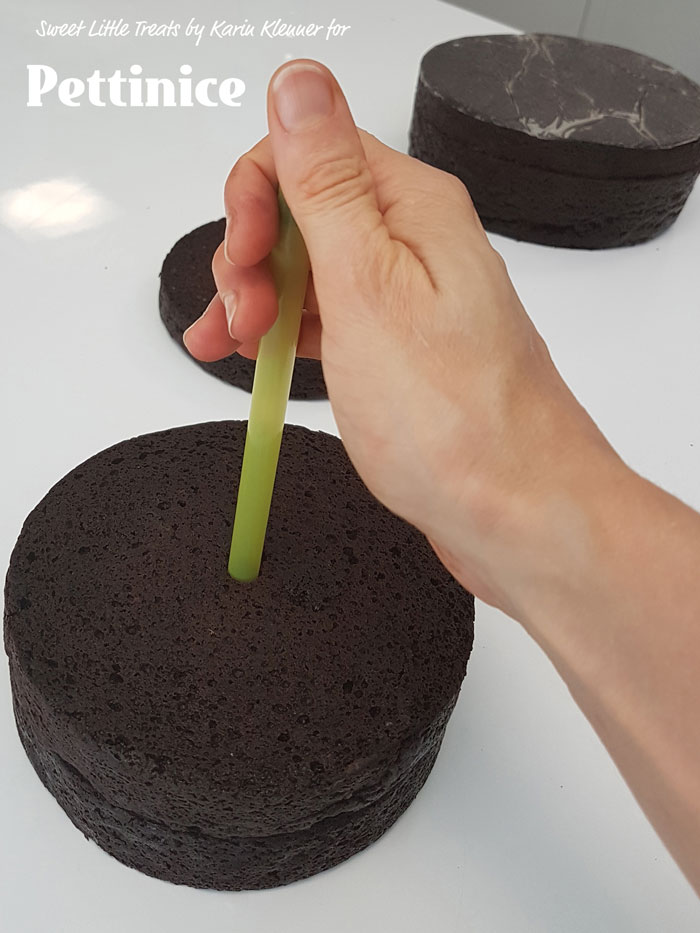
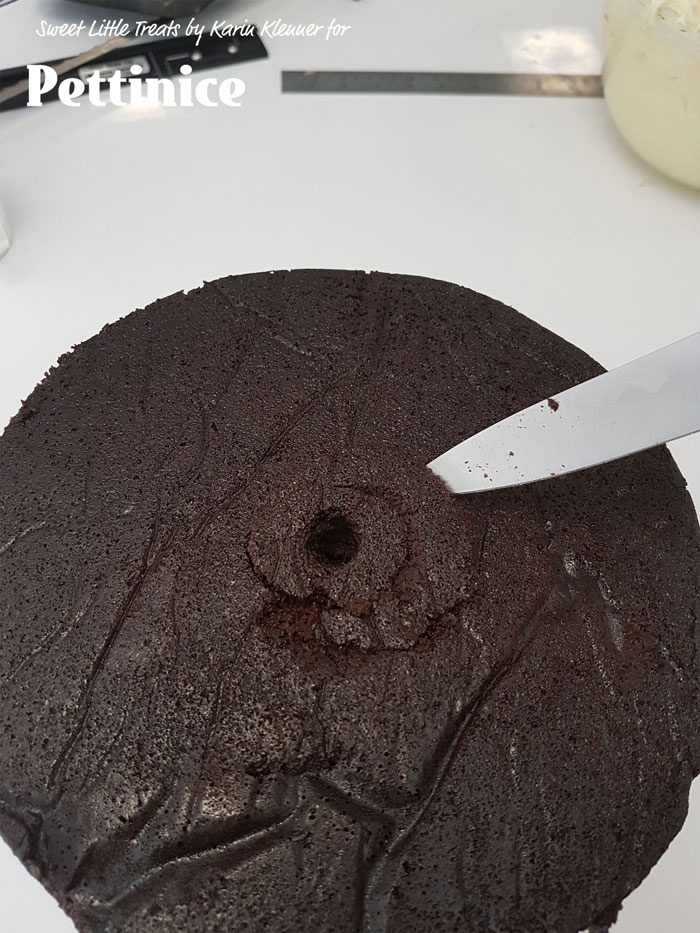
Core the centre of your cakes with your large straw. This will make it easier to line up and lift over structure at the end.
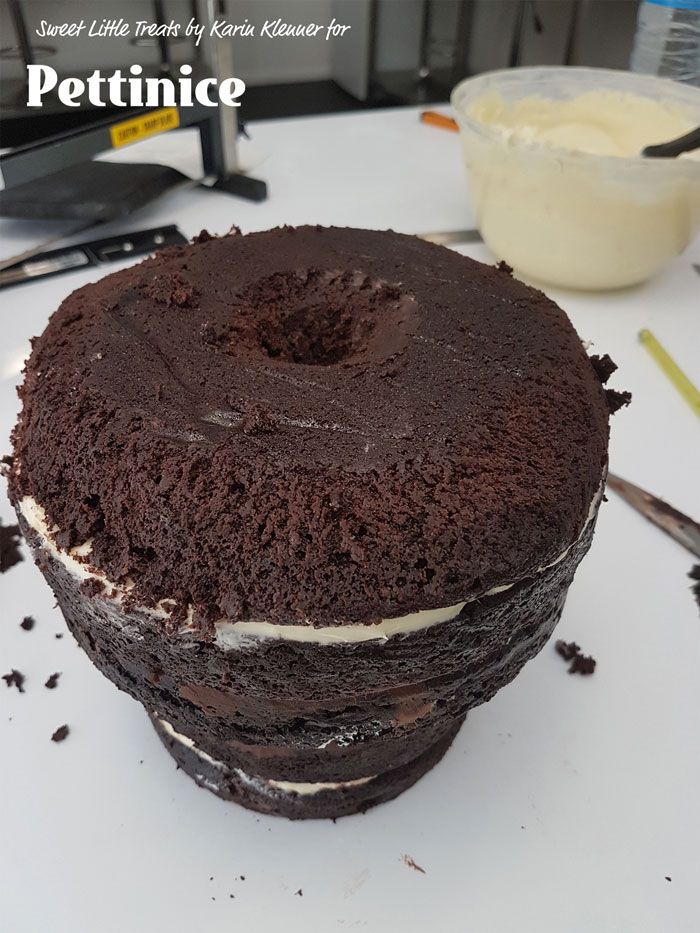
This is the bottom 6" cakes filled and stacked. I place the board on top, as I will be flipping the cake later)
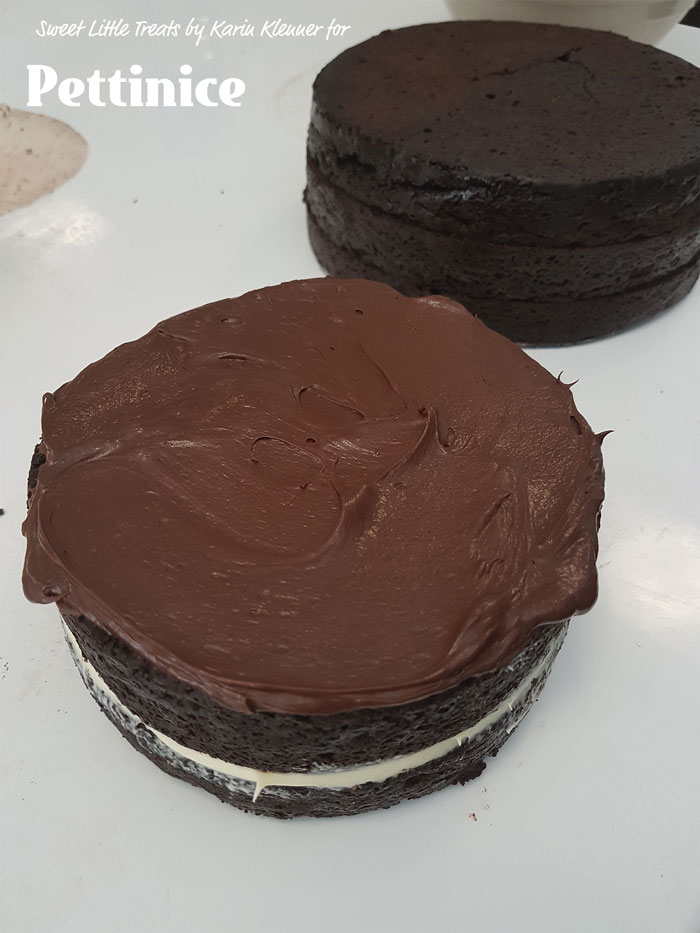
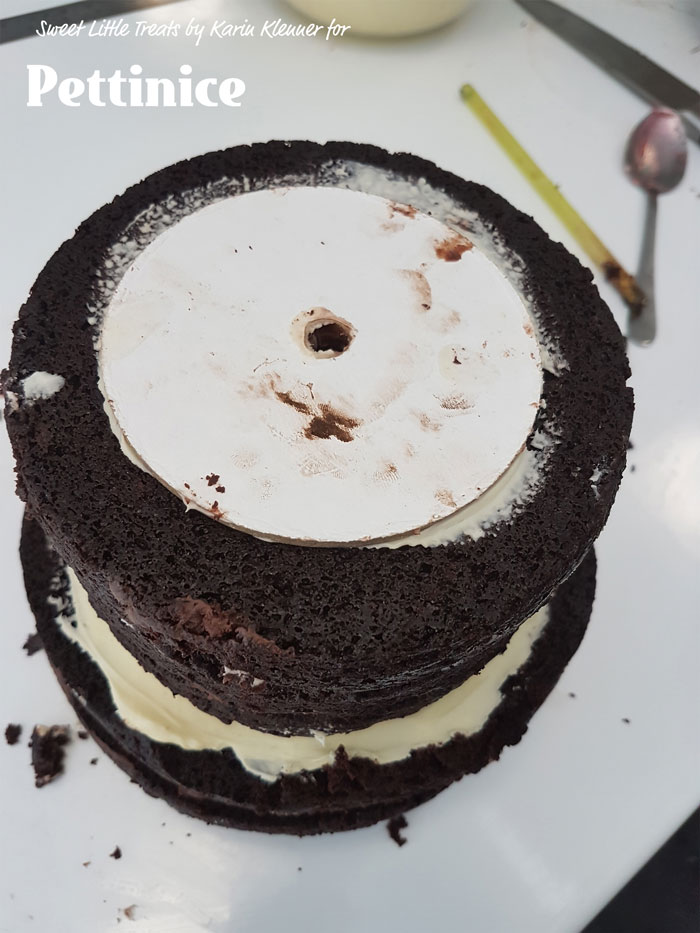
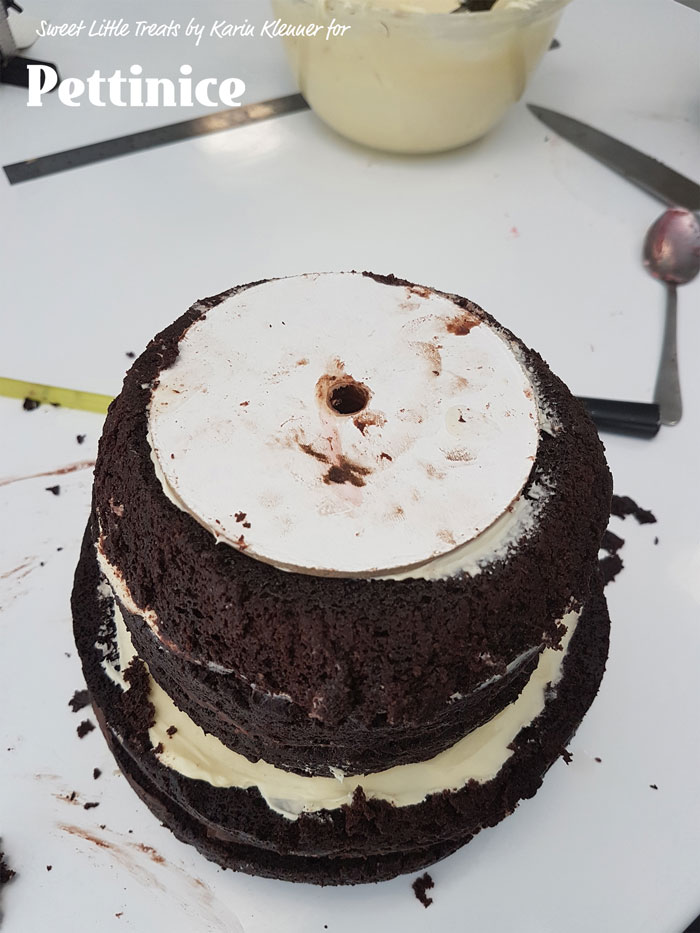
Continue to fill and stack your cakes. Group the 7 inch and 6 inch cakes.
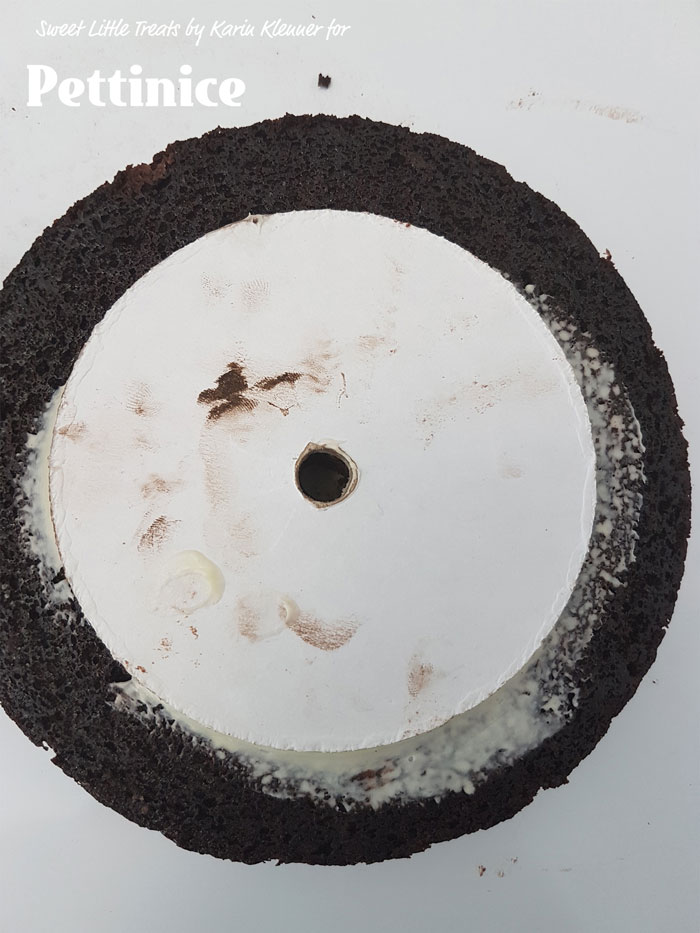
Note: If your cake recipe isn’t stable you will need a centre cake card in the middle if your cake and 4 straws or dowels to stabilise. I did not need this with the recipe I use.
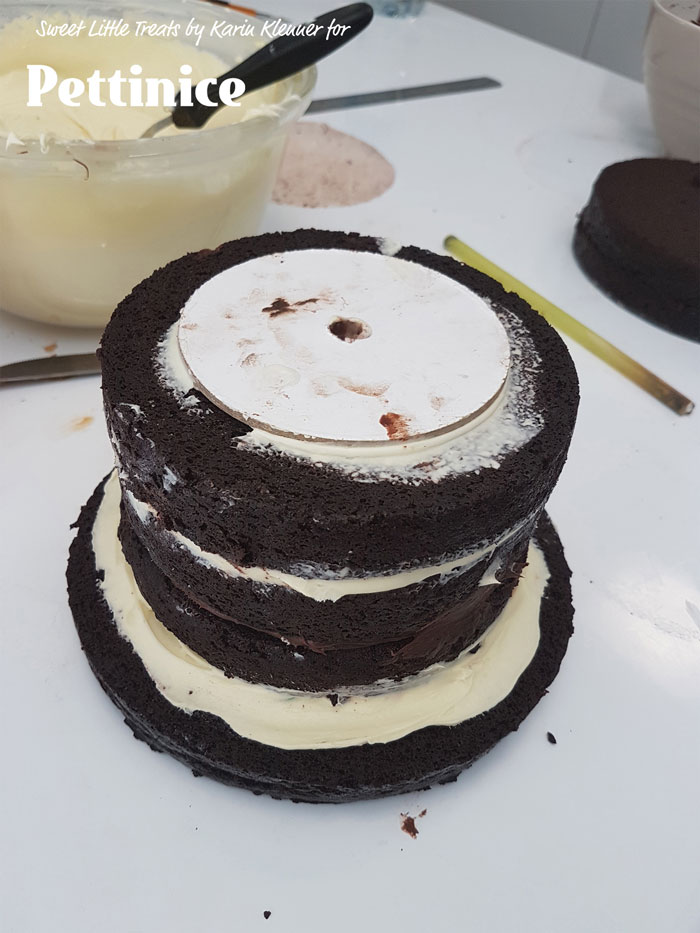
Poke your straw through all the layers to make sure your centre is clear. This is especially important if you have a cake card between the tiers for stability.
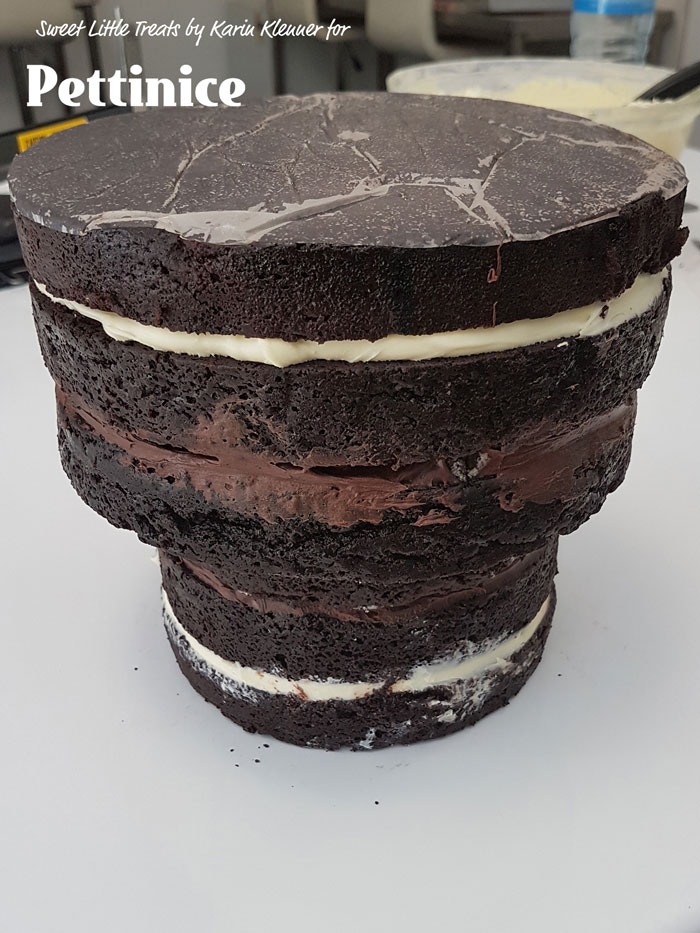
Flip the cake over.
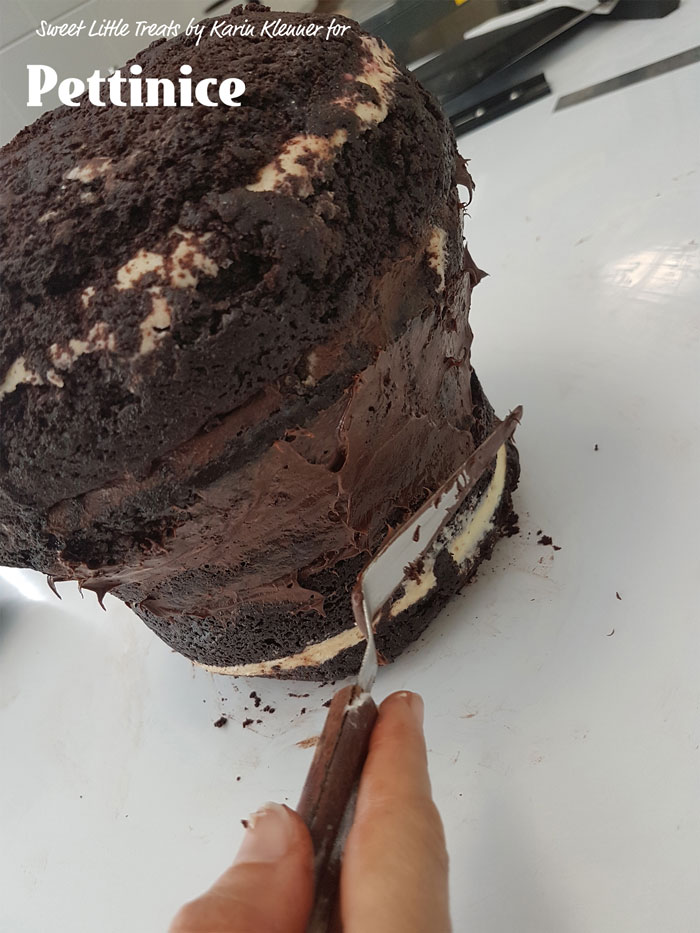
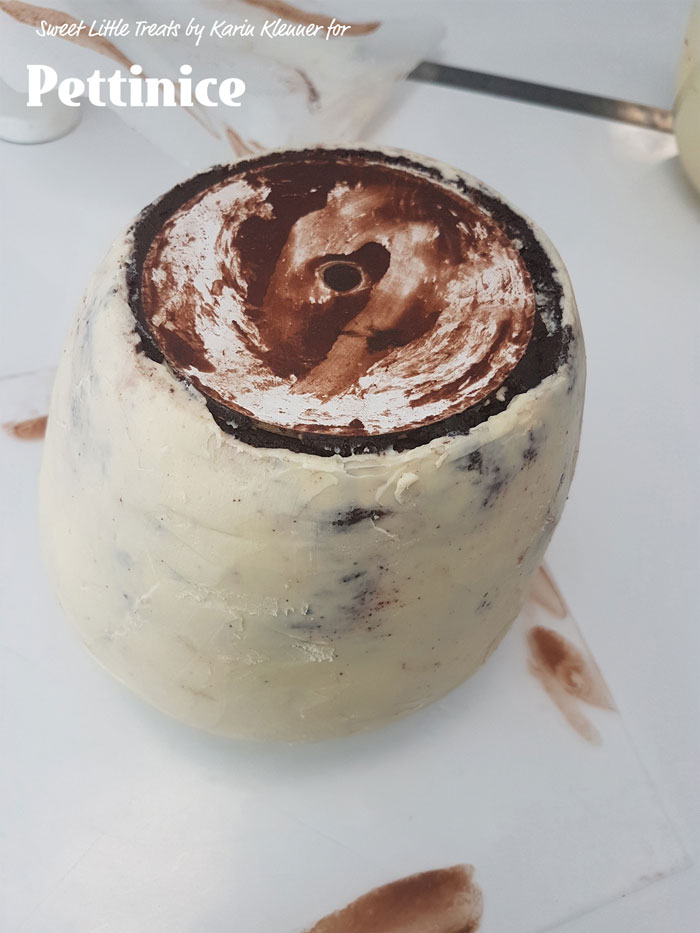
Find the centre of your 7 inch cake and begin to carve in a little cone shape.

Trim around the fattest part of the cake as well.
Round off the edges to form the top of your apple.

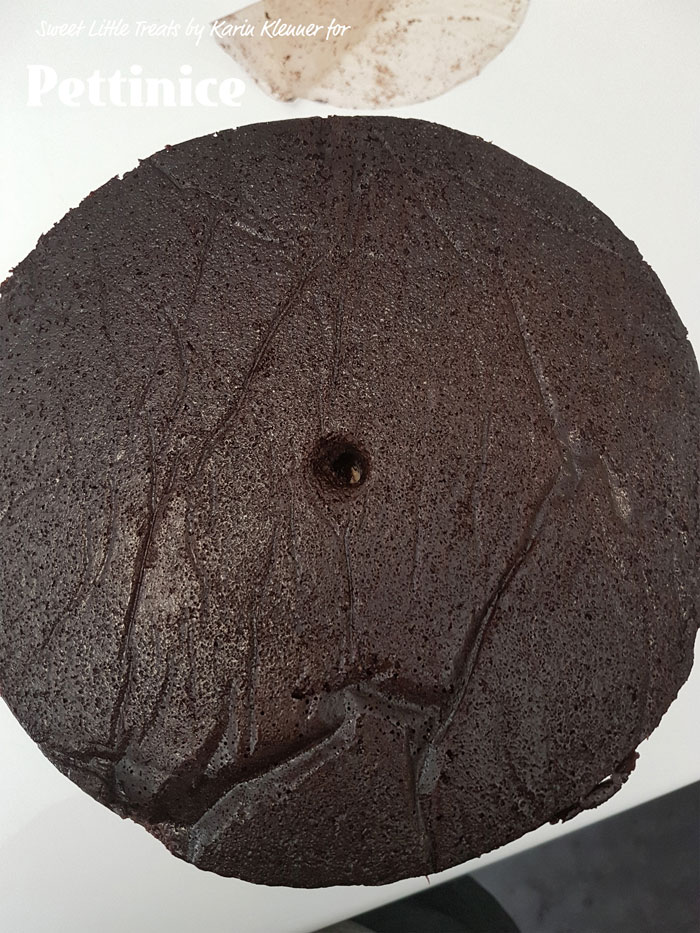
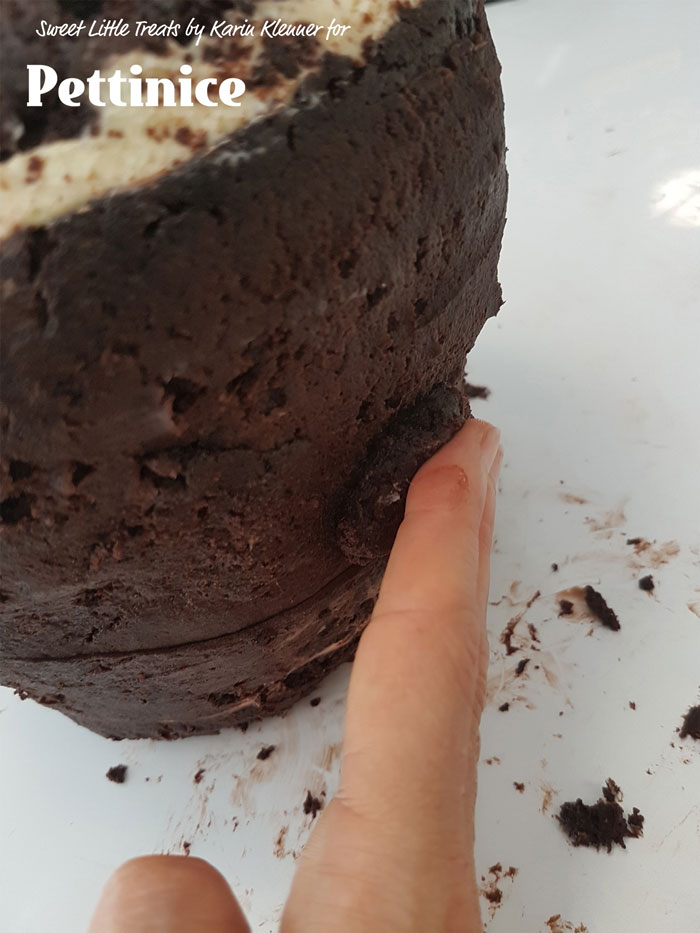
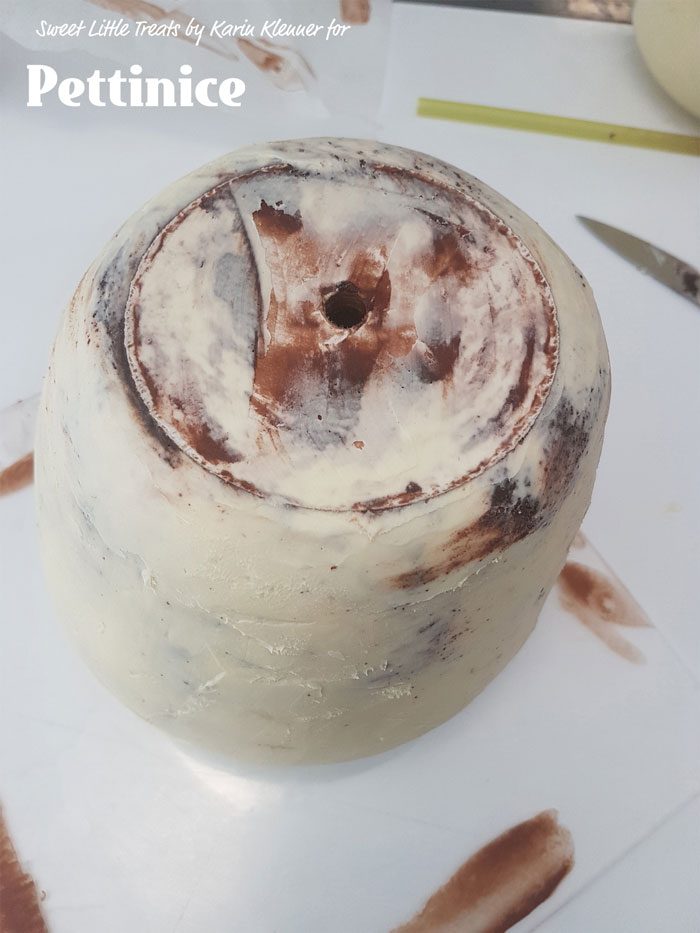
Flip the cake again and trim the cake close to the cake board and giving it a rounded edge.
(like this)

Flip the cake again.
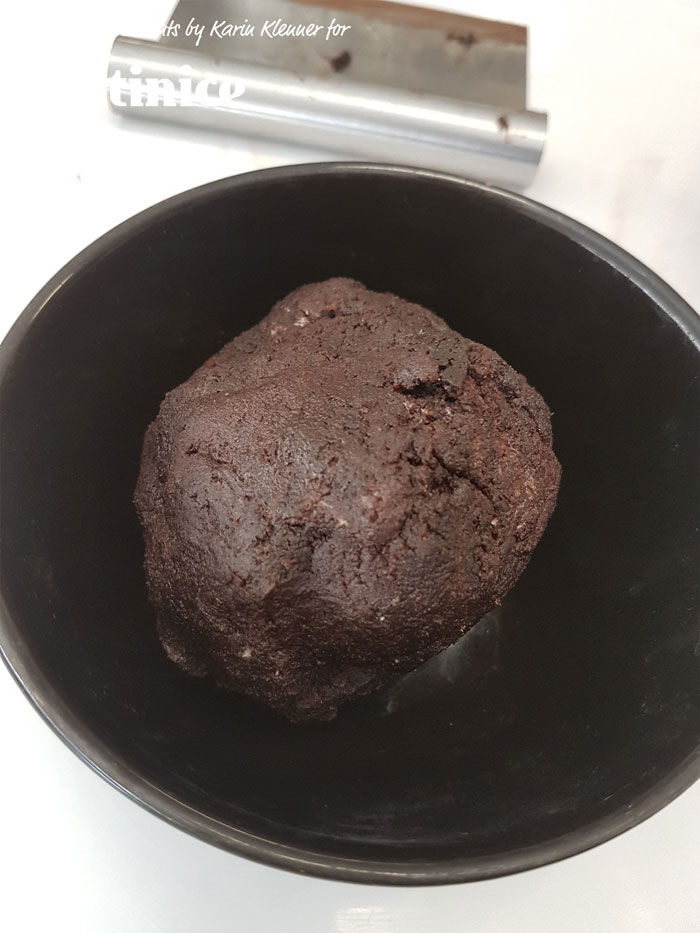
Put all your cake off-cuts in a bowl and add a small amount of ganache. Mix together to form a dough/cake pop mix.
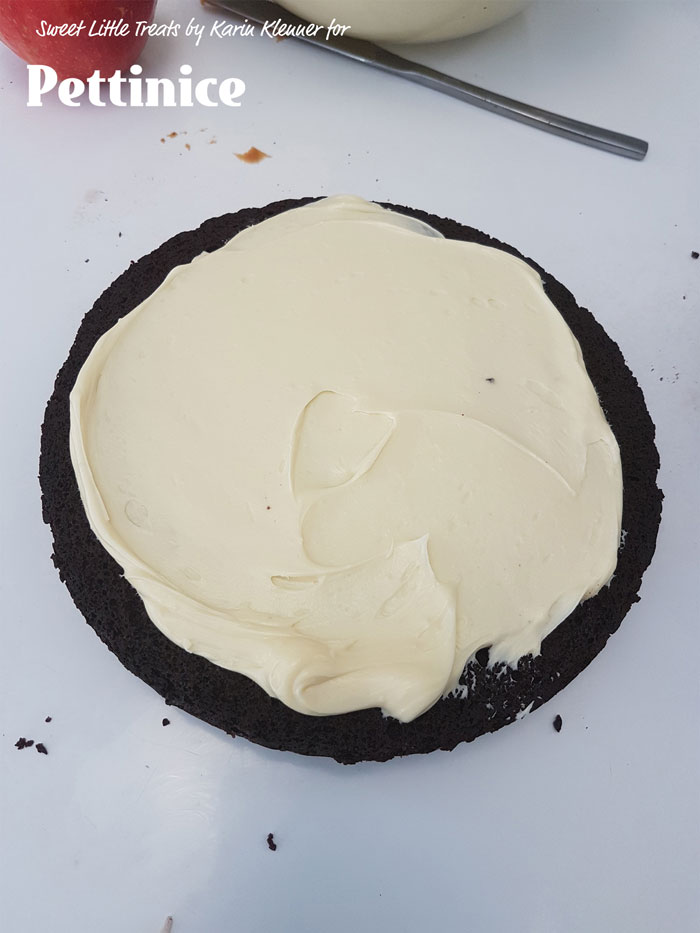
Smooth on a little ganache.
Use the mix to fill in the middle of the cake to smooth out the tiers, if needed bulk up the top of your cake as well.
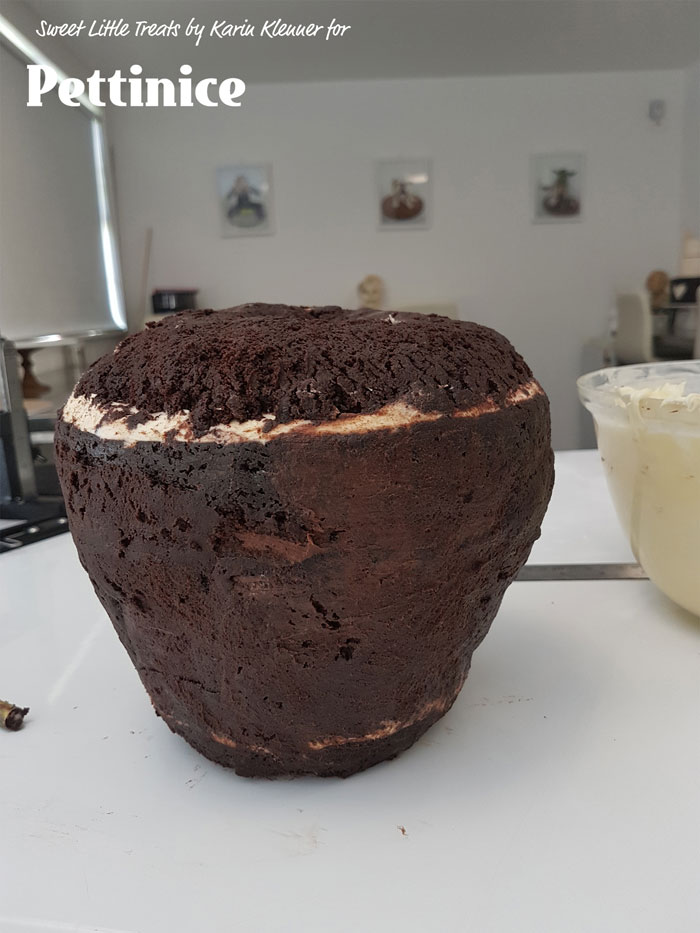
Trim again if needed to form your apple shape.

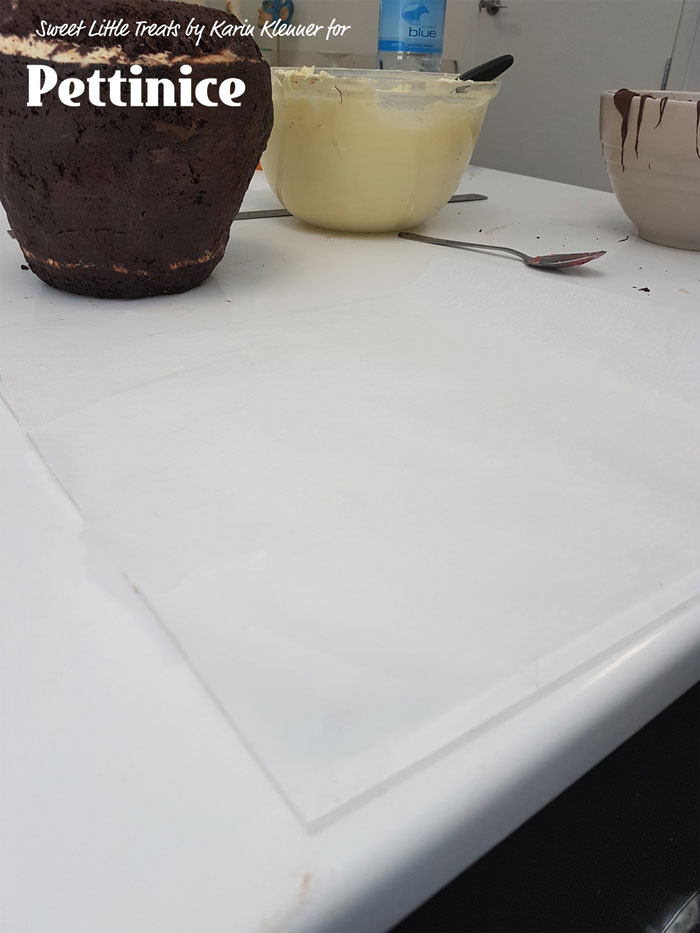
Place your carved cake on a wax paper covered board and
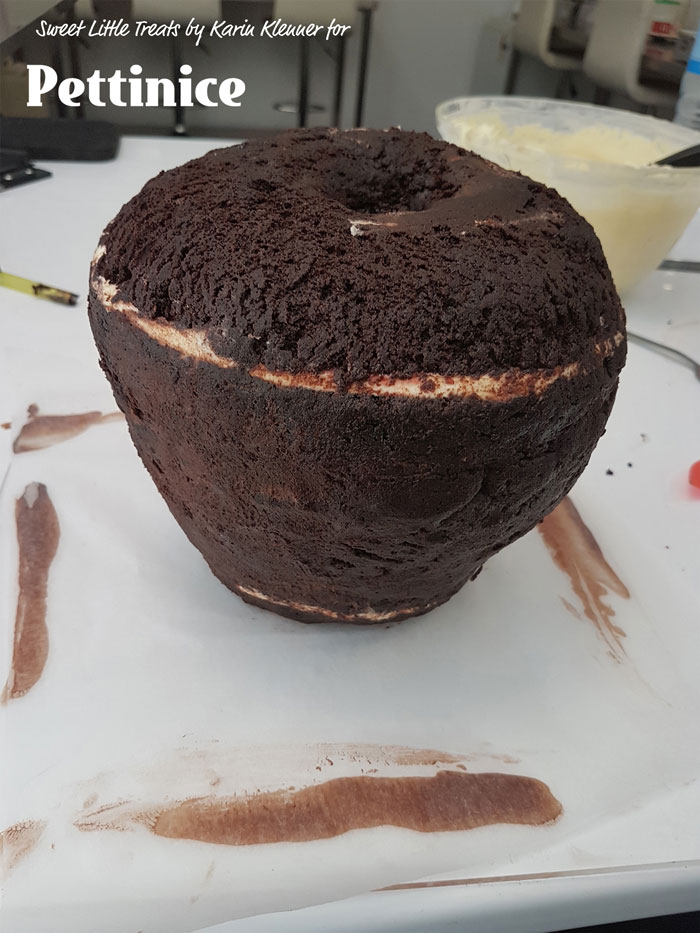
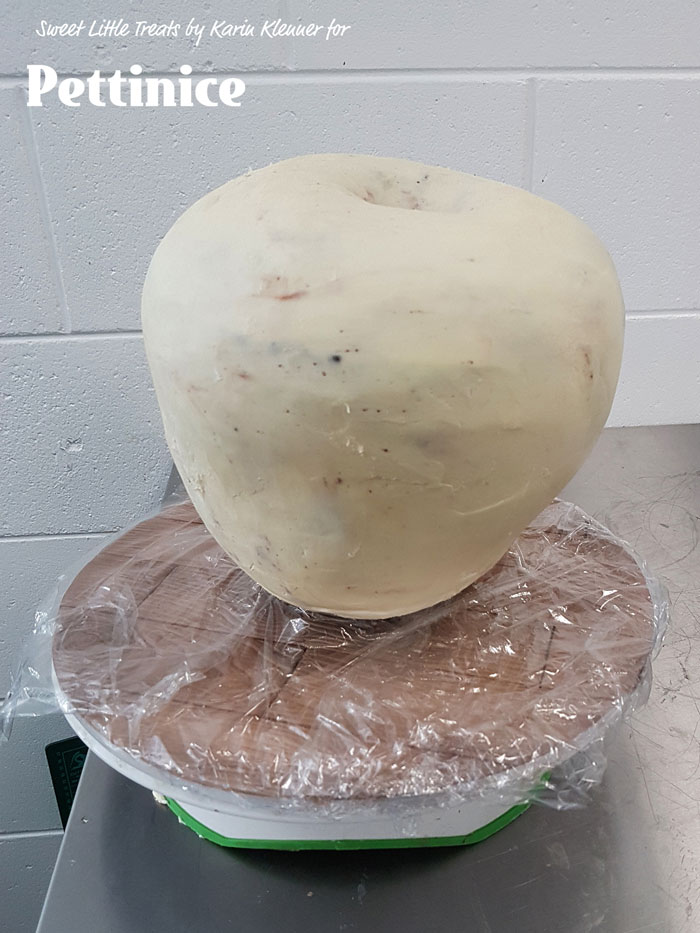
Ganache your cake using a "shark fin" shaped scraper or angled spatula.
Leave your cake till the ganache is set, refrigerate if needed.
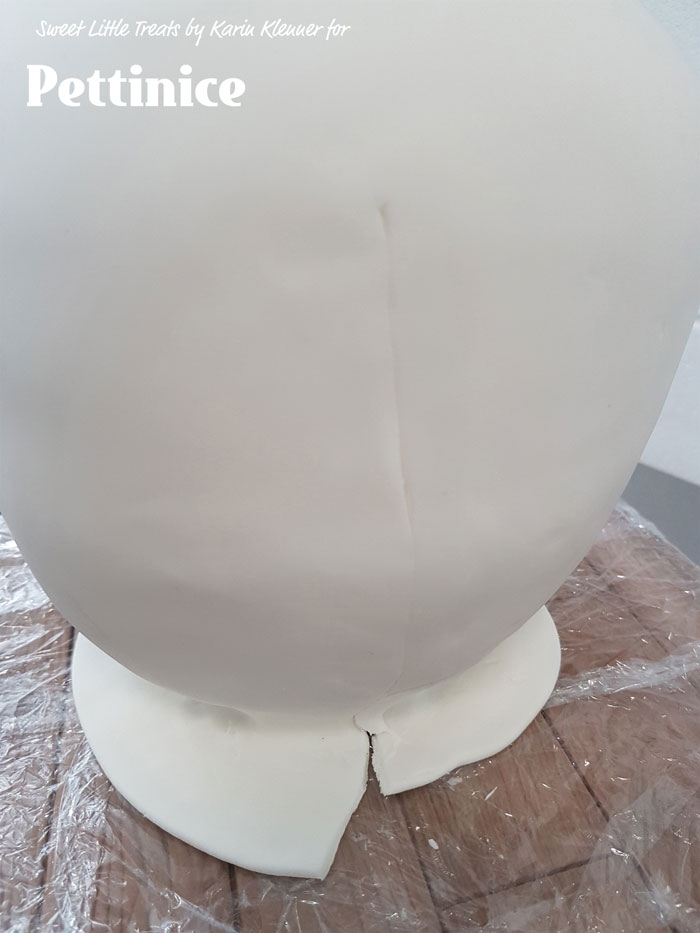
Release your wax paper from the cake board and your cake from the wax paper. Lower on to your metal rode or dowel that is attached to your display board.
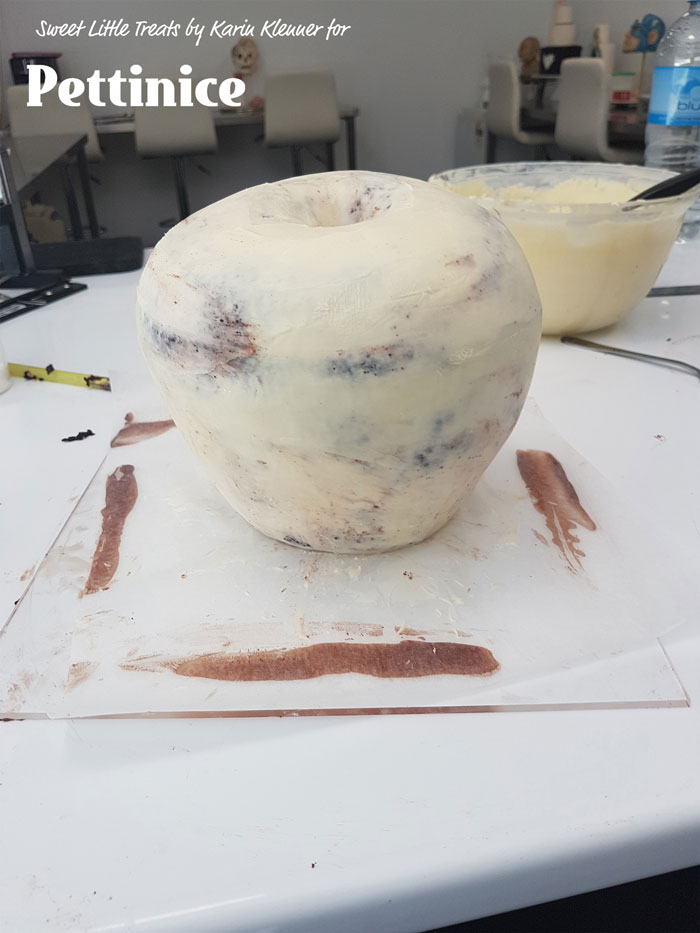
Use hot water to lightly coat your cake and make it tacky, this will ensure your fondant will stick. Establish ‘the back of your cake’. Mark your display board so you can be reminded of this when you cover your cake in fondant.
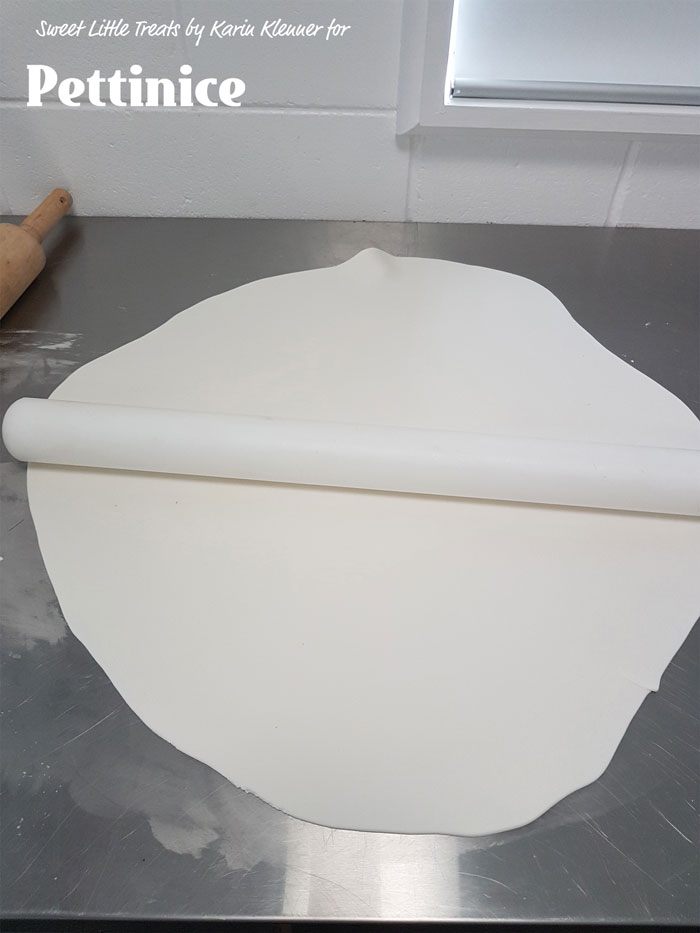
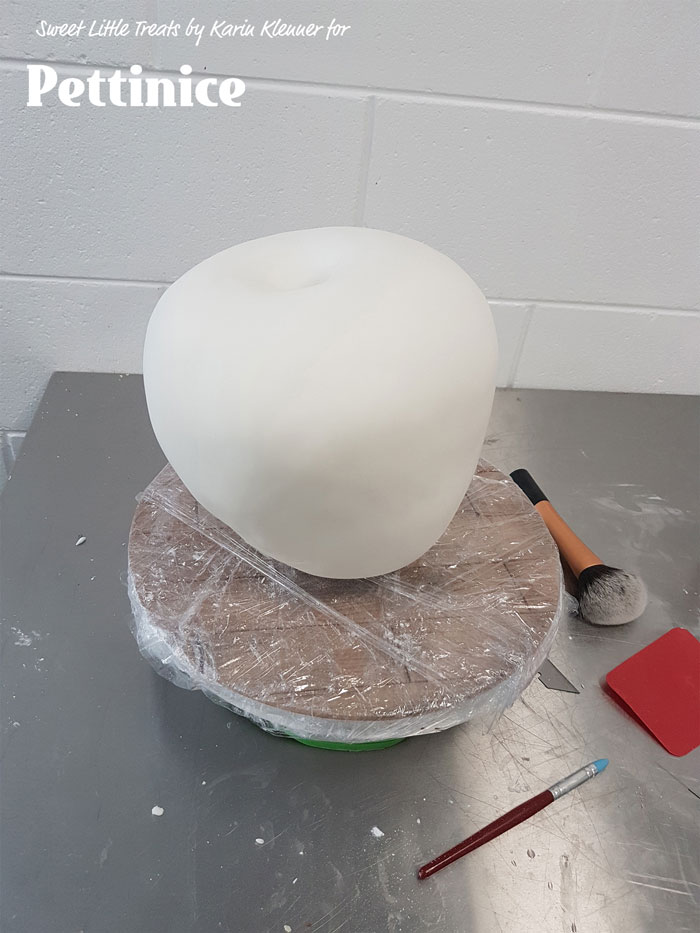
Roll out your white fondant.
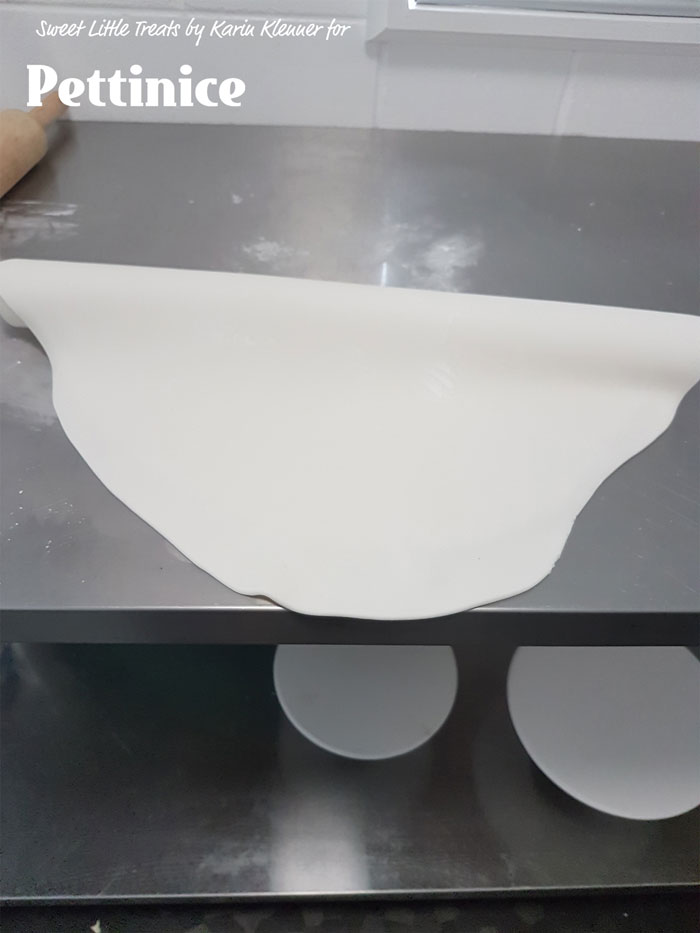
Fold it over your pin and place your cake in front to cover.
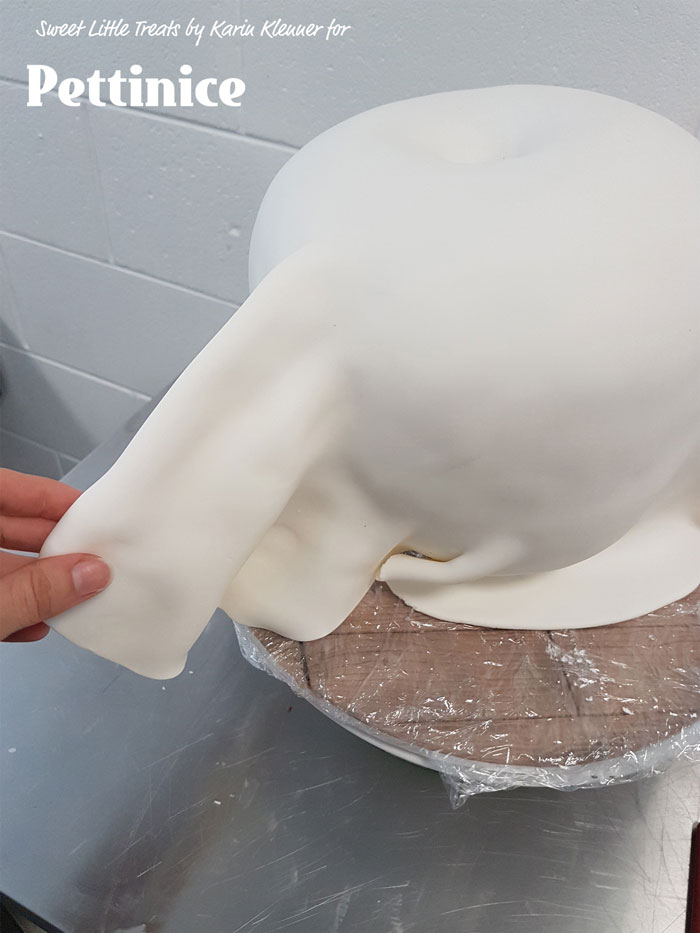
Quickly gather the fondant to towards the back of the cake.
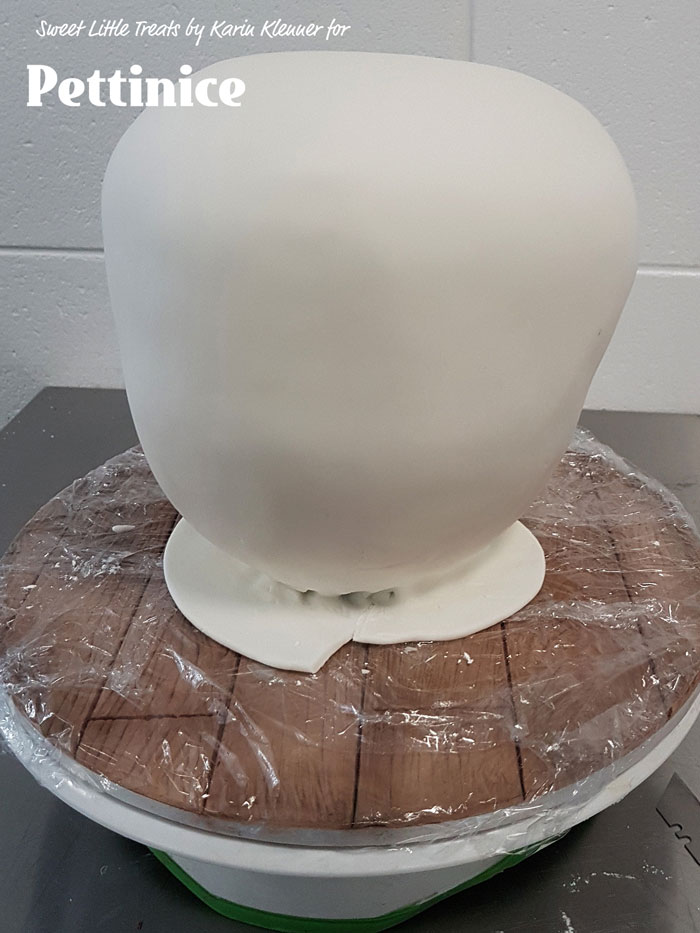
Lower the fondant over your cake, quickly work to adhere your top, bring all the excess fondant to your chosen point (back of cake).
Use your blade to trim.
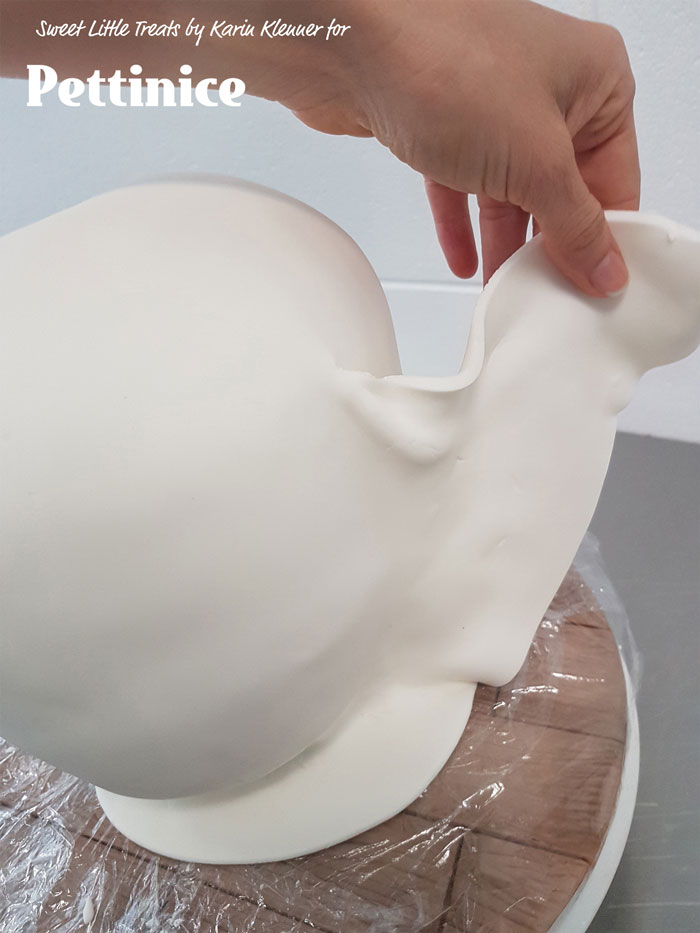
Work quickly with the warmth or your hand to buff together your seam.

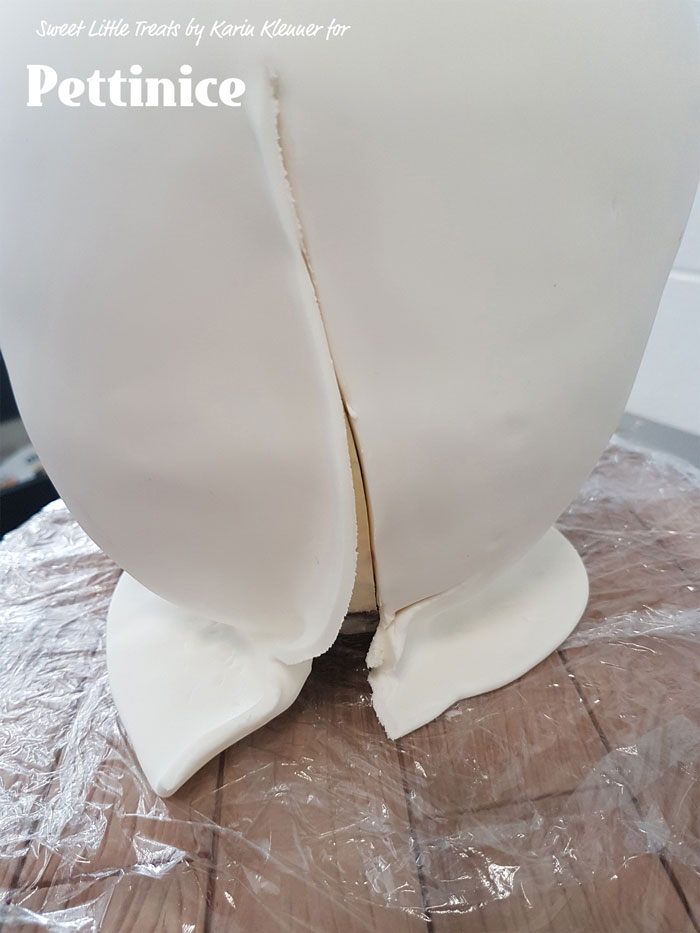
Use you fondant smoother or preferably acetate to push the fondant tidily in around the bottom of the cake,
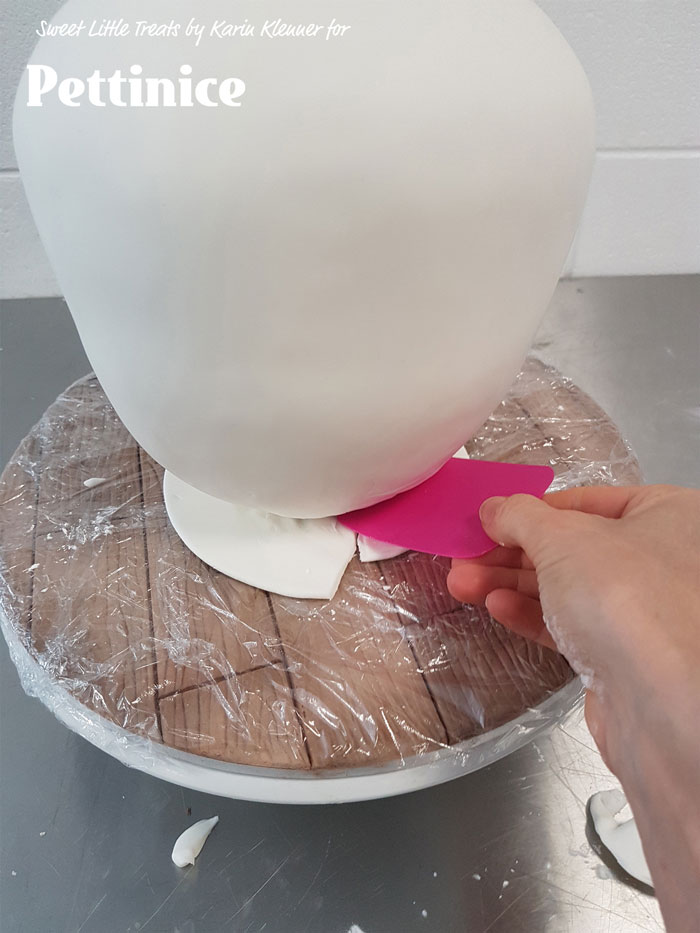
I trimmed the fondant with my acetate at the same time.

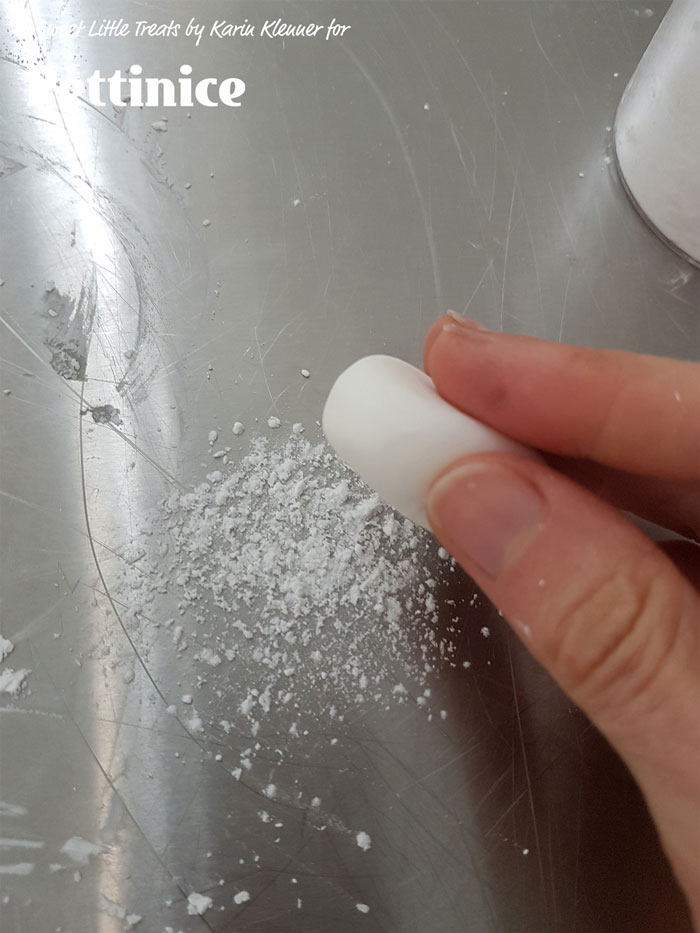
Use a ball of fondant to help smooth the fondant.
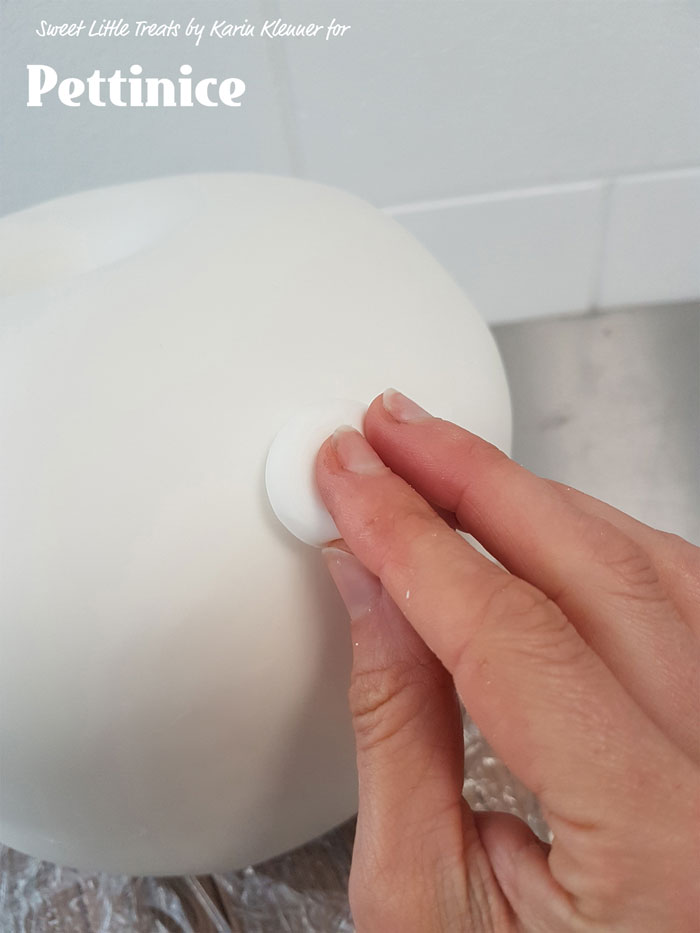
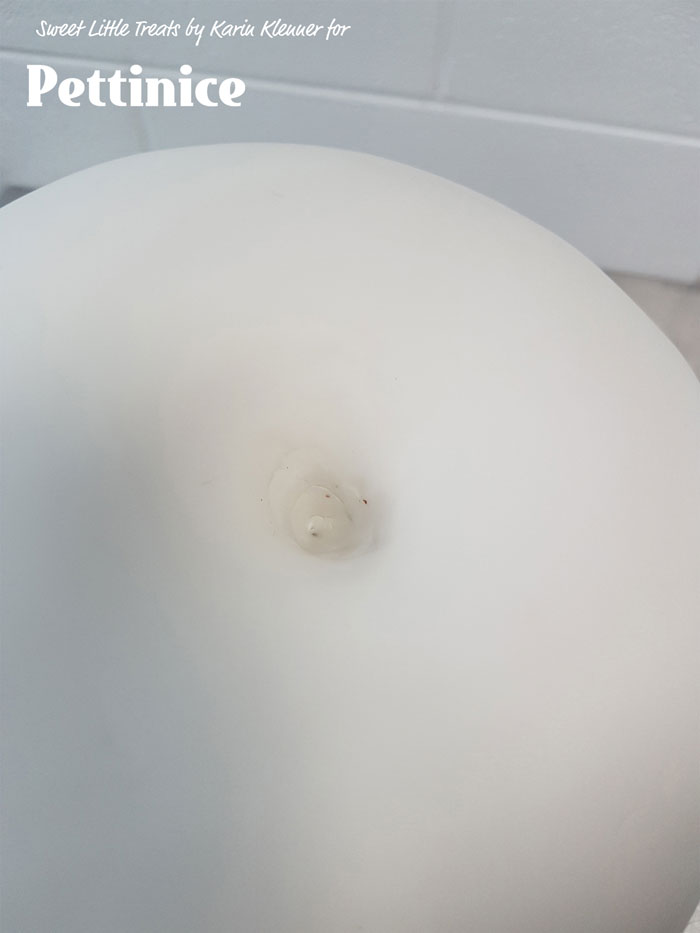
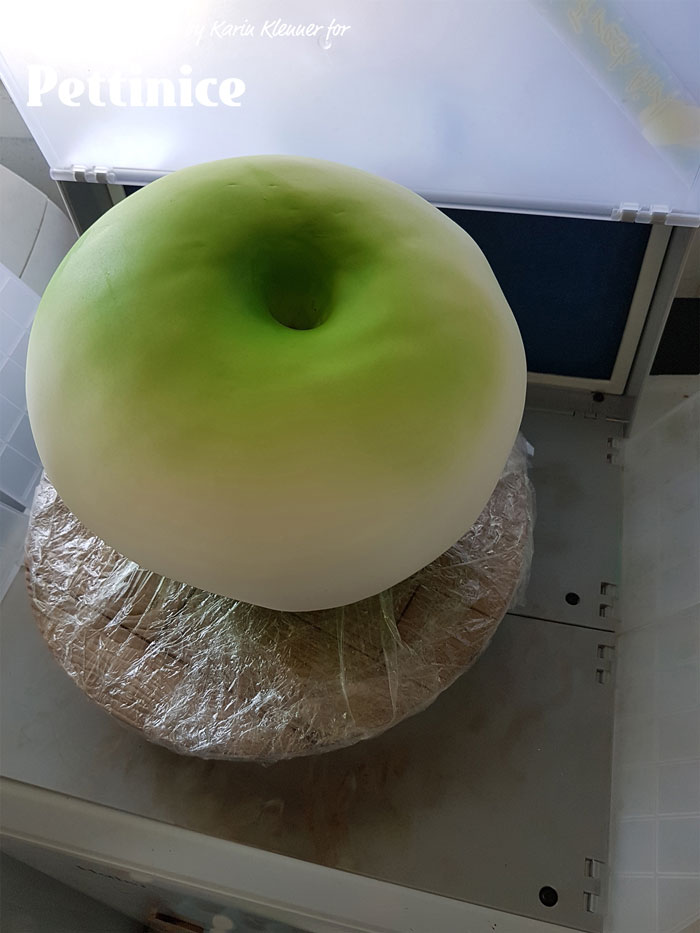
Use your ball tool to define the indent in the top of your apple.
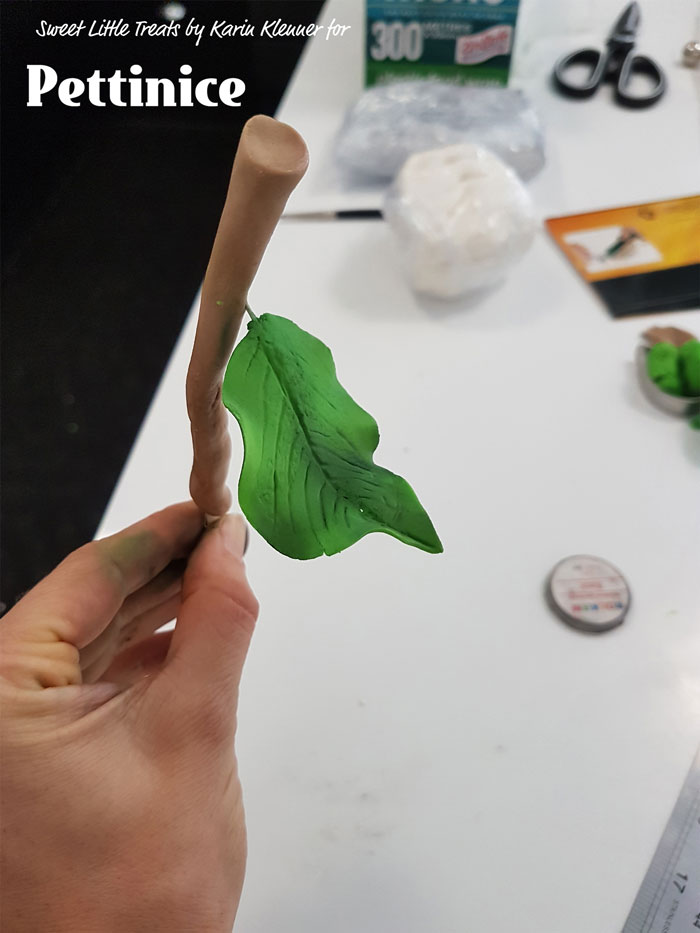
Stalk and leaf
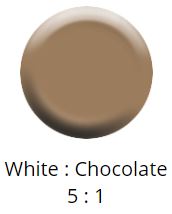
Mix five parts Pettinice White to one part Pettinice Chocolate. You can see more colour charts HERE.
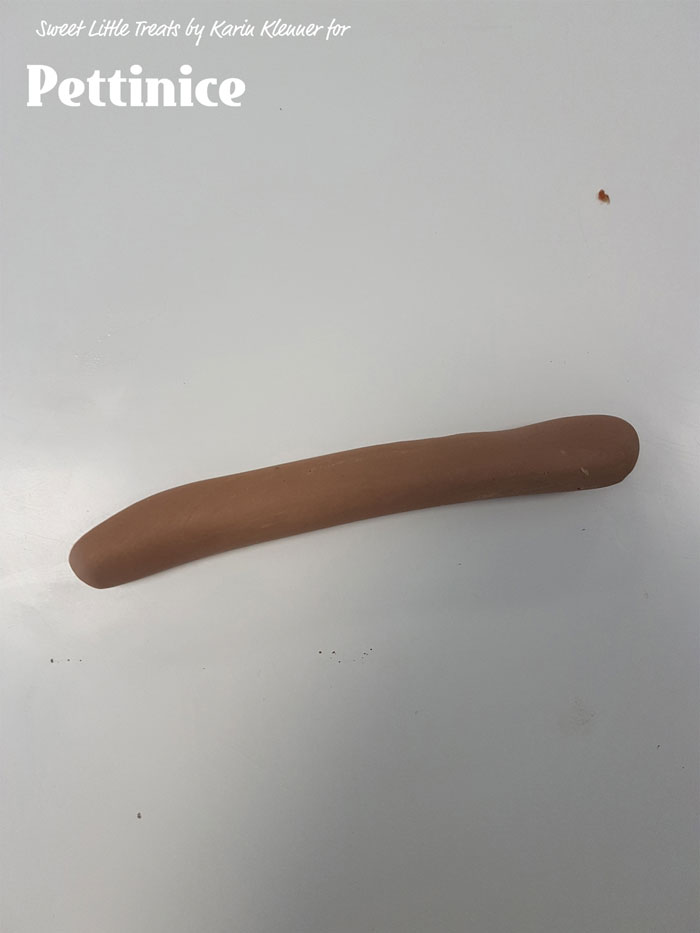
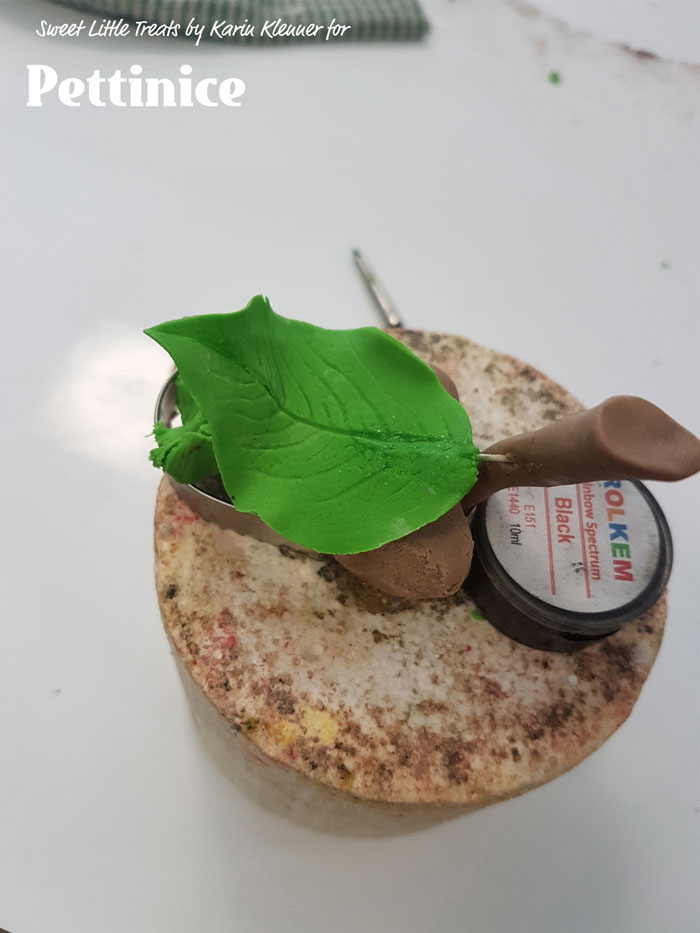
Roll your brown fondant in to a tapered snake shape and flatten.
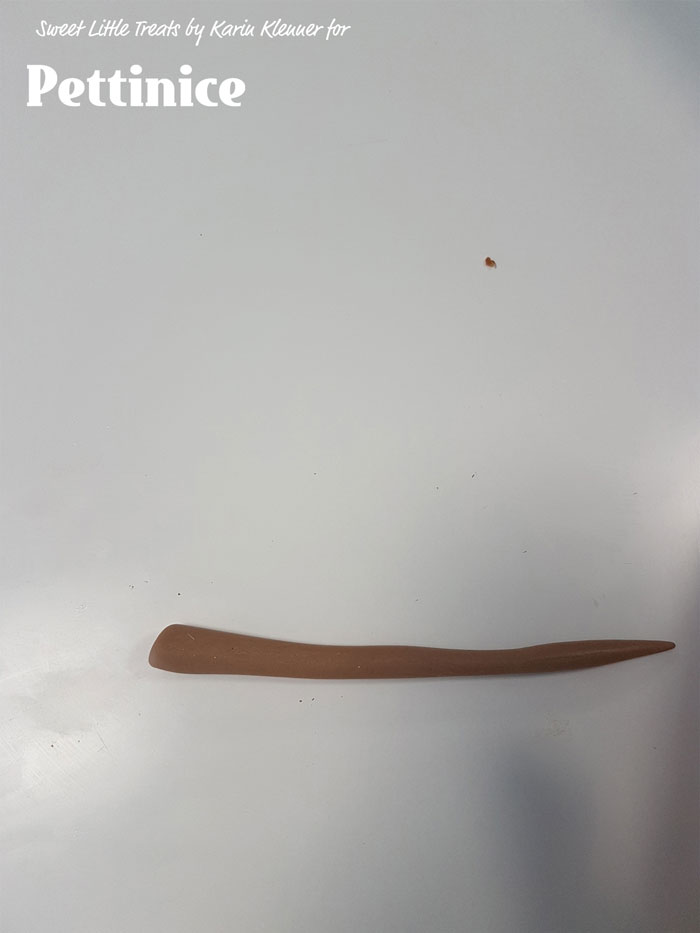
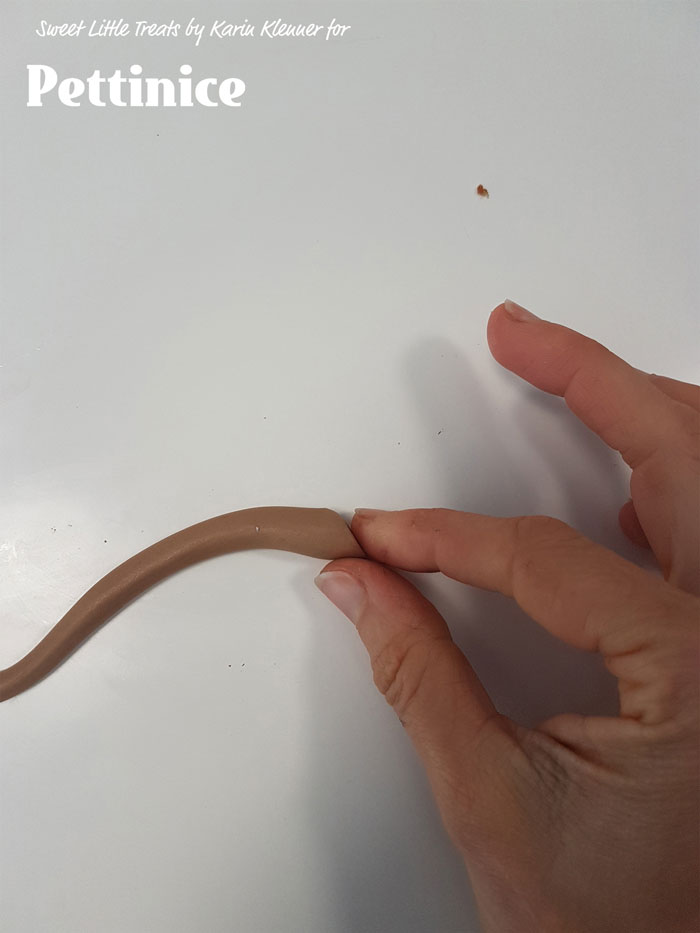
Pinch the end to create your apple stalk.
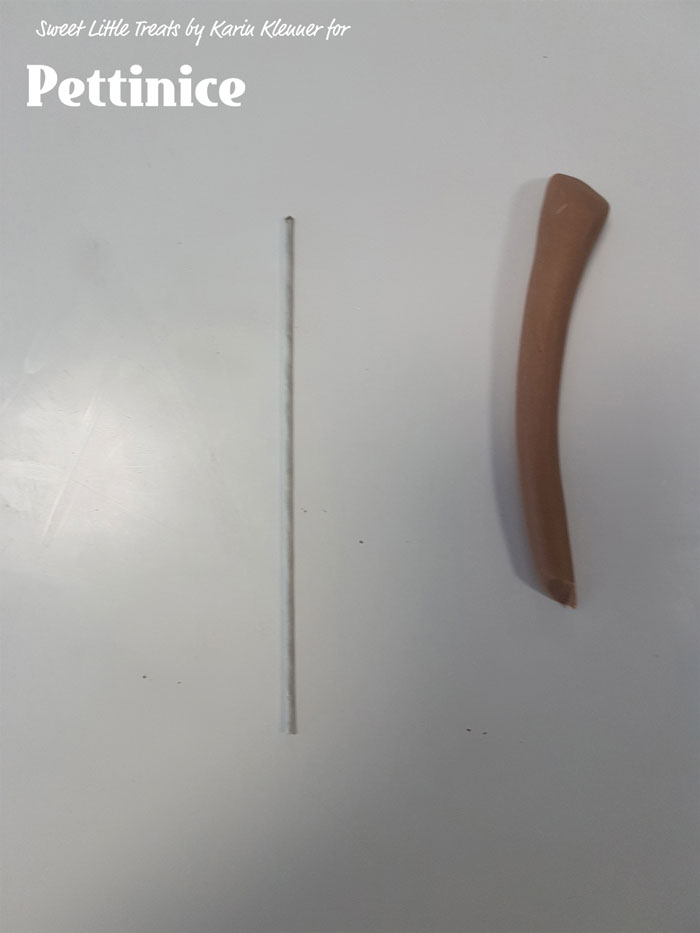
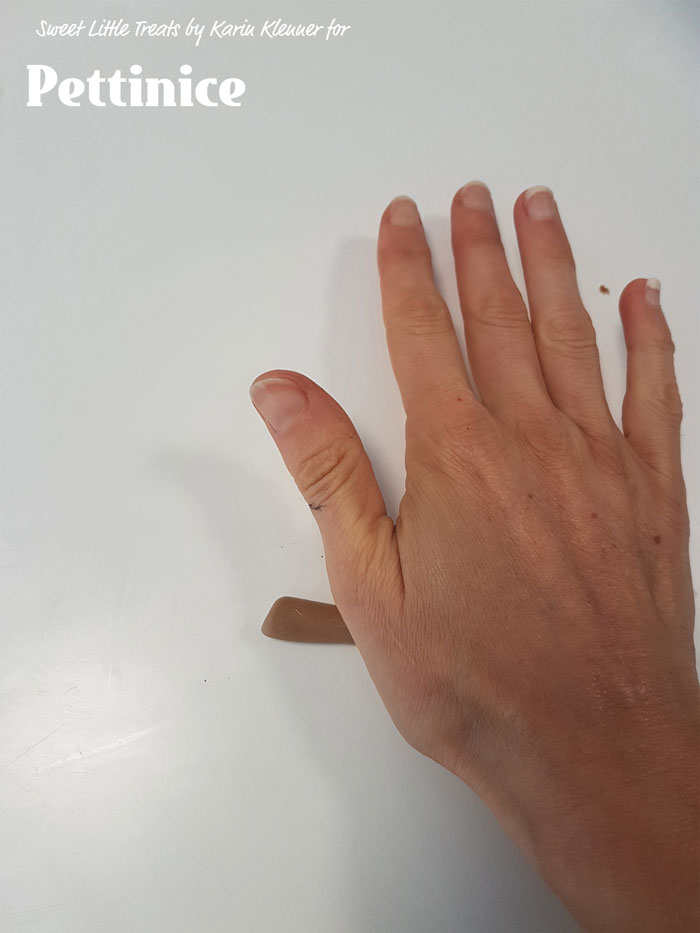
Dampen your wire with a touch of water or edible glue.
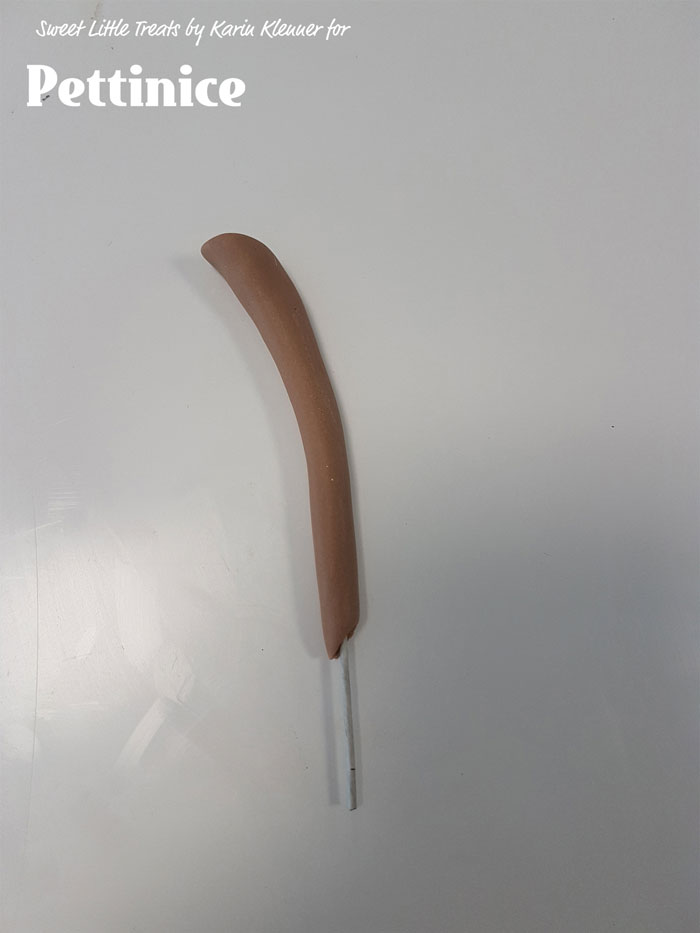
Feed the wire through your stalk.
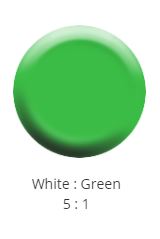
Mix five parts Pettinice White to one part Pettinice Green. You can see more colour charts HERE.
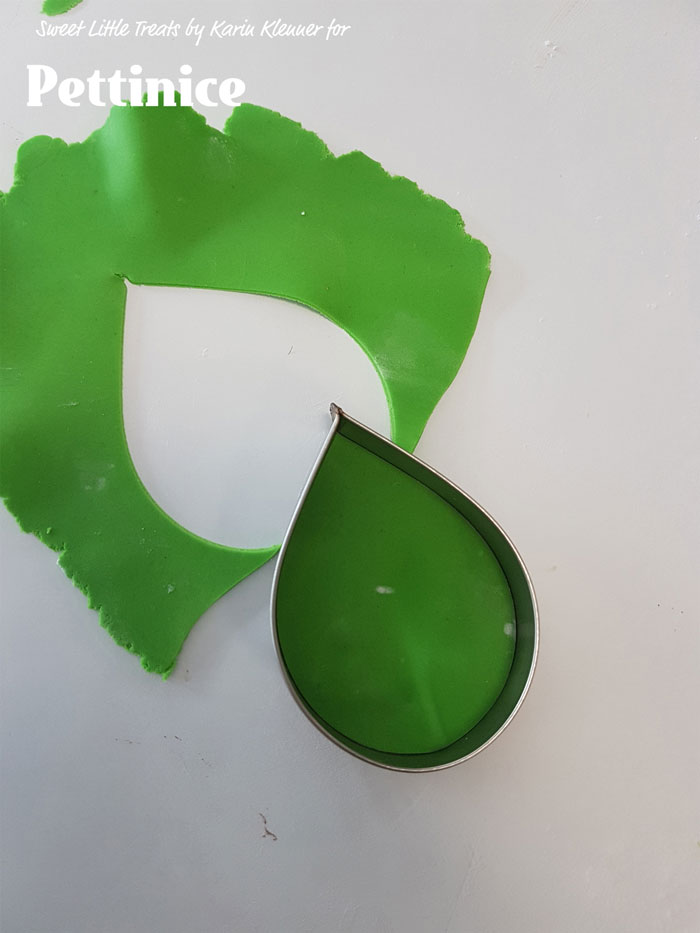
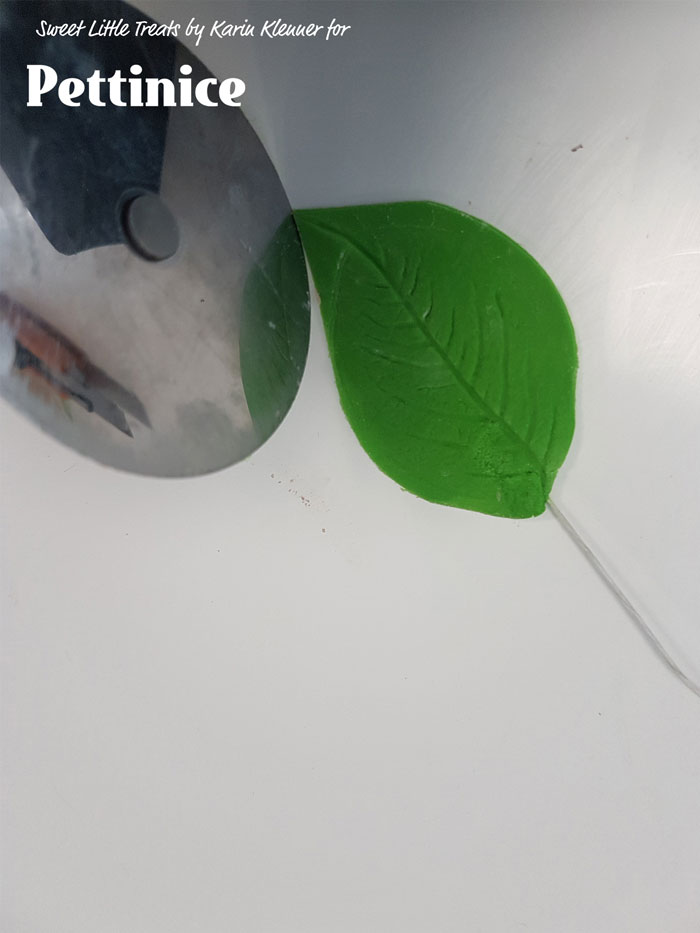
Thinly roll out your green fondant leaving a slightly fatter bottom, this will be the bottom of your leaf. Use your leaf cutter to cut out your shape.
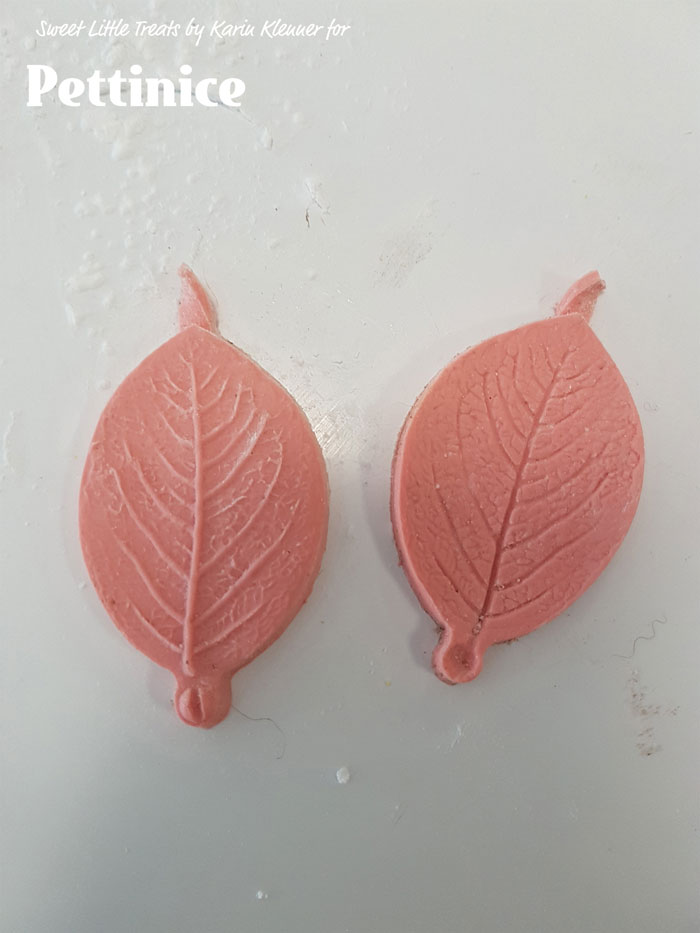
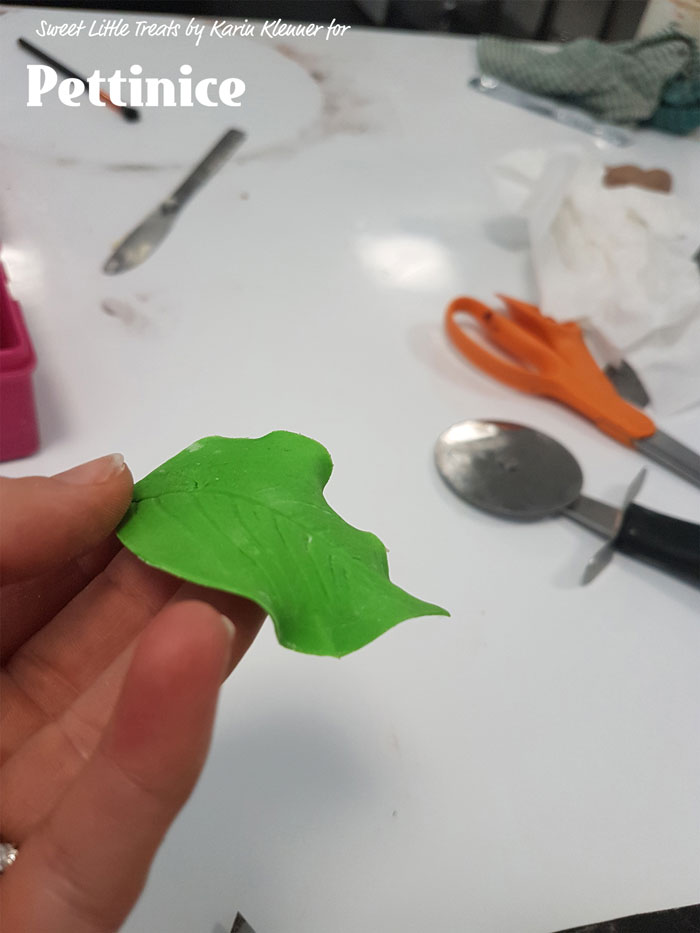
Vein your leaf or use your Dresden tool to create texture.
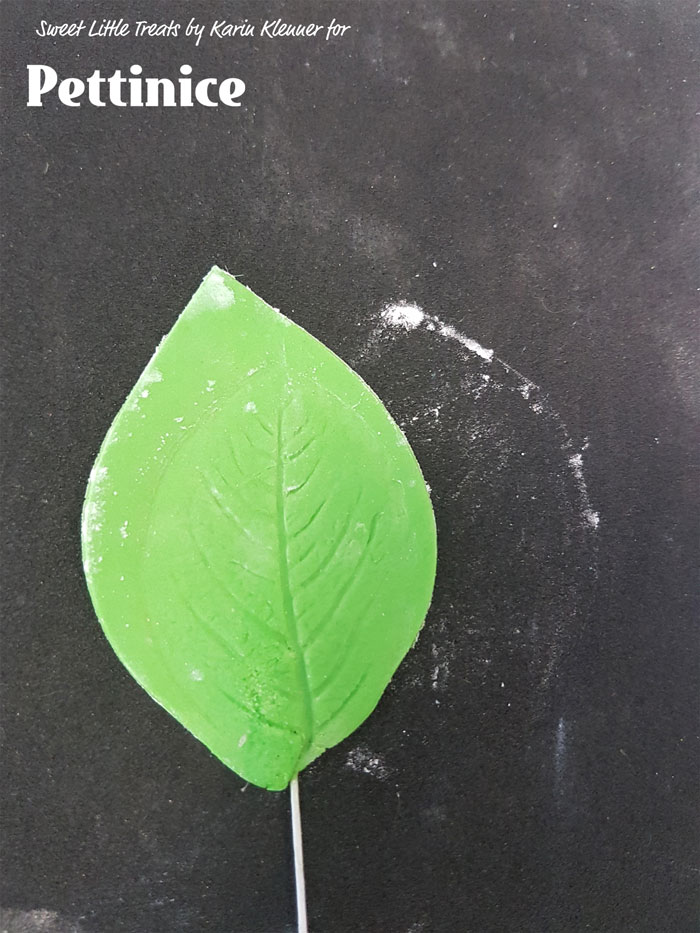
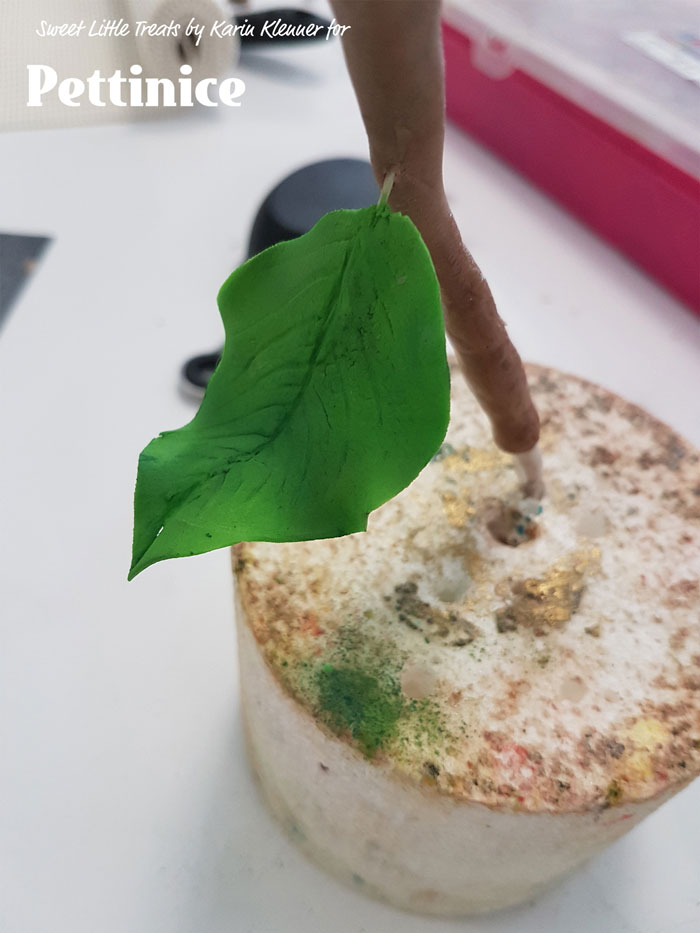
Add a little glue to your wire and feed through the fatter bottom part of you leaf.
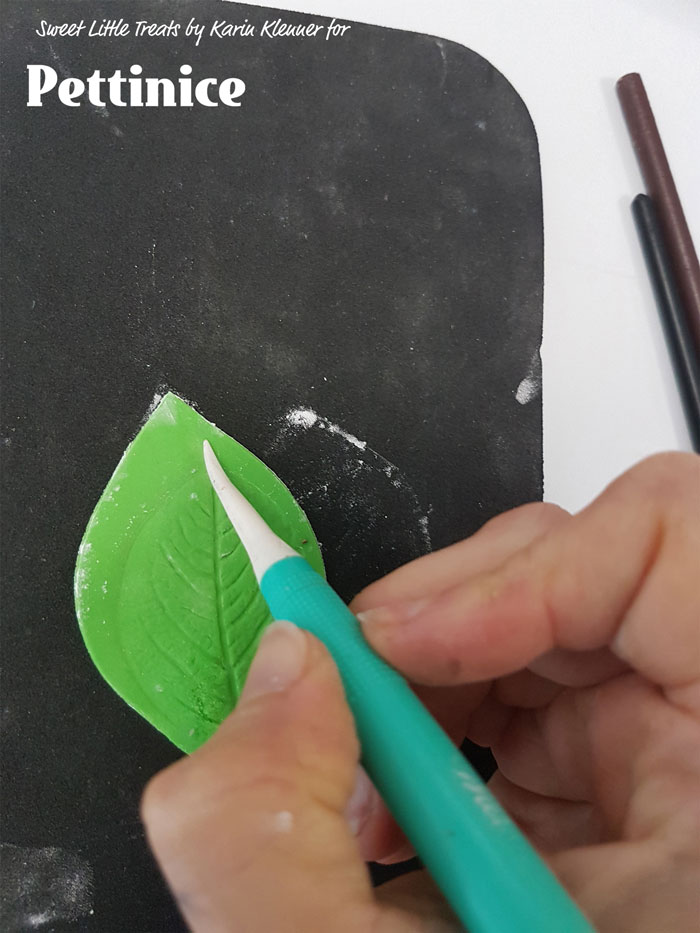
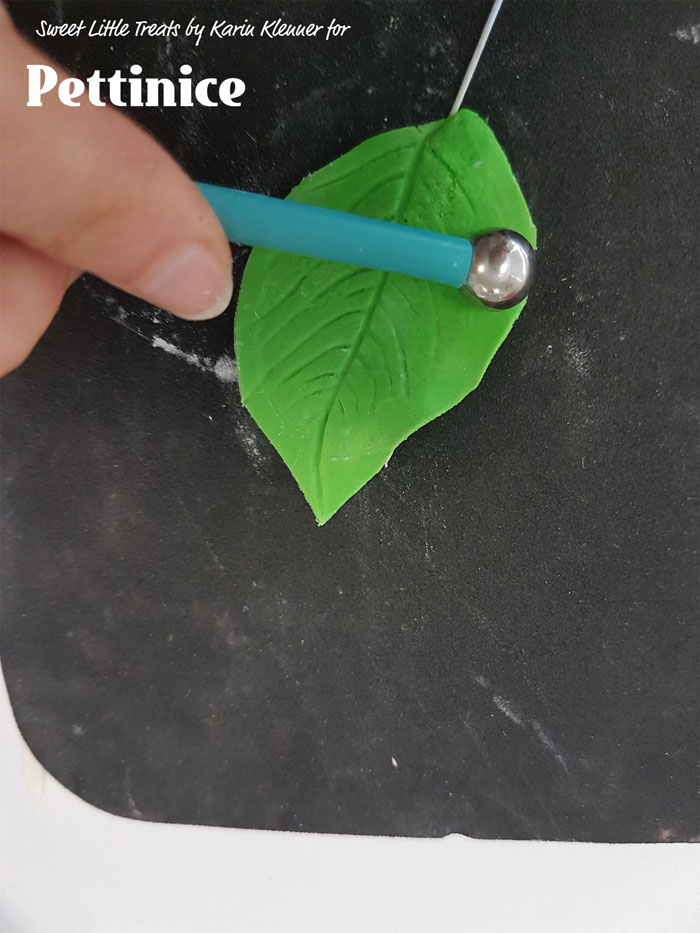
Use your ball tool to thin out the sides of your leaf and ruffle them a little.
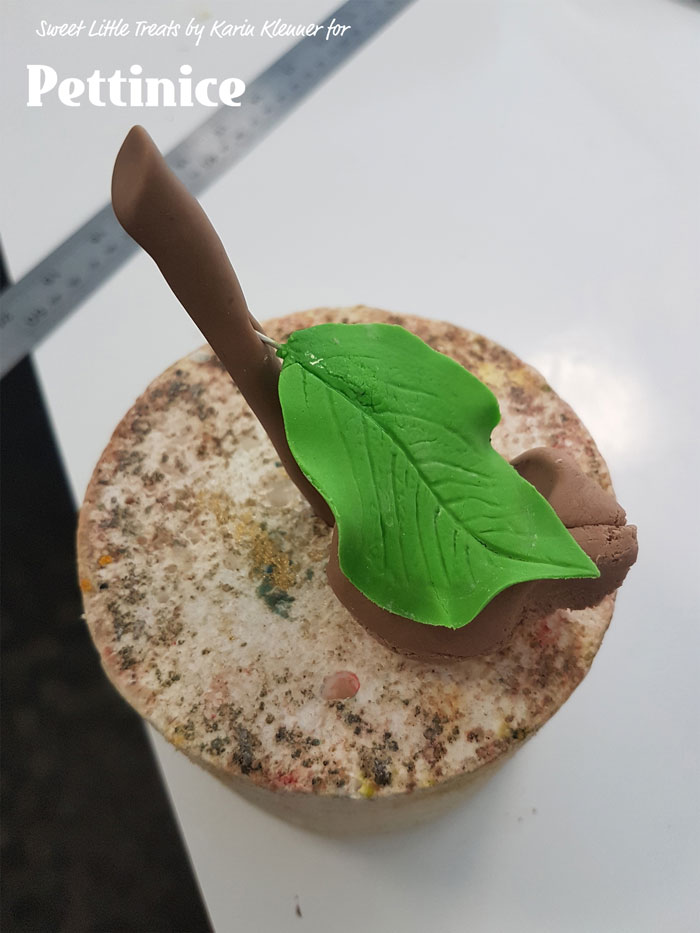
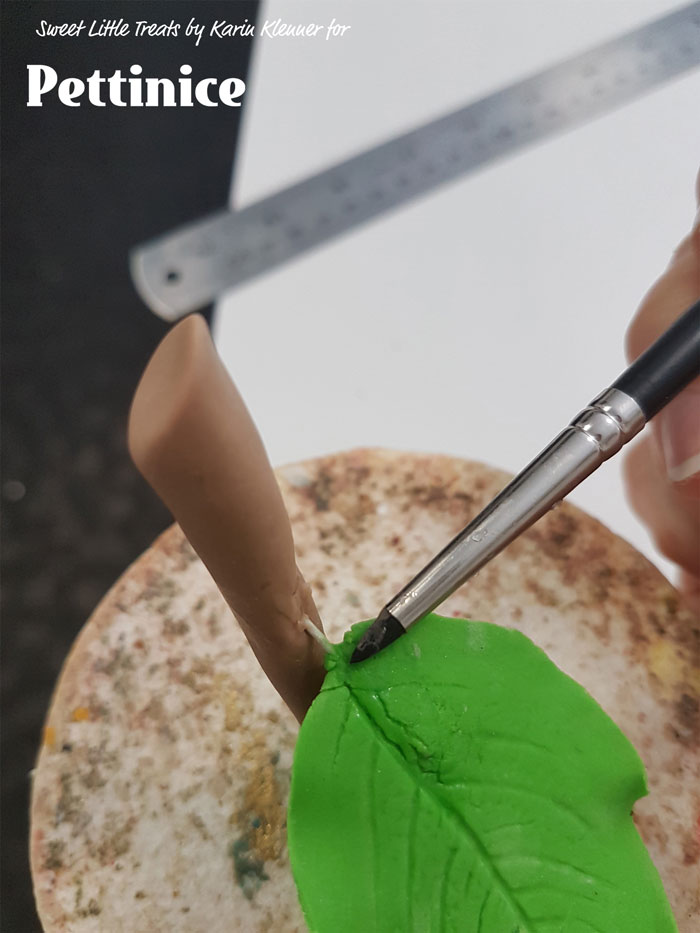
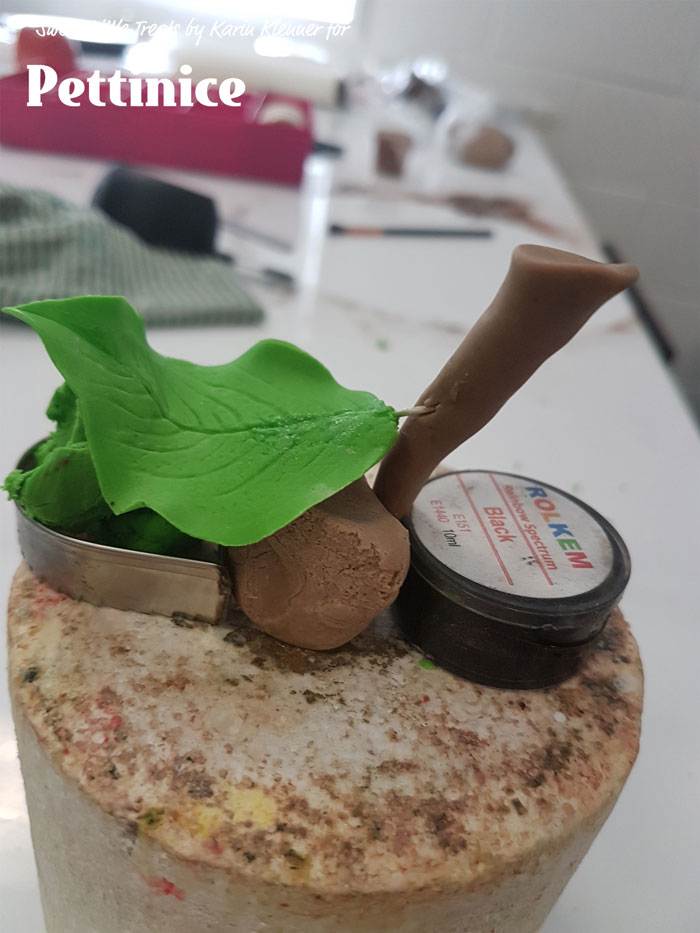
Feed your leaf wire through your stalk and set up on your poly tier to dry.
Airbrushing/Colouring your cake
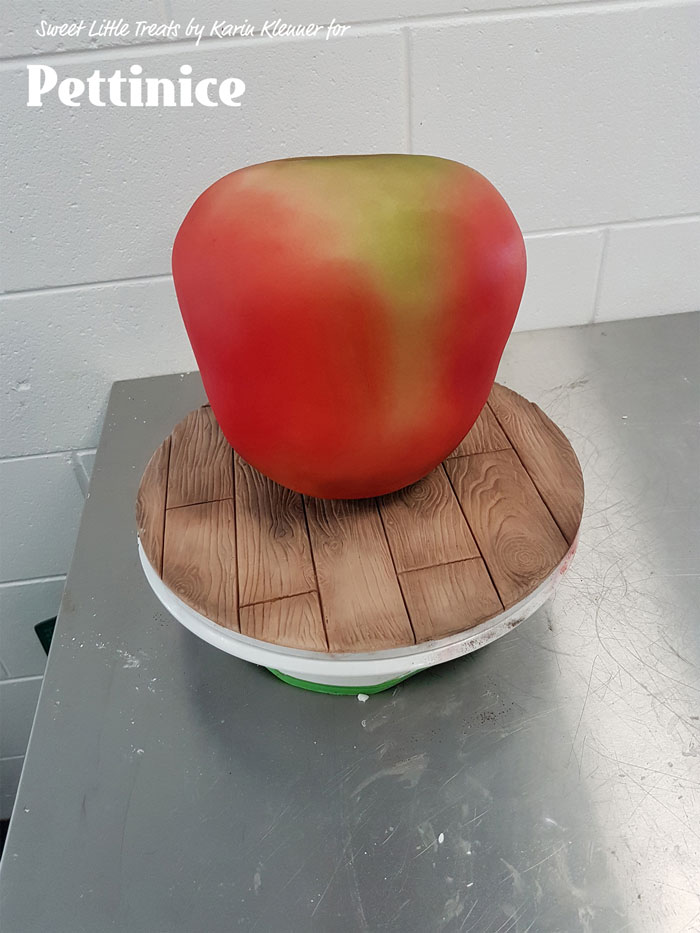
I added yellow with a touch of green to my airbrush and sprayed the top lightly. I then lightly covered the rest of the apple in red, adding a touch of brown at the end to create shadow at the bottom of the apple.
If you don’t have an airbrush you could use a large makeup brush and buff dust on to fresh fondant to create this look but be very careful of any water spots as this will darken spots.
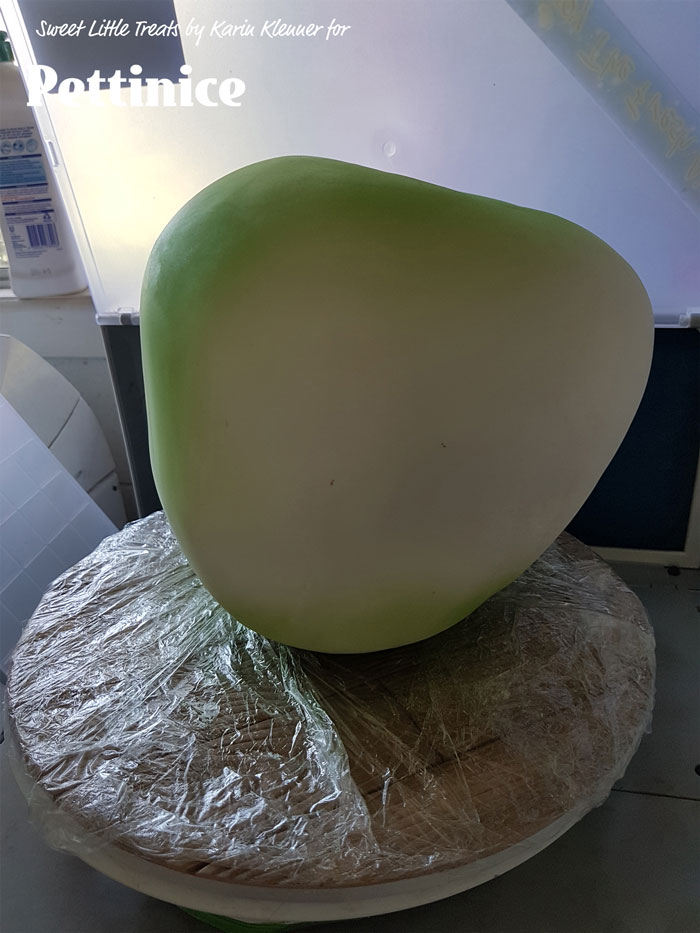
Start with your green/yellow.
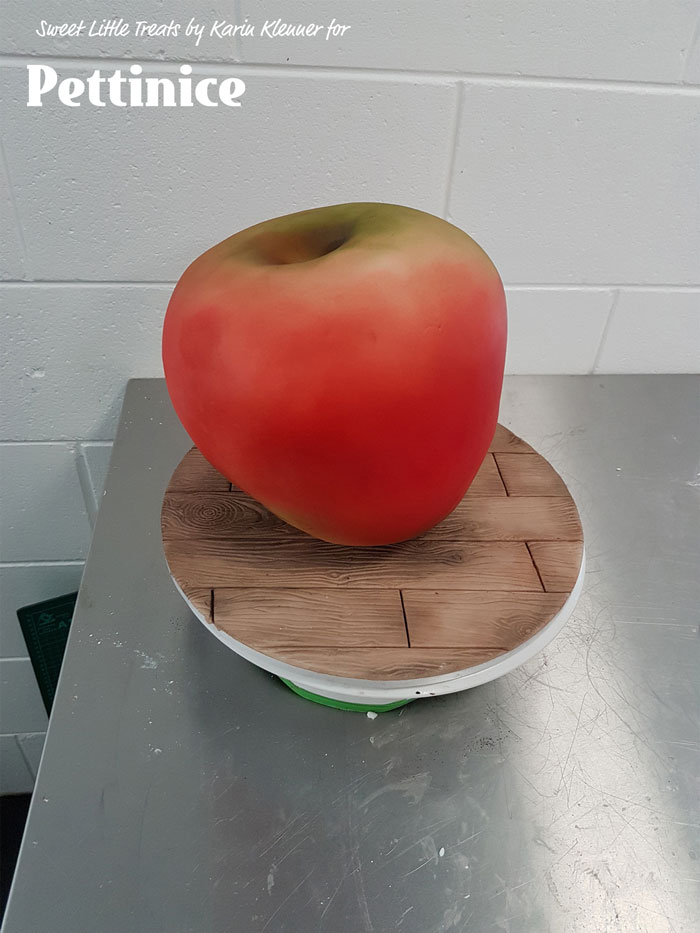
Next begin airbrushing your red and darker red.
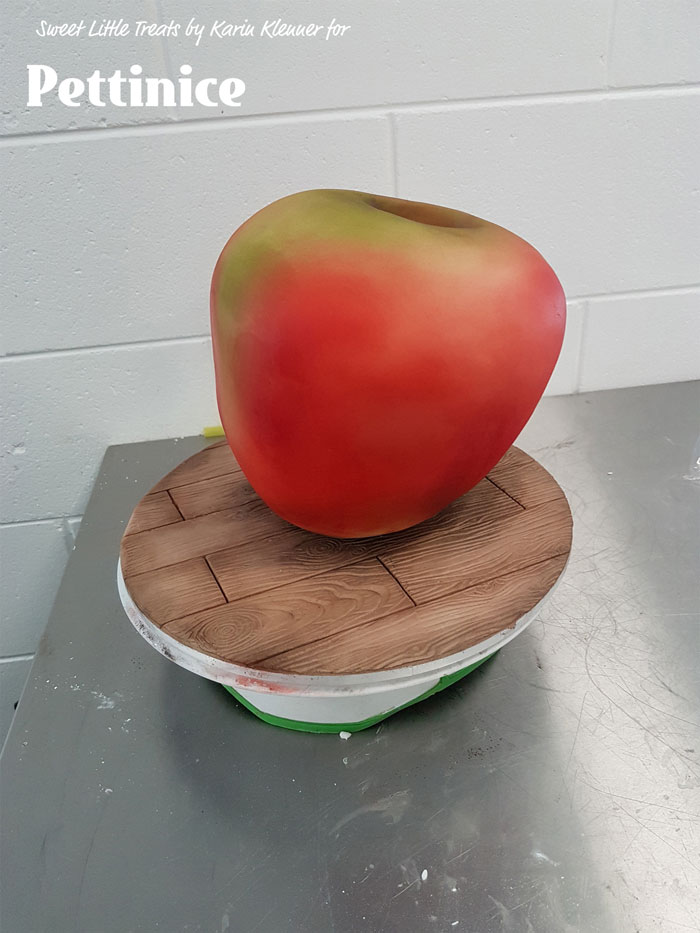
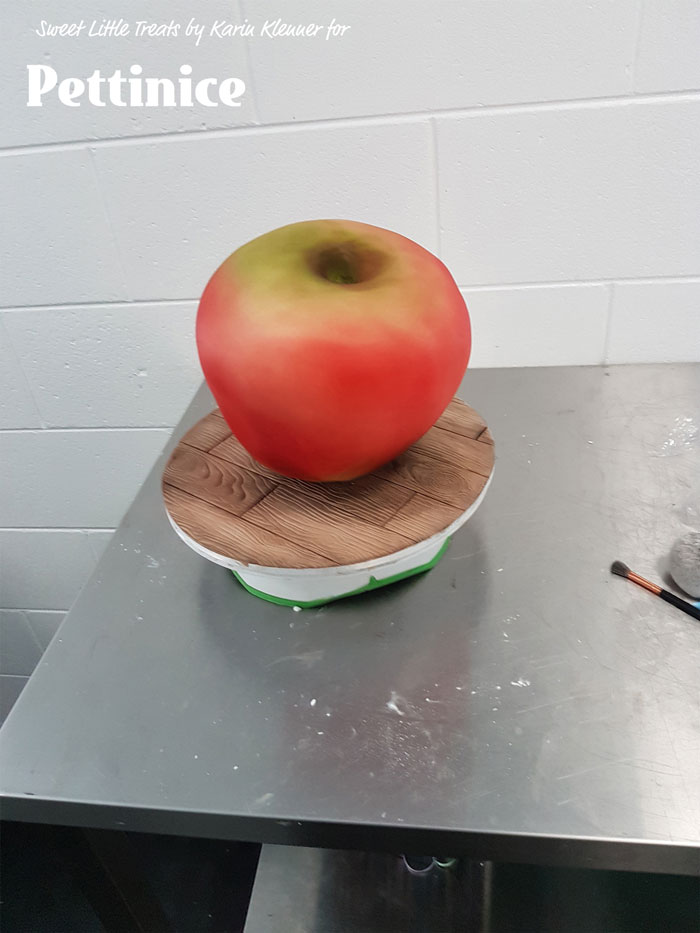
Once your airbrush colour has dried on your cake, use your brown and brown with a touch of black food dusts to darken the shadows of your cake, the bottom and the top centre where your stalk will go in.
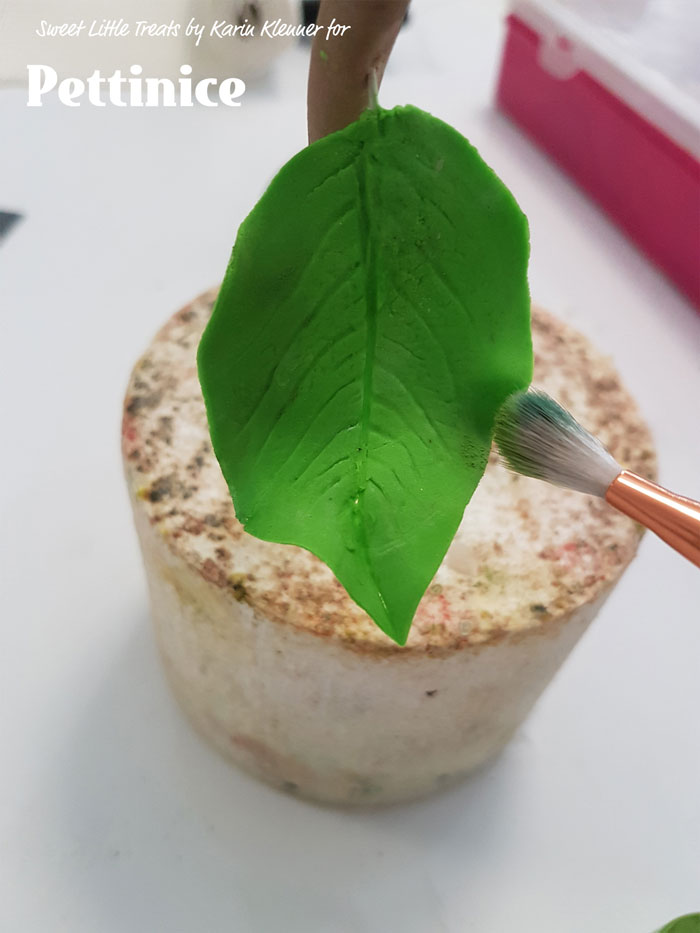
Dust your leaf.
Use a smoothing tool.
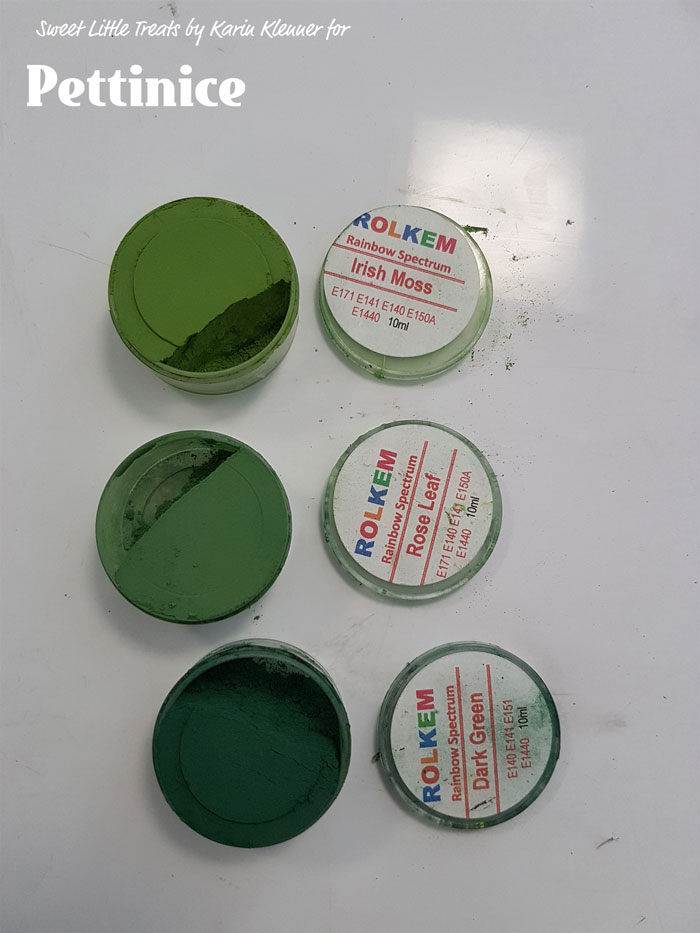
Dust your stalk a bit as well and gently use your three green colours to dust your leaf, starting from light to dark.
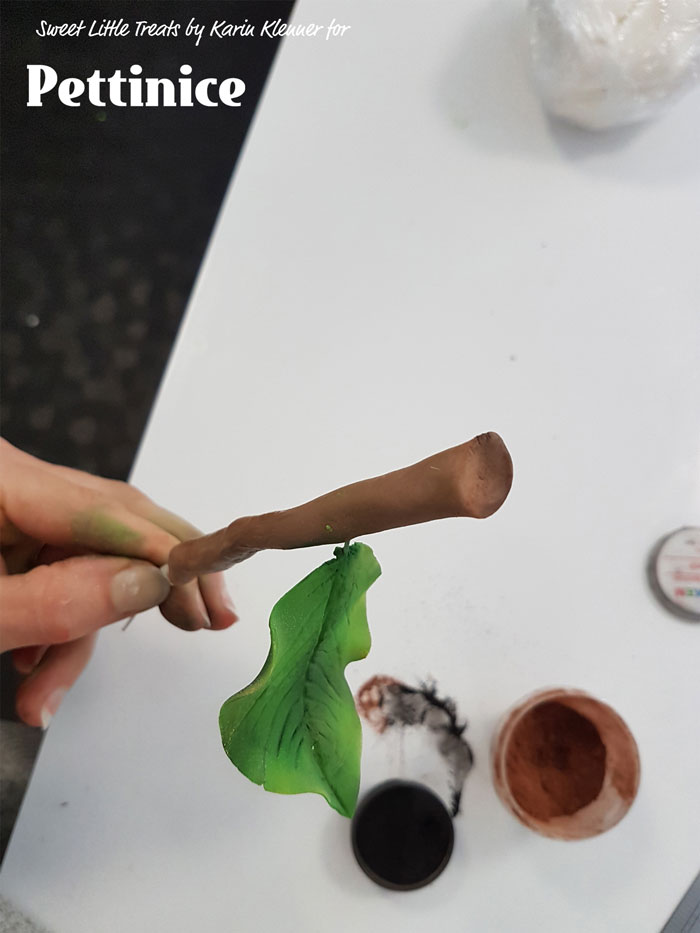
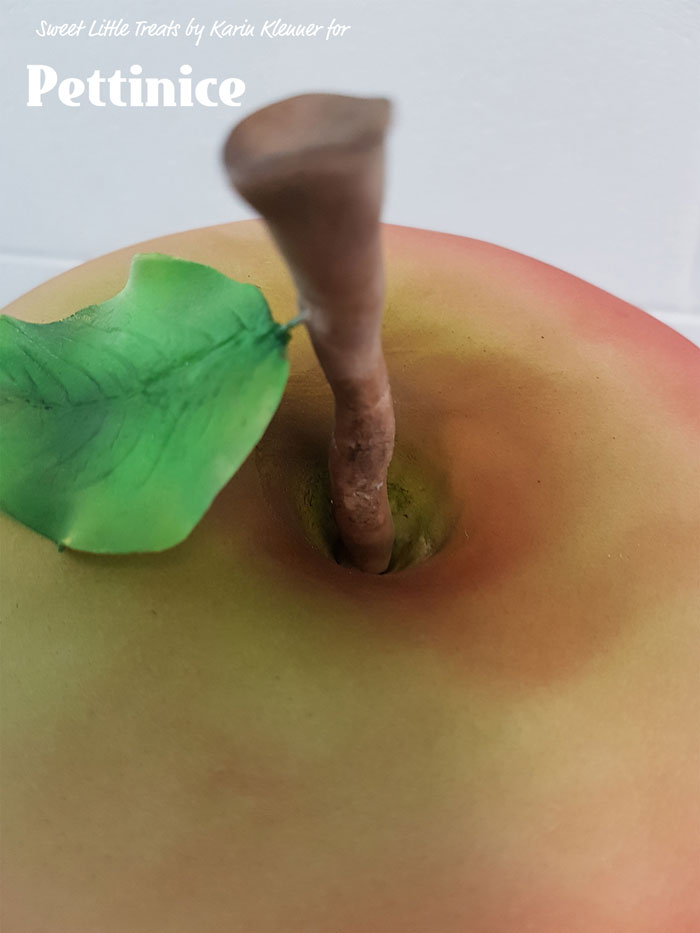
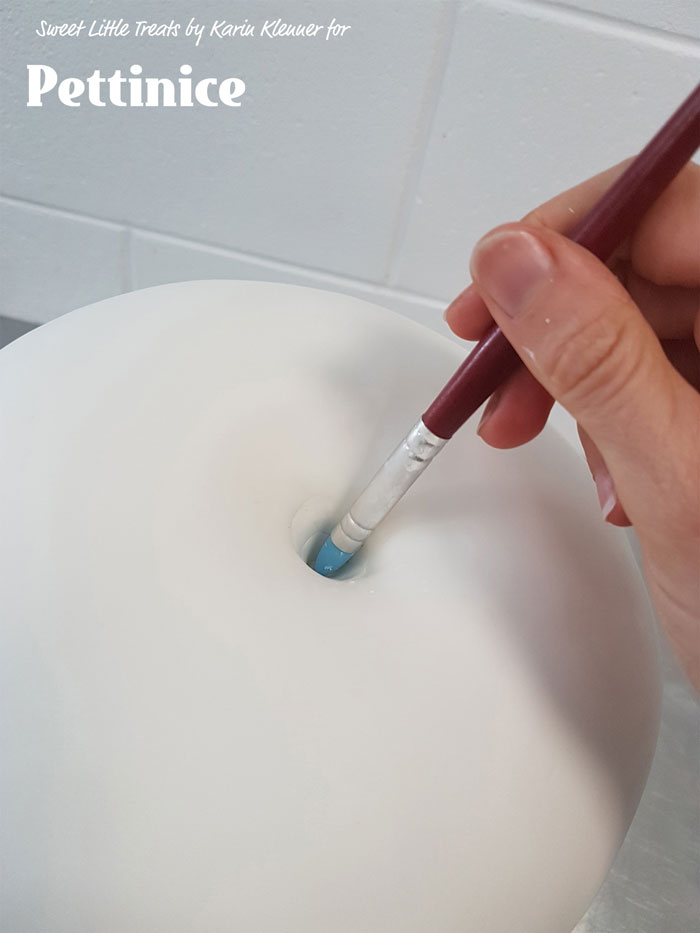
Adhere your stalk to your cake with a bit of edible glue, take care not to ruin your paint job!
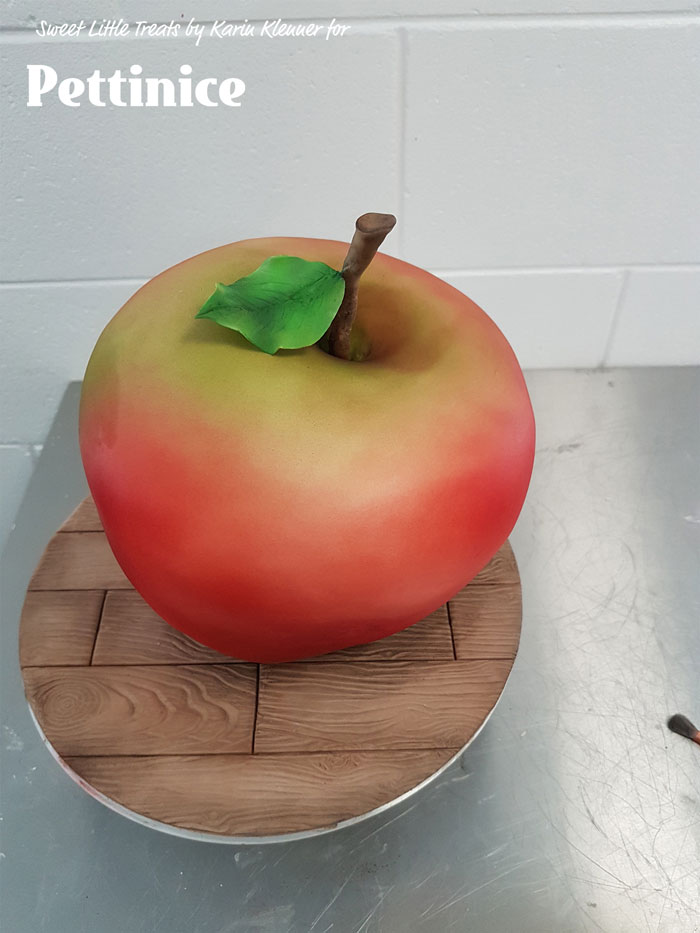
Well done you have created an apple that will blow your friends minds! I hope you enjoyed my tutorial, Karin

Karin Klenner owns Sweet Little Treat located in Hamilton, New Zealand. She says "I'm a mum to two little boys which are my world (and have been known to destroy my world by attacking the odd cake) and married to an amazing guy who, thank goodness, is very good with a drill because my favourite cakes to do are 3D sculpted cakes. I love doing animals especially."
You can find Karin on Facebook and Instagram. ![]()
![]()