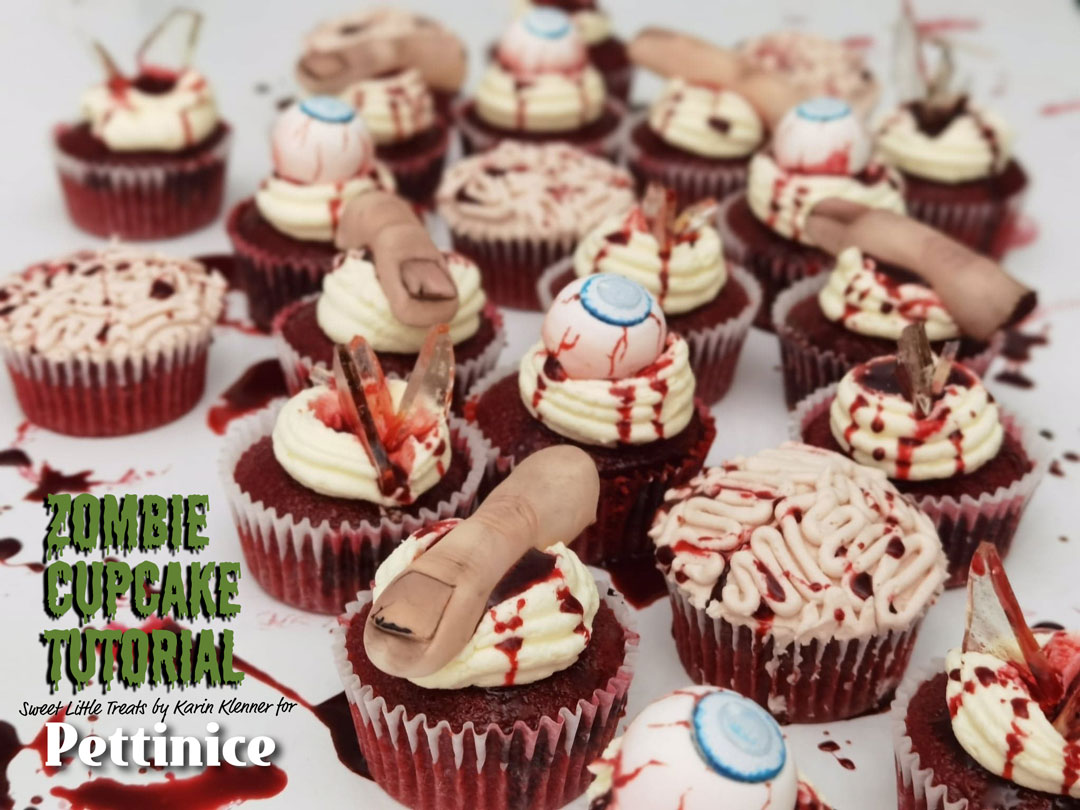
Halloween zombie cupcake toppers with Karin Klenner

What you need:
- Flesh coloured Pettinice fondant (I used an Pettinice Ivory base with a touch of Pettinice Chocolate and pink). Each finger is 25 grams so times that by how many fingers you are making and that is how much you need all up.
- Digital Scales - optional but very helpful.
- Silicone tipped flat tool or anything that will indent, even a thin non serrated knife may work
- Silicone or non silicone pointy tool
- Knife or blade for trimming down finger
- Dusts for colouring - pink, red, brown/chocolate, peach, black, grey and pale pink (option - these can softened and lightened with corn flour)
- Poofy paint brush or makeup brush for dusting
Each finger is 25 grams so times that by how many fingers you are making and that is how much you need all up.
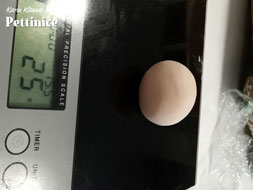
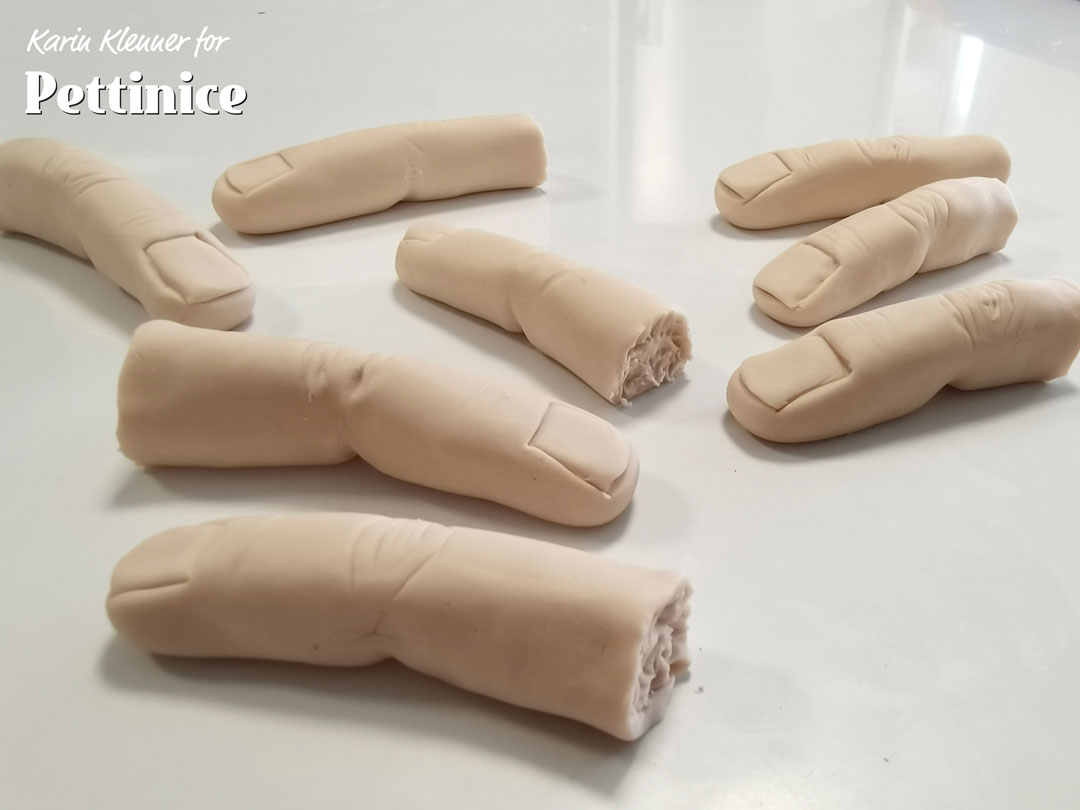
Weigh out 25 grams of your flesh coloured fondant.
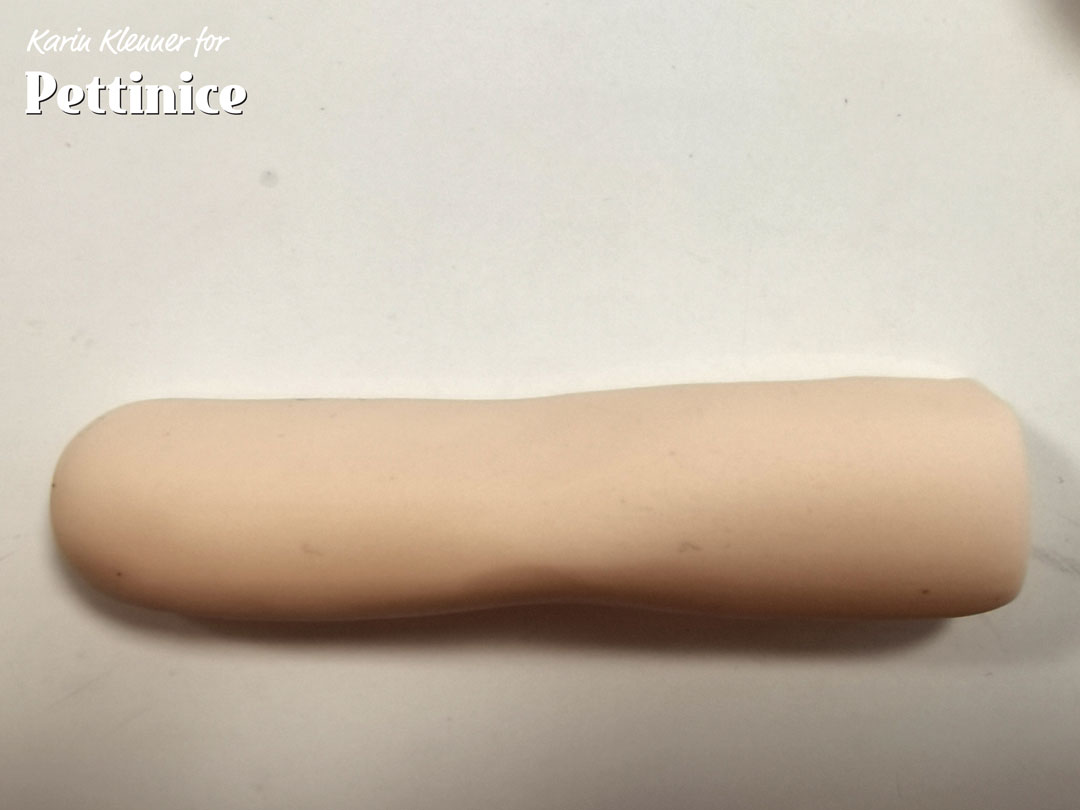
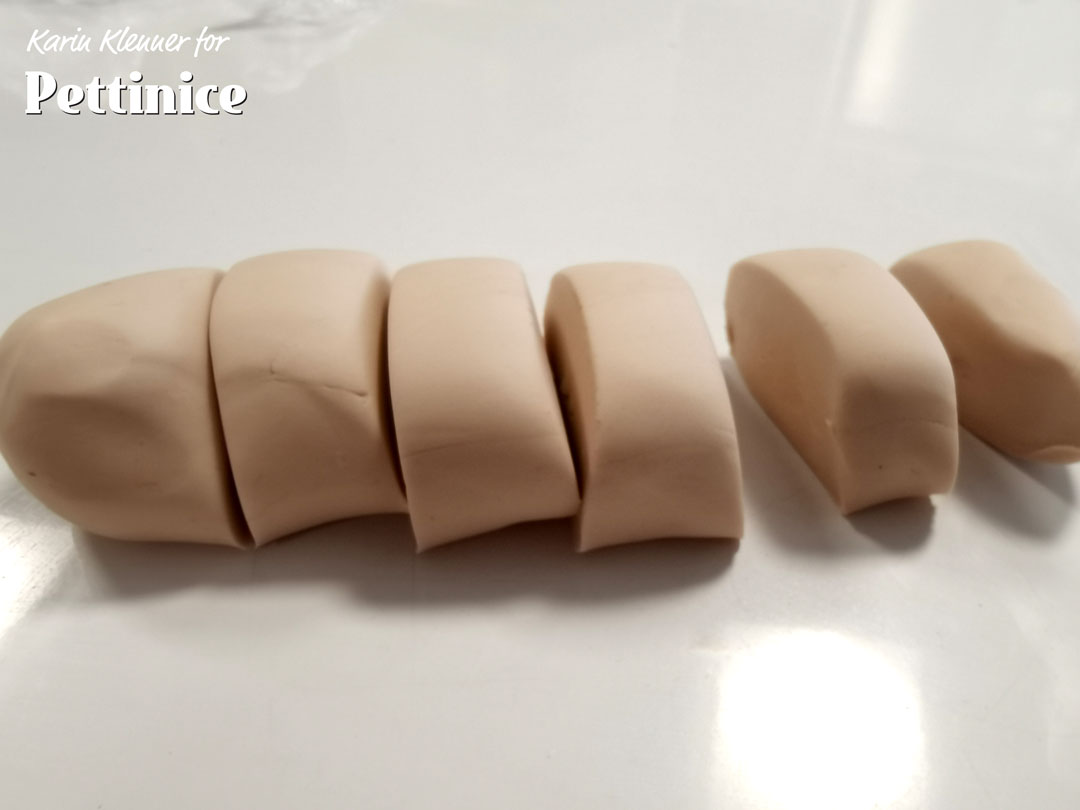
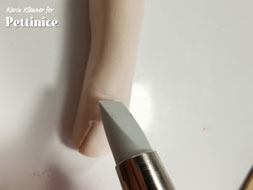
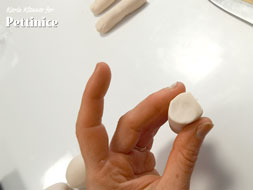
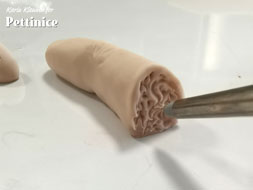
Roll out into a sausage shape as shown, and cut one of the ends flat.
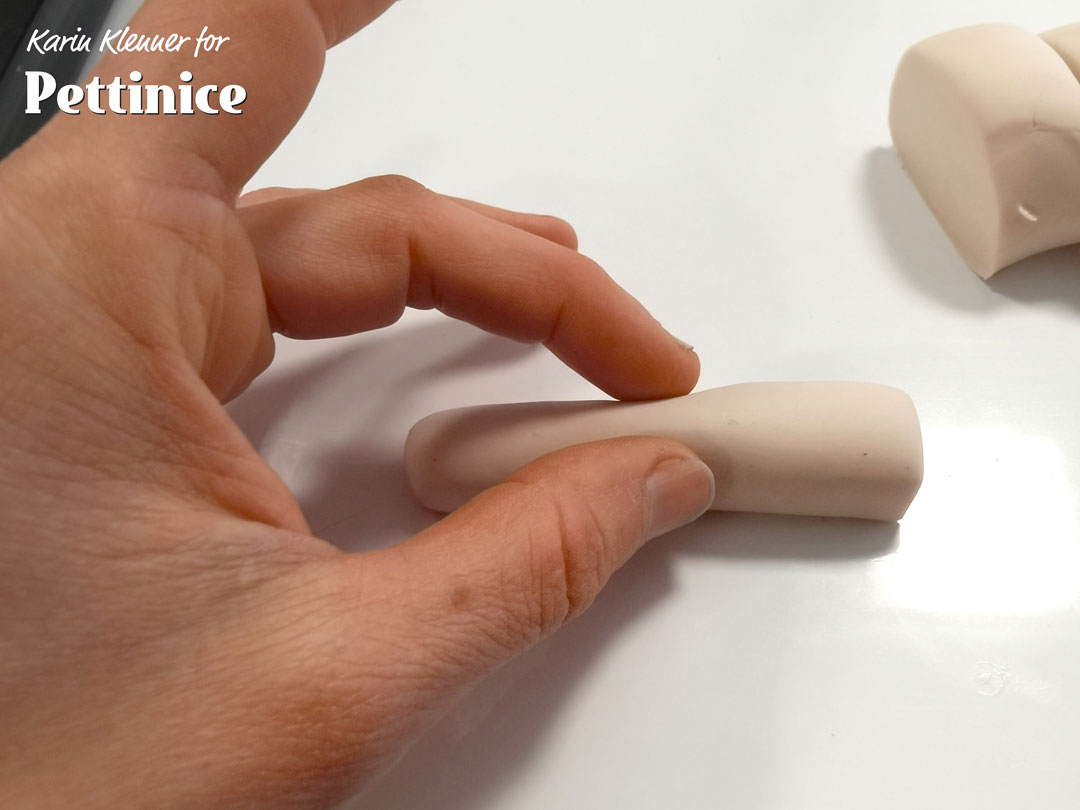
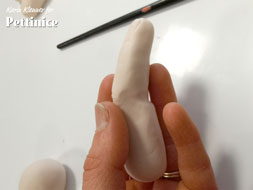
Squeeze the middle a bit to create a knuckle
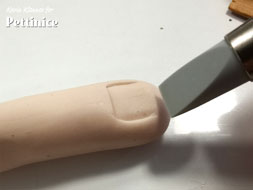
Flatten where the nail will go slightly
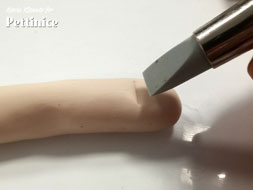
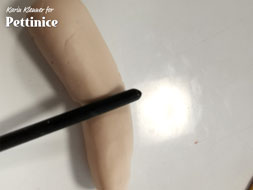
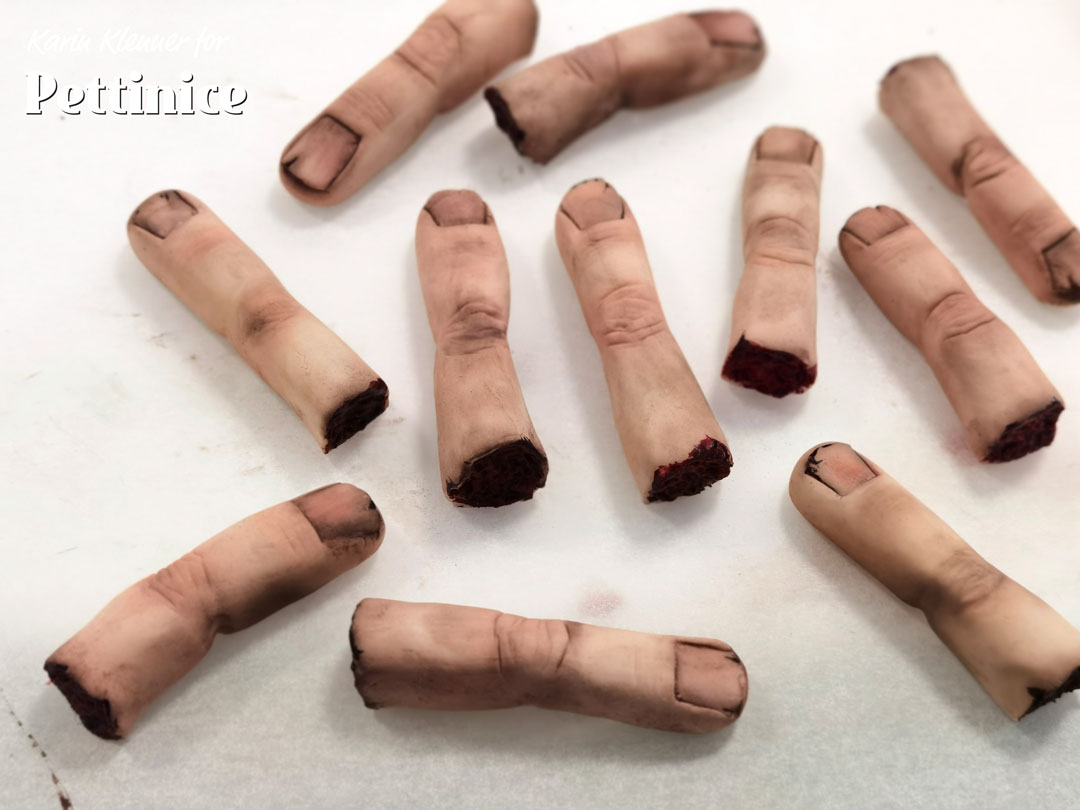
Using your flat tipped tool make indents for the nail and wrinkles and creases for the finger
Using your flat tipped tool make indents for the nail and wrinkles and creases for the finger
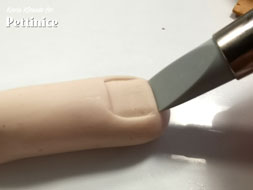
Using your flat tipped tool make indents for the nail.
Now add wrinkles and creases for the finger.
Details
.
.
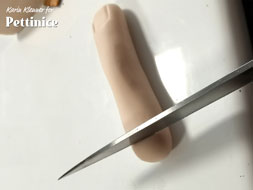
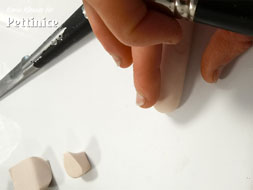
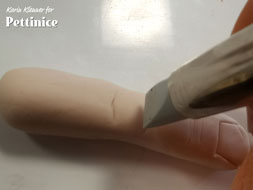
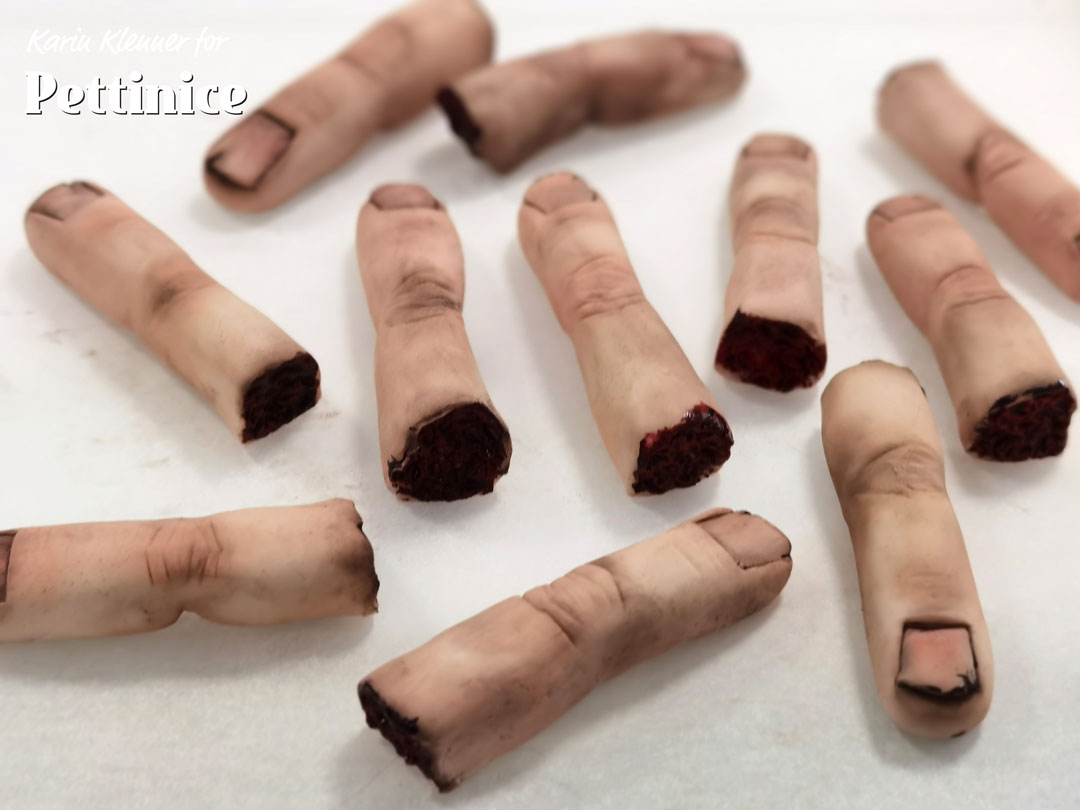
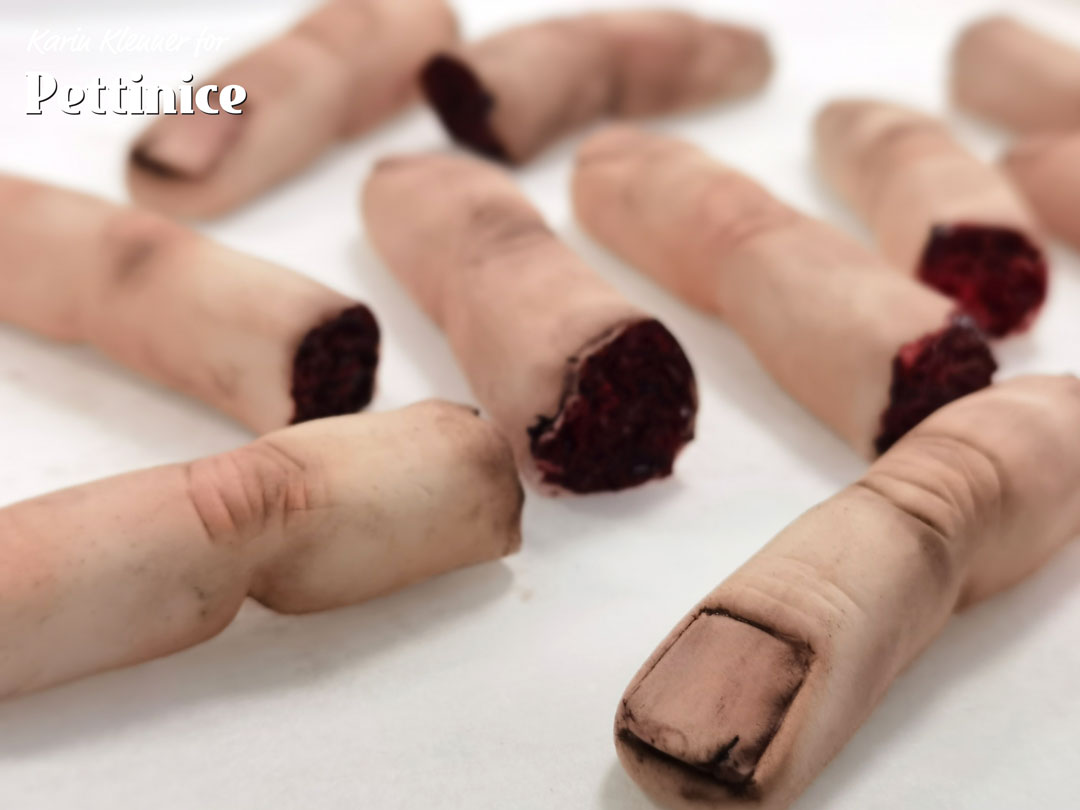
Cut the end of your finger and rough it up to make it look severed.
.
.
Before dusting
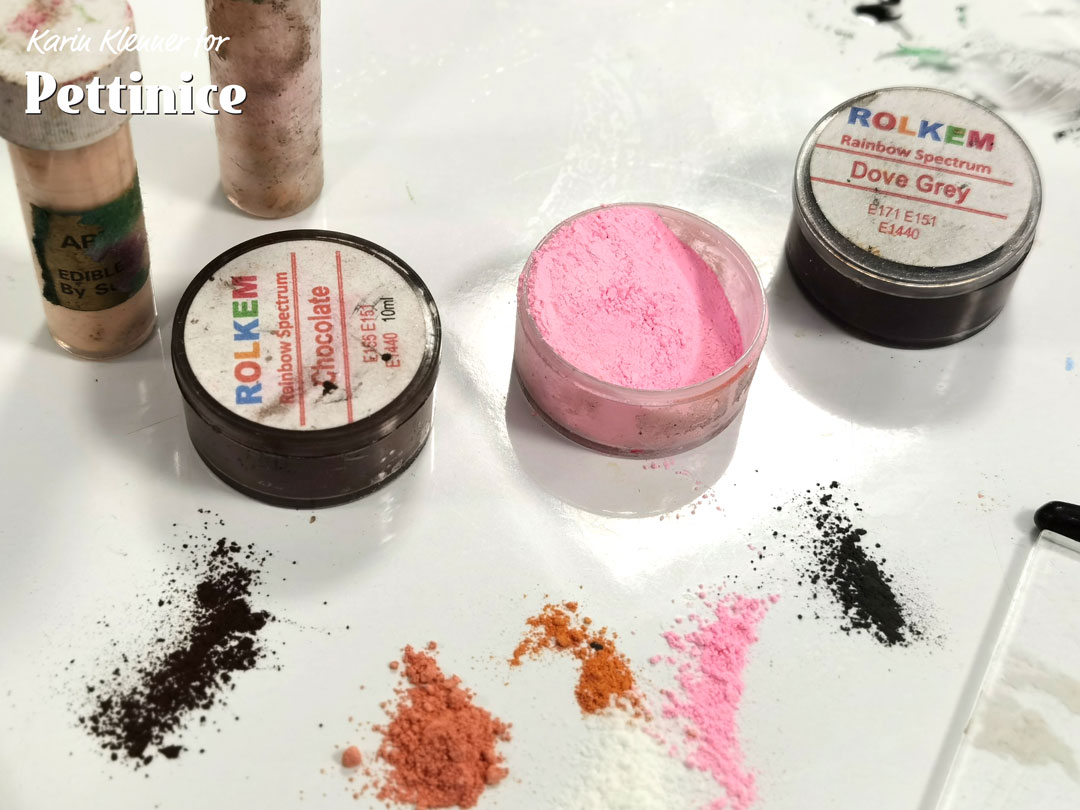
Add some cornflour to your bench as well as your dusts.
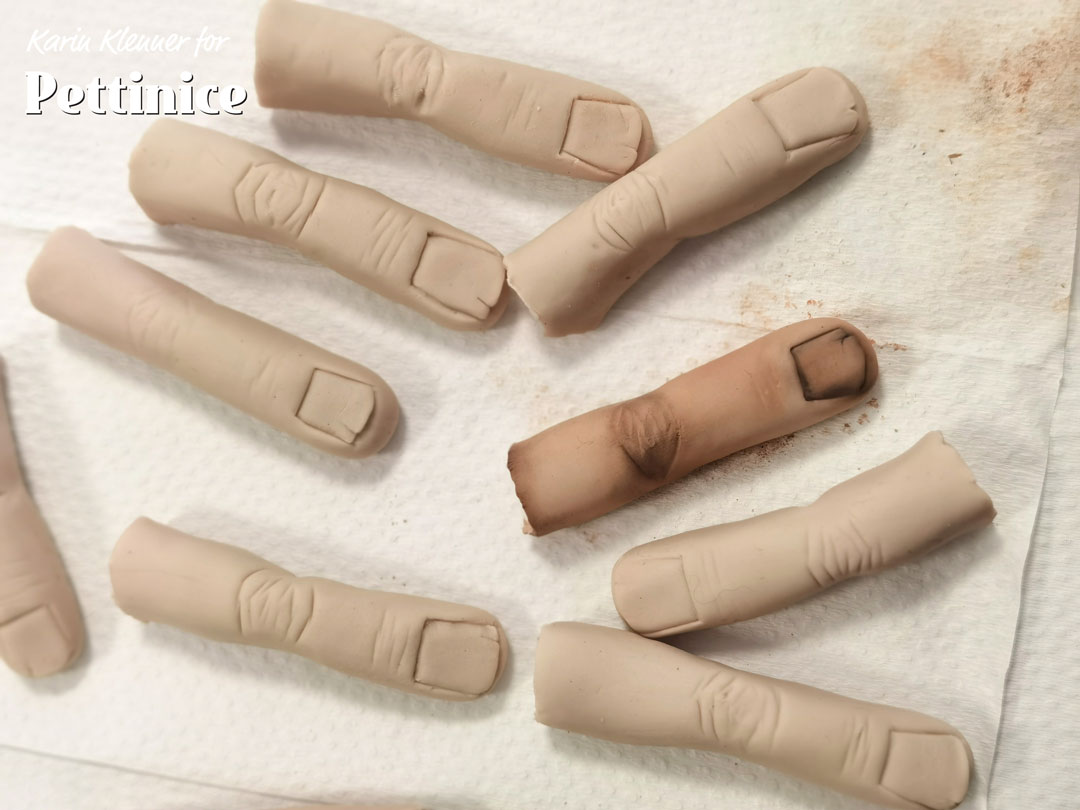
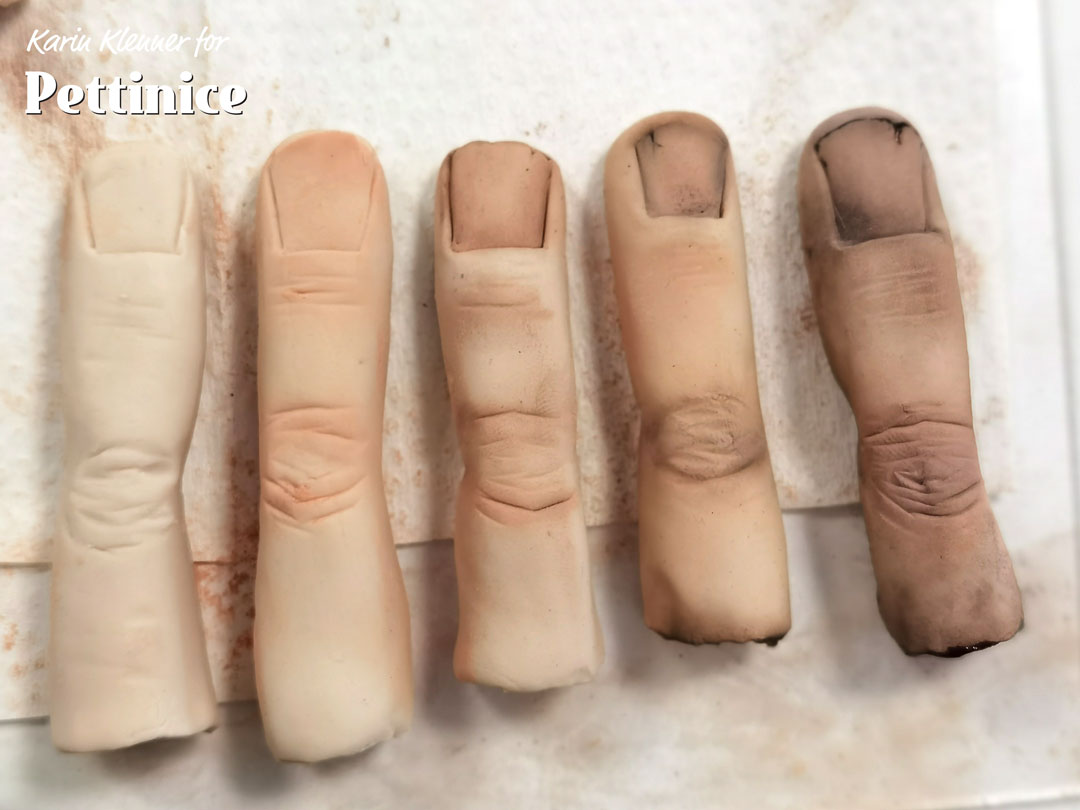
I started with pinks and peaches, adding them to the wrinkles and nail and to the side of the finger. Then I added a bit of brown to my peach and pink and dusted where I wanted more shadows. Then I went over with a stronger brown and black.
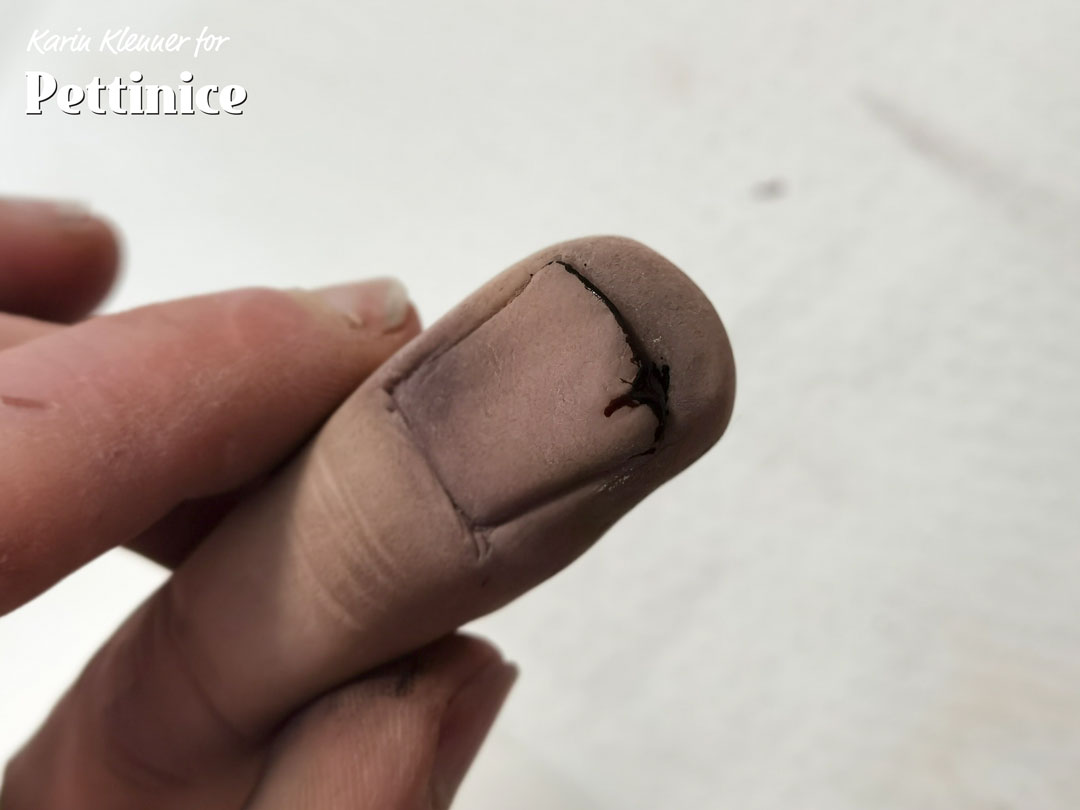
Shading up close
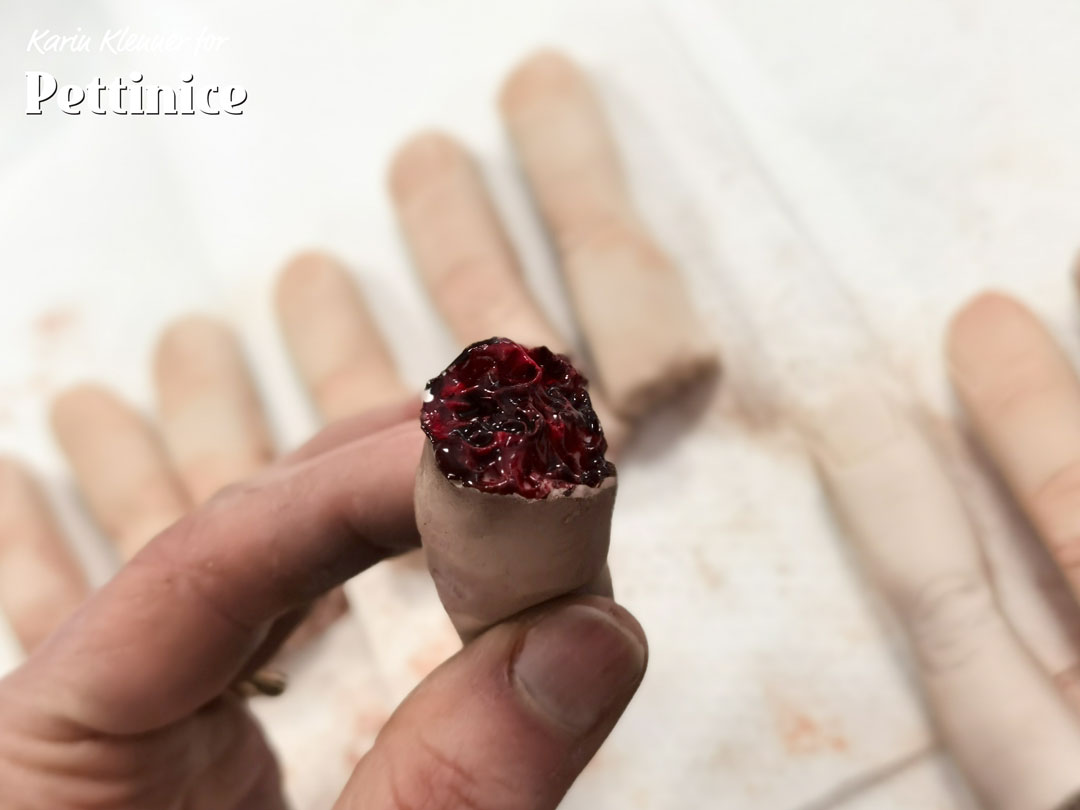
Finally I dusted the severed part of the finger with red and black.
.
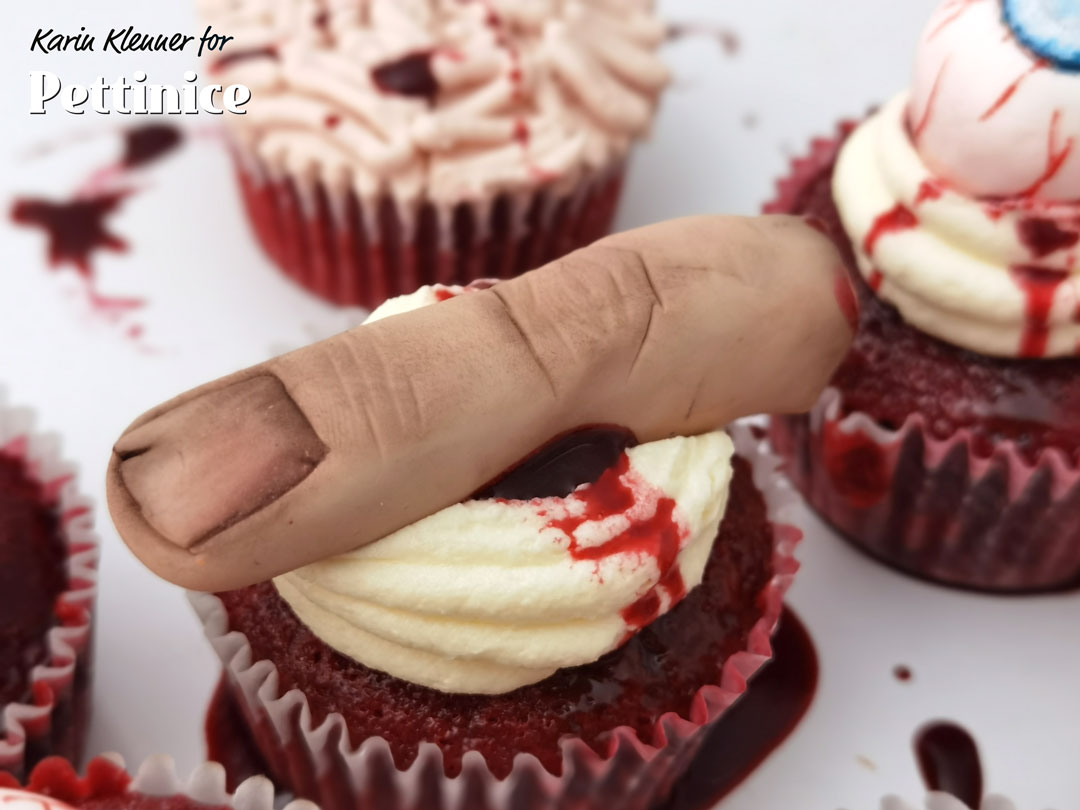
I placed my finger on top of a red velvet cupcake with scatters of fake edible blood to really make them creepy!