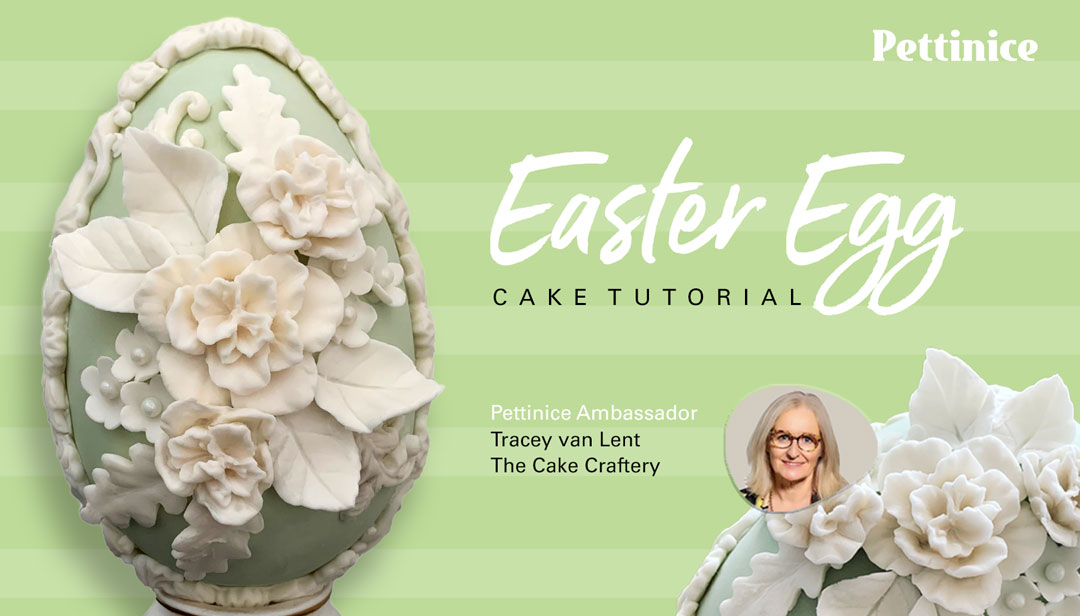
Easter Egg Cake Topper Tutorial
You will need:
Tools:
- Easter egg mould
- Leaf, flower, and scroll moulds (any)
- Sharp knife or craft blade
- Rolling pin
- Water brush / Paintbrush
- Piping bag if using royal icing.
Edibles
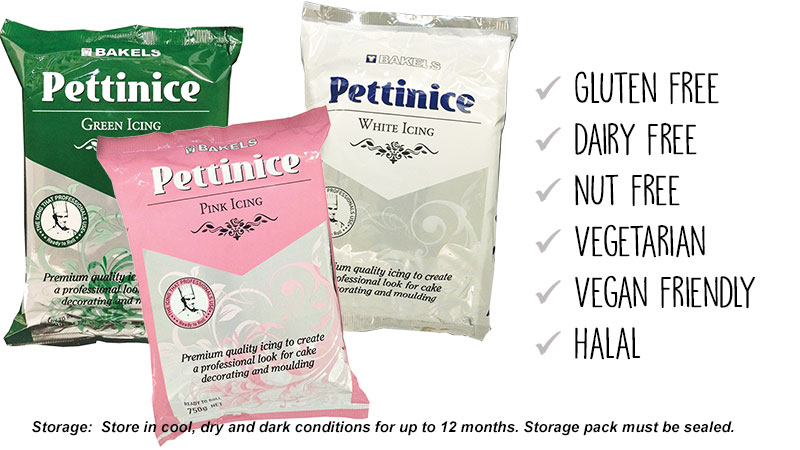
- Pettinice Fondant - colour of your choice, about 100g depending on the size of your mould.
- Pettinice White, about 100g
- Tylose powder (or CMC or gum tragacanth)
- Corn flour for dusting
- Edible glue - you can make your own with some xylose powder.
- Treats to put inside the egg - optional
- Royal icing for joining egg halves although glue will work if preferred.
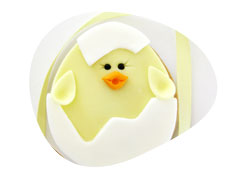
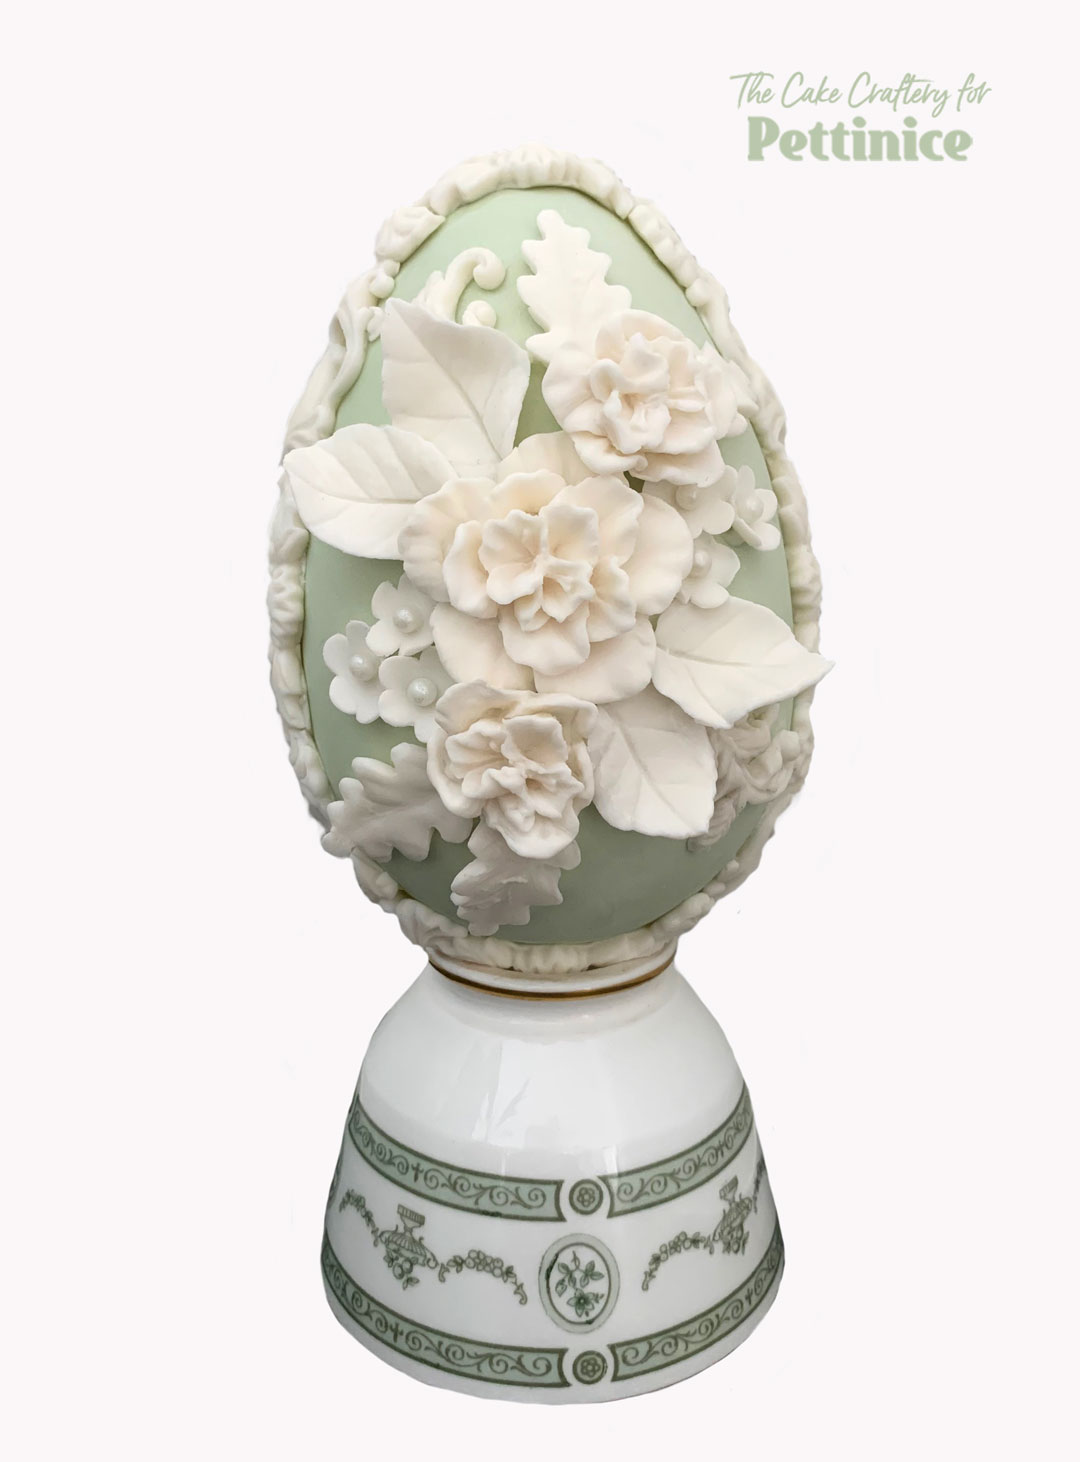
Tracey van Lent shows us how to create a beautiful topper using Pettinice for your Easter celebration cake or party table. As a bonus surprise, fill them up with candy, or cake!

Creating the egg shape with Pettinice
Prepare your Pettinice with your chosen colour and add 1/2 teaspoon of Tylose to every 125g of Pettinice. Have a look at our colour charts to pick a colour you like.
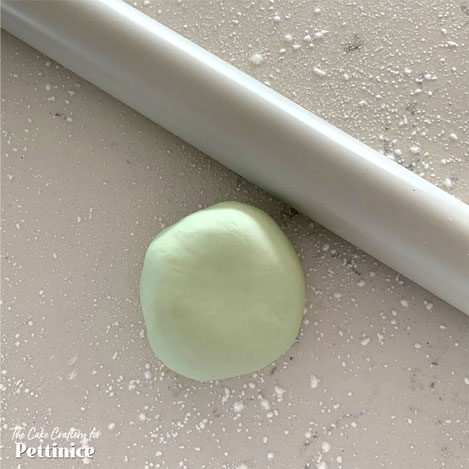
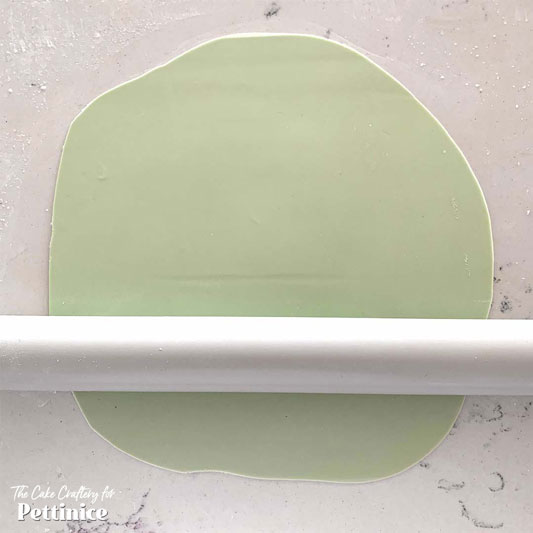
Roll your Pettinice to a thickness of 1.5 to 2 mm and big enough to cover whatever size egg mould you have.
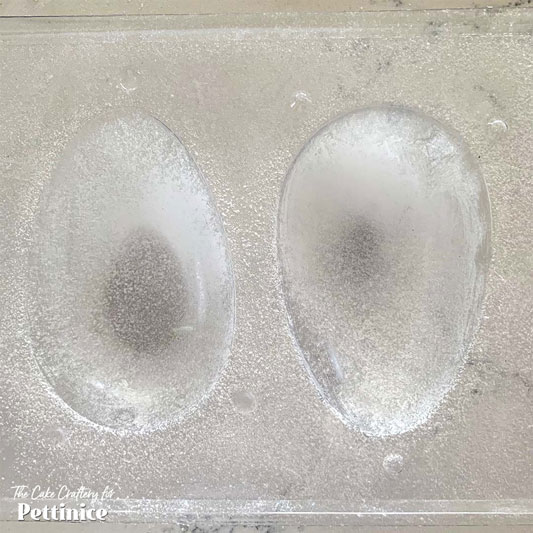
Prepare your Easter egg mould with a dusting of corn flour.
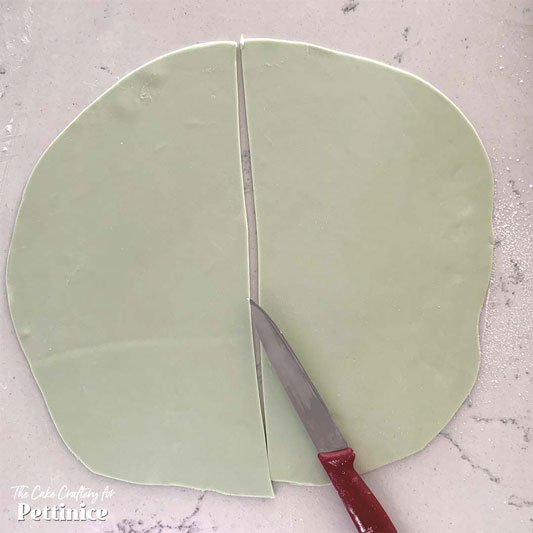
Divide your rolled Pettinice into two parts, one for the Easter egg top and one for the bottom.
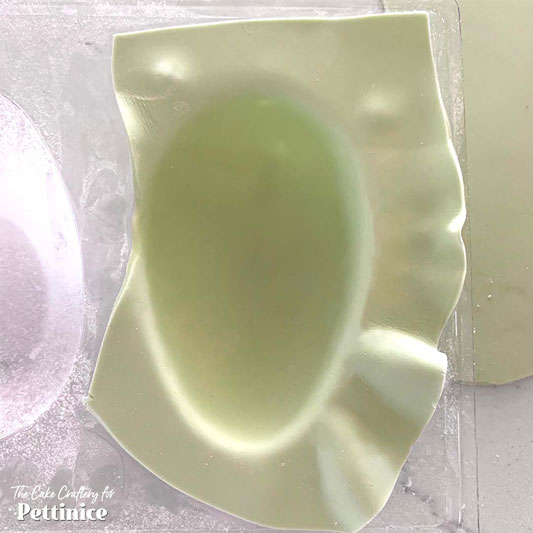
Lay one of the pieces of the Pettinice over the mould and gently press into the cavity. You can use a ball of fondant to help press it in.
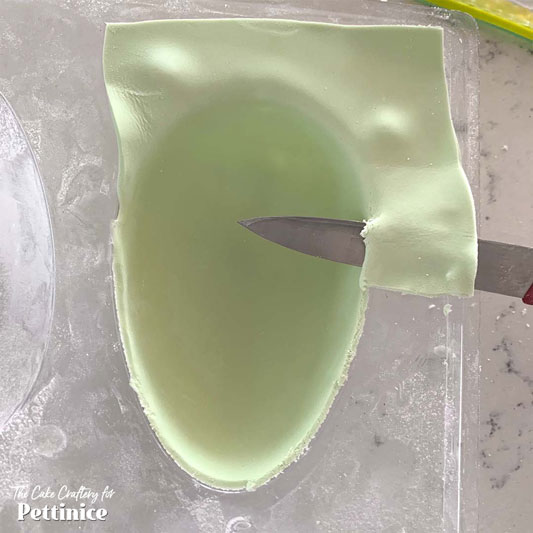
Trim with a sharp knife or blade.
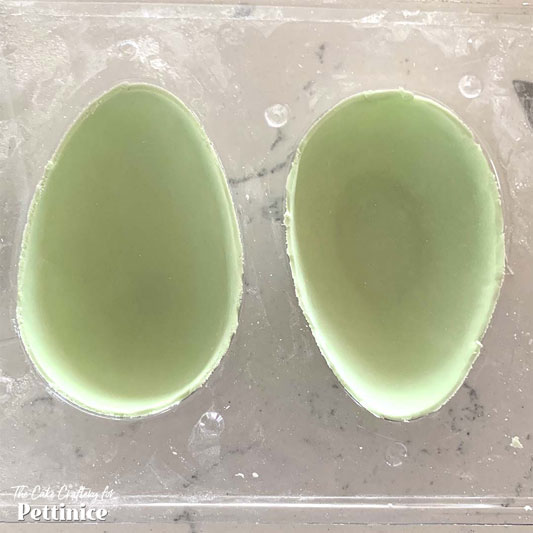
Repeat for the other half of the egg mould. Leave overnight to harden.
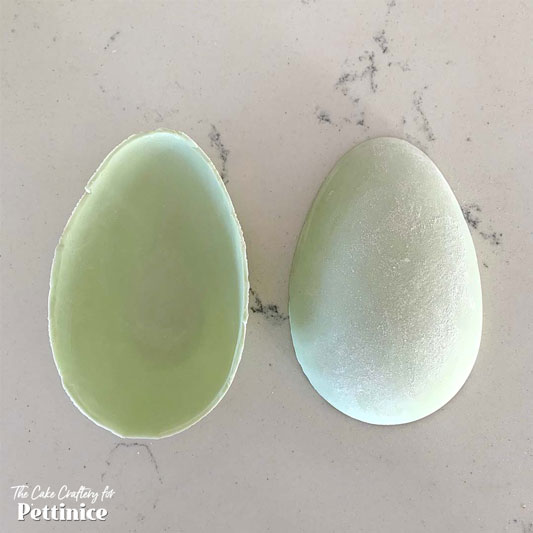
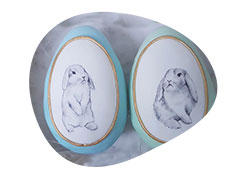
Once your Pettinice has hardened you may remove the halves from the mould.
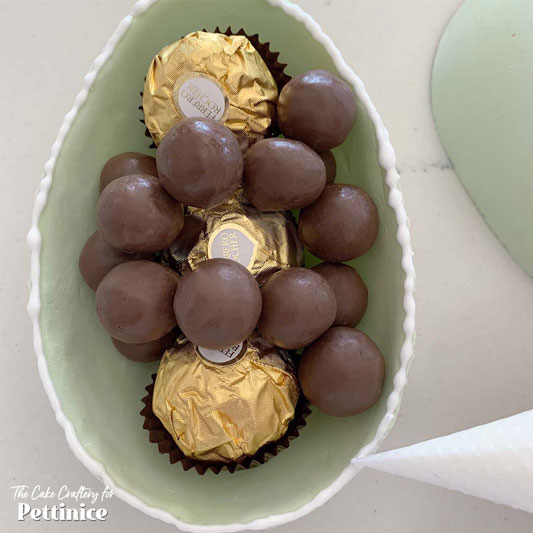
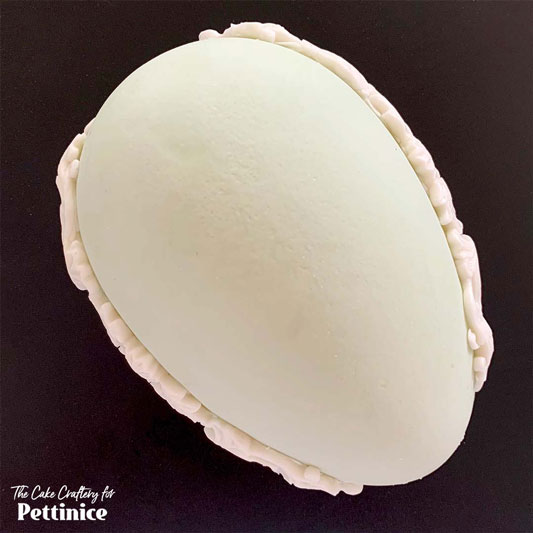
Pop some Easter treats into the bottom half of your egg. Add some edible glue or royal icing to the edge of the bottom half.
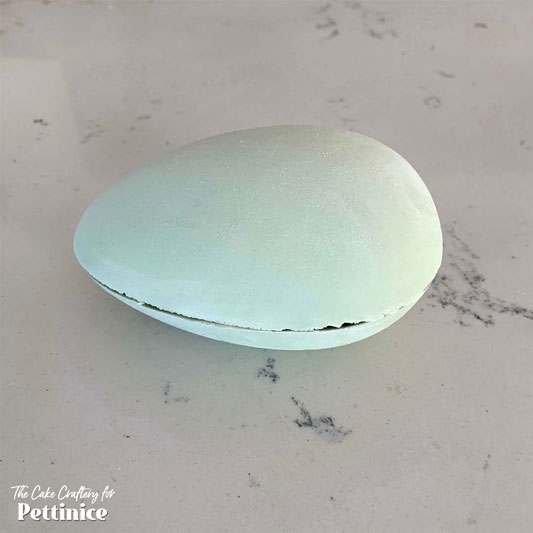
Place the top half over the bottom half. Do not worry if the edges are slightly rough, you will be covering these up later.
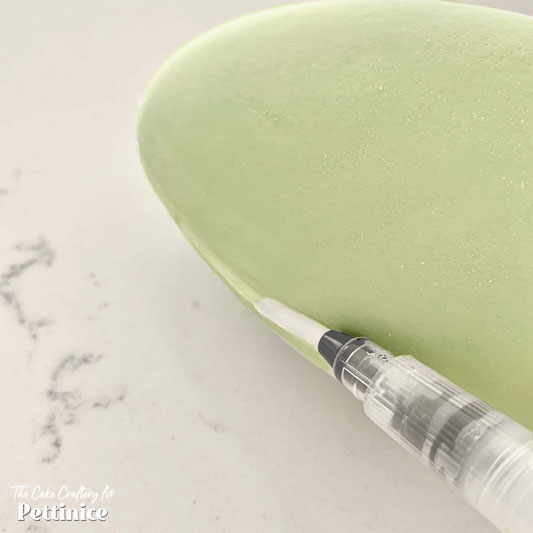
Use a damp brush to smooth away any excess royal icing or glue. Put the egg to one side to dry.
Decorating Your Easter Egg
How you decorate your egg will depend on what moulds or cutters you have available and also on personal taste. You can completely freehand your designs, or speed up the process as I have done, using moulds and cutters.
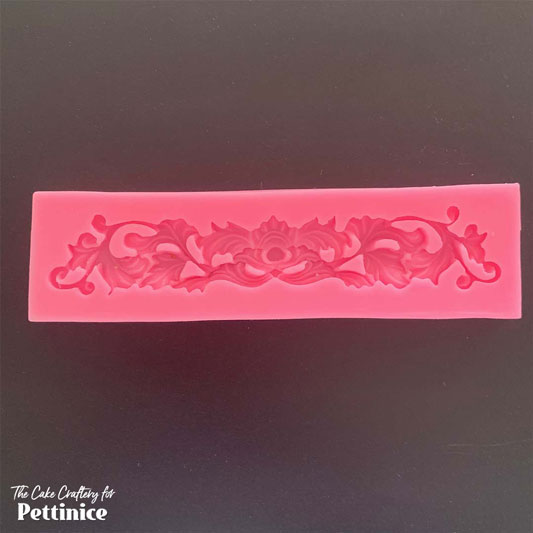
Choose a border mould to cover the join in the egg. If you don’t have a border mould you could use leaves or pearls or little flowers in a row, or even a combination of all three.
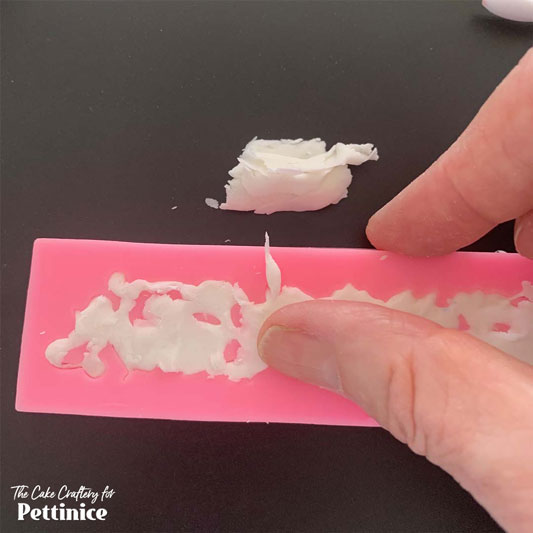
Prepare 100 g of white Pettinice with a half-teaspoon of Tylose powder. Spray your chosen mould lightly with some canola oil spray and start pressing Pettinice into it. I like to rub off the excess with my thumb. A blunt blade could also be useful but don’t damage your mould.
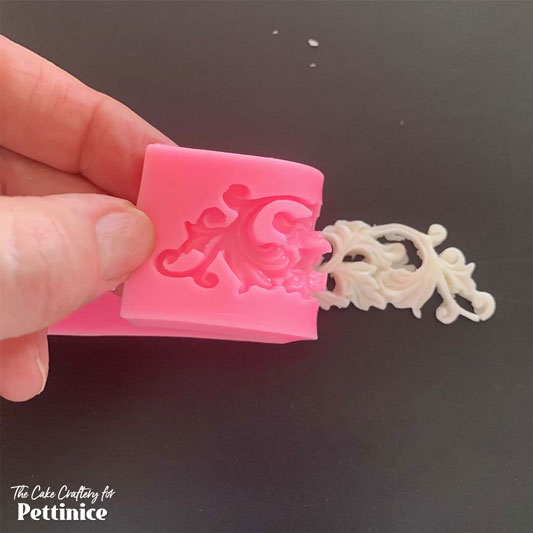
Flip your mould over and gently peel it away, starting from one end.
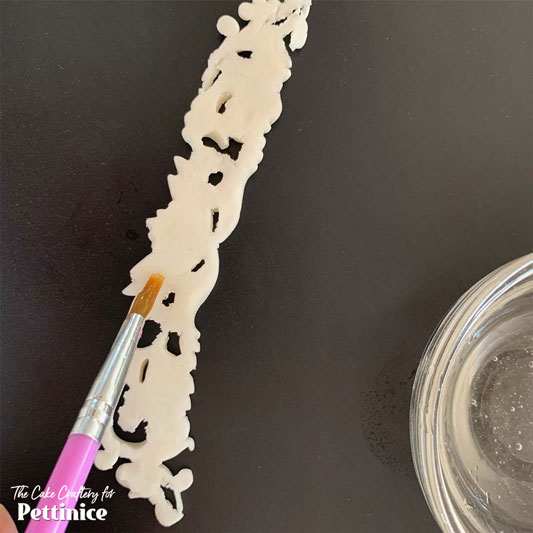
Paint the back of your moulded piece with some edible glue.
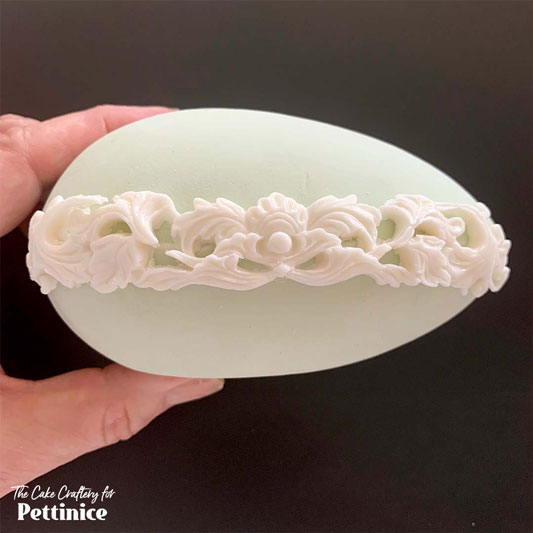
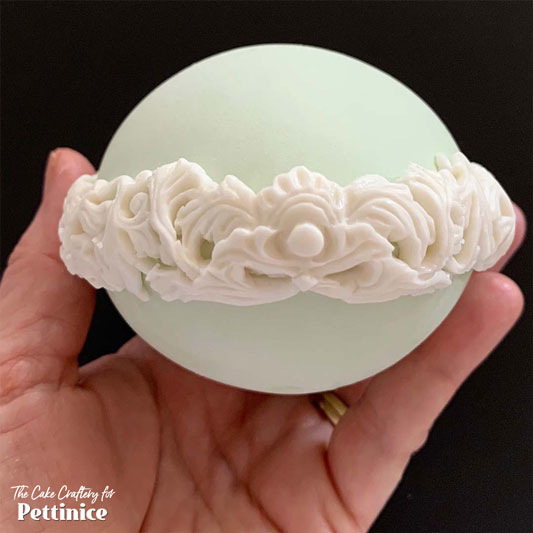
Stick down over the joint in the egg. Repeat the process for the opposite side.
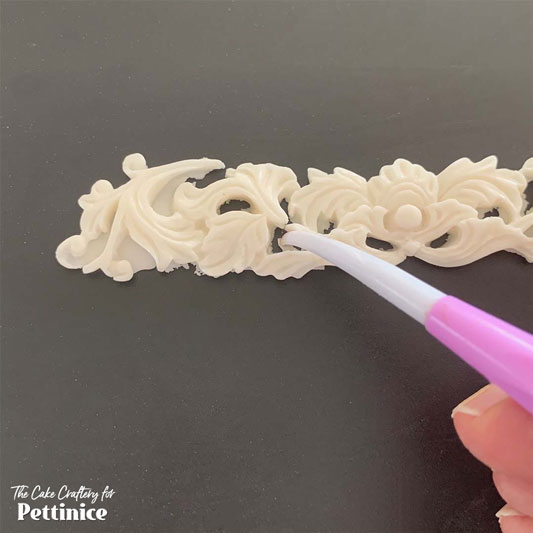
If your border pieces don’t quite join around your egg, you will need to mould some partial pieces to fill the gaps.
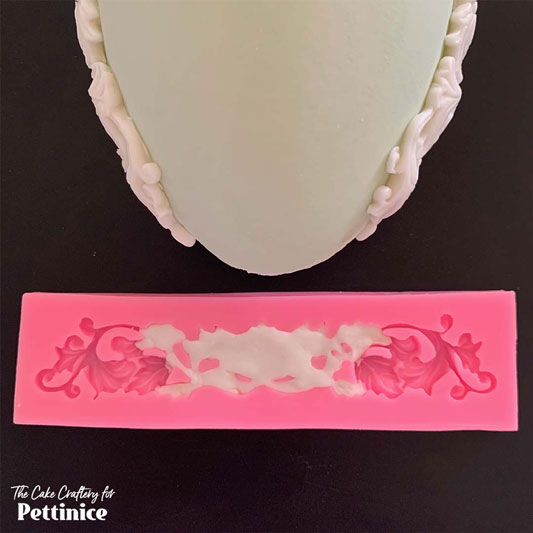
I used the central section of my mould.
Put the extra pieces into the gaps at both ends, if necessary, and cut off any excess.
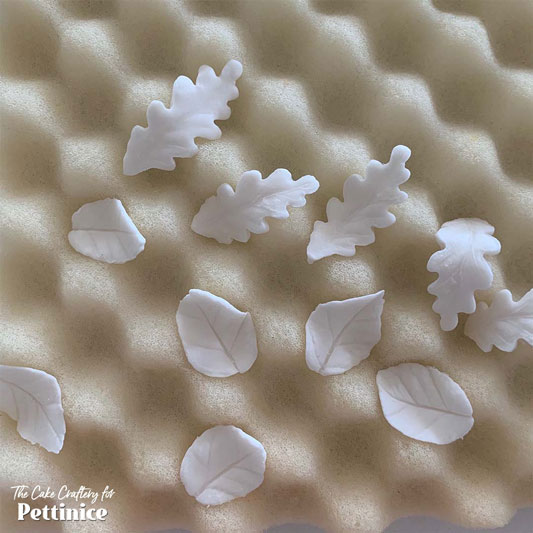
Use any small leaf cutters or moulds that you have, to cut a few leaves. I chose to only use two shapes of leaf. Put these aside on a former or some crumpled foil to partially dry.
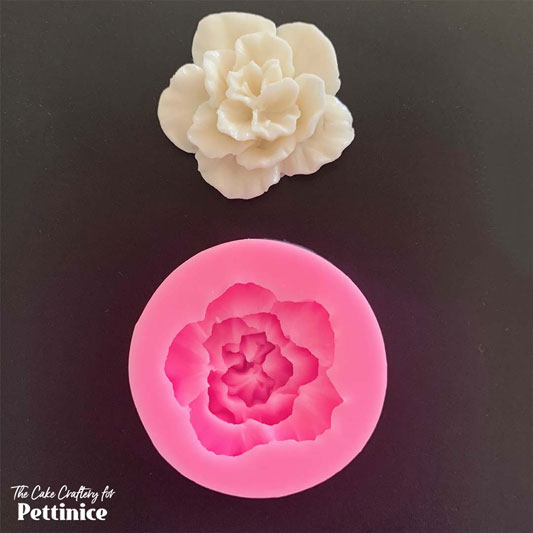
Make your main flower using a mould or by hand-forming.
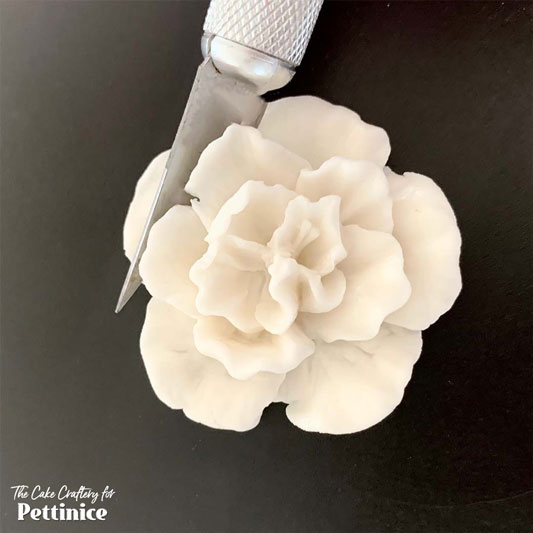
I made two slightly smaller flowers by using the same mould as the main flower and then cutting off the outer petals,
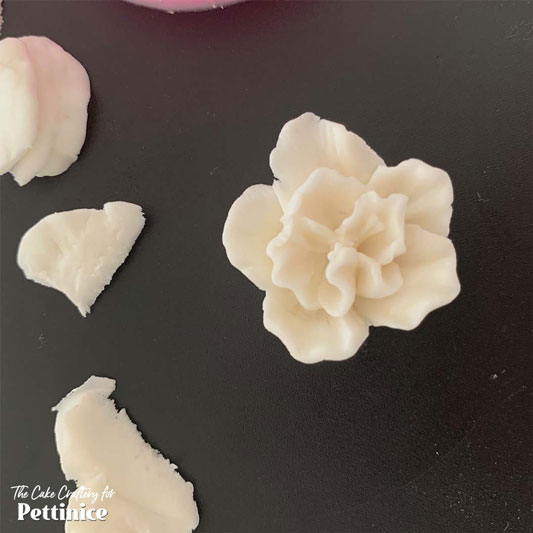
This is how it looked but you can choose to make completely different smaller flowers if you prefer.
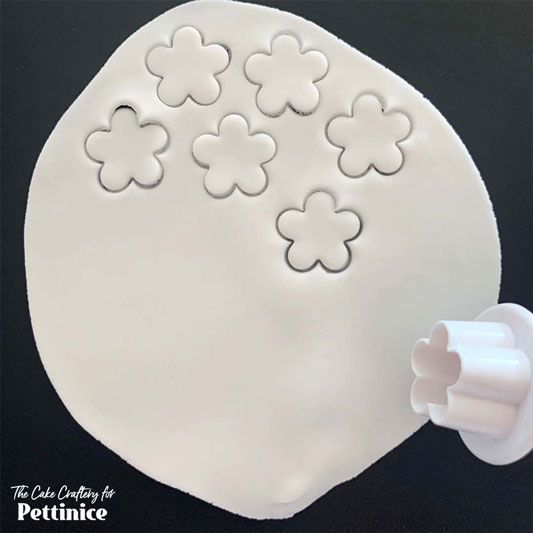
Now cut out six much smaller filler flowers with a plunger cutter or similar.
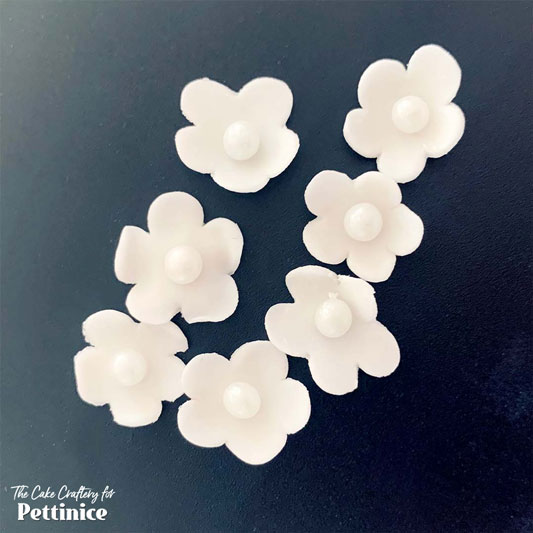
Pinch each petal between your thumb and forefinger to thin and curl upward, or use a ball tool. Glue a sugar pearl into each centre.
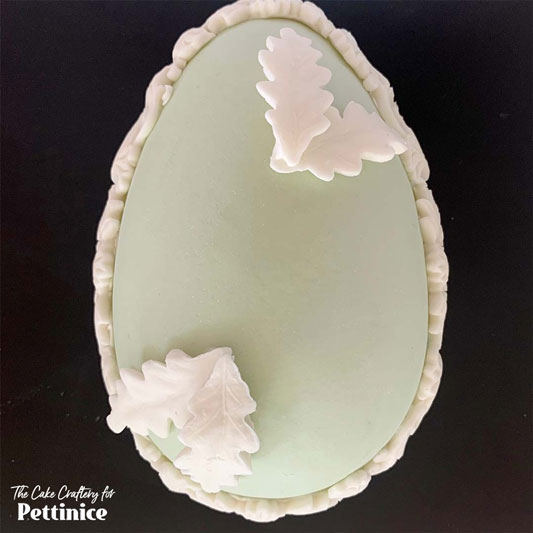
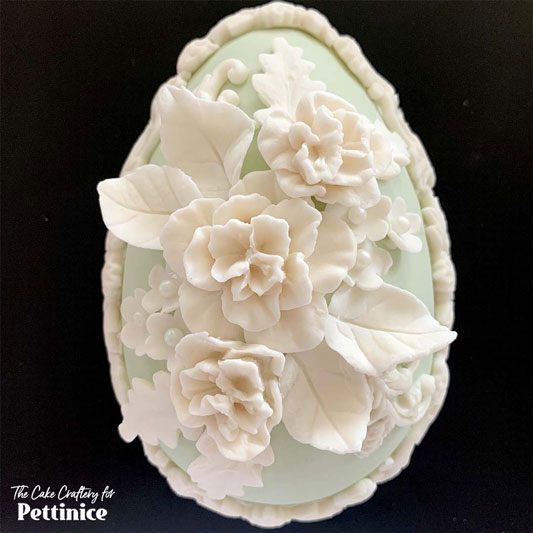
Start arranging your leaves and flowers. Place the longer leaves in pairs and attach with tylose glue or royal icing.
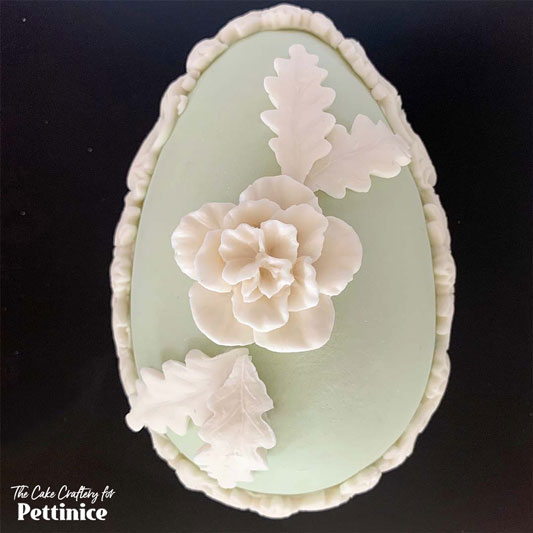
Glue the largest flower centrally, at the highest point of the curve of the egg.
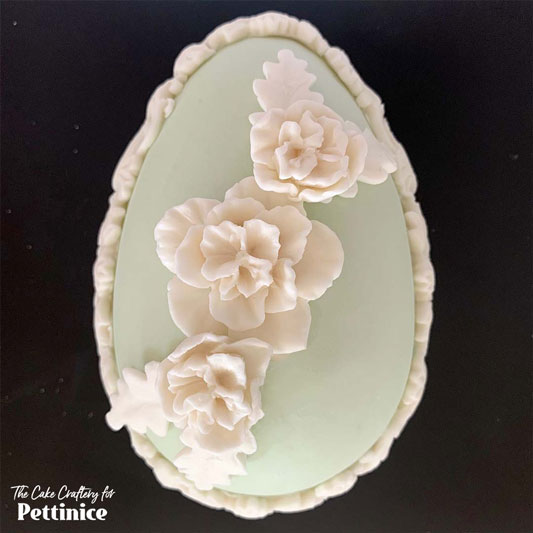
Glue the 2 cut-down flowers where the leaves meet, on a slight diagonal to the main flower.
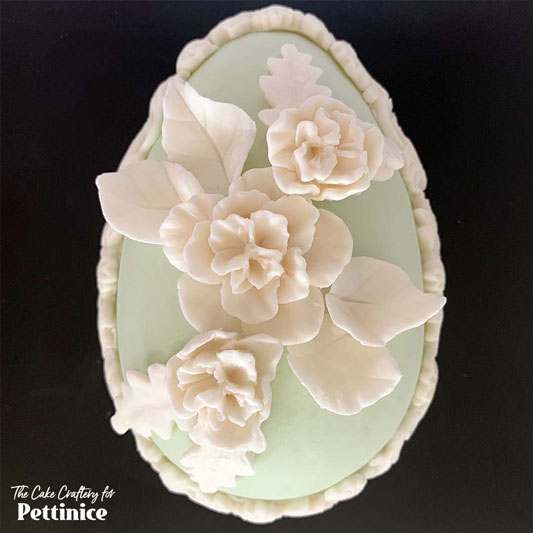
Glue your other leaves as shown.
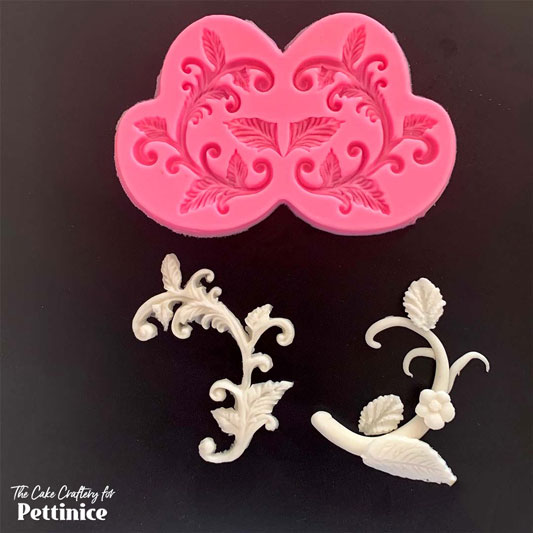
Make a scroll piece with a mould if you have one (left or just form one with thin sausages of Pettinice, adding some leaves right).
Make a scroll piece with a mould if you have one (left or just form one with thin sausages of Pettinice, adding some leaves right).
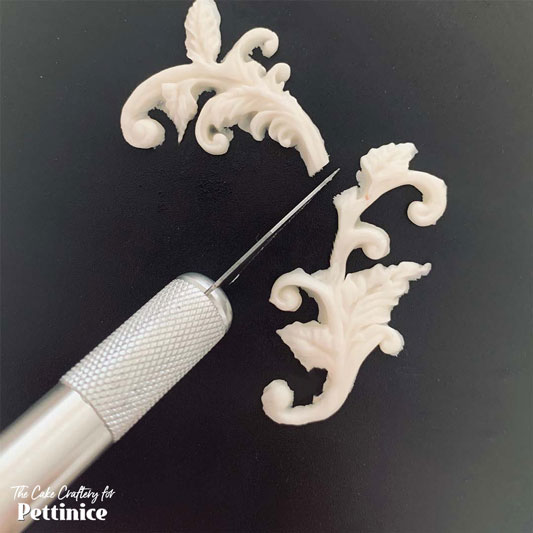
Cut your scroll in half.
Attach the top piece of scroll to upper left of the design and the remaining piece to the lower right. Attach filler flowers as shown. Cluster them closely for a natural look.
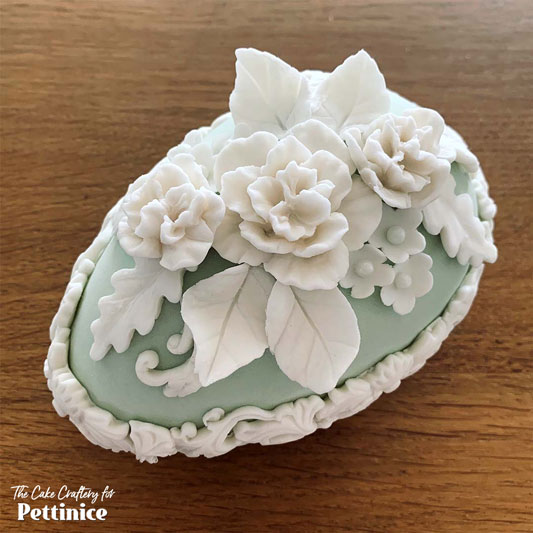
And it’s done!

Tracey van Lent owns The Cake Craftery in Riverhead, Auckland. Tracey’s background is in art and design and she gained a Bachelor’s Degree in Visual Communications when her four children were young. She has been decorating cakes for many years and has taught classes in her local community in North-West Auckland in more recent years.
She loves working with Pettinice in every aspect of her fondant work and particularly likes the unlimited palette of colours that can be produced by just mixing together the colour range.
See more of Tracey's cakes at