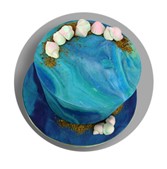
How to make a Geometric inspired marbled cake
While out shopping, a gorgeous dress caught my eye: the grey, yellow and coral colour was striking! The shop next door sold marbled coasters with gold edges. Yes, cake decorators do not see the world normally and everything and anything has the potential to end up on a cake! - Zeena

- Decorating time: 1 hour
- Decorating skill: Beginner
See our colour mix guides here for more Pettinice shades!
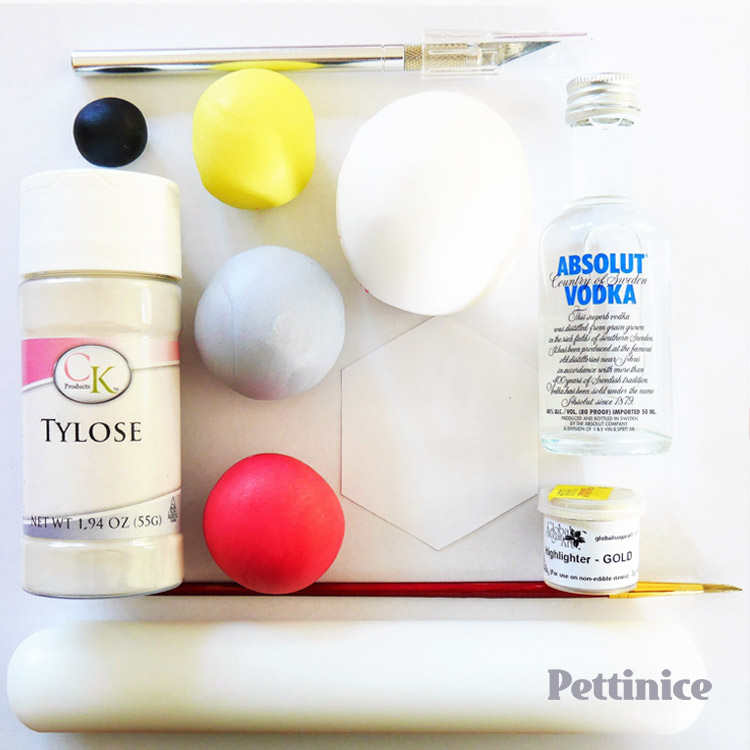
What you will need for this cake tutorial
Edibles needed:
- White Pettinice (at least 50% more than total amount used)
- Yellow Pettinice
- Black Pettinice White and Black Pettinice mixed to create Grey
- Red & Pink Pettinice mixed to create Raspberry
- Tylose powder to turn your fondant into gumpaste
- Gold highlighter dust (optional)
- Clear spirit or lemon extract for painting (optional)
- Royal Icing to stick shapes onto cake
Tools needed:
- Small rolling pin
- Polygon template (or cutters if you have to hand)
- Scalpel or knife if using template
- Small container to mix your "paint" (optional)
- Paintbrush (optional)
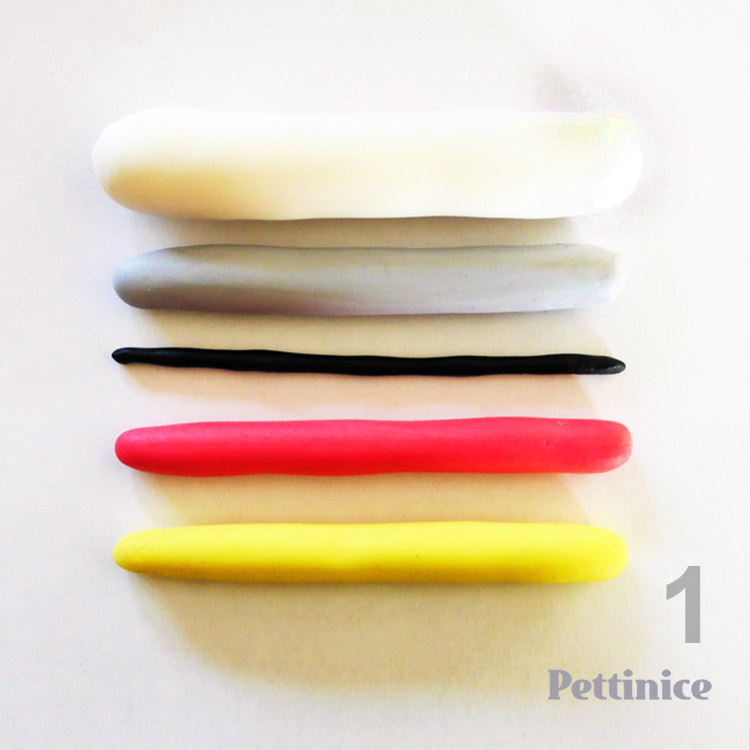
Step 1: Roll out all your colours to roughly the same length. White should always be 50% of the total amount of gumpaste you use and if using black, 5%-10% is usually best. In this tutorial, I’ve used about 5% black to make the colours really pop.
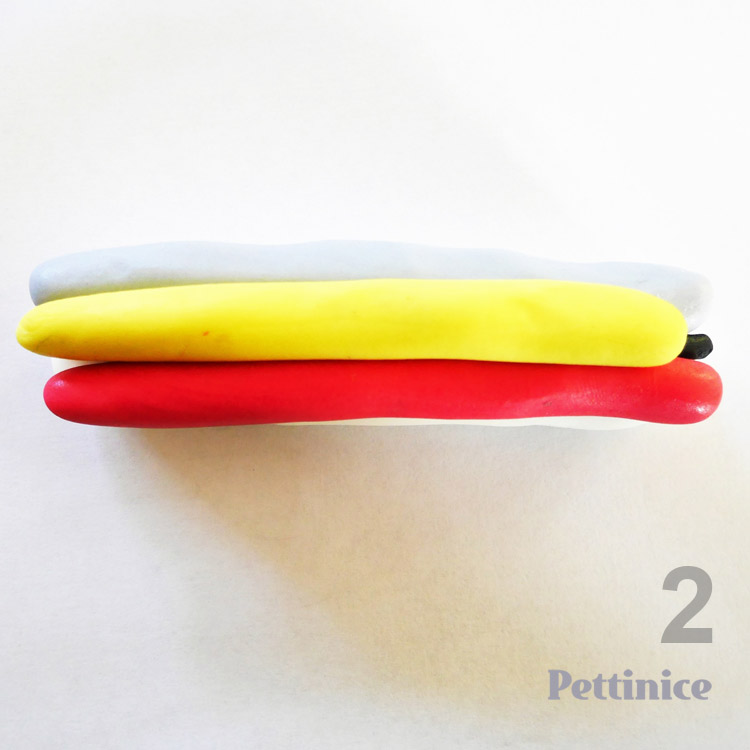
Step 2: Pile all your gumpaste on top of each other and roll it out a little so everything sticks together a bit better.
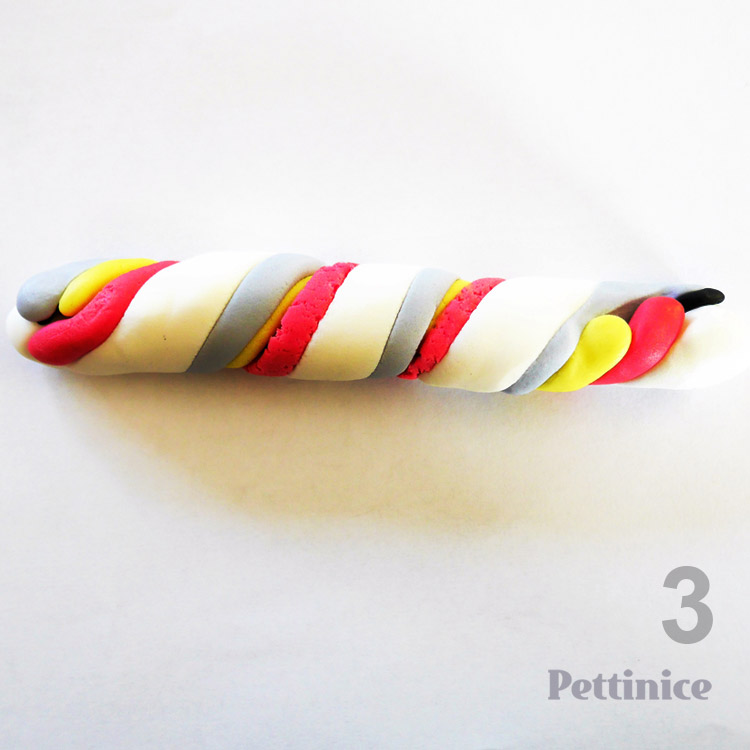
Step 3: Twist your multi-coloured gumpaste log. *Note, work quickly and don't let your fondant dry out.
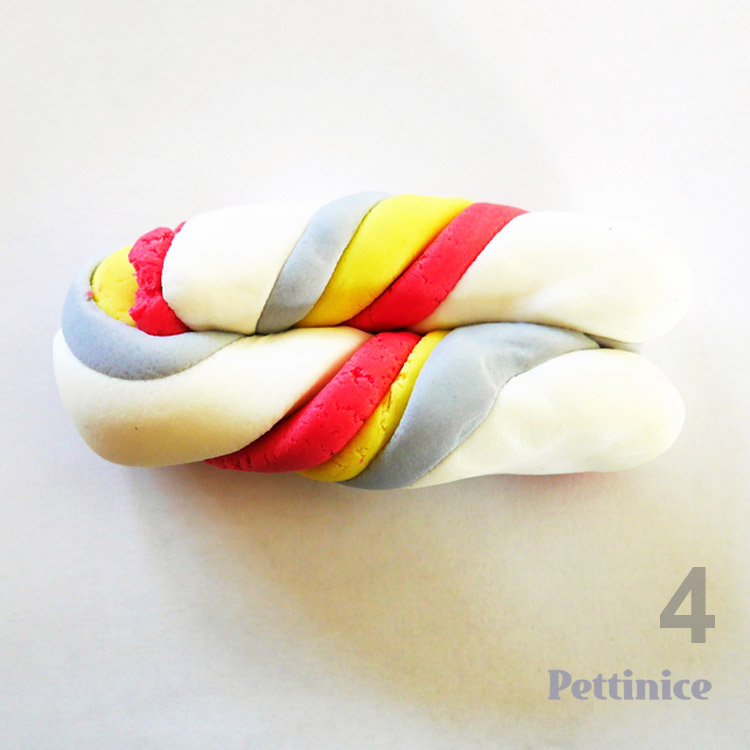 Step 4: Fold your Pettinice in half.
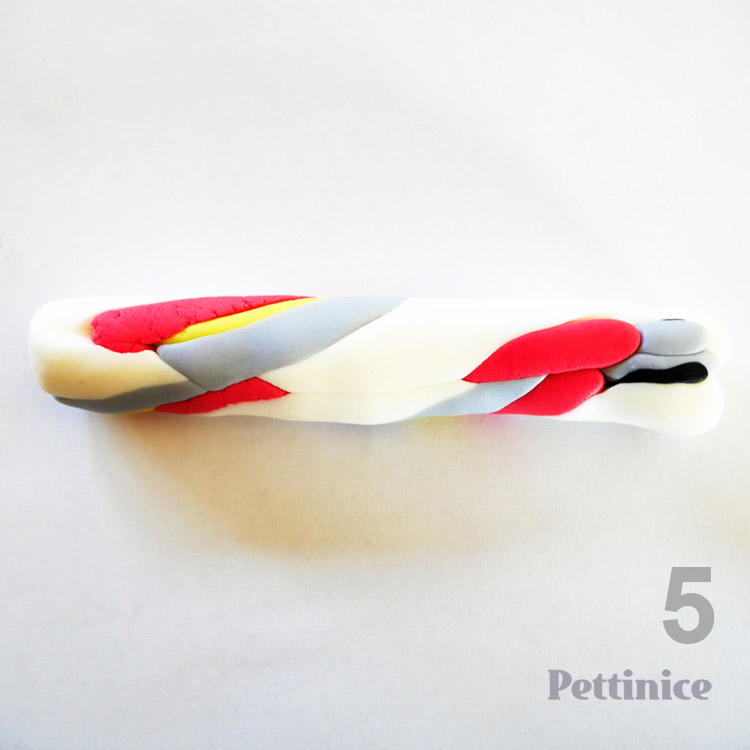 Step 5: Roll it out till you have a uniformly shaped log.
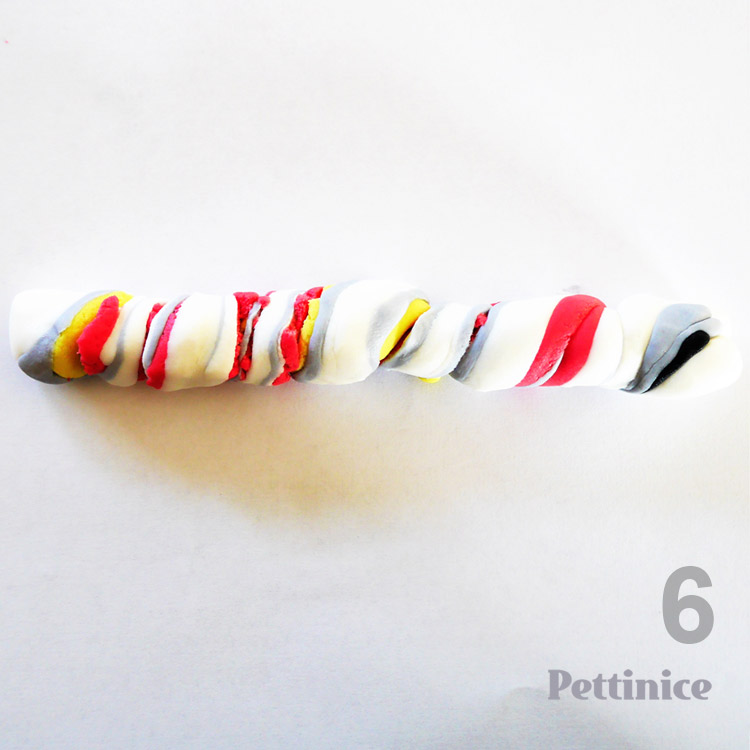 Step 6: Twist your log again and repeat steps 4-6 until you are happy with the "blend" of colours
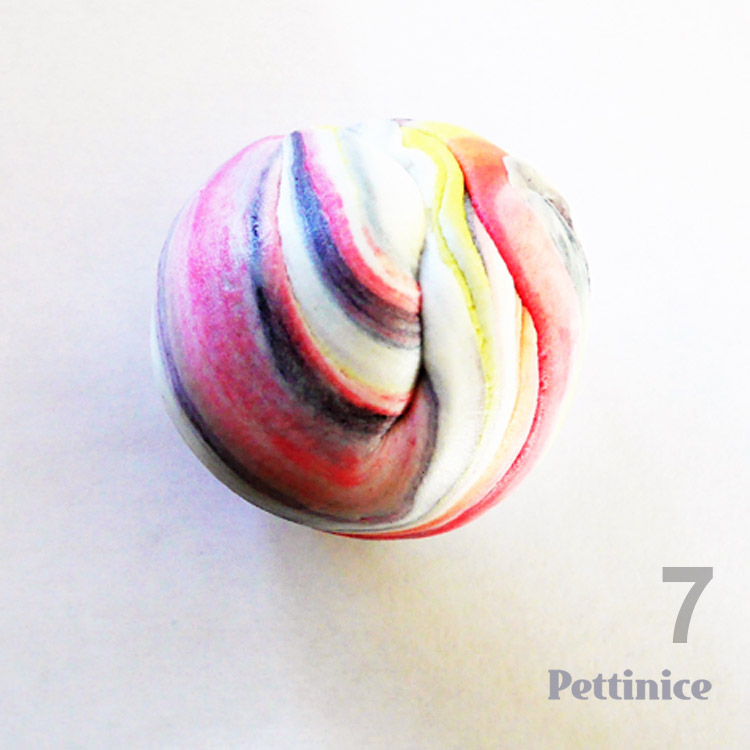
Step 7: Gather up your log and roll it into a ball as shown.
The inspiration for this cake came from a dress and a couple of coasters – yes, cake decorators do not see the world normally. Everything and anything has the potential to end up on a cake. - Zeena Bode
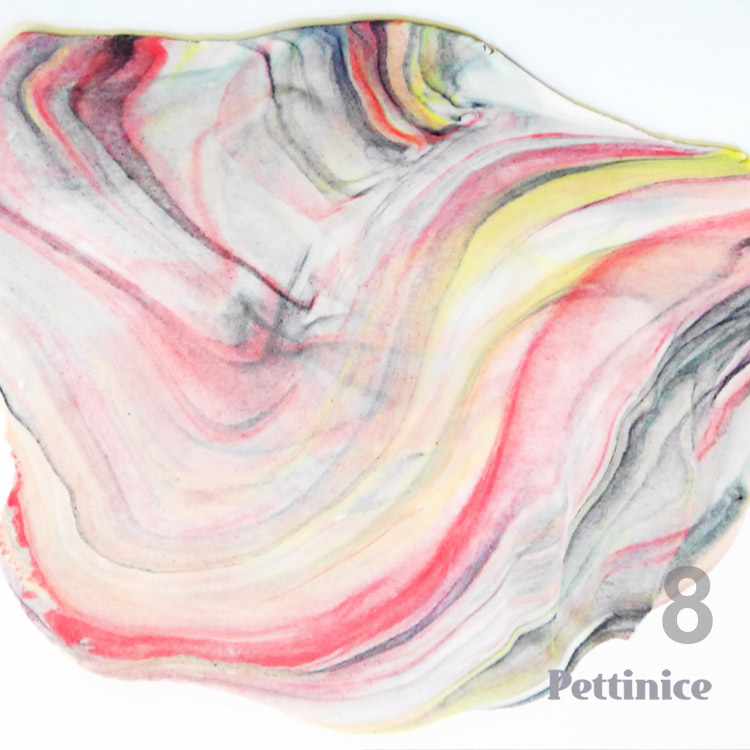 Step 8: Grab your rolling pin and see the magic appear!
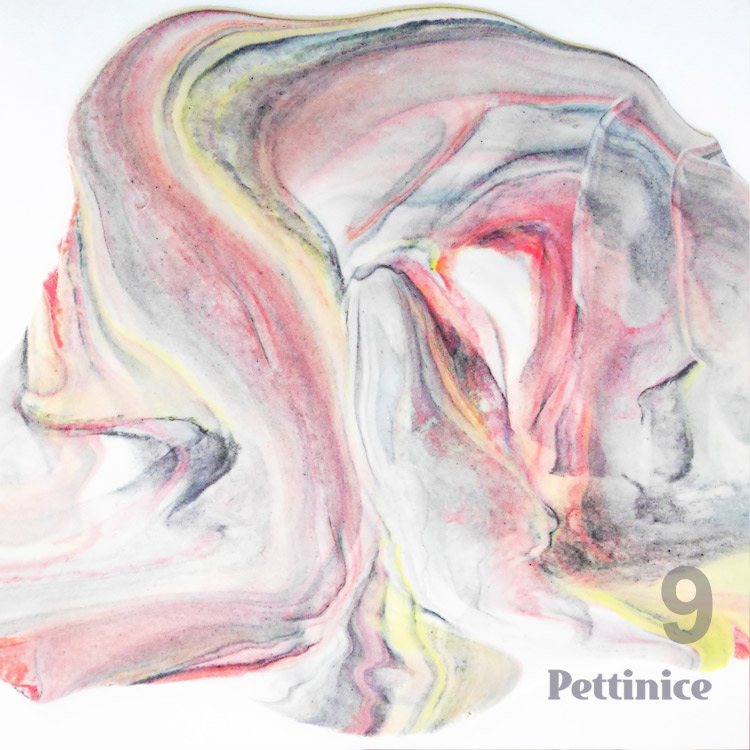 Step 9: Be sure to flip and check the underside, sometimes nicer patterns appear.
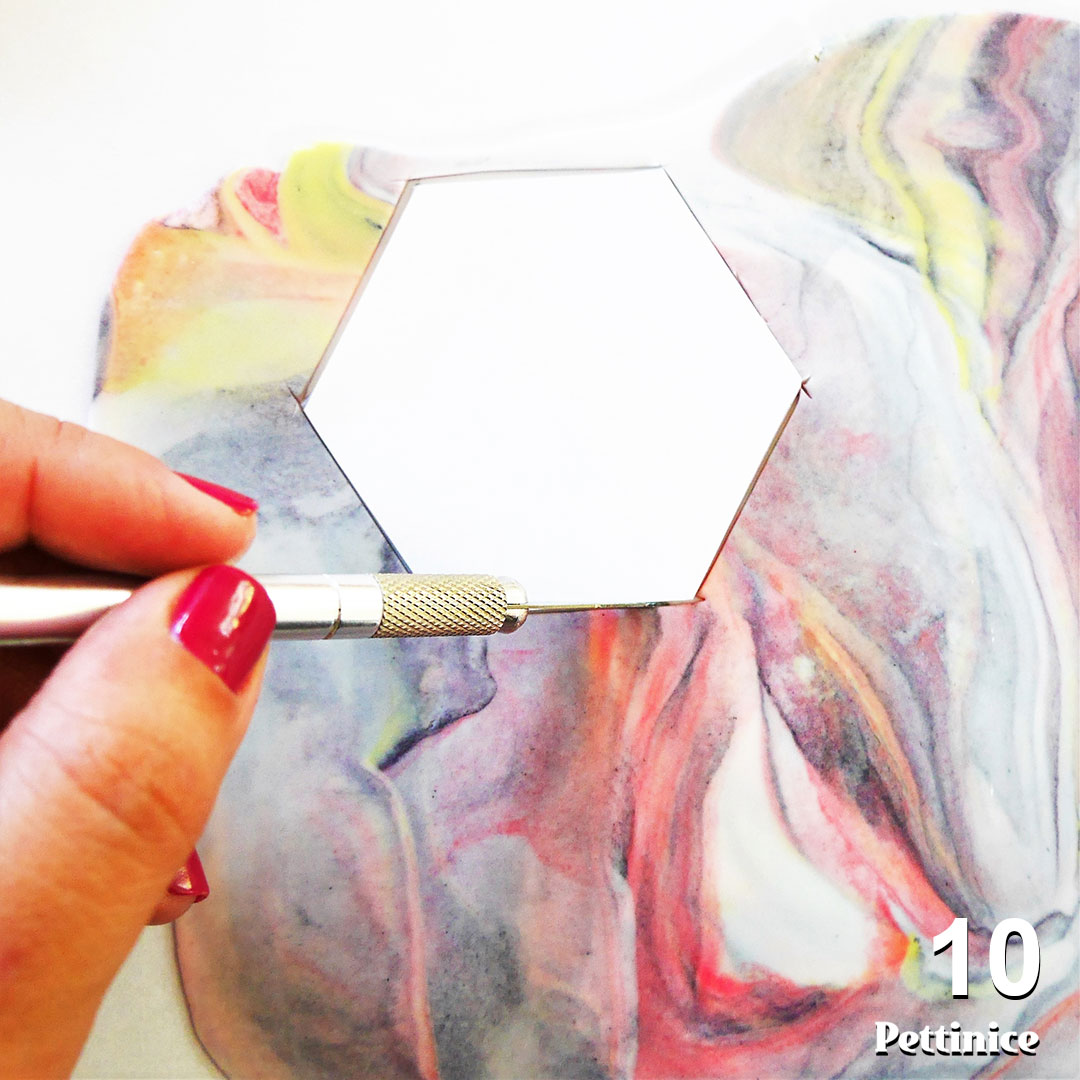
Step 10: Use your template and craft knife, or desired cutter to create your accent pieces. Please note: You cannot roll up the scraps and have a nice marble pattern the second time around, so get as many cuts as possible from this piece of gumpaste.
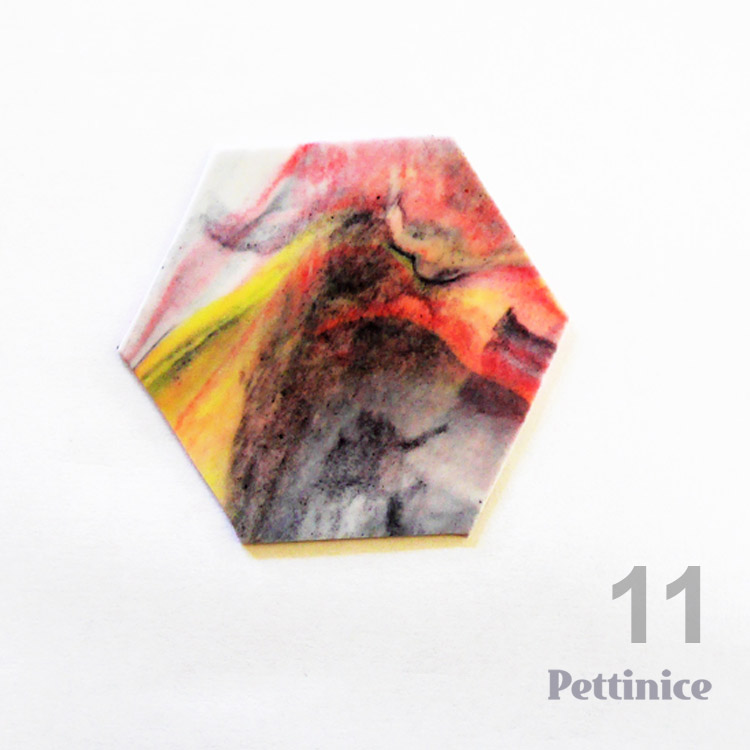 Step 11: I managed to get 7 pieces out of my sheet of gumpaste (this all depends on how thick/thin you roll out your gumpaste, the size of cutters/templates you use and the amount of gumpaste you started with).
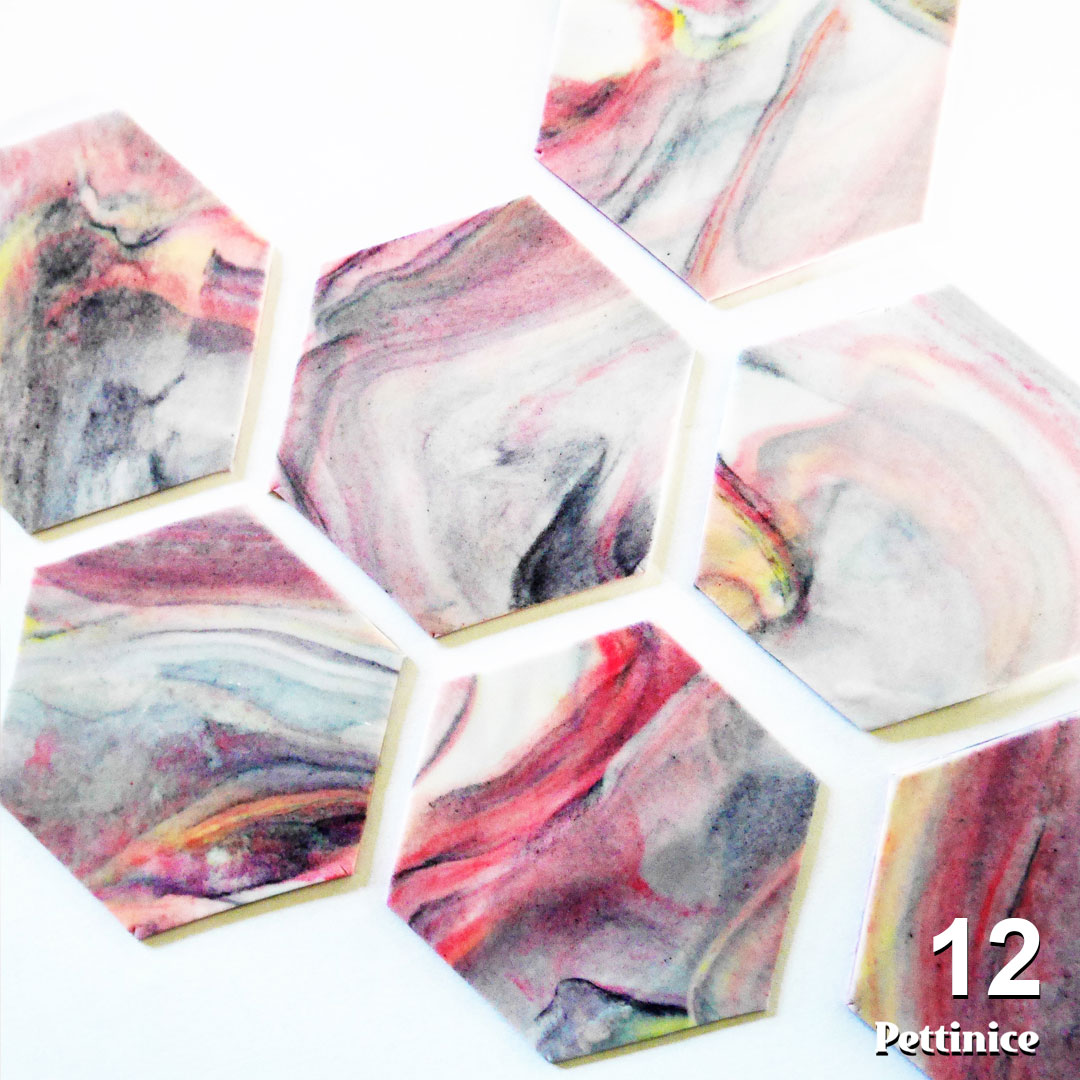 Step 12: Allow your pieces to harden. Depending on your environment, this could be overnight or a few days. If you are going to want any pieces standing, carefully push in toothpicks and allow allow to dry.
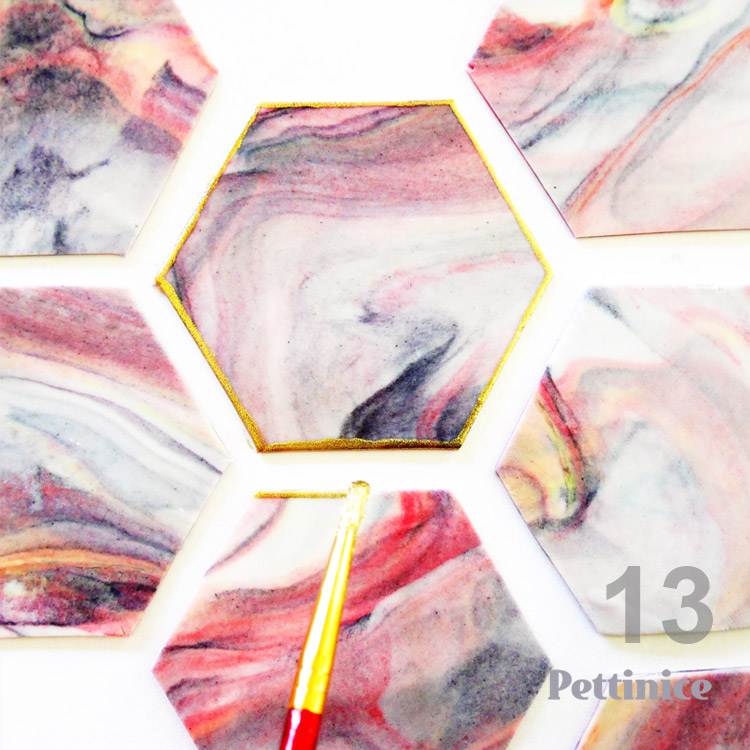
Step 13: Using some of your alcohol or lemon extract, mix in some highlighter gold dust (or whatever colour you’re using) to paint the edges of your shape. This part is optional but I really like how it finishes the pieces.
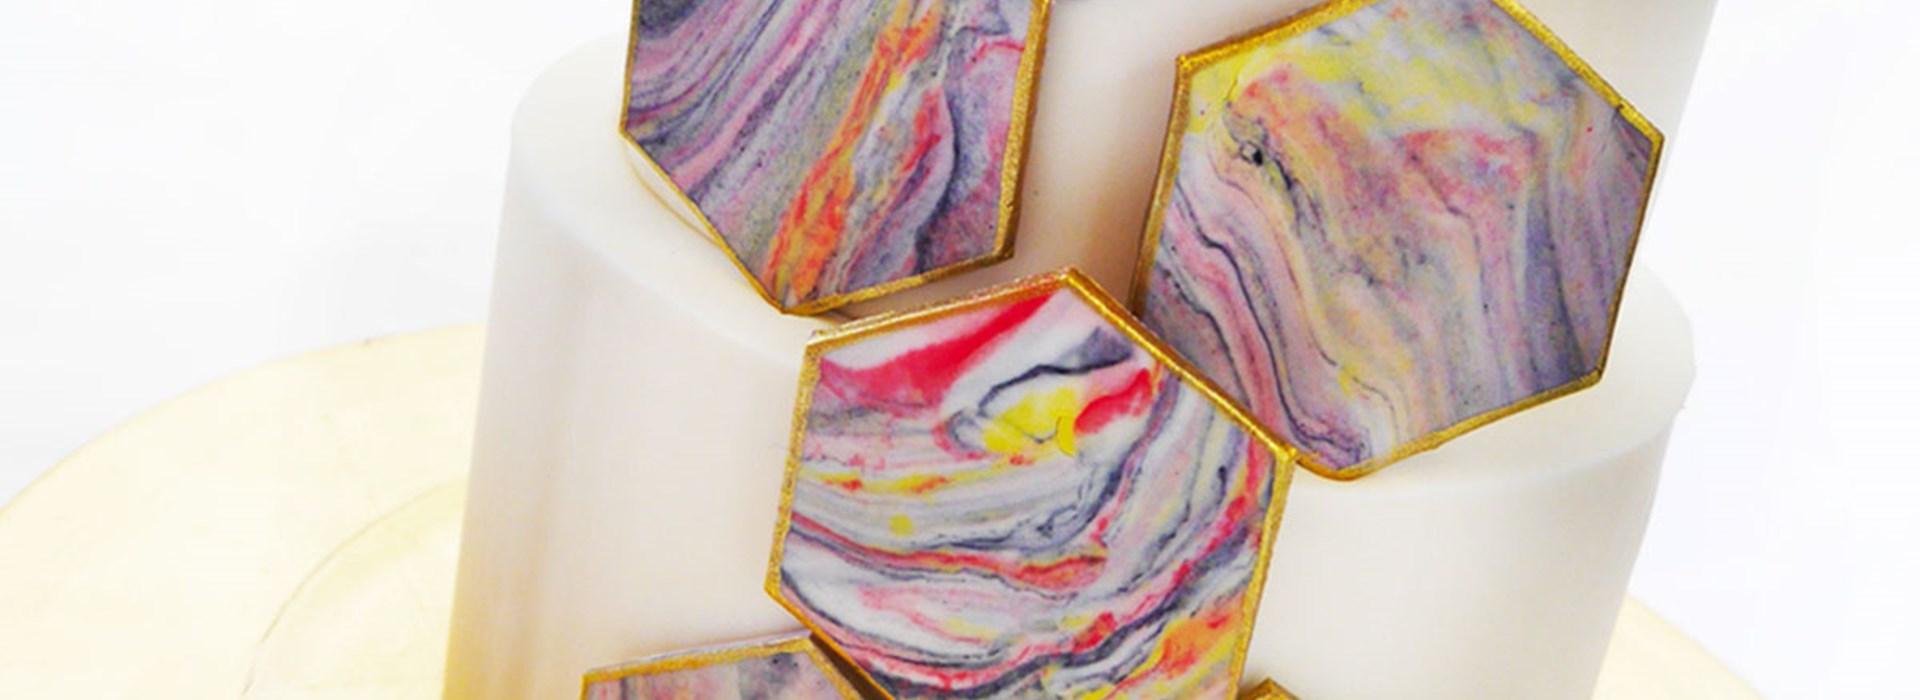
Step 14: Assemble using royal icing to stick your pieces to the cake.


Zeena Bode has been operating Miss Piggy’s Cakes in Auckland since 2011. She says: "I’m obsessed with colour, shiny stuff and anything to do with the ocean. I love finding the simplest ways to create things with great effects."
You can find Zeena on Facebook and Instagram. ![]()
![]()
Would you like to see more tutorials?