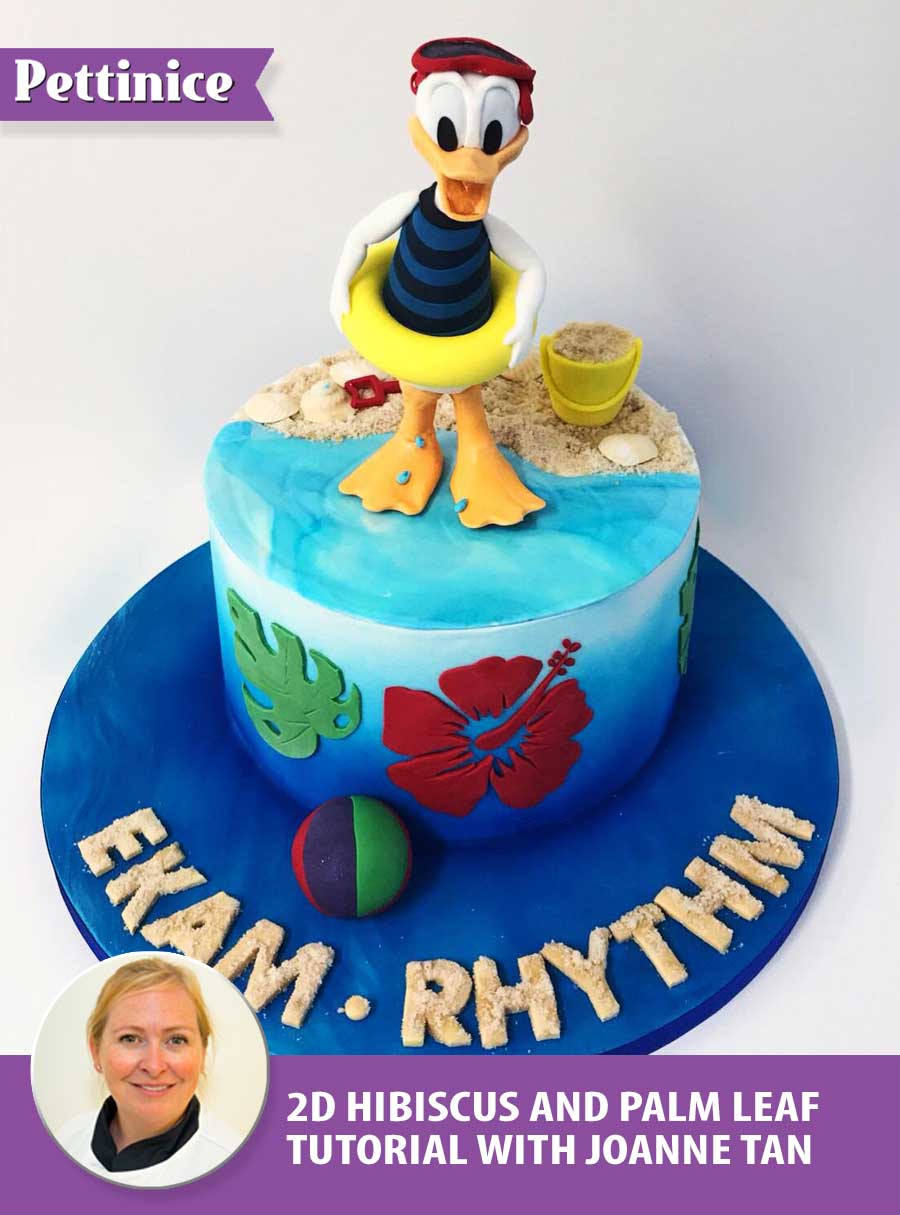
How to make a 2D cut-out hibiscus silhouette flower and leaf
How to create a simple hibiscus silhouette flower for your cake projects by Pettinice Ambassador Joanne Tan.
Edibles needed:
- Cutting board
- Petal cutter
- Exacto knife or sharp paring knife
- Sprink or spray oil
- Rolling pin
- Pettinice
- Cornflour
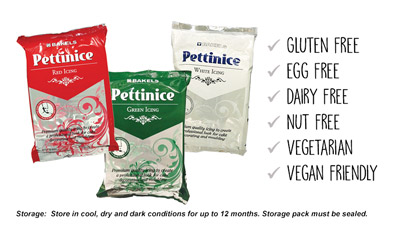
Pettinice is gluten free, egg free, nut free, dairy free, vegetarian, halal, and kosher.

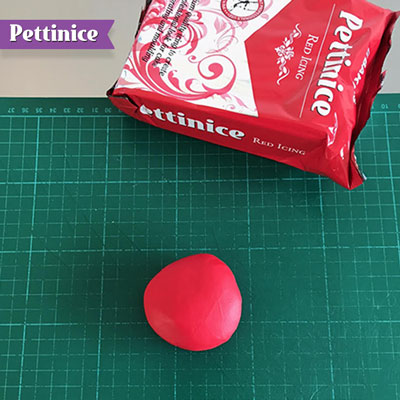
I started with 100gms of Pettinice red which easily made 3 flowers
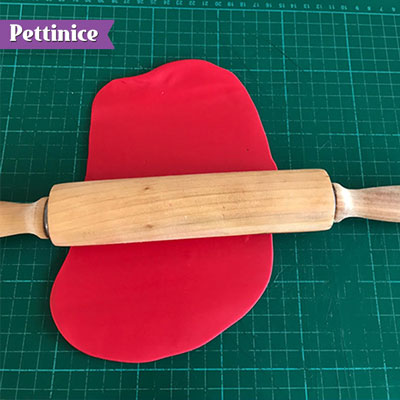
Roll your icing out to about 3mm thick
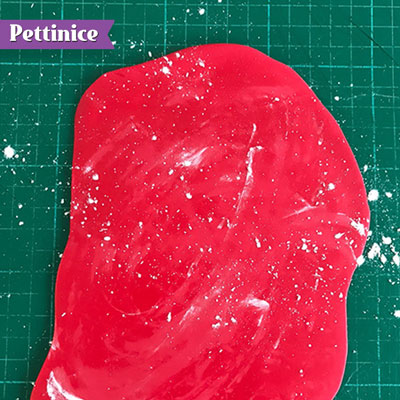
Use cornflour if your icing is tacky
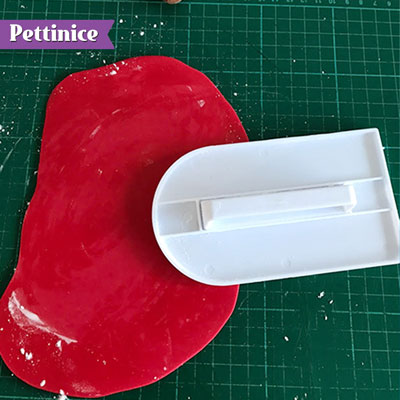
Smooth your rolled icing
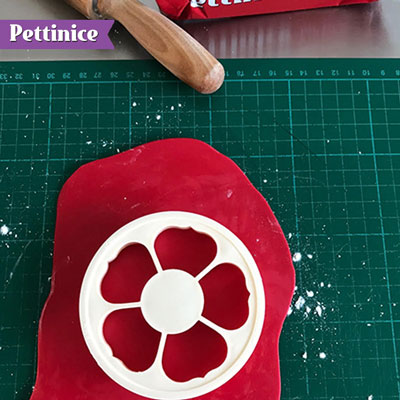
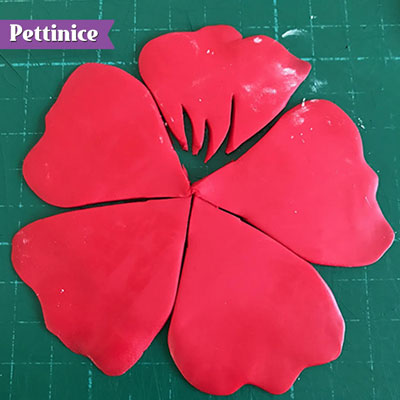
Use any 5-petal cutter. I used a 5 petal rose cutter which is 10cm diameter
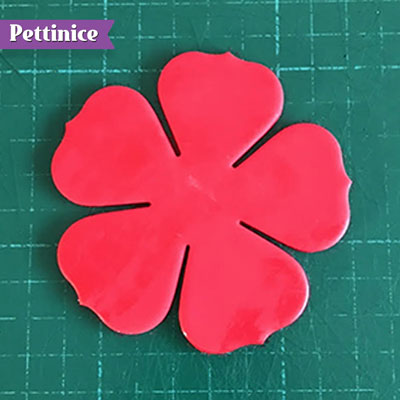
Remember to keep your off cuts, as you will use them later.
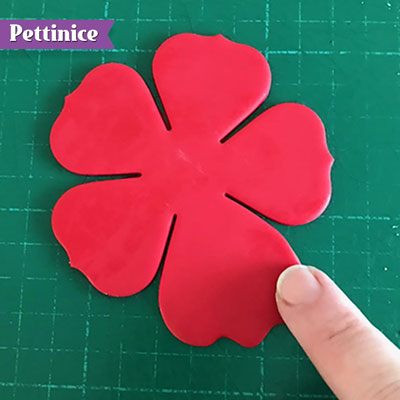
Thin out the edges to give a more imperfect look
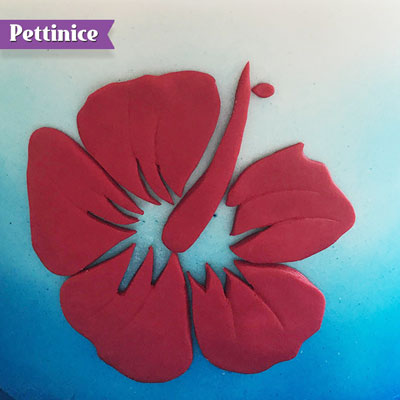
Cut the petals so that they meet in the centre
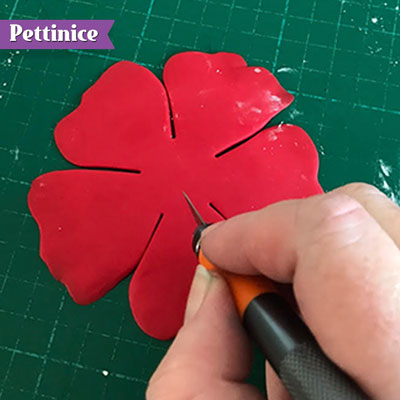
Make jagged cuts at the edge as shown - from ¼ of the way up the petal.
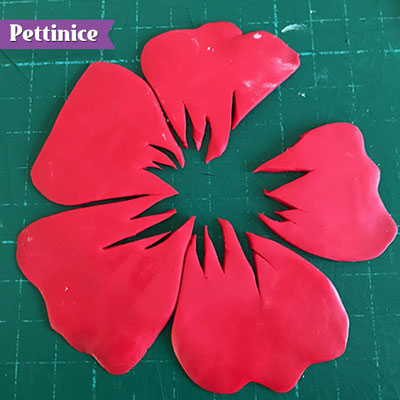
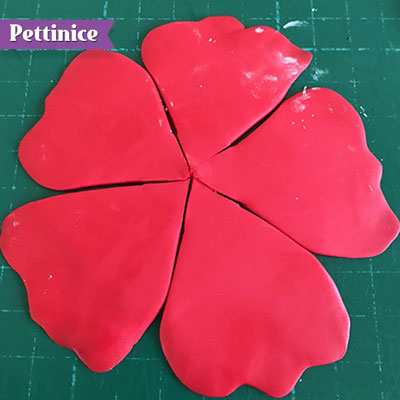
Alternate cut outs as shown, with some taller cuts than others. once you have done all 5 petals make sure you cut extra away from the sides of one petal to leave room for the stamen.
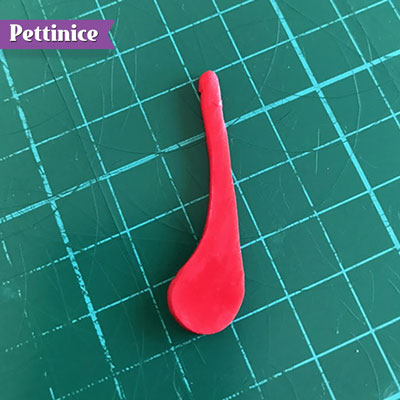
From the off-cuts you saved, cut out your stamen making sure it reaches from the middle of the flower to just outside the petal. This one is 5.5cm long
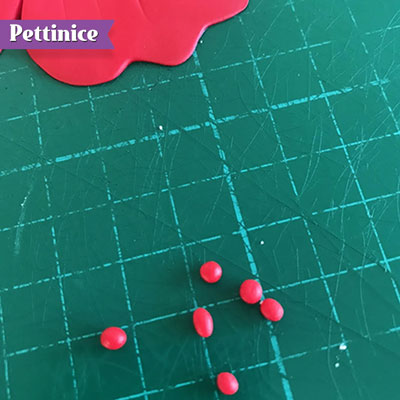
Roll 6 tiny balls all the same size for the stamen.
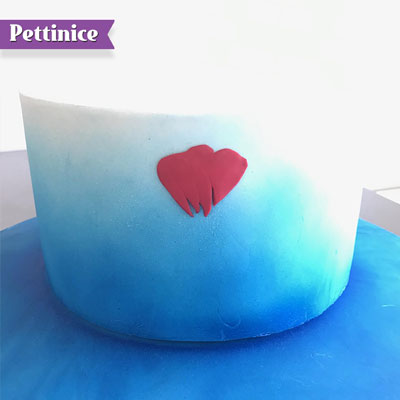
Spray your cake with Bakels Sprink rather than water ensures that you can change the position of your petal for a longer period of time afterwards if need be. Once sprayed, start placing your petals on in a circular motion.

Continue placing your petals, being sure to leave a gap for the stamen.
Place your stamen and begin adding the balls, rolled into teardrops ,
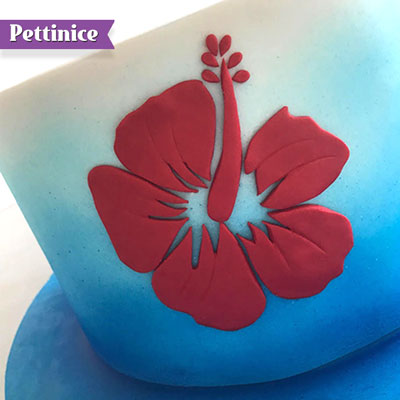
At this point if you want you can use your Dresden tool to further indent the petals to accentuate the cut outs.
How to make 2D Palm leaf
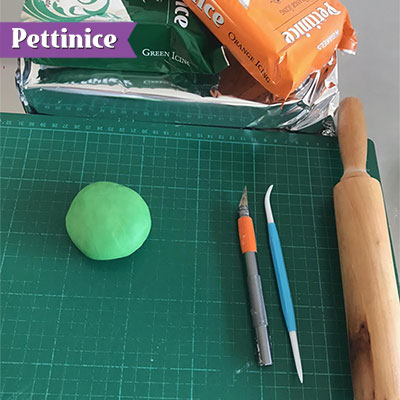
Select the green you require from the Pettinice mixing guide, or just play around until you find what you like I used mainly white with green and a little orange for this green.
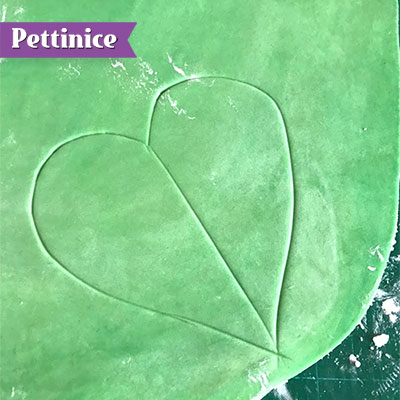
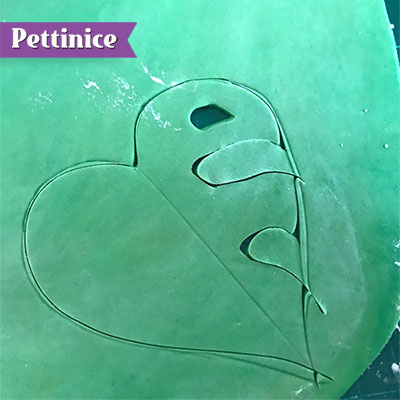
Using your Dresden tool, freehand draw a heart that is as wide as it is tall, and then a line down the centre.
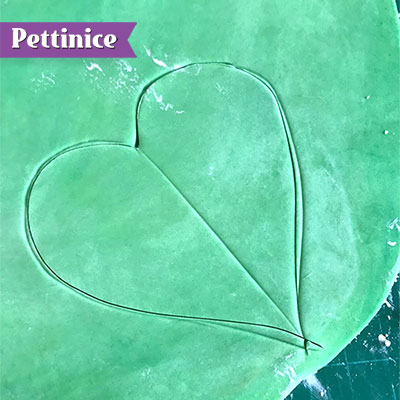
Using your exacto knife cut your heart outline out
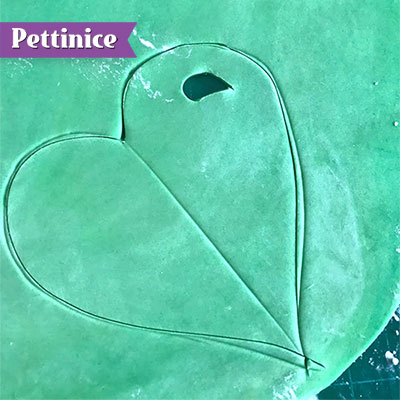
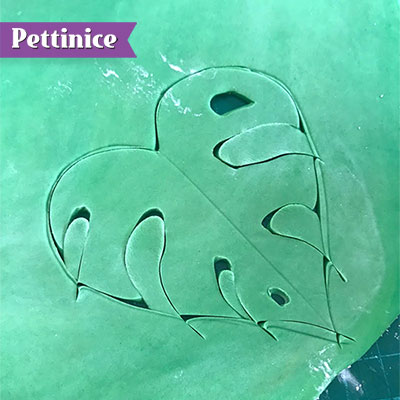
Cutting holes in your leaves to add detail and imperfections
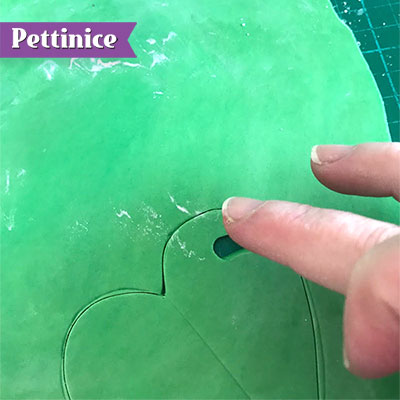
Smooth out the cuts with your finger.
it looks best with 2 cut outs on one side and 3 on the other
it looks best with 2 cut outs on one side and 3 on the other
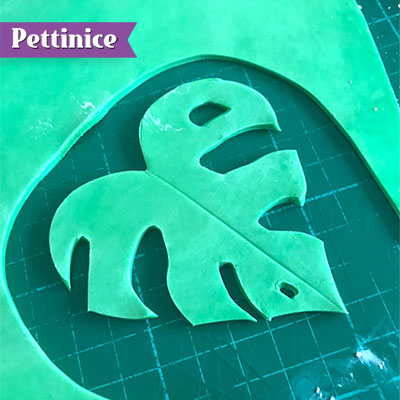
Cut away excess fondant
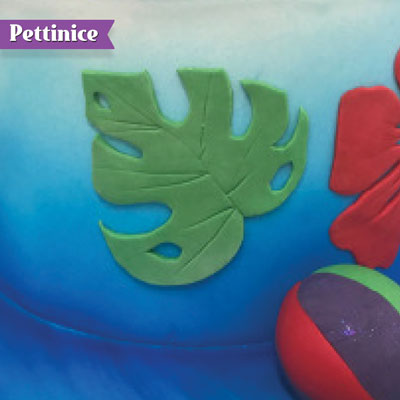
Finished!
Jo started making cakes for her children around 2001 and her designs have been fun and varied, including an octopus sitting on bananas to a rainbow tree. She laughs when she recalls how terrible her first cakes turned out, but enjoyed making them so much she decided to learn how to decorate a cake properly. Now she enjoys sharing her skills while teaching and demonstrating. Her number one tip: “Patience is a virtue, so spend that extra time to get it right."
See more of Jo's cakes at