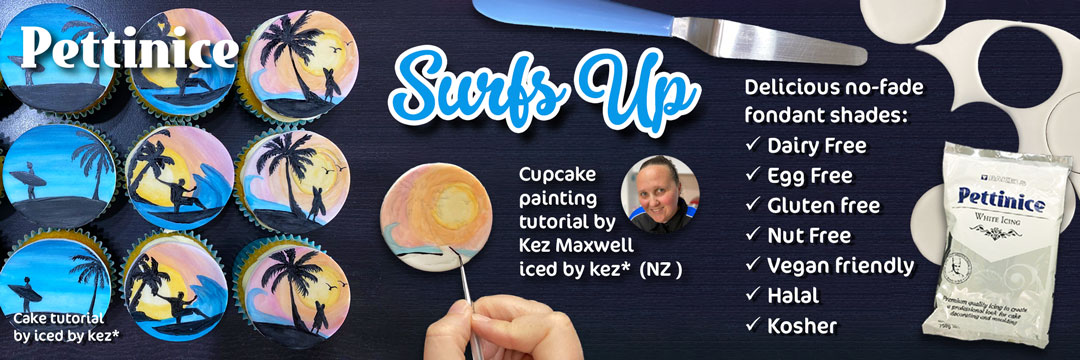
How to create painted surfer cupcake toppers with Kez Maxwell
.
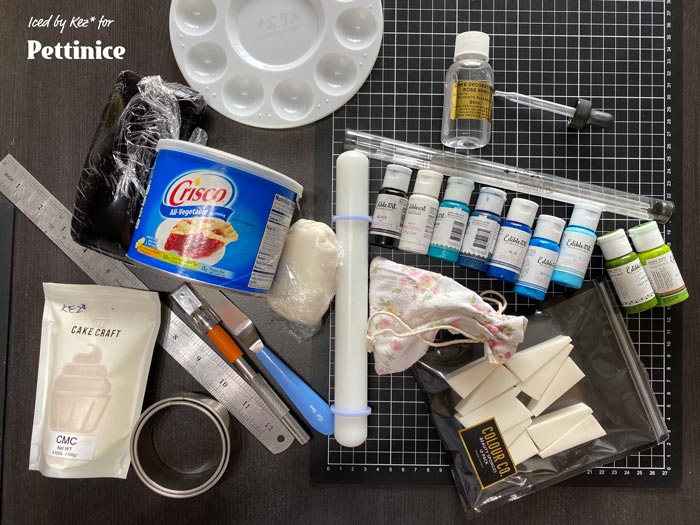
You will need:
Pettinice
- 250gms White Pettinice
- Tylose or CMC Powder
- Crisco (Vegetable Shortening)
- Cornflour dusting pouch
- Mat to work on (optional)
- Circle Cutters
- Small Rolling Pin with Purple Bands on
- Pallet
- Knife
- Acupuncture Needle
- Ruler
- Brand new make sponges
- Paintbrushes, 000 or 00 & a small flat brush
- Edible Art Paint - in colours you wish to use.
- Paint Pallet
- Rose Spirit (Decorators Alcohol)

Making the cupcake topper bases
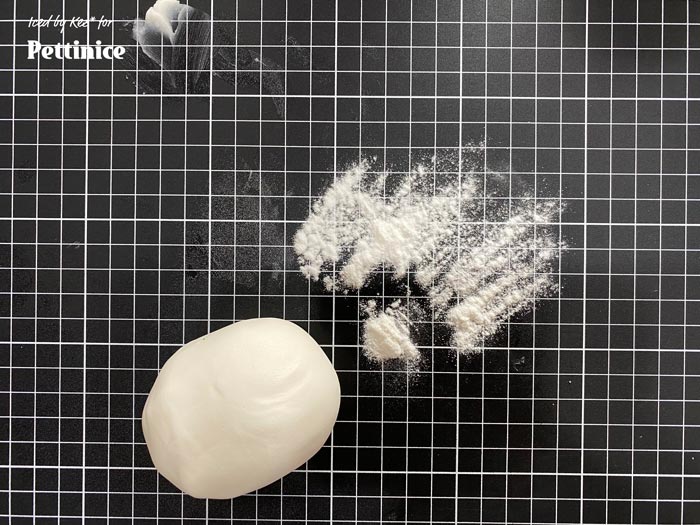
Step 1. Mix the Tylose or CMC powder into your Pettinice, For best results set aside for a few hours. This makes it easier to work with - as the fondant keeps its shape easier. If you are running out of time, you can use it straight away - just take extra care, not to loose the shape, when moving the fondant circle.
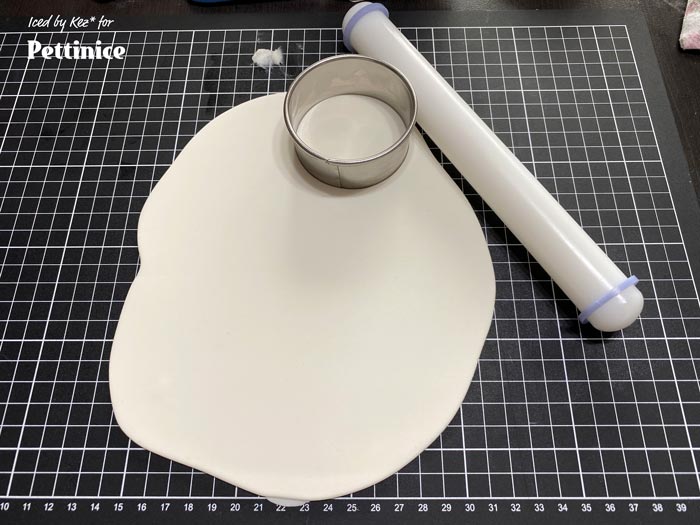
Step 2. Roll out some of your fondant using the purple bands on your rolling pin to keep it all the same level. I do this multiple times in smaller lots, rather than rolling all the fondant out in one go, because I find it easier to get the fondant the same thickness when working with less.
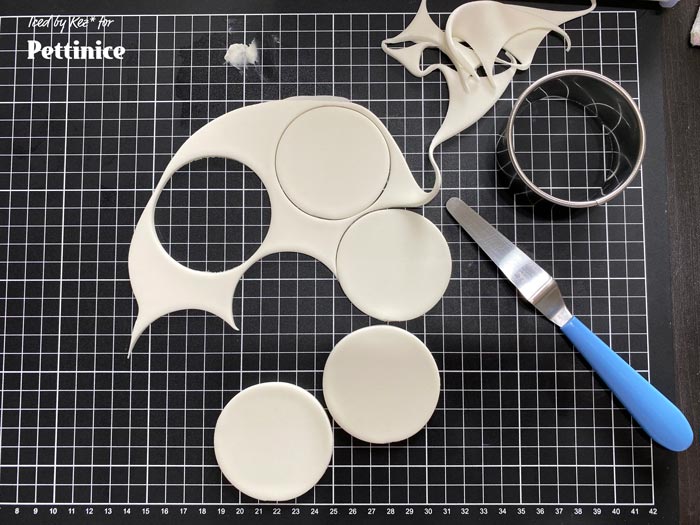
Use a circle cutter - a size you are happy with. I chose one that is around 6cms round. Make sure the cutter is clean, push down evenly & lift up. If the cutter is clean it should just cut cleanly & leave the circle on the board. If the cutter needs to be cleaned the circle of fondant will come away with the cutter & you will need to gently push it out into your hand. Use your fingers to run around the edge & soften any rough sides before placing on another board to dry. If you don’t have boards like mine, place them on a baking paper sheet on top of a cake board or something flat.
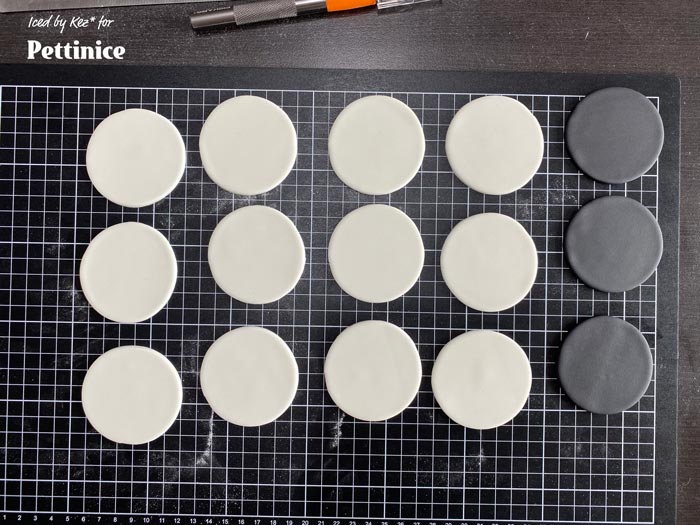
Repeat these steps until you have your desired amount of toppers. Leave the toppers to dry for a day. - this is important, the fondant needs to have dried properly before the next step.
Tracing the image
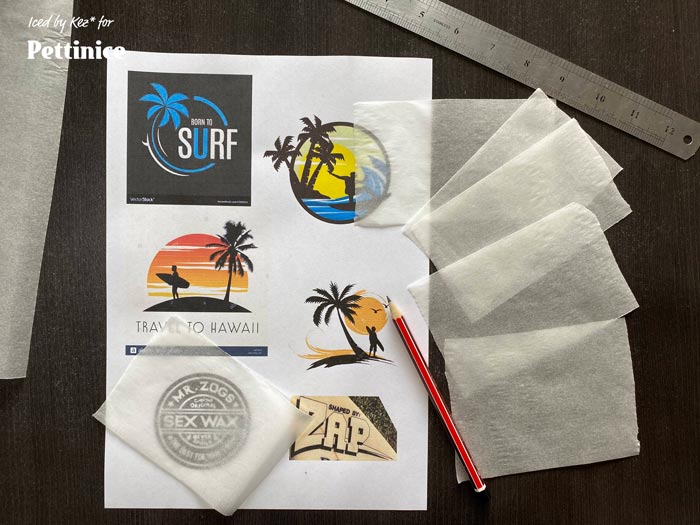
Step 3. Next you want to find the images you want to paint. I searched google for ‘Surfboard Palm Tree Silhouette’ to find these, it took me a while to get the ones I liked. These were for my brother, so I also included ‘ZAP’ which was an old surfing label & board he had. I sized these in Adobe Illustrator so that I knew they would fit the 6cm round circles I was working with. Print them out.
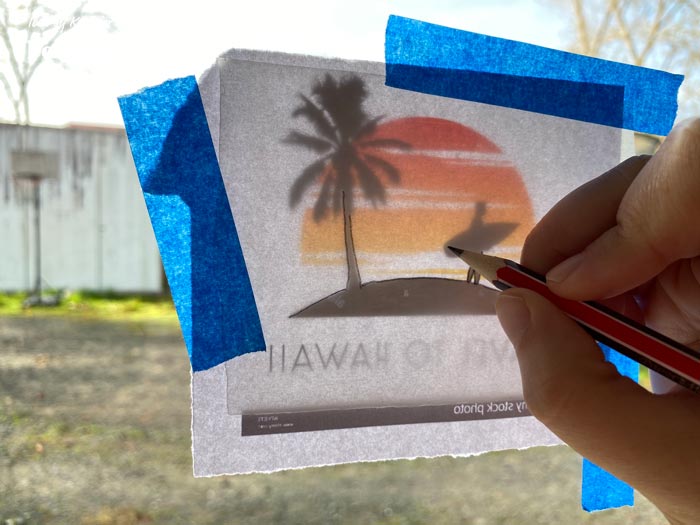
Step 4. Cut some baking paper bigger than the image. Take the printed image & turn it over so it’s back to front, put the baking paper on & stick it to a window or light box with low adhesive tape. Using a sharp pencil trace over the image.
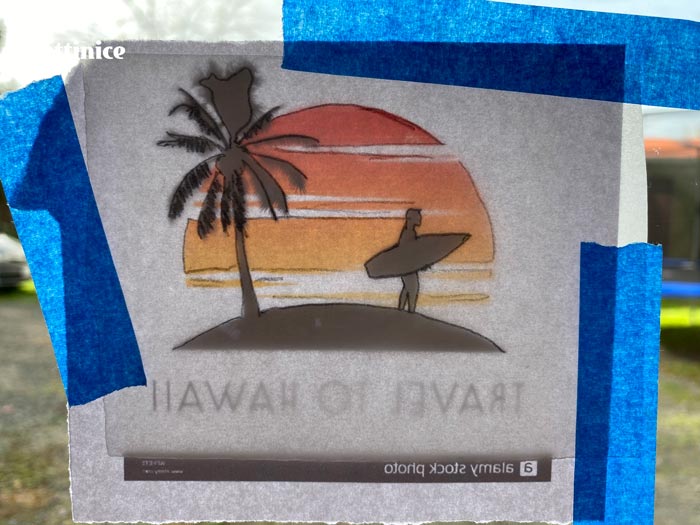
Finished tracing.
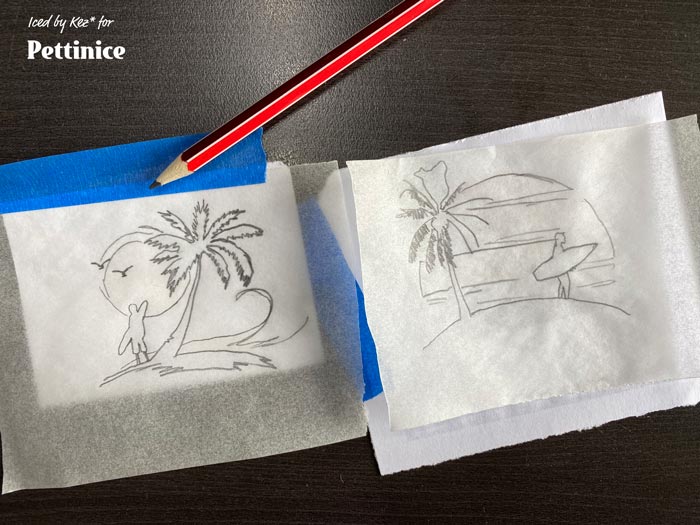
This is what your templates will look like when you are finished.
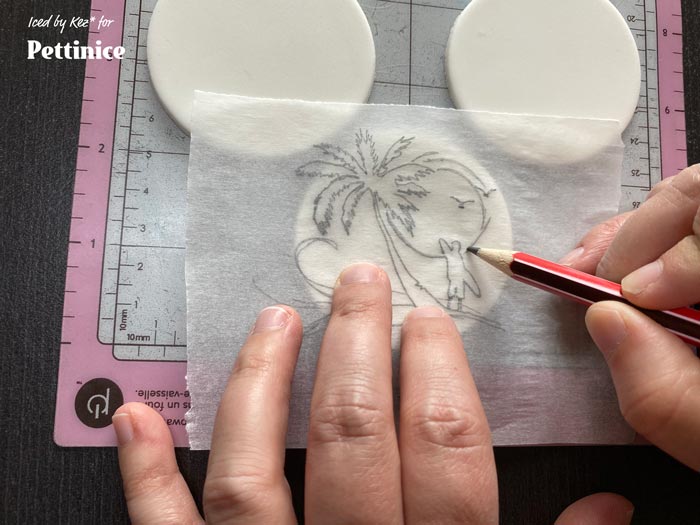
Step 5. Now take the baking paper with the traced image, bring it over to your fondant circle, line it up, the pencil side on the fondant. Using your sharpened pencil trace over the image again, transferring it onto the fondant. Do this for each design.
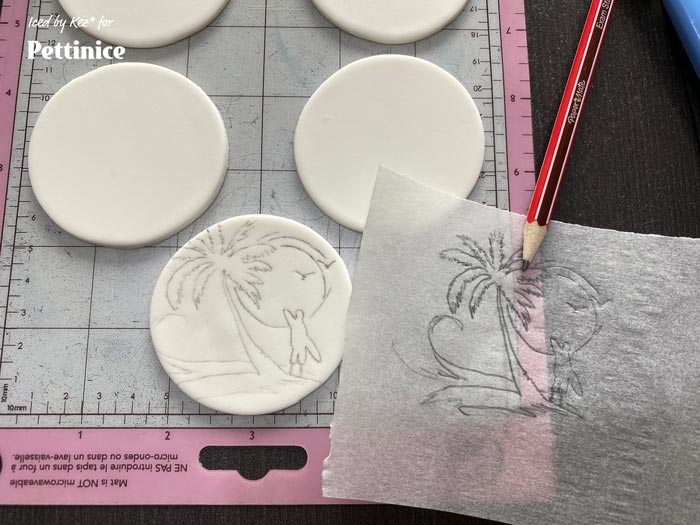
For mine, I’m using 4 different designs & making three toppers from each design. You can re use the transfer, it gets lighter each time.

Now we are ready to paint.
Let’s talk about Pencil. - this is a standard Graphite pencil. Graphite is non toxic. I have personally researched this & feel confident that it is only a small amount that is transferred & from what I’ve read you would need to ingest a large amount to have any issues. However, you may not be comfortable with this. That’s fine, you can do the same technique without pencil. First thing to note is you would need to do this with fresh fondant not hardened. Print the image & trace over it onto baking paper (the right way up) - then line it up onto your fondant & while it’s fresh use a Dresden tool to trace over the image & indent your fondant. No pencil is transferred & you have the indents as your guide for painting.
Painting the designs
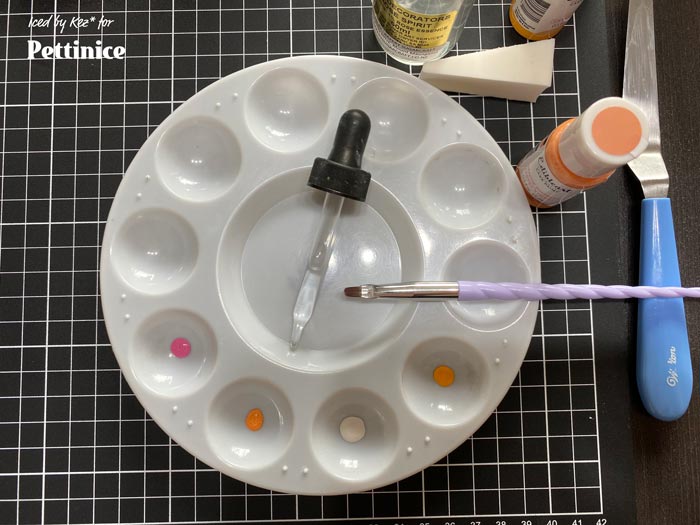
Step 6. Get your Edible art Paints out. Shake them up really well before putting a small drop into your pallet. Use a dropper & add a drop or two of Rose Spirit to ‘water down’ your paint.
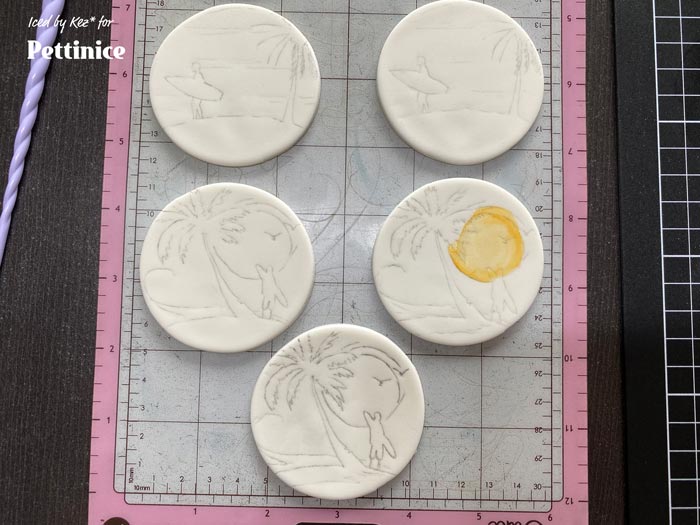
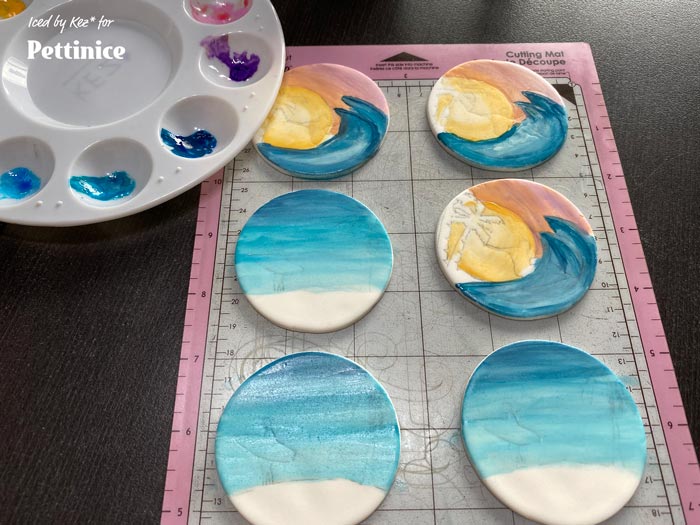
I’m starting with the background... with the sun first.
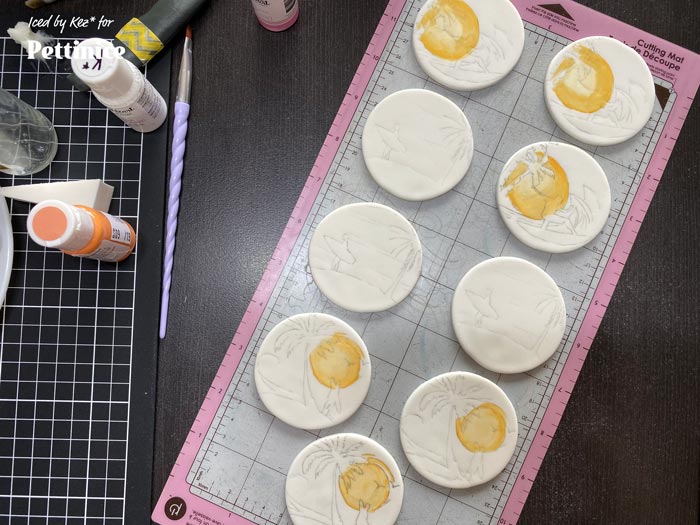
I have two designs which has a sun & sunset, so I work on those first as they are all similar colours. Using a flat paint brush.
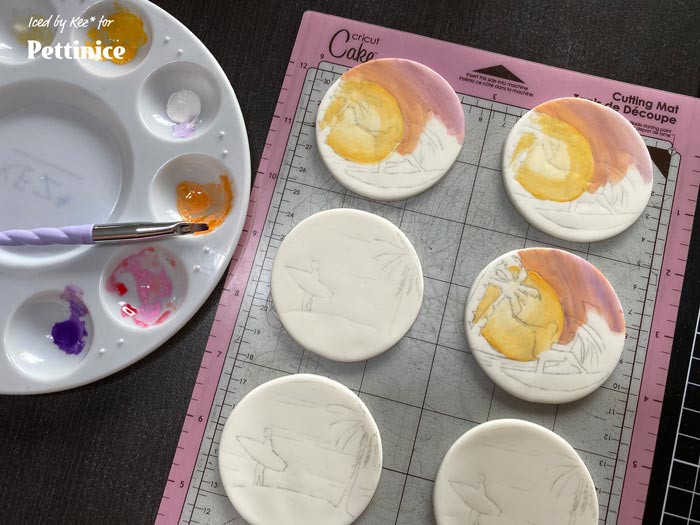
Next colours, and blend.
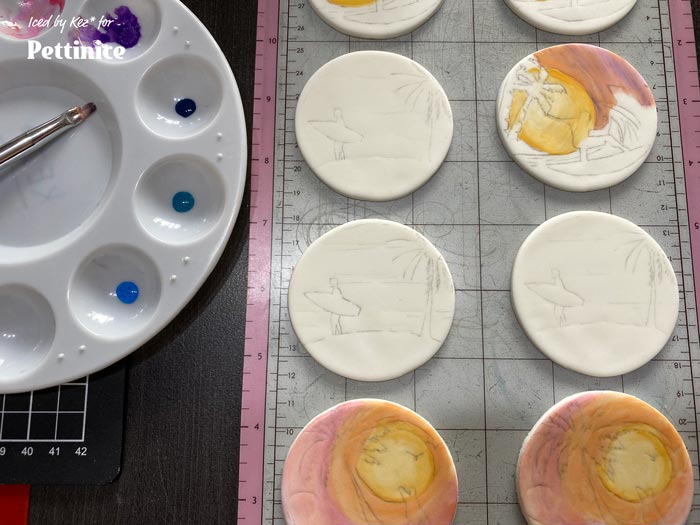
Finished! Now I move on to my blues...
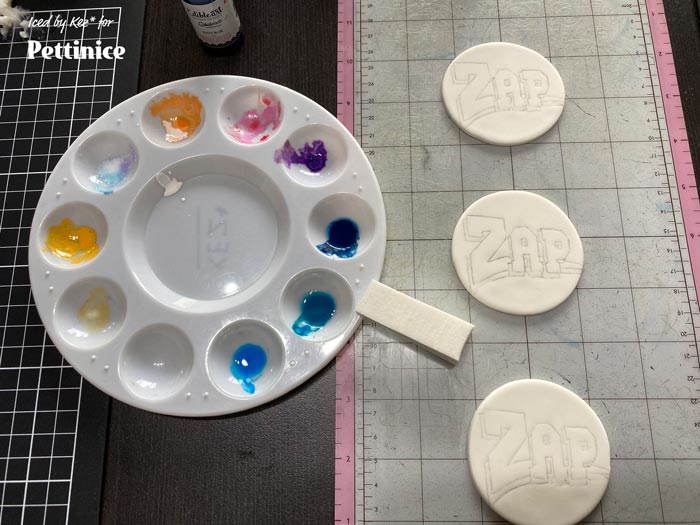
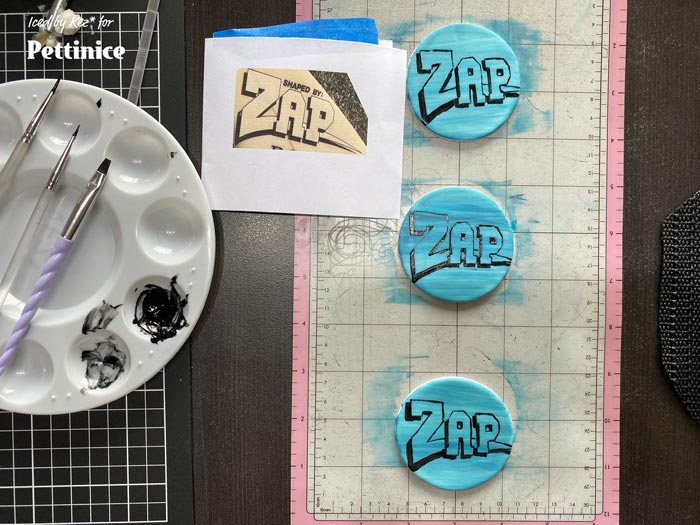
Step 7. For the ‘ZAP’ toppers I wanted a mix of blues for the background. I use a make up sponge to wipe the colour across the topper.
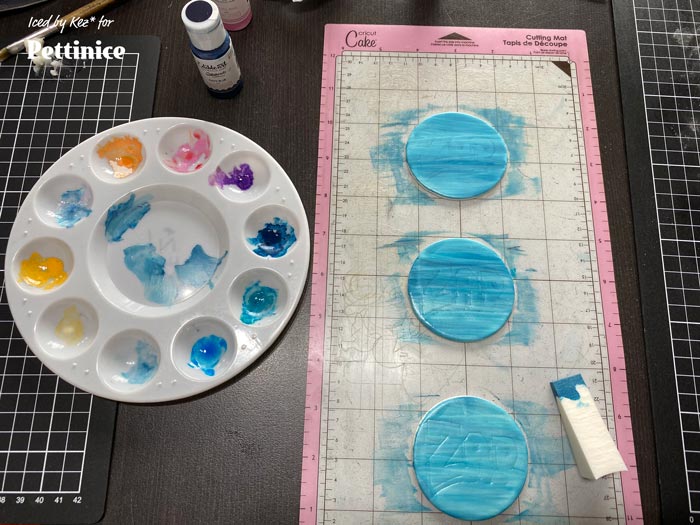
To keep the topper in place I put a bit of crisco on the back & used that to stick the topper to the mat I was working on... so much easier than trying to work with a topper that’s sliding all over the place. Using the sponge you can add or take away colour as needed. It’s quite fun!
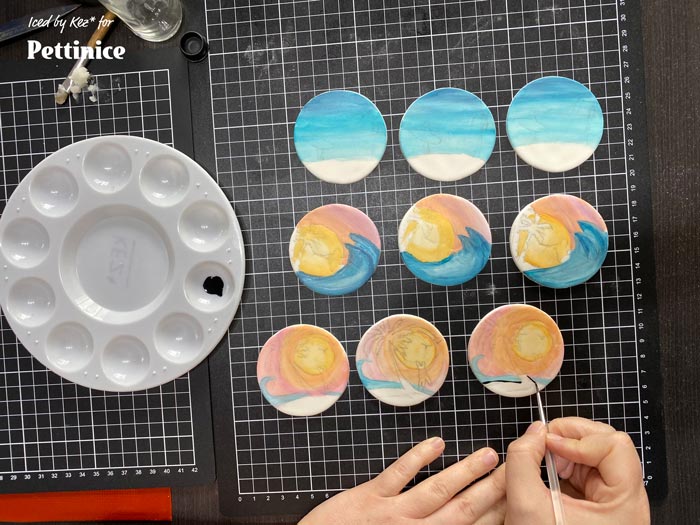
Step 8. Leave the backgrounds to dry. For me the first sunset ones were dry by the time I had finished working on the ‘ZAP’ background. So I started with them. Get your 000 or 00 paint brush & your Black Edible Art paint. Take your time & carefully paint the finer details, always doing the outline first & then filling in.
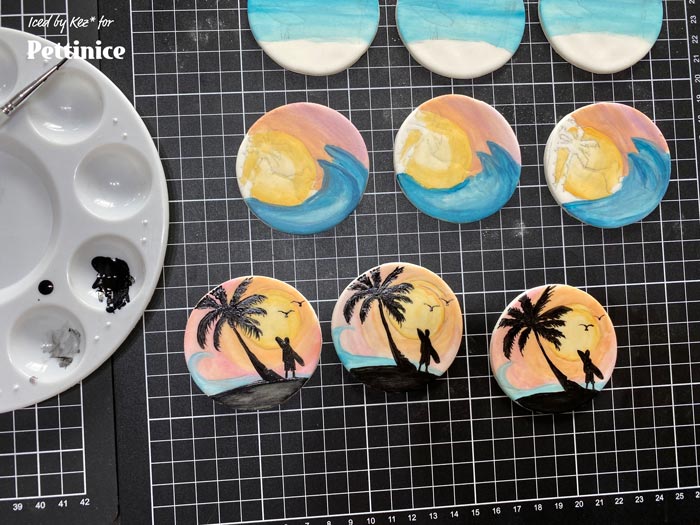
Finished the first three..
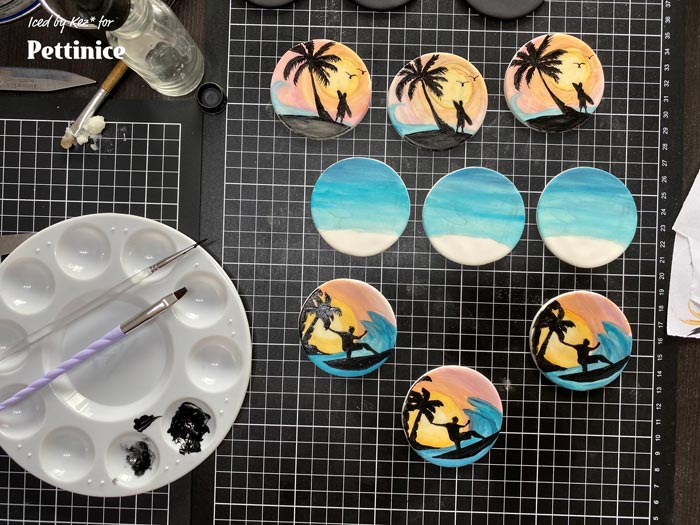
Leave these to dry.
Take your time & carefully paint the finer details, always doing the outline first & then filling in.
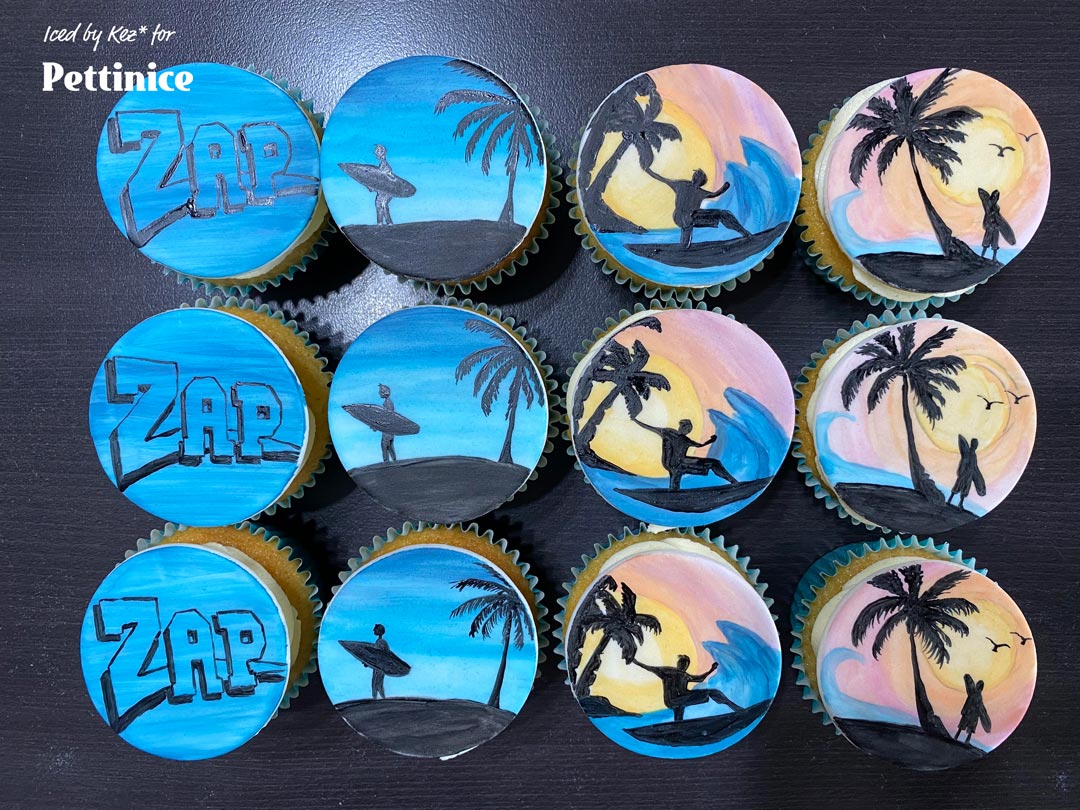
This technique is so versatile, I’ve used it a lot for painting names on cakes or images that you can’t easily get using cake tools. Hope this has been helpful! Would love to see what you create! kez* xx

Kez Maxwell runs Iced by Kez in Auckland, New Zealand.
"My passion for cake decorating came from making my kids their birthday cakes and has grown from there. I have been decorating for four years now and learned so much along the way. In the beginning Youtube was my class room - but since then I've made some amazing friendships through Facebook in the vast cake world there and through these friendships have learnt so much!"
You can find Kez on Facebook and Instagram.
![]()
![]()