Kawaii Watermelon Cake Tutorial
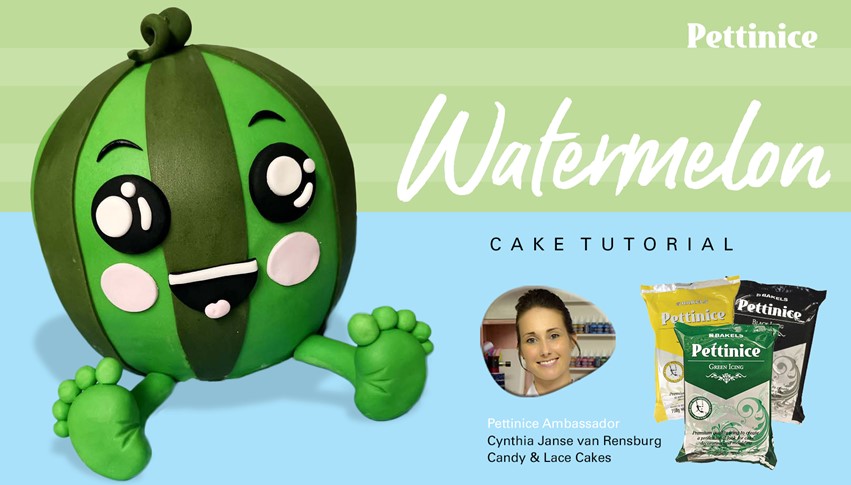
Kawaii = cuteness!
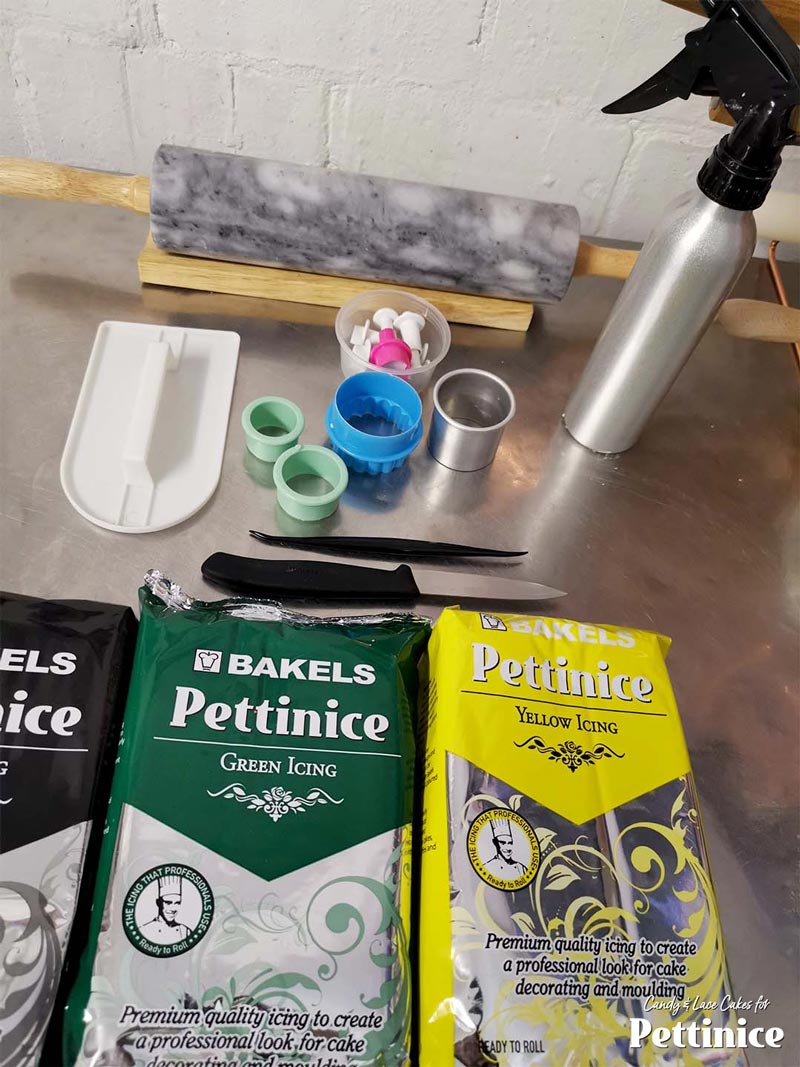
Tools you will need:
- Knife
- Dresden tool
- Cake smoother
- Rolling Pin
- Variety of circle cutters
- Plastic bag (like a ziplock sandwich bag)
Edibles you will need:
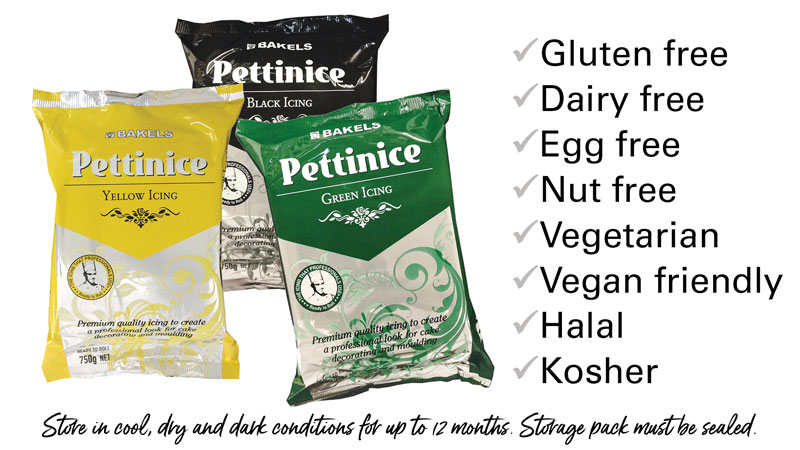
- 80grams Yellow Pettinice
- Green Pettinice
- Black Pettinice (small amount for face and colour mixing with the green for darker shade)
- Pink Pettinice (very small amount for mouth)
- Dark Chocolate ganache 3:1 ratio of chocolate to cream
- Baked sphere cake
If you look at Japanese Kawaii art, you often see prints with inanimate objects or animals with human characteristics. Adding a 'face' to an object makes it feel more alive and people feel more affection towards it. In this tutorial we create an adorable watermelon, but you can animate just about anything!

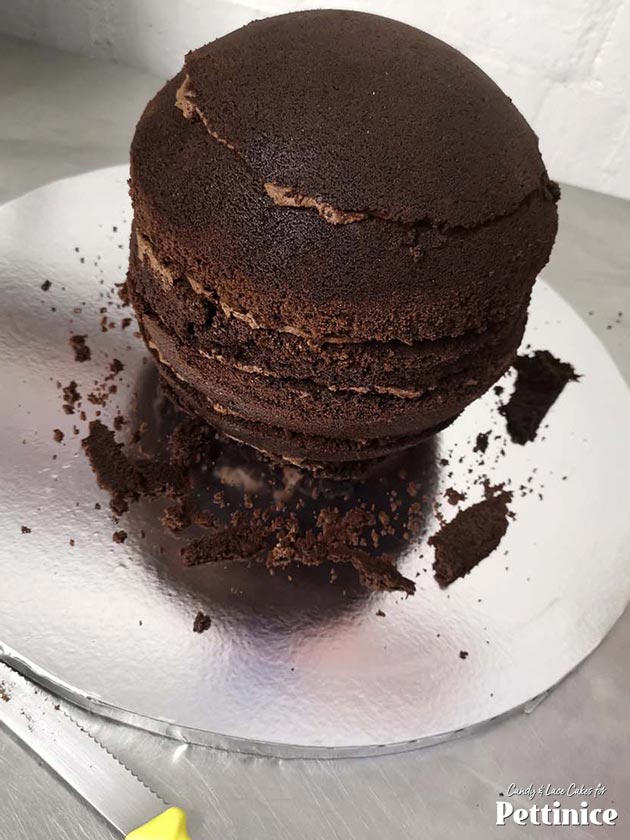
Bake your cake in a ball / sphere pan and cut into layers and fill as you normally would all your cakes.
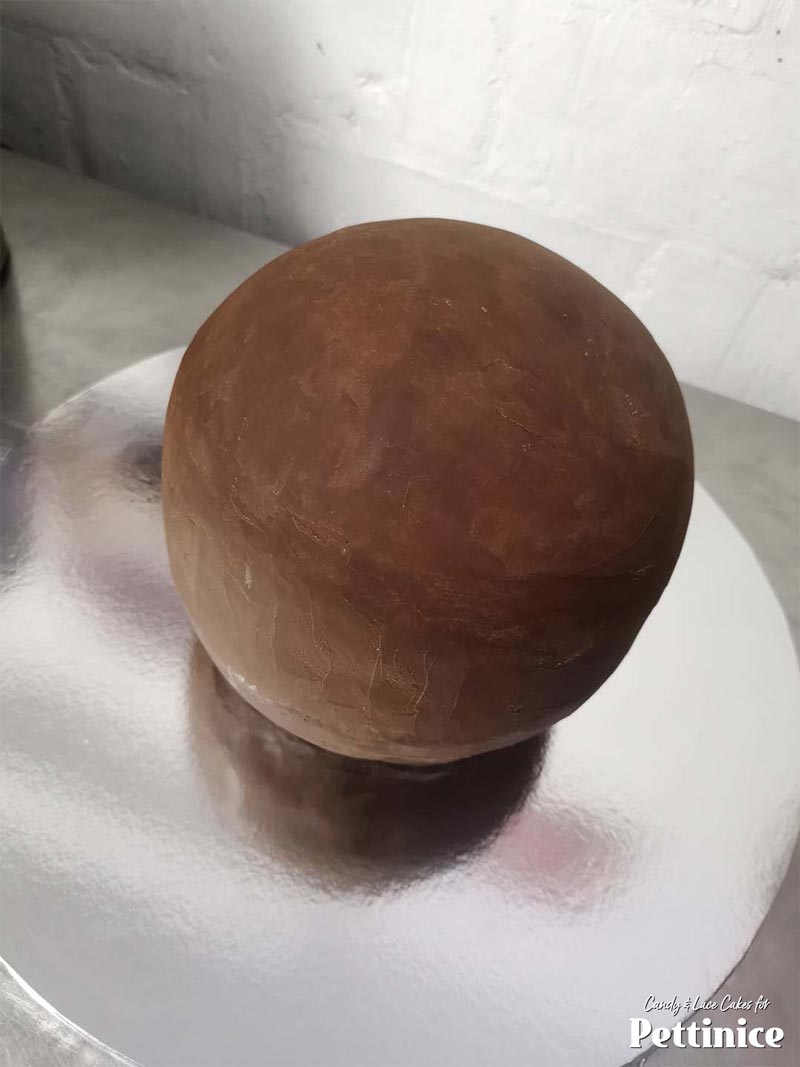
Cover your ball in smooth chocolate ganache (I use dark chocolate ganache - 3:1 ratio of chocolate to cream)
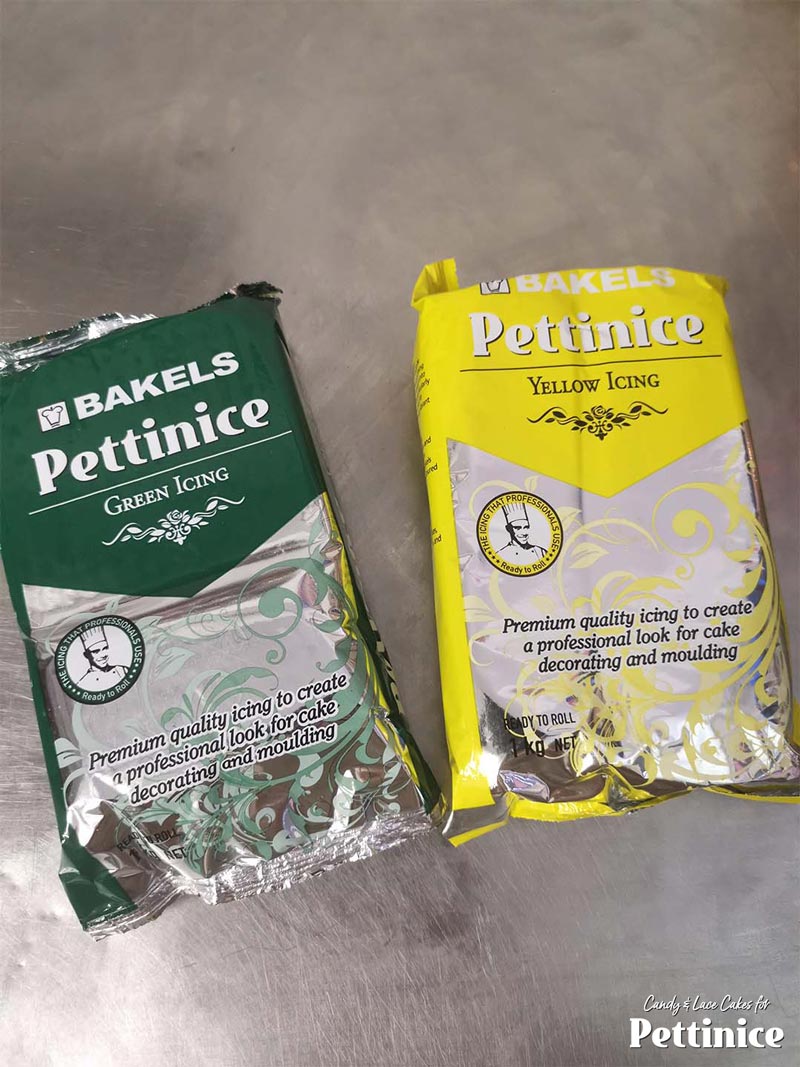
I combined about 80 grams of yellow Pettinice to my green Pettinice just for a brighter green color.
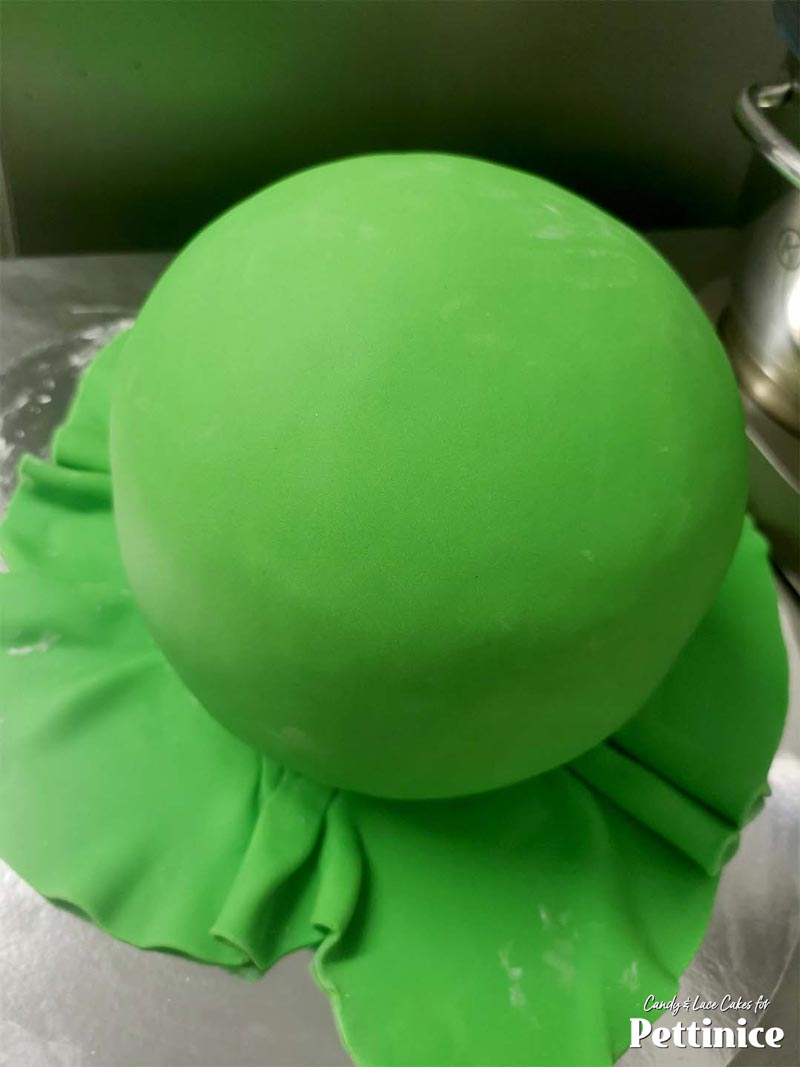
Next three photos: Roll out your Pettinice to about quarter of an inch thickness and cover your cake. Be gentle as to not rip the fondant.
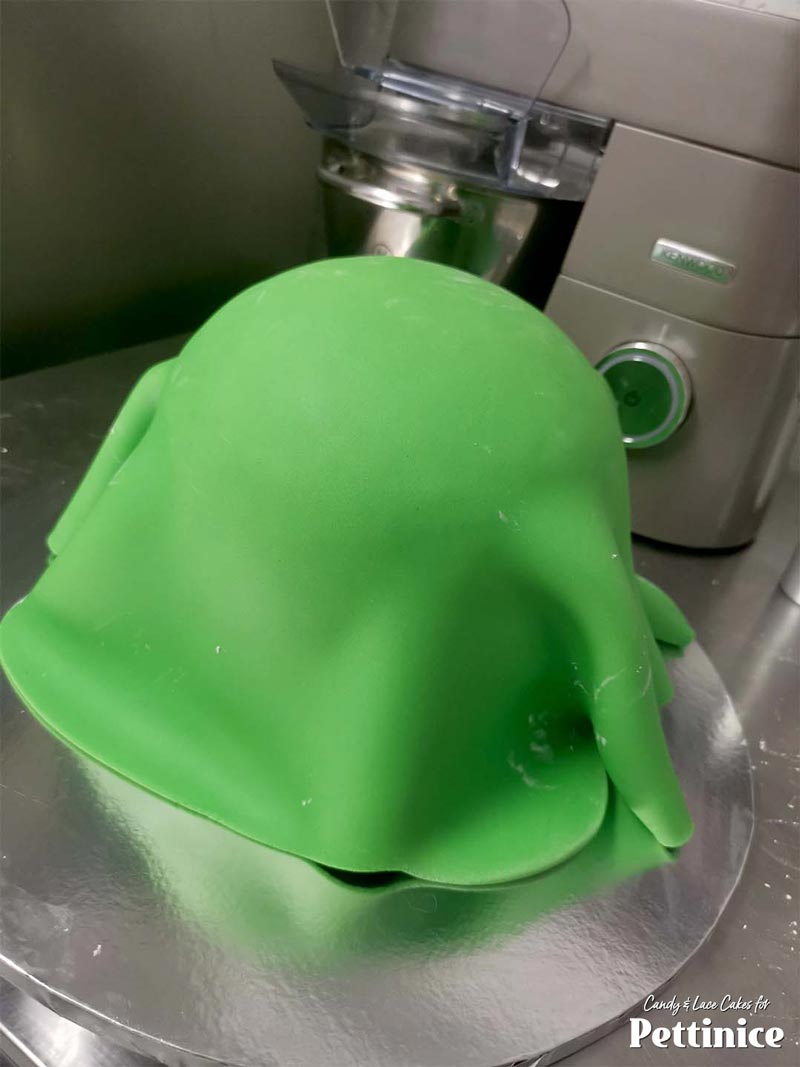
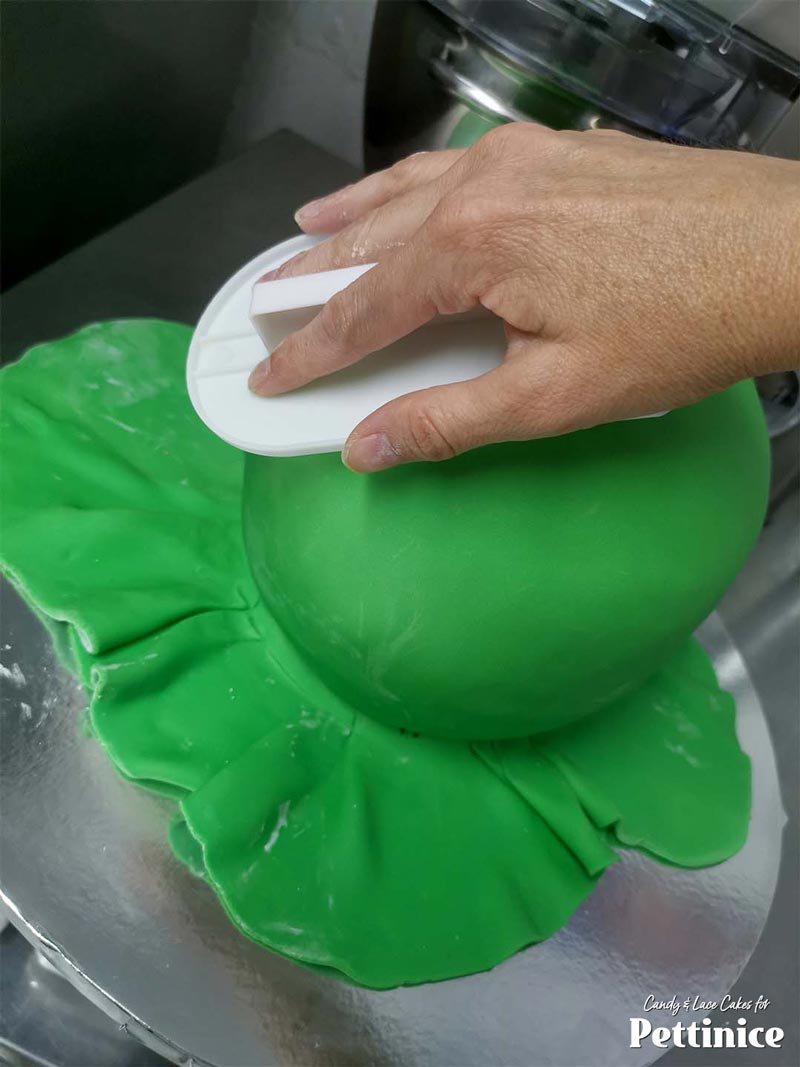
.
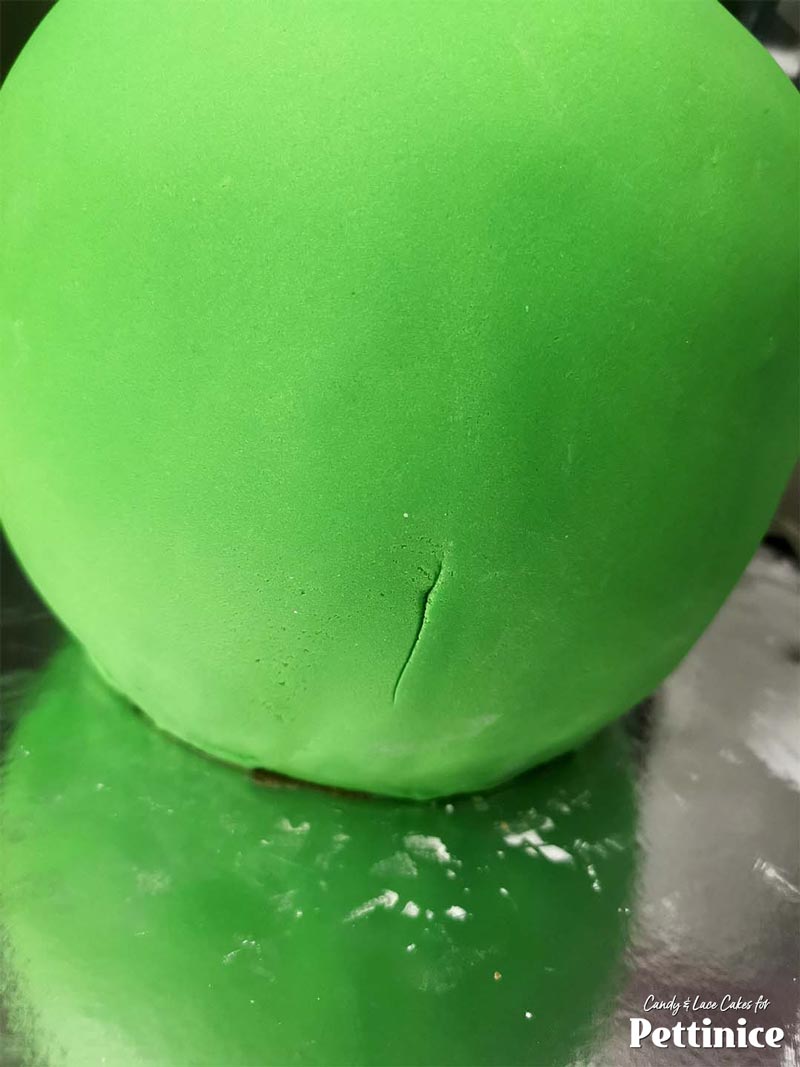
Once the fondant has been smoothed around the entire cake, trim the edges around the bottom.

Add a small bit of black Pettinice to about half of your left-over piece of green that you trimmed from your cake to get a nice deep green for the melon stripes.
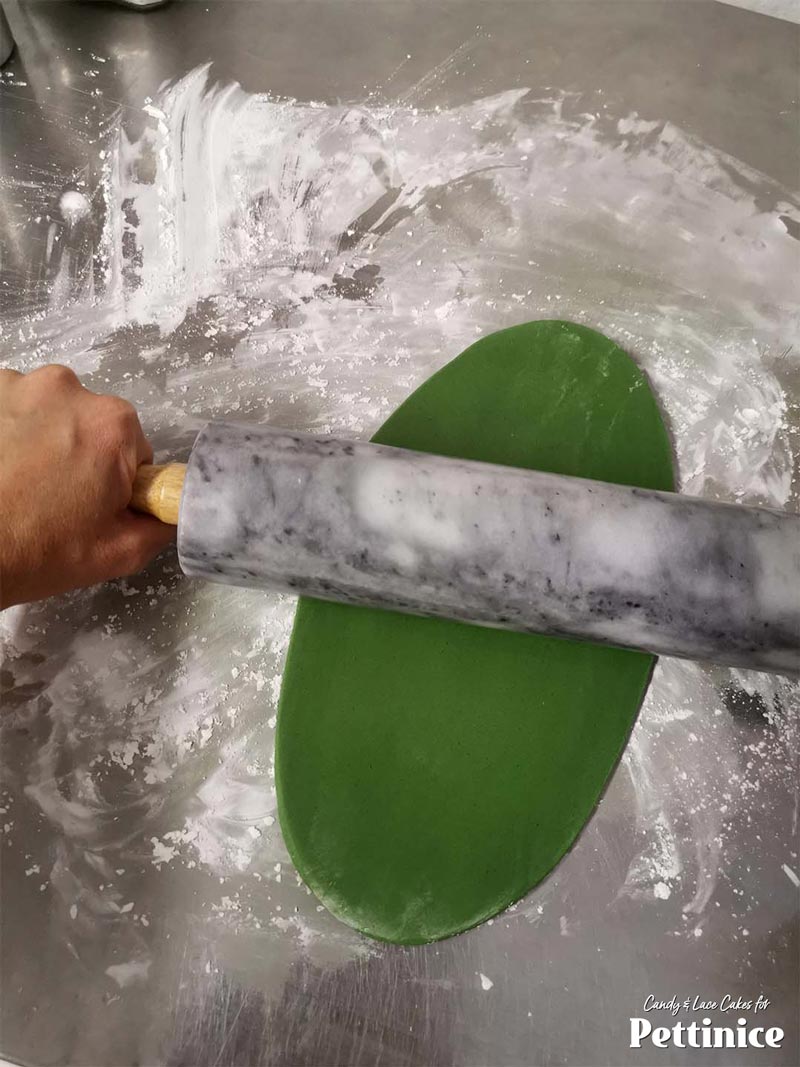
Roll your deep green nice and thin and cut out strips to apply to your melon cake.
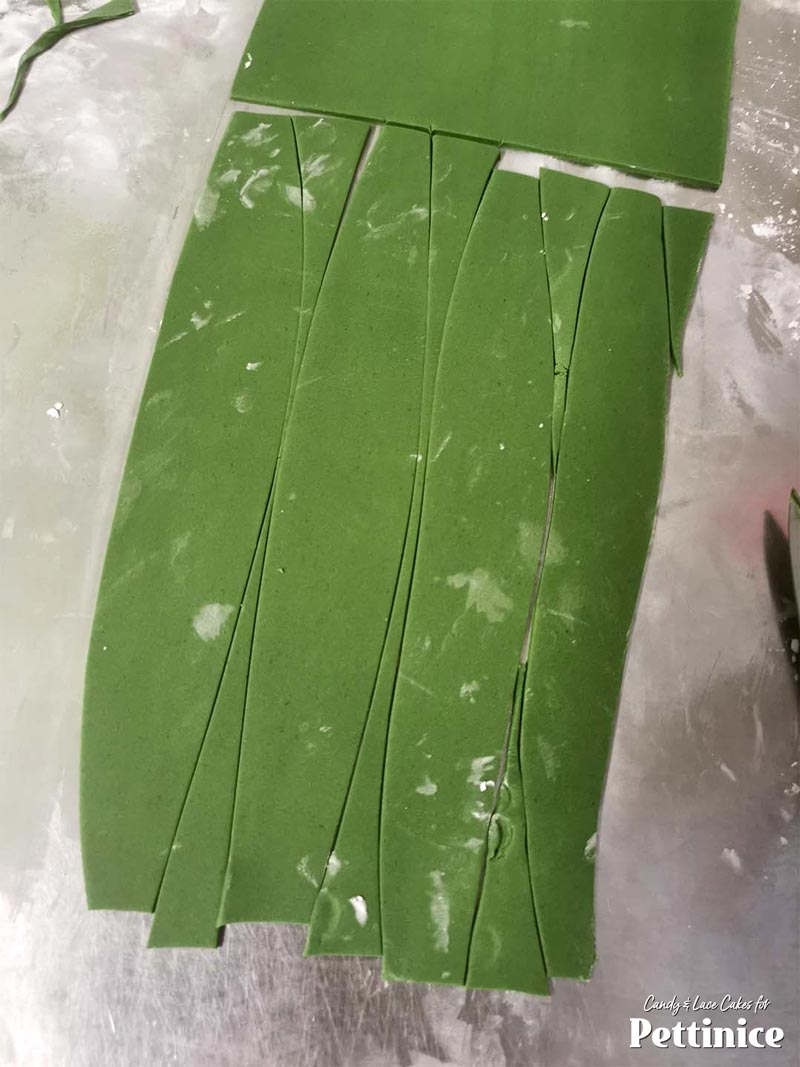
I made my strips narrower at the ends and broad in the center.
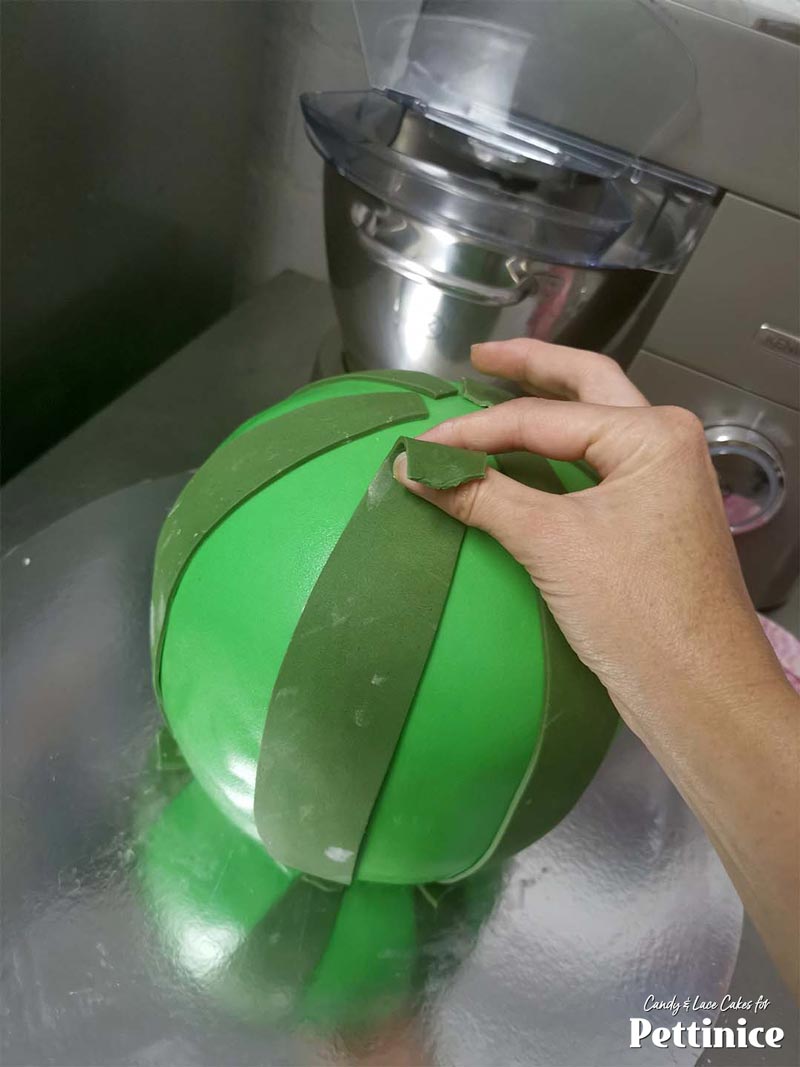
Apply them to your cake with a bit of water or edible glue, starting at the top and working down so that the longer pieces can easily be trimmed from the bottom of the cake.
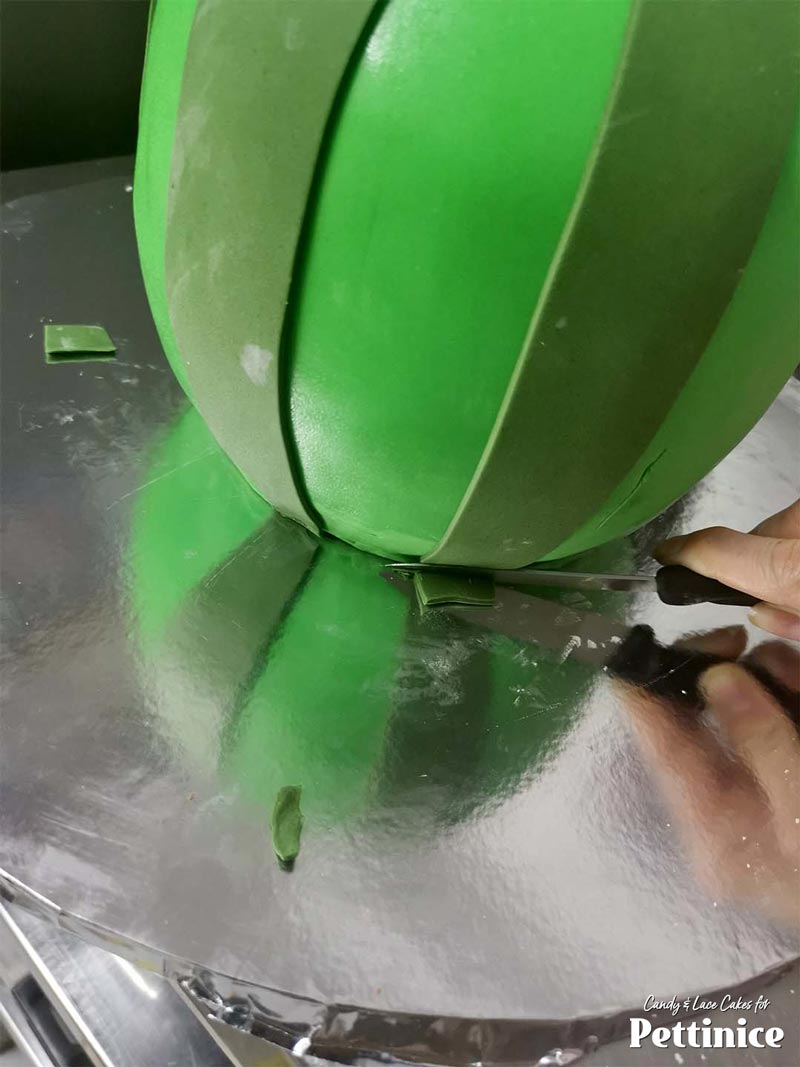
Trim excess from bottom with a sharp knife.
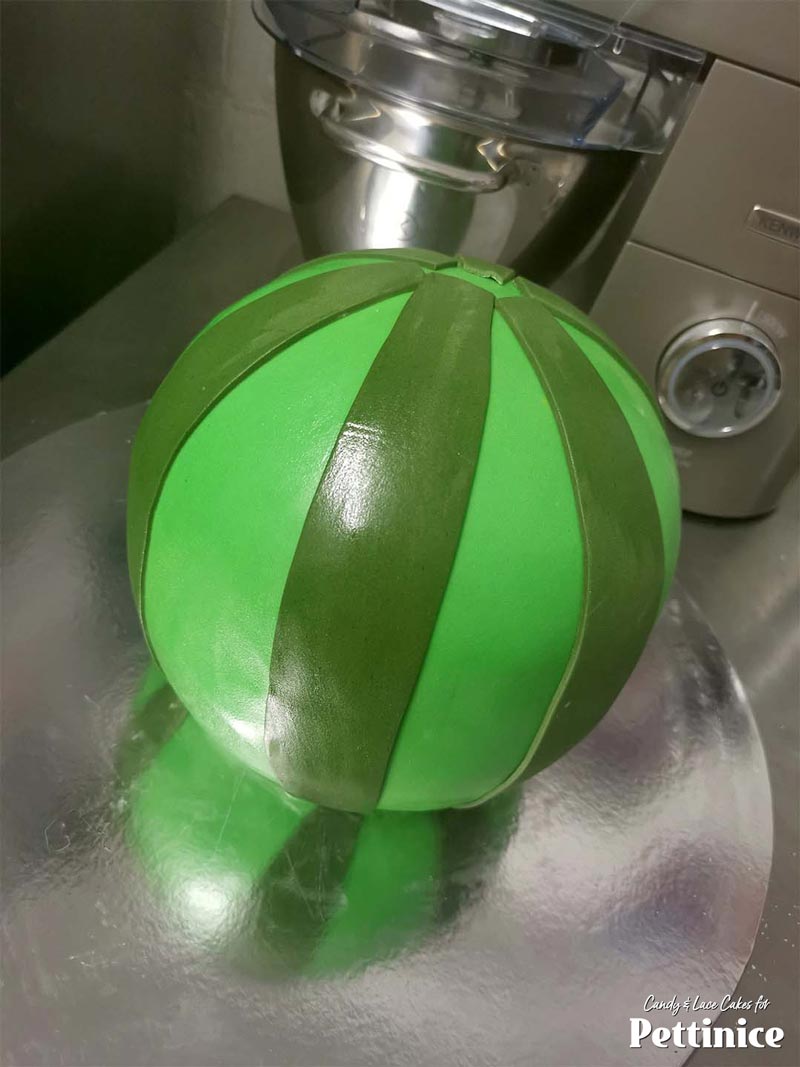
Now we are going to finish the top...
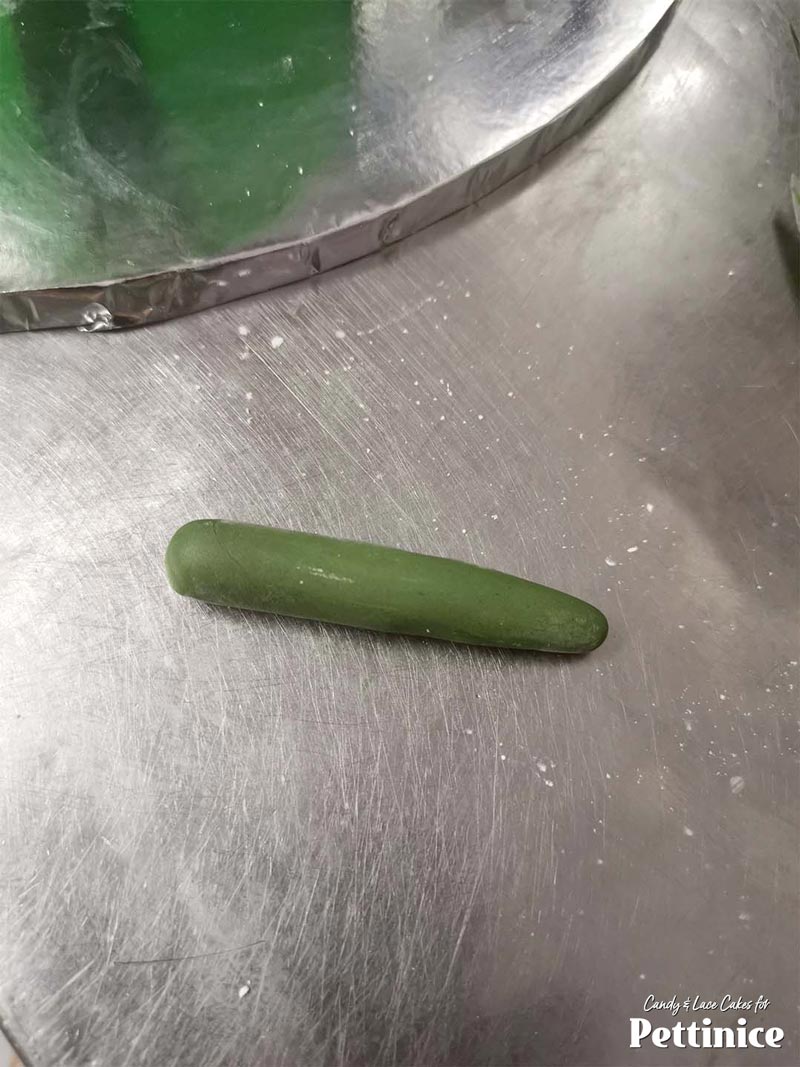
Roll a sausage shape with your deep green fondant.
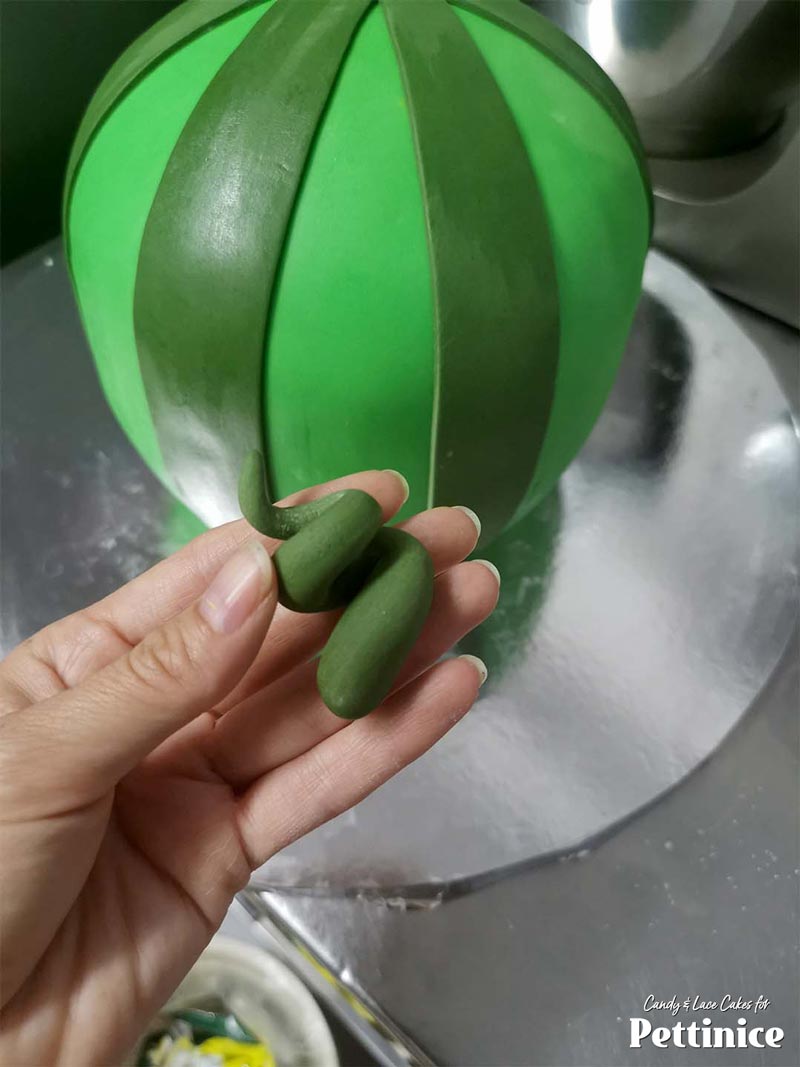
Twist the shape to make a curly vine as shown.
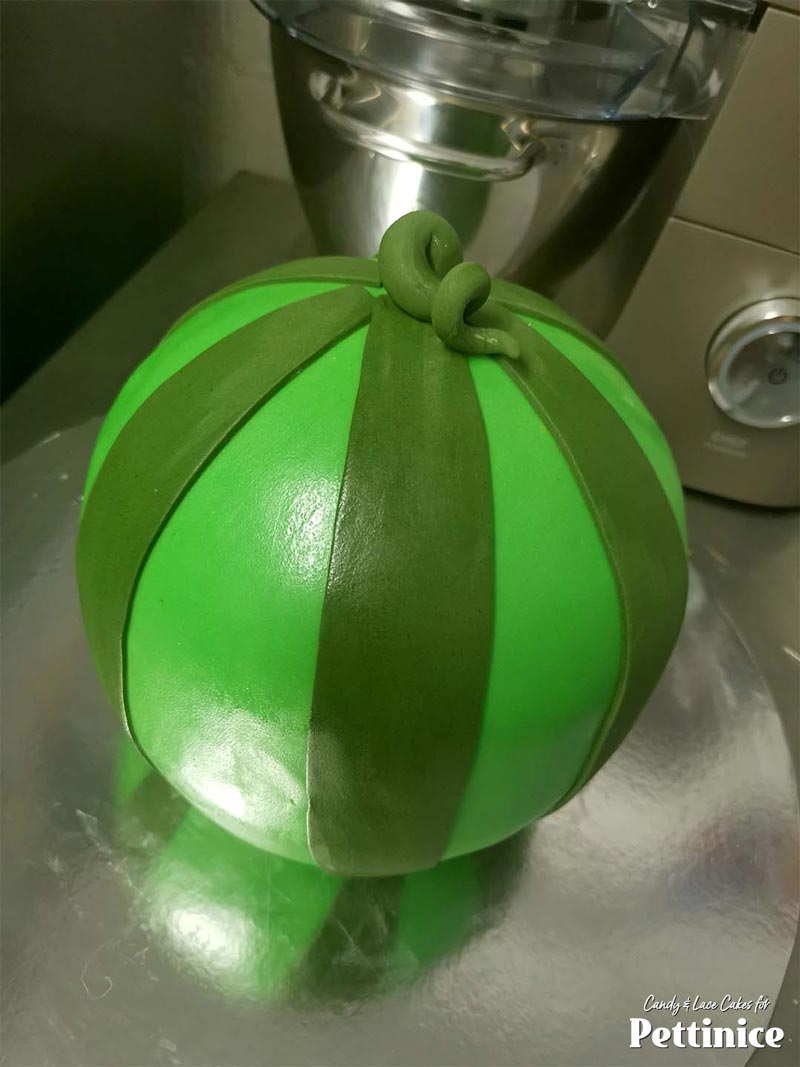
Attach to the top center of your cake.
Creating the Kawaii face details
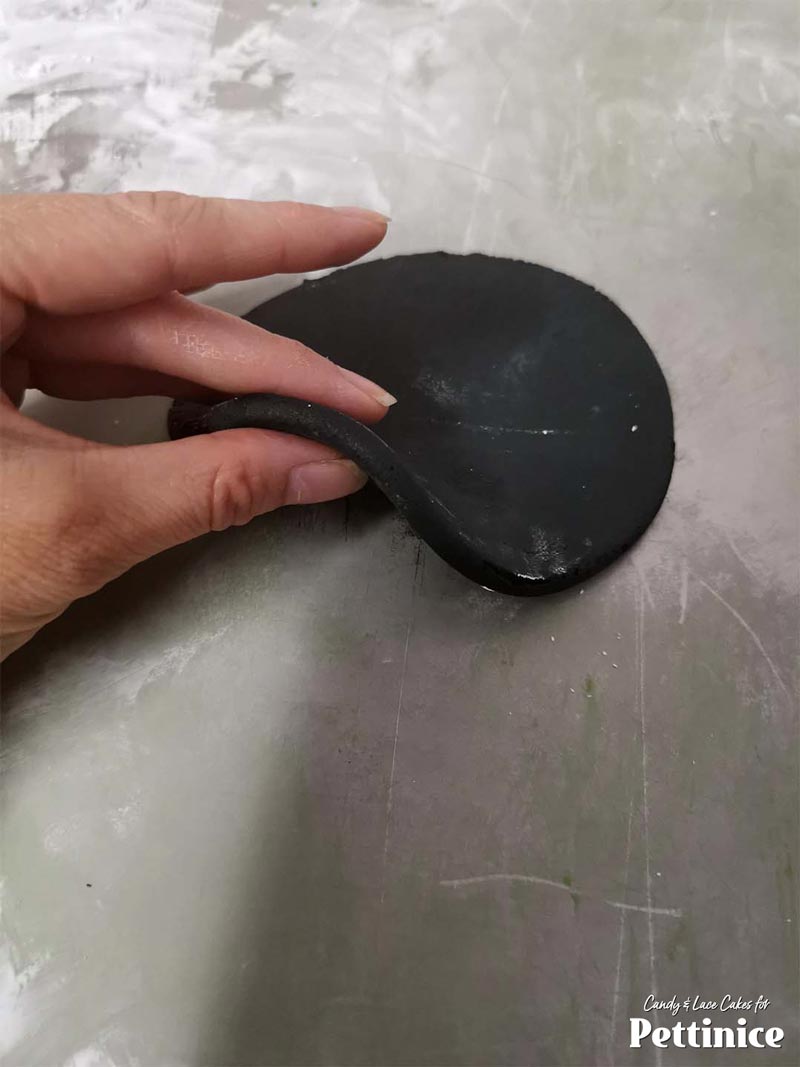
Roll out a piece of black Pettinice but leave it quite thick.
Cover with a sheet of sandwich wrap (plastic).
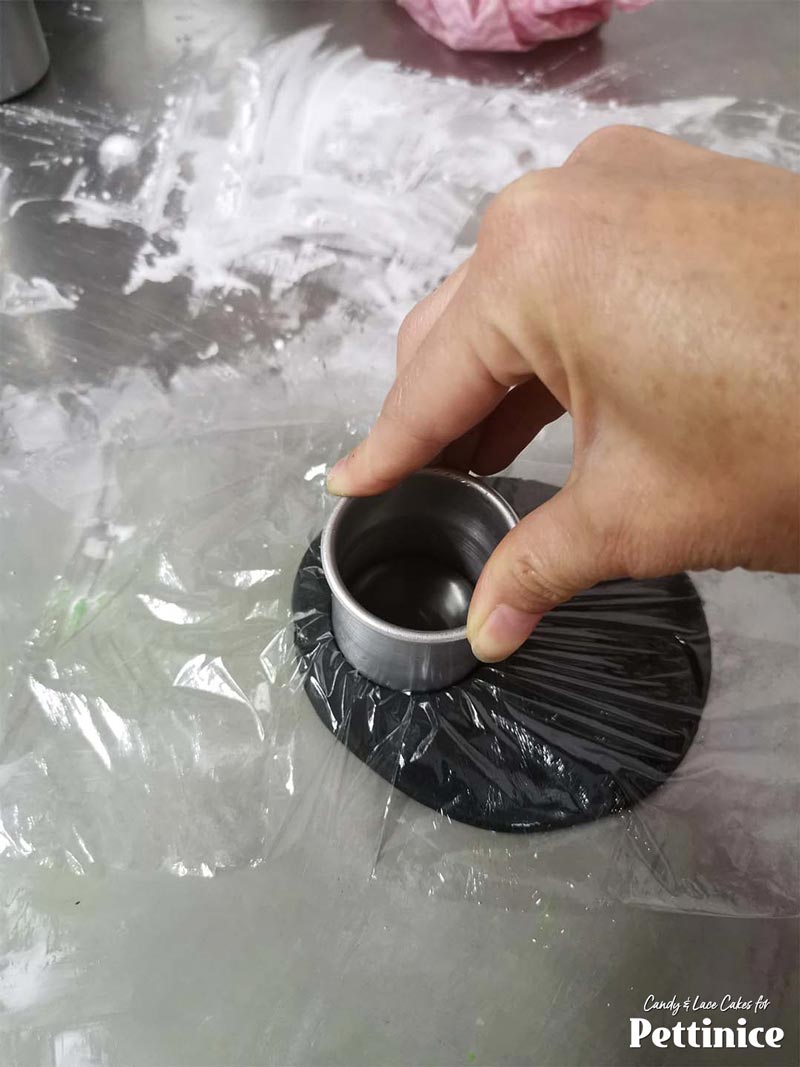
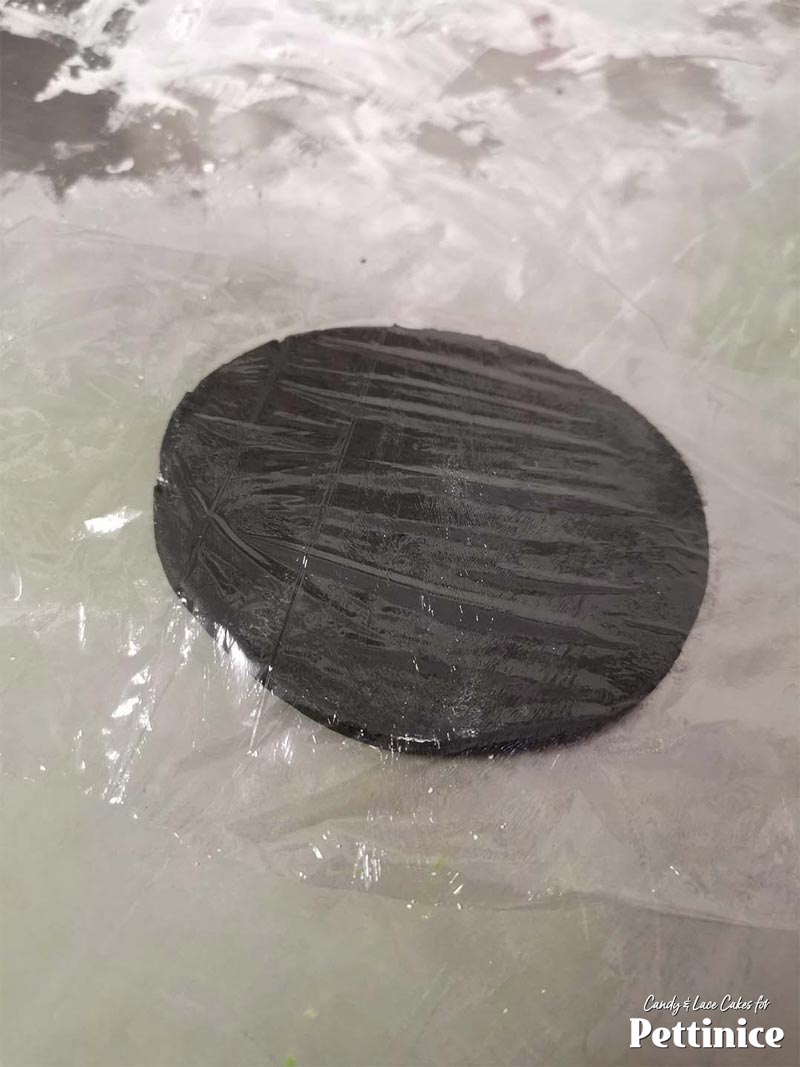
Use a round cutter to cut 2 rounds over the plastic.

This will create a domed effect for the eyes!
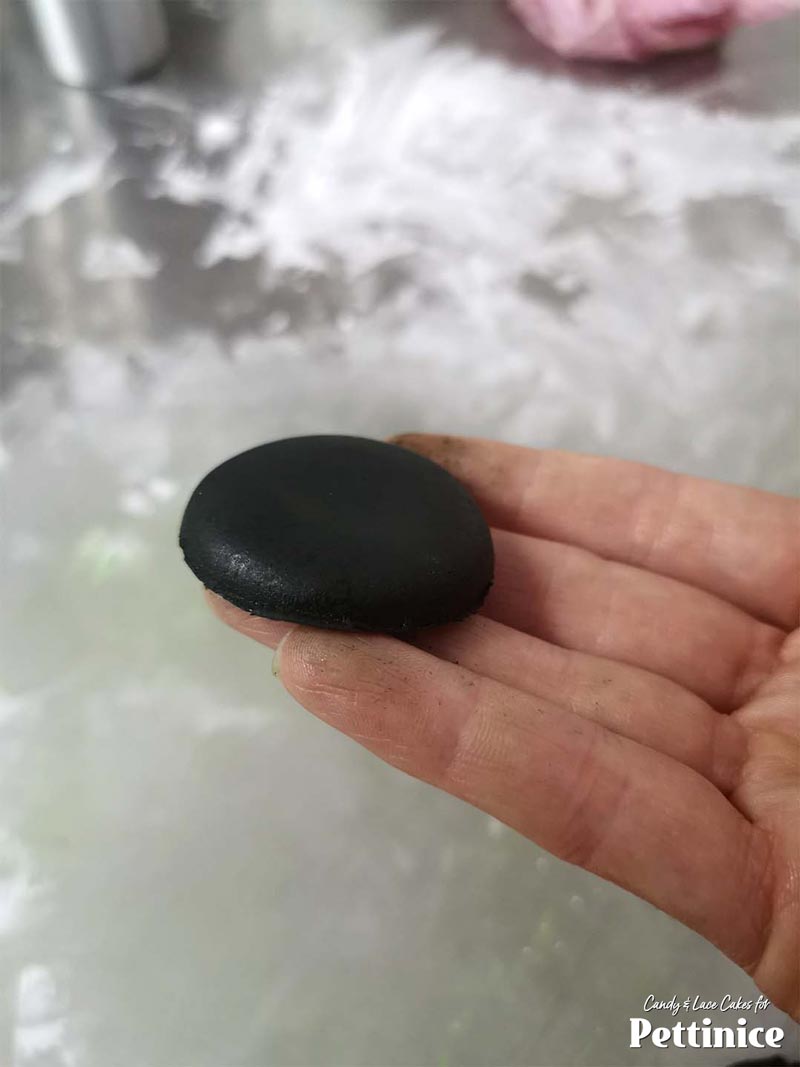
See the domed edges? I used a 3.5cm diameter cutter for these domes.
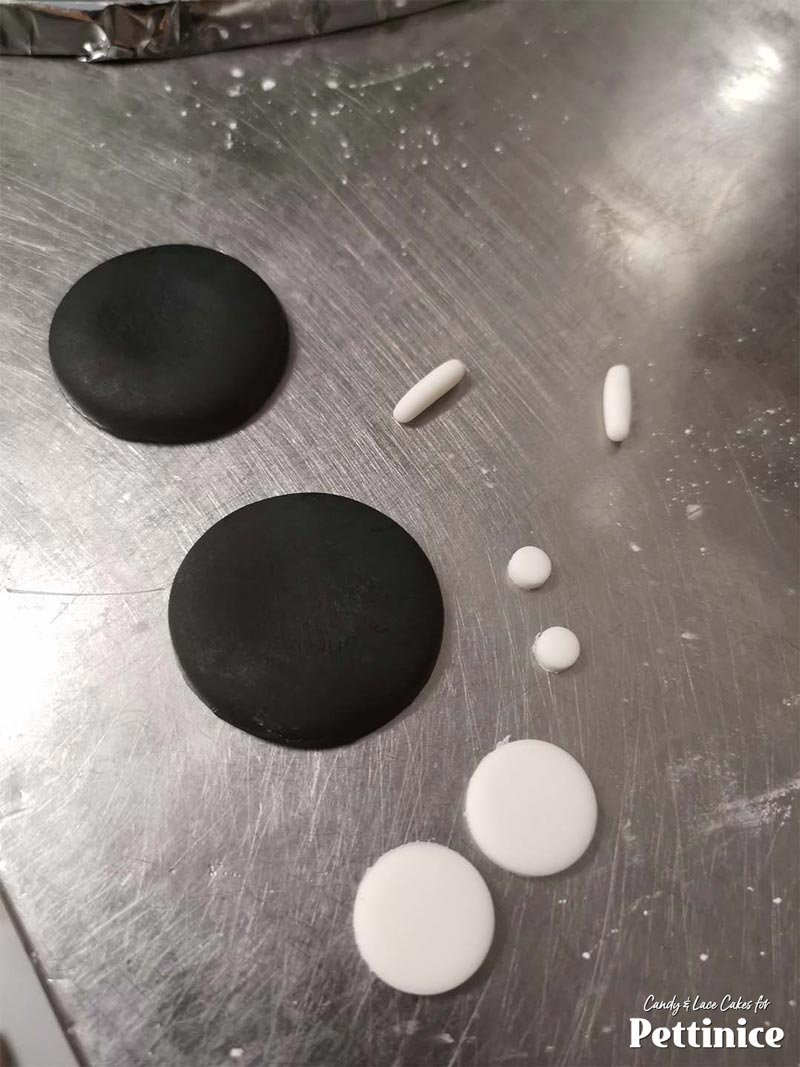
ow cut smaller circles from white and add a thin little sausage shape as well to create big, sparkly kind of happy eyes!
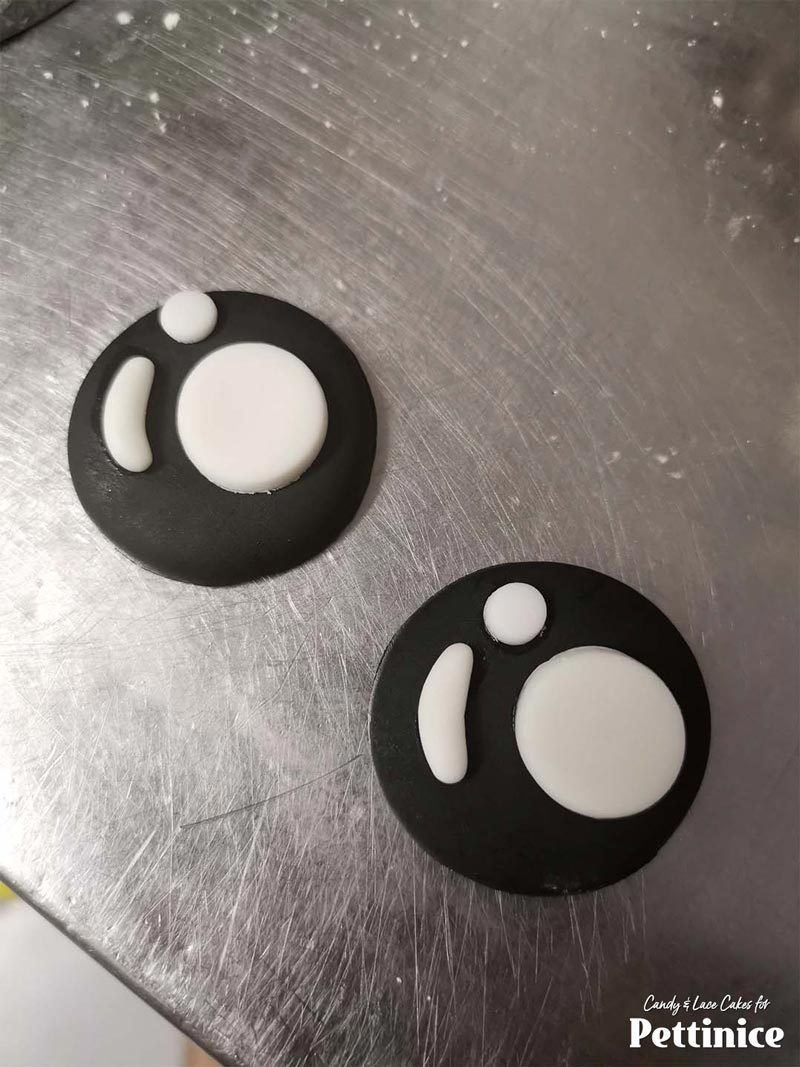
Stick accents to the domed eye cut-outs.
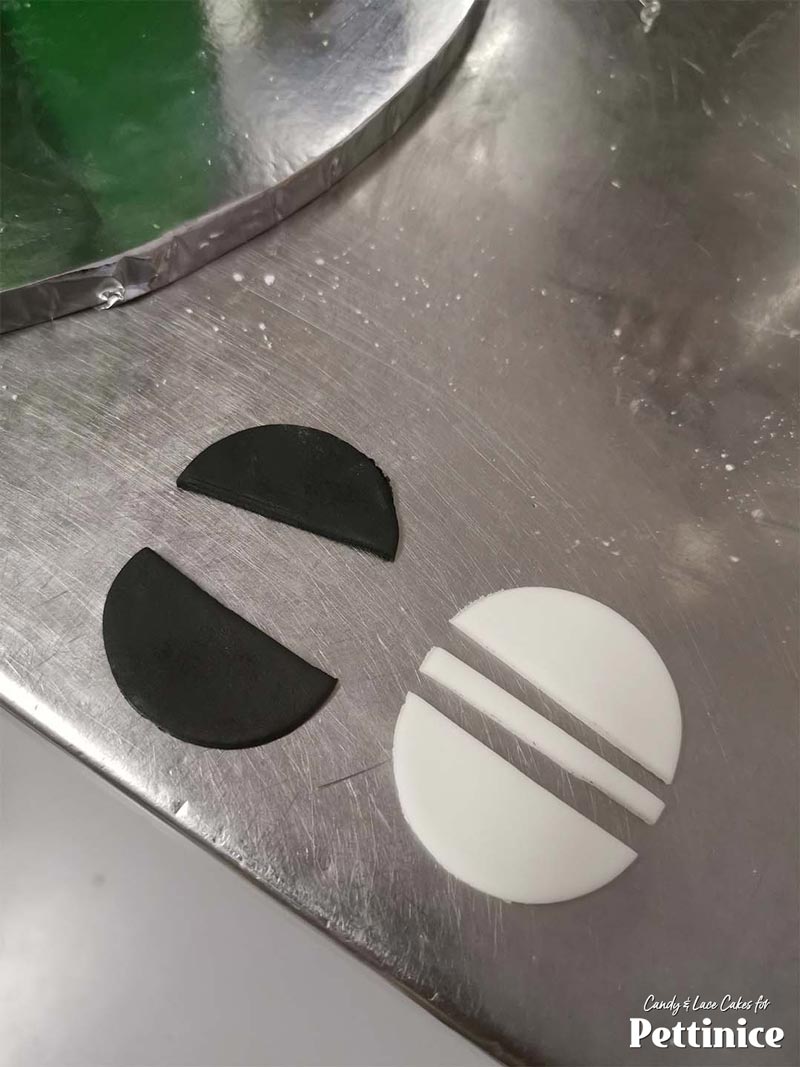
For the mouth, I used a slightly larger circle cutter and cut the black circle in half.
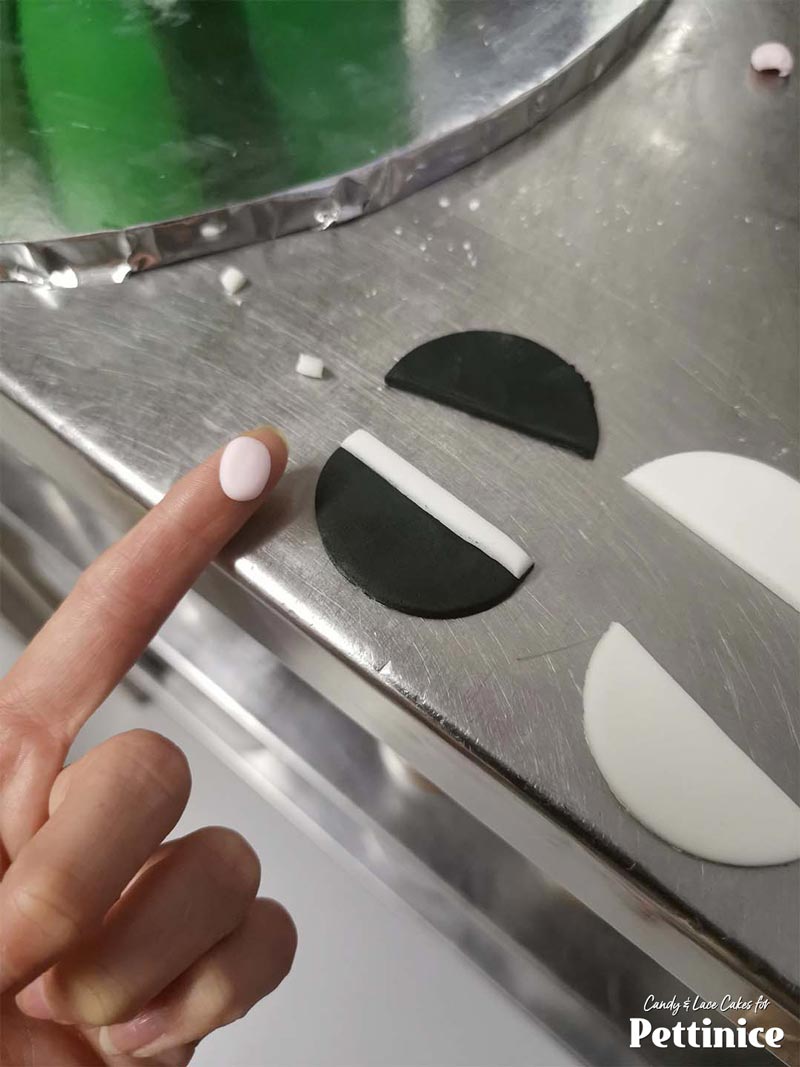
Use a white circle of the same size to cut the teeth strip and attach that to the top of the mouth. Roll a small ball of light pink
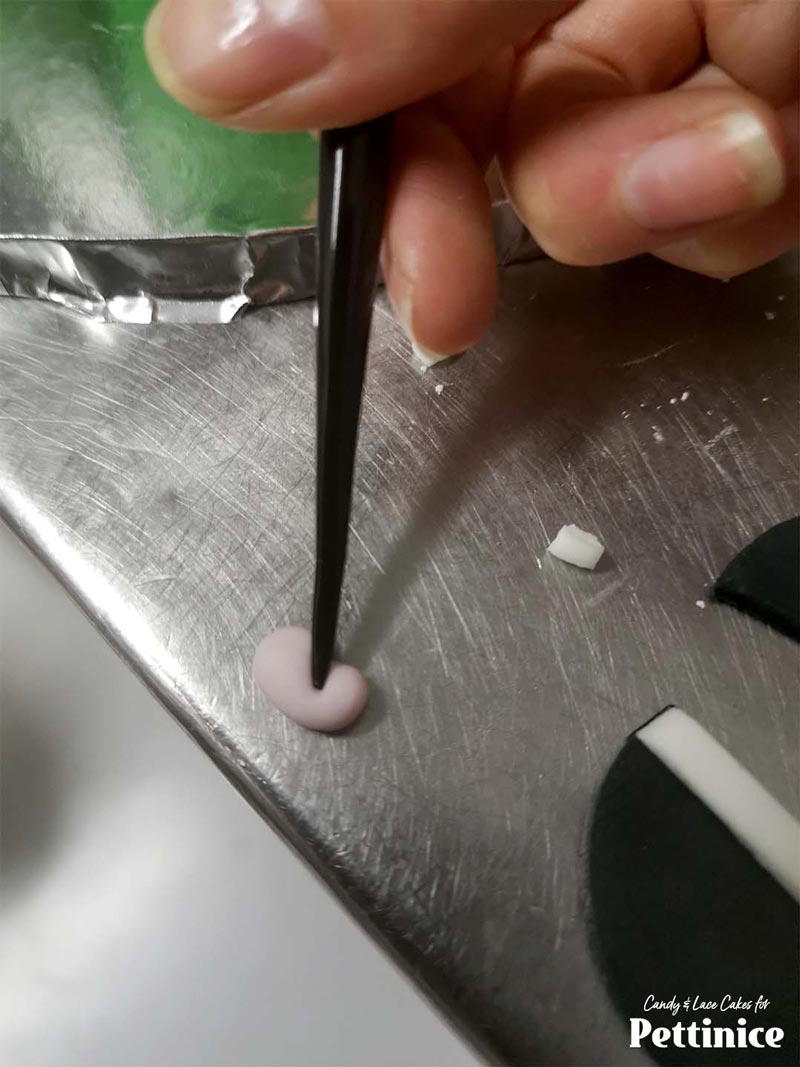
I just shaped it with my dresden tool to create a little tongue.
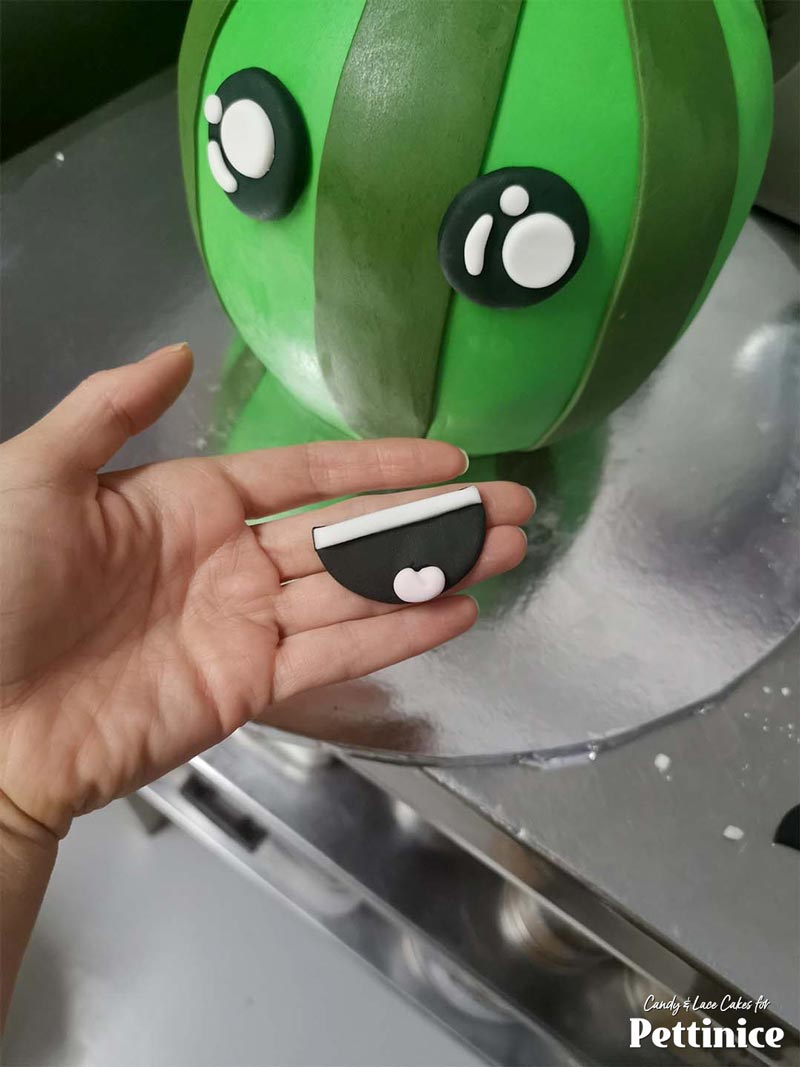
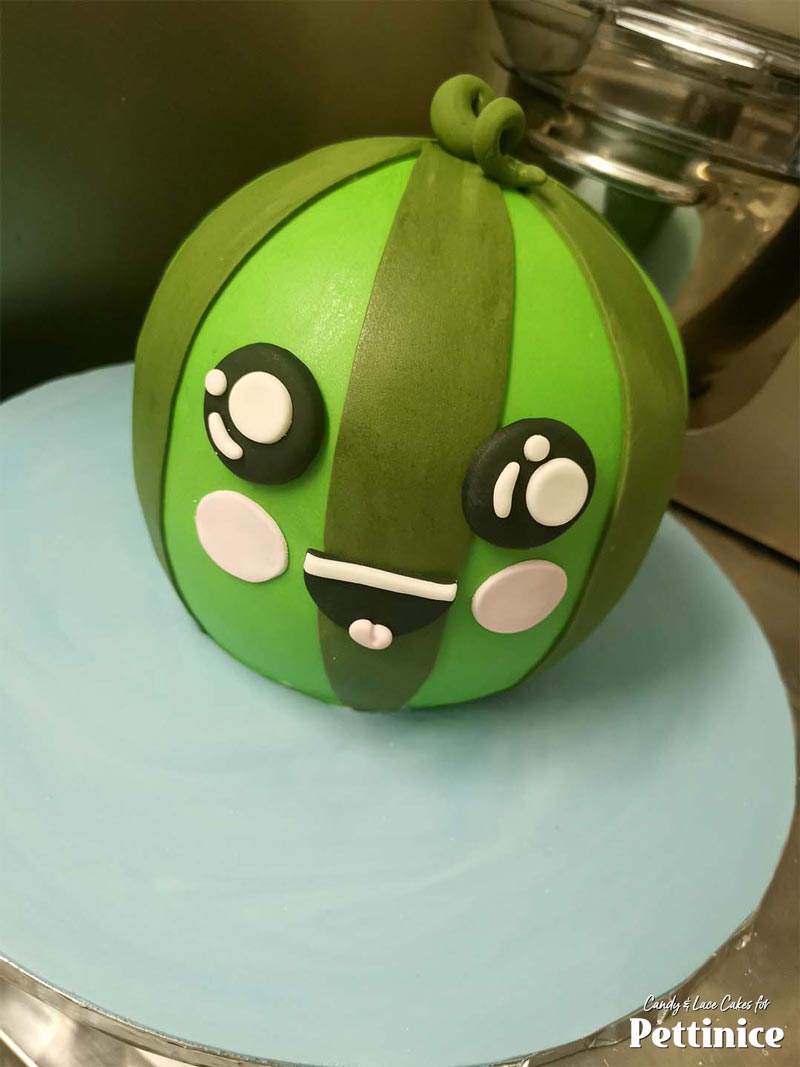
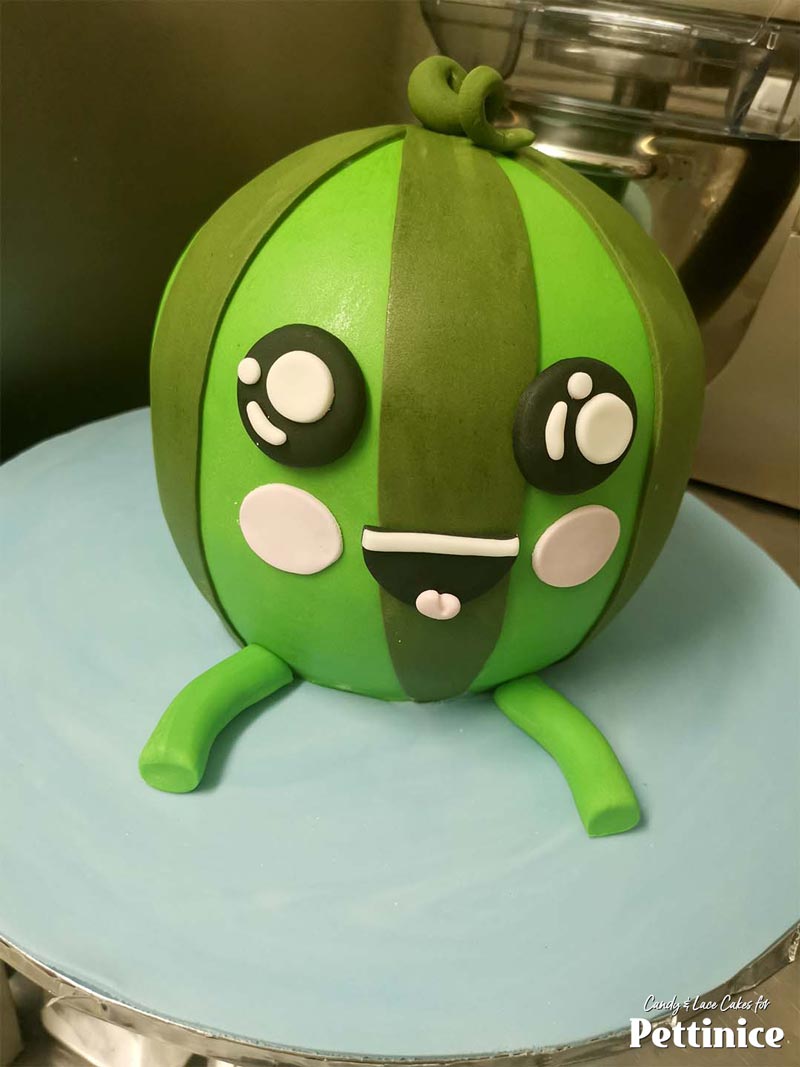
Stick the eyes to the head. Assemble all the pieces together for the mouth.
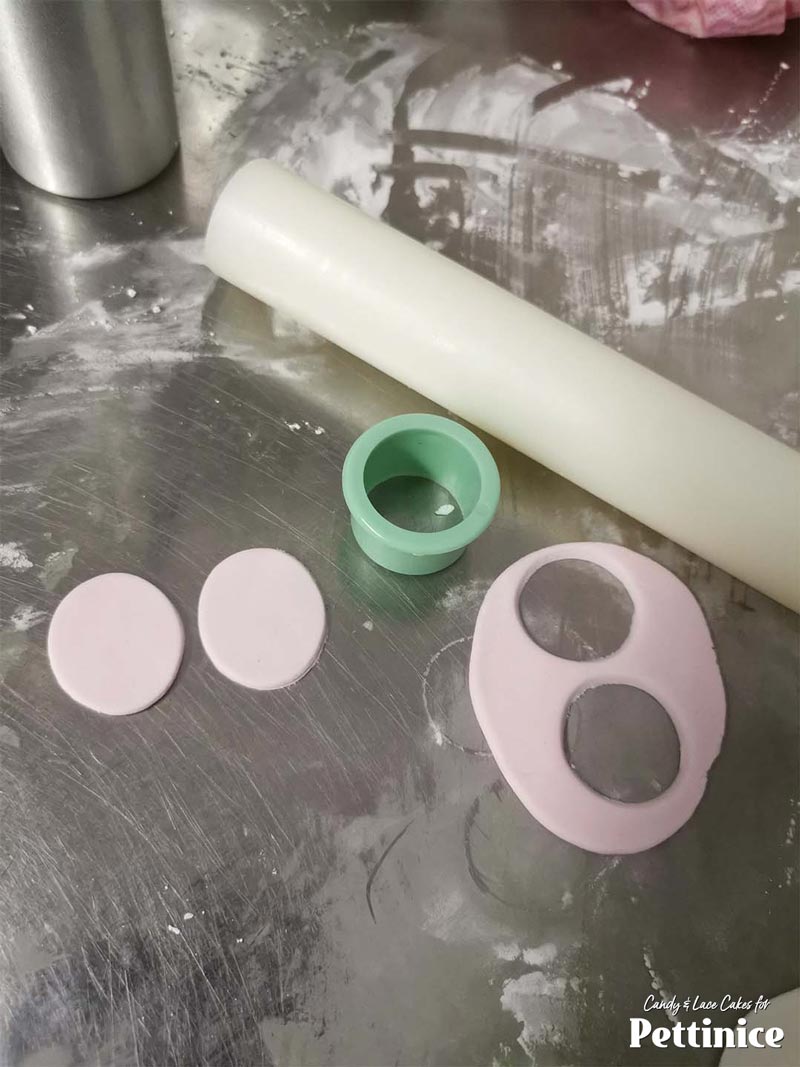
Cut two light pink circles and roll over them just once with your rolling pin to make them a little more oblong shaped. These are his cheeks :)
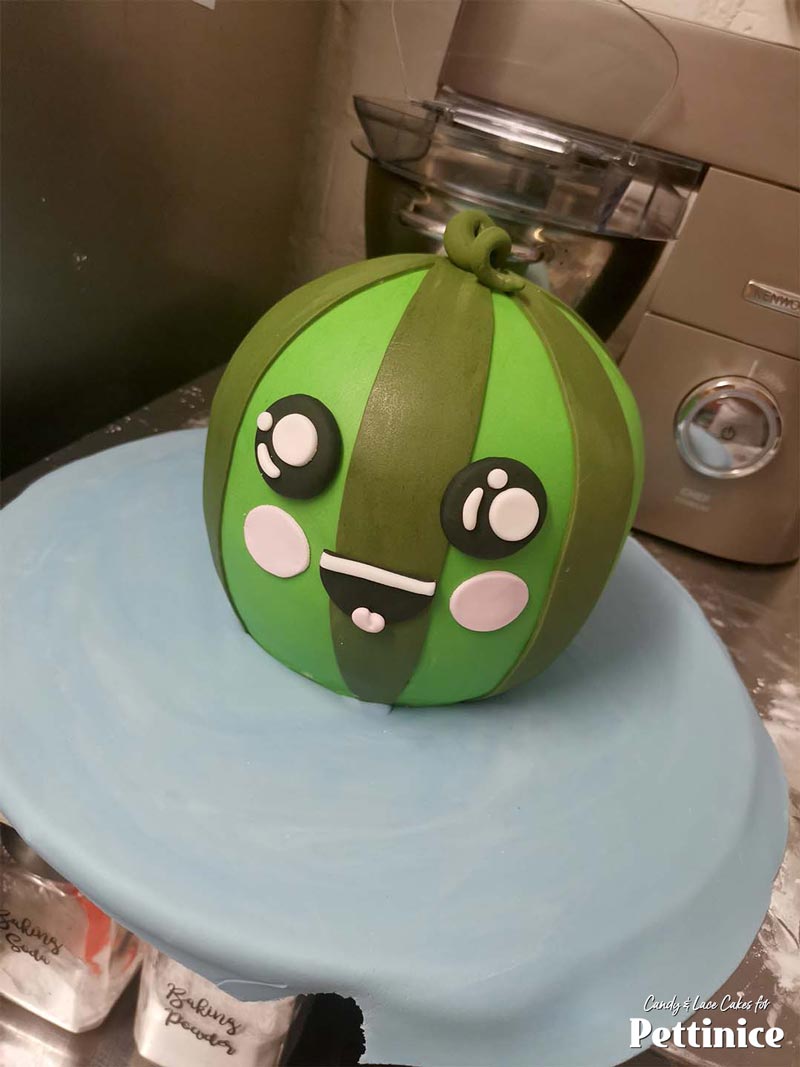
Look how happy he looks already! OPTIONAL: I covered my board in light blue Pettinice (white with a bit of blue added).
Trim your fondant around the edge of the board. (I attached a pink ribbon around the edge of the cake board as well.)

Use your other half of left over green Pettinice (same color as the body) and roll 2 balls for the feet.
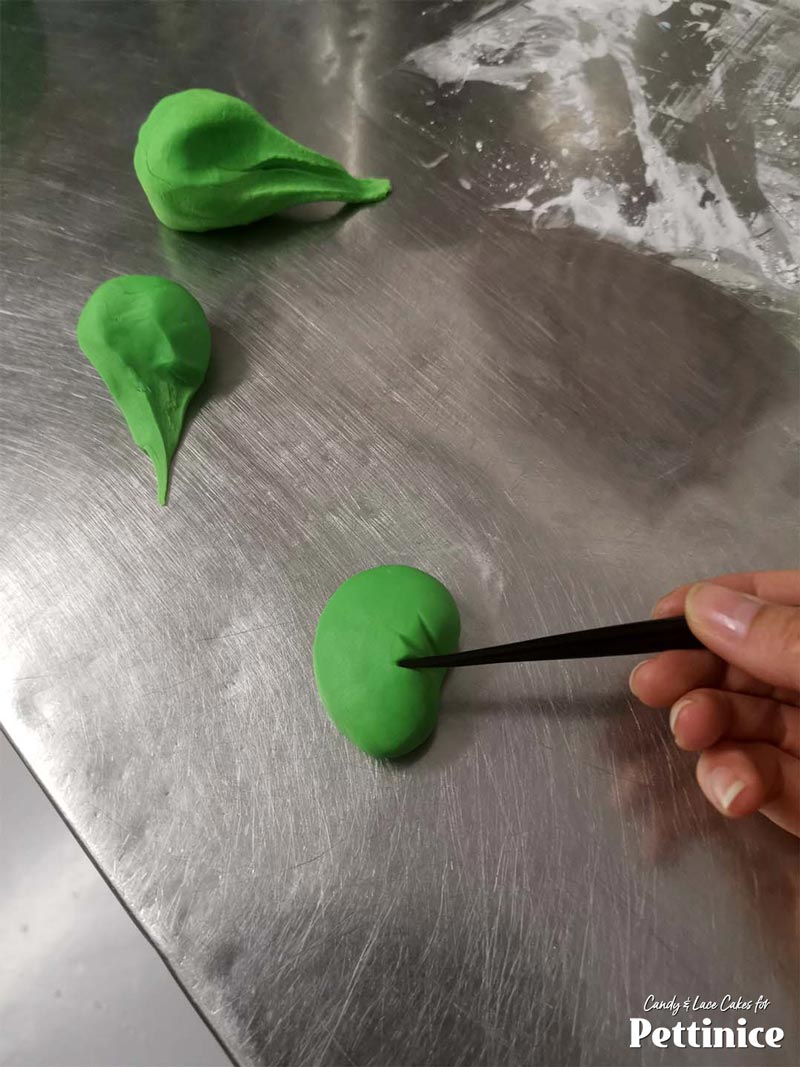
Squash and form into kidney shapes. Use the dresden tool to make some creases.
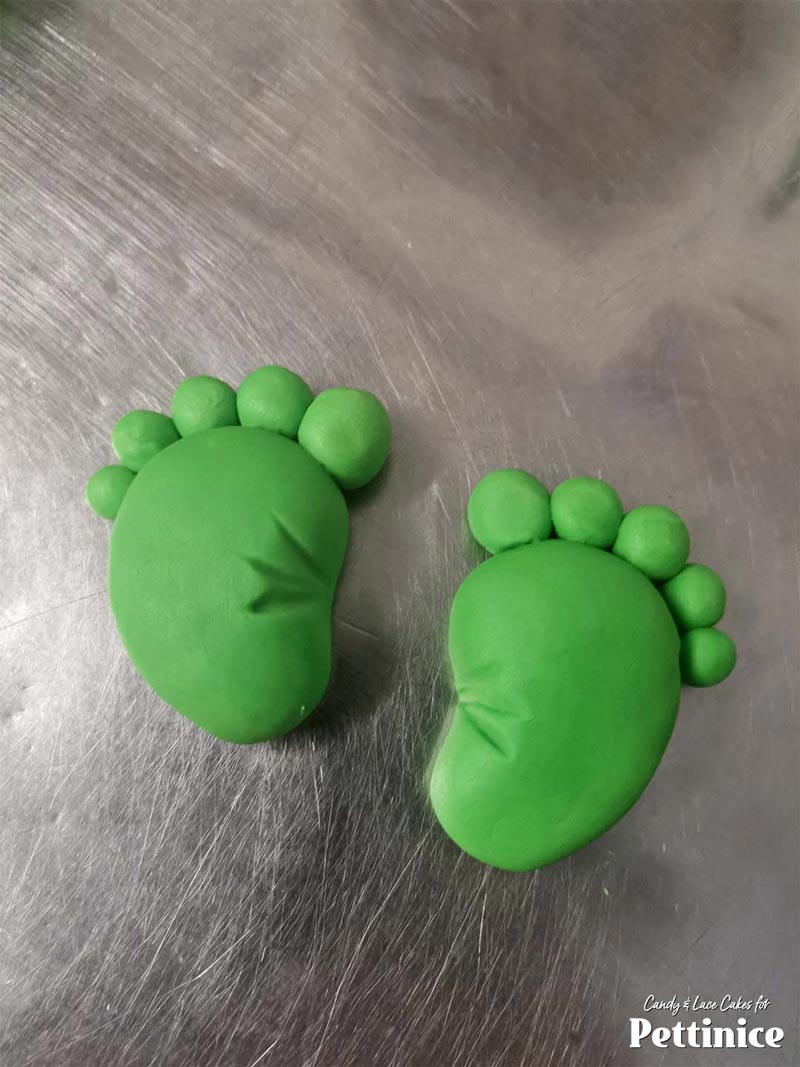
Roll out some cute toes and attach them to the feet as well!
I rolled two long rope pieces, trimmed them to the same length and attached them to the board for the legs.
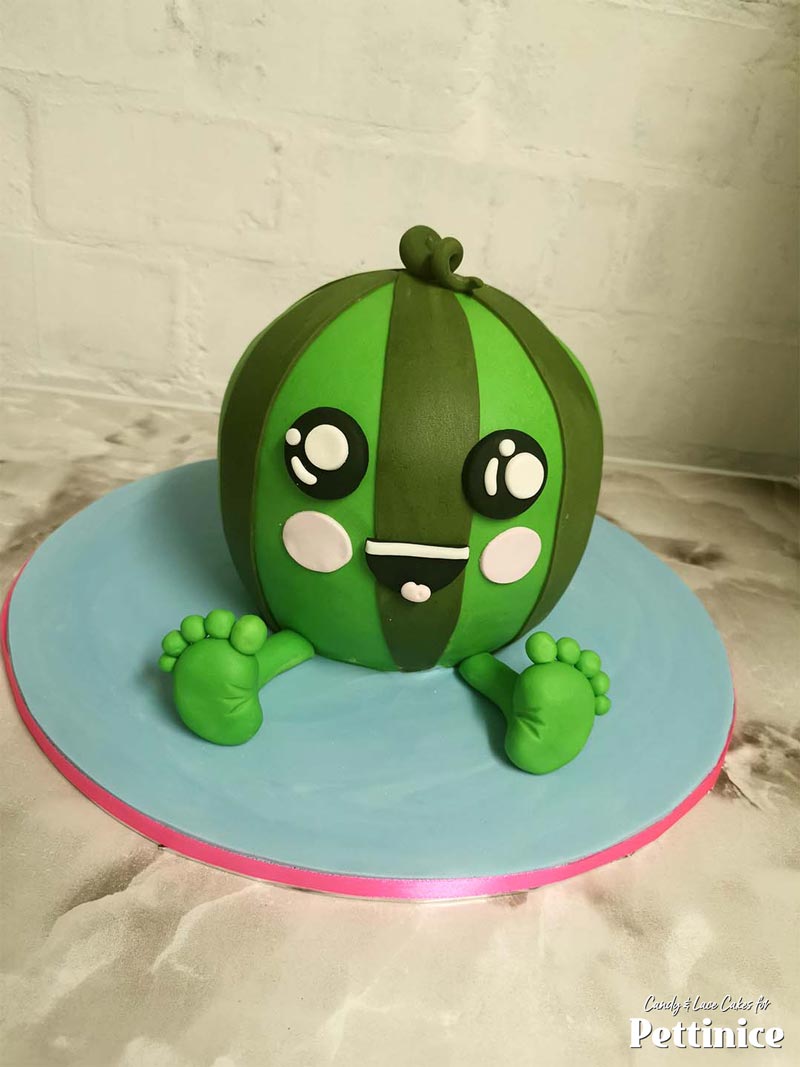
Attach the little feet and the happiest looking Kawaii Watermelon cake is done!

Cynthia Janse van Rensburg owns Candy & Lace Cakes based in Cape Town since 1999. Her fascination began with cupcakes in 2009 and has evolved to creating celebration cakes. She cannot imagine doing anything else other than cake design. Cynthia’s passion is 3D carved and sculpted cakes, as well as gravity defying designs.
See more of Cynthia's cakes at