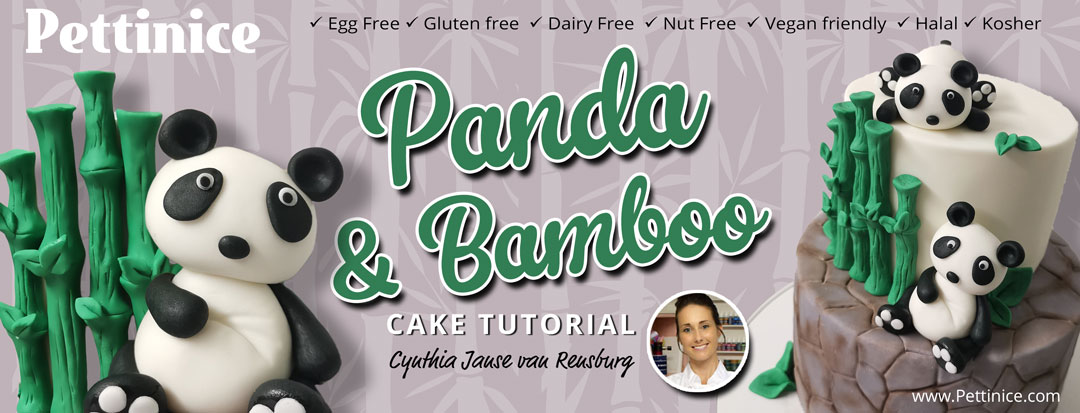
Learn to make a panda bear bamboo cake with Cynthia Janse van Rensburg
.
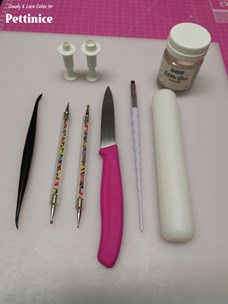
You will need
- Small rolling pin
- Large rolling pin (for cake covering)
- Sharp knife
- Balling tools
- Dresden/veining tool
- Small round plunger cutters
- Edible glue
- Paint brush (for glue application)
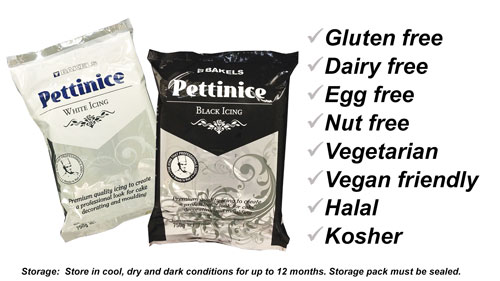
- Green Pettinice
- White Pettinice
- Black Pettinice
- White Pettinice colored Grey
Pandas are quite adorable and this cake really sets the scene for this cute pair. Our South African Ambassador Cynthia Janse van Rensburg shows us how easy it is to create this playful cake with Pettinice.
My cake was done on a white cake board but feel free to cover the cake board with any color Pettinice you would like and finish off with a ribbon around the edge of the board.

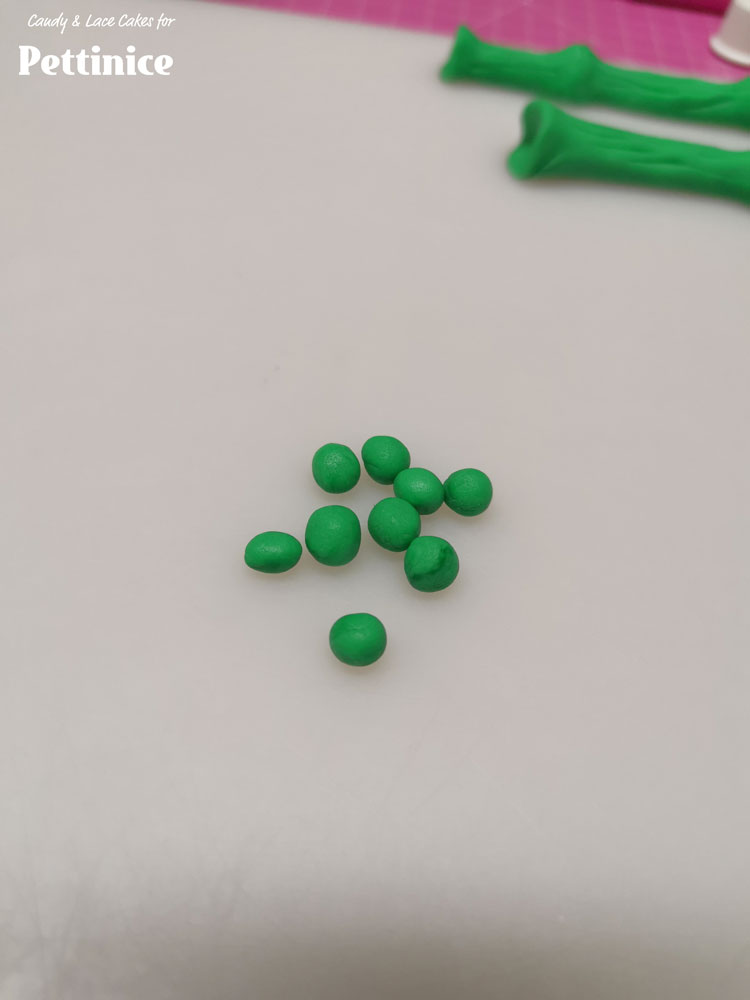
Making the bamboo
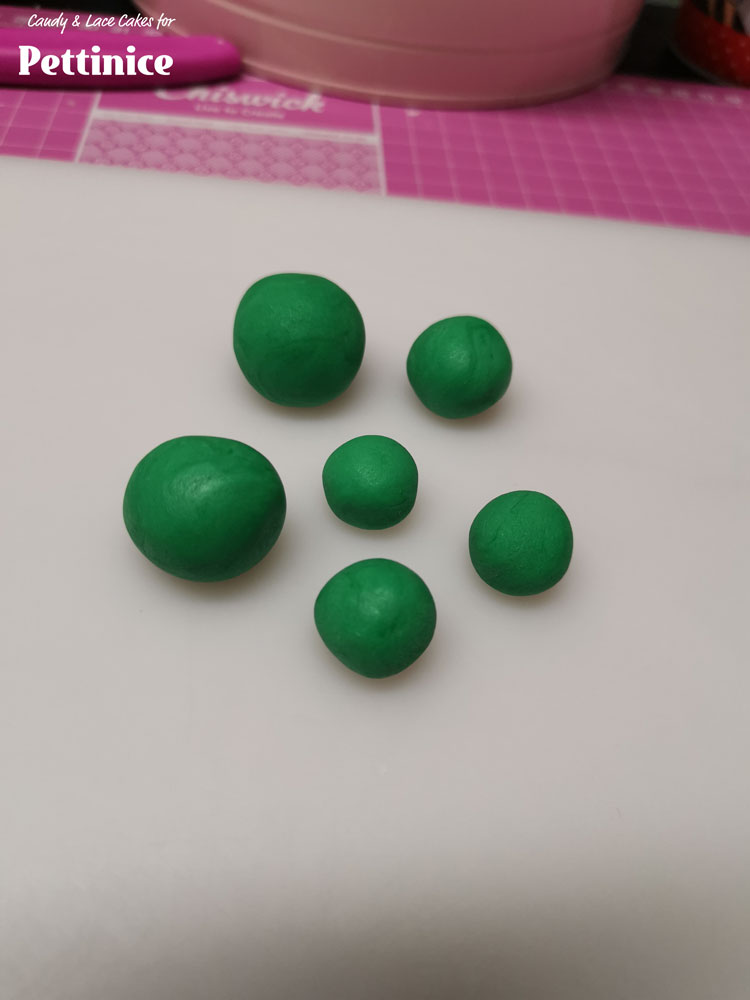
Roll out your green fondant into different sized balls
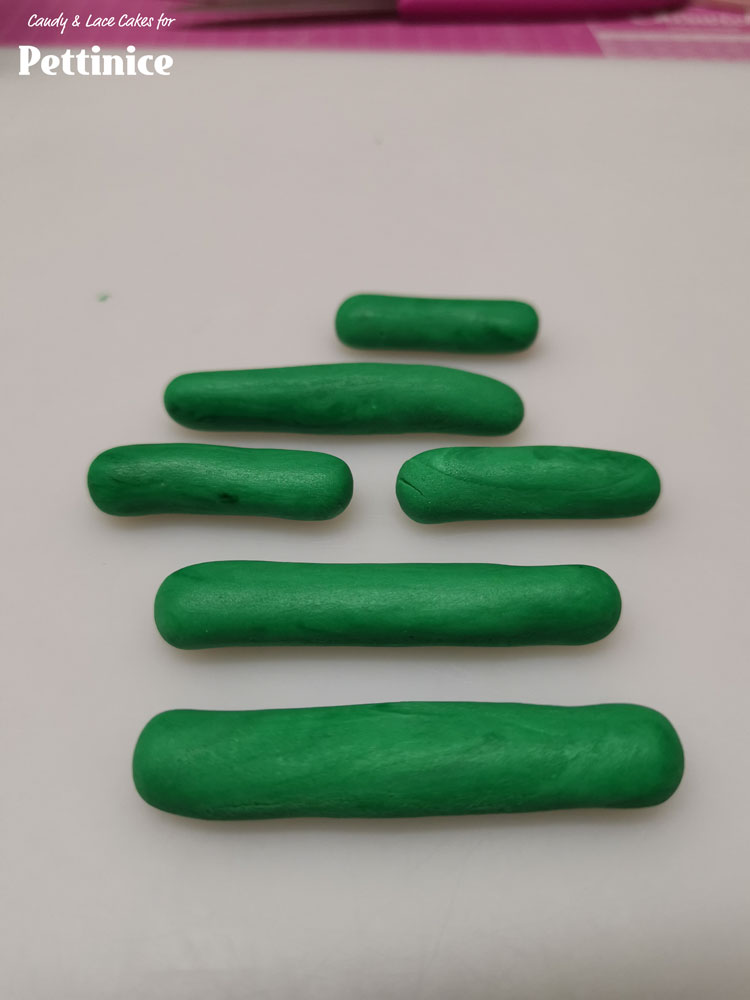
Roll each ball into a long sausage shape.
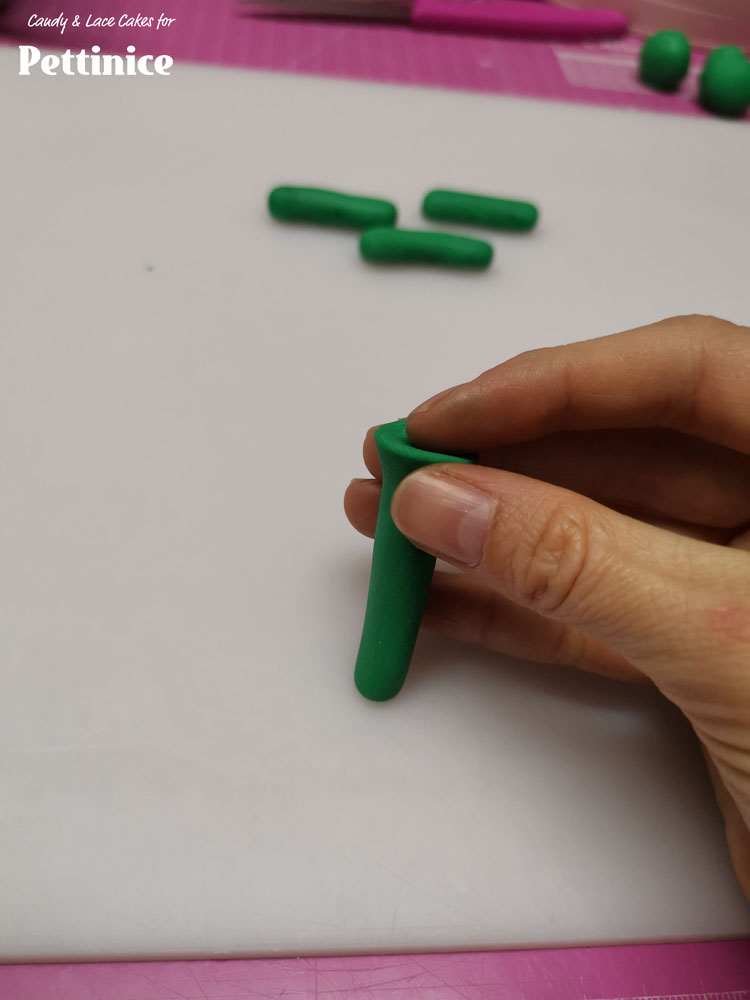
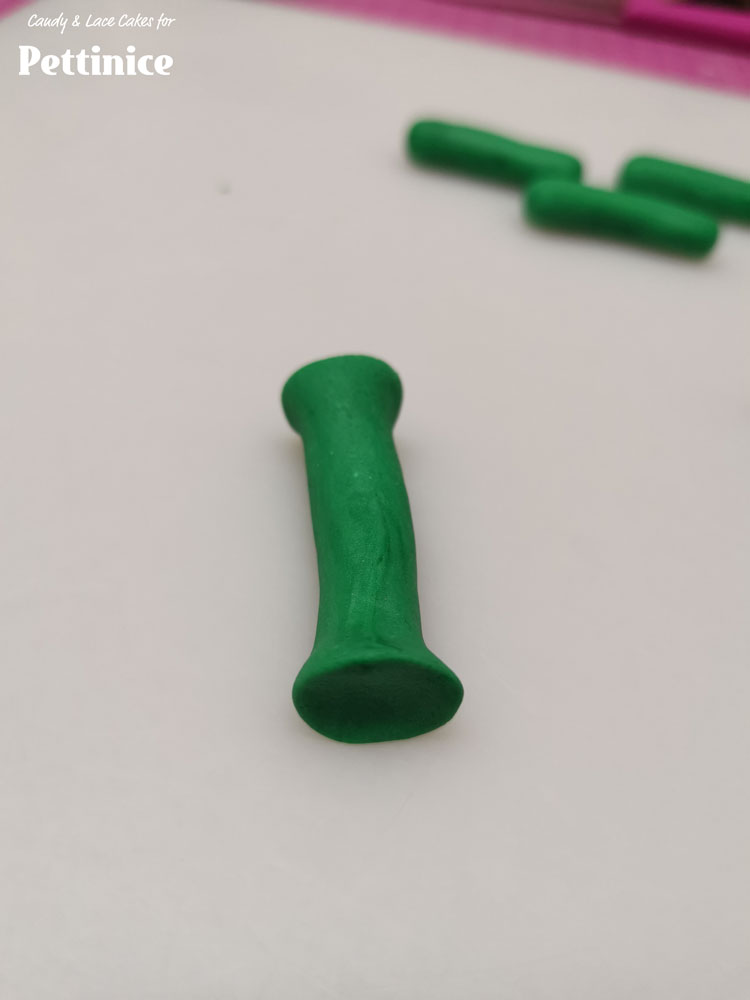
Pinch the ends of each piece to create a tube effect.
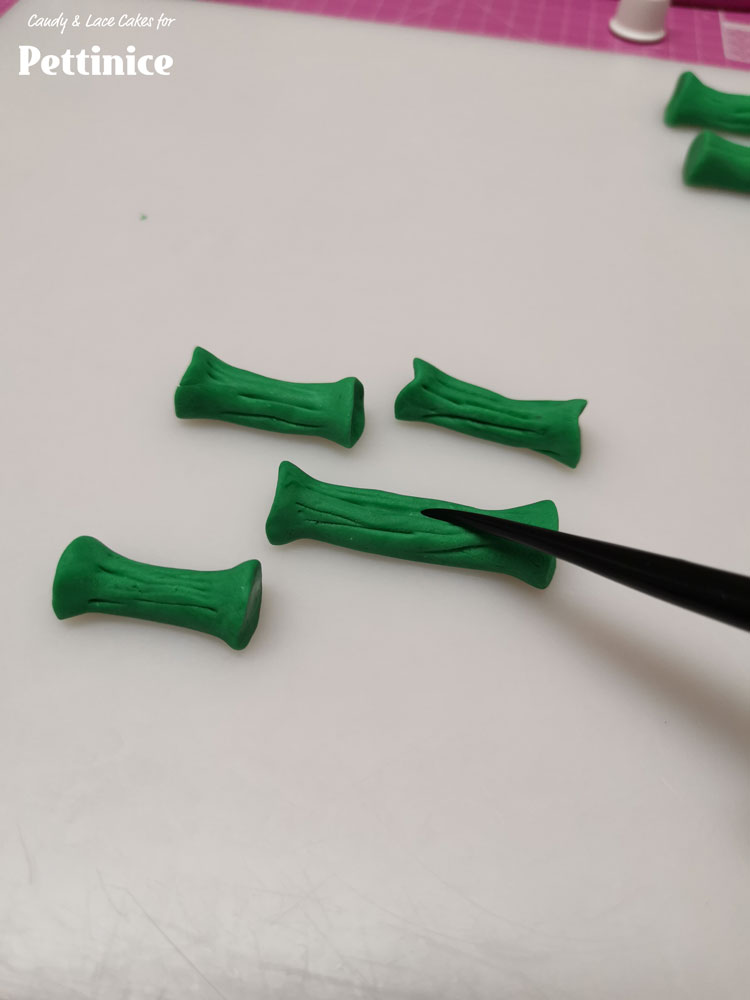
Use dresden tool to create lines on each piece.
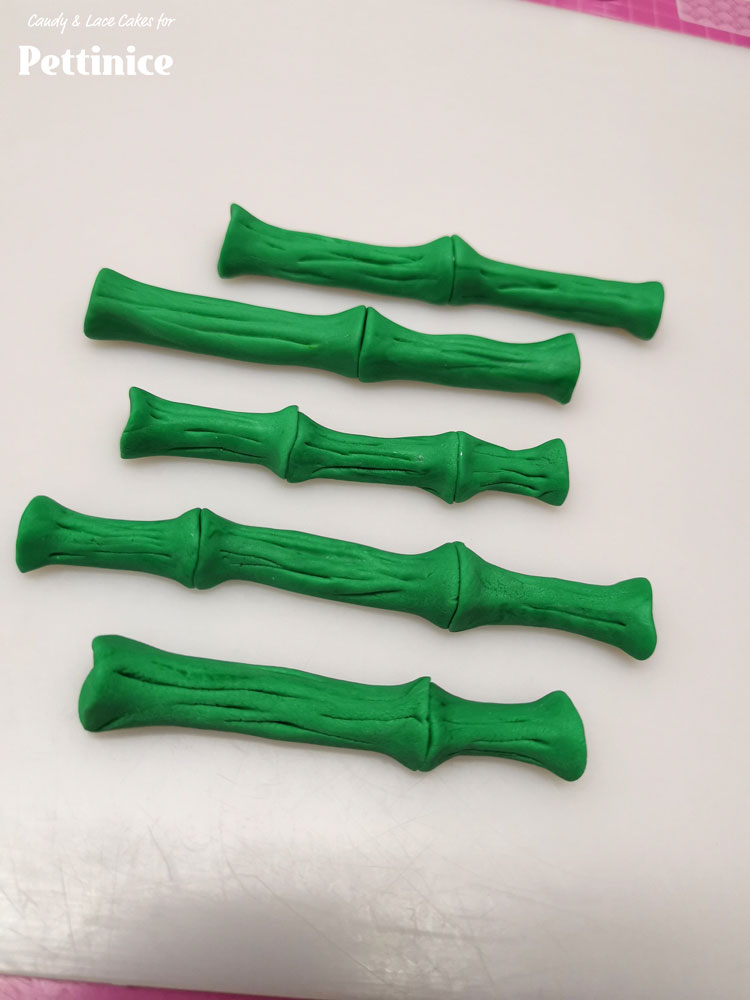
Stick 2 or 3 pieces together, joining them at the ends with edible glue to create a bamboo stalk. Move aside.
Roll out tiny green balls.
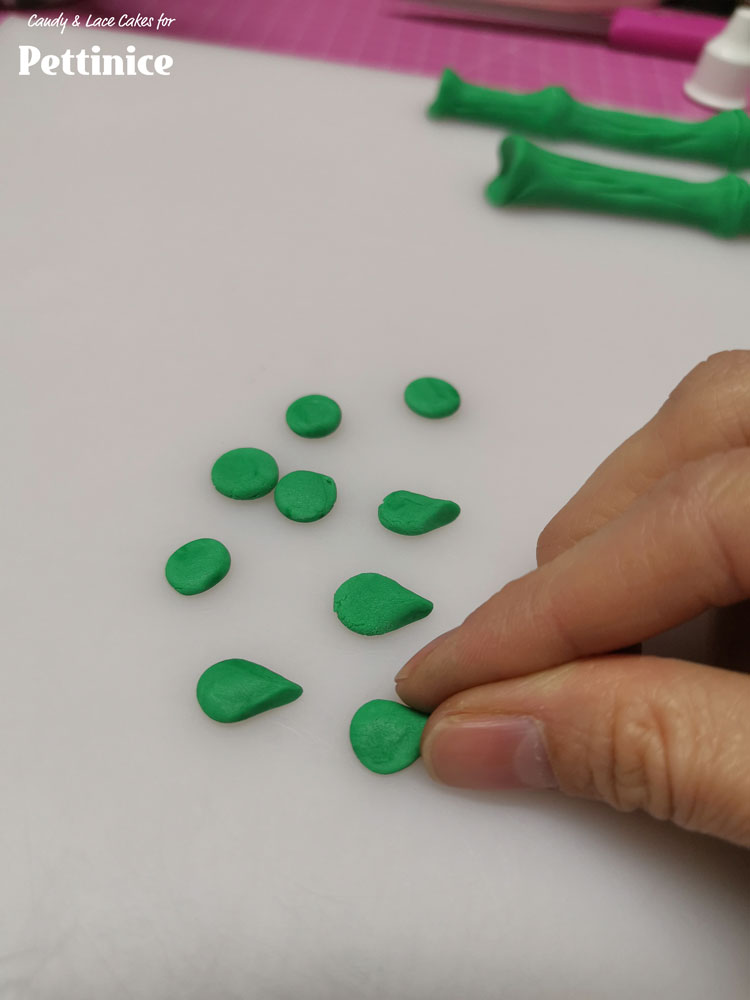
Flatten each ball and pinch only the one side to create a small leaf shape.
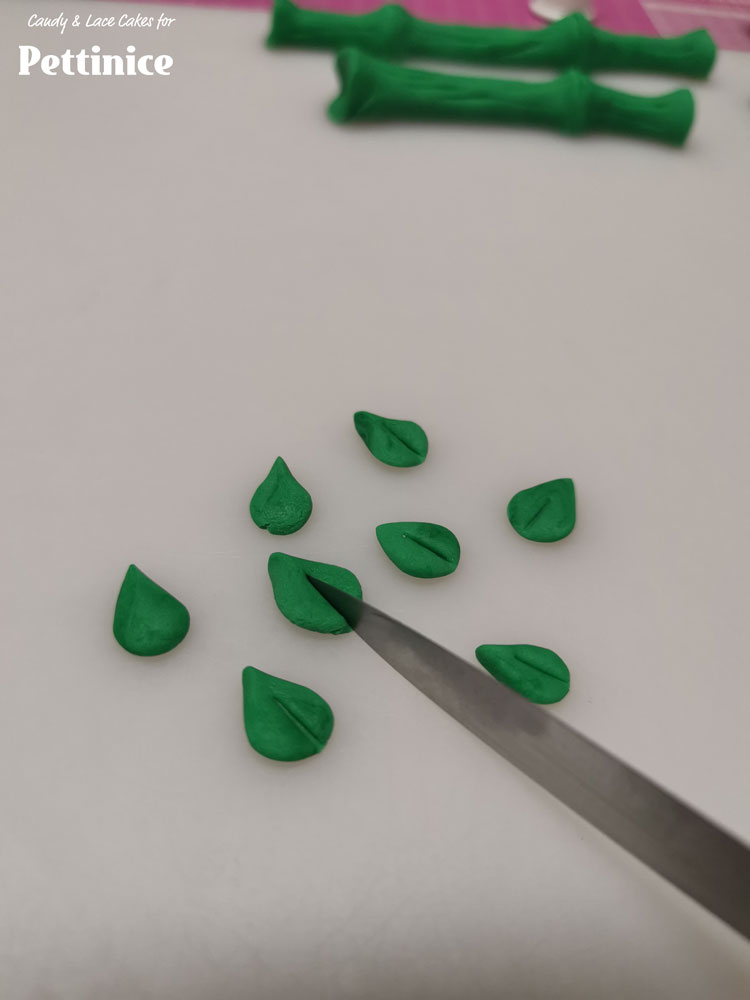
Use the back of your knife to vein each leaf.
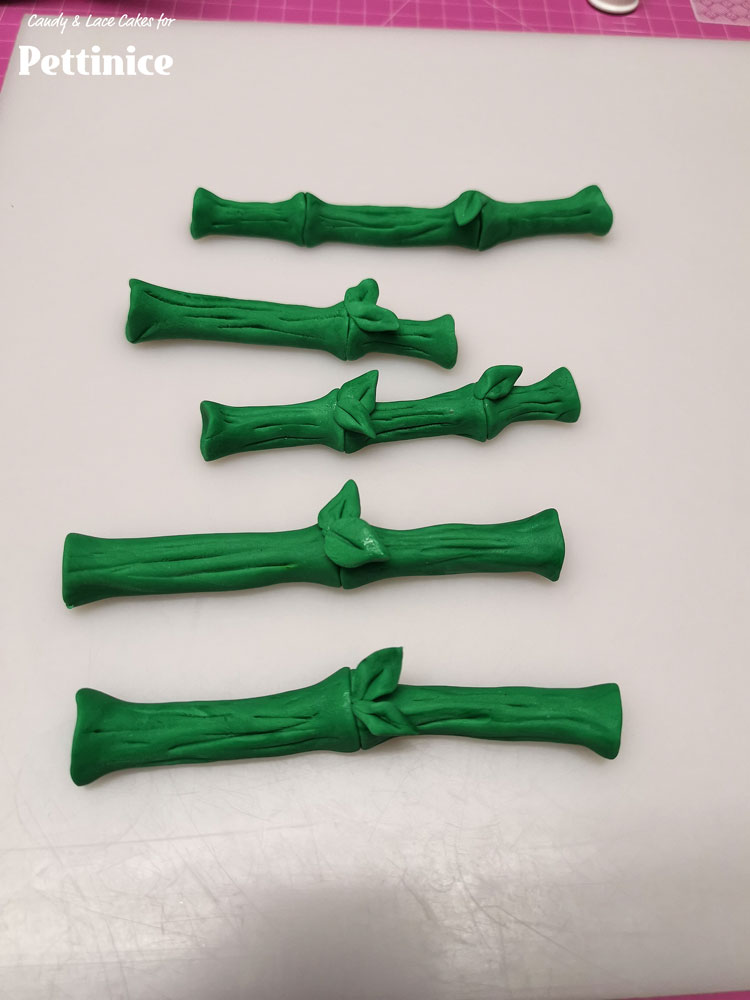
Stick the leaves onto your bamboo stalks on different areas as you wish.
Your bamboos are now ready!
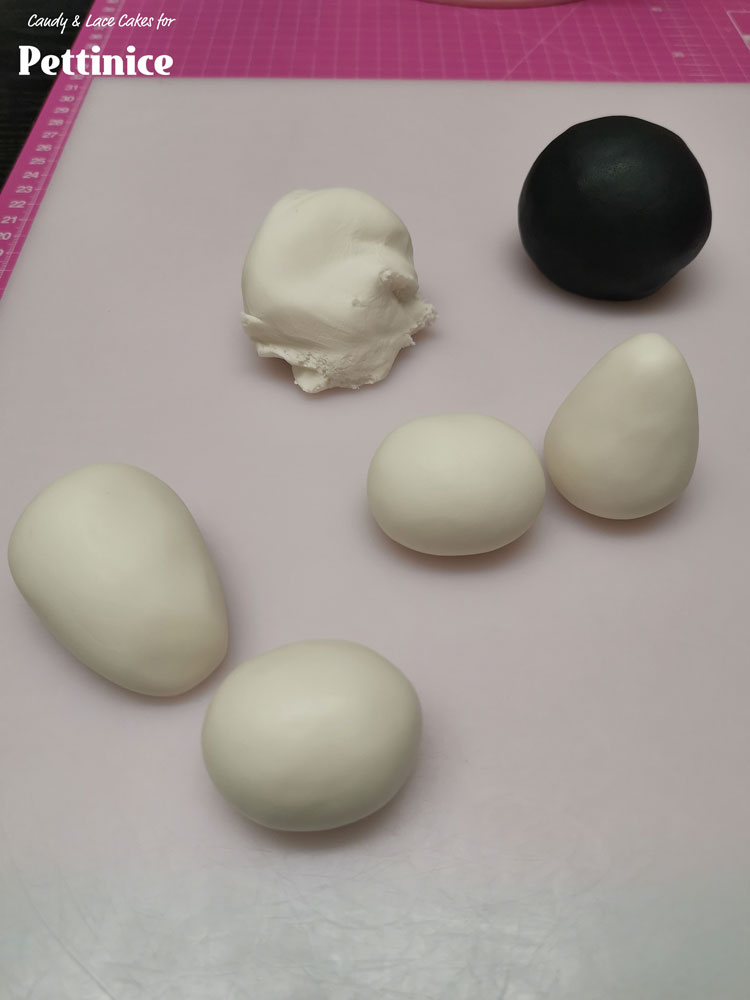
Making the panda bear

Prepare the bodies and heads by rolling out an oval shape for the body, going thinner at the top for the upper body and 2 x oval shapes for the heads.
Attach one head on top of the body of the sitting panda and one head in front of the body of the lying panda.
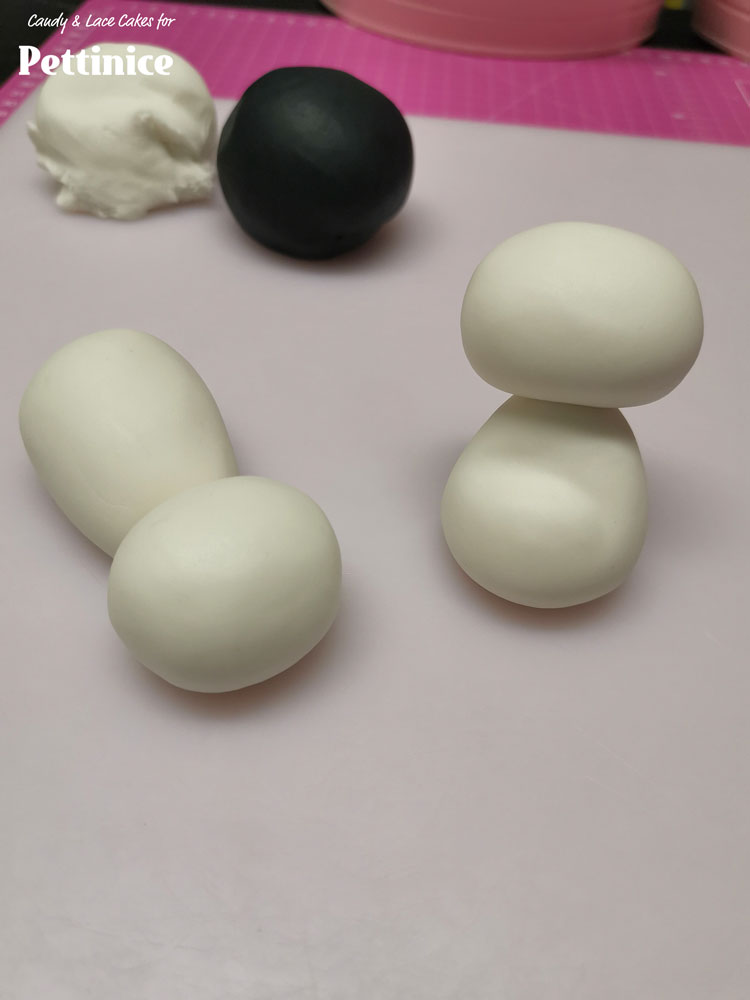
Attach one head on top of the body of the sitting panda and one head in front of the body of the lying panda.
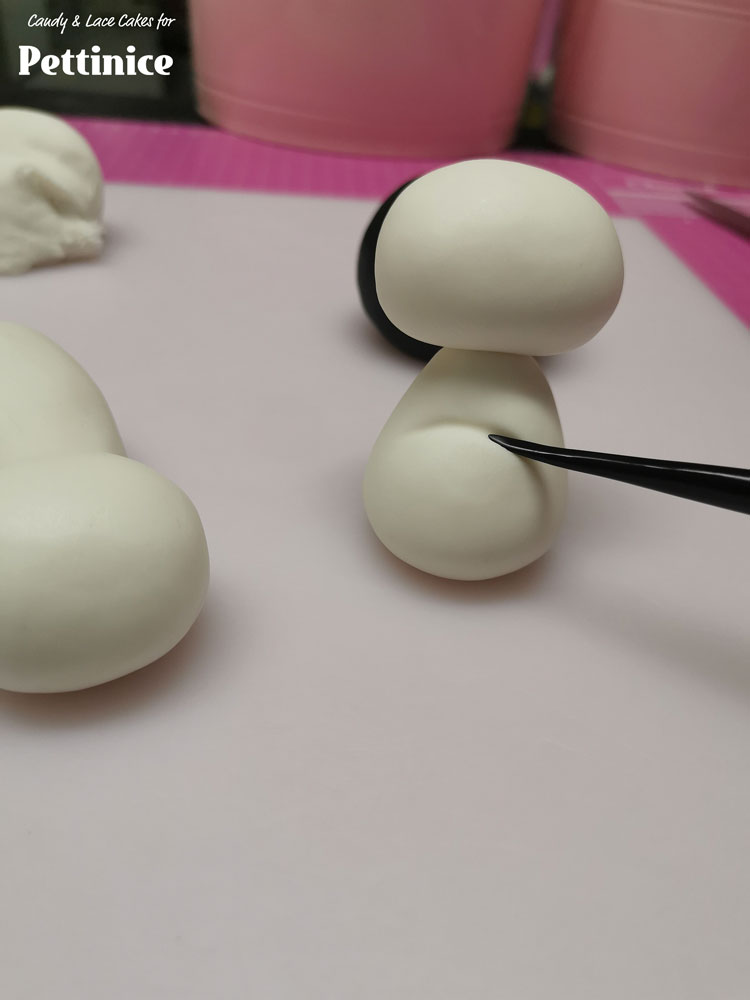
Use dresden tool to accentuate sitting panda's belly.
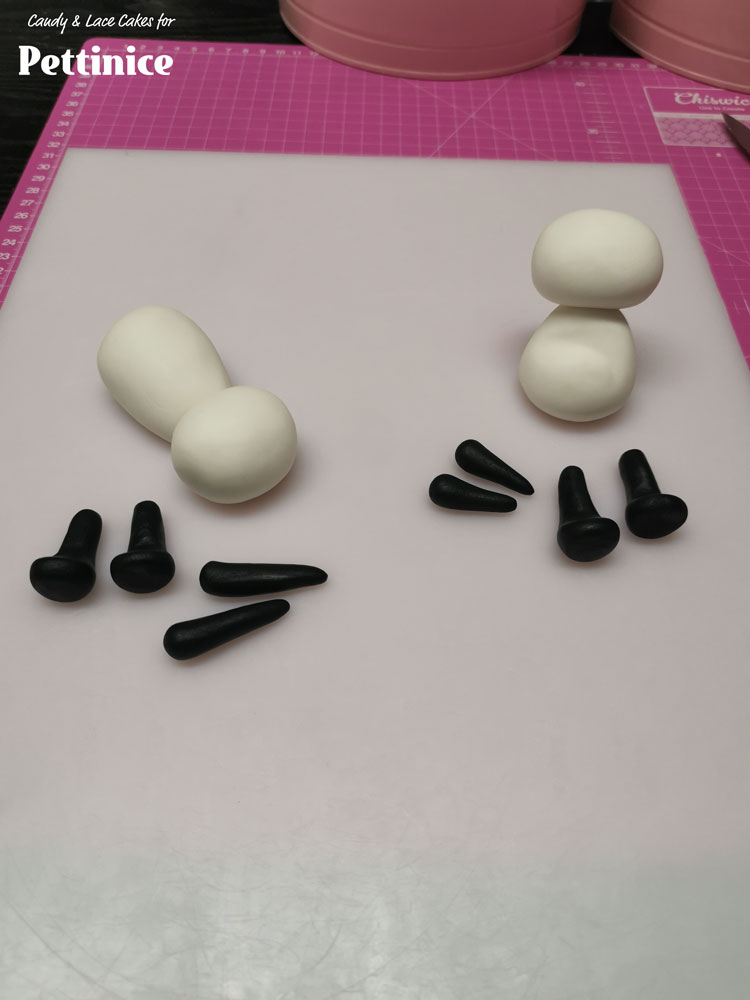
Use your black Pettinice to roll out 4 arms and 4 legs with feet attached. The back legs can be done in one piece or attached separately.
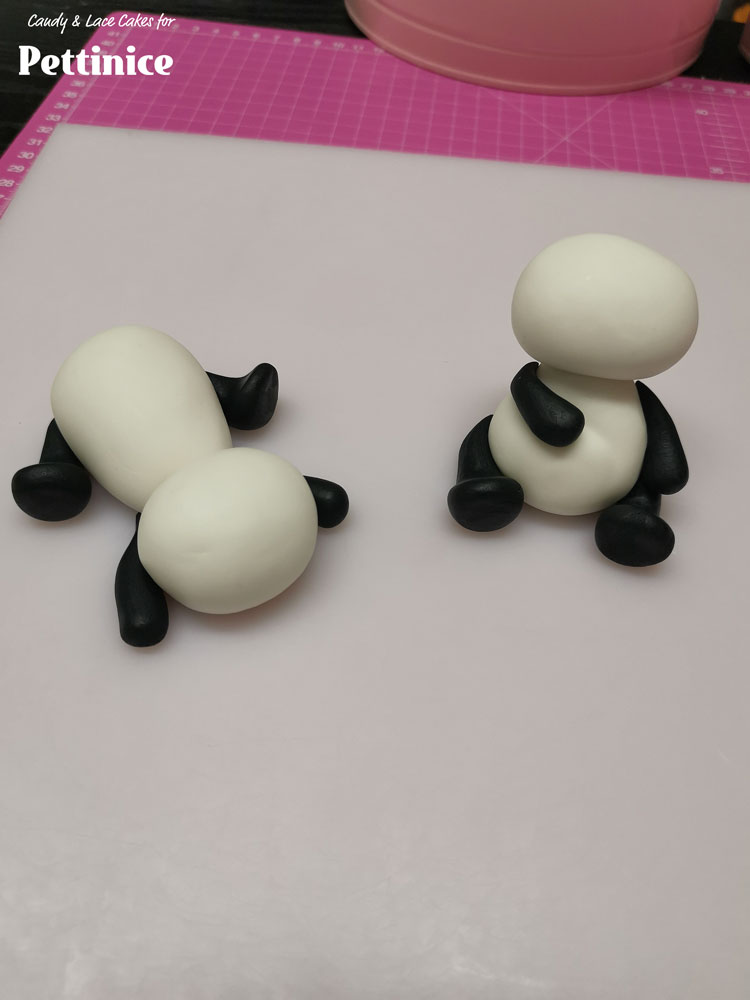
Attached the front and back legs onto each body with edible glue and a paintbrush, so that sitting panda has his arms resting on himself and lying panda has his arms and legs on either sides of his body.
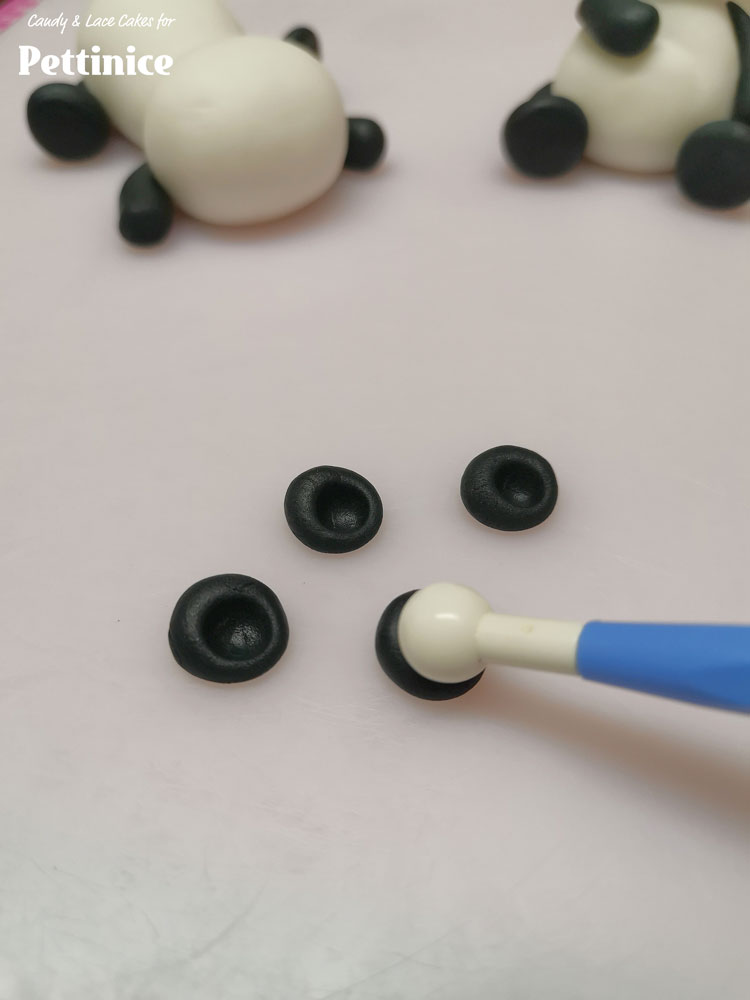
Roll 4 small black balls for panda's ears and make indents with your ball tool. Attach to the tops of their heads.
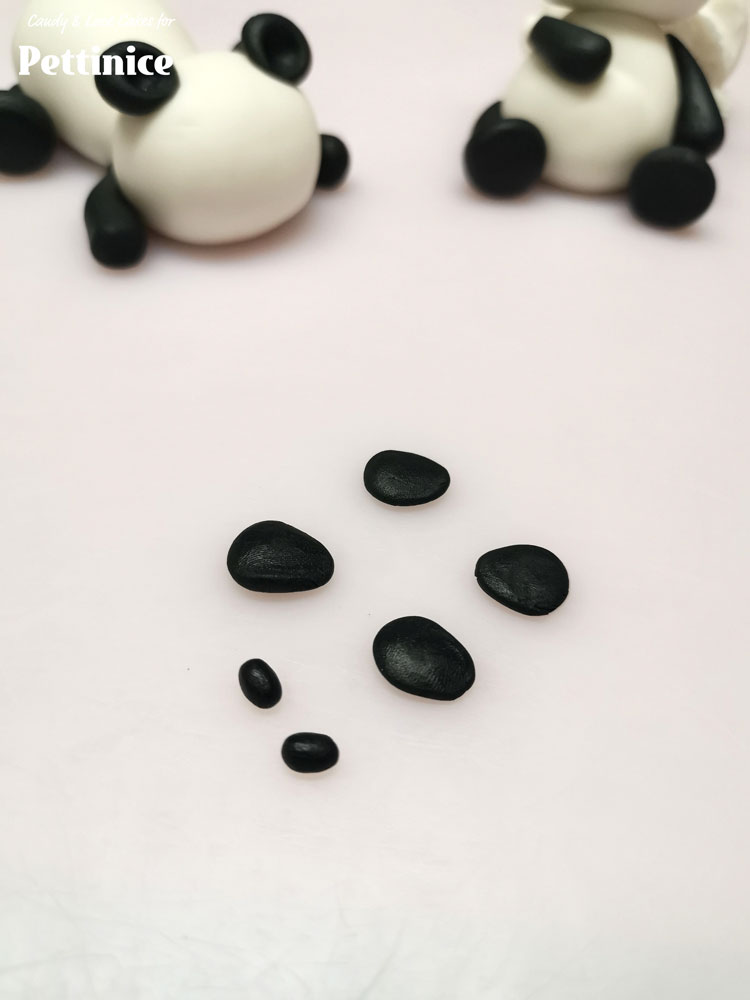
Shape 4 pieces of black fondant into their eye patches (I did an egg shape) and 2 tiny little noses
Attach to your panda faces with edible glue.

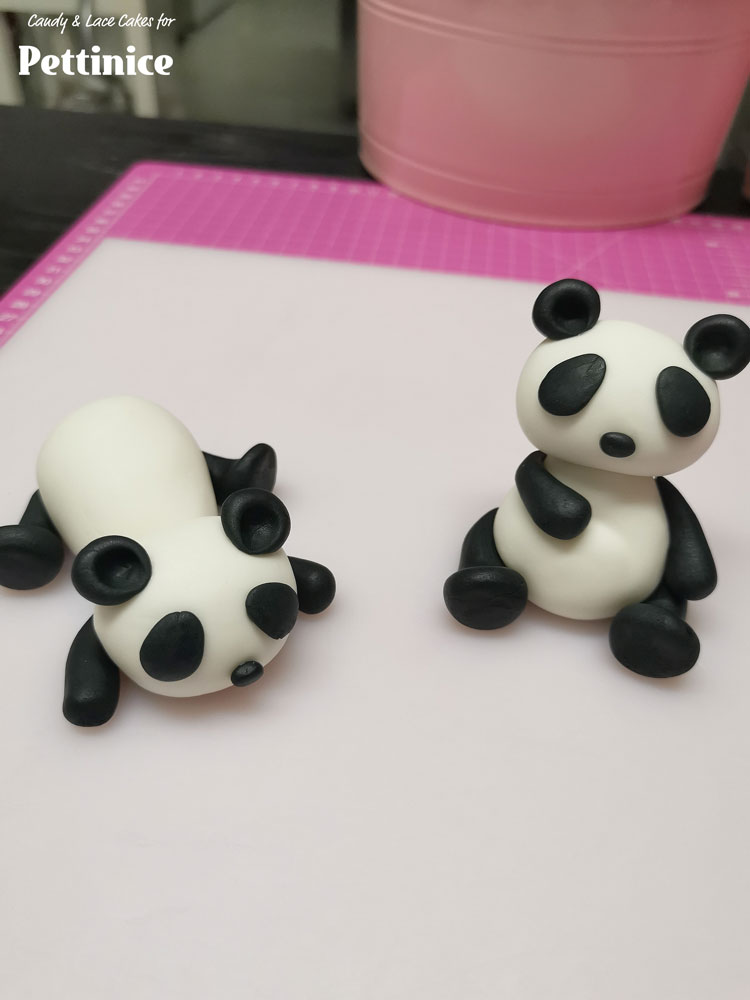
Lastly use your smallest round plunger cutter to cut little circles out of thinly rolled white Pettinice. Stick them onto the feet as well as onto the eye patches. Add a tiny black speck in each eye and your panda's are done!
Today, I saw twin pandas. That bears repeating.
What do scary pandas eat? BamBOO!
How do you confuse a panda? You bamboo-zle it.
Assembling the cake

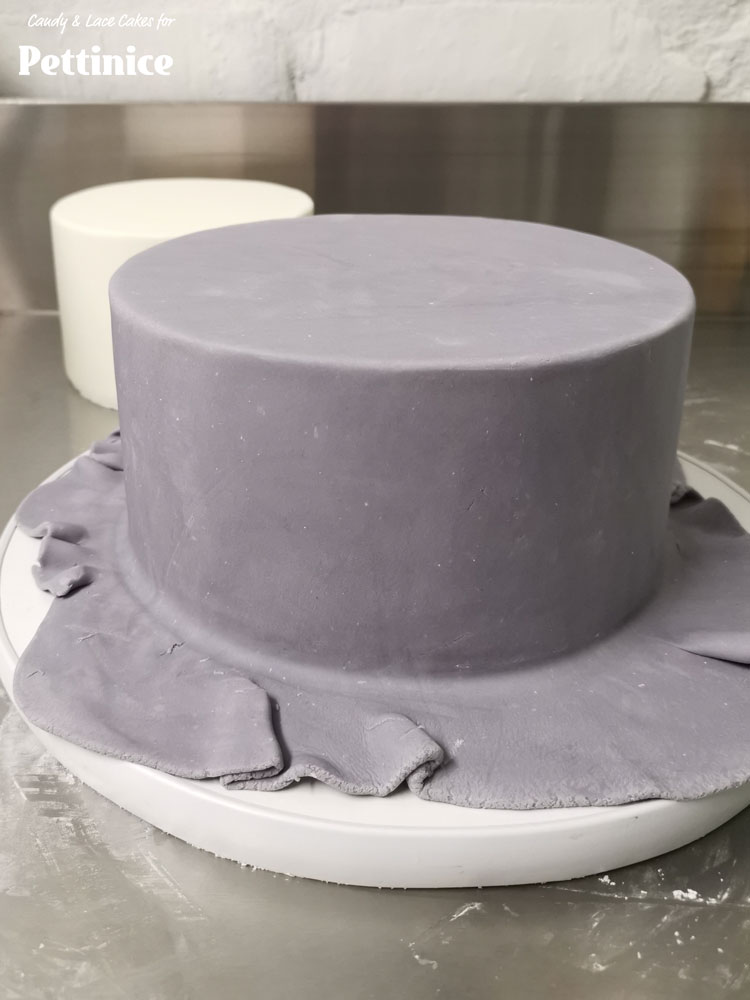
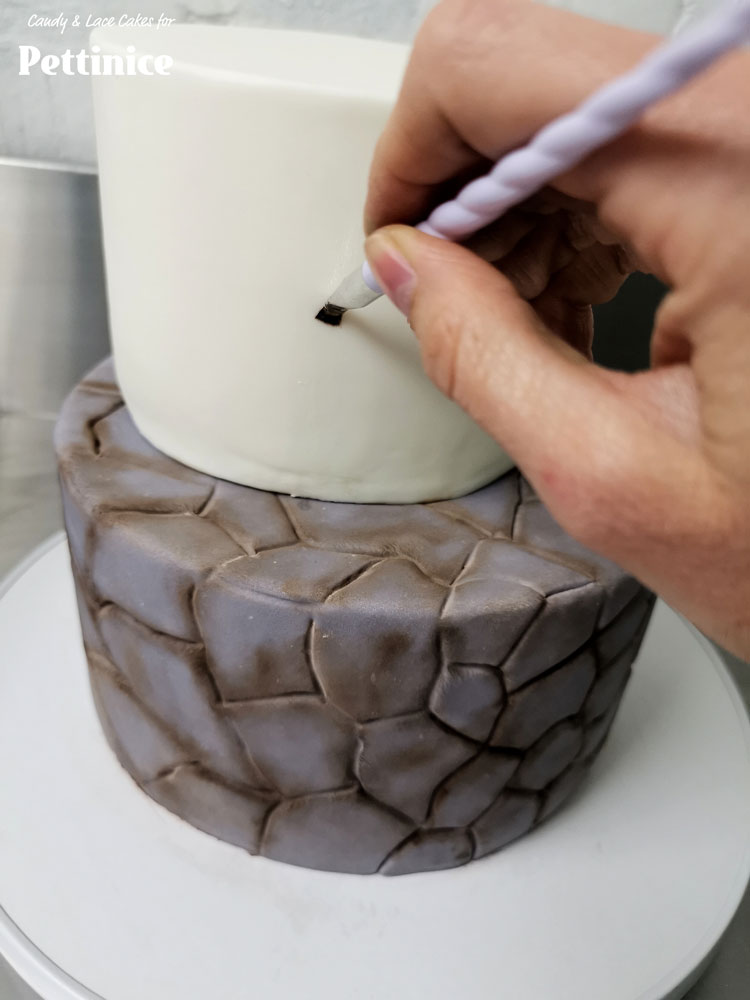
Cover your bottom tier in smooth pre colored grey Pettinice and your top tier in smooth white Pettinice.

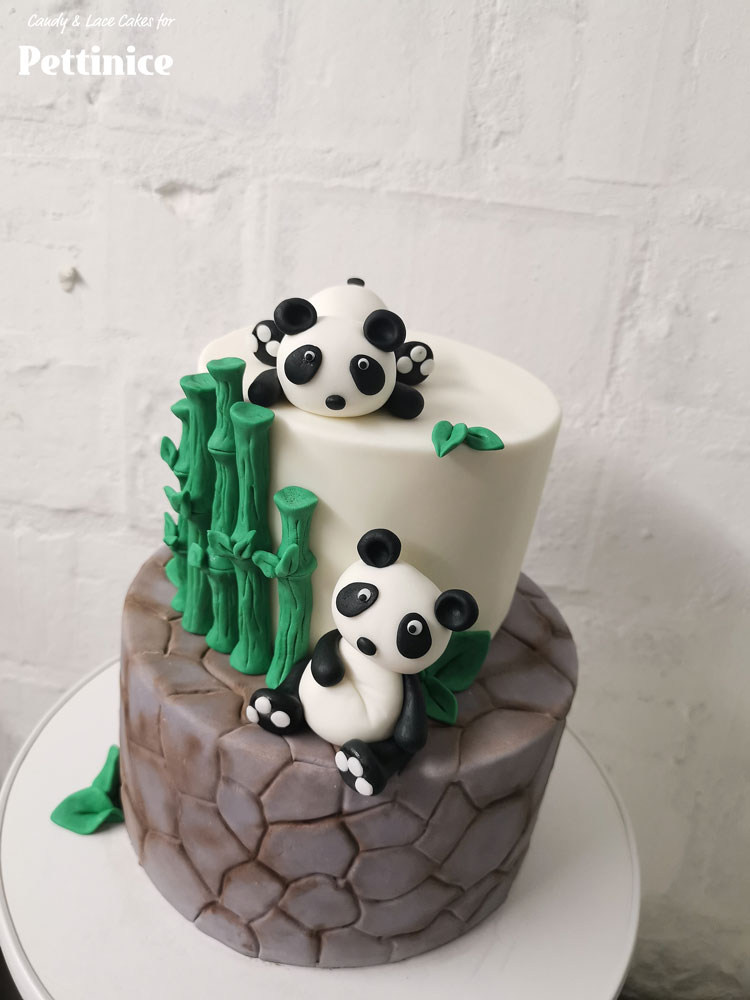
Stack the 2 tiers on top of each other after securing your bottom tier with the necessary doweling for support. I stacked my top tier onto the bottom at an off center angle to create more space for my panda to sit later on. :)
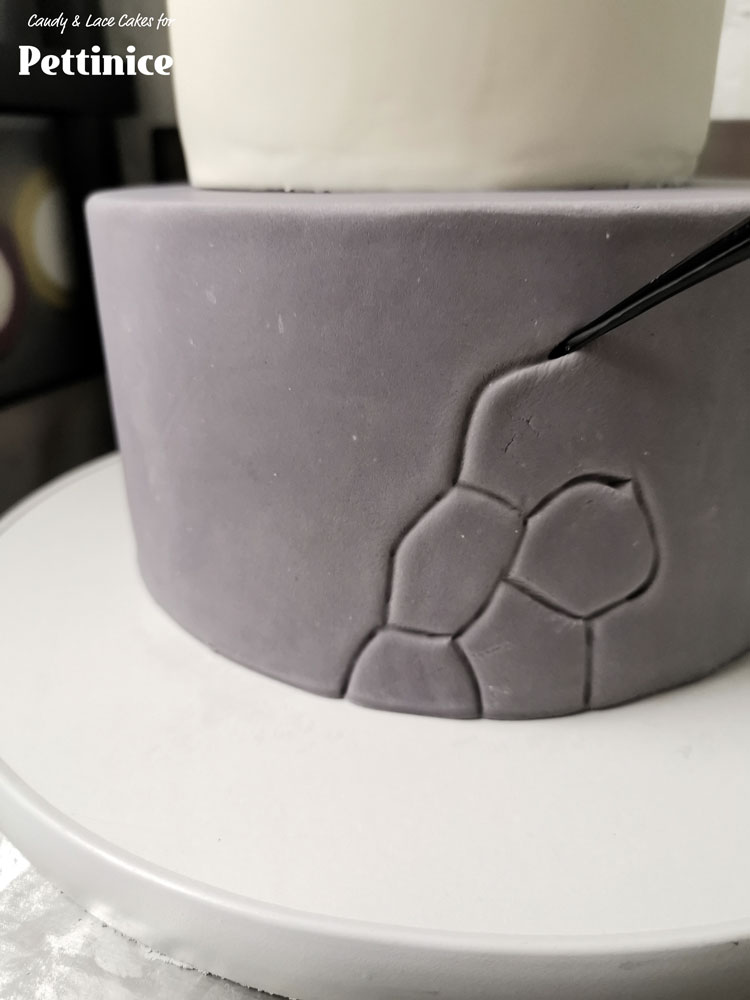
Use your dresden tool to create lines and creases all around the bottom tier.
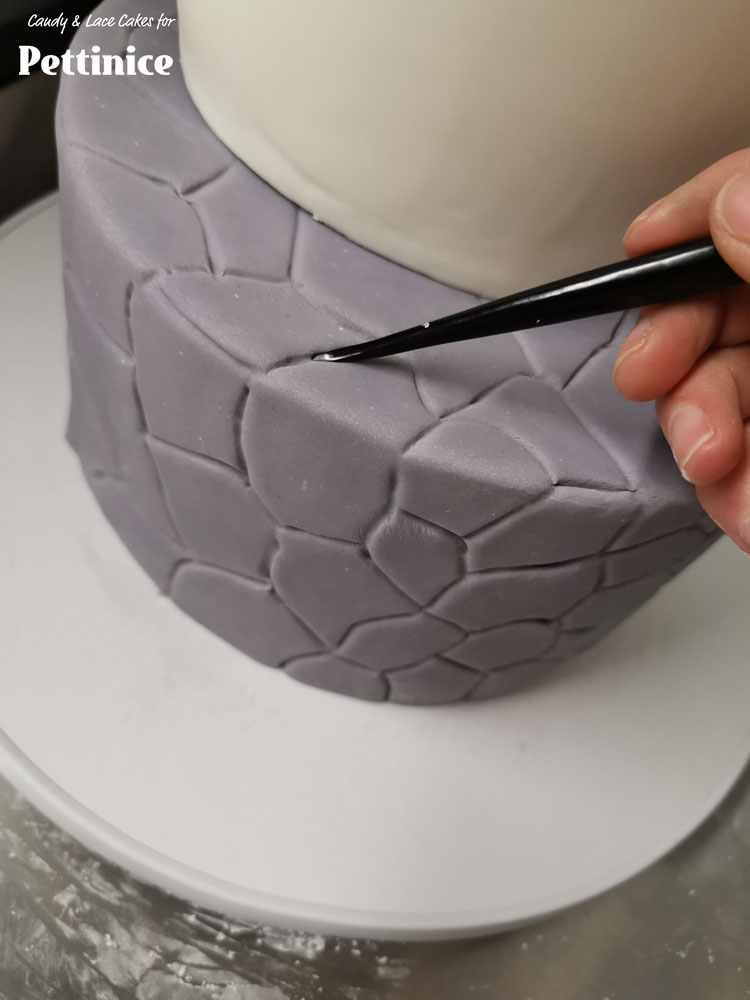
Use any shape or pattern you want to create a paved stone effect.
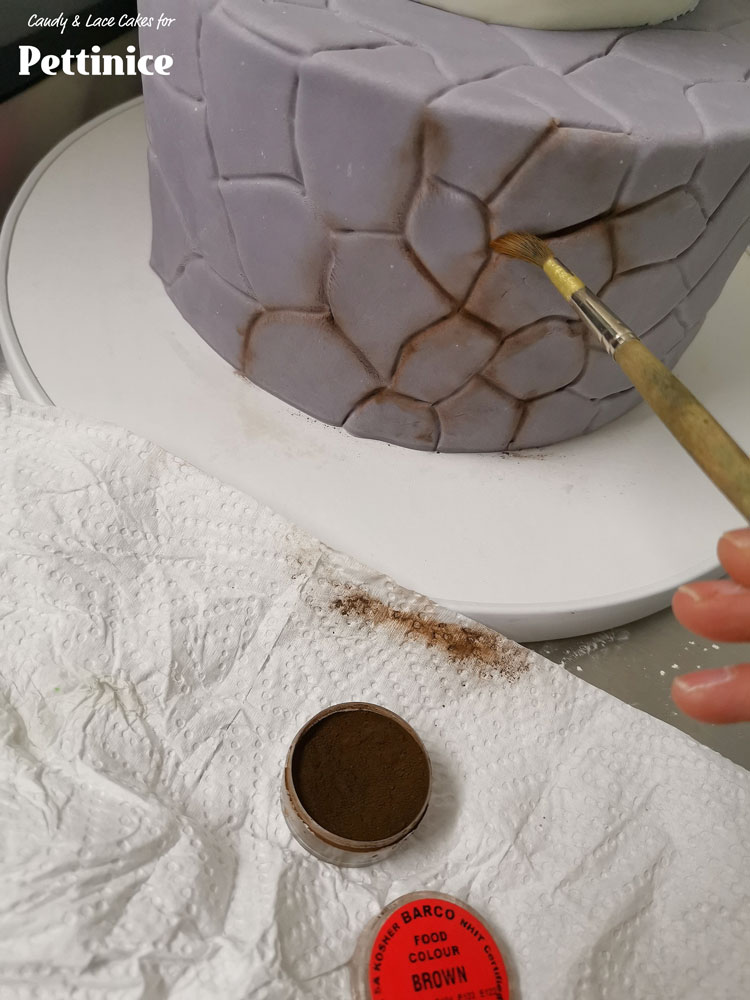
Take a clean paintbrush and some brown luster dust and dust the creases to create some shadows.

Use your paintbrush and edible glue to stick your bamboo onto the sides of the top tier.
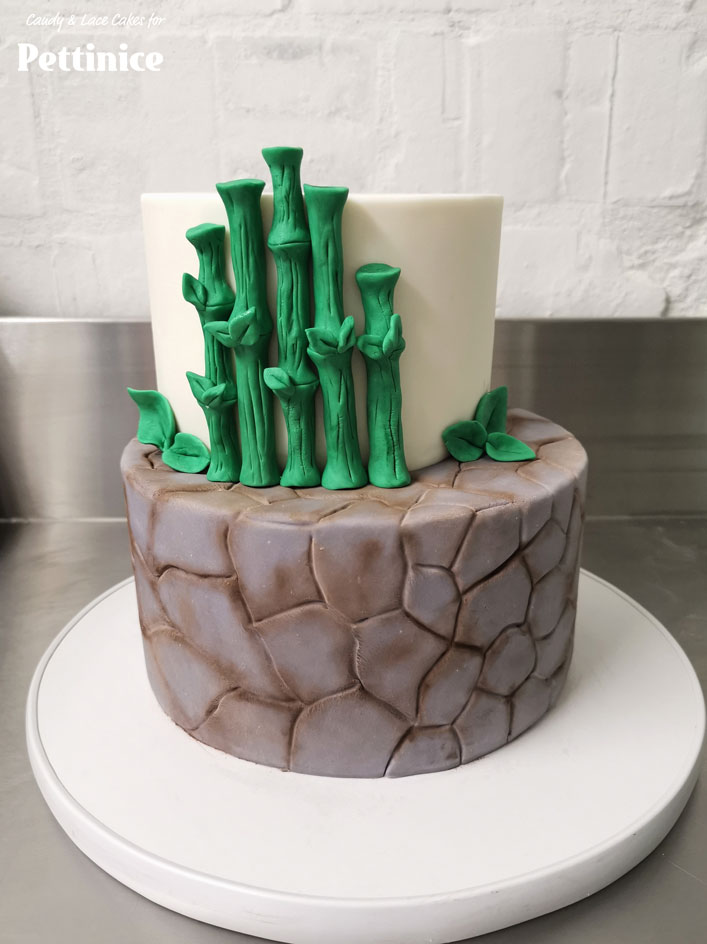
You can add as many or as little of these as you'd like!
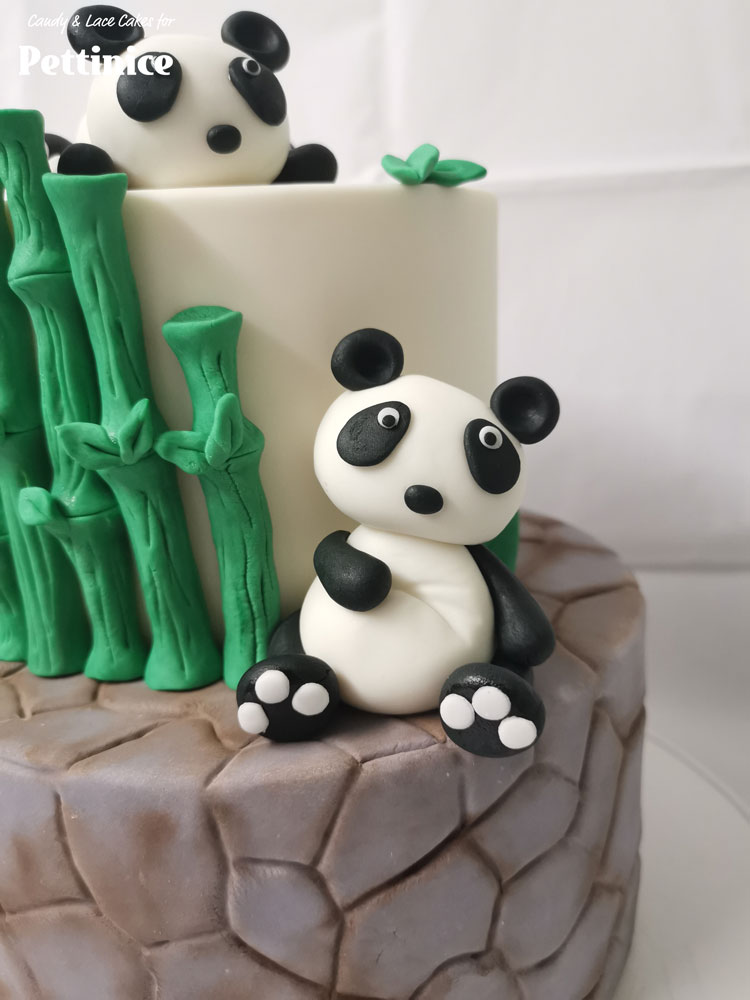
Lastly, place your 2 Pandas onto the cake. The lying panda on top of the top tier and the sitting panda next to the top tier, resting on the bottom tier.
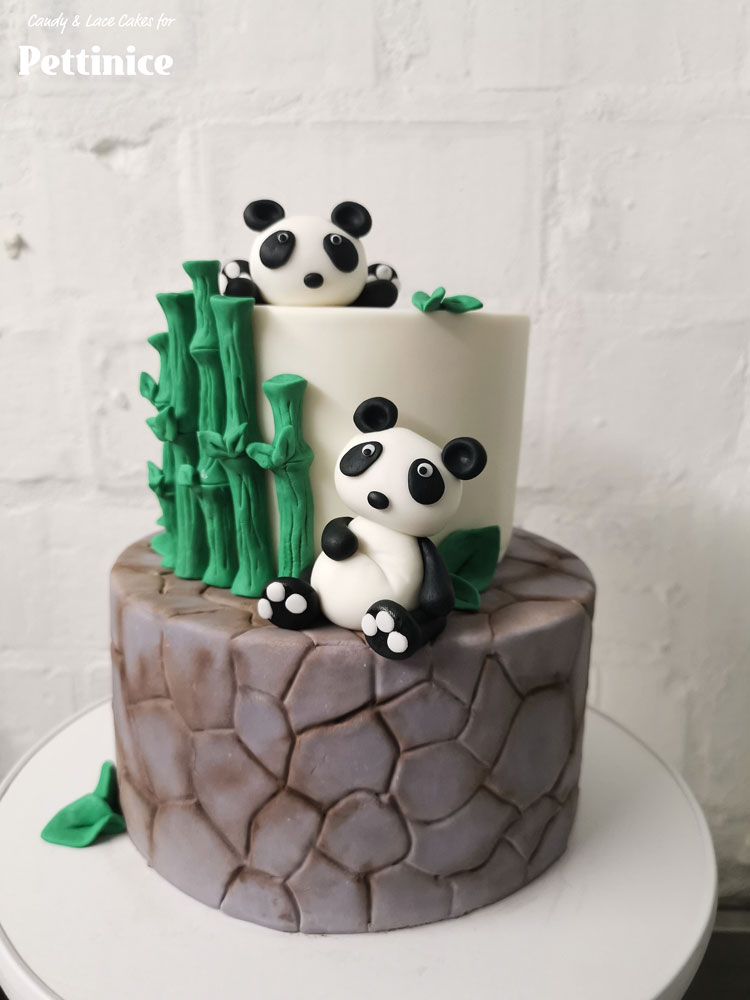
And you are done!
“My baking studio is my happy place where imagination runs wild and there are no limits as to what can be achieved with cake and Bakels Pettinice!”

Cynthia Janse van Rensburg owns Candy & Lace Cakes based in Cape Town since 1999. Her fascination began with cupcakes in 2009 and has evolved to creating celebration cakes. She cannot imagine doing anything else other than cake design. Cynthia’s passion is 3D carved and sculpted cakes, as well as gravity defying designs.
See more of Cynthia's cakes at
![]()
![]()