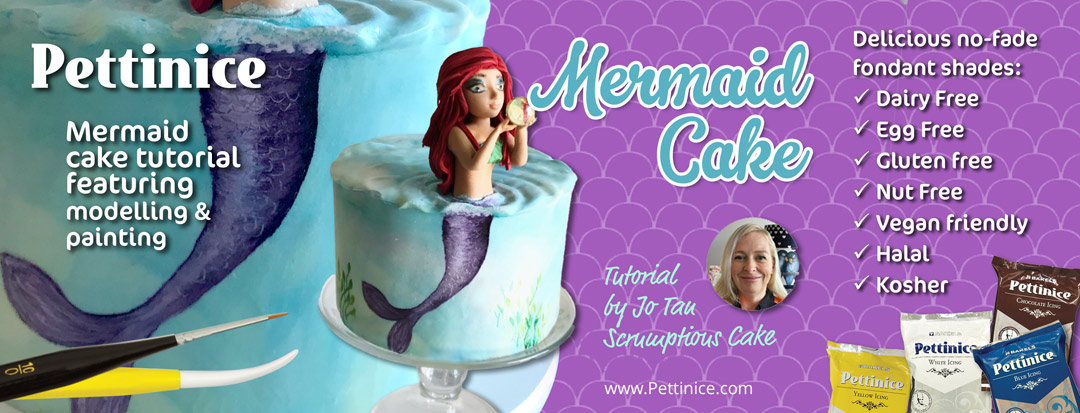
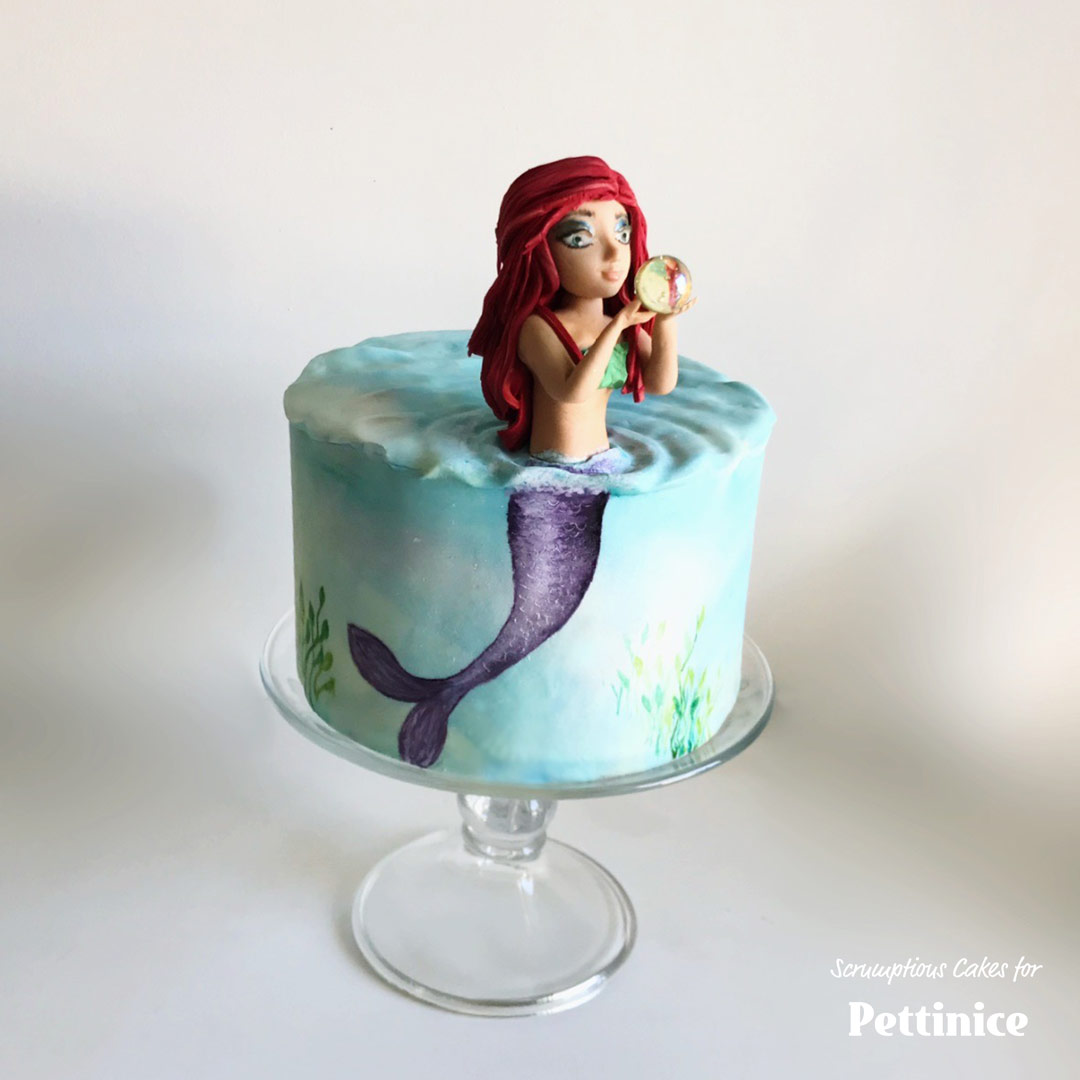
How to make a mermaid cake with Jo Tan
.
.
You will need:
Pettinice
- 400g white
- 1g brown
- 50g yellow
- 60g blue
- 1g red
- Edible glue - I use a Tylose and vodka mix
- Gel colours – I used Americolour white and Progel purple
- Balling tool
- Dresden tool
- Paring knife
- Rolling pin
- Face mould
- Paint brushes
- Skewer
- Packing foam for drying fondant
- Polystyrene for drying mermaid torso on

Making the mermaid figurine
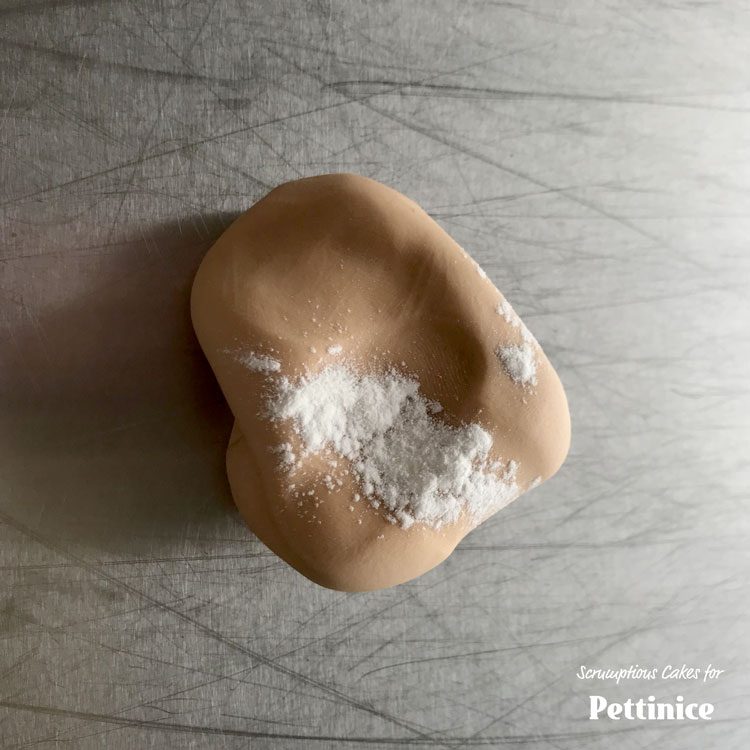
Make up about 50grams of skin coloured fondant using mainly white Pettinice with a bit of brown, yellow and red Pettinice. Here is the colour recipe I used for this tutorial:
- 43g white
- 5g yellow
- 1 g red
- 1g brown
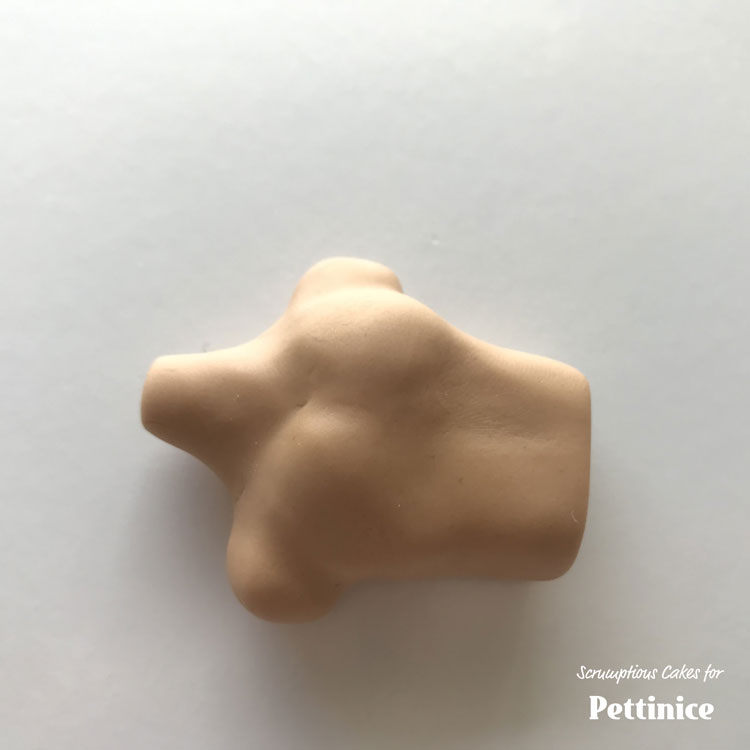
You may want to adjust this to suit the tone you are looking for. When making figurines add tylose to Pettinice to make your figurine to set hard. Divide up your fondant into 4 balls, 1 each for the torso, head and 2 arms. Leave out the torso ball and store the others away for later use.
When making figurines add tylose to Pettinice to make your figurine to set hard
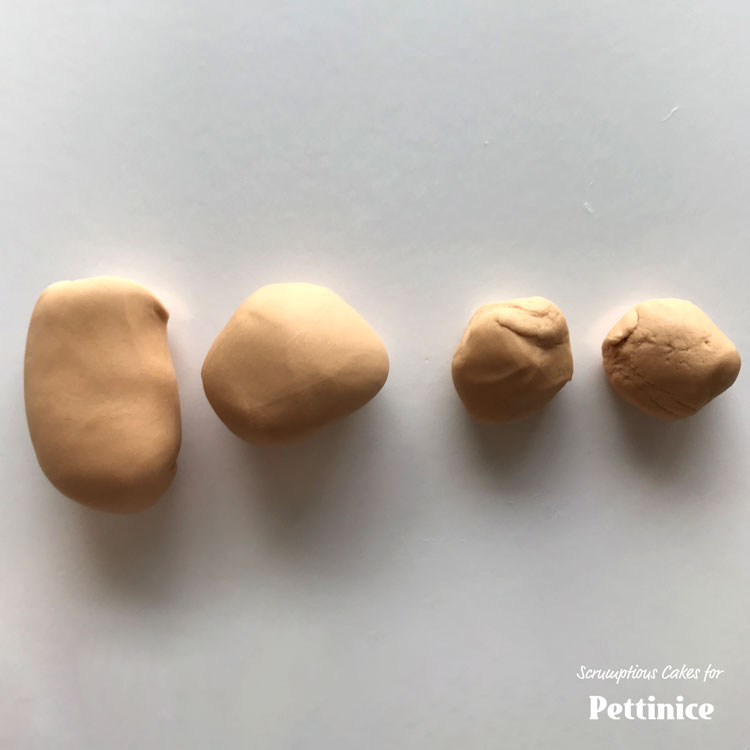
Add tylose to Pettinice to make your figurine to set hard. Divide up your fondant into 4 balls, 1 each for the torso, head and 2 arms
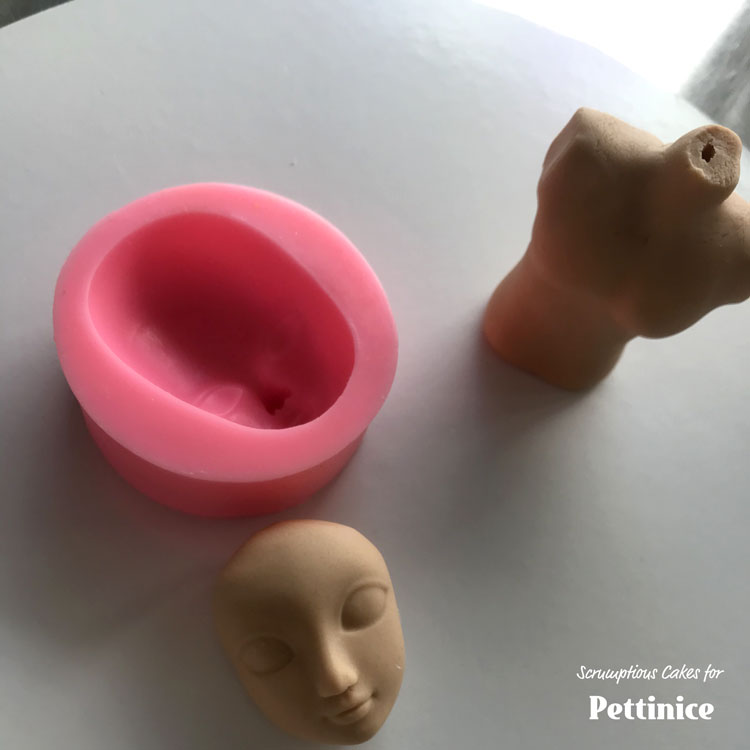
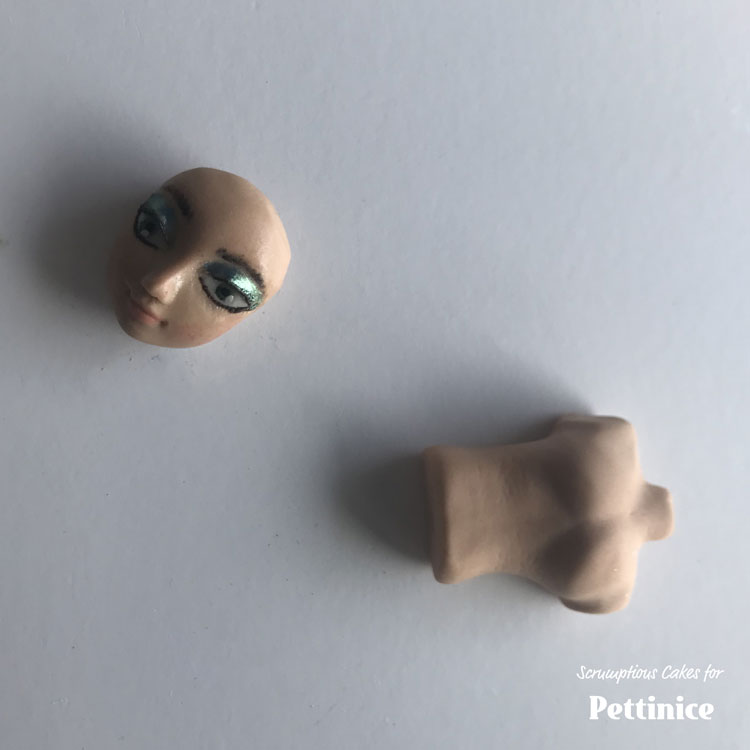
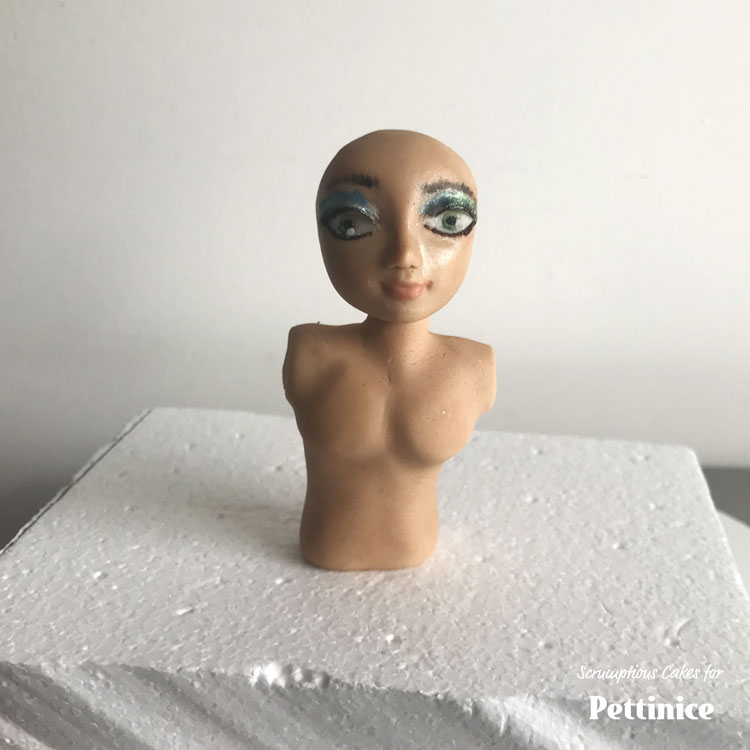
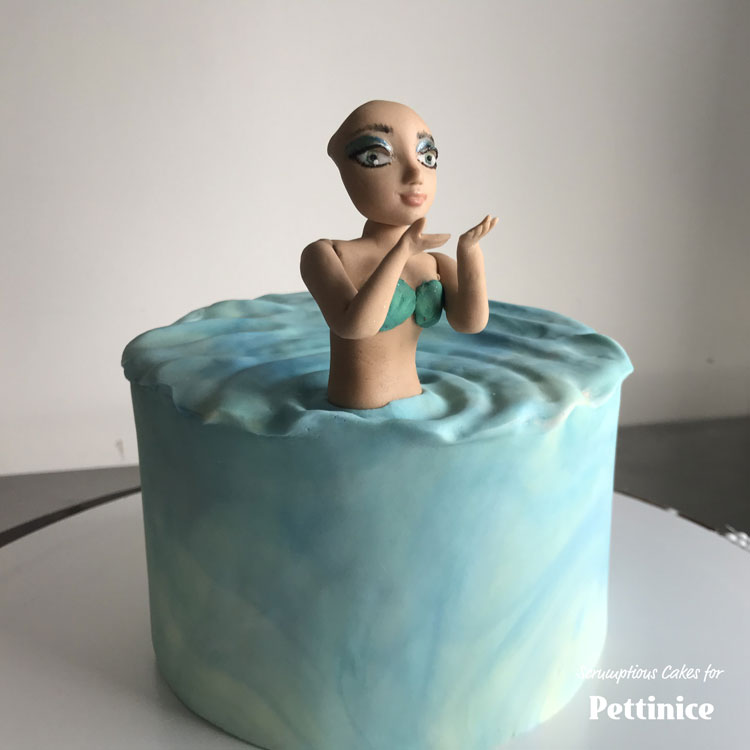
Making the head
To make a head I always find it easier to start with a mould and manipulate that to fit. For this one I added whites and pupils for the eyes where the mould indicates and then add eyelids with ‘eyelashes’ and eyeshadow as I want her to have a mysterious look about her. Put a hole in her head where you want the skewer to enter and then take the skewer out and leave the torso and head to dry. I like to leave it for 24 hours, you do not need to, the time just ensures that the torso and head keep their shape. Do not worry that the back the head will be flat as hair will cover this.
Allow each section to dry before assembling.
Making the torso
Roll your fondant into a wrinkleless ball (start with this anytime you shape anything it allows you to have a mark free base) and then start making your torso, I shape the ball into a rectangle and then slim down the ‘tummy’ and pull out the ‘neck’. Don’t forget to mke indents for the collar bone. Once you are happy with the shape gently push a skewer thru the length of the torso with the majority of the skewer at the bottom end – this will hold your mermaid up on the cake. Leave about 1 ½ cm coming out of the top and this will be for the ‘head’ to slide onto.
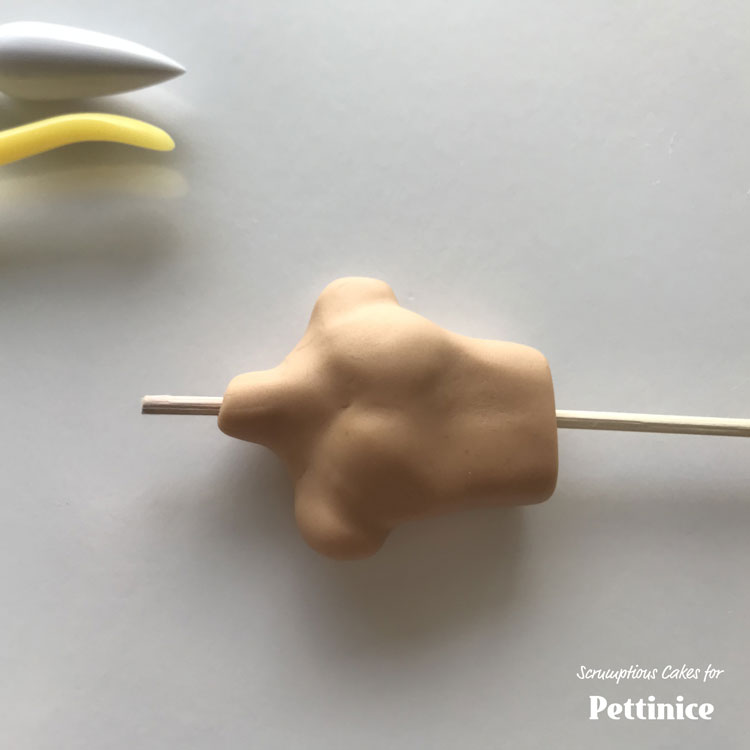
Be sure to poke holes through the torso and a bit of the head before drying and assembling.
Once both pieces are dry, then you can assemble them together. Otherwise you risk the weight of the head pushing down the body.
Adding and making arms
Use edible glue (tylose and vodka) to stick the head onto the skewer that emerges from the torso, I have the bottom of this skewer sticking into a piece of polystyrene for drying purposes at this stage. Make the arms out your remaining 2 balls and I recommend making them at the same time so you can see that they are same size before you stick them on. You will have to work fast to avoid the arms wrinkling as you fold them and I never get it right the first time I make them but practise makes perfect right 😊. I use packing foam to help the arms stay in place while they set. I left mine to set for another 24hrs – again you don’t have to leave it so long but I find it easier to work on each next stage knowing that everything attached will stay in place if bumped or knocked and it wont ‘wilt’. Meanwhile we can prepare the cake….
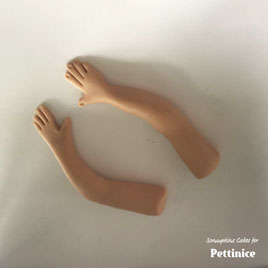
Create your arms.
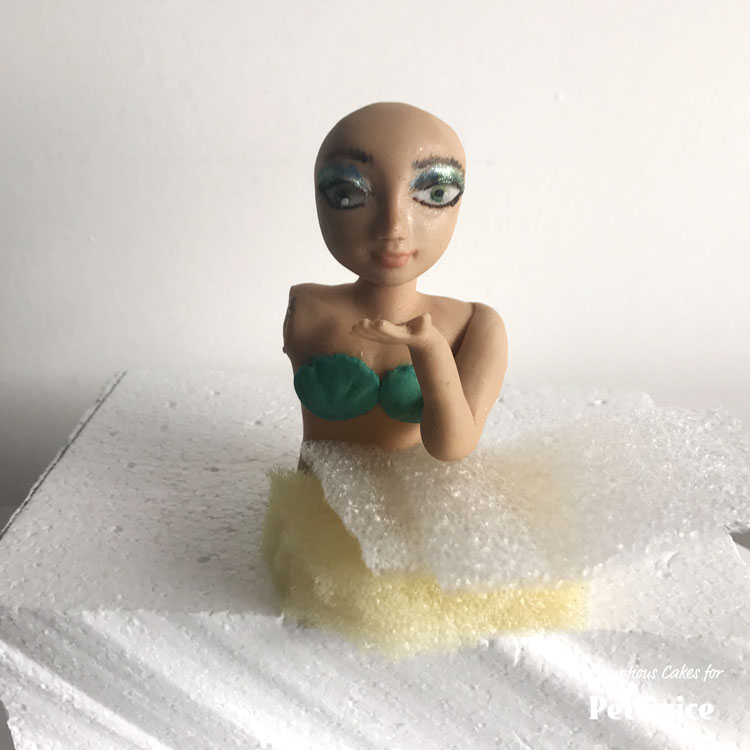
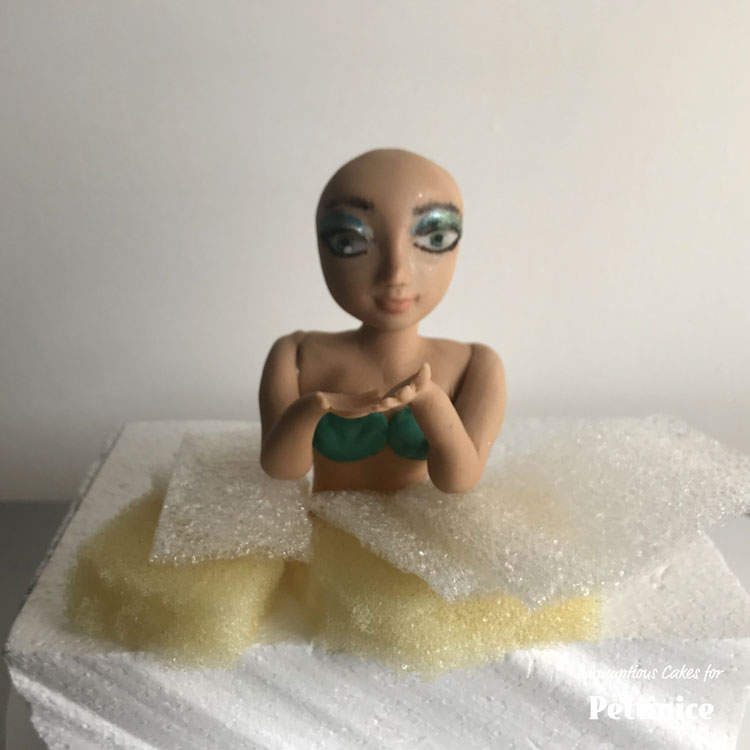
Use your foam to hold the arms in place while they dry.
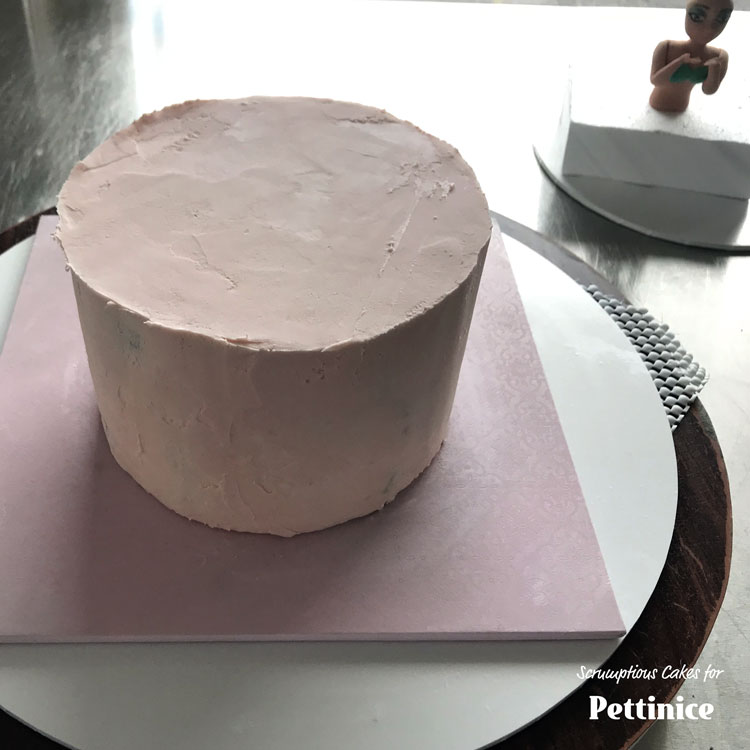
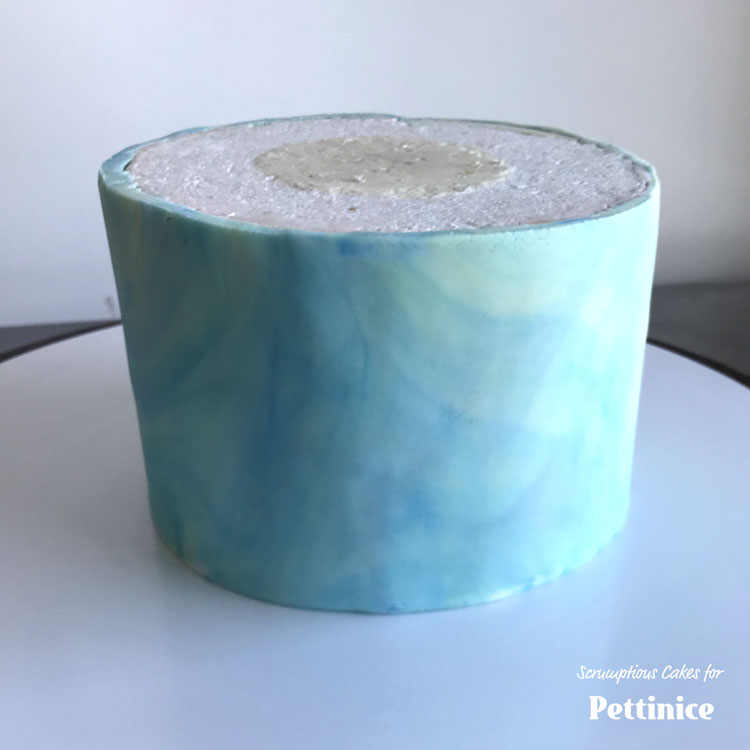
Covering your cake
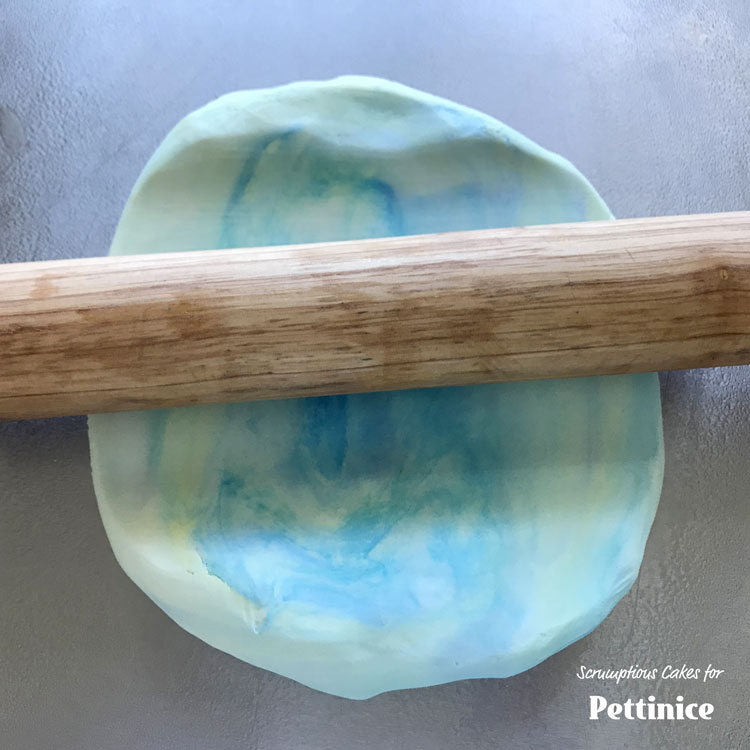
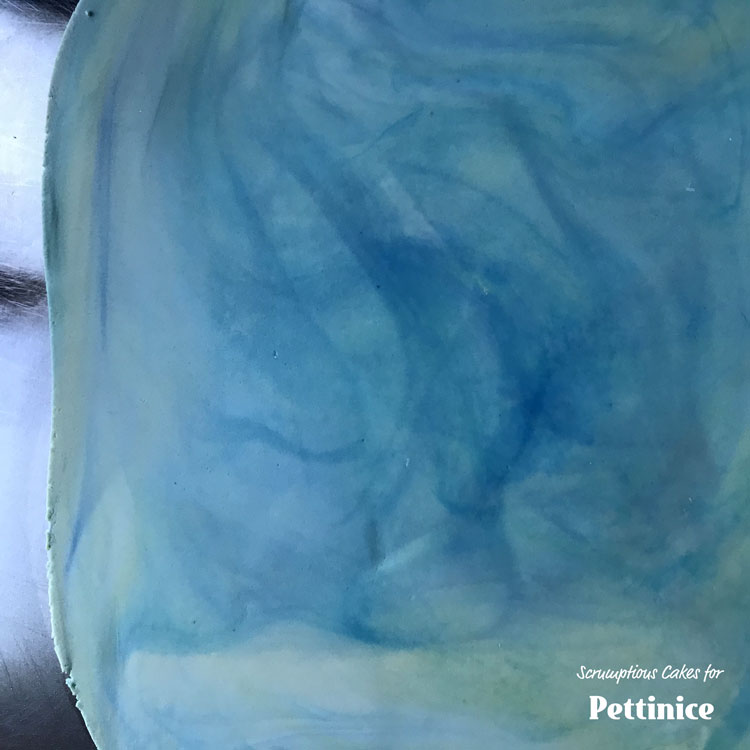
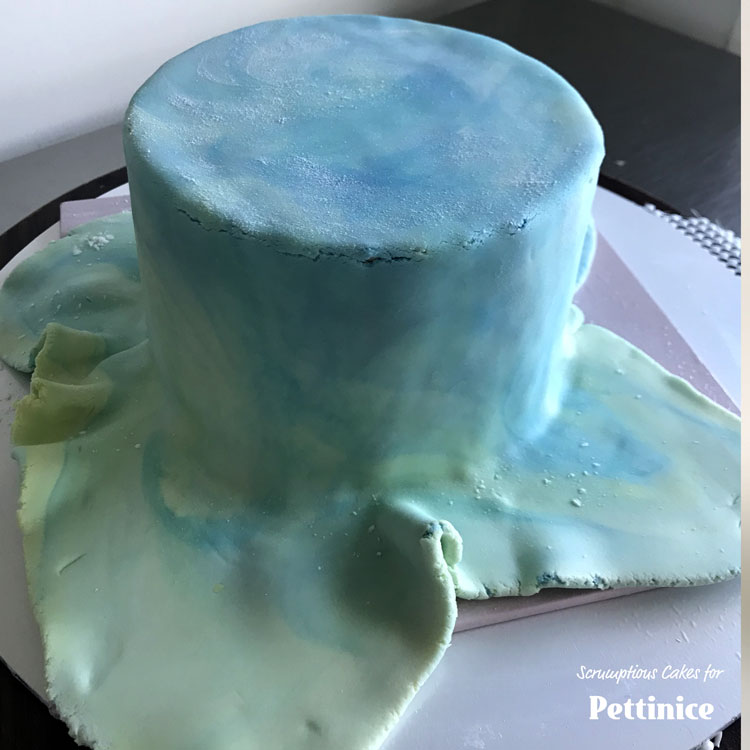
Once you have ganached your cake cover it with marbled fondant. Click on the video below to see the marbling and covering in action from my previous Marbling Pettinicetutorial.
Please note, for this project I used 600 grams to cover my 6" cake, which is shorter than my usual cakes. I could have used less, but I like to have a bit left over to cover my cake board (see in the video), or to create matching cupcake toppers that go with the cake.
.
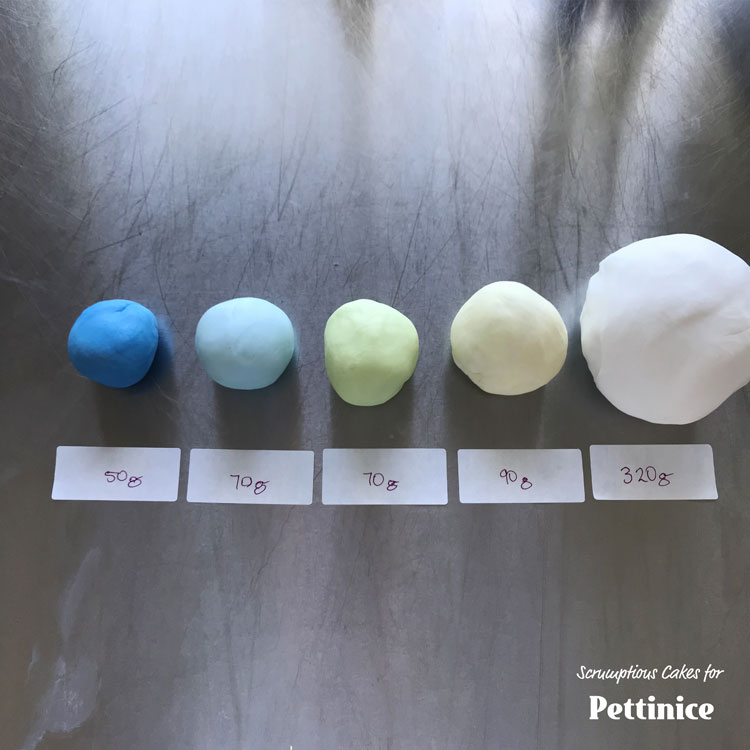
This amount will happily cover an 8" cake without too much extra, or a 6" cake with left overs to cover a cakeboard and matching cupcake toppers.
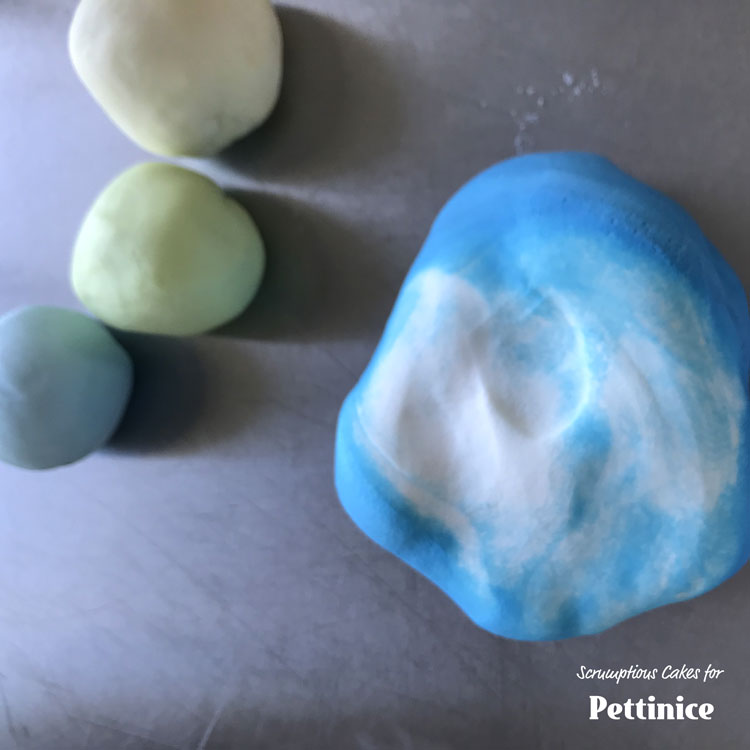
Mix white and blue first.
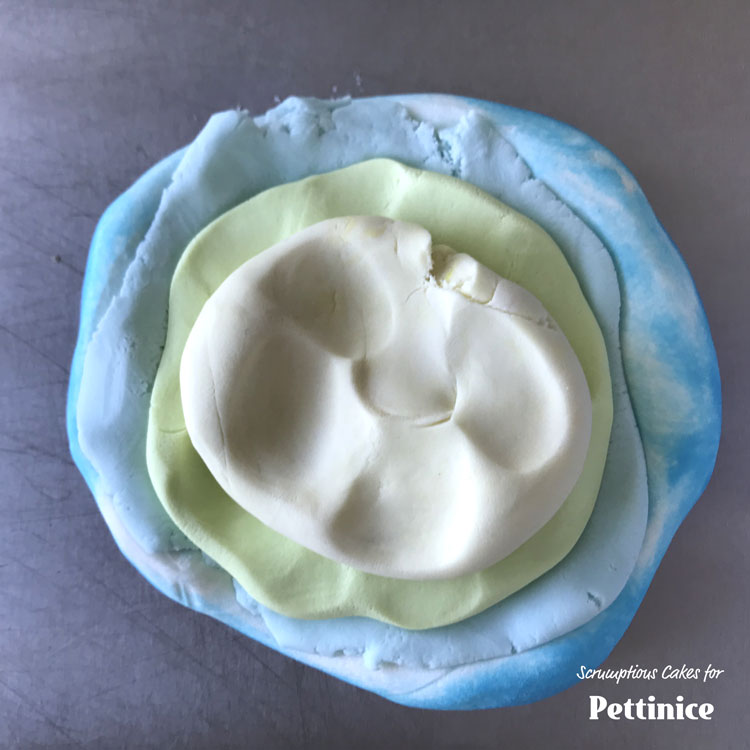
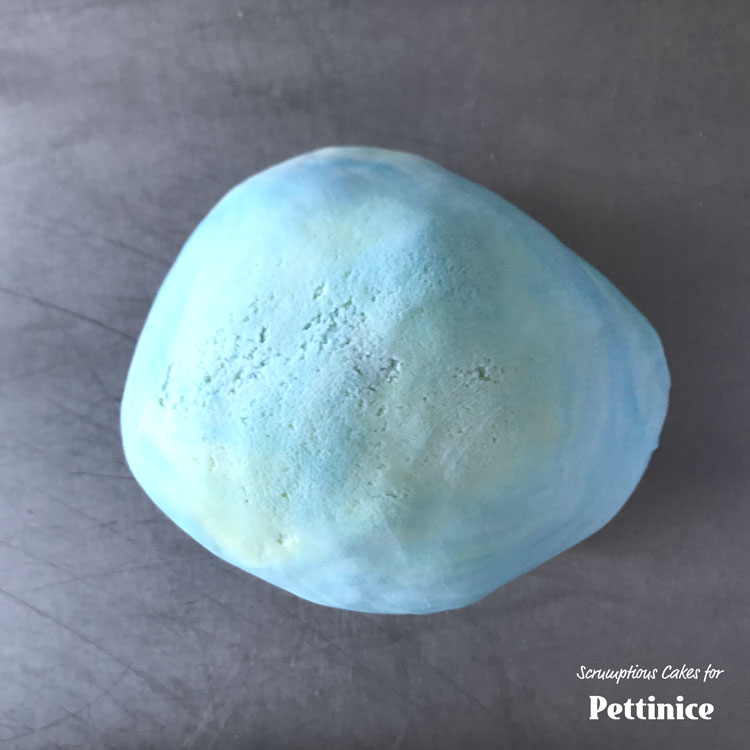
Mix to combine the colours. (Watch the video if you want to see how I do it).
Beautiful!
Watch the video link above to see how everything smooths away perfectly with Pettinice.
Flipping my cake for those sharp edges.
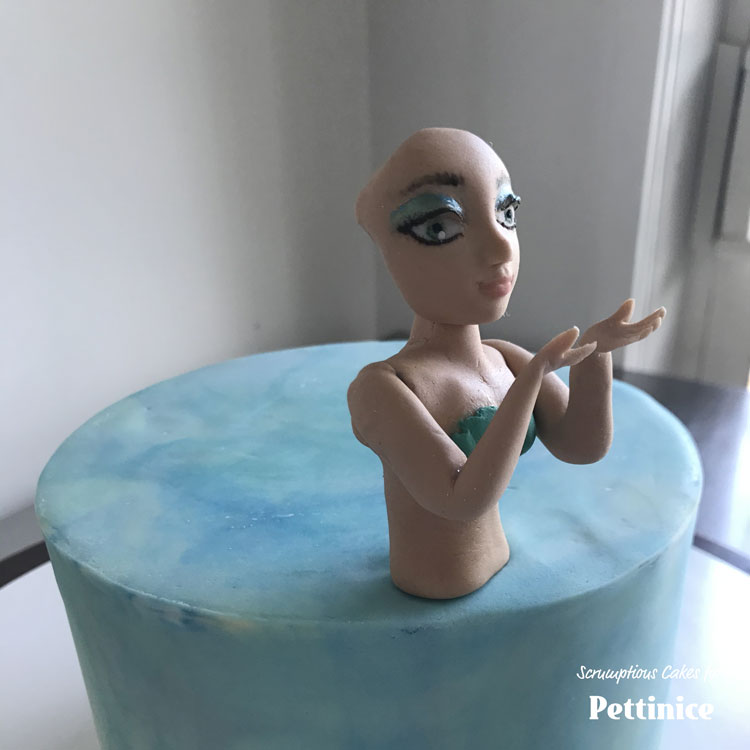
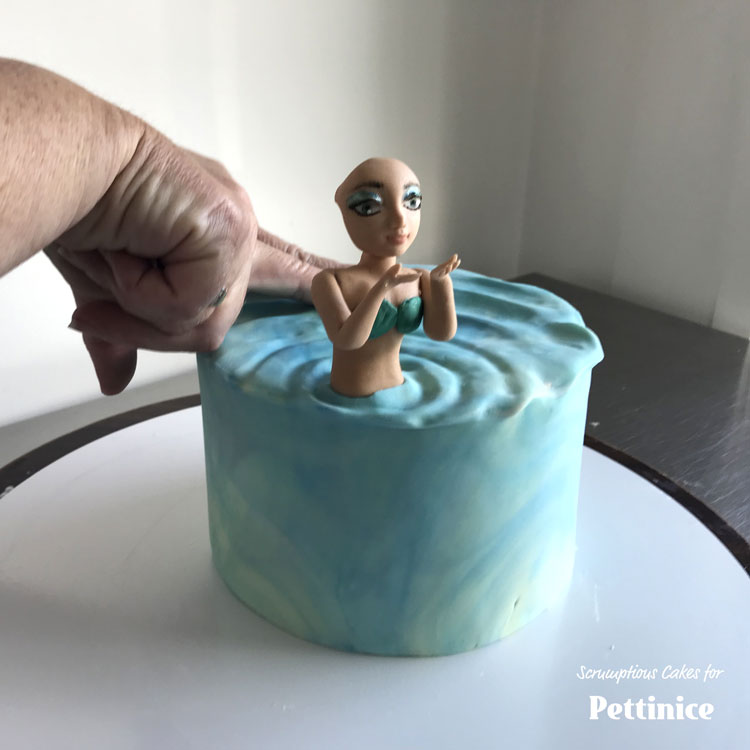
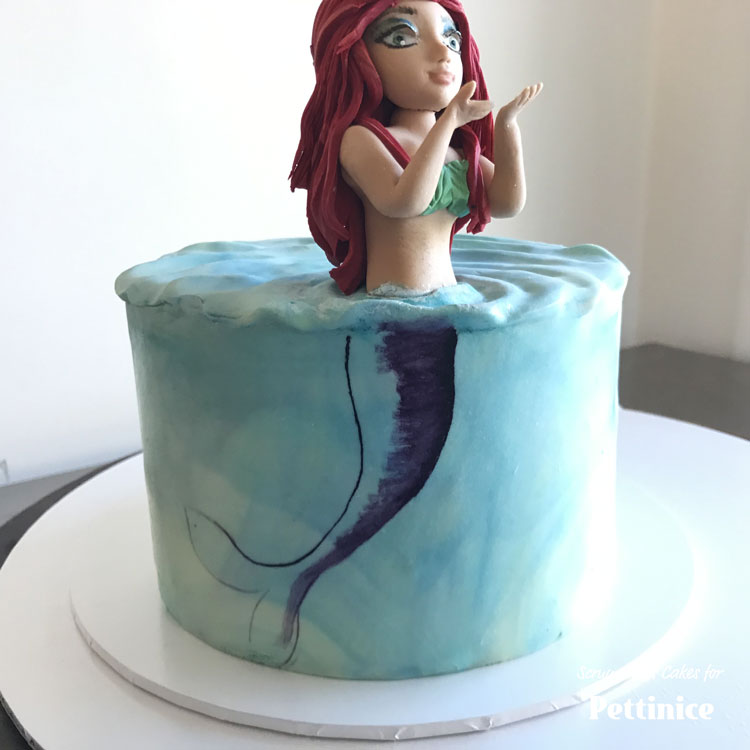
Once you have covered the cake insert mermaid into the edge of your cake, put it as close to the edge as possible without overhanging it.
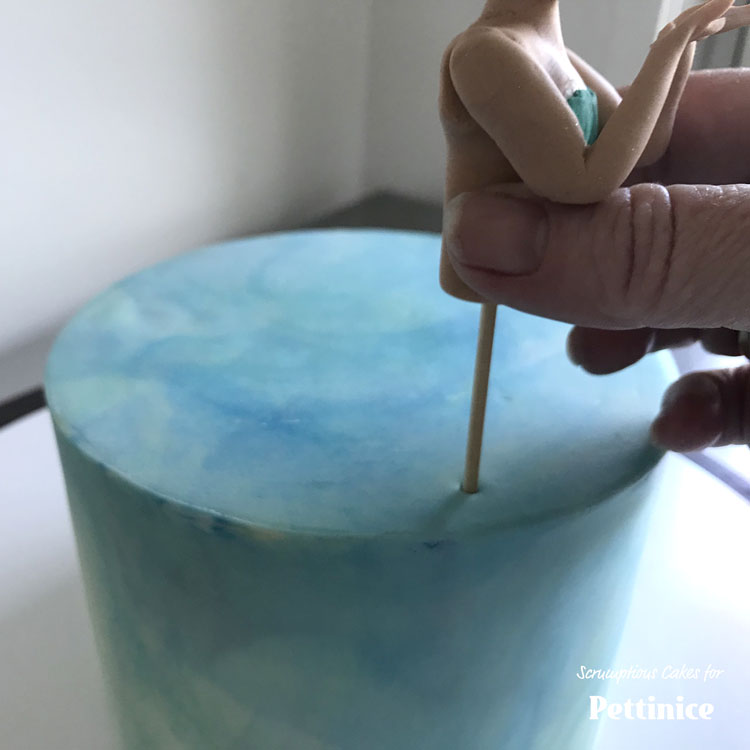
Place your figurine once it is has hardened.
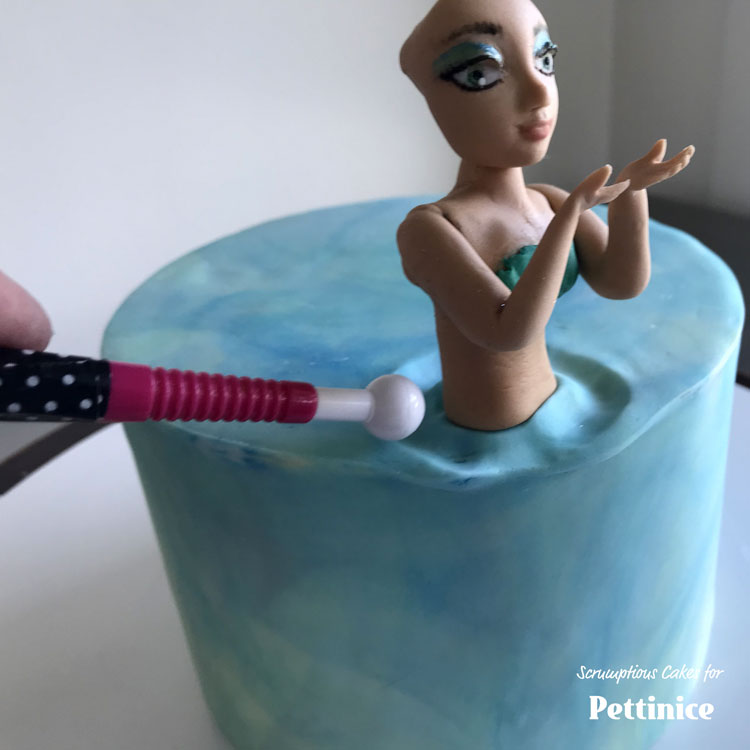
Texturing the top of cake
Before the icing starts to dry use a ball tool to manipulate the ‘waves’ around the mermaid so that it looks like there are ripples and waves around her, this causes a contrast between the top and underwater look. I used the balling tool and pinched the fondant between my fingers. Make sure that you have a ‘wave’ between the top of the cake and the mermaid- this is the break between fondant and painting.
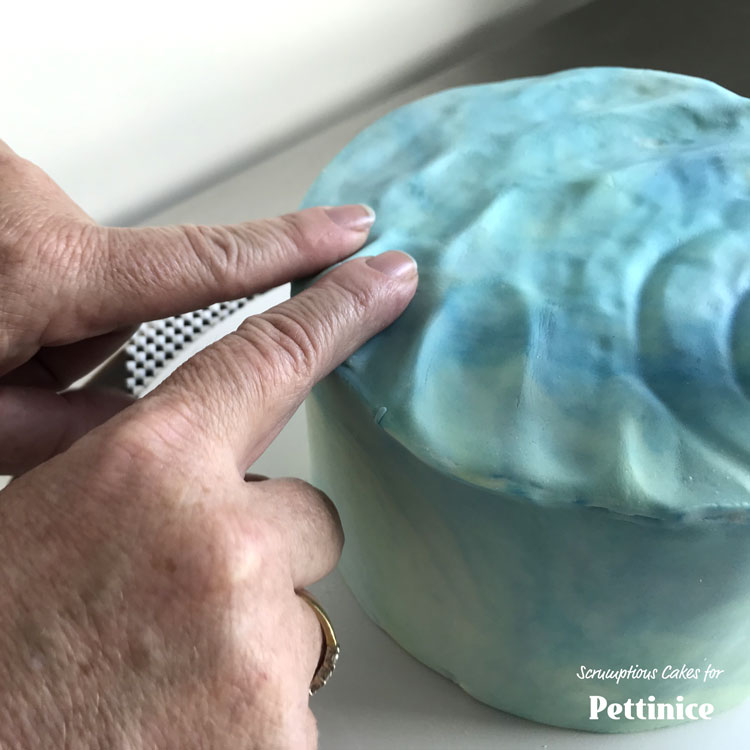
Have fun with the textures!
Looks great!
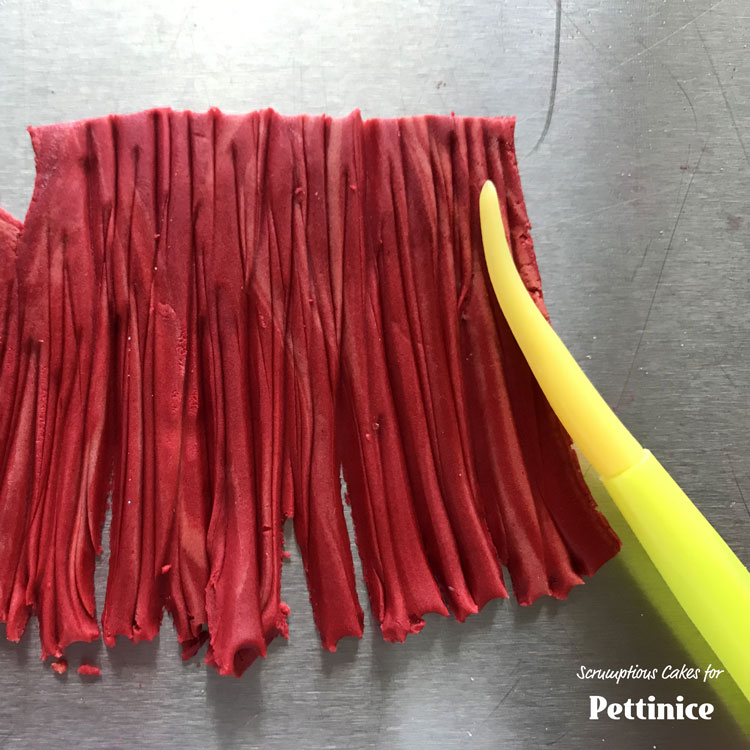
Making the hair
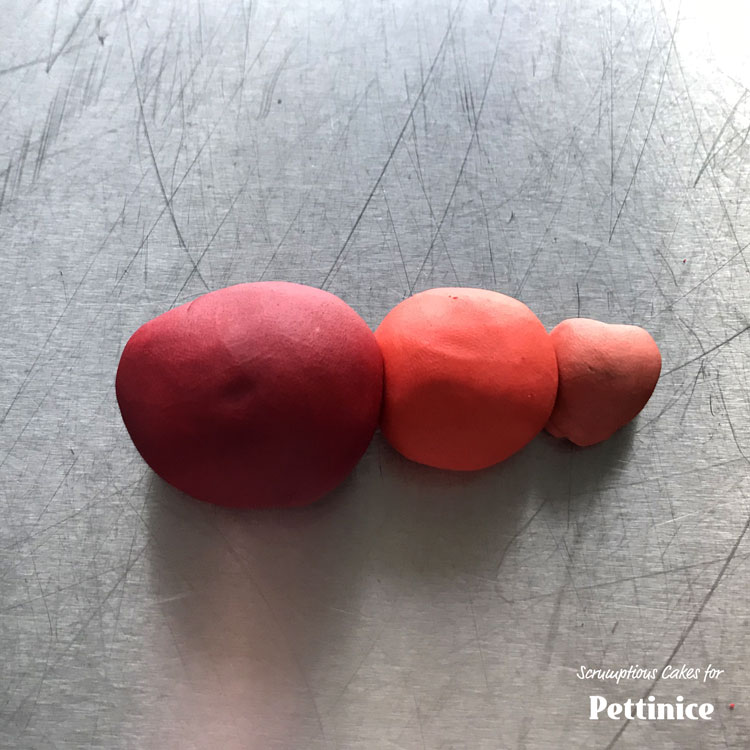
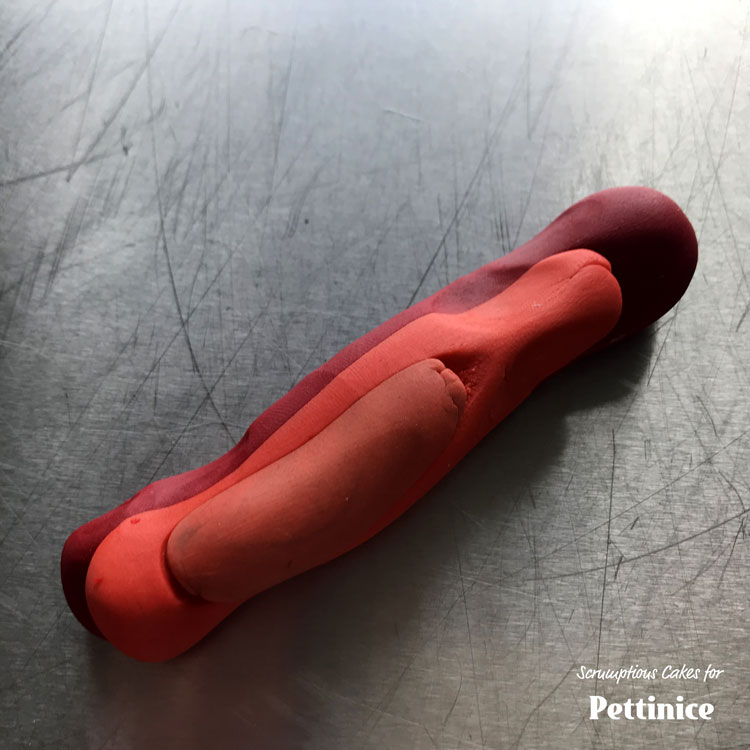
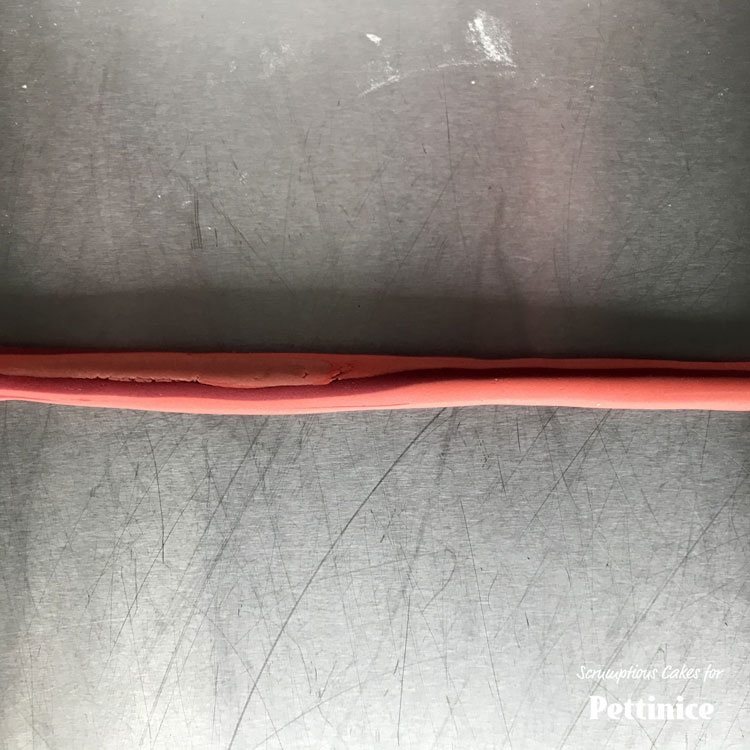
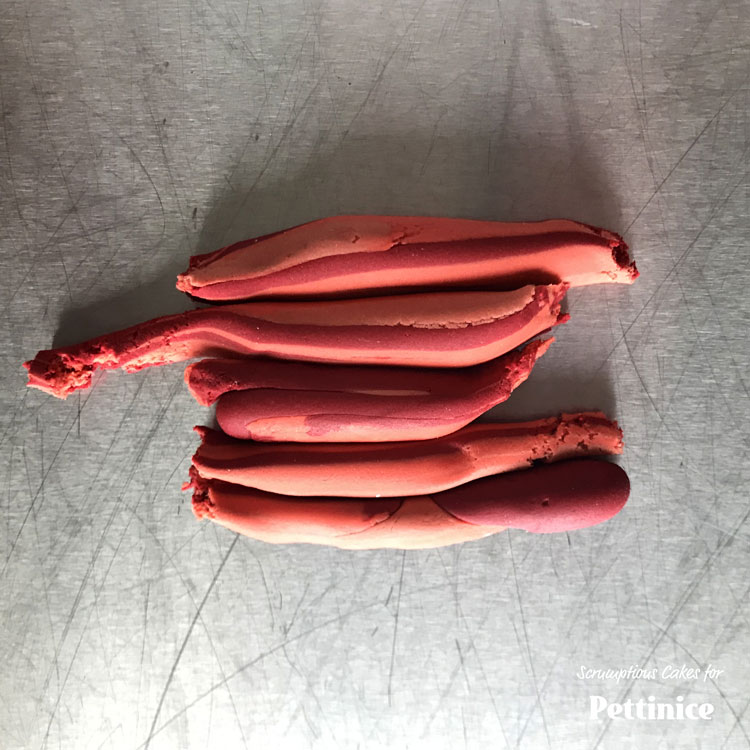
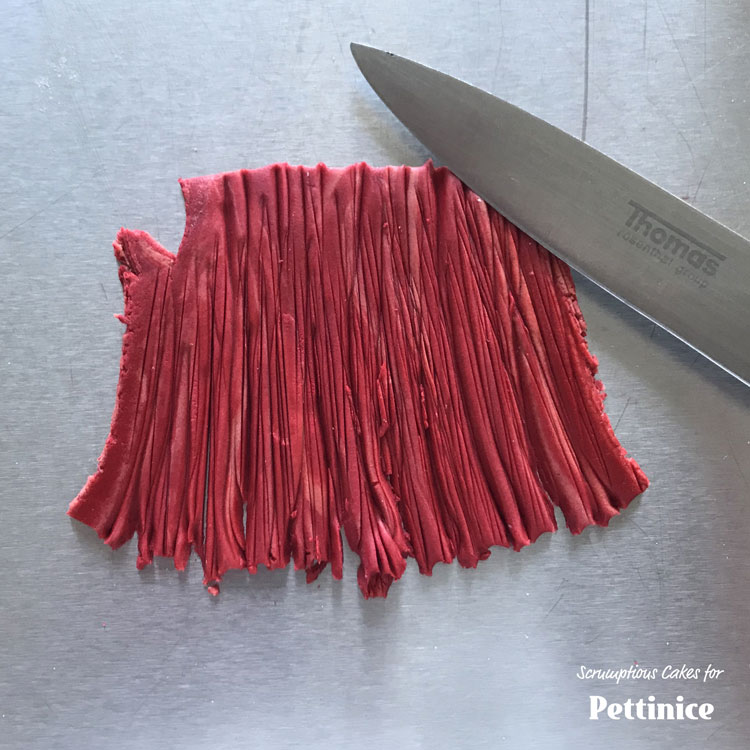
Glue the head using edible glue (tylose and vodka). I made up 3 shades of orange and red, using yellow and red pettinice, totalling around 60gms. I rolled these together into a long sausage, then broke that up and rolled it again, this makes the shades look like multicoloured strands and gives the hair more depth I think. Once you are satisfied with the vertical marbling roll the pettinice out to about 2 mm thick. Cut it into required lengths and then give it texture, I used the Dresden tool and a paring knife. I started adding a bit at the top of the head to give her hair height and the started at the back finishing at the front to get required ‘look’.

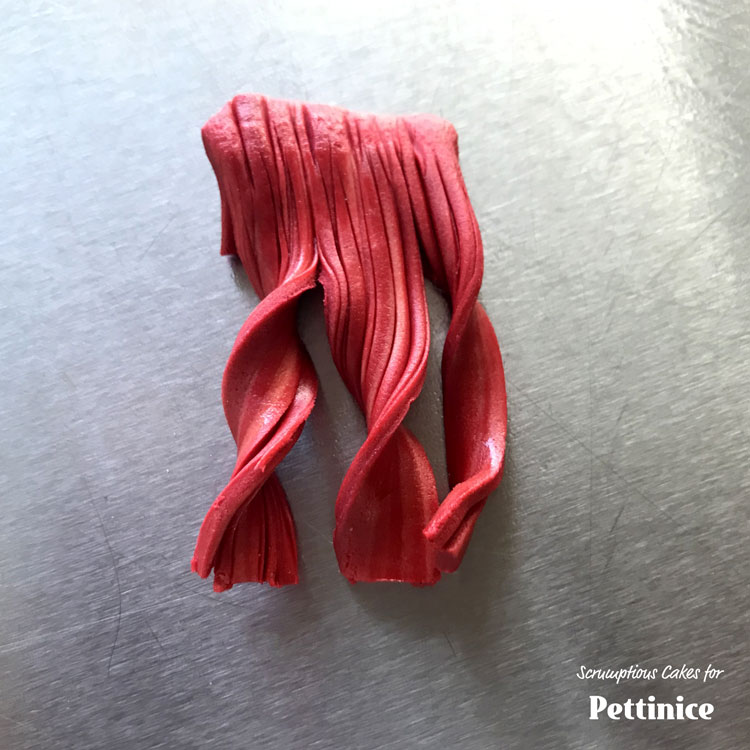

Start from the bottom and carry on until the whole head is covered.
Painting the tail and final details
I used gel colour to paint this as it is what I had on hand and I love the purple. Paint an outline and make sure it lines up with where the figurine enters the ‘water’. The left hand side of the mermaid is closer to the edge of the cake so I am going to make the right hand side be darker. I added the purple on each side and then added white americolour off centre to highlight that that that was the way she was turning. I inscribed light scales into the tail and painted stripes onto the fin part of the tail.

Paint an outline and make sure it lines up with where the figurine enters the ‘water’.
Paint an outline and make sure it lines up with where the figurine enters the ‘water’. The left hand side of the mermaid is closer to the edge of the cake so I am going to make the right hand side be darker.
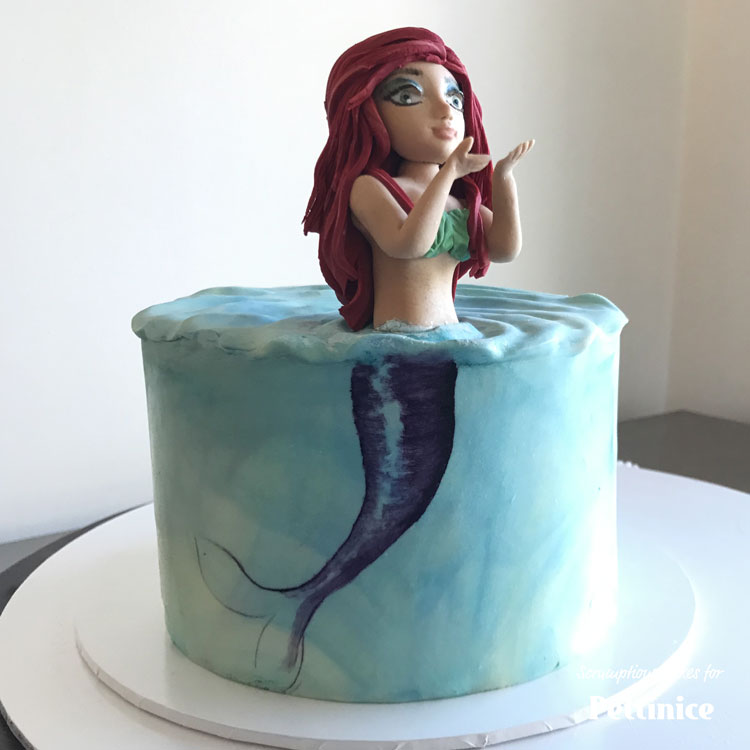
I added the purple on each side and the next photo shows how I added white americolour off centre to highlight that that that was the way she was turning.
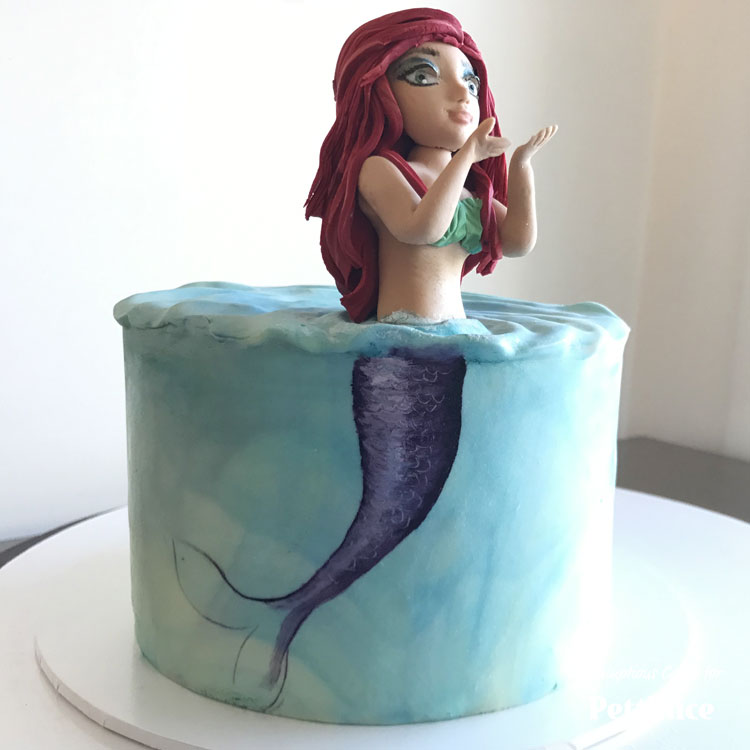
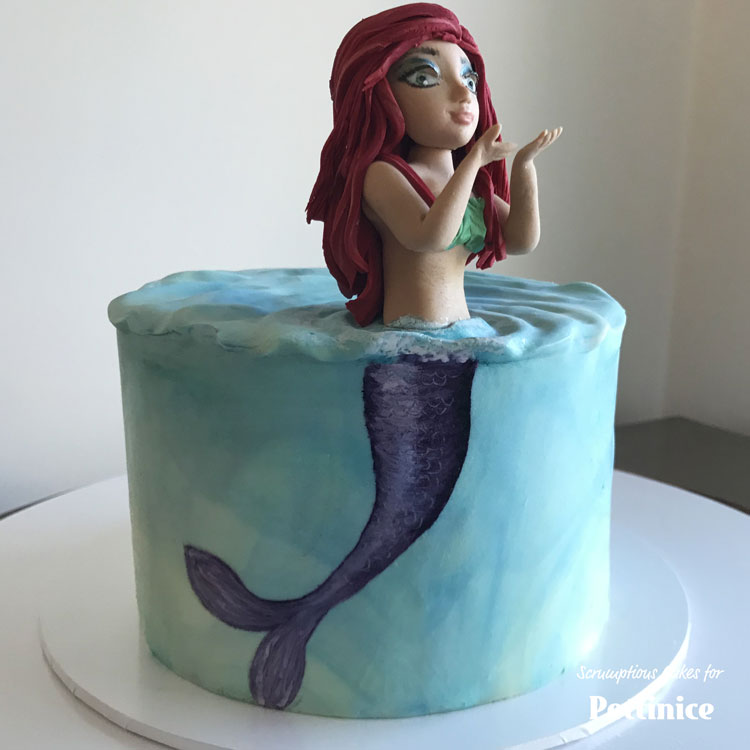
I inscribed light scales into the tail and painted stripes onto the fin part of the tail.
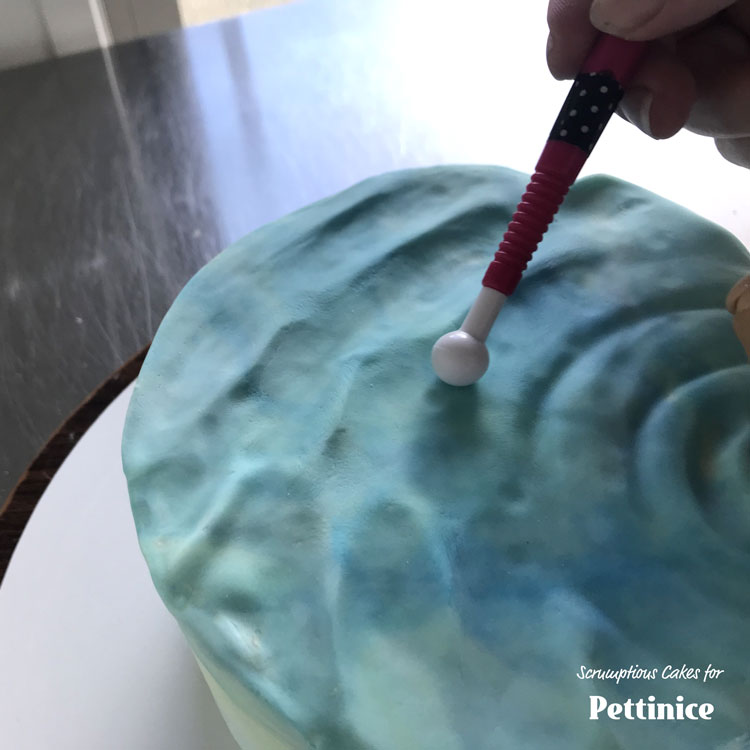
To finish, I painted a little purple for where you may see thru the ‘water’ on the top of the cake and then painted dots of white on top of the purple and on the ‘waves’ directly around the mermaid, focusing on the ‘wave’ between the fondant torso and painted tail.
I then added some painted seaweed and put a marble in her hands.
I hope you enjoyed this tutorial and it gives you some inspiration for creating your own painted / modelling cake. Have fun and please share your projects - would love to see what you create!
Jo started making cakes for her children around 2001 and her designs have been fun and varied, including an octopus sitting on bananas to a rainbow tree. She laughs when she recalls how terrible her first cakes turned out, but enjoyed making them so much she decided to learn how to decorate a cake properly. Now she enjoys sharing her skills while teaching and demonstrating. Her number one tip: “Patience is a virtue, so spend that extra time to get it right."
See more of Jo's cakes at