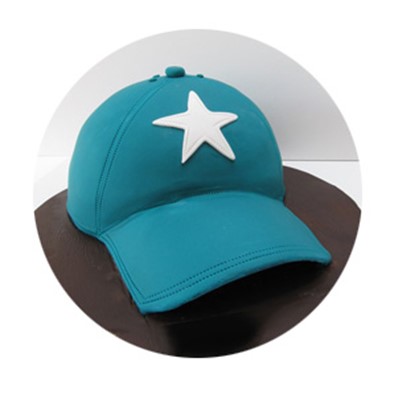
Creating a Cap with Kerry Morris and Nina Blackburn
Prepping structure: 30 minutes
Decorating time: 1-2 hours
Cake servings: 15 x 1” slices
You will need:
- For the board: 1 packet of Pettinice Chocolate (used xxg)
- For this shade, we used a 1:1 ratio of: 1 packet of Pettinice Blue (used 375g), and 1 packed of Pettinice Yellow (used 375g) see ratio colour
- Note: We had 350g left over after this project.
- 8” Fat Daddio Ball pan
- 500g Ganach or buttercream
Tools:
- String or dental floss
- Acetate
- Template (PDF provided)
- Stitching tool
- Dresden tool
- Scissors
- Fondant smoother
- Embossing mats (optional)
- Rolling Pin
- Sharp Knife
- Offset spatula
- Main Cake board measuring 12” or bigger
- 8” Cake card
- Masking tape
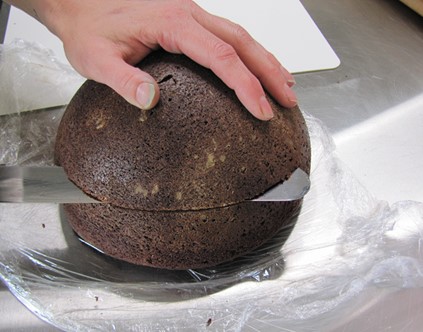
Bake, tort and ganache your cake on a board as per normal. We used the cake as is, but feel free to carve your cap shape as desired.
Creating the Cap peak
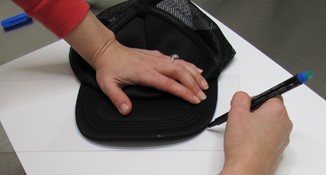
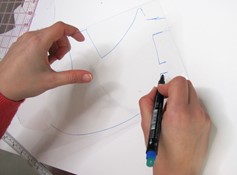
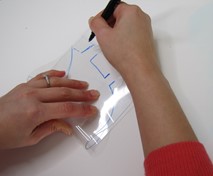
- Use the template to cut out the shape as desired in acetate. Print as scale up or down as needed.
- We used a knife to cut slots into our cake board as shown, with the back tabs measuring 16cm apart, and the front tabs measuring 13.5cm apart to create the peak we wanted.
- Push acetate tabs into slots.
- Turn card around and use masking tape to secure tabs to the back of the board.

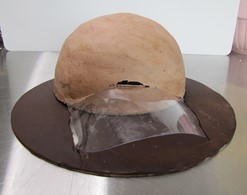
Covering cake board
You can cover your cake board with fondant and let dry overnight. However, for this tutorial we covered it immediately.
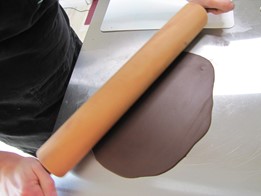
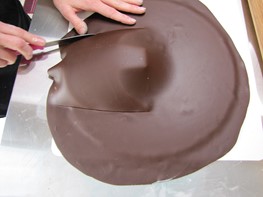
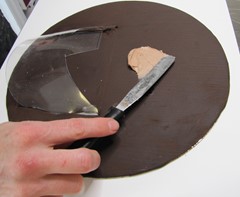
- Roll out your chocolate fondant to the size of your cake board.
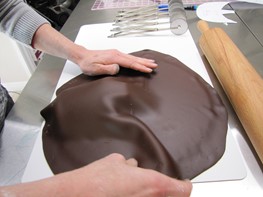
- Dampen your cake board surface and roll your fondant onto the entire board and cap.
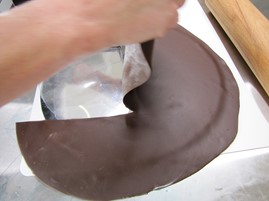
- Make two cuts as shown, gently removing the fondant from the cap and pushing it under.
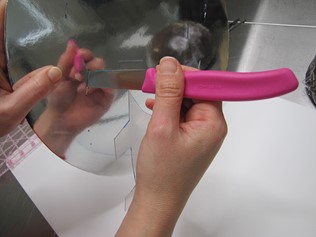
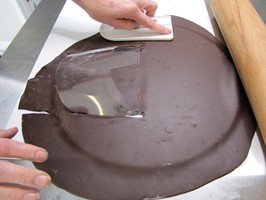
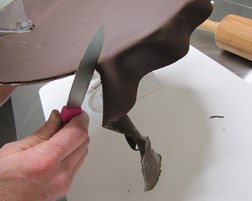
- Use a sharp blade to remove excess fondant.
- Smooth and texture as desired.
Creating the Cap
- Tort and fill as desired.
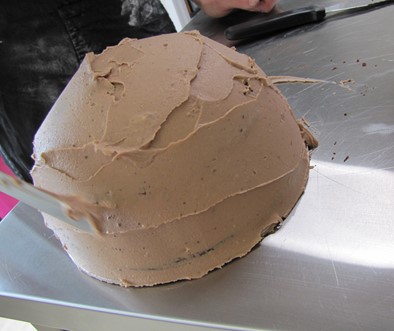
- Cover and smooth with ganache.
- Use hot water and pallet knife to smooth your ganache.
- Pop in to the refrigerator for 5-10 minutes, or leave on bench to set.
- OPTIONAL: You can place your fondant on the bottom front of cake if you have a tall peak, otherwise you will be able to see the ganached cake.
Placing cap on the board
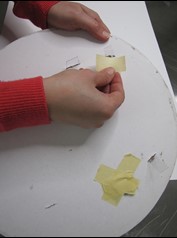
- Melt a small amount of chocolate in the centre of the board.
- Slide your cake on the card into the tab, until it is flush with the peak.
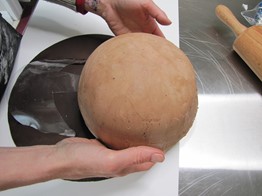
- Prep your surfaces with watered down piping gel or fat, so that the fondant will stick to the acetate. Add gel under the peak as well.
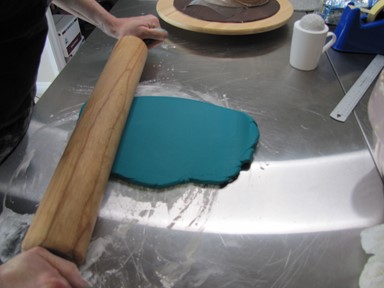
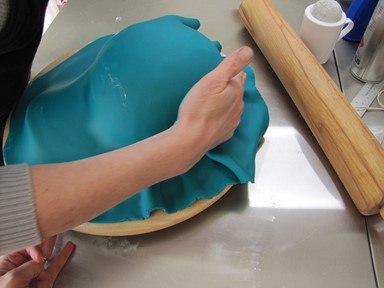
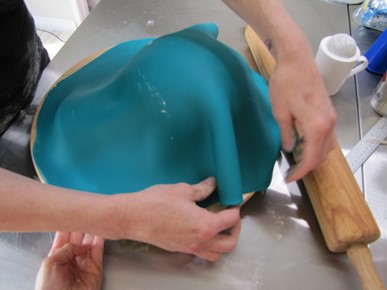
- Roll out your fondant and cover entire cap and peak. Carefully smooth fondant and trim excess away. Be sure to leave extra so you can curl under the peak. Don’t press too hard against the acetate, or it will act like a knife.

Finishing the details:
- Use your string or floss as a guide, and mark out the details as shown with your Dresden tool. If you want, you can create a few extra details with your stitching tool.
Alternatively, you can make the peak ahead of time with pastillage, or gumpaste. Be sure to allow plenty of time to dry. You can also have fun with the elements and change the colour of the peak.
Add any final details you want, like a button on top and name, logo or birthday number on the front of the cap as shown. Enjoy and please share your finished cake with us!