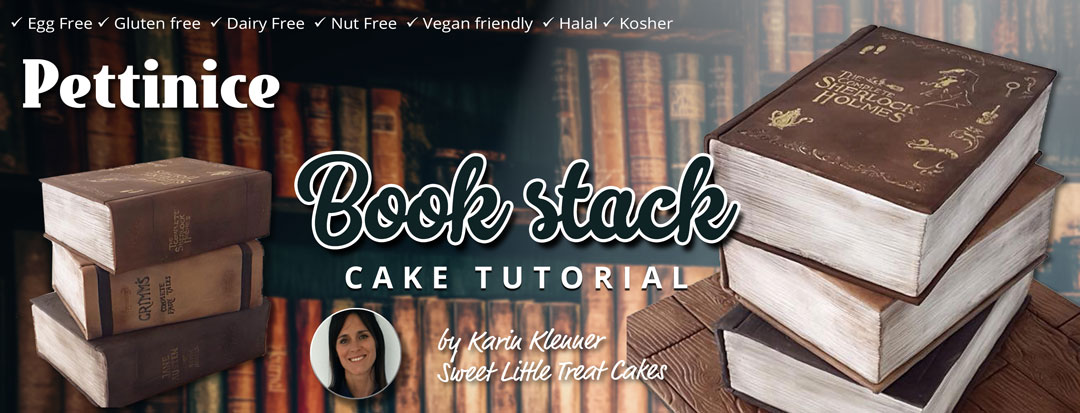
Book cake tutorial with Karin Klenner
Edibles needed
- One 7 x 9 inch cake*
- One 9 X 6 inch cake
- One10 x 6 inch cakes
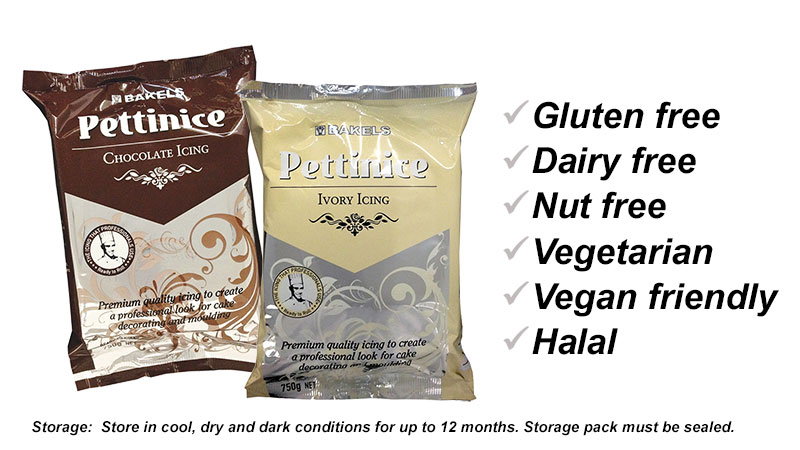
- 3 x packs of 750 grams Bakels Pettinice for your book covers (any colour you like. See here for shades of brown.
- 1 x 750g pack of Bakels Pettinice in white or ivory
- Petal dusts for shading
- Piping gel (Ciccio cakes has a great recipe here)
* tall as you need
Tools needed
- Cake boards the same size as your cake
- A large display board
- A ruler 3 sheets of firm OHP sheet or clear plastic
- Rolling tool
- Long knife for embossing Stamps if you want to add detailing
- Large staws or dowels for stabilizing
- Sharp blade for trimming fondant

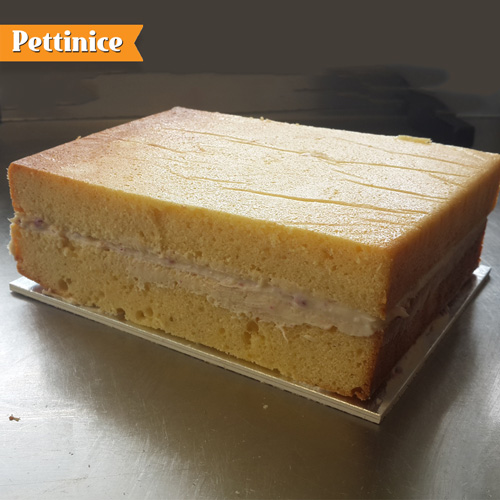
Step one
Cut and fill your cakes Ganache or buttercream your cakes trying to keep the edges as sharp as possible on one side. The other side can be rounded as this is where the spine of the book will be.
Fellow Pettinice Ambassador, Sharon Wee has created a Youtube video on how she creates sharp edged square cake foundations. You can watch it here.
At this point, it is easier to set up each individual book on it's own cake board and place it on top of baking paper to move it around the bench easier.
If stacking, start with your 10 x 6 inch cakes
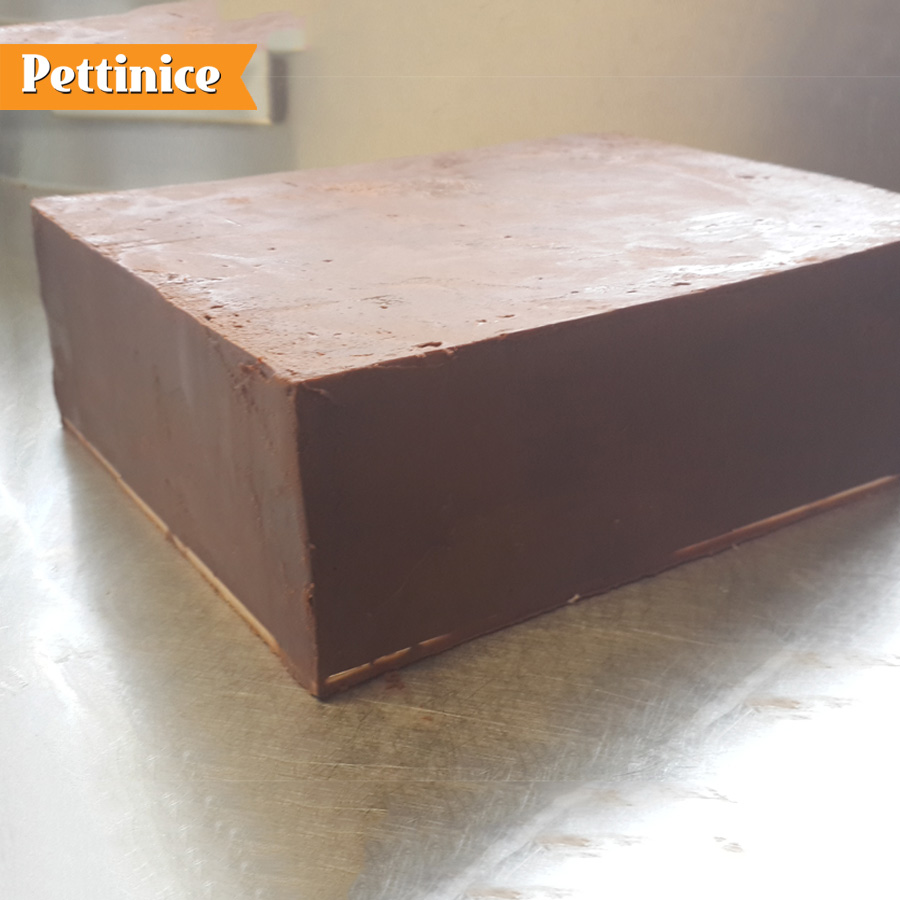
With ganache layer. Keep bottom cake board.
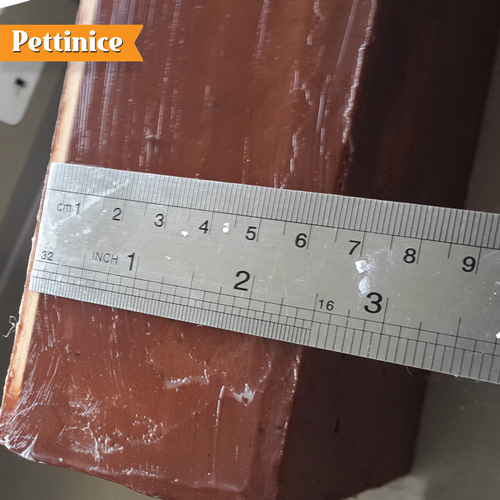
Measure your edges so you know width and length you need to cover
Step two
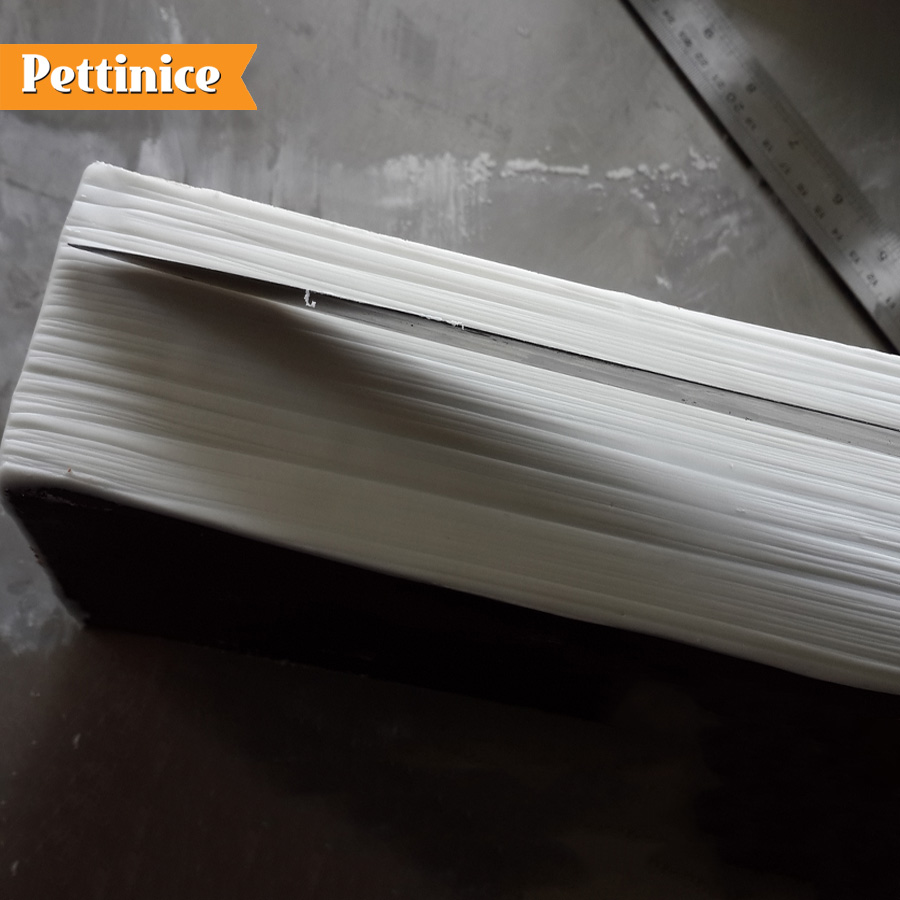
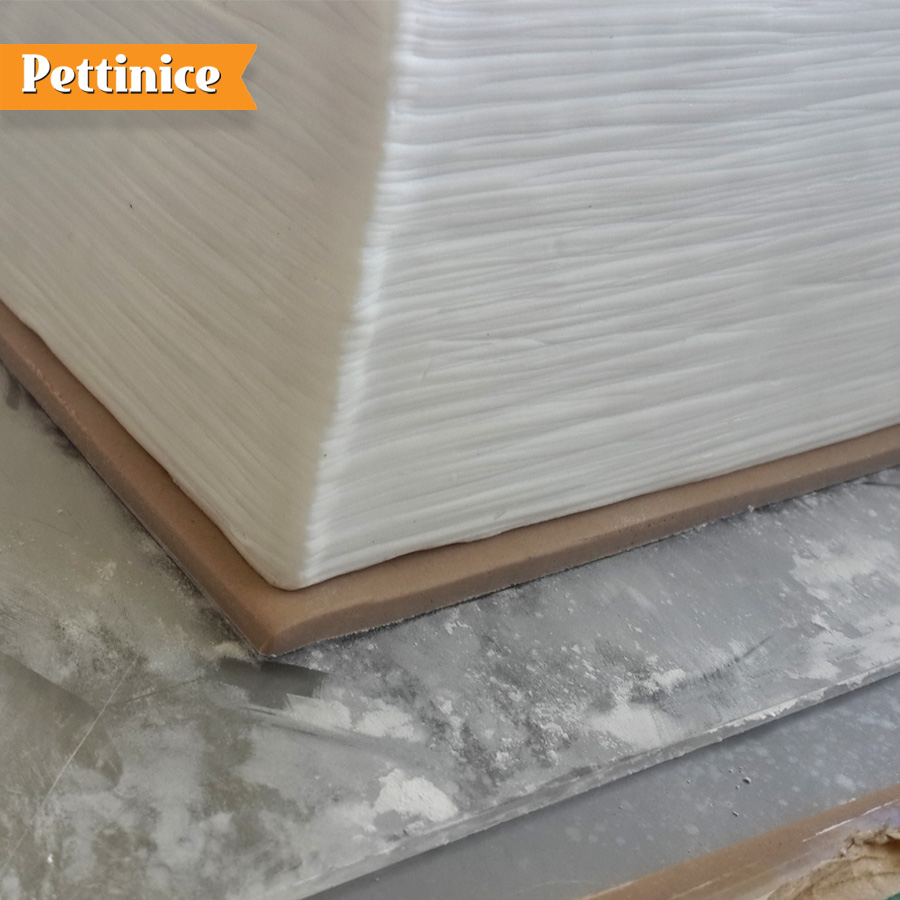
Making the ‘pages’
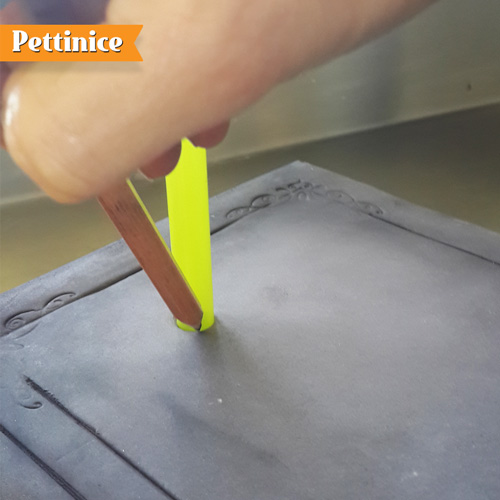
Measure the width and full length of the side of your book. For a seamless look, roll out a long white strip and adhere to the cake by wrapping around. There are three ways to give the fondant the look of having pages:
- Pressing a long ruler up against the fondant over and over creating lines
- Using a roller tool
- Use the back of a knife I usually let the icing firm up overnight at this point but if you don’t have time just move on to the next step.
Press back side edge of long knife to emboss pagesl
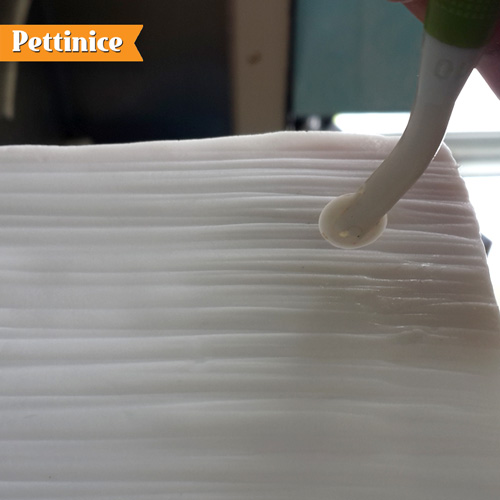
Or, you can use a roller tool to emboss look of pages
I usually let the icing firm up overnight at this point, but if you don’t have time just move on to the next step.
Step Three
Making the book covers
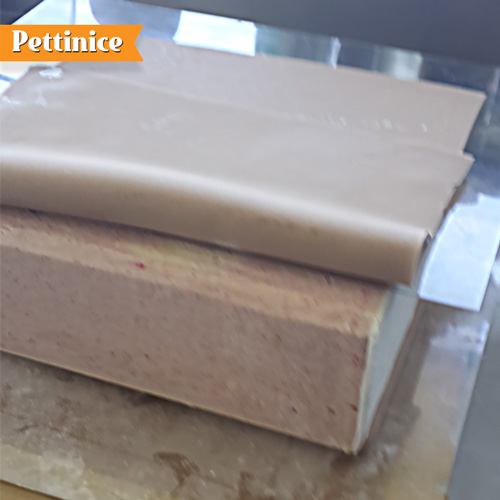
Bottom covers. Roll out a thick rectangle of fondant and cut one complete straight edge. This straight edge will sit on the inside bottom book cover (see photos that follow).
Have this fondant on baking paper for top tiers, or directly onto your final cake board. Be sure to roll your shape larger than your cake. Brush this piece with piping gel. Place your ganached cake (with the cake board) on top, remember to leave the straight edge under the cake slightly so you can tuck the cover to meet in later.
Trim back the sides of the fondant book cover, leaving about a 5mm overlap.
You can add tylose to your fondant, however I have never needed to.
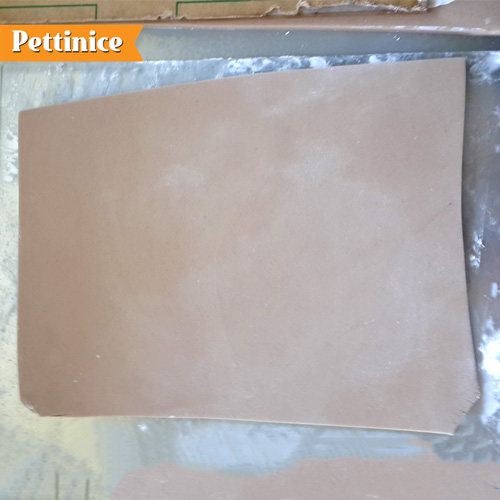
Roll out a thick rectangle of fondant which will be your bottom book cover, and put it on some baking paper .
Brush fondant with piping gel before placing book cake.
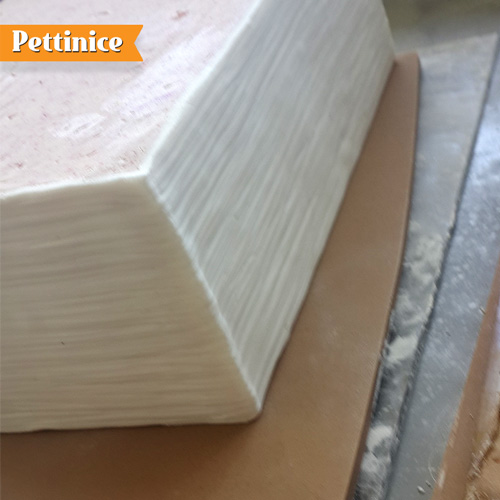
Trim outside of book cover 5mm from edge. The spine side of the cake will not stick out like this.
Step four
Measure up!
Measure the total width and length of your two remaining exposed sides. This will give you an idea of how big to roll your next piece of fondant for the cover.
Step Five
Creating book cover and spine
Trim your fondant piece, remembering to add 5mm overlap around all sides. You can leave a bit more excess and trim down later, leaning on your plastic sheet as you trim.
IMPORTANT NOTE:
At this moment, you don’t want to adhere the fondant to the top of the cake. Wait to brush a bit of piping gel over the top of your cake just before the fondant will wrap around the spine. First, wrap your fondant around your cake leaving a small peep through the spine of the book and tuck it under your cake.
Grab your clear plastic sheet and pop under your top fondant. This will ensure your fondant dries straight giving your cake a cleaner more realistic look.
Trim any parts that have stretched or if you haven’t done already trim your book cover down, using your plastic sheet to stabilize. If your fondant is sticky you will need to put baking paper between the fondant and the clear sheet or at least a bit of corn flour so you can easily slide it out later.
Use plastic to stabilize fondant to the top so you can tuck fondant under the cake.
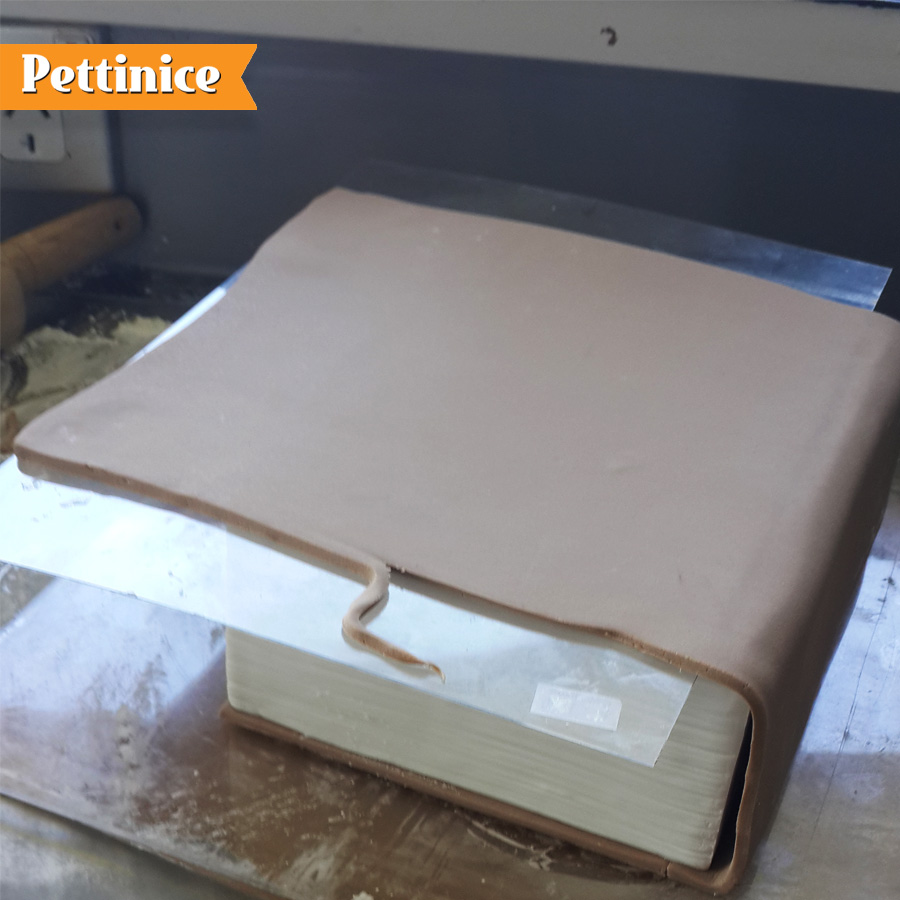
Piping gel only on spine first. Secure the tucked bottom, then work your way up. Remember to use baking paper to allow you to slide out your plastic after cover hardens.
Step 6
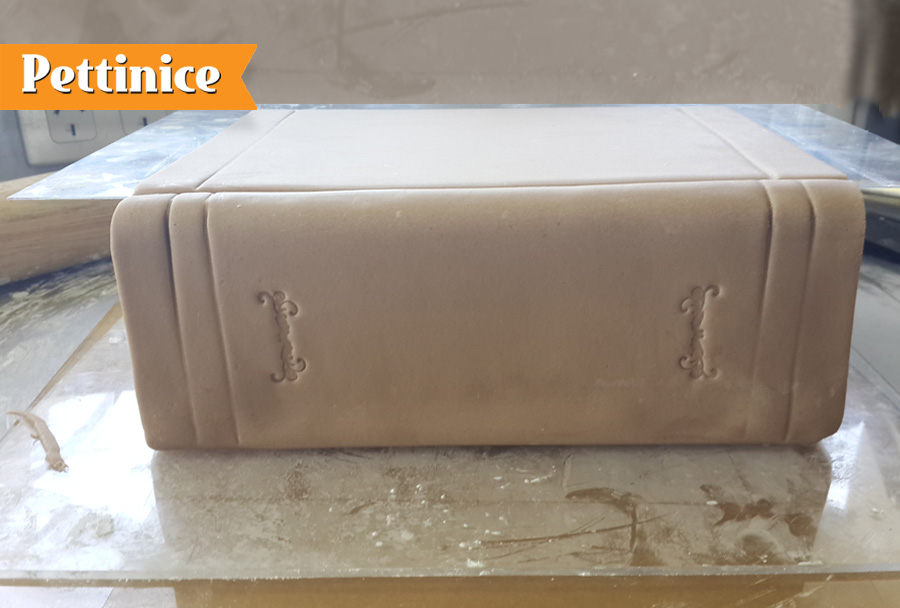
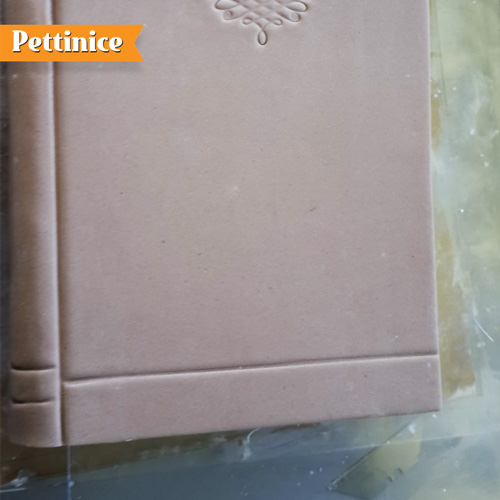
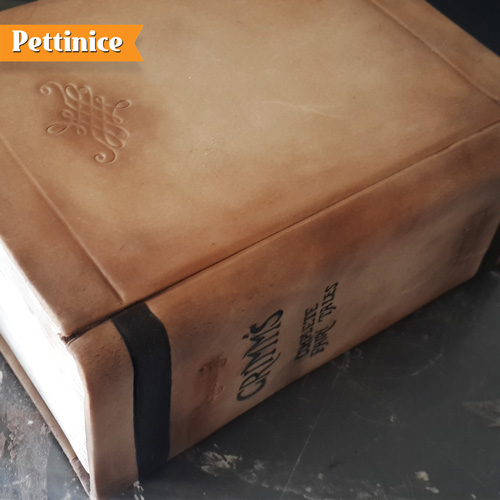
It's all in the details
This is your chance to play and create your book details. Indent your cover and spine with a ruler and some cool rubber stamps if you have some. Repeat the same process with your other books ensuring they all still sit on baking paper so they can be easily moved later. Put aside and allow cakes to set.
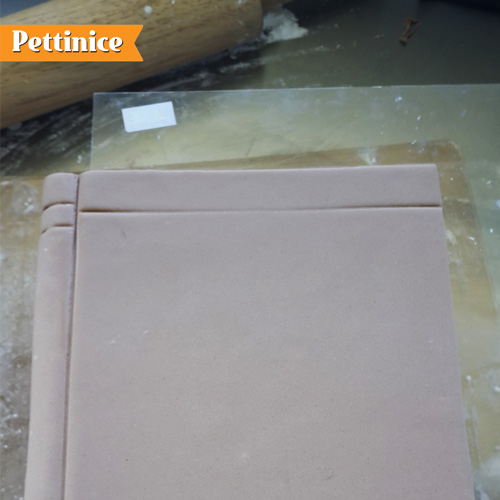
Top view. Press up against plastic if you need to trim anymore fondant.
Using hard plastic sheet is my trick for drying these fondant book covers
Bottom view
Let these cakes sit overnight to give them a chance to harden up to get that clean look without floppy cover edges when it is time to stack.
Step 7
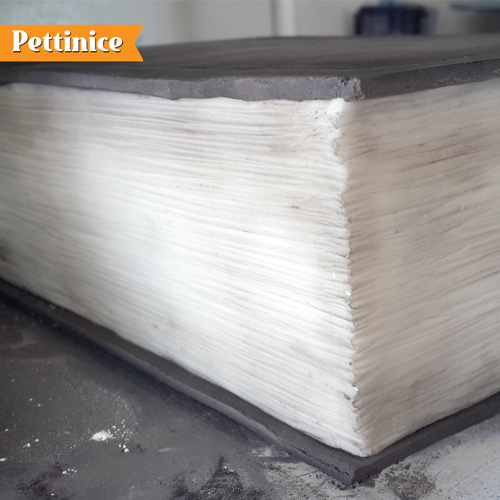
Shades of AMAZING!
Now that your books have firmed up, you can add shading to the pages with a mix of black and brown petal dust and corn flour. Start off light and go darker. Paint your top cover and spine of your books with a mix of good quality vodka and petal dust or gel colours.
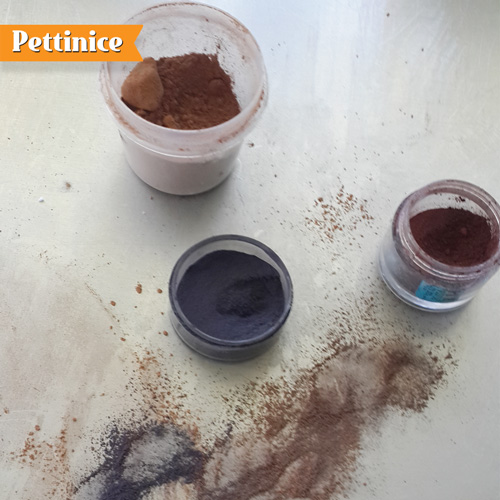
Mix black, brown and cornflour to customize your shade.
Slowly build your colour with dust.
Use a soft brush when using your dust.
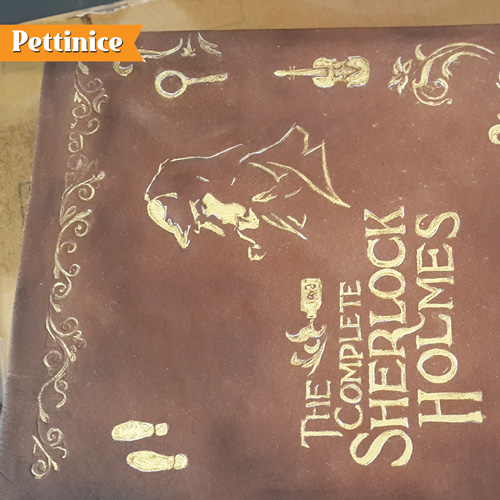
Paint any additional details for your top cake.
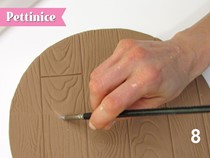
Step 8
Time to stack
Melt some chocolate and adhere your first book to your base board. Add your doweling or staws to you bottom and middle book, this will support the weight of the books you are going to stack. Again add chocolate to the top of your first book and place on your second book insuring it is slightly twisted so it looks more interesting. Add your last book.
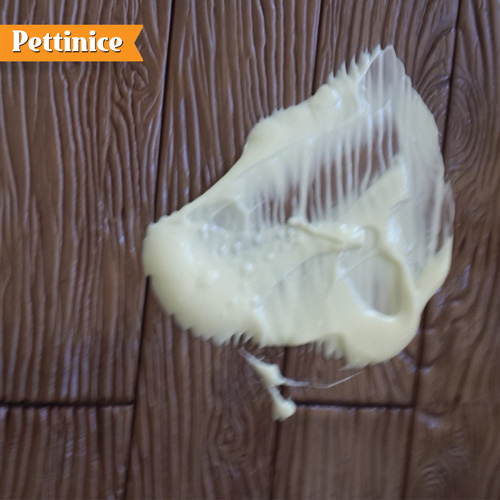
Use melted chocolate as glue.
Mark your dowels for cutting.
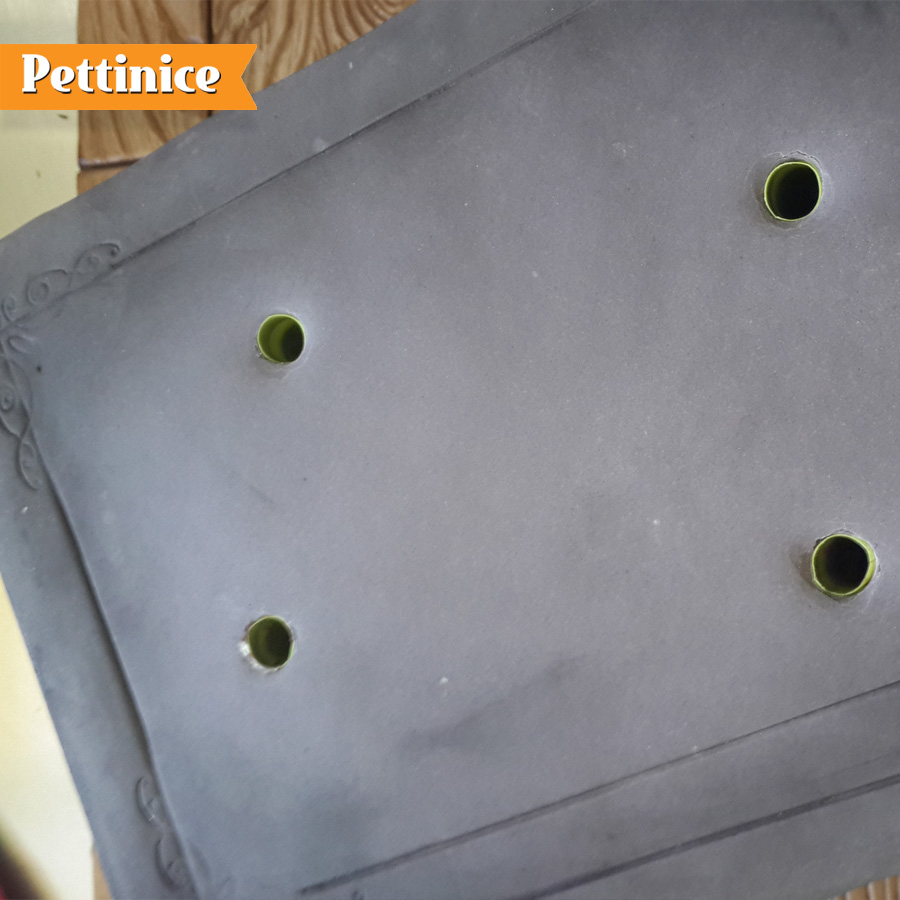
I used four dowels per book. Off-set them if you plan on stacking diagonally.
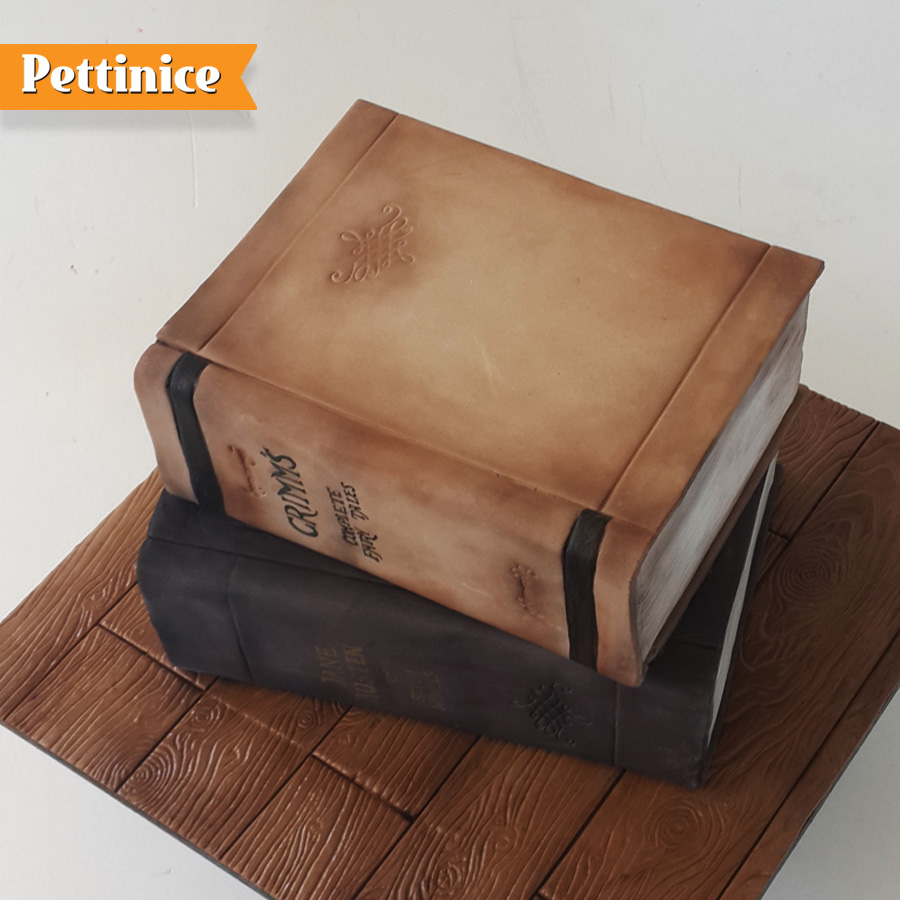
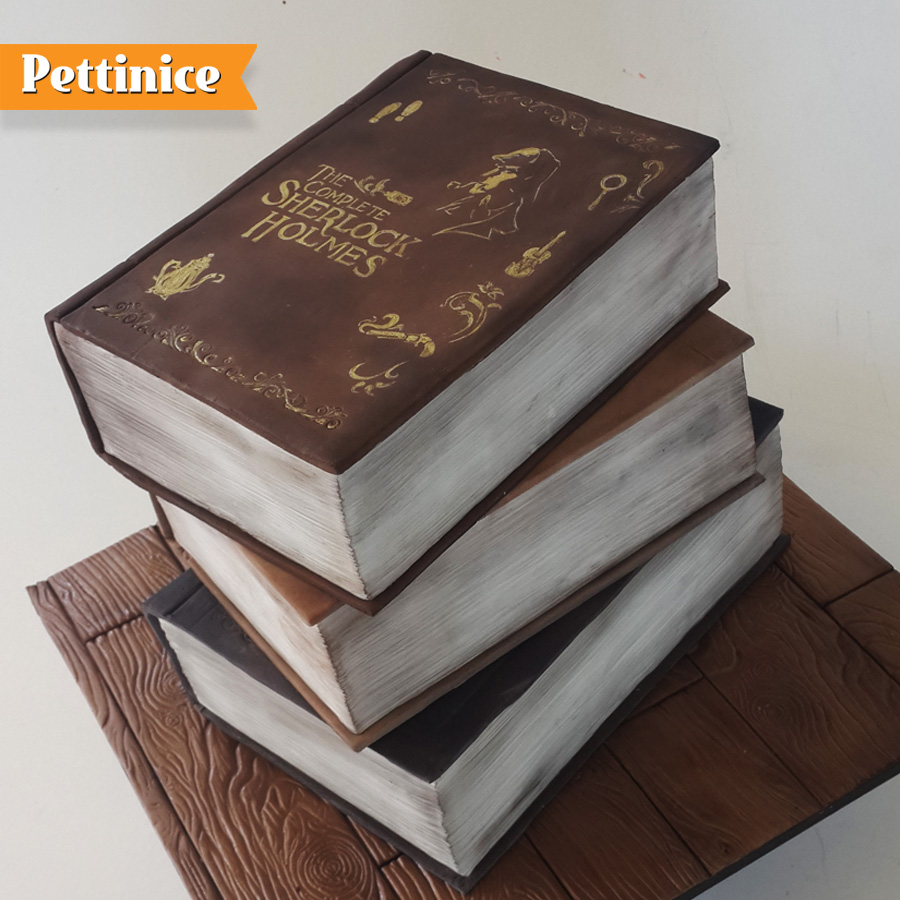
3D stacked book cake

Karin Klenner owns Sweet Little Treat located in Hamilton, New Zealand. She says "I'm a mum to two little boys which are my world (and have been known to destroy my world by attacking the odd cake) and married to an amazing guy who, thank goodness, is very good with a drill because my favourite cakes to do are 3D sculpted cakes. I love doing animals especially."
You can find Karin on Facebook and Instagram. ![]()
![]()