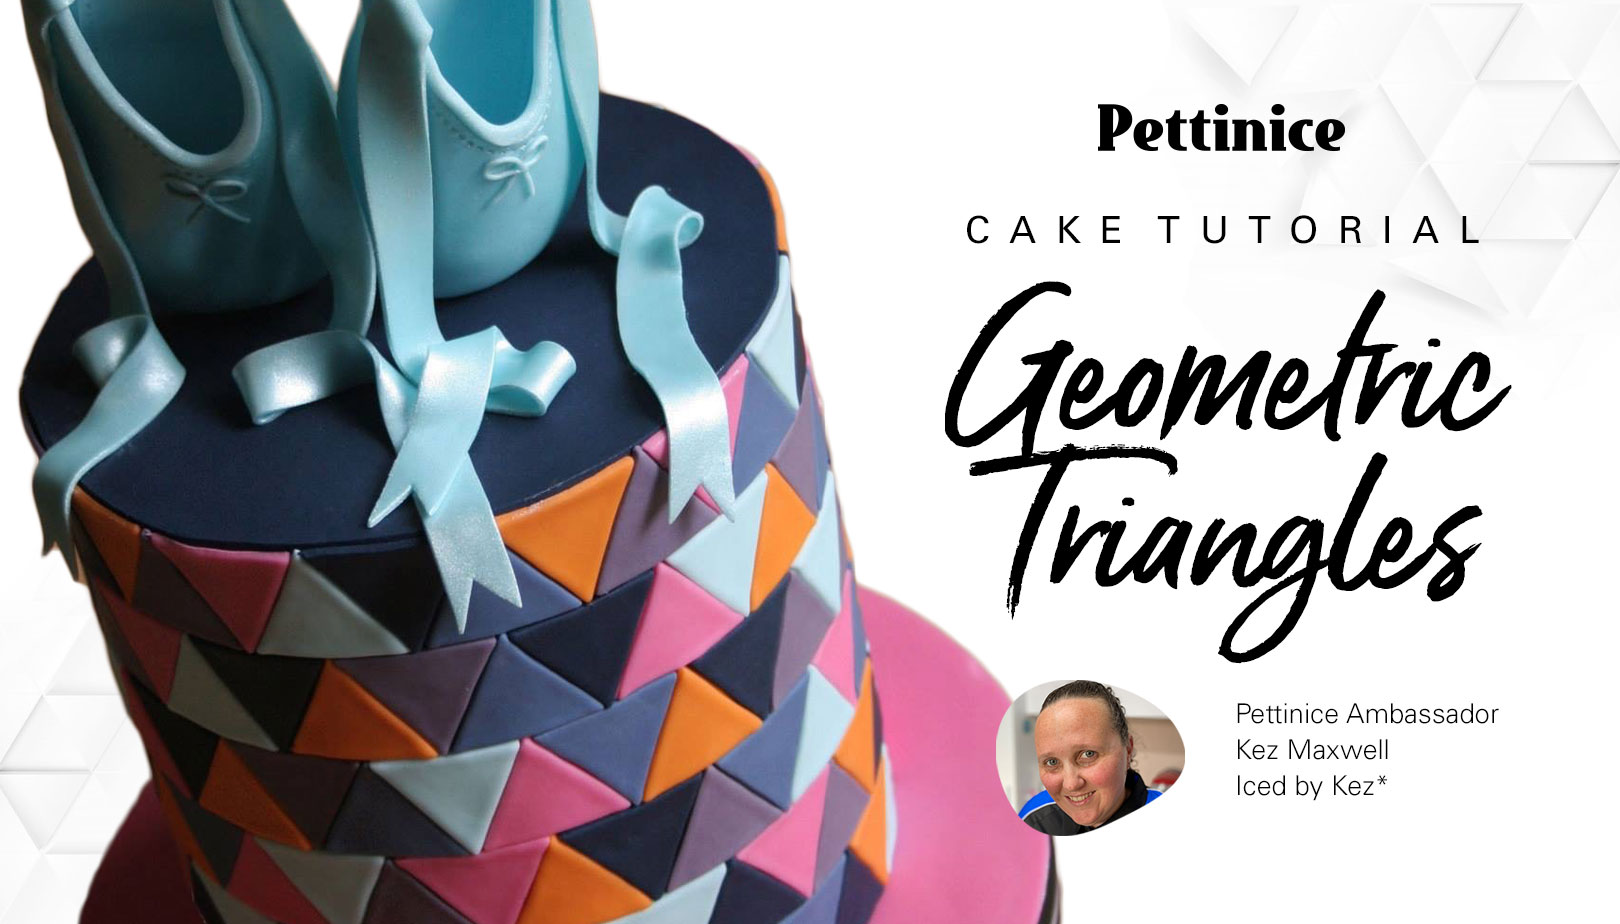
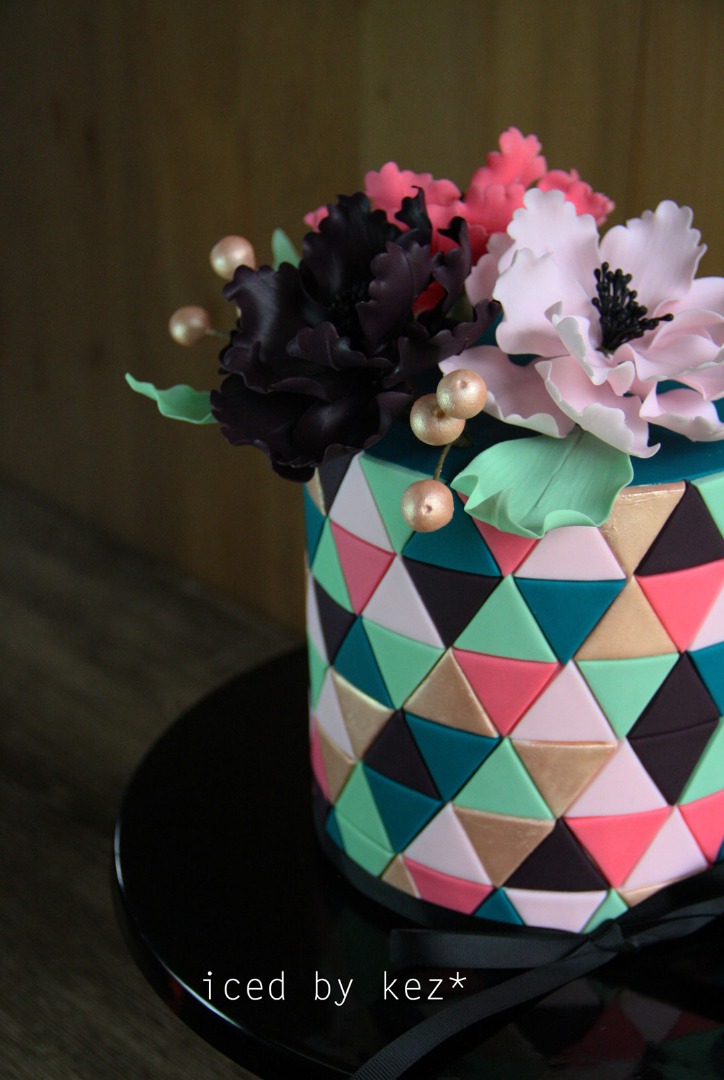
Geometric triangle cake tutorial
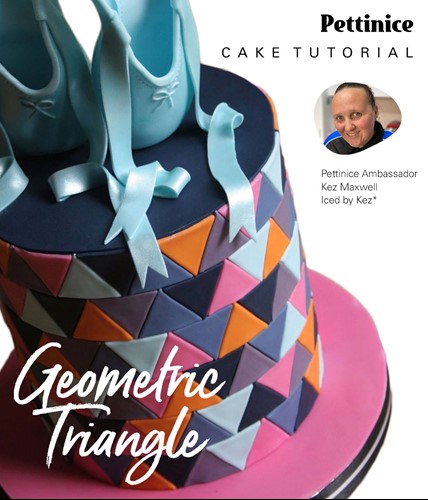
Colour Matching Triangle Cake with Kez Maxwell from iced by kez*
For best results, do the prep work a day ahead of time for the hardening agent to incorporate.

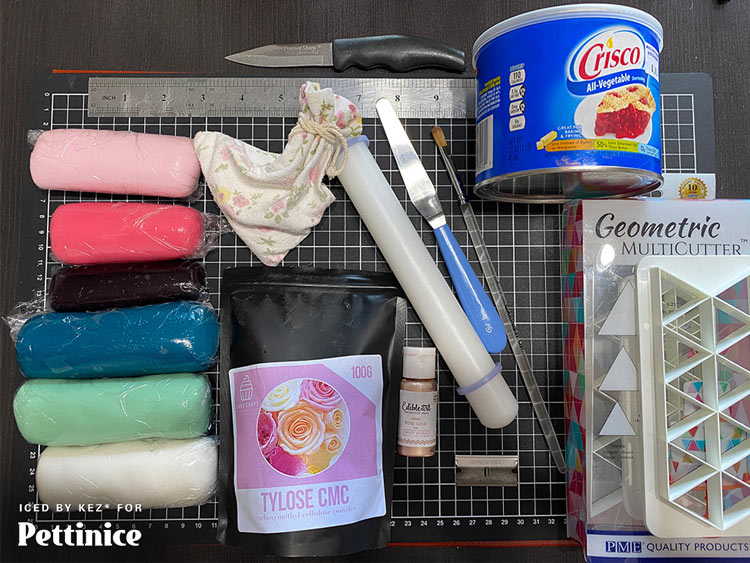
You will need:
- A cake that is ganached or covered in buttercream.
- Pettinice fondant in 6 colours of your choice. For a 6" round 6" tall cake using triangles that are 1" sized you'll need roughly 100gms each colour, more for whatever colour you choose to have on the top of your cake and cake board if you're covering one. I had left over so this amount should give you extra in case you need it.
- Crisco (vegetable shortening)
- Cornflour
- Baking Paper
- Acrylic Set up Board or Cake board/drum
- Fondant Smoothers (preferably flexible)
- Tylose or CMC powder
- PME Triangle Geometric Cutters (this will save you so much time)
- Wilton small white rolling pin with Purple bands on
- Razor Blade
- Pallet Knife
- Paint brush soft flat head
- Either Edible Art Paint or Lustre Powder and Rose Spirit mix.
- A Ruler and fabric tape measure is helpful to work out the size of your cake and how many rows/triangles you might need.
- A cutting mat to work on - my black one is from KMART in NZ/AUS but you can get similar from any craft store, usually they are blue or green in colour.
- A silpat to put the triangles on - if you don't have one, then baking paper will work too - just cover with cling film as you go so they don't dry out too fast.
Did you know that Pettinice is...

.
Step 1: Choosing your colours
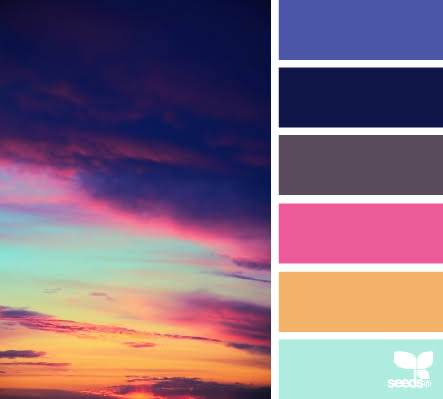
Taylor's cake colour pallet, picked from the seeds colour pallete shown below.
Lets chat about colour and design to start! A geometric cake like this can offer so many possibilities - it can cover a range of themes, just by changing colours or adding a topper.
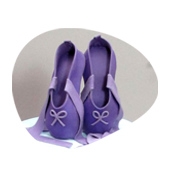
I first made this cake for my eldest's 12th birthday! Ballet was the theme - as you can see with the ballet slippers on top. But I didn't want a typical ballet cake, all pink etc. - the colour choice came when I googled 'design seeds colour palette'. I found this colour palette and knew that's what I wanted to work with, and the rest came from there.
You could use this theme for a Rainbow cake, using rainbow colours and adding a rainbow topper. Or a Wiggles themed party using those colours, it could be a dinosaur theme with a cute Dino topper - Go monochromatic pick one colour and use different tones of that one colour! Options are endless.
Tutorial pallet and colour matching
For this tutorial, it was the rose gold glitter in the design seeds image that got me! Now that I have my pallet, on to the colour matching...
Below I will give you the colour mix formulas to turn our base Pettinice colours into the shades and tones you need for the cake. This is my totally my happy place.
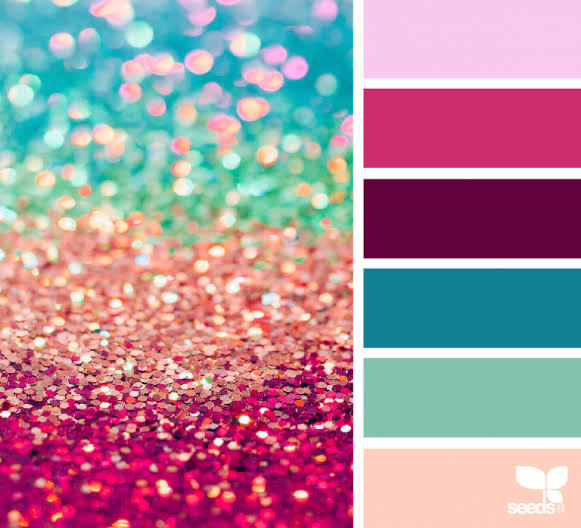
Rose gold. Swoon!
First let me just say - this is one of the things I love most about Pettinice, they have such a great colour range, the amount of different colours you can get just by mixing their original colours together is insane!
The way I mixed these was to go by Ratio - a lot of it was guess work, but I noted down what I did and made adjustments from there.

Final Colour pallet.
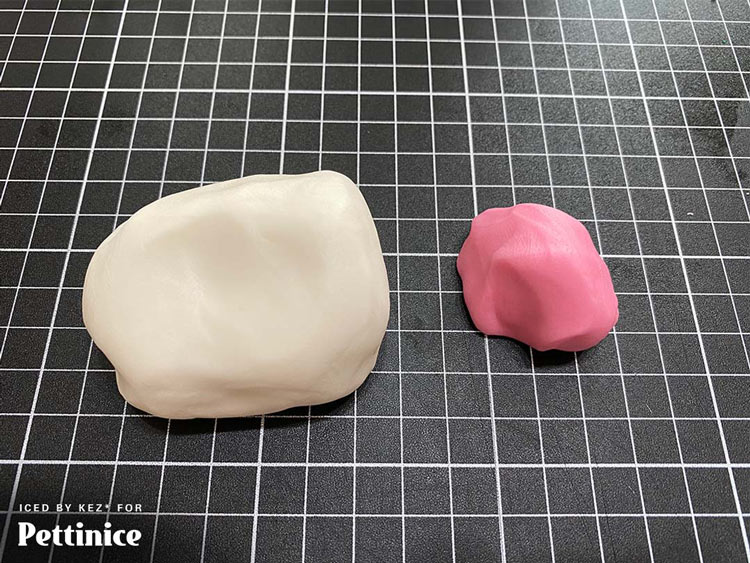
Light pink
- 5 parts White Pettinice
- 1 part Pink Pettinice
I used 100gms White and 20gms Pink.
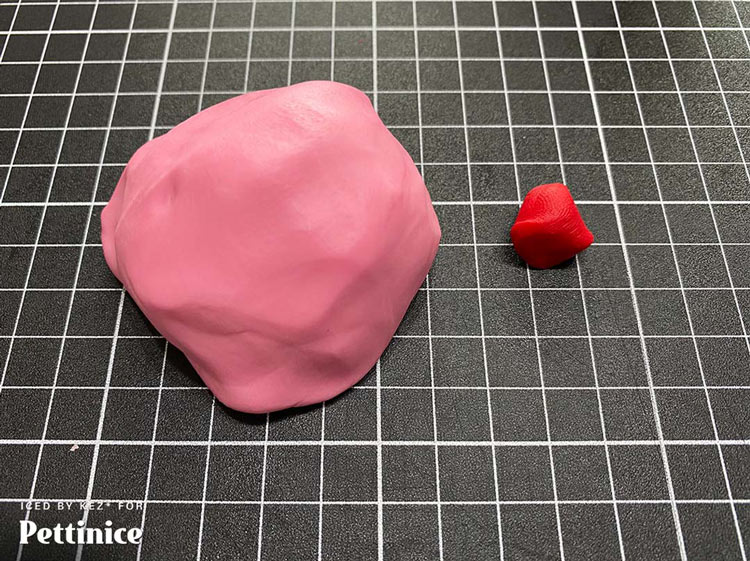
Darker Pink
- 50 parts Pink Pettinice
- 2 parts Red Pettinice
I used 100gms Pink and 4gms Red.
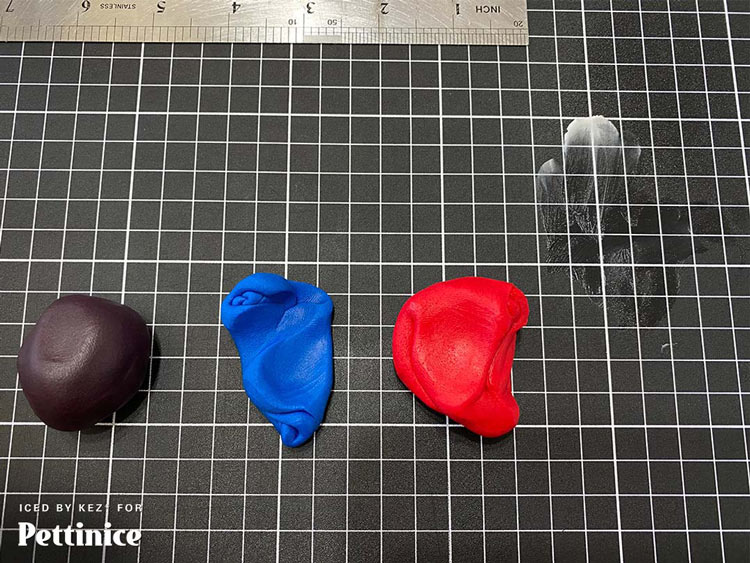
Purple Grape
- 2 parts Red Pettinice
- 1 part Blue Pettinice
I used 60gms Red and 30gms Blue.
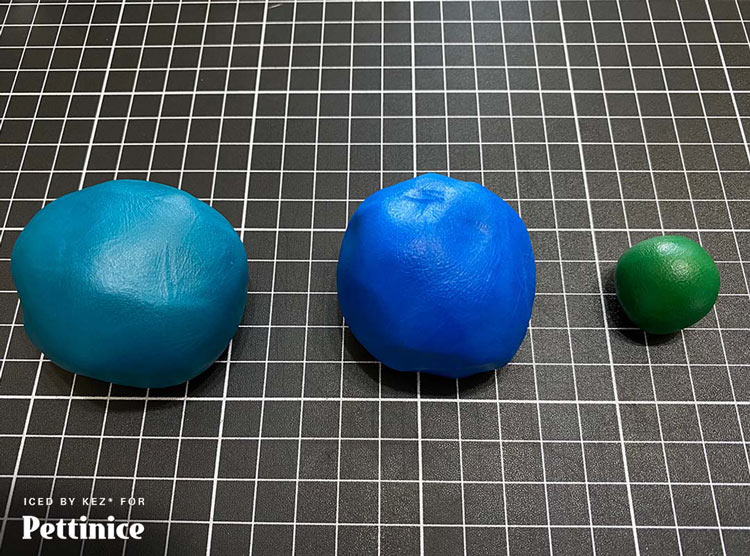
Teal Blue
- 8 parts Blue Pettinice
- 1 part Green Pettinice
I used 80gms Blue and 10gms Green.
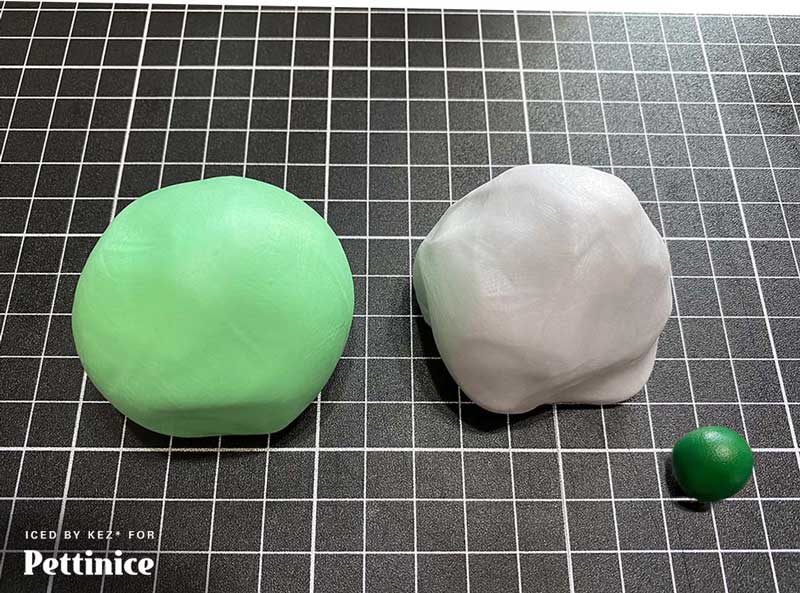
Sage Green
- 16 parts White Pettinice
- 16 parts Grey Pettinice
- 1 part Green Pettinice
I used 48gms White, 48gms Grey, and 3gms Green.
For the Rose Gold, I wanted a metallic feel, so I decided to paint it with edible lustre. For the base I just used White Pettinice.
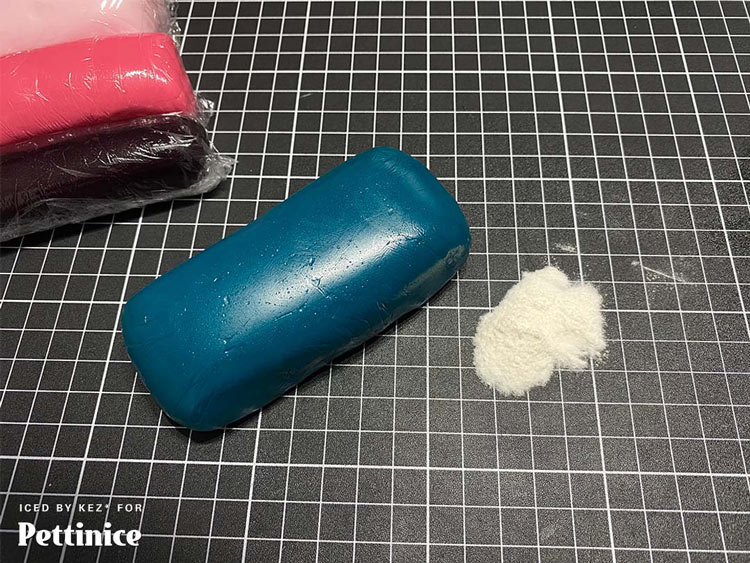
Adding Tylose or CMC
Now that your colours are mixed - it's time to get some tylose or CMC powder mixed in. This is going to make cutting out the triangles and moving them around a breeze. Ideally - get this done the night before you want to decorate, that way the tylose has had time to settle in the fondant and there is less 'stretch' when you work with it.
Also, it gives the colours a chance to 'settle' too. But if you're out of time, you can still make it work, you just need to be gentle.
Cutting the triangles - the easy way!
This was my process.
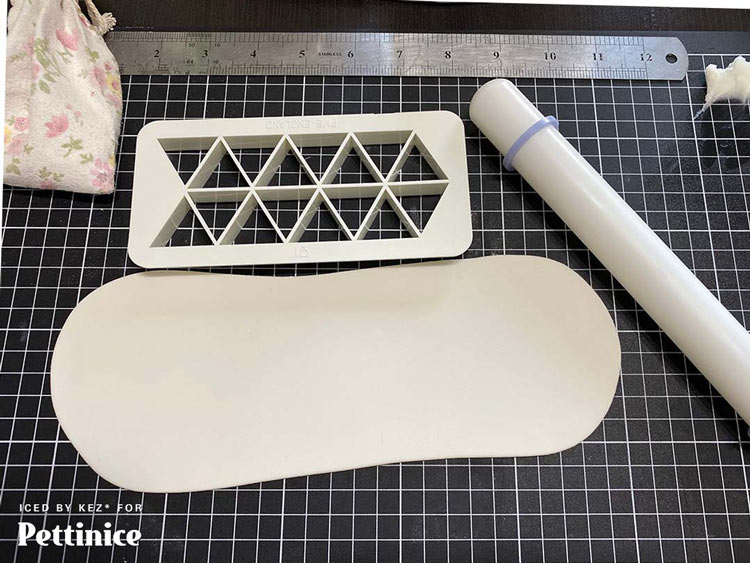
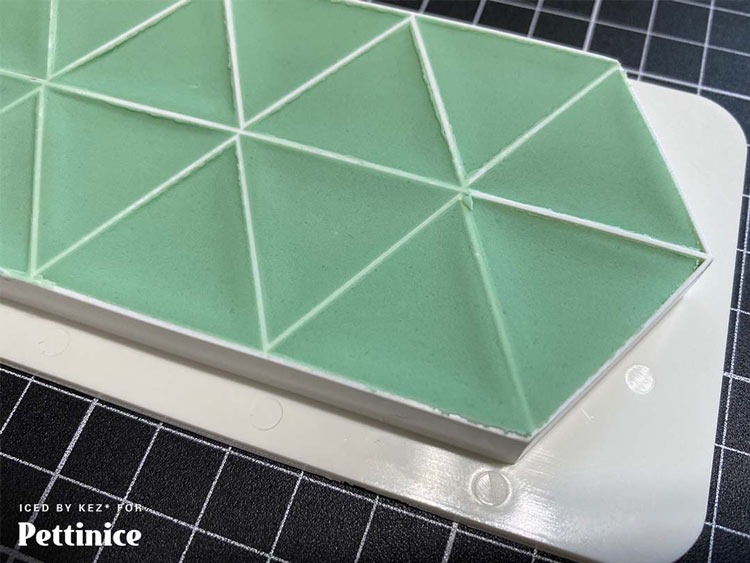
1. Start with the White Pettinice first. After kneading it, dab some cornflour onto your mat and roll out half the amount, using the small Wilton roller with the purple bands on (this roller is awesome, you know all the triangles will be the same height - hence why I use it all the time).
2. Try to roll it thin and long (a little wider than the cutter. Take the triangle cutter and lay it on, push down with both hands firmly, gently try to move it around the mat (this is why the cornflour is needed - if you don't have cornflour on your mat, it will stick and the triangles will be pushed out of shape).
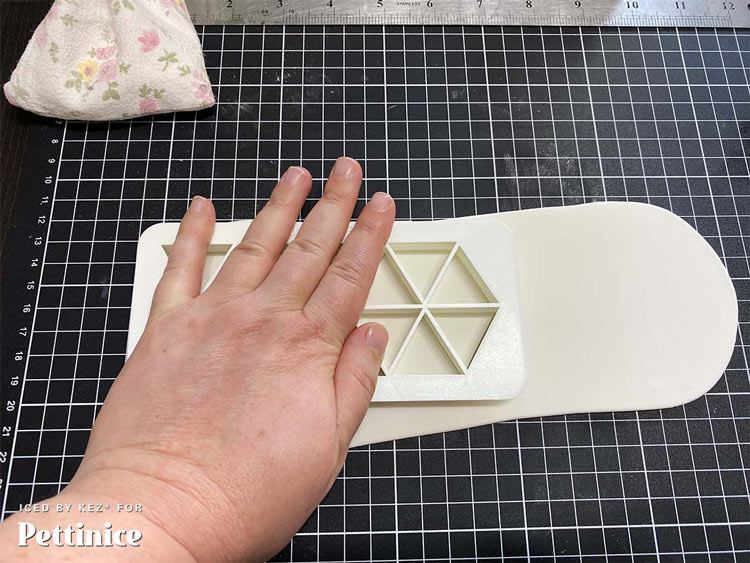
I worked out with my 6" tall, 6" wide cake I needed 6 rows and roughly 38 in each row... so I made sure I had at least 38 triangles in each colour. Who said we wouldn't need maths later in life huh!?!
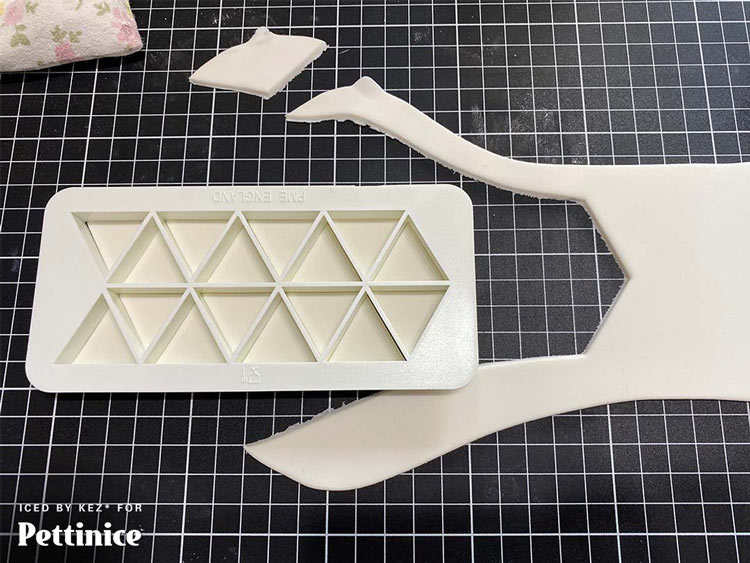
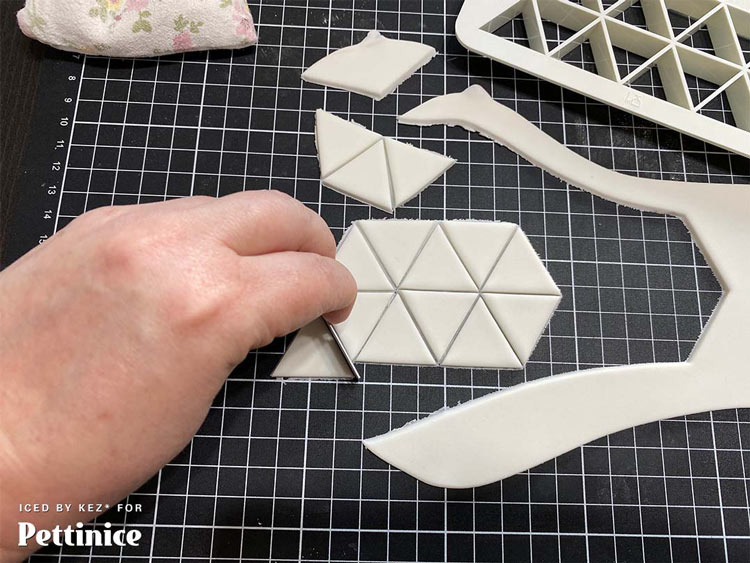
3. Once it is moving freely around the mat, pull the excess fondant away and turn the cutter over - gently rub your finger or some excess fondant over all the lines, you don't want any fondant on the lines - this is how you will get a clean cut.
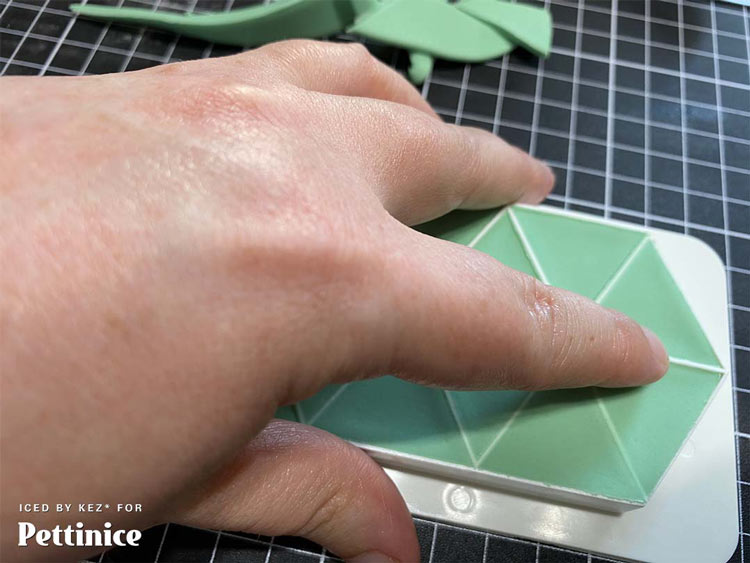
4. Turn it back over and gently push the triangles out, move them onto the silpat matt to sit while you work on the other colours. You can cover them with cling wrap to help them not dry out too quickly. If you happen to turn them over and they have some rough edges you can clean them up easily using a straight edge razor blade.
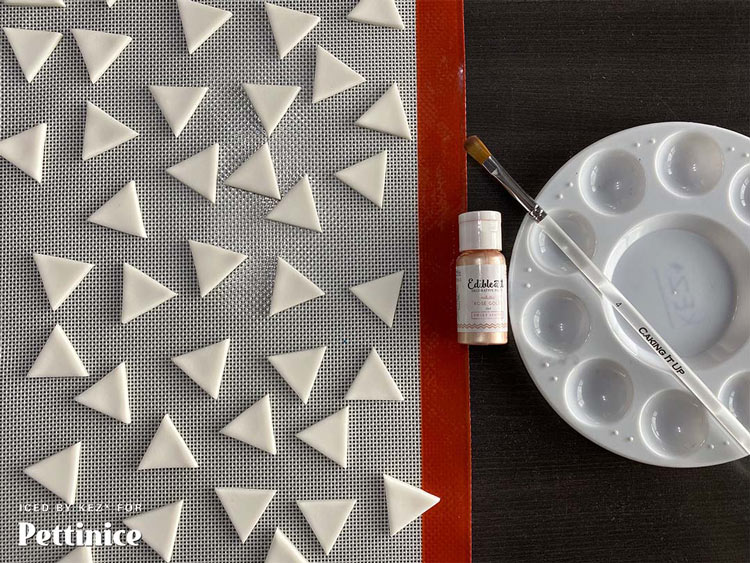
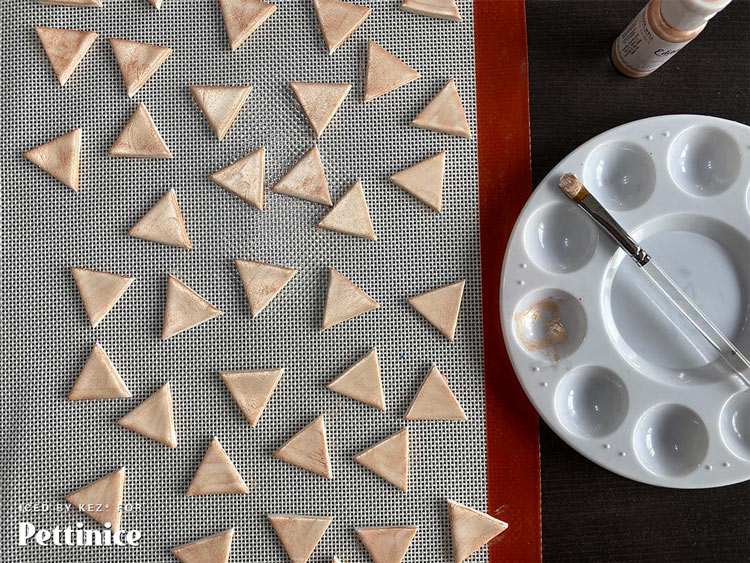
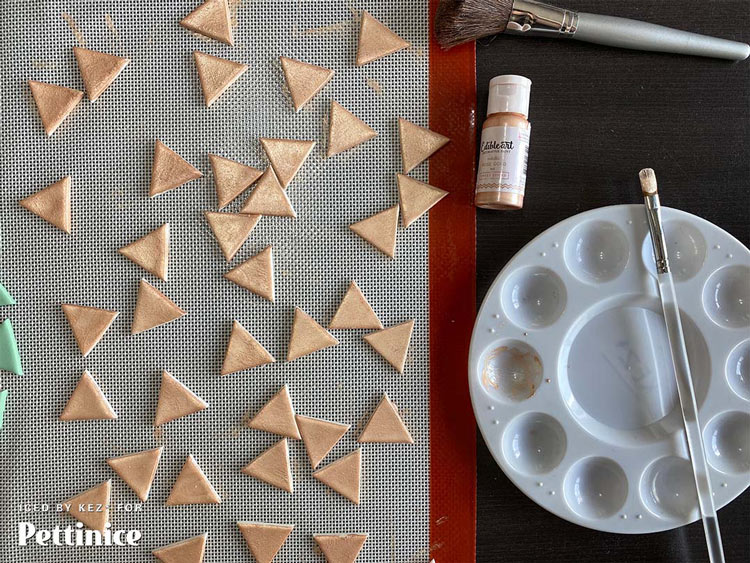
5. Cut out the next colour... then go back to the white triangles and put the first coat of Rose Gold paint on.
6. Go back to your next colours, cut them out.
7. Check the rose gold paint, when it's dry get another coat on. You ideally want it to dry before you start putting it on the cake... but you can always touch it up later if it's not dry yet. Which is what I had to do.
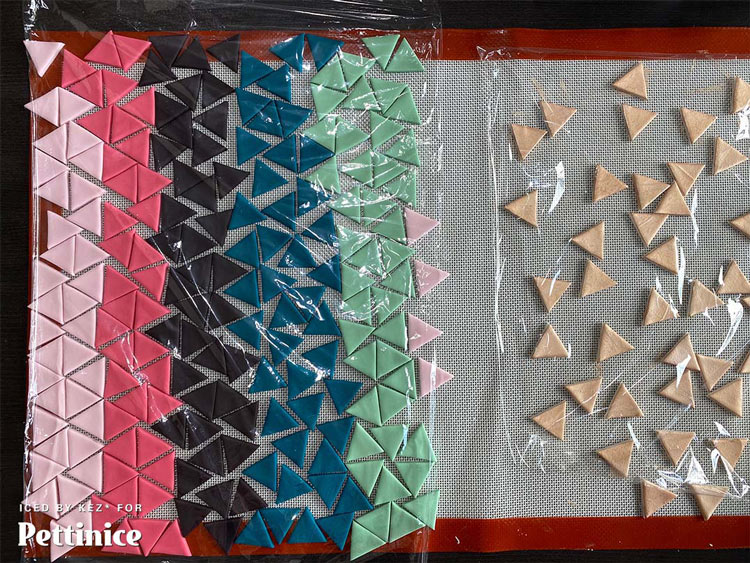
Last pic, just shows all my triangles ready to go on the Silpat with the cling film over the top - I should have left the cling film off the painted ones! I wasn't thinking and of course they stuck to it. Learn from my mistake!
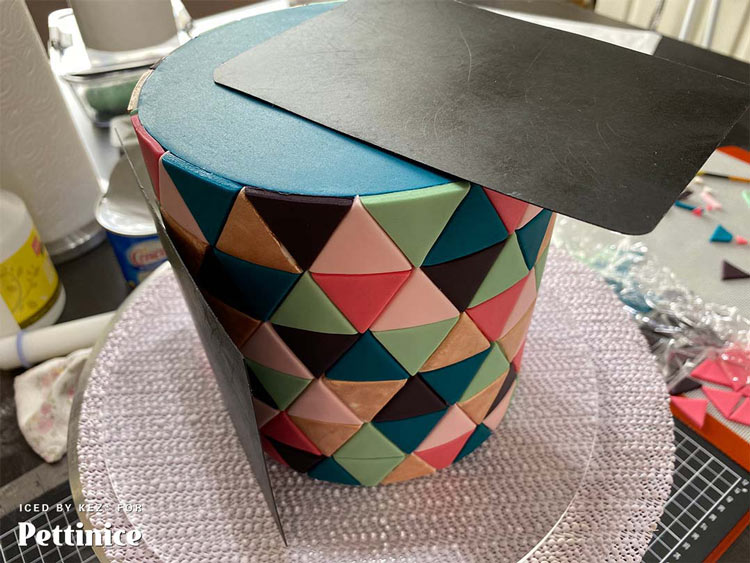
Covering the top of your cake
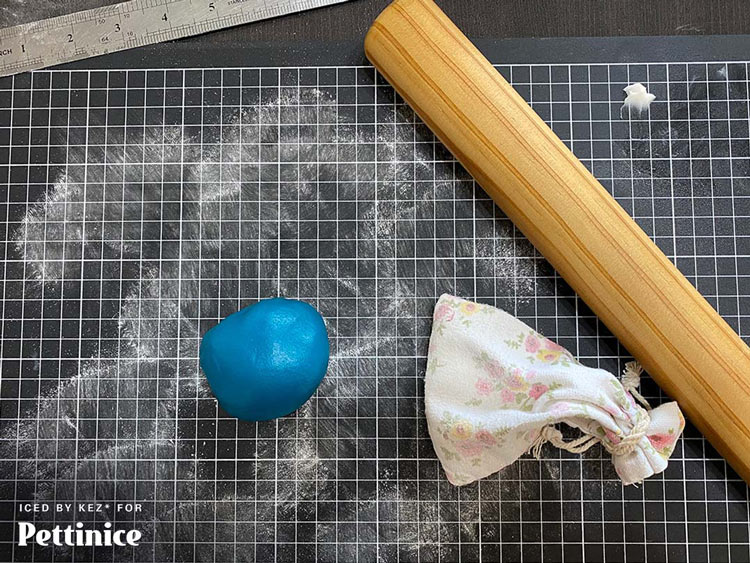
Grab the colour that you are covering the top of your cake with. Roll it out onto a surface lightly dusted with cornflour.
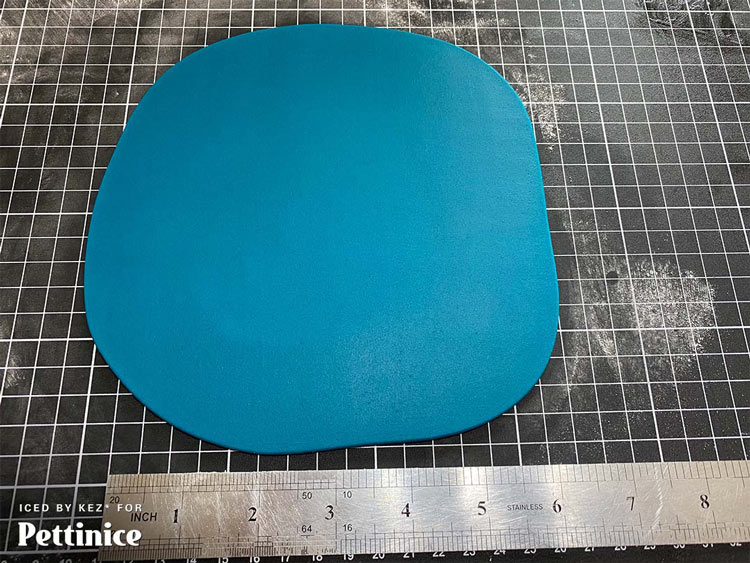
Check it will cover your 6" cake.
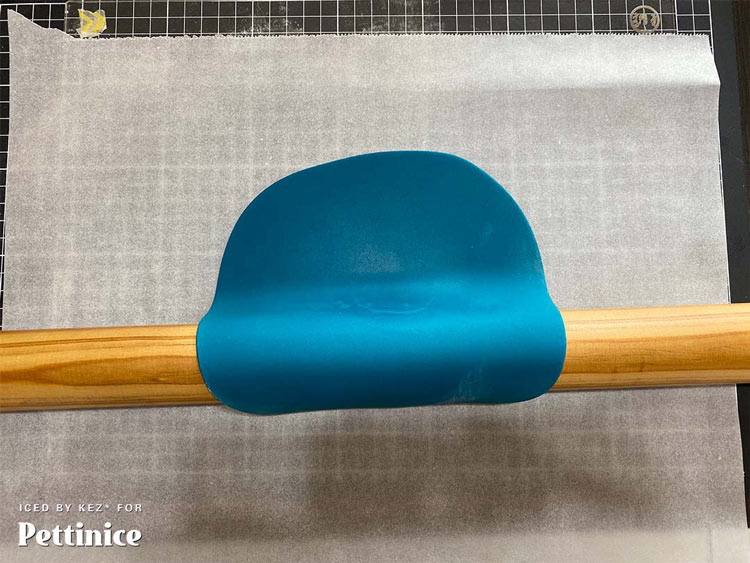
Using your rolling pin lift the fondant up and take it over to your Acrylic Set up Board (or Cake drum) that has been covered in baking paper. Lay the fondant in the center of the baking paper with the good side down (the side with the cornflour on it will be facing up).
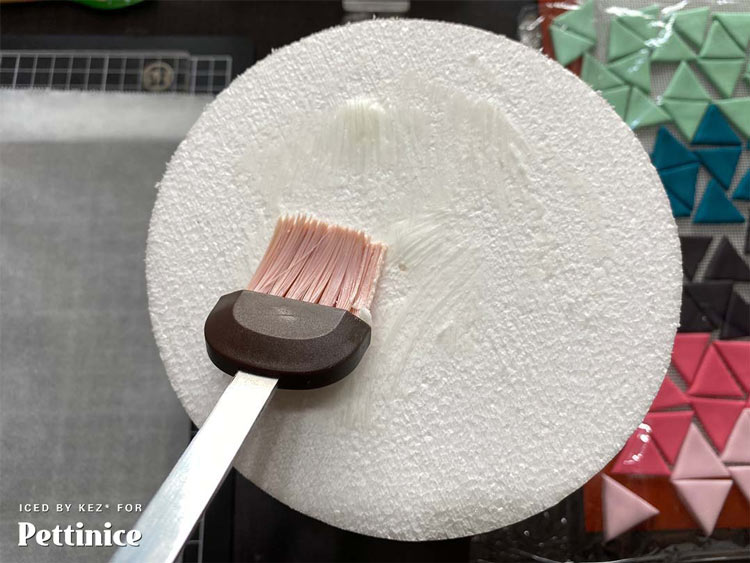
Brush some Shortening onto the top of your ganached cake - Only the top (I made this on a cake dummy for the tutorial - you're going to need to use your imagination and pretend it's ganached).

Flip the cake upside down and center it on the fondant.
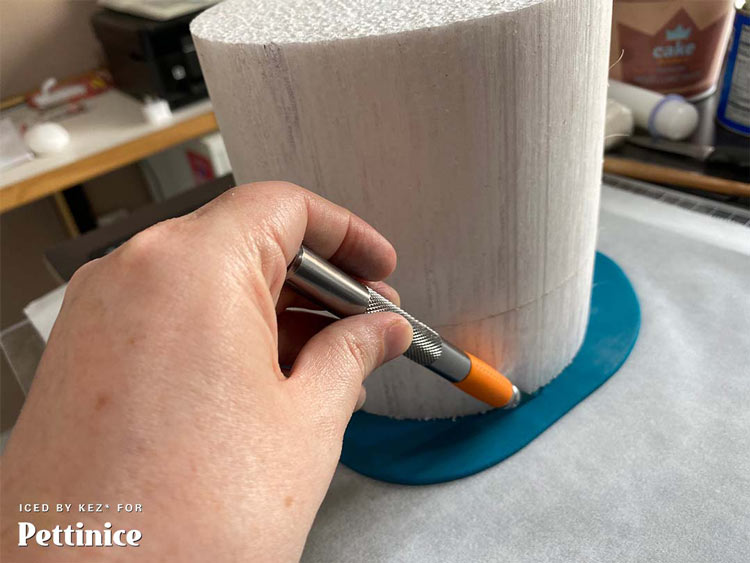
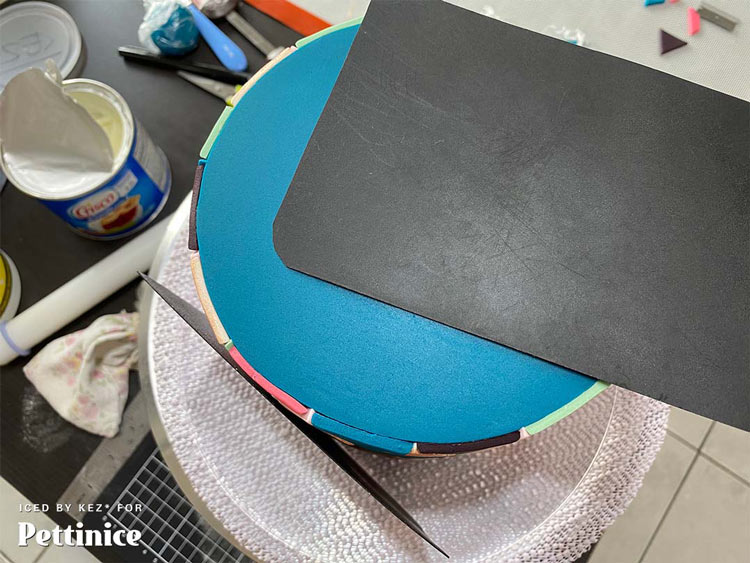
Take your xacto knife or a sharp blade and carefully cut around the cake - remove the excess fondant then take a flexible fondant smoother and smooth the edge of the fondant around the cake.
Take a flexible fondant smoother and smooth the edge of the fondant around the cake.
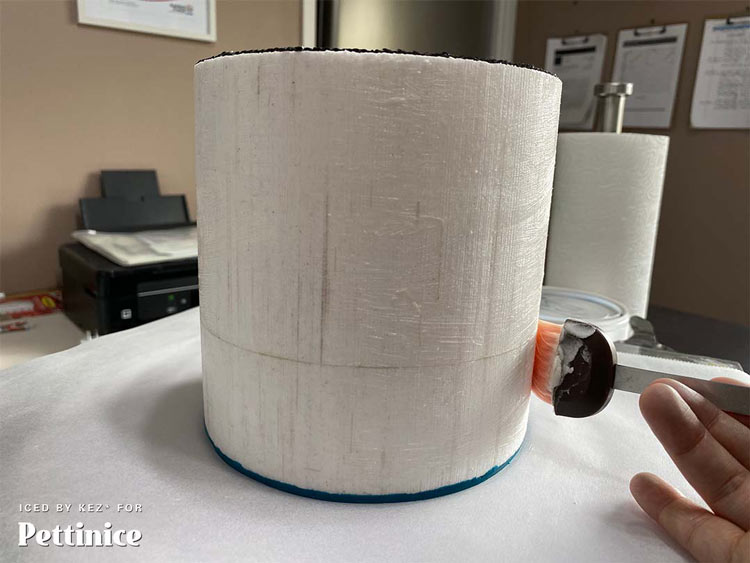
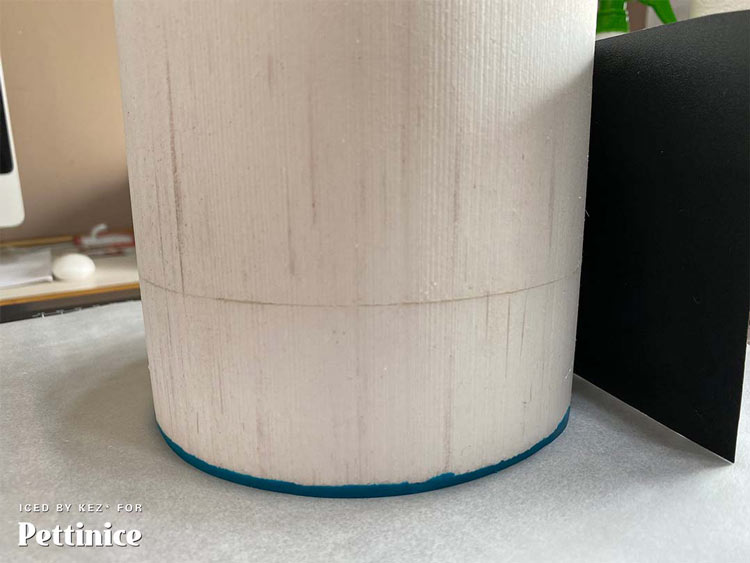
Now brush the sides of the cake with shortening in preparation of the next step.
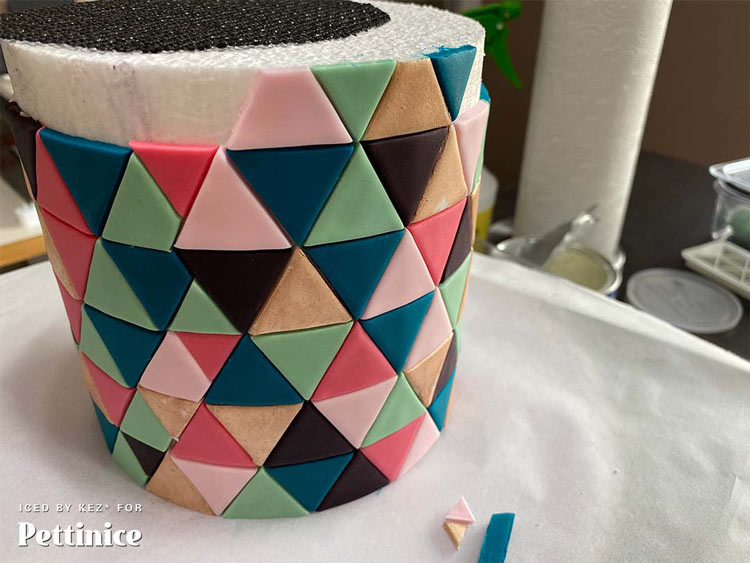
Covering your cake with triangles for the geometric pattern
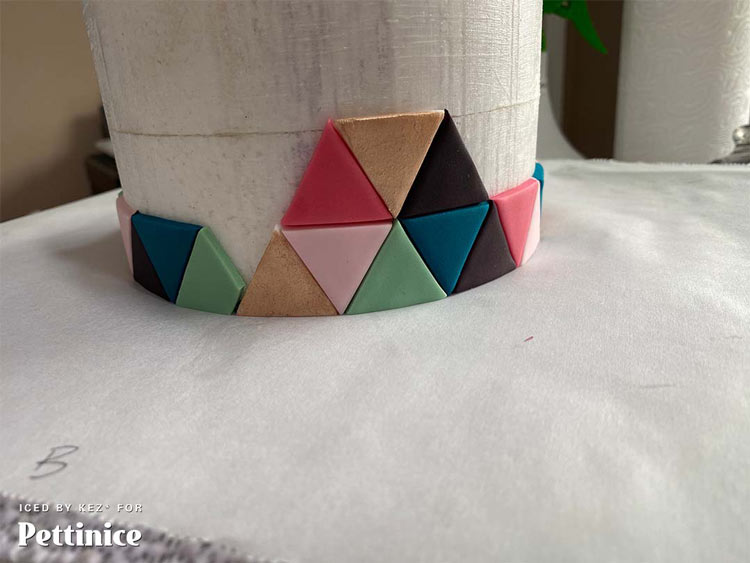
Start applying the triangles to the bottom (technically top) of the cake. Try to be random... unless you want it to be a particular pattern - it's your cake; you go for what you want. Just take your time and get down on the same level as the cake after putting each triangle on - to make sure it's straight. They can easily lean to one side - trust me it's worth the time to check each one is just right.
You can use a flexible smoother as I am doing here, to help gently and evenly push them onto the cake, especially helpful if you've left the triangles for a while and they have started to harden.
I also find it helpful to mark a few horizontal lines on my cake as a visual guide to help me keep the rows straight.
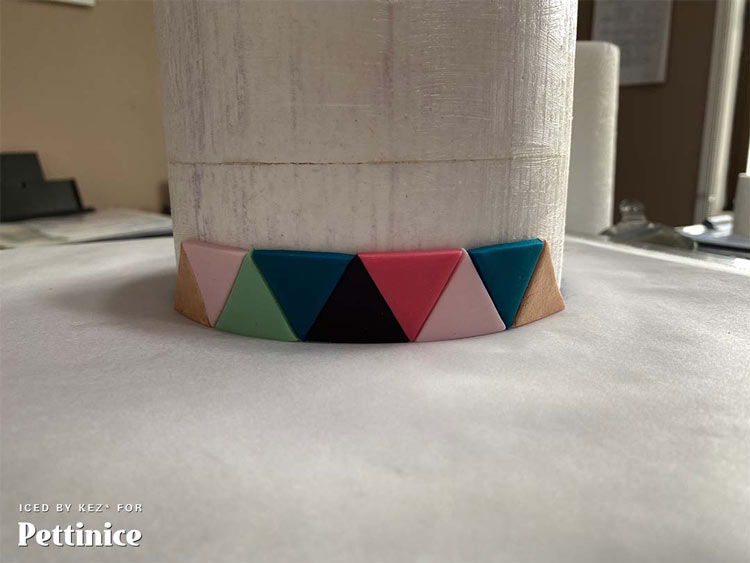
The triangles can easily lean to one side - trust me it's worth the time to check each one is just right.
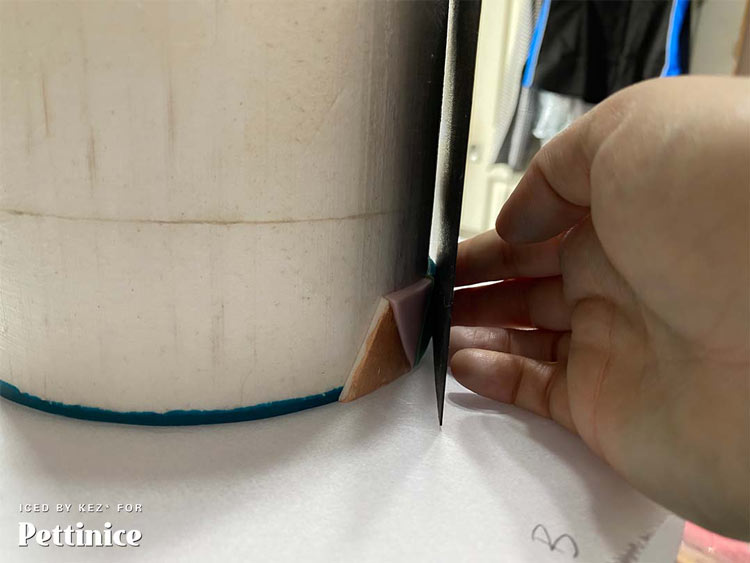
At the end of each row - you may need to cut the triangle to fit into the space... just put it in place and follow the line of the triangle next to it to know where to cut.
I've shown a couple of different examples of me cutting the end of row special ;)
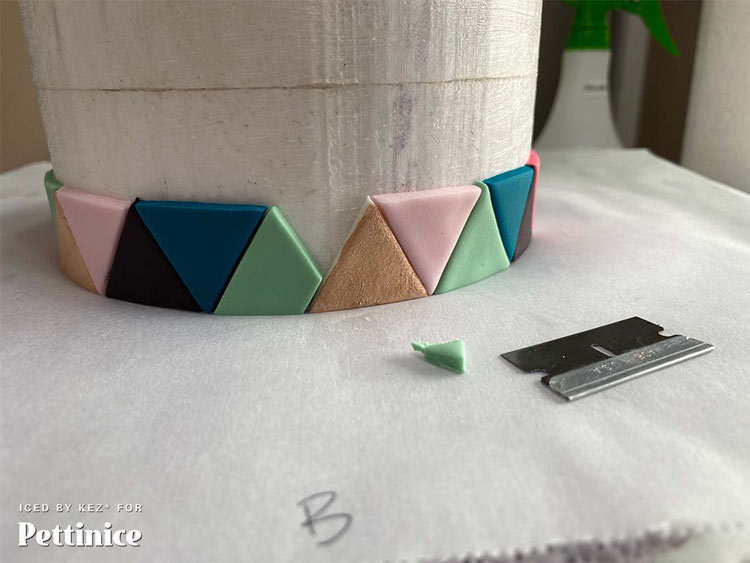
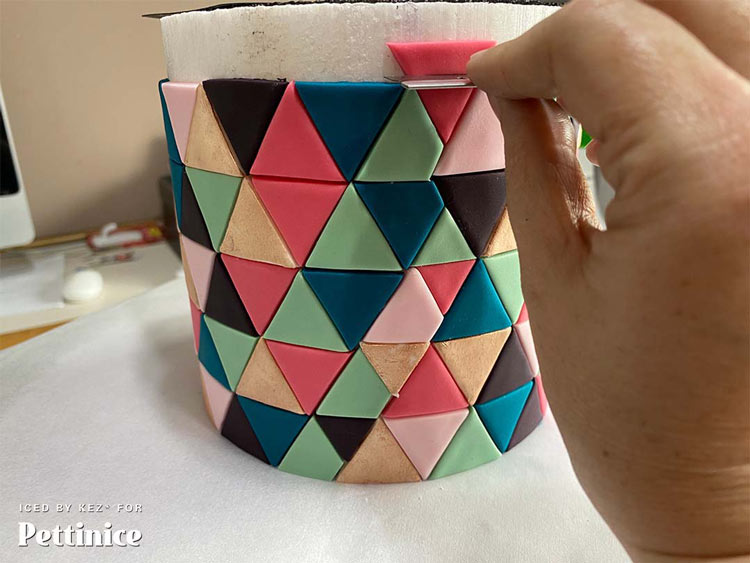
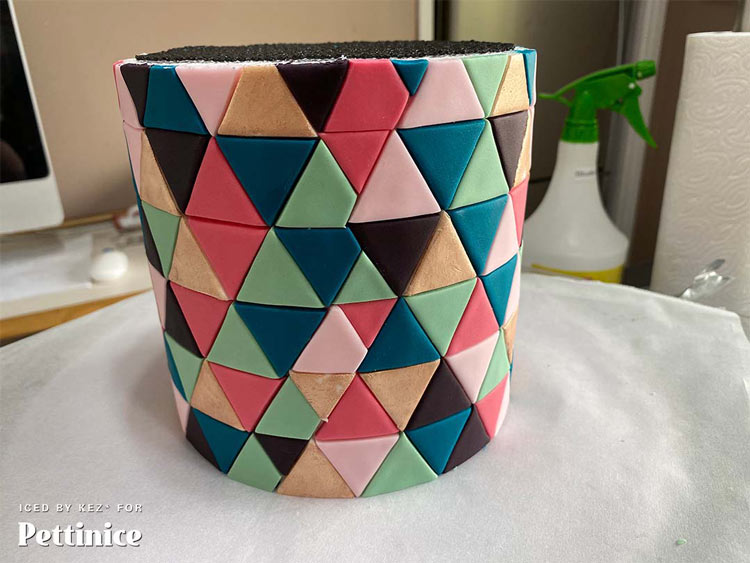
Start the next row - making sure points match to points, and lines match to lines. Keep getting down to eye level and checking you're not slanting in any other direction. It gets easier and quicker as you go along. Don't stress if the Rose Gold paint comes off in places... you could either embrace the 'distressed' look or re paint it when you're finished.
The trade off from using the easy triangle cutters is that you will have to modify a triangle for each row.
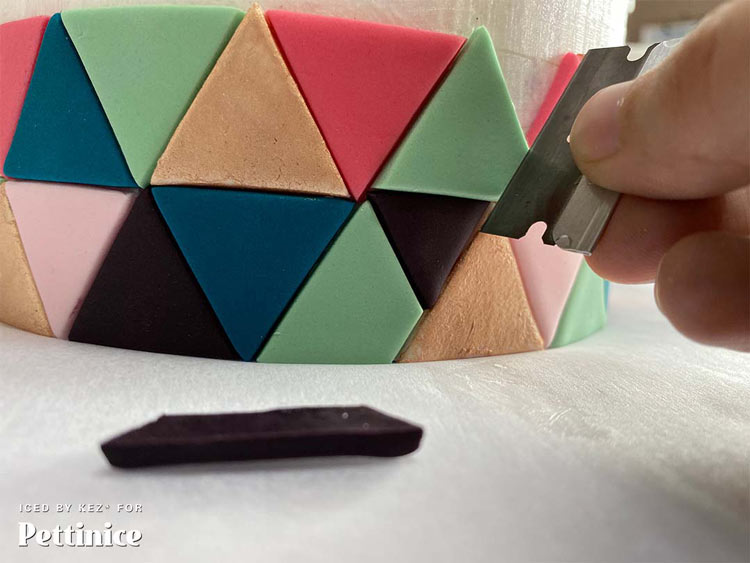
The time saved cutting makes it worth the slight alterations.
Alteration example. (This will be the back of the cake.)
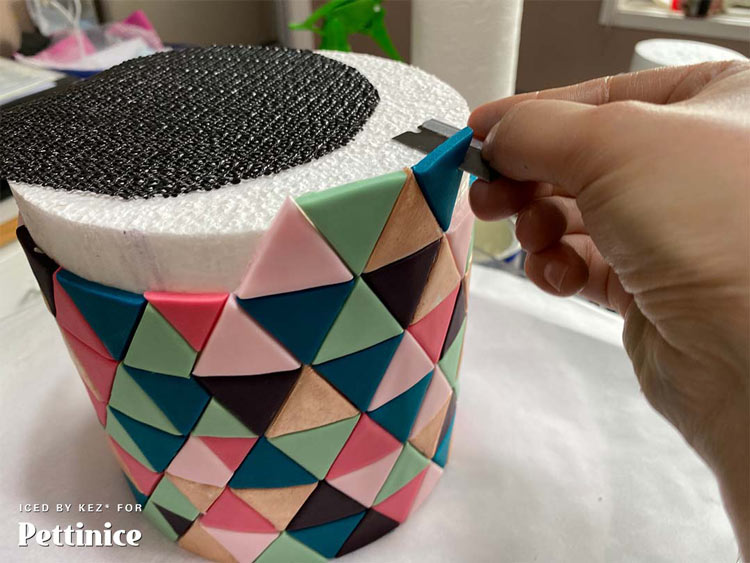
When you get to that final row - pop on a few at a time and then get your razor blade or sharp knife and carefully cut the excess flat against the bottom of the cake card. Be careful to not distort the shape of the triangle, I did little frequent cuts, rather than dragging the blade along in one swoop.
Flipping and finishing the cake
Make sure you have a non slip mat on the bottom of your cake card, place another board on top of that, you're going to flip the cake back over now. To do this, pull the Set up board that your cake is on, over towards the edge of the table so you can get one of your hands firmly under the set up board, the other hand firmly on the board you have put on the non slip mat and in one fluid motion flip the cake over. Gently place the board on your bench or turntable, take the top board off and then remove the baking paper. Sometimes the baking paper will leave some creases - these can be buffed out using a flexible smoother. I wish I had taken a before photo, this had a lot of creases - but I was able to get them all out. I used another flexible smoother on the side of the cake for support, so I didn't indent any triangles with fingers!!
Now that the cake is the right way around - grab your rose gold paint, and pop some on the top edge of any rose gold triangle in that first row that needs it. If you want to touch up any other Rose Gold triangles now's the time to do that.
I would give it a few hours before moving it onto a cake board, just so the triangles have some time to firm up and you don't have to worry too much about leaving any indents during that move.
Finish with a topper of your choice or leave as is! Thanks so much for checking out this tutorial! If you make a cake from this tutorial I would love to see it! Tag me on instagram.... @icedbykez I can't wait to see what you create! kez* x

Kez Maxwell runs iced by kez* in Auckland, New Zealand.
"My passion for cake decorating came from making my kids their birthday cakes and has grown from there. I have been decorating for four years now and learned so much along the way. In the beginning Youtube was my class room - but since then I've made some amazing friendships through Facebook in the vast cake world there and through these friendships have learnt so much!"
You can find Kez on Facebook and Instagram.
![]()
![]()