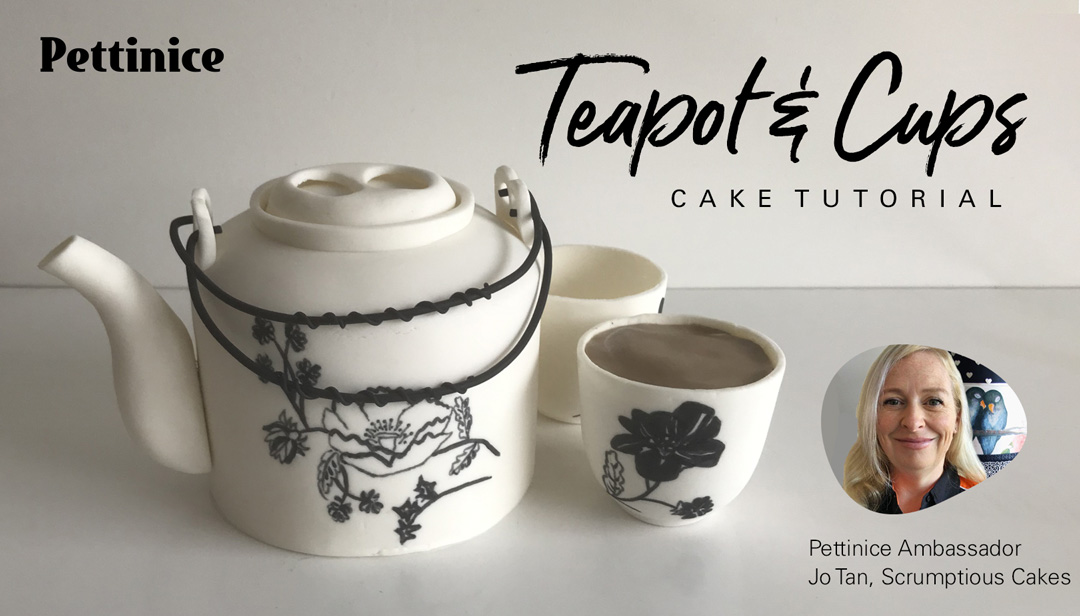
How to make a realistic teapot and cups cake
Edible Materials needed
- 500gms White Pettinice
- 30gms Black Pettinice
- Bakels Sprink or canola spray
- Cornflour
- Edible glue (tylose & vodka)
- Cake with ganache
Tools needed
- Teapot and teacups
- Rolling pin
- Paring knife and Exacto knife
- Dresden tool
- Smoother
- Hole cutter .5cm diameter
- Circle cutter 6cm diameter
- Thin cake board

This cake will be a lot easier to make if you have a teapot in front of you to inspire your design, copy angels, and make the spout mould from. I find them in antique shops, hospice and 2nd hand shops. The teapot I used for this cake is a Japanese teapot that I bought years ago and during lockdown I wanted to make a replica to fool my family which it did.

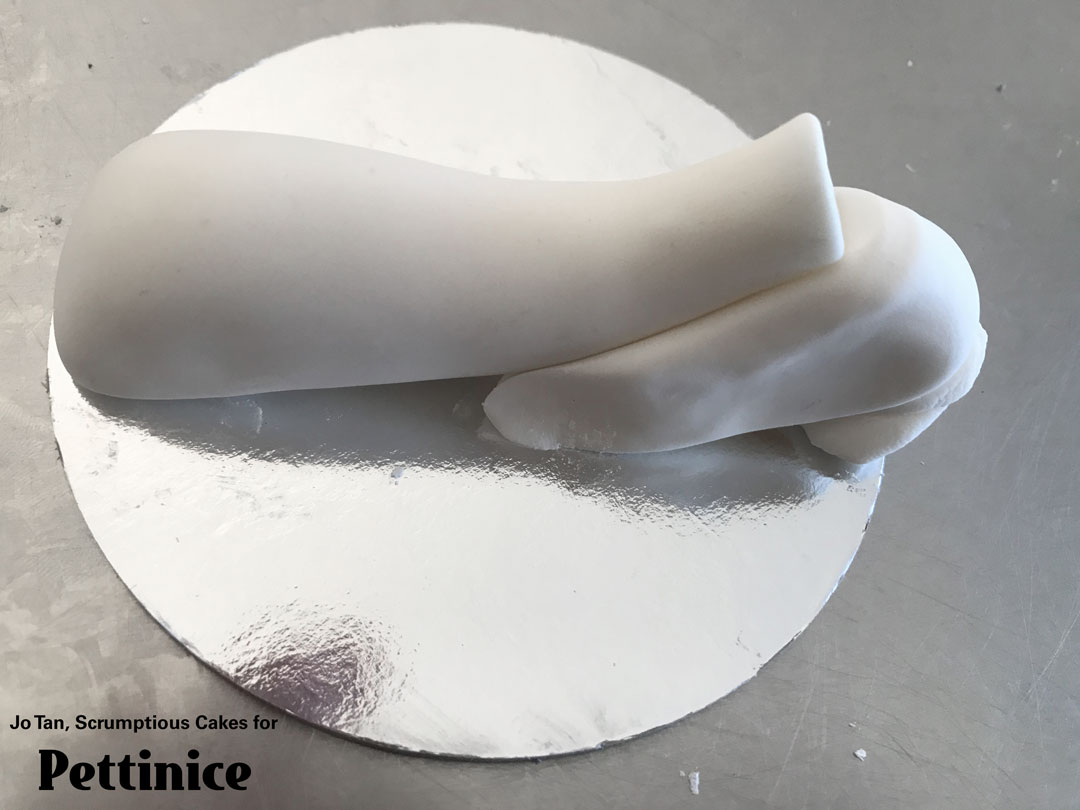
To make the day before: spout and teacups
The first thing I did was make the ‘spout’ as this needs to set to enable it to sit up and out from the cake.
I first added tylose to white Pettinice and used the teapot to make a mould to set my fondant spout on, this gave me a more accurate angle.
I put cornflour between my mould and the spout so it wouldn’t stick and left it to set for at least 24hours.
Because the teapot I used as my muse was straight up down I could allow the ‘spout’ to set on the board but if your teapot is curved where it connects to the spout you may want to make another mould to allow for this.
Quick tip: Use a real teapot to make a Pettinice mould
Use cornflour to prevent Pettinice fondant sticking to the mould.
Making the teacups
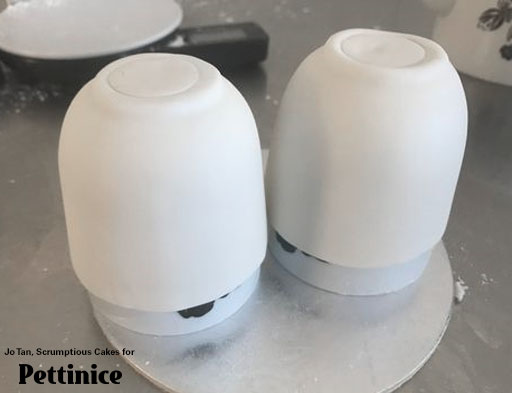
Drape the Pettinice over the upside-down cup like you are covering a cake and proceed to smooth down.
Once it is feeling dry you can decorate it using the same reverse tracing technique as the teapot, as described below.
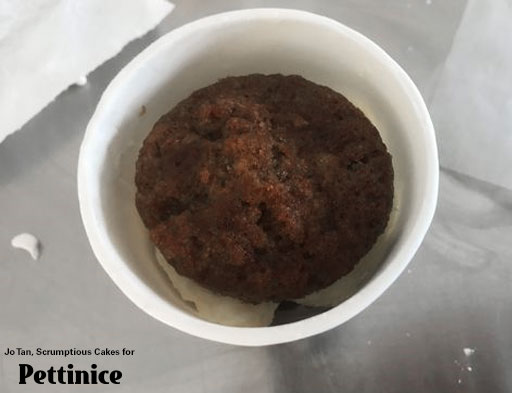
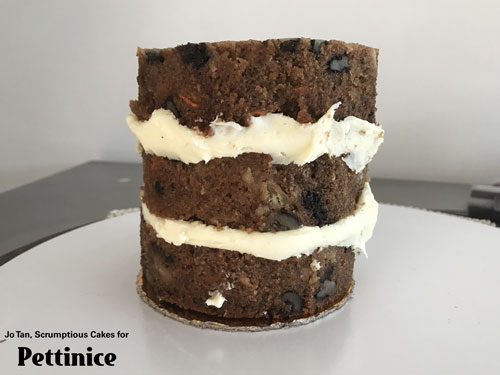
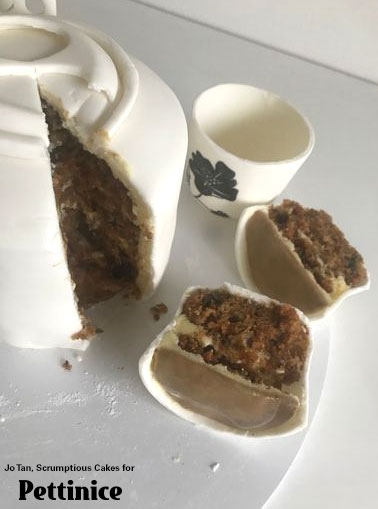
To fill your cup, I cut out rounds of cake and alternated them with ganache and topped it with tea coloured ganache.
- Make sure your cups are clean and dry. Spray the cups with Sprink and then cover with cornflour.
- Add tylose to white Pettinice and roll out to 3 to 4mm thick.
- Drape the Pettinice over the upside-down cup like you are covering a cake and proceed to smooth down. Once you are happy with this cut the Pettinice to a desired height, as you can see, I went a little shorter than the actual cup.
- Make sure the top rim of your cup looks smooth - you may need to lift your cup to see this properly.
- Smooth the base of the cup to make sure your cup will stand straight.
- Leave this to set for at least 24hours – maybe make it at the same time as you make the spout for the teapot. Once it is feeling dry you can decorate it using the same reverse tracing technique as the teapot. To fill your cup, I cut out rounds of cake and alternated them with ganache and topped it with tea coloured ganache. Voila!
Carving and covering the cake
The beauty of this teapot is that is has a flat bottom so to start I traced around the bottom of it to give me my cake card size.
I cut my cake to size and covered it in white chocolate ganache. As you can see, I trimmed around the top of the cylinder shape to form the higher centre
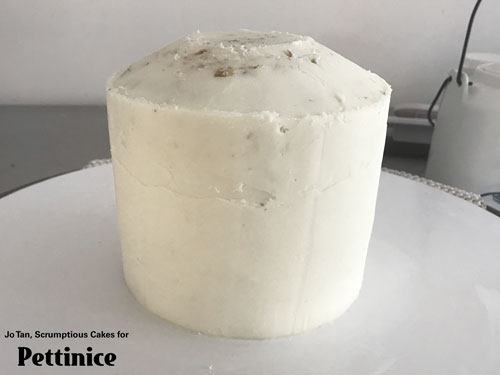
I did this by trimming the cake and ganaching on a turntable/lazy susan to try to get the slant even all the way around.
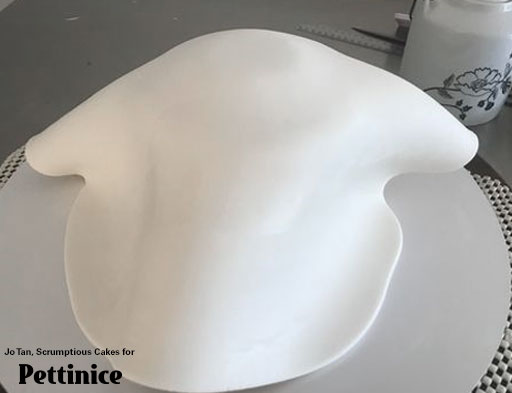
Once you have it rolled to your desired thickness (mine is about 4 or 5mm) drape it over your ganached cake smoothing down starting at the top and working your way down and around the cake at the same time.
When covering my cakes, I first smother them in a sieved jam and water mix (1/4 water ¾ jam).
I then roll out the Pettince on a table sprayed heavily with Sprink, lay down the icing and sprinkle that with cornflour. The Sprink makes sure the Pettinice doesn’t dry out too much and the cornflour makes sure that the rolling pin doesn’t stick to the Pettinice. If you want to see this in action, watch my video here.
Once you have it rolled to your desired thickness (mine is about 4 or 5mm) drape it over your ganached cake smoothing down starting at the top and working your way down and around the cake at the same time.
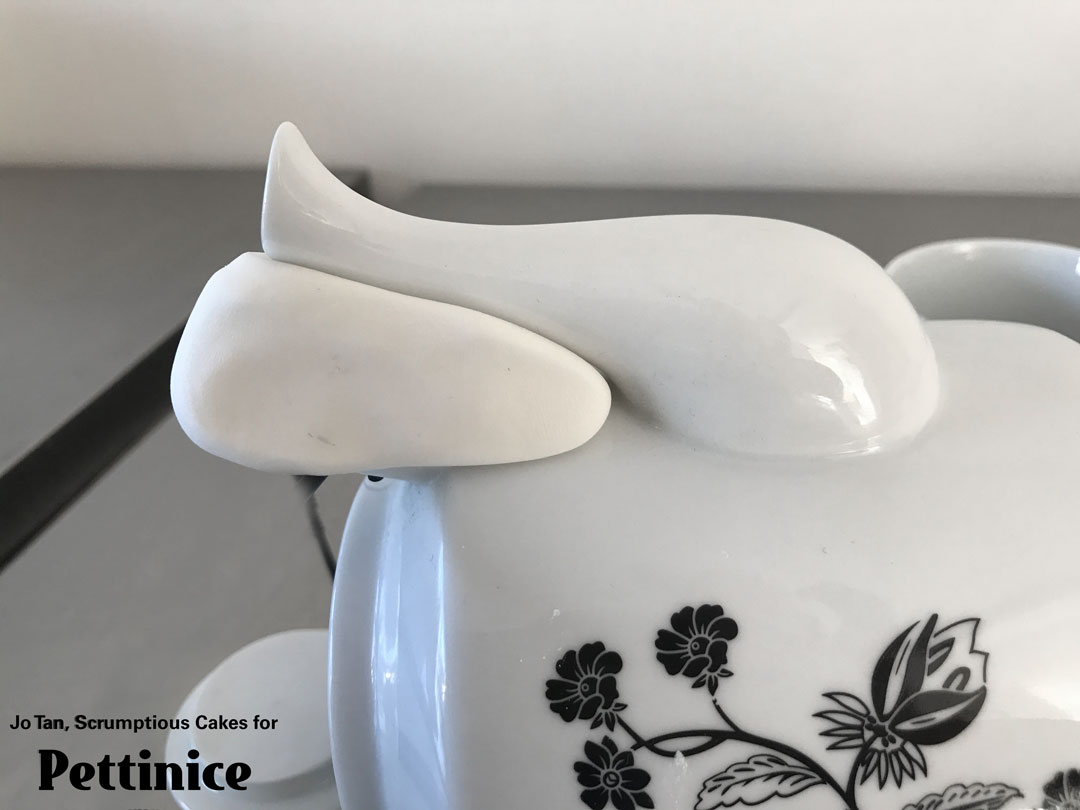
Adding the details
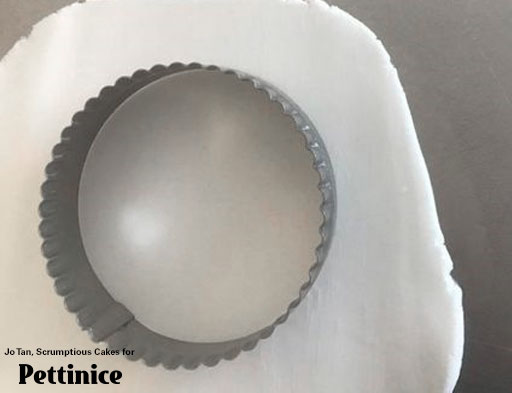
Next, I cut a circle 6cm in diameter and .5cm thick
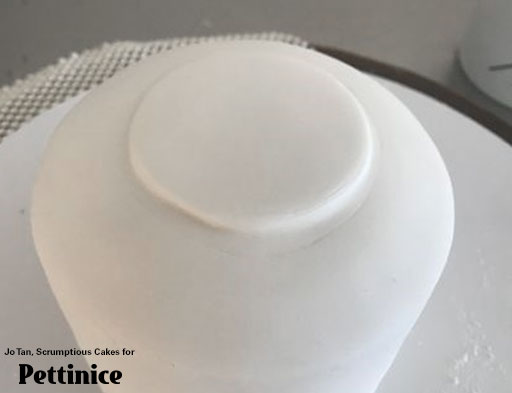
Use your edible glue and place on top of the cake.
I next cut a circle 7cm in diameter and lay this over the previous 6cm circle. I smoothed down the sides so that it looked more rounded as you can see from the first photo above and then I cut 2 ovals out using an Exacto knife – oval cutters would probably give you a cleaner look. Once you have cut the ovals, round the insides of the cuts using your finger or a Dresden tool – remember it is meant to look like porcelain and jaggered porcelain would cut.
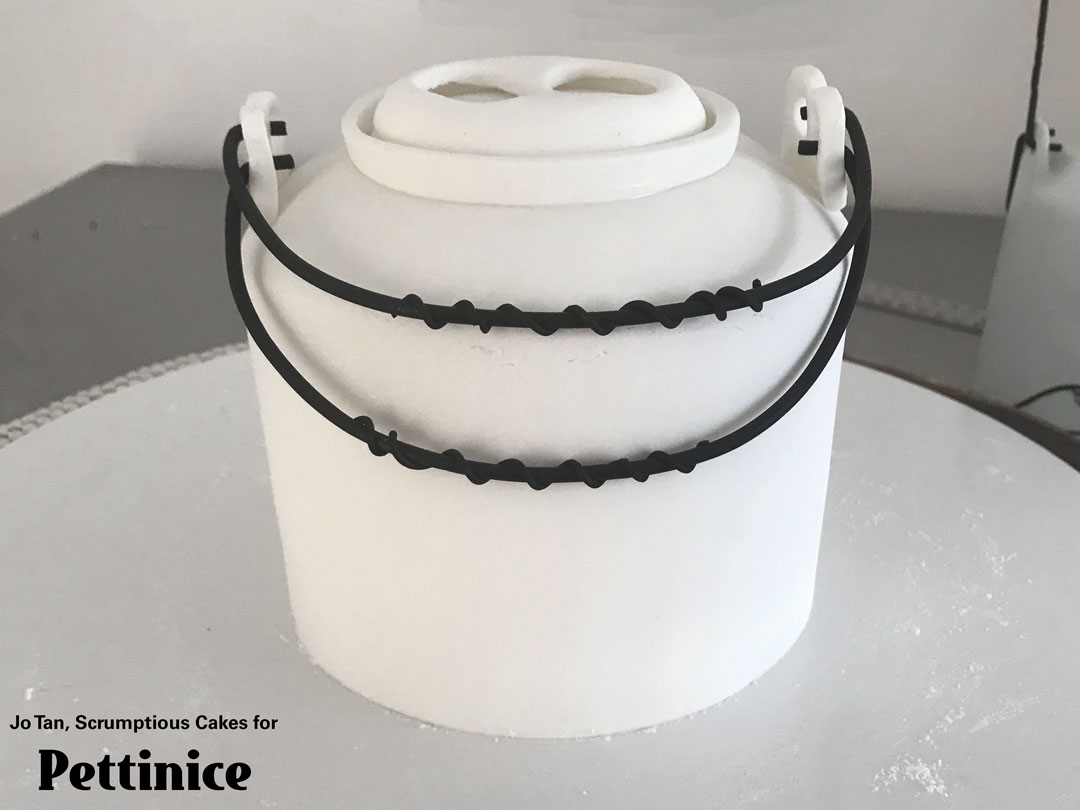
Cut a ribbon about .75cm wide and 26cm long. Glue this ribbon around teapot top you have created as seen below:
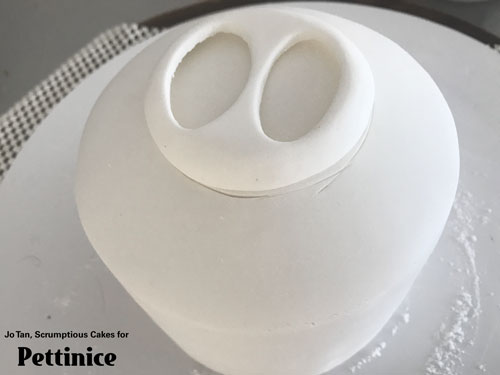
I cut 2 ovals out using an Exacto knife – oval cutters would probably give you a cleaner look.
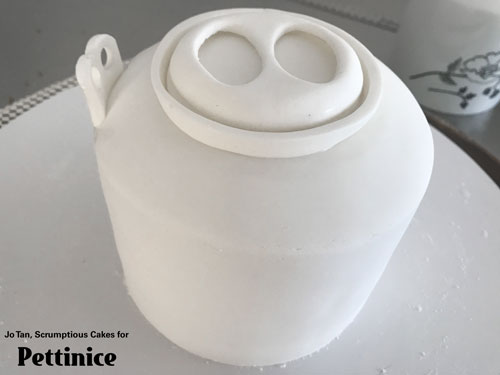
Cut a ribbon about .75cm wide and 26cm long. Glue this ribbon around teapot top you have created.
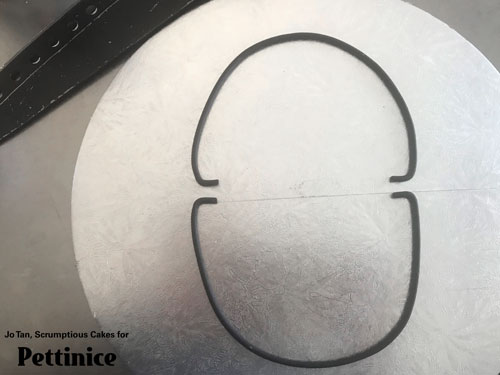
Adding tylose to the Pettinice helps teapot handle additions stand erect. After adding tylose to Pettinice, I cut out matching shapes as shown for the handles to be threaded through. I cut 2 holes .5cm away from each other and then cut the shape out around them, by doing it this way it made it easier for them to be similar in shape and size. After allowing them to set for 15mins or so I glued them to the cake.
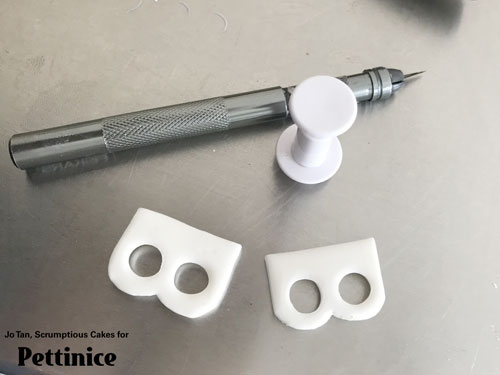
cut 2 holes .5cm away from each other and then cut the shape out around them.
After allowing them to set for 15mins or so I glued them to the cake.
I waited 15minutes to glue the handle sides to the cake because you want the Pettinice firm enough to stand up, but soft enough to manipulate a curve at the base.
Next, I put the handles on, but a smarter move would be to decorate your teapot first then you don’t have to move your handles more than necessary.
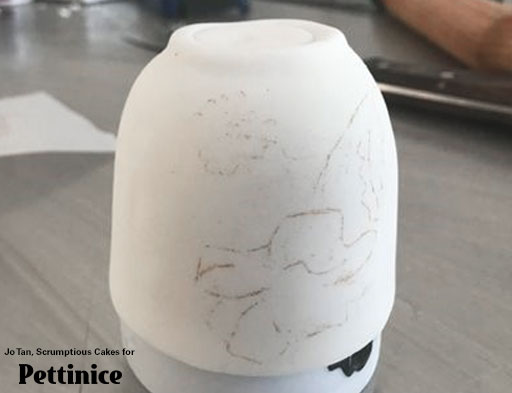
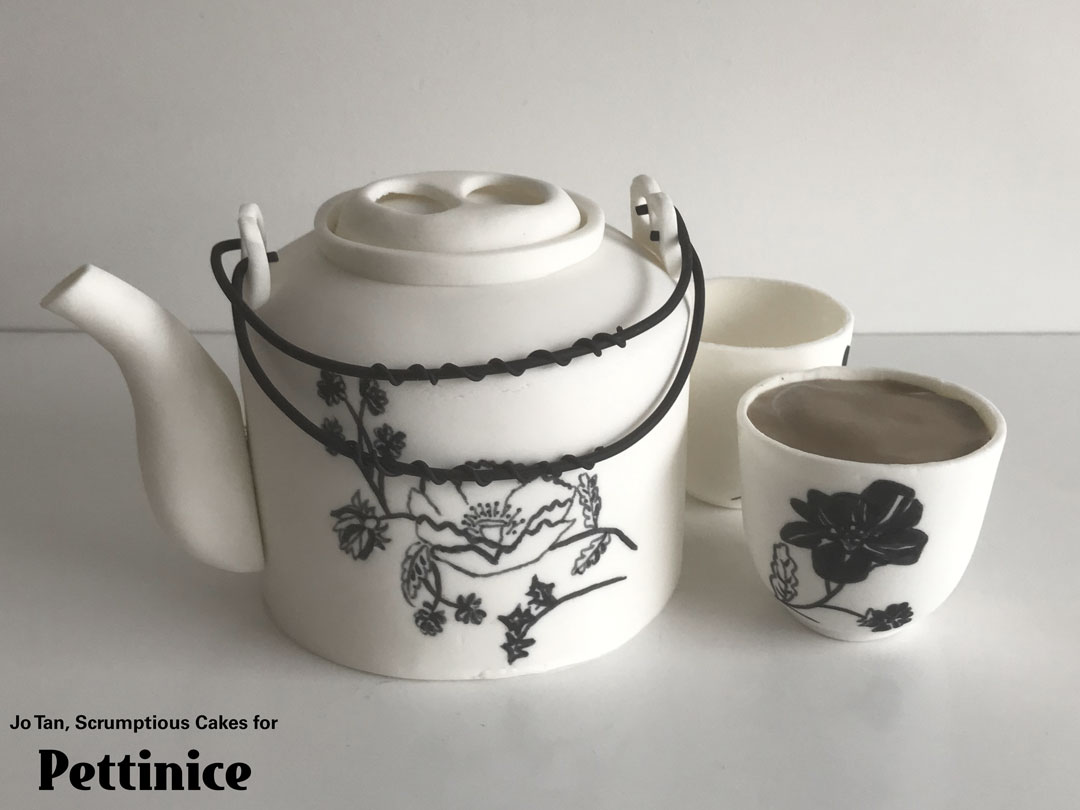
To paint the teapot, I traced the pattern off the real teapot onto baking paper. I turned the image over and redrew the image on the back of the baking paper using a nontoxic pencil, I then placed the baking paper on the cake and once again drew the image resulting in the pencil from the backside of the baking paper being transferred onto the cake giving me guidelines of where to paint.
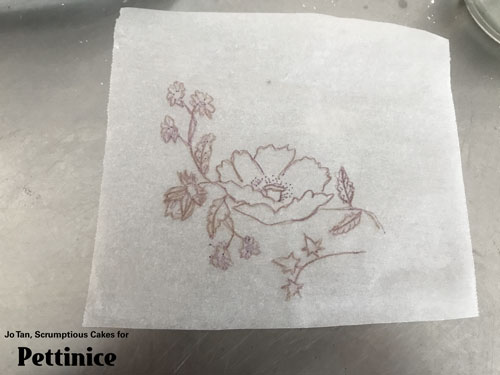
I traced the pattern off the real teapot onto baking paper.
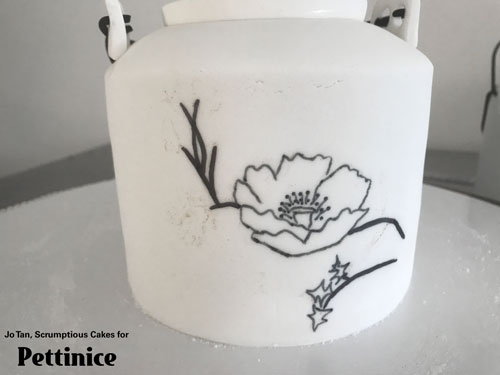
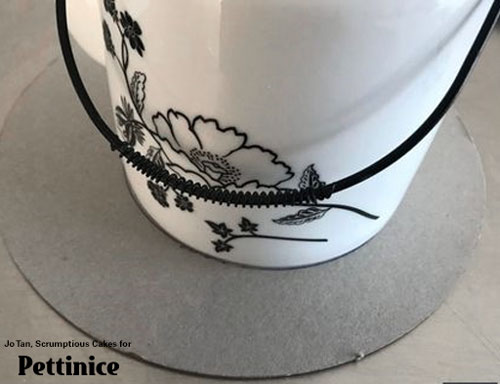
You can see the faint pencil guidelines, which I traced over with edible paint.
I then made the handles; I think this is the trickiest bit. Add tylose to your black Pettinice and roll out 2 sausages using your smoother to 28cm long and about 3mm thick. Roll out another 2 sausages about 16 cm long and about 1 -2mm thick. Using minimal glue spin the thin sausage around the large sausage – I did this after I left the handles to set and now, I believe it would be better to do it before as it adds strength to the handles. After you have wrapped the handles leave them the set in the desired shape as above for just long enough so that they will hold their shape but so that they can be manipulated threading them though the side pieces on the cake- that is the tricky part – I can’t really tell you a time as it depends on the humidity in the air but I think mine took about an hour.
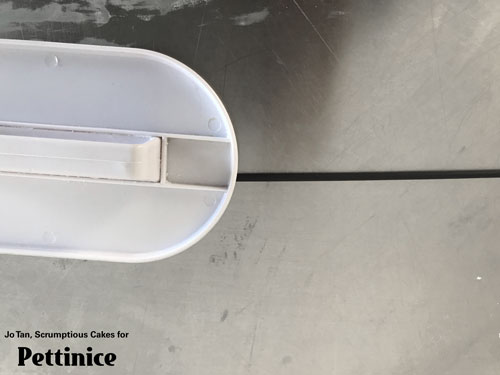
. Add tylose to your black Pettinice and roll out 2 sausages using your smoother to 28cm long and about 3mm thick.
handles leave them the set in the desired shape as above for just long enough so that they will hold their shape
The handles are the trickiest bit. You need to leave them the set in the desired shape for just long enough so that they will hold their shape, but can still be manipulated threading them though the side pieces on the cake- that is the tricky part – I can’t really tell you a time as it depends on the humidity in the air, but I think mine took about an hour.
Attach your set spout by putting couple of toothpicks into the spout and pushing these into the cake and paint edible glue onto the part of the spout that is intended to attach to the cake.
All that's left to do is invite someone for tea and see how long it takes them to notice it's cake! Enjoy!
Jo started making cakes for her children around 2001 and her designs have been fun and varied, including an octopus sitting on bananas to a rainbow tree. She laughs when she recalls how terrible her first cakes turned out, but enjoyed making them so much she decided to learn how to decorate a cake properly. Now she enjoys sharing her skills while teaching and demonstrating. Her number one tip: “Patience is a virtue, so spend that extra time to get it right."
See more of Jo's cakes at