Create a Christmas Cookie Wreath

Biscuits
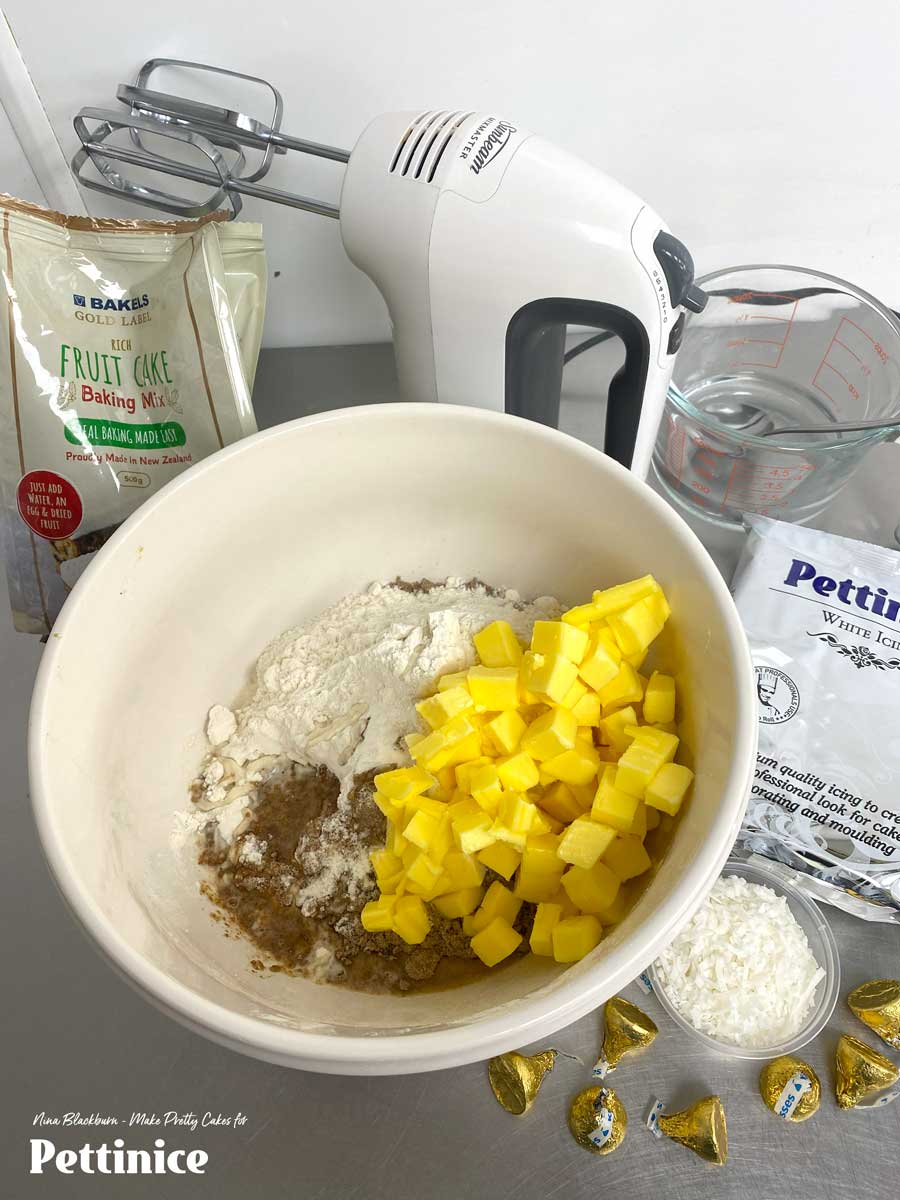
You will need:
- Bakels Gold Label Fruit Cake Mix (but with these ingredients for cookie remix instead)
- 2 Tbs Hot water (Then, add extra Tbsn extra at a time if needed)
- 100g Flour
- 220g Softened Butter
- Bakels Ready to Roll Pettinice
- Shredded Coconut
- Ribbon for decoration
- Cake board
- White Chocolate to stick wreath together (optional if gifting in boxes)
- Chocolate or candies of your choice to add more flair to your wreath.
Baking instructions. (See step-by-step photos below):
- Mix Gold Label Fruit Cake Mix, Hot Water, Flour and softened butter on low speed in a mixer, or for one minute or mix by hand. Scrape down bowl and mix for a further minute on second speed.
- Dough will be sticky, so recommended you put onto baking paper and flatten with hand.
- Cover with another sheet of baking paper and roll out to 3mm thick.
- Place into the freezer to harden before cutting. Time will depend on how thick you rolled out.
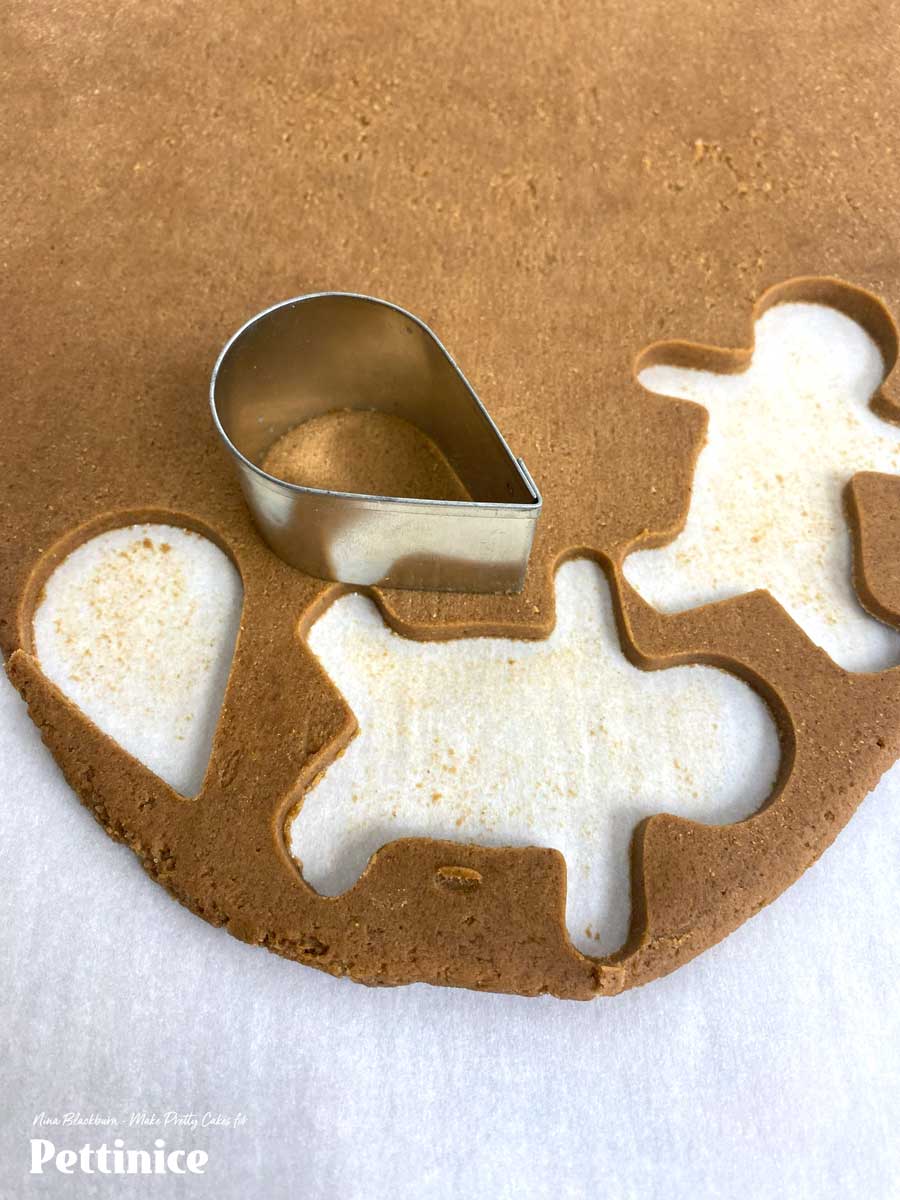
- Remove from freezer, peel off top baking paper sheet.
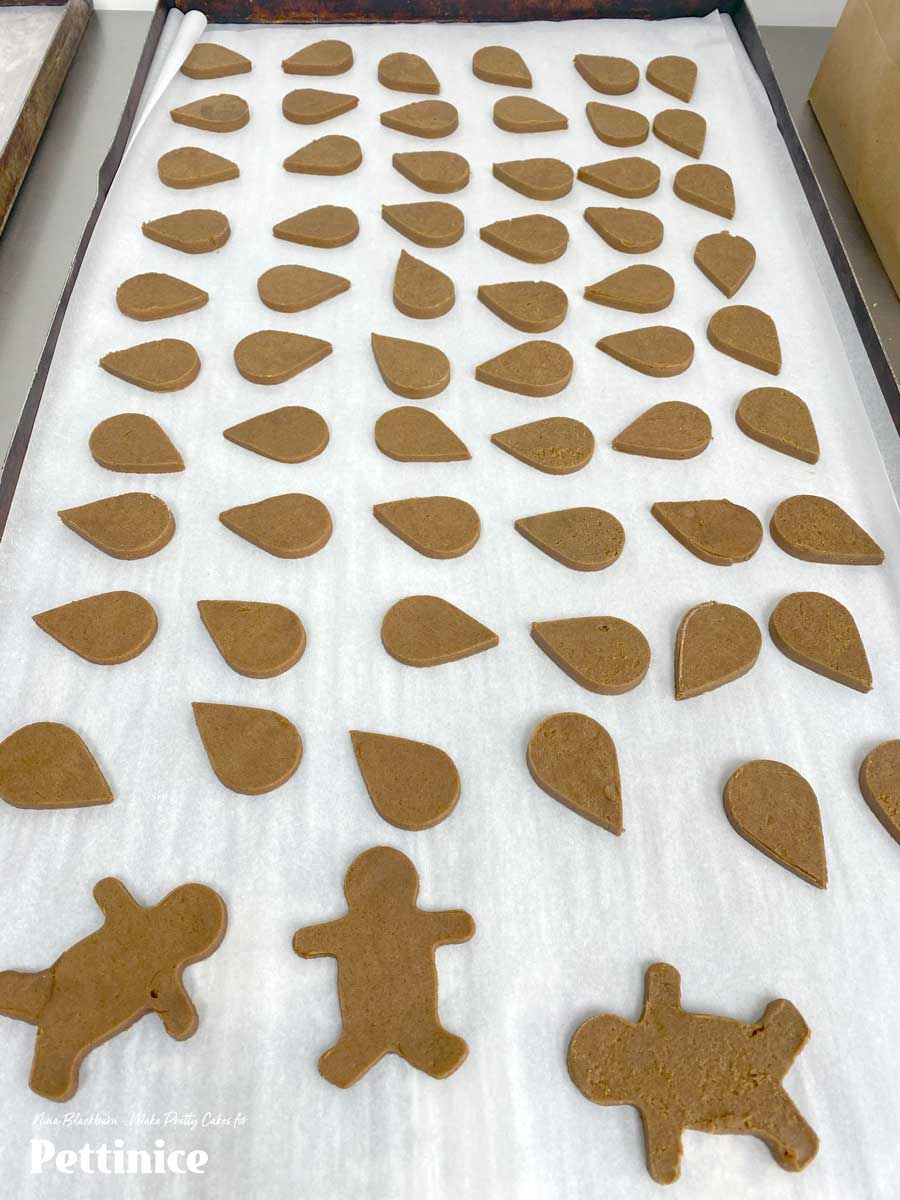
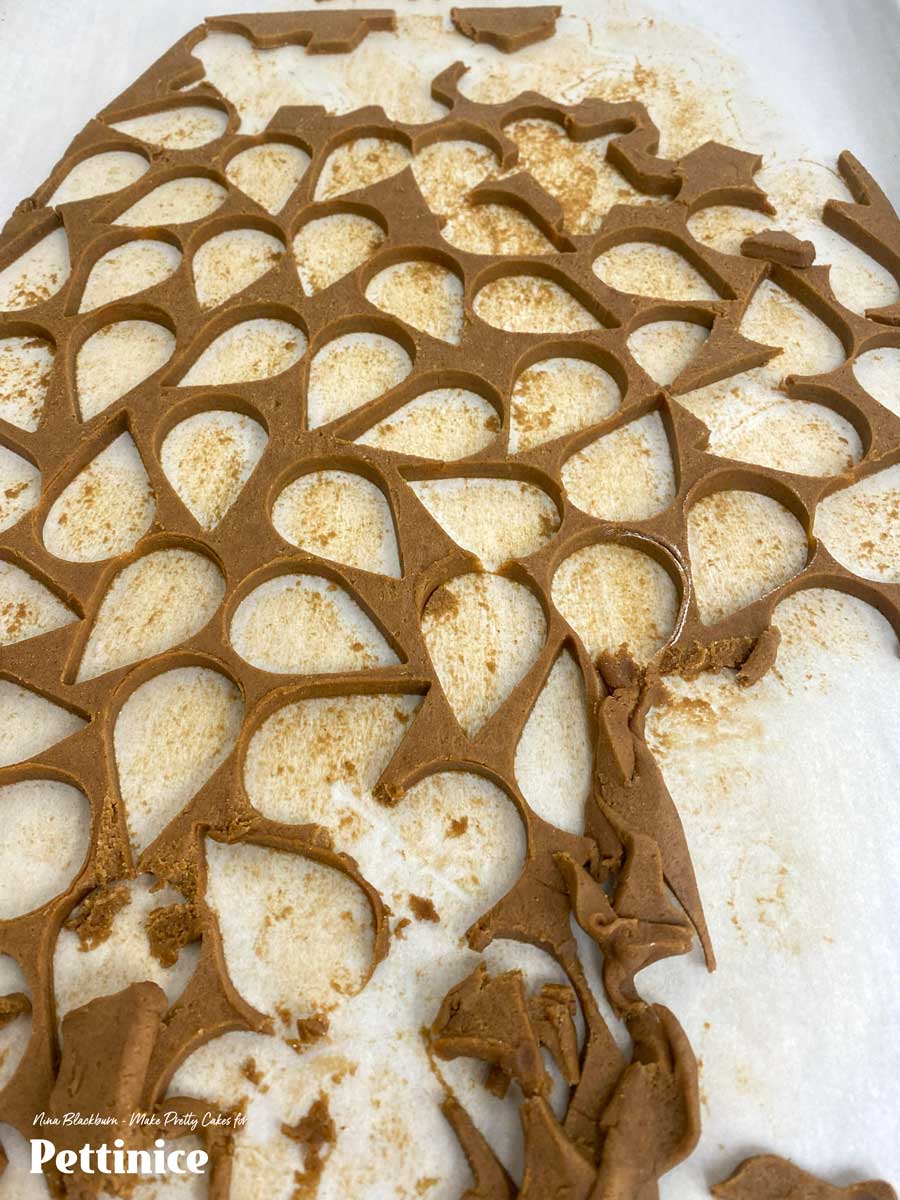
- Quickly cut out as many shapes as possible and transfer evenly spaced on a baking tray while still hard. (You may need to return to freezer)
- Bake at 185c° for 15 to 20 minutes (Ovens may vary) Keep an eye on it, as it's a darker dough and it will be hard to tell if it's burning at the edges.
- Cool completely and decorate as per images below. Enjoy!

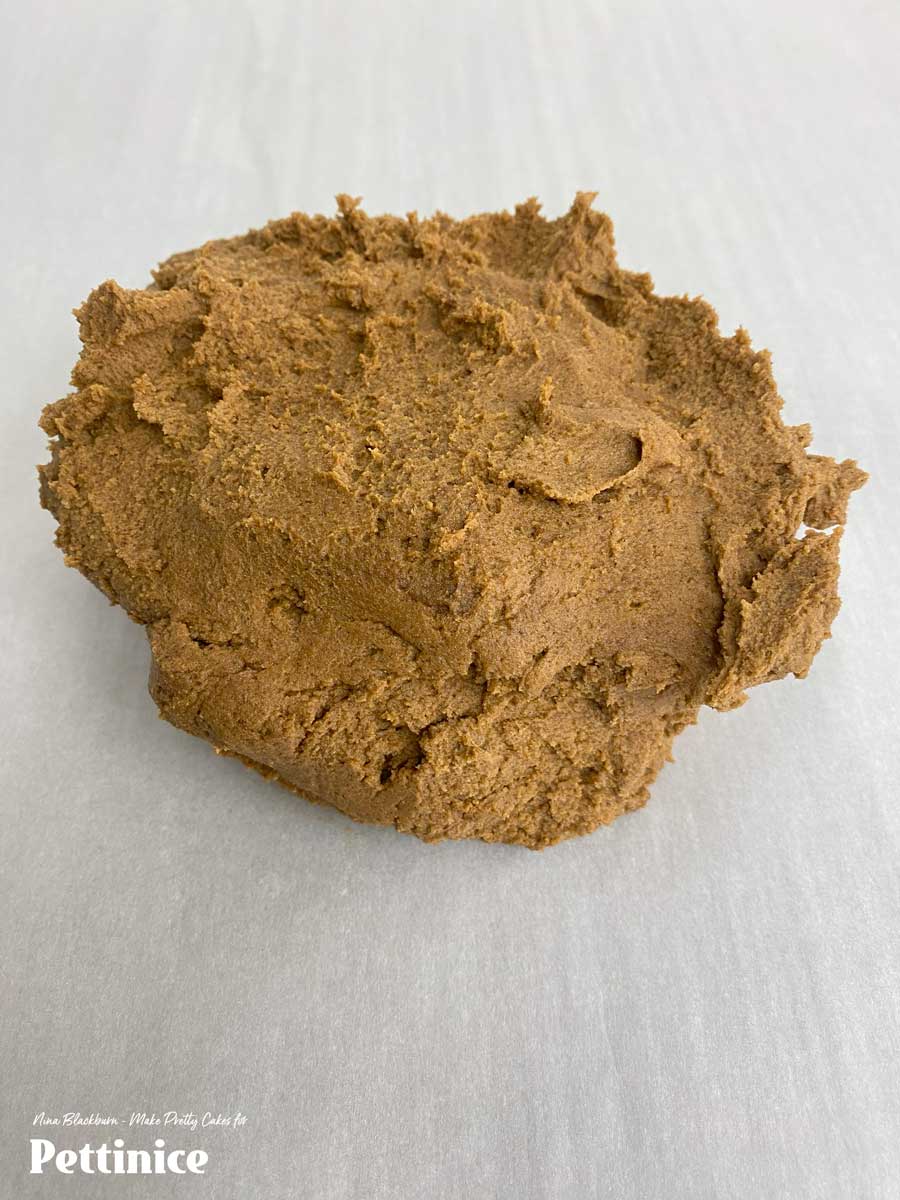
Dough will be sticky, so recommended to pin out on baking sheet.
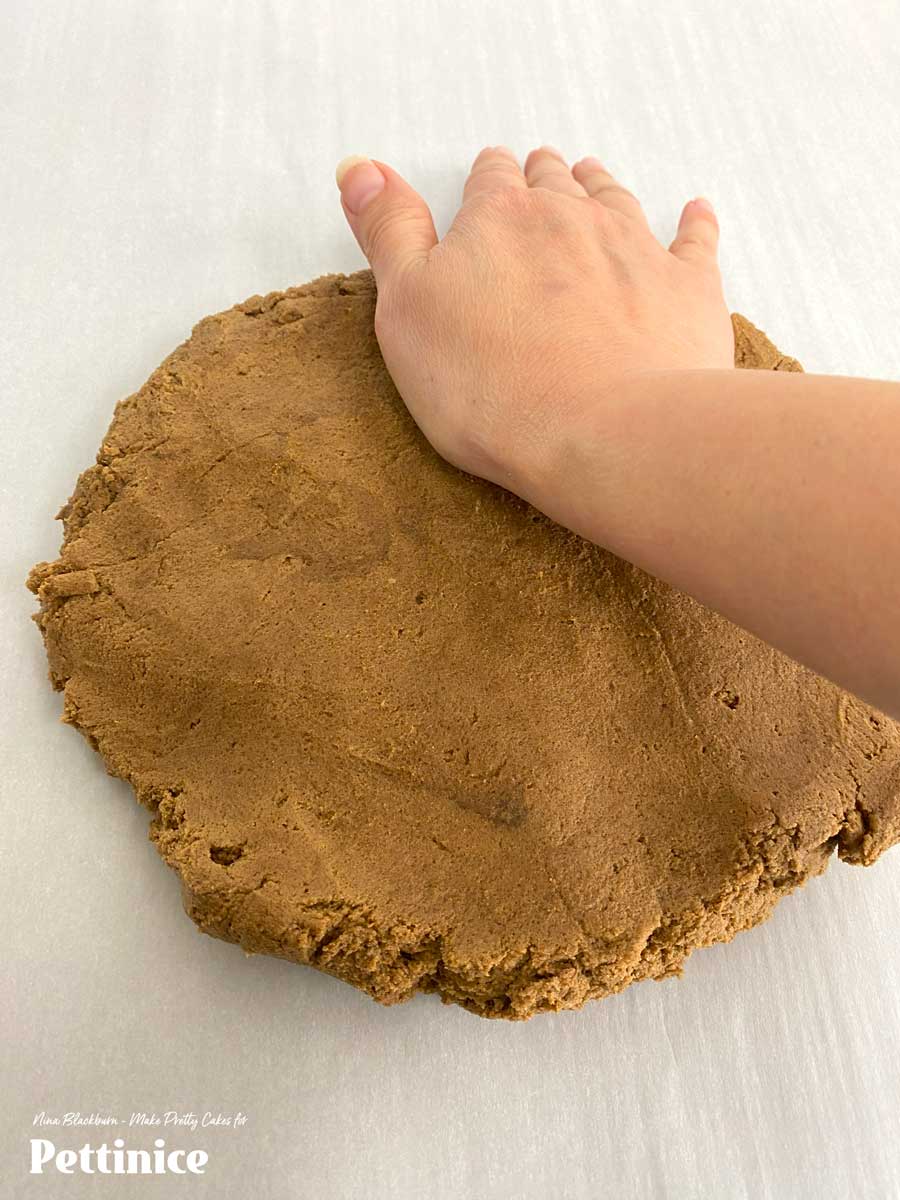
Flatten down dough with your hand before rolling.
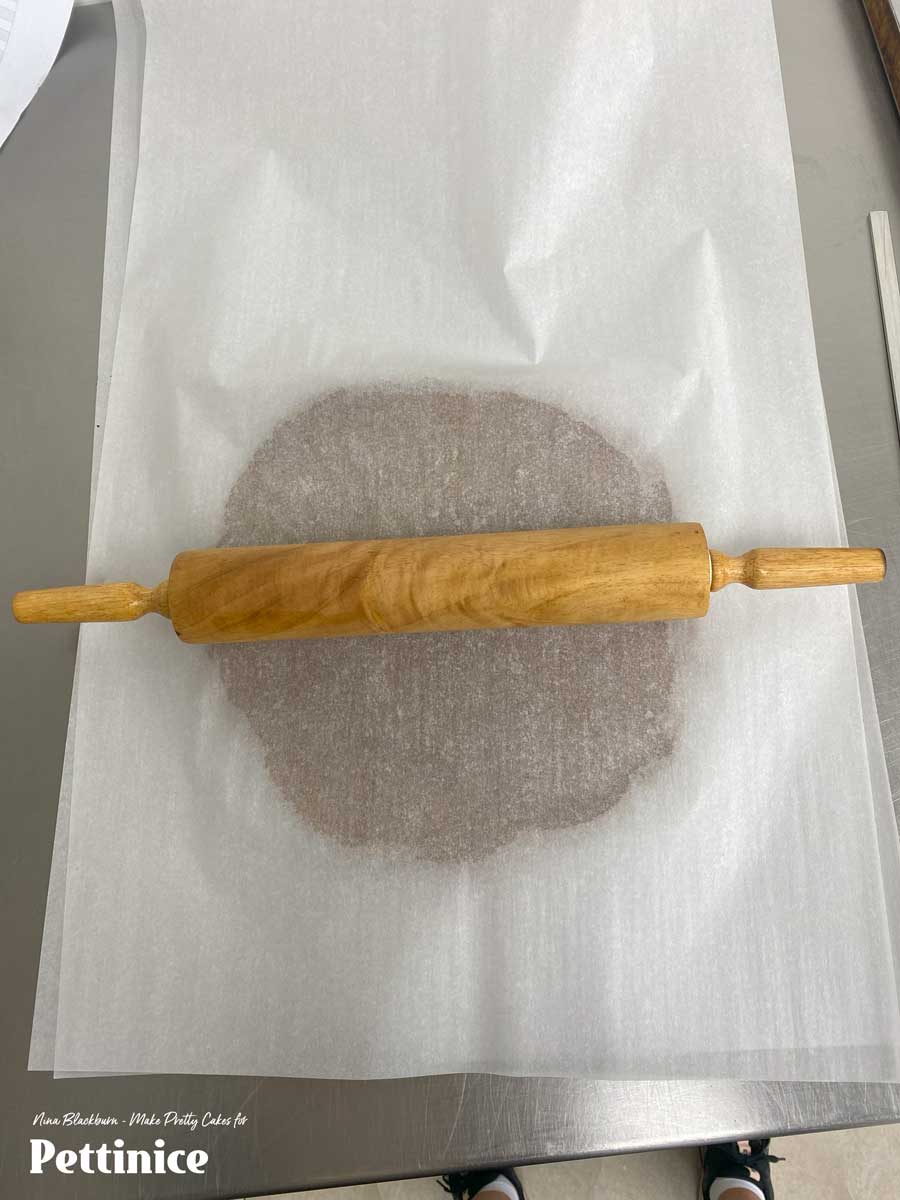
With a baking sheet on top, roll out to 3mm.
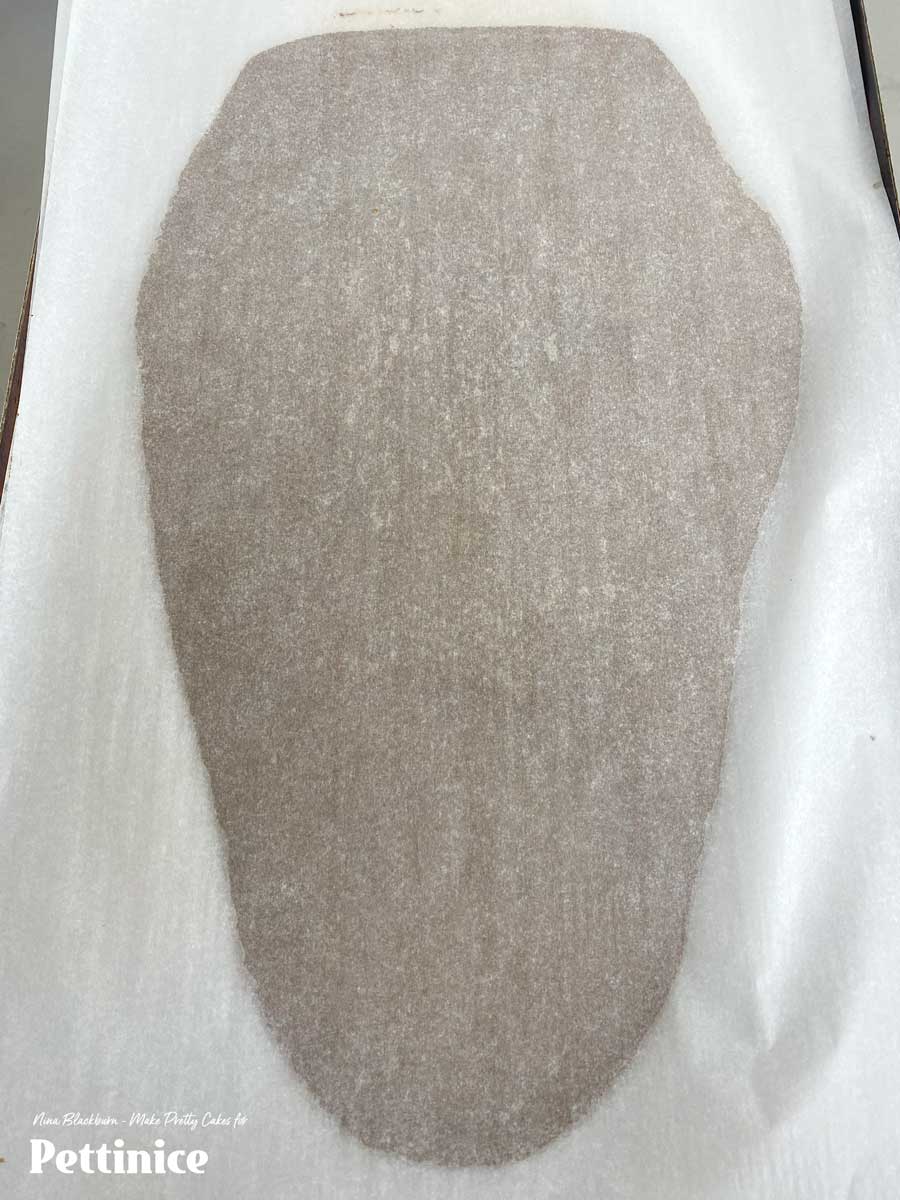
Put your rolled out dough into the freezer to fully harden.
Work quickly, before dough softens. You may need to pop back into the freezer a few times.
You will get sharp even shapes the faster you work while dough is hard and chilled.
Bake at 185c° for 15 to 20 minutes (Ovens may vary)
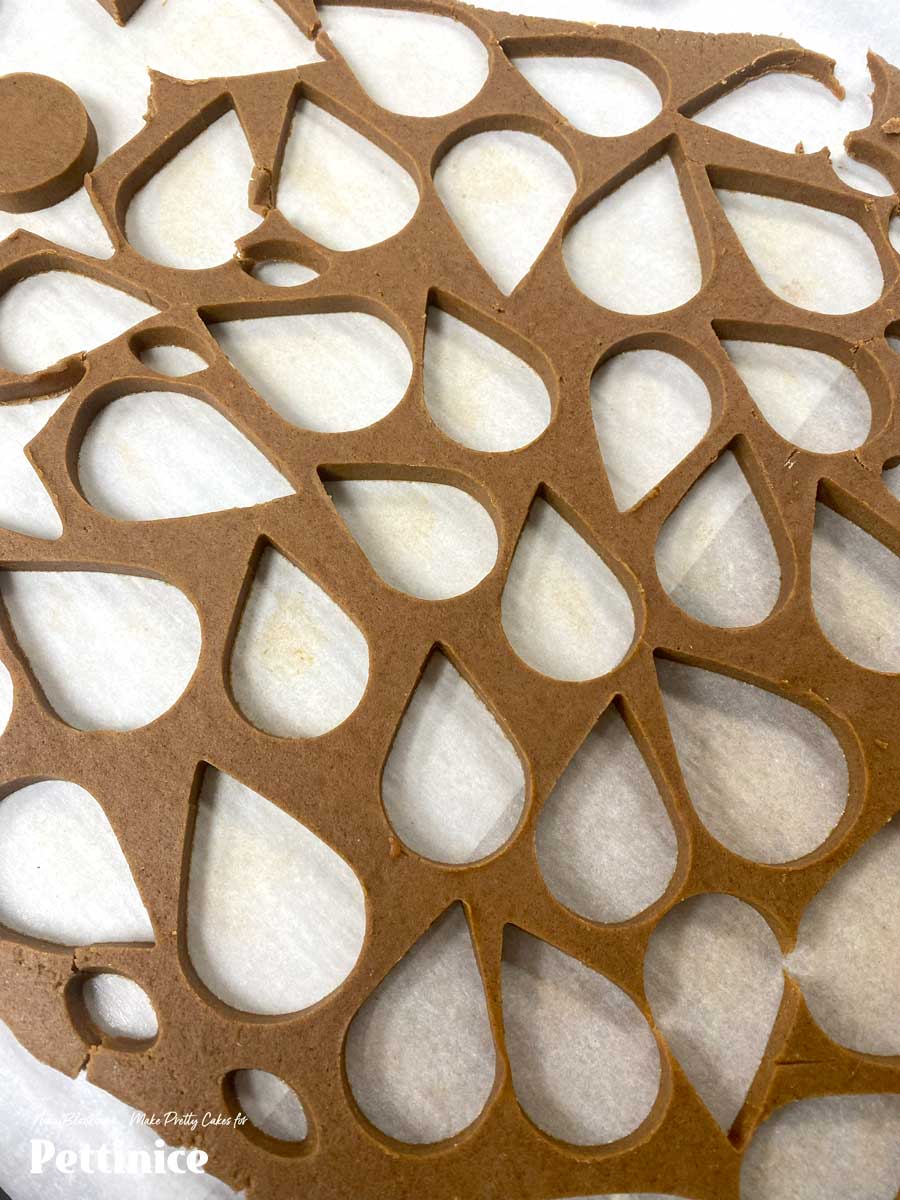
Meanwhile, scrunch up your remaining dough...
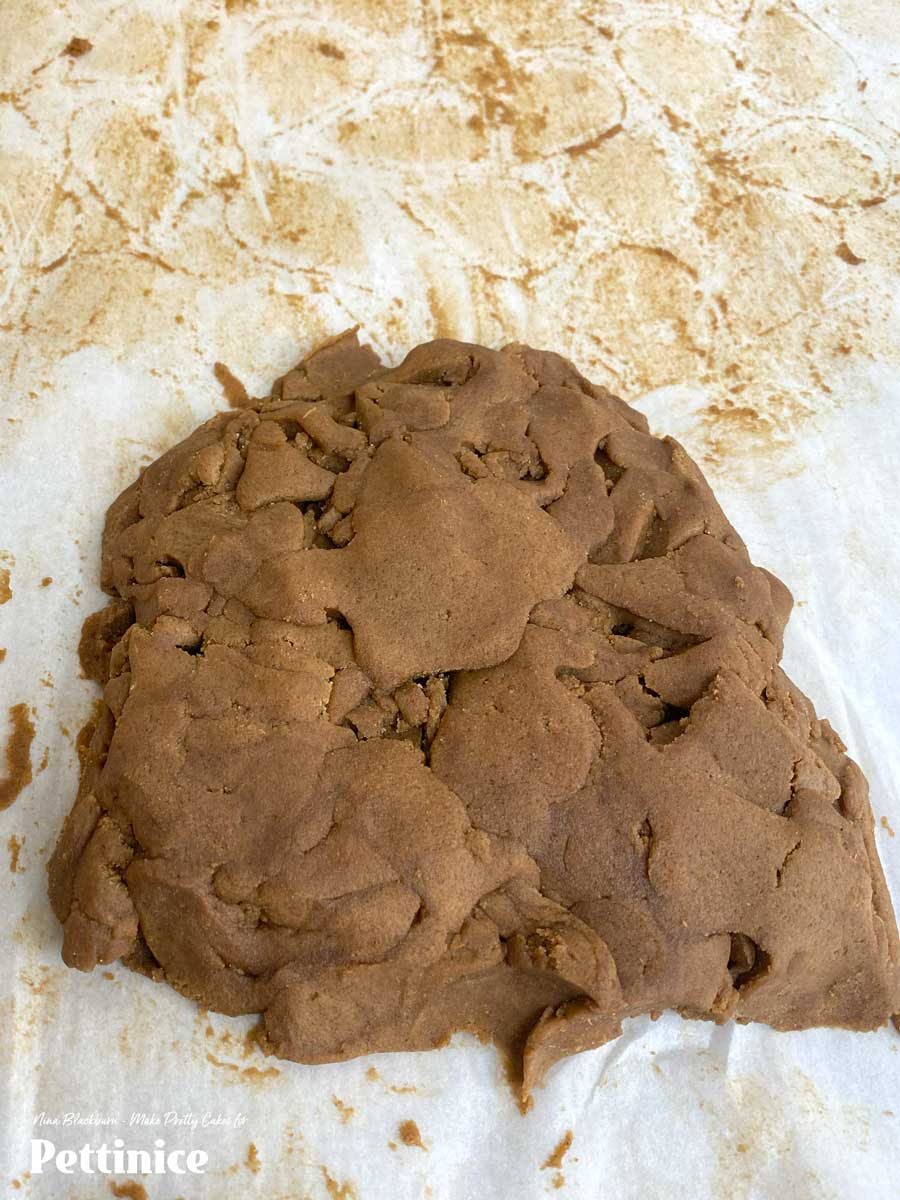
...and repeat the same process.

If you break any of the pieces, just press the dough together and bake. The broken ones will get covered anyway!
While your cookies are baking (we managed to make 60 cookies with one pack of Gold Label Fruit Cake Mix), we will prepare our coconut fondant.
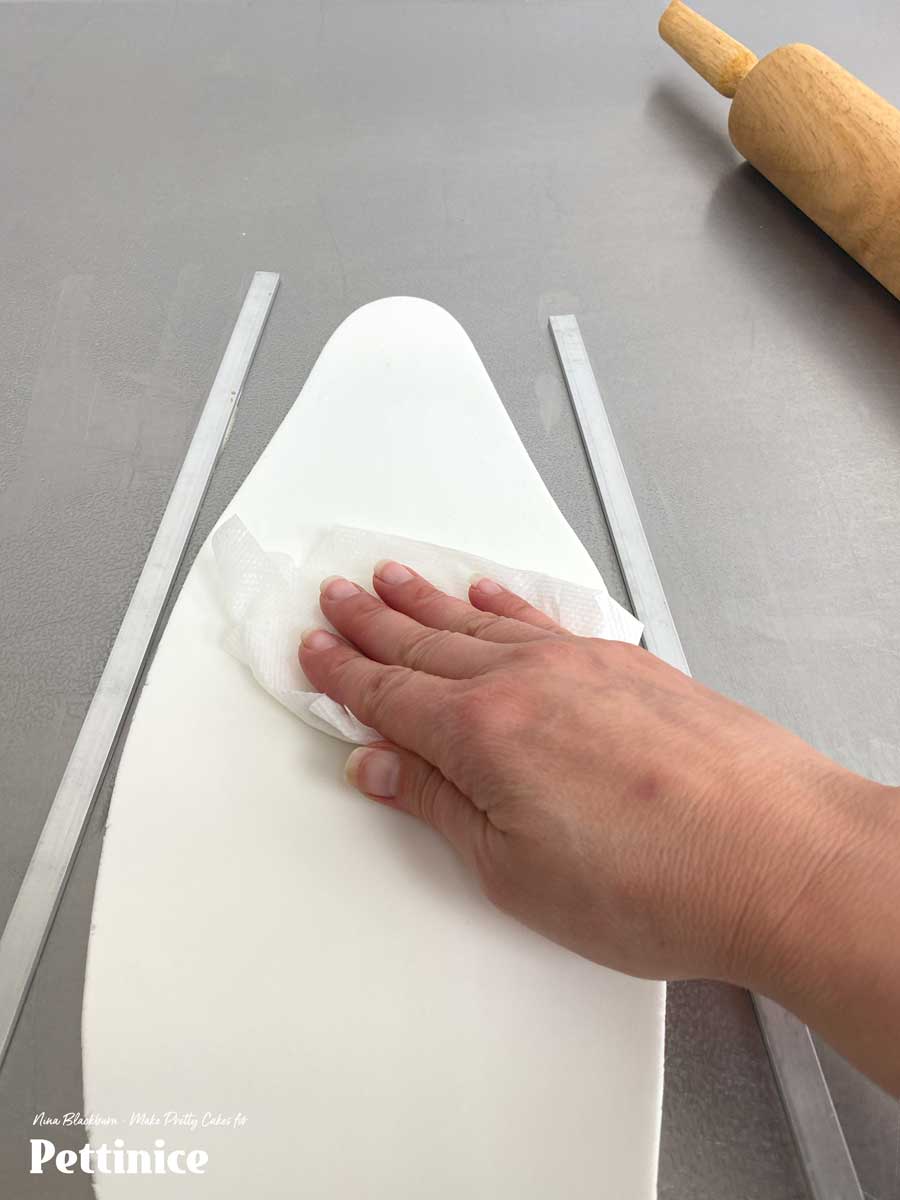
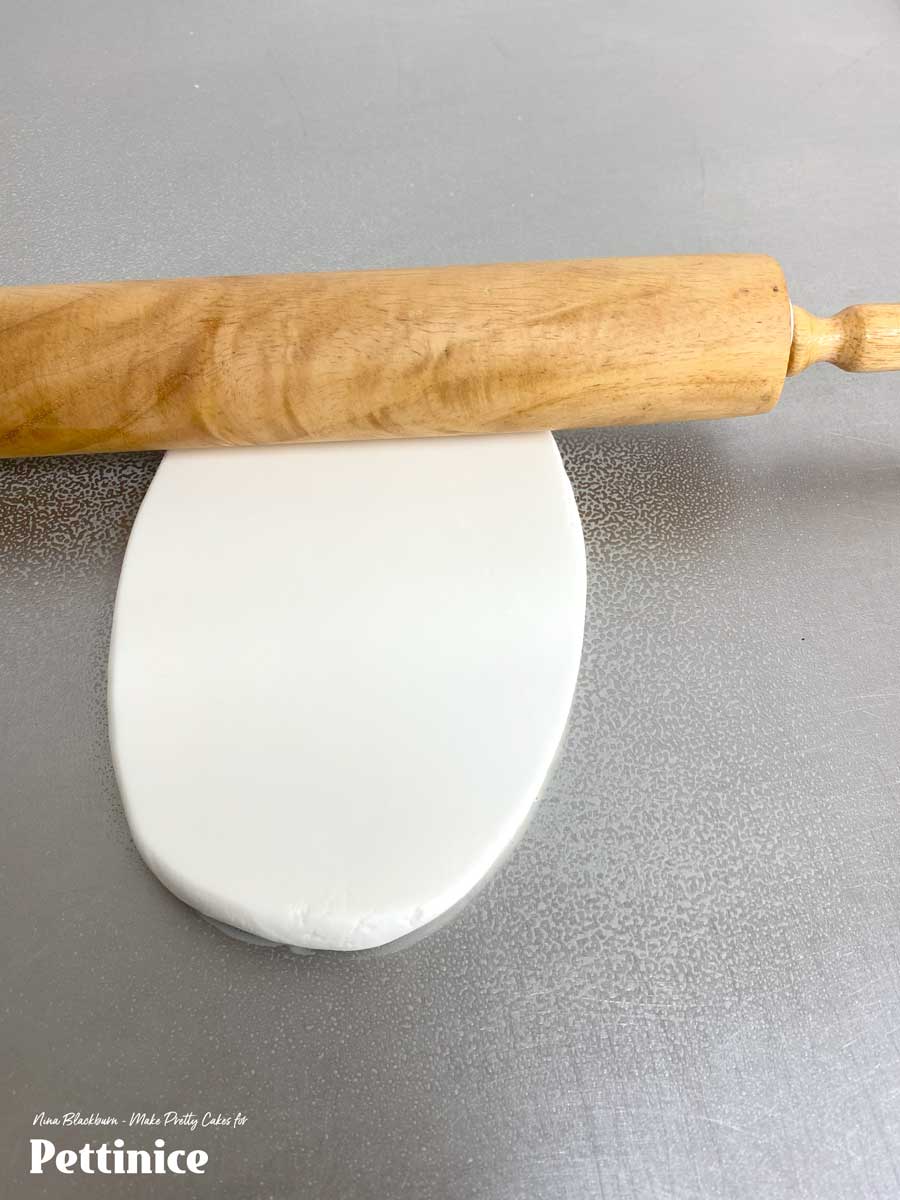
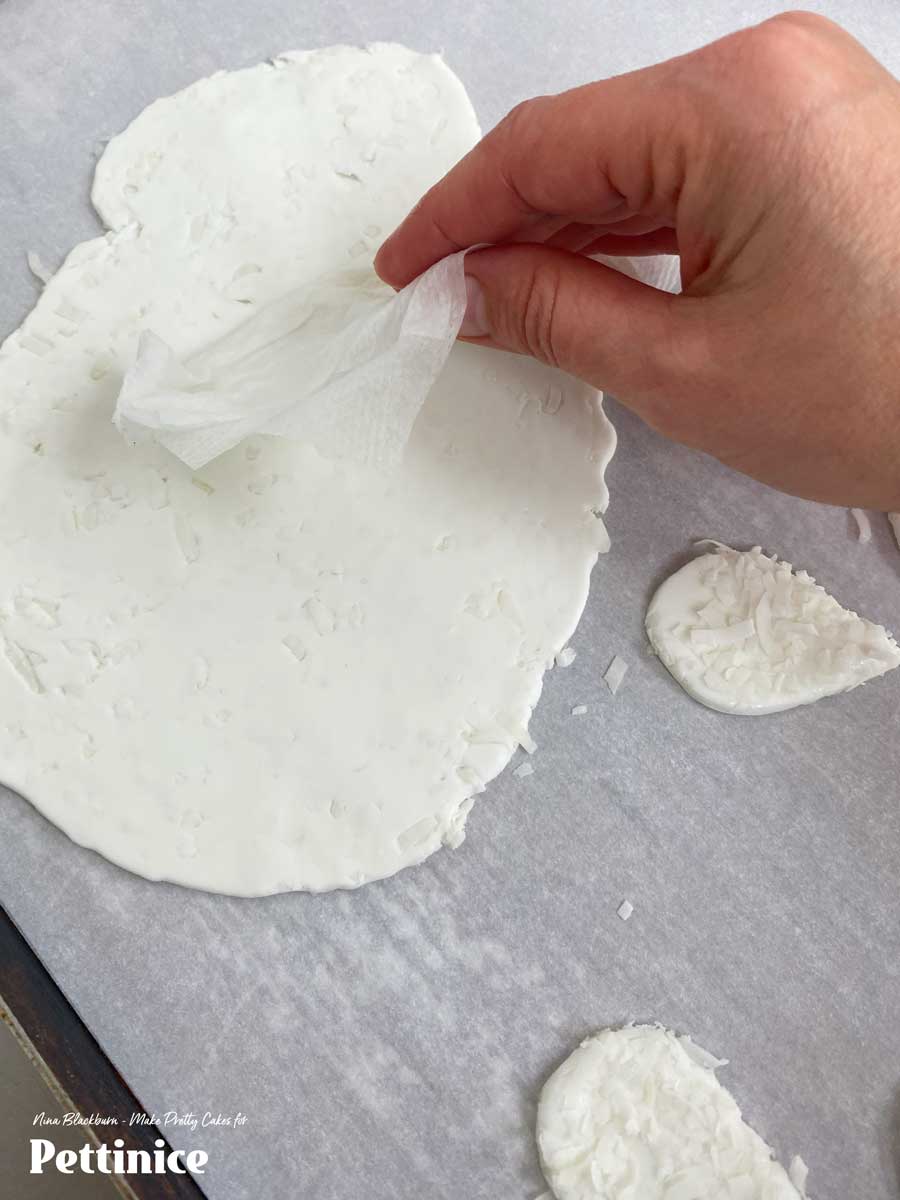
After rolling out your Pettinice, use a clean damp food safe cloth to wipe the top of your fondant with water.
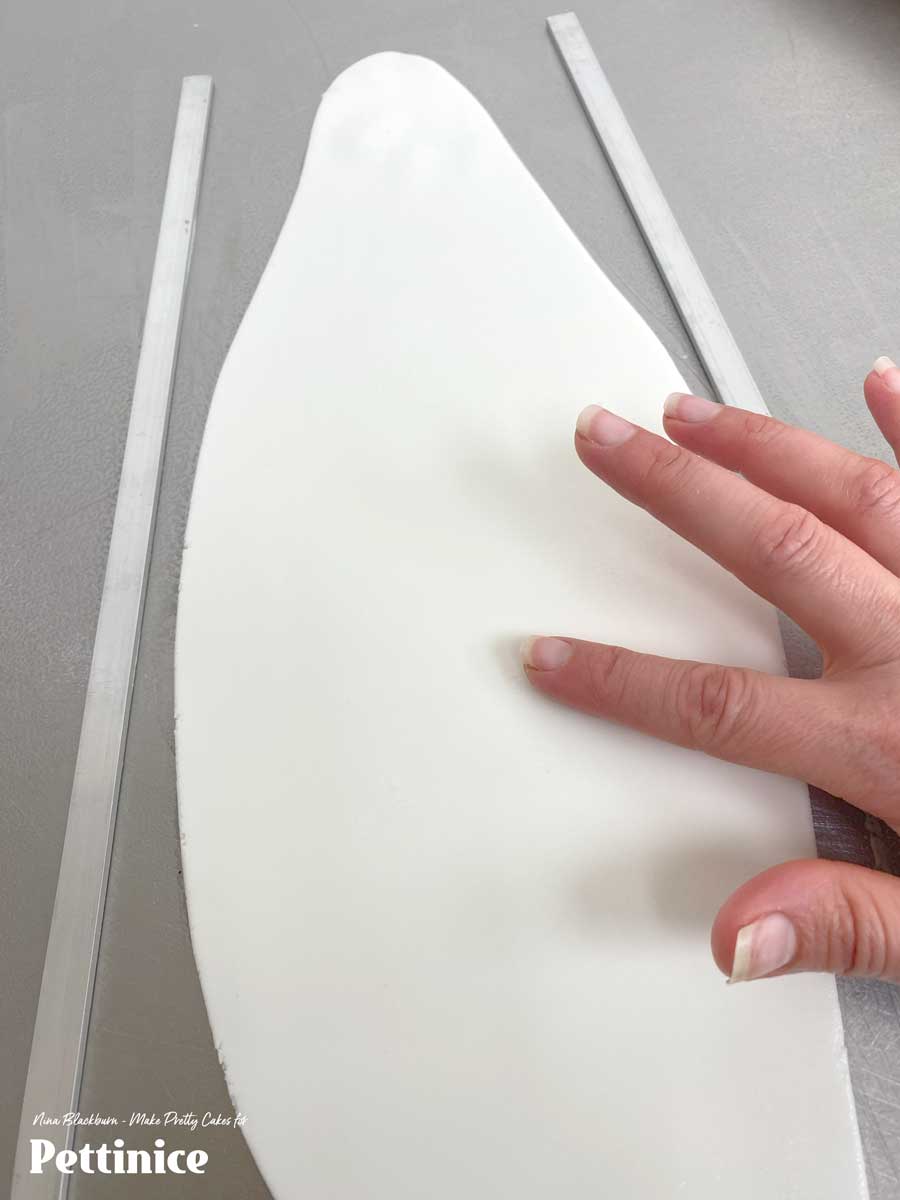
Let the moisture activate 1 minute, and test for "stickiness"

Pour your shredded coconut on the sticky Pettinice.
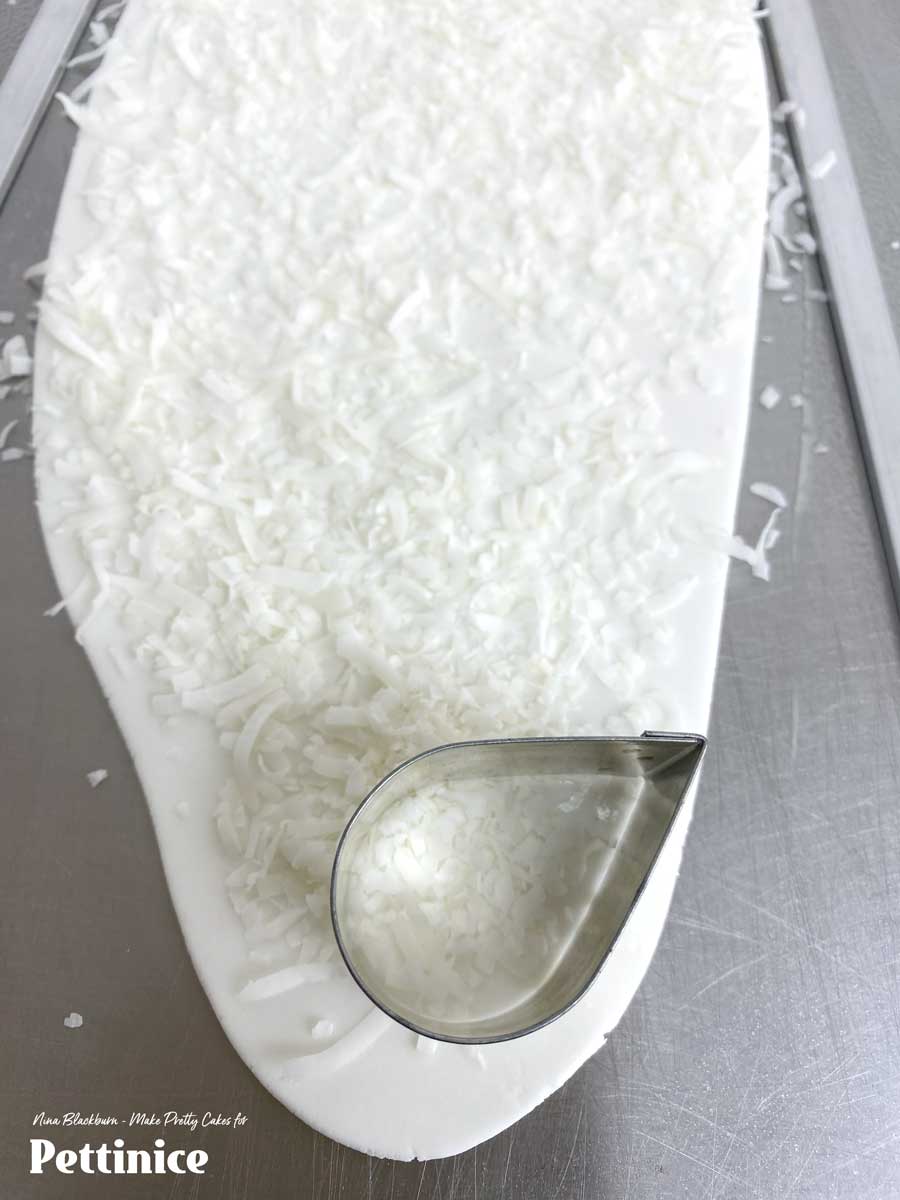
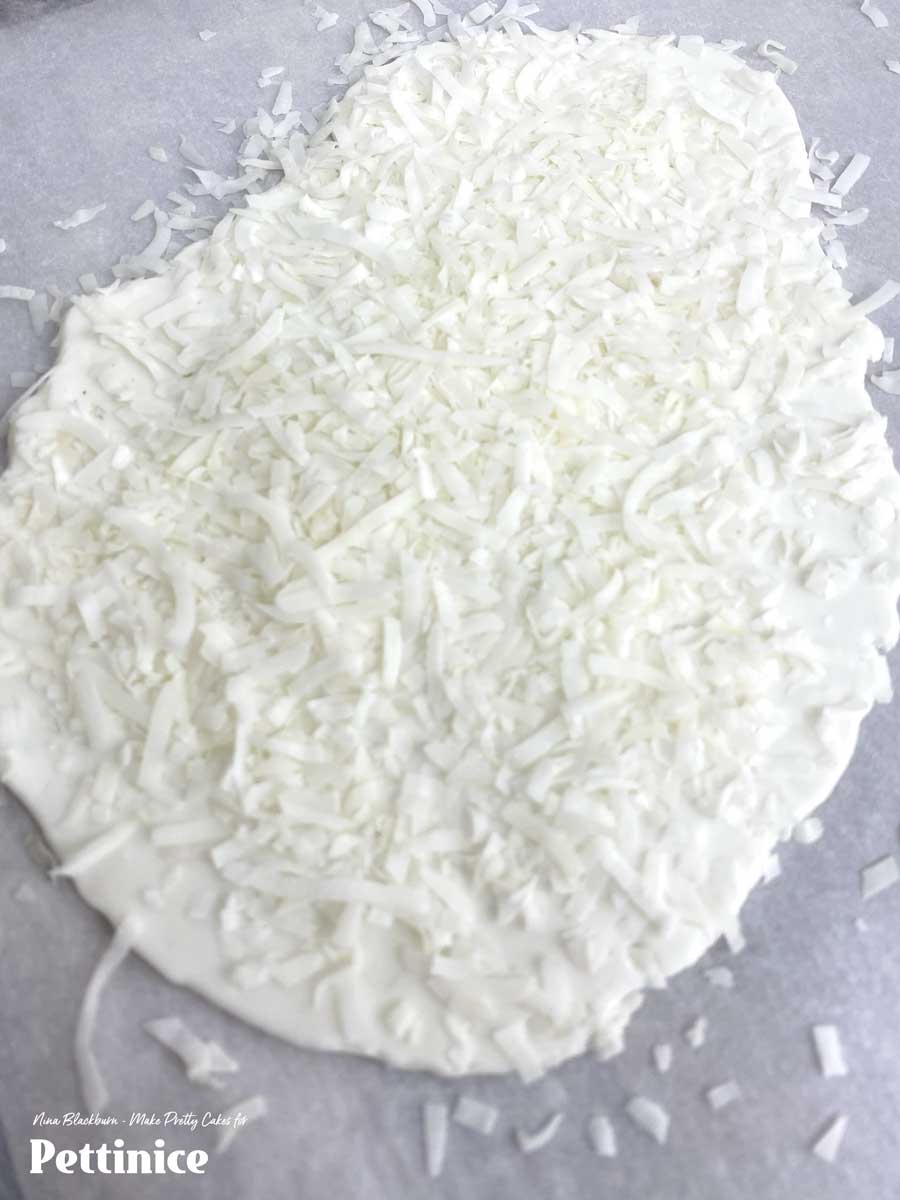
Pat down the coconut to insure it sticks, and begin cutting out your shapes. Press firmly and wiggle.
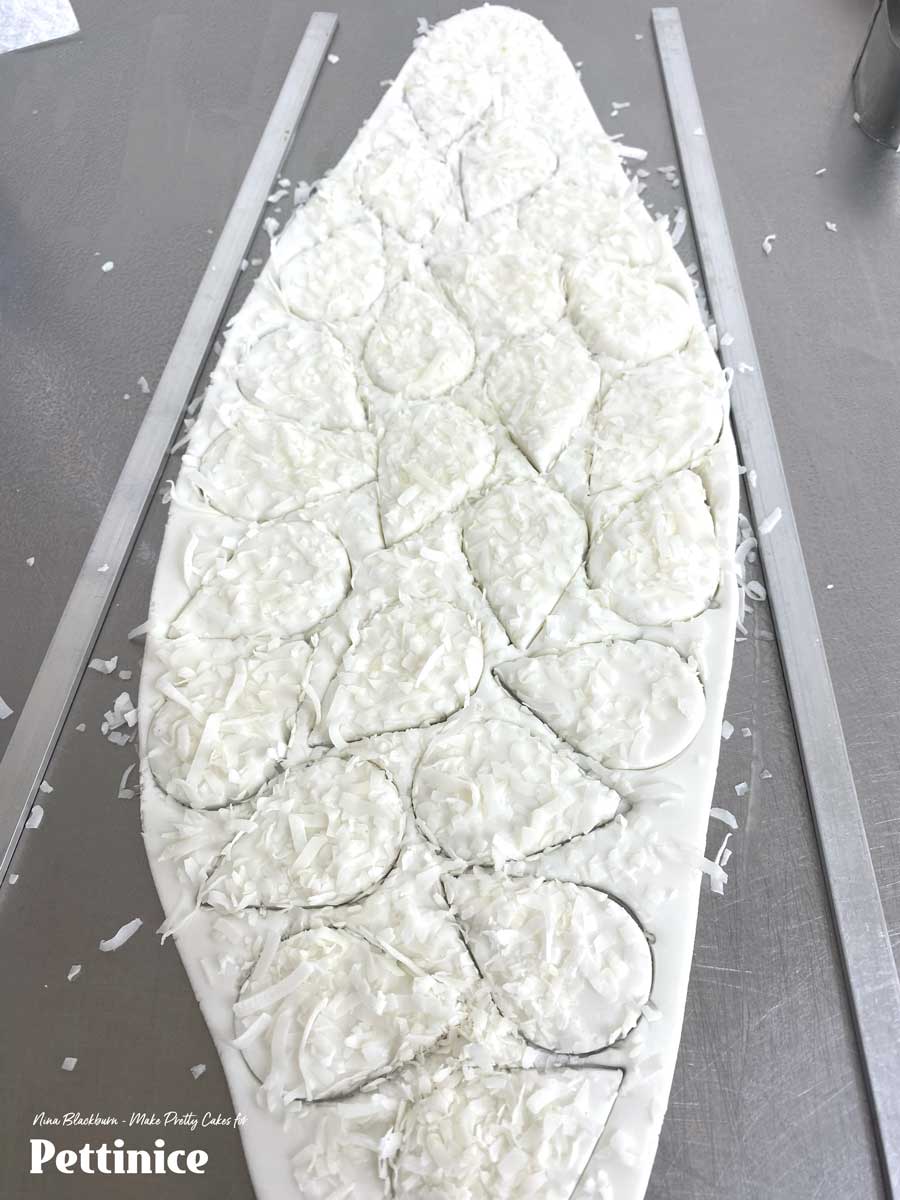
This is a really quick way to create multiple coconut leaf shapes.

Waste not, want not! Reuse the offcuts by kneading in the coconut and repeating the same process.
After rolling out (I did it on baking paper), lightly dampen and test the sugar is activated and sticky.
Pour shredded coconut and press down to adhere. Use your cutter, and this time you may need to help it along with a small knife for cutting.
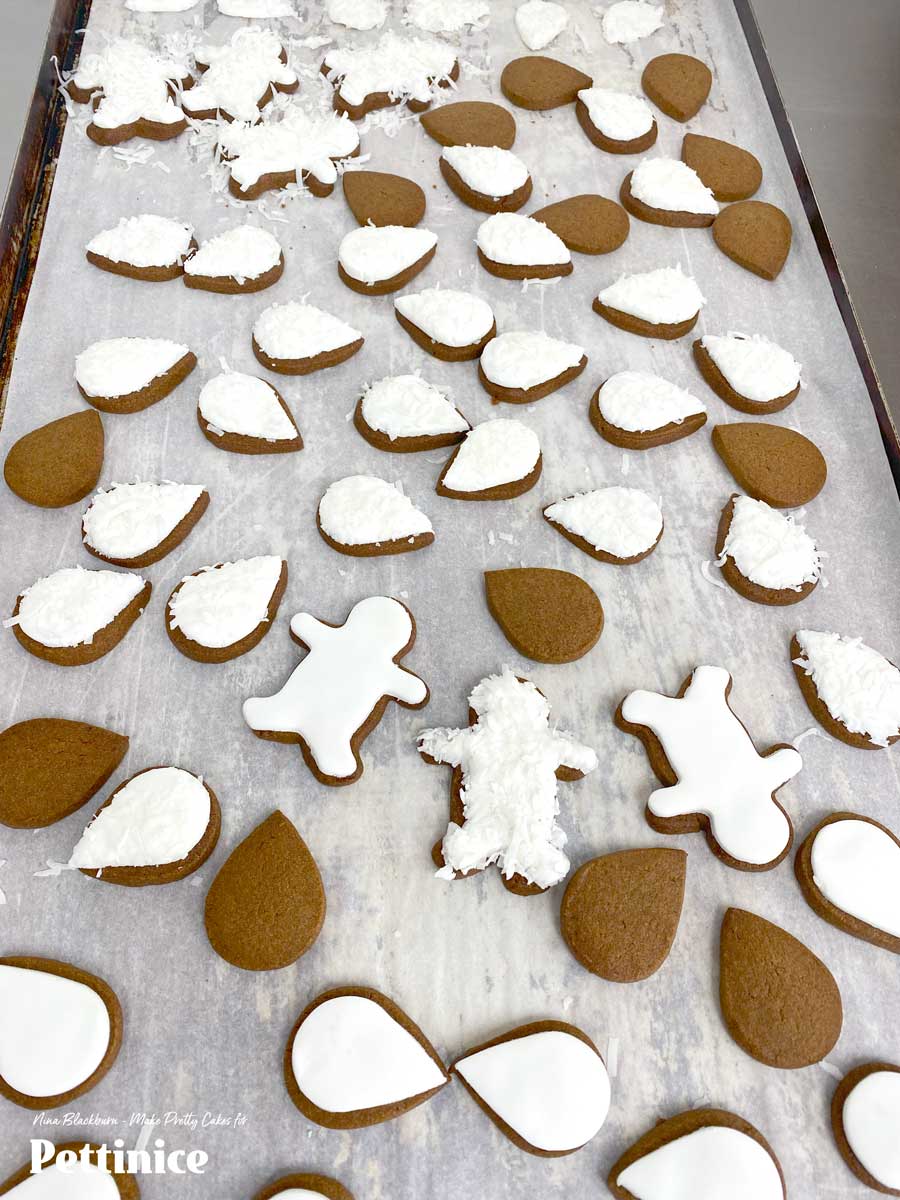
Leave some pieces plain, some covered without coconut to get a variety of textures in your wreath.

I recommend using the quick coconut method for the leaves. For the gingerbread men, it is much easier to cover the cookie with the Pettinice first, then dampen, pour and press the coconut gently. You will still need work quickly as the Pettinice fondant needs to be fresh and not hardened. You can use a variety of methods for sticking your fondant to your cookie. One way is to rub shortening on the cookie and pressing the fondant onto it. (The shortening will not affect the flavour). Or, you can do what I did, and slightly moisten the underside of the fondant with a diluted apricot jam and press onto the cookie. Either way works fine.
Assembling the wreath
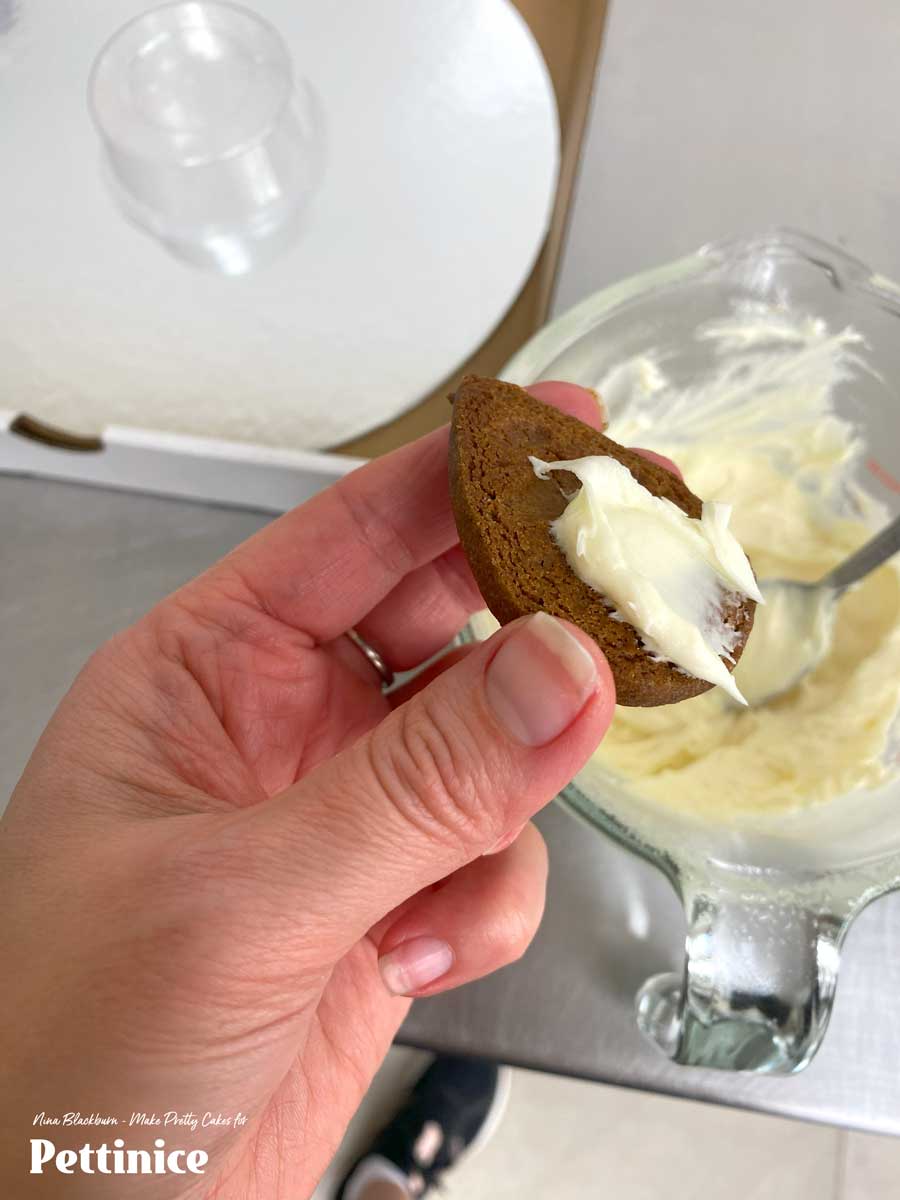
If you want to gift your wreath, and not set it on a party table, you can glue it to a cake board using chocolate. Melt white chocolate and spoon a small amount on the bottom of the wreath to stick in place.
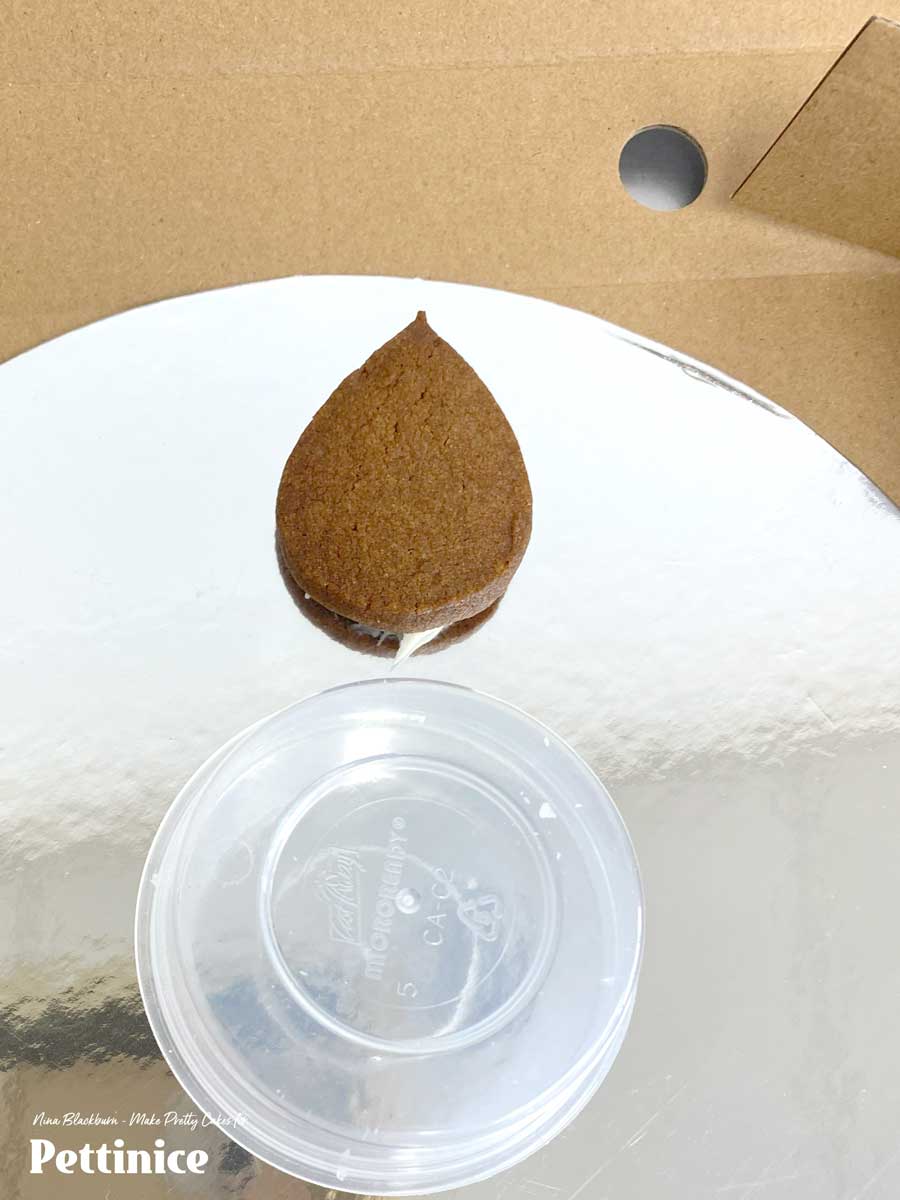
Here I use a small plastic container as a guide to keep the centre free.

Continue layering and "gluing" the cookies with white chocolate as shown. Add a bow and remove the centre. This is a smaller wreath, with 15 cookies. than the main photo. Enjoy!

Nina Blackburn is an award winning cake artist who owns Make Pretty Cakes in Auckland, New Zealand. A proud Pettinice Ambassador, and self confessed cake-a-holic who not only enjoys creating specialty 3D cakes, but also hosting and teaching cake decorating classes.
You can find Nina on Facebook and Instagram.