Santa Tutorial
Christmas sales are a great boost for bakery trade but most bakers don’t have the time or staff to make elaborate gingerbread houses or extensively decorated Christmas cakes. But with this quick and easy step process you can make some cute Santa cakes that are sure to sell.
Nina Blackburn from NZ Bakels has created this fun elevated cake idea with your busy bakery in mind. It may look time consuming, but it’s actually a quick project.
To create this jolly fellow, start with a single baked sheet cake, and in assembly line fashion use 3 cookie cutters, a knife and a new toothbrush to follow Nina’s steps. Easy! You’d best make a few though as they won’t last.
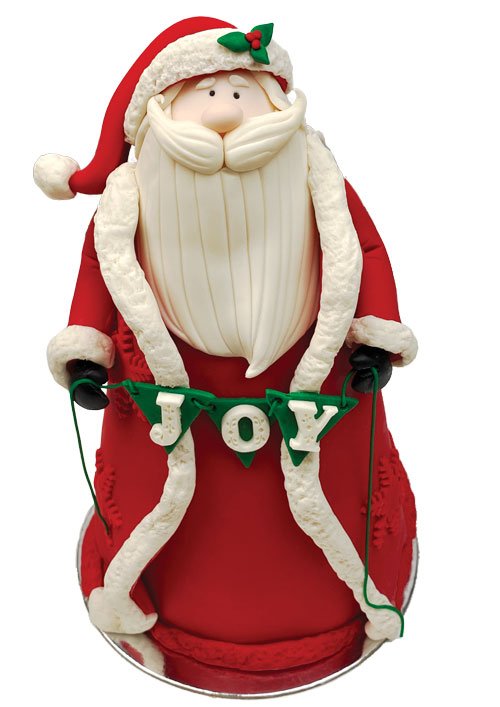
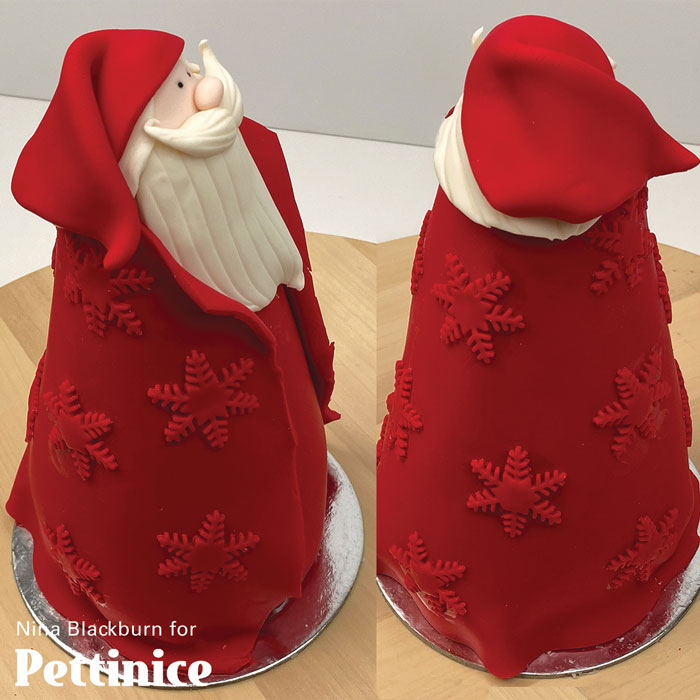
Here comes Santa!
Add some Santa magic to your cabinet – go on, it’s easy!
These steps are designed to complete six Santa cakes in an assembly line formation.
Sheet cake, cut and carve
Bakels Classic Cake mix is beautiful for carving 3D cakes. Not only does it have a great vanilla flavour, it also has a great density and crumb that lends itself to sculpting and shaping.
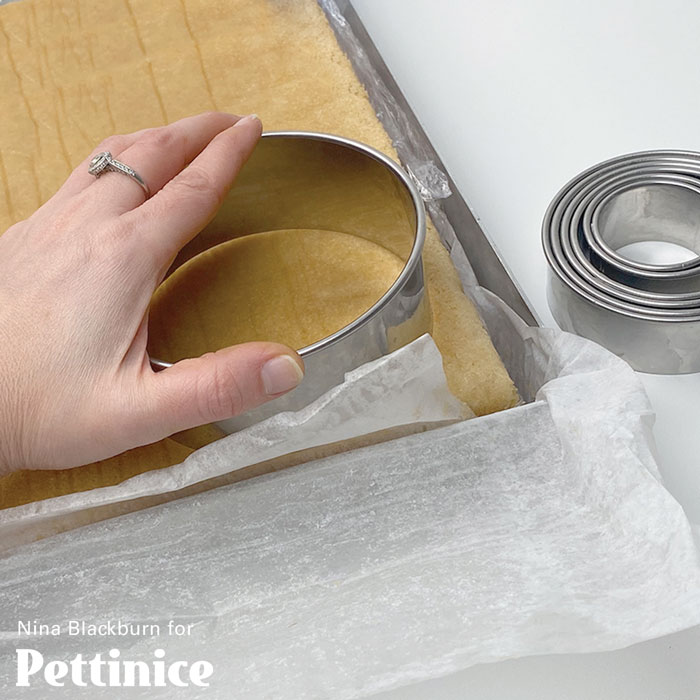
Cut out all layers from cooled sheet cake.
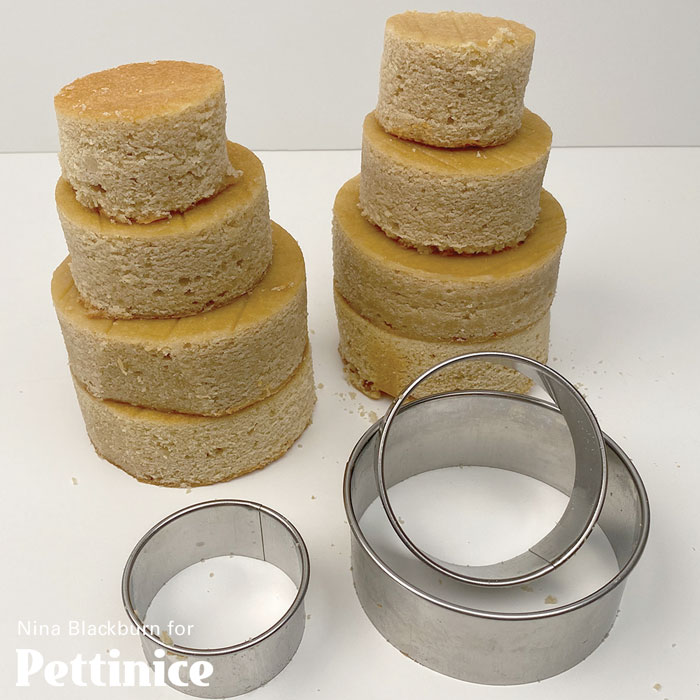
Each Santa needs a 6cm, 8cm, & two 10.5cm layers.
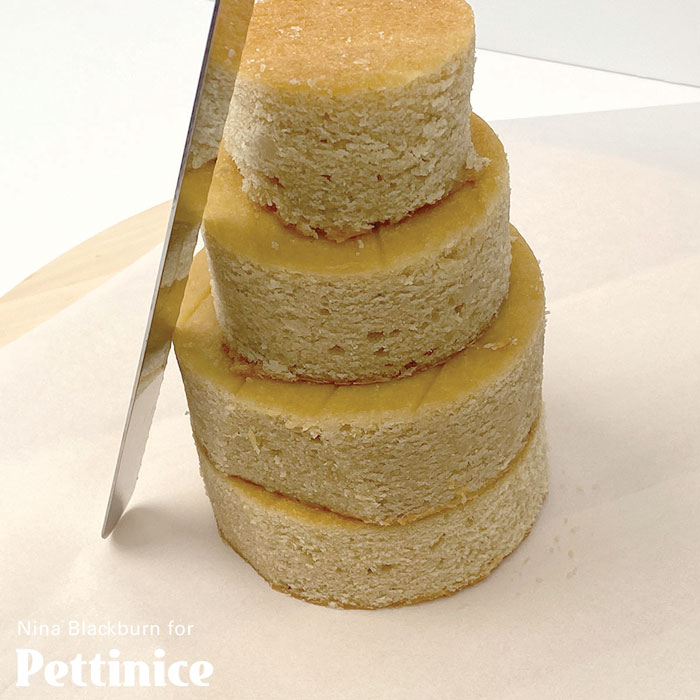
Stack and carve the cakes into a uniform cone shape. Cut in a downwards motion to keep the shape.
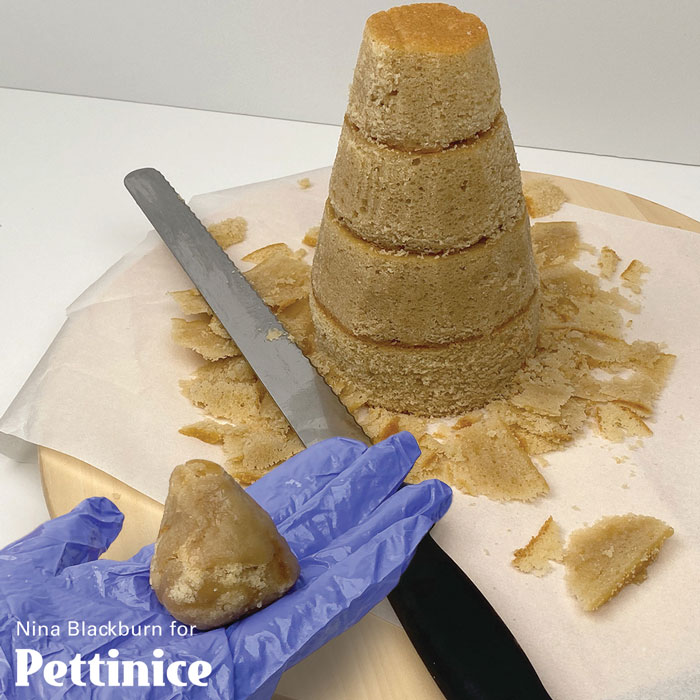
Save the scraps and compact them together to form the cone top.
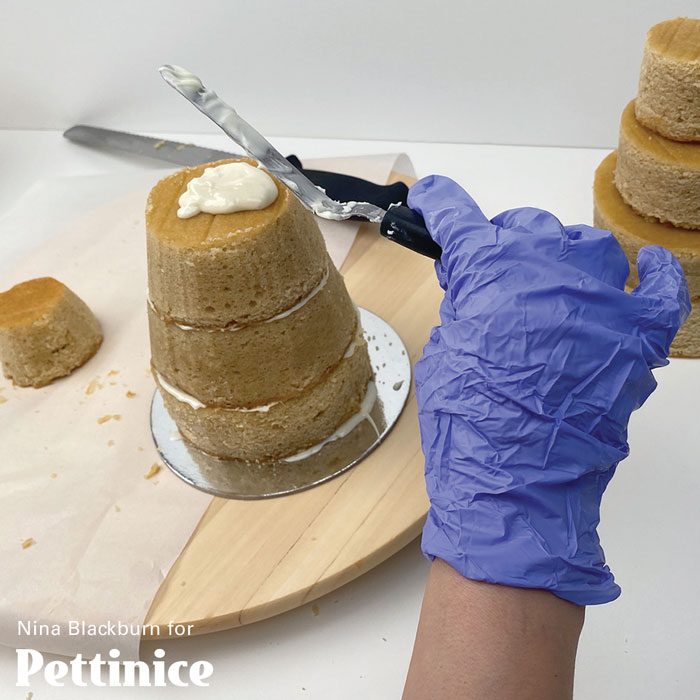
Add a thin layer of Bakels truffle between the layers. (Doing this after reduces carving time and mess.)
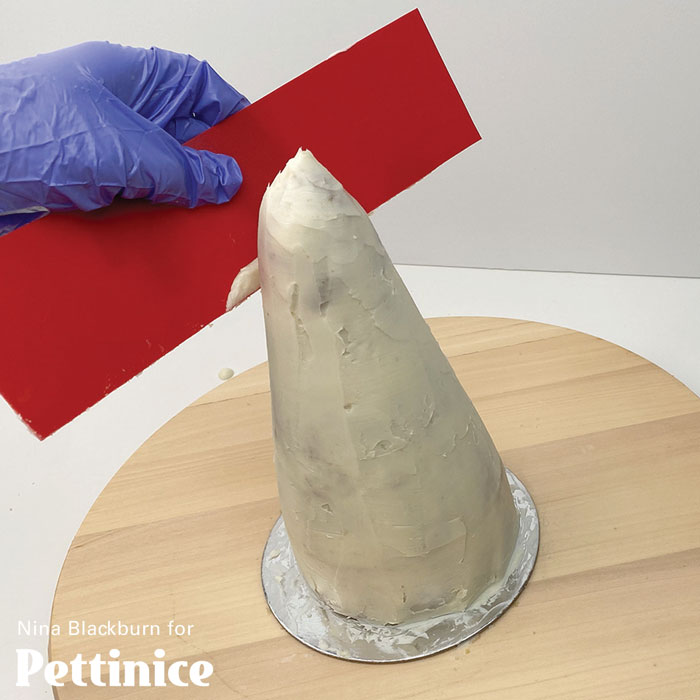
Cover all cakes with Bakels Truffle and smooth into shape using card or cut up chopping board sheets.
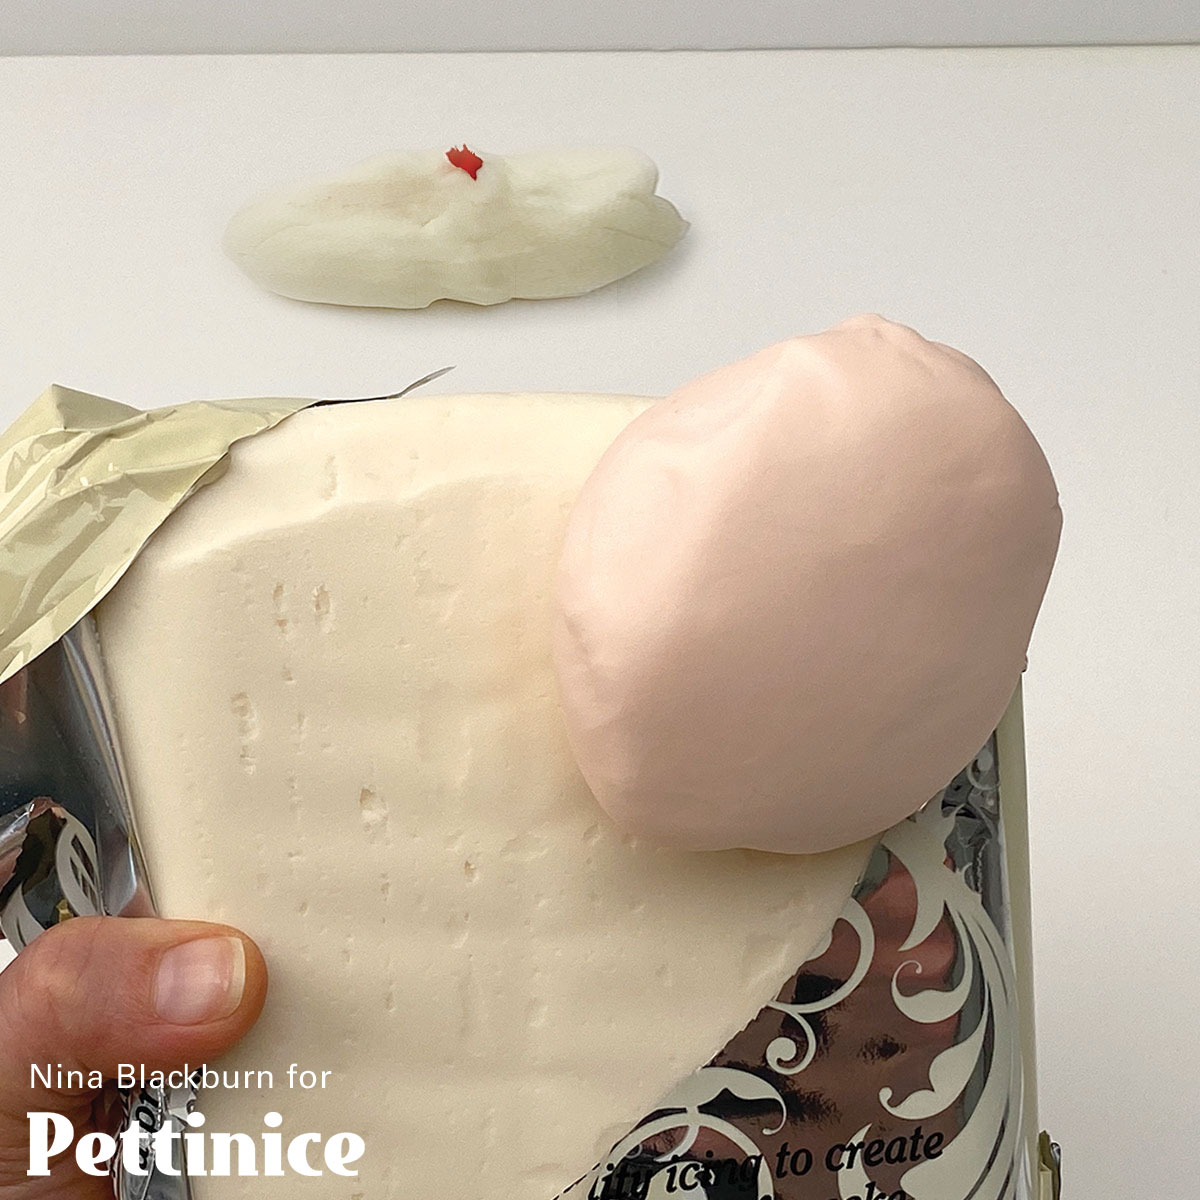
Mix Ivory and tiny amount of Red Pettinice to create the skin tone. One small dot of red is powerful!
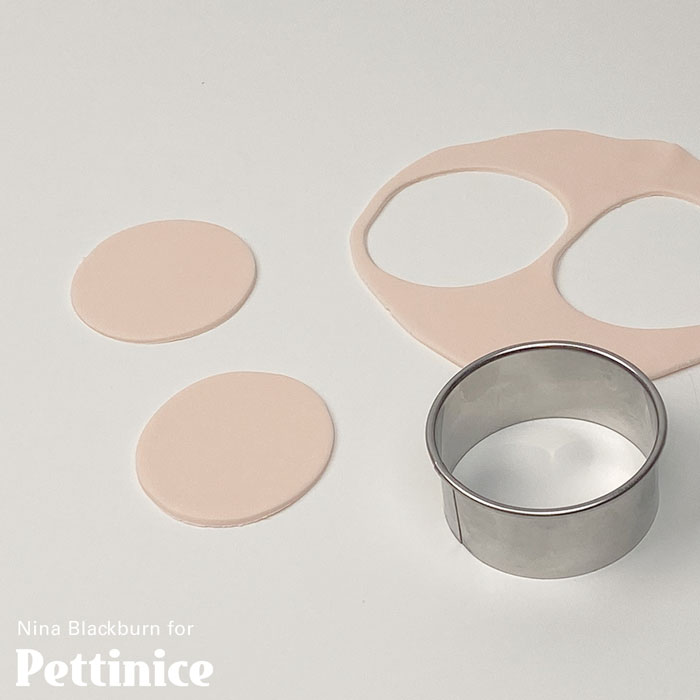
Knead and roll out the new blush shade. Use the 6cm cutter for all the faces. Roll little noses and set aside.

Put a little Snowhip cream on the back of the fondant disk and stick the faces on all the cones.
Press down all the edges of the disks to cover the cone. The majority will be covered by the Santa hat and beard, so it’s quite a forgiving design.
Use another lump of fondant patted with cornflour to smooth your icing. I avoid using my fingers, and this makes for a cleaner final product.
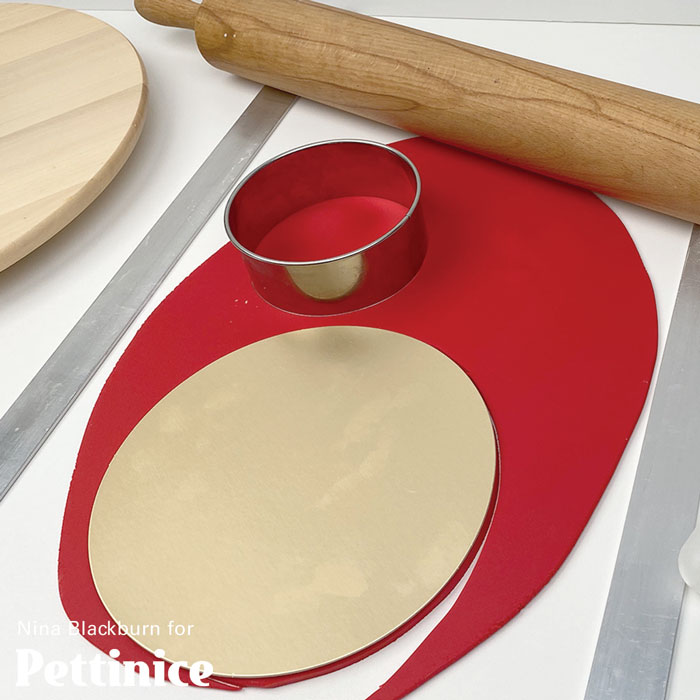
Roll 3mm sheets of Red Pettinice for the hat & front of Santa’s outfit using the 8”card and 10.5cm cutter.
Cut excess Pettinice and thin out the side to hide edges. Optional: Cut face groove with 10.5cm cutter.
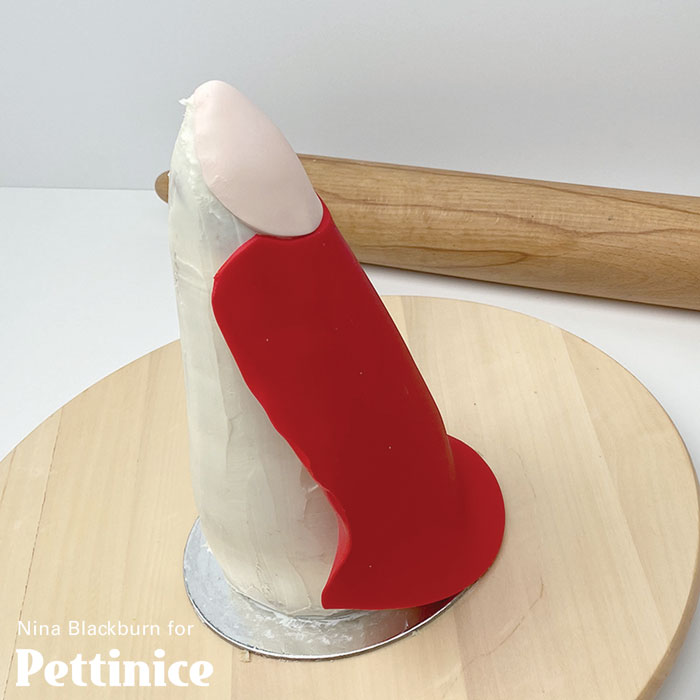
If your Truffle has not set, you can stick the coat directly on without adding Snowhip. Smooth edges.

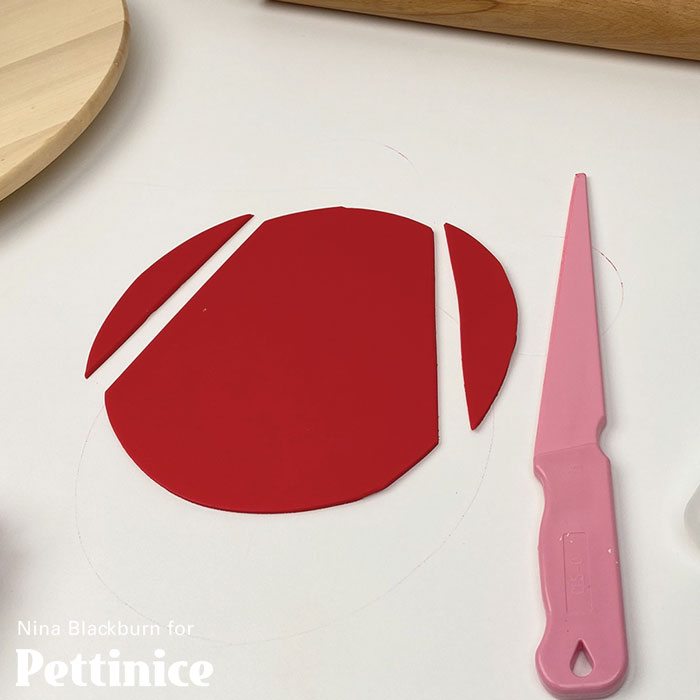
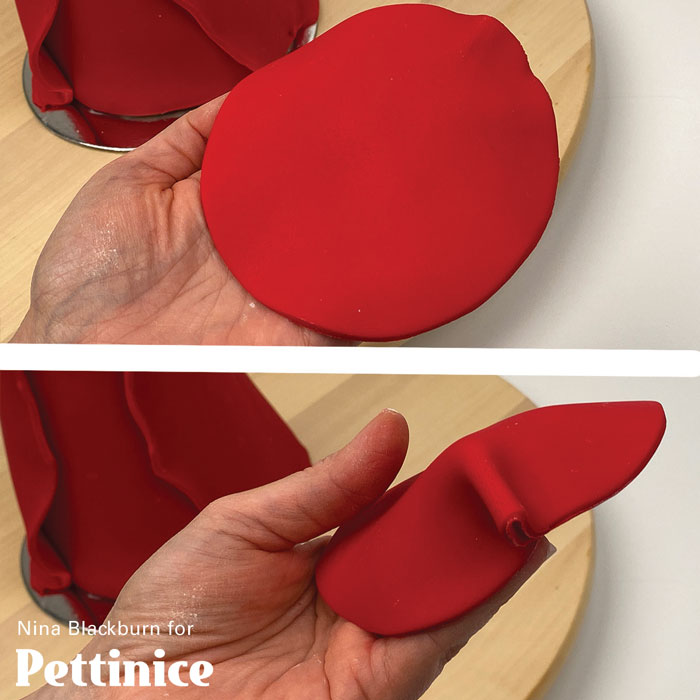
Here is how I trim the 12” circle for the outer coat. I prefer to trim to size in the next step.

Add a bit of Snowhip to the outer edges of the front coat so the outer coat will stick to it. Trim excess.
Remember to leave a little gap to fit the beard later.
Try to stick to one colour at a time to keep your bench and project clean, i.e., skin tone first , then red. Clean the bench, then move on to all the ivory...
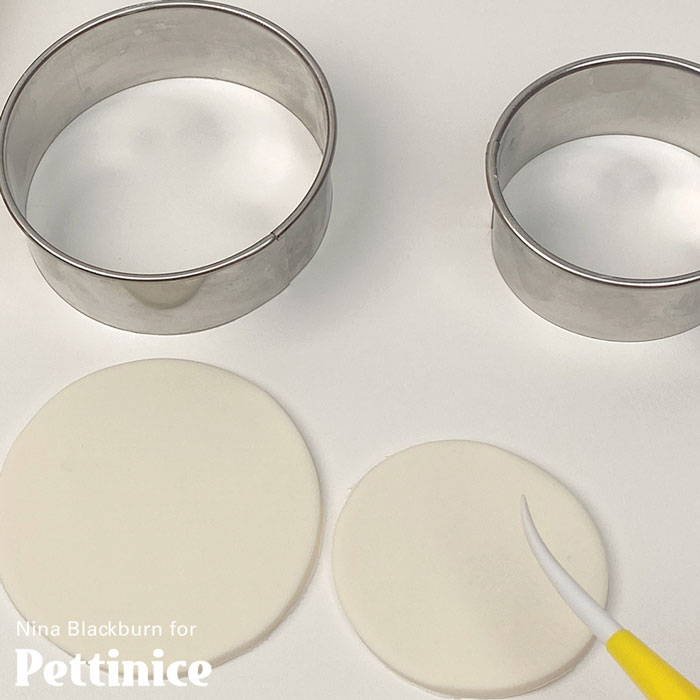
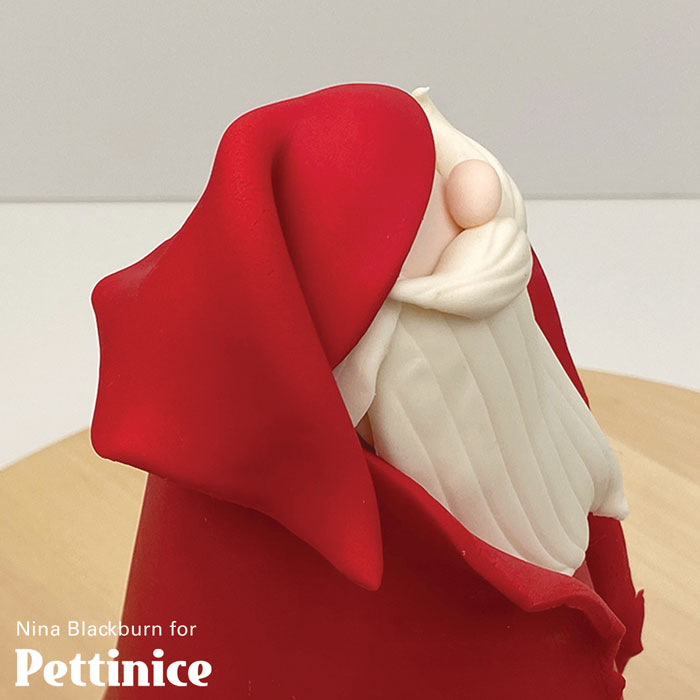
Roll Ivory Pettinice and cut out all the disks for Santa’s hair (8cm), and beard (10.5cm).
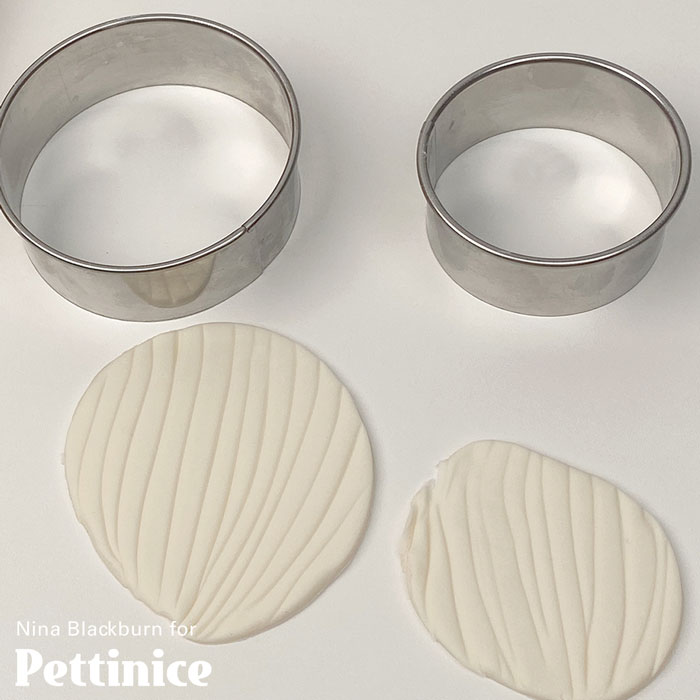
Final look using your Dresden tool or back of blunt knife.

Using Snowhip on the back of the disk, stick the smaller on top, pulling on the sides to cover the ears.
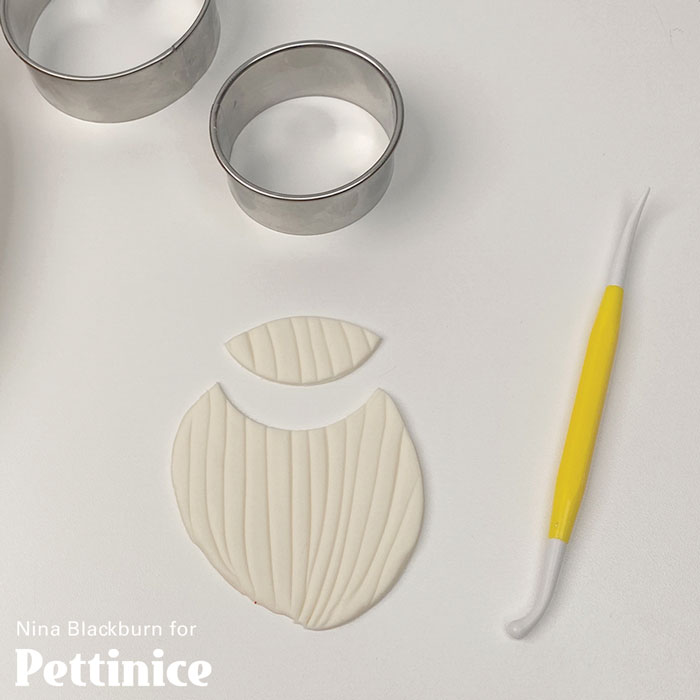
For the beard disk, cut out a small grove with the 8cm cutter. Use this excess to roll small eyebrows.
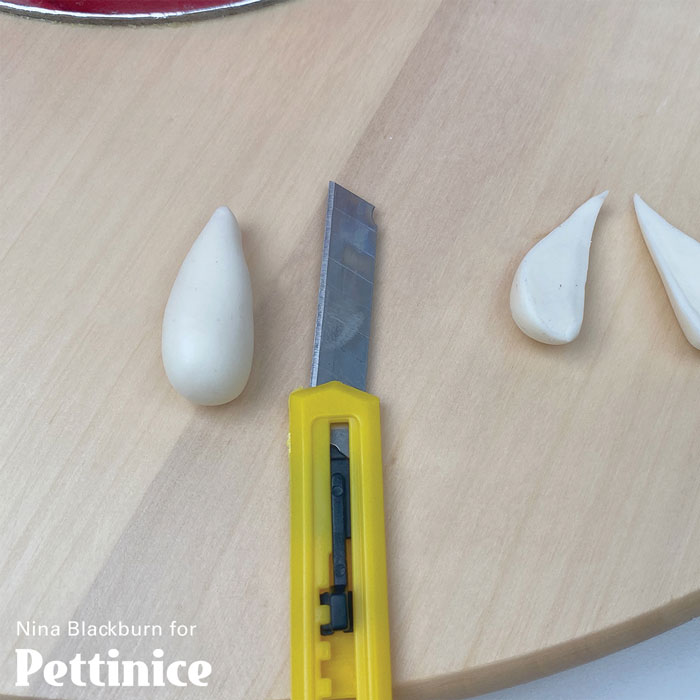
For the mustache, roll a teardrop and cut in half. Use the Dresden tool to mark lines.
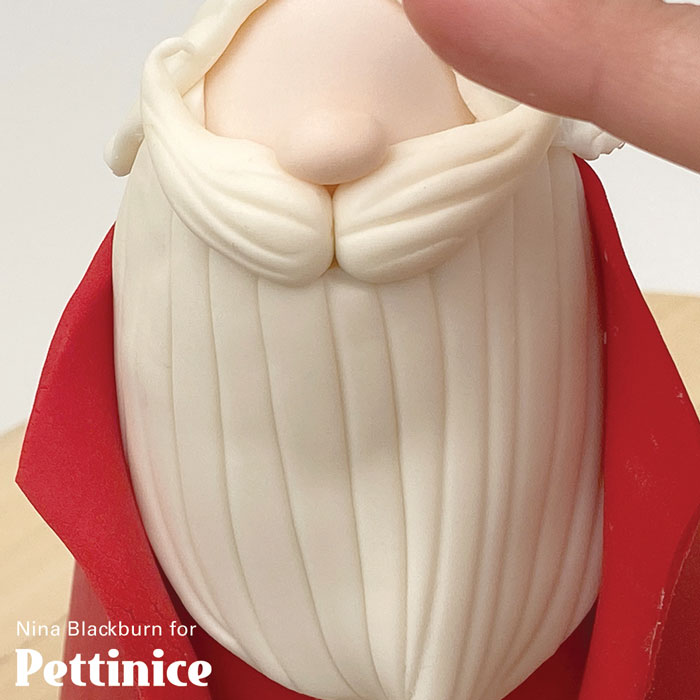
Using Snowhip on the back of the disk, stick the beard on the face, followed by the mustache, and nose.
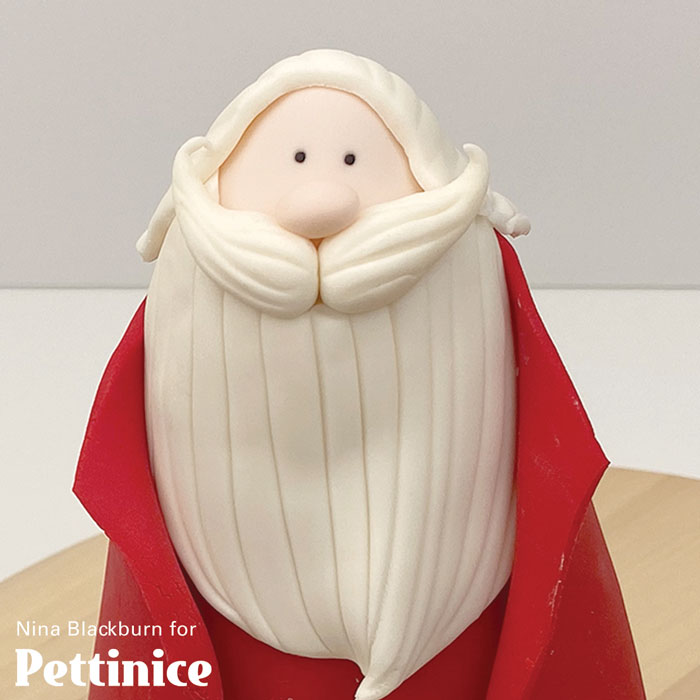
Use a toothpick to mark the eyes. Later you can roll Black Pettinice and place the eyes.
Pinch the disk cut out for the hat. This will be the “tail” of the hat.
Add Snowhip to hair and forehead and stick the hat in place, folding the “tail” of the hat towards you.

Exaggerate the point. The benefit of using Snowhip is it allows you to reposition without bleeding colour.
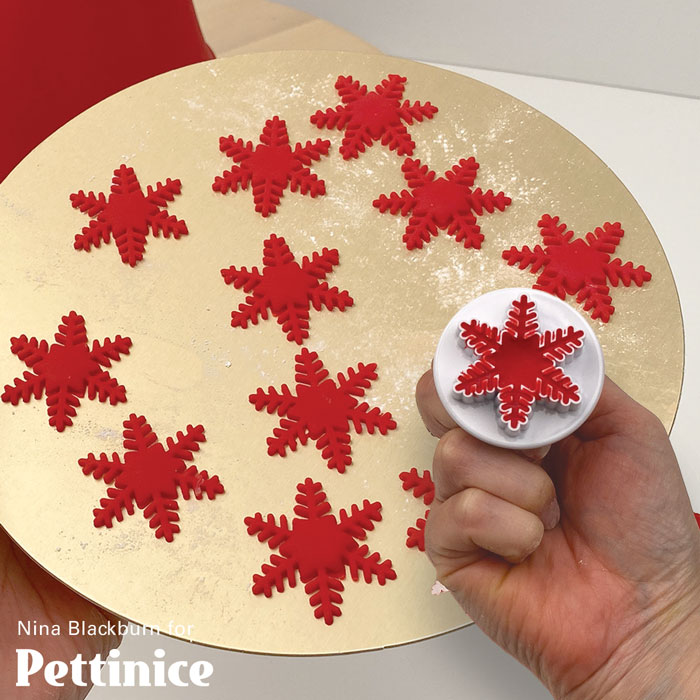
Pat a cake disk with cornflour. Roll and stamp out heaps of snowflakes. Harden in the freezer.
Rub Snowhip where you want to stick frozen snowflakes. Freezing them keeps them in shape. Hold.

Nina Blackburn is an award winning cake artist who owns Make Pretty Cakes in Auckland, New Zealand. A proud Pettinice Ambassador, and self confessed cake-a-holic who not only enjoys creating specialty 3D cakes, but also hosting and teaching cake decorating classes.
You can find Nina on Facebook and Instagram.


