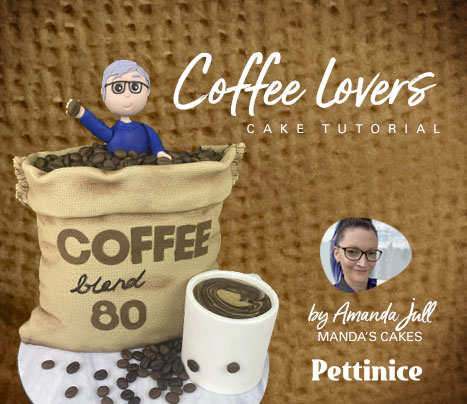
Coffee Lovers Cake Tutorial
What you need
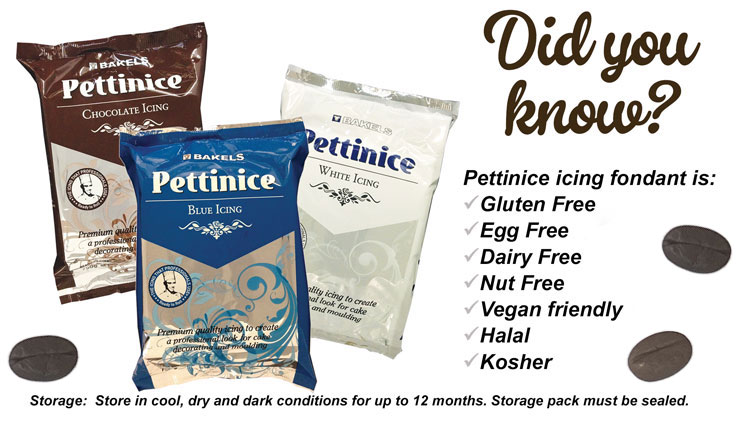
- Pettinice Fondant
- cmc tylose crisco (or vegetable shortening)
- sharp knife
- dresden tool
- ball tool
- optional hessian texture mat
- toothpicks tinfoil
Check out our Pettinice colour mixing guides here!

Carving and Ganaching
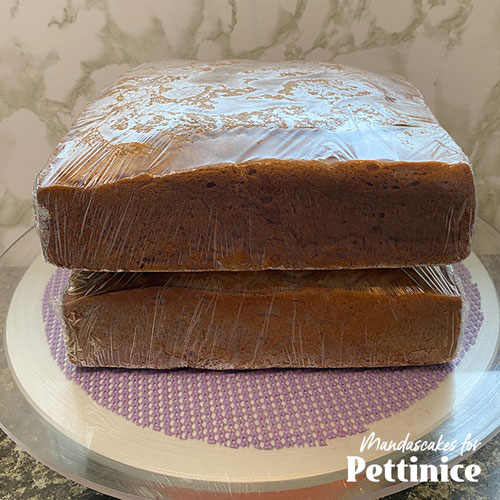
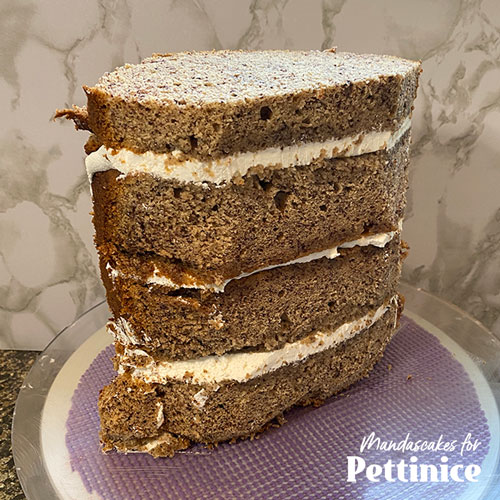
Stack and fill 2 x 8” cakes, cut in half and stack again so you have one tall 4 x 8” cake
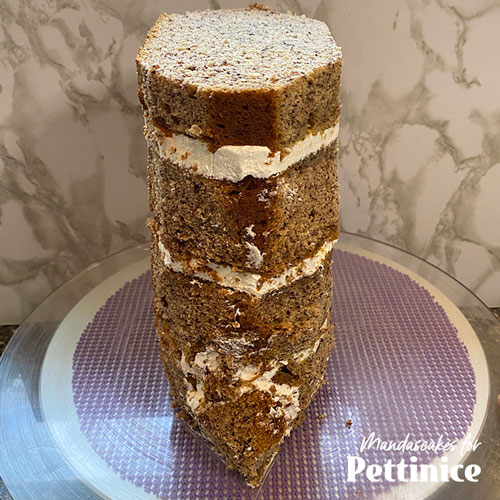
Carve edges roughly to create a natural sack shape.
I took some offcuts and built out the bottom corners.
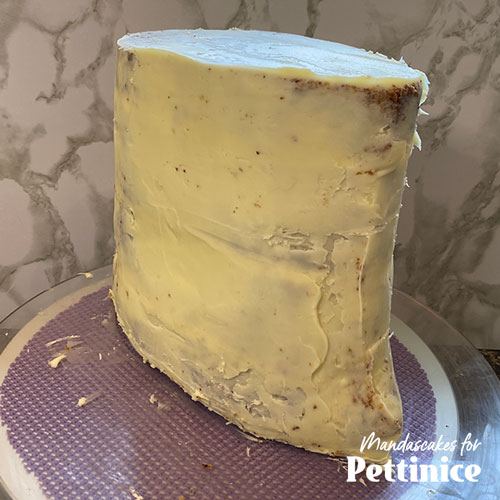
Cover the entire cake with ganache.
I started with a crumb coat then a thicker layer.

I gouged out some creases from the sides to create a slouched look.
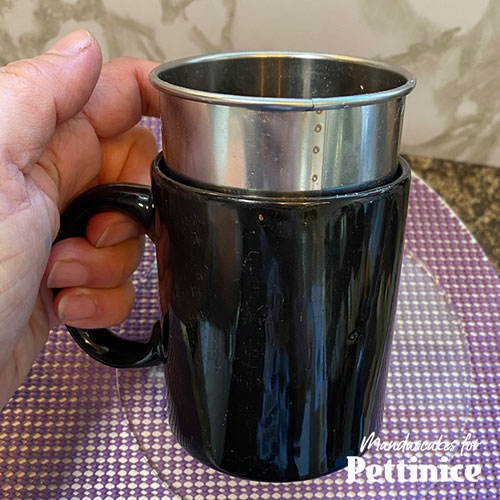
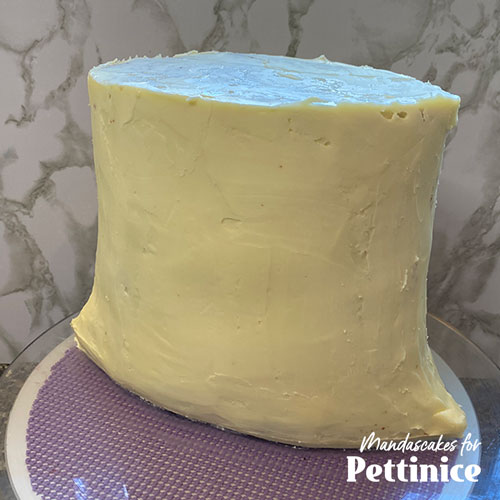
Next I cut some cake rounds a bit smaller than the size of an actual mug.
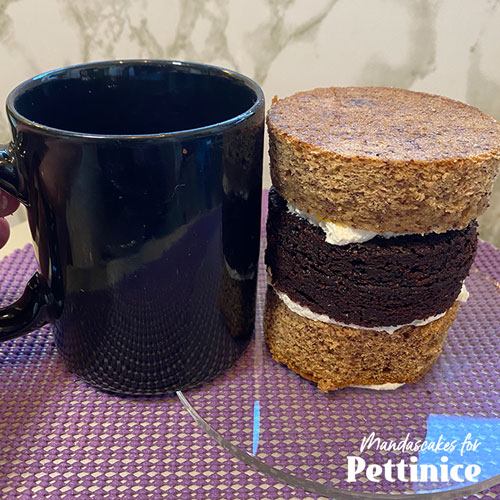
Fill the layers and stack so they are just shorter than an actual mug.
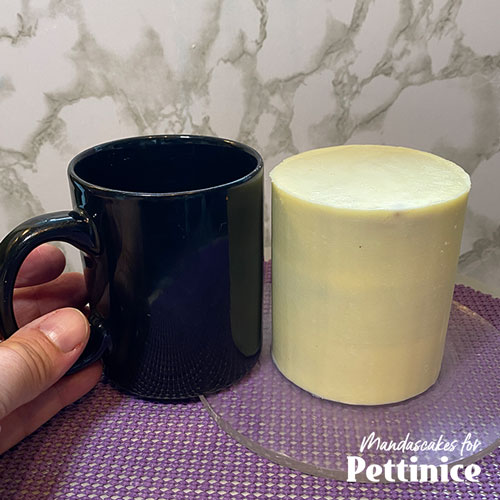
Cover in ganache.
Top of sack and Coffee beans
While you are working with the chocolate Pettinice, this is a great time to make the coffee beans.
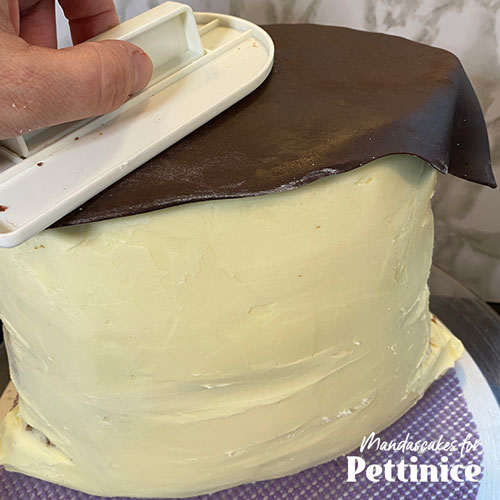
Place a layer of Pettinice chocolate on the top of the sack cake .
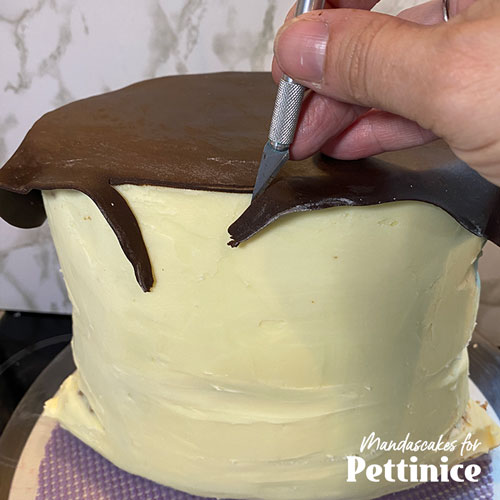
Trim the excess.
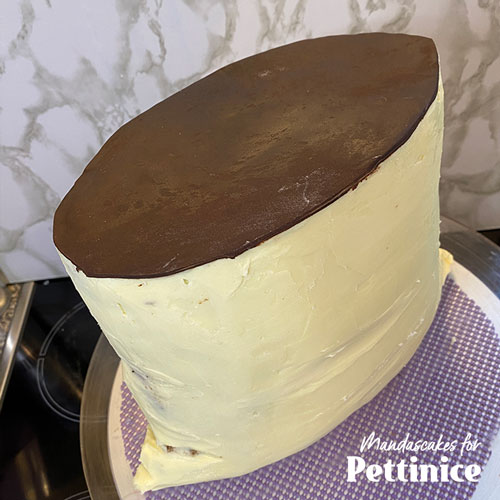
This will be covered in ‘beans’ so no need for perfection.
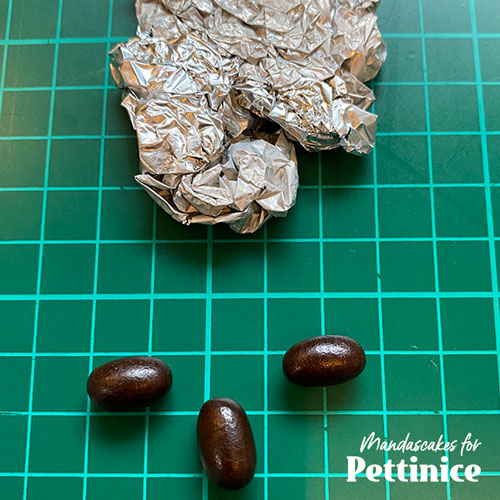
Making the coffee beans
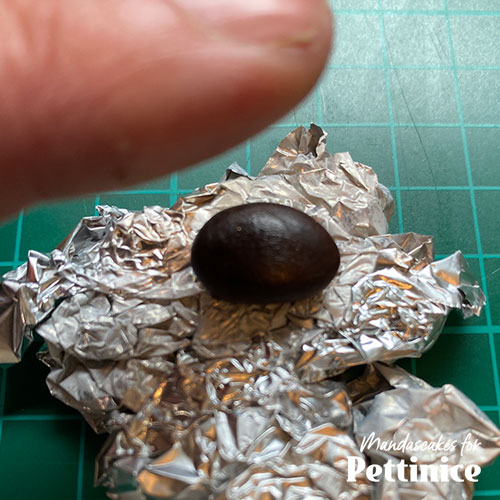
Take a scrunched ball of tinfoil and flatten on one side, this is to texture the beans on the flat side, as follows:
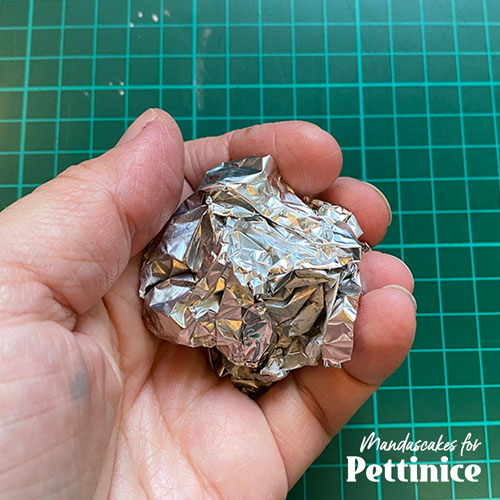
Scrunch to golf ball size.
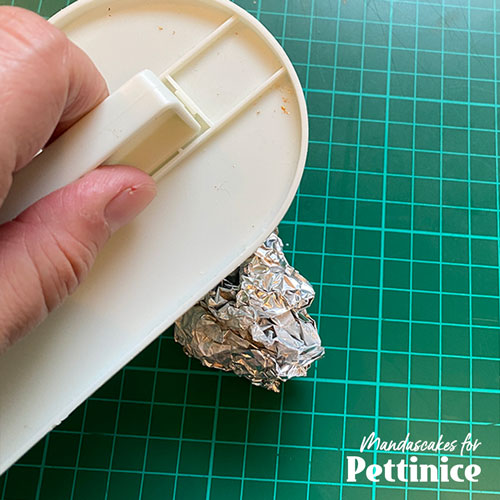
Flatten.
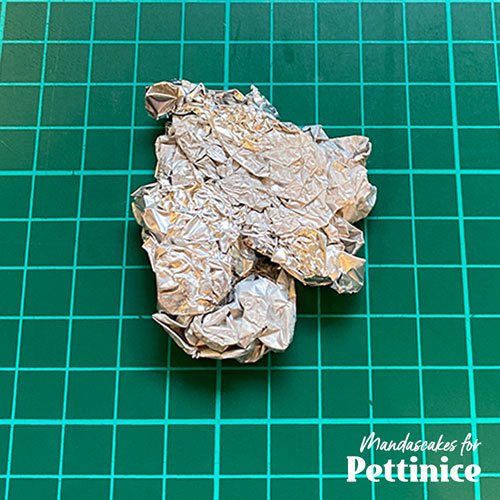
Result.
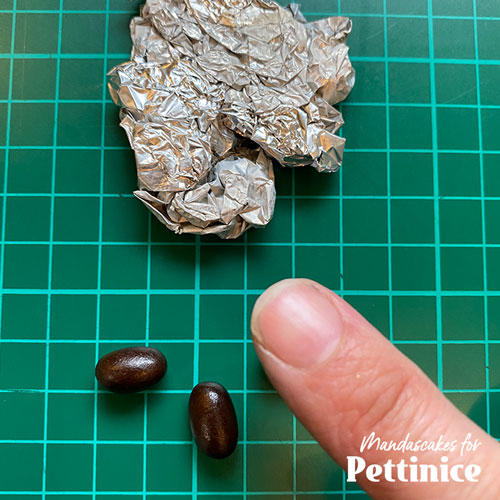
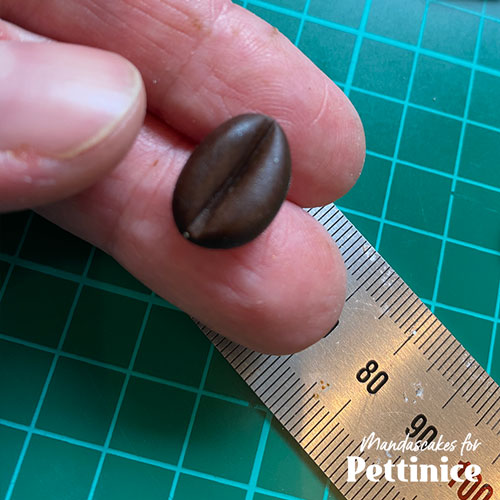
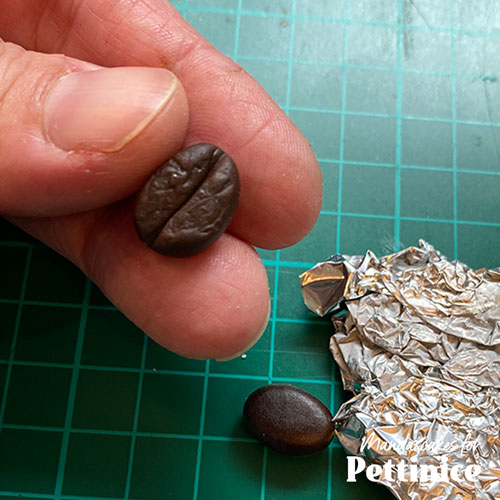
Roll lots of pea size balls and make the slightly elongated. Press down very slightly with your finger so the ‘bean’ flattens on the board. Use a metal ruler or the back of a knife to indent a line on the flat side of the bean. Press thing flat side onto the foil, this creates the natural imperfections on the bean. Make LOTS.

Fondant for coffee sack
To create the hessian sack colour, combine white, with 2 small pieces of yellow and chocolate Pettinice.
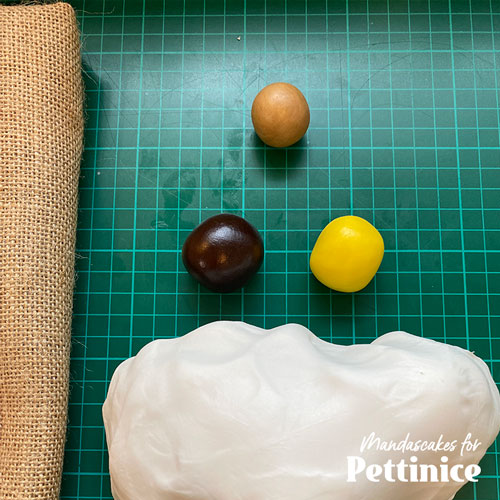
I experimented with a small amount, then scaled up the amount to make enough to cover the cake.
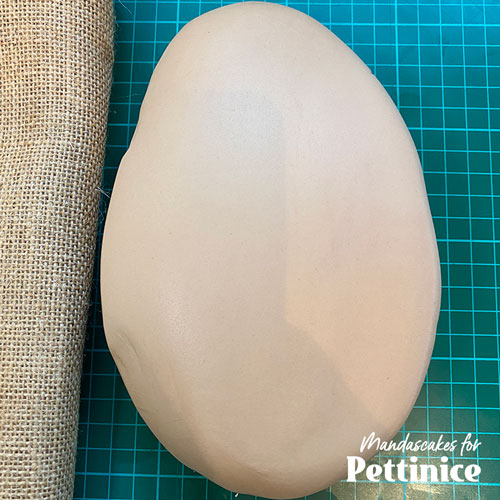
Happy with this shade.
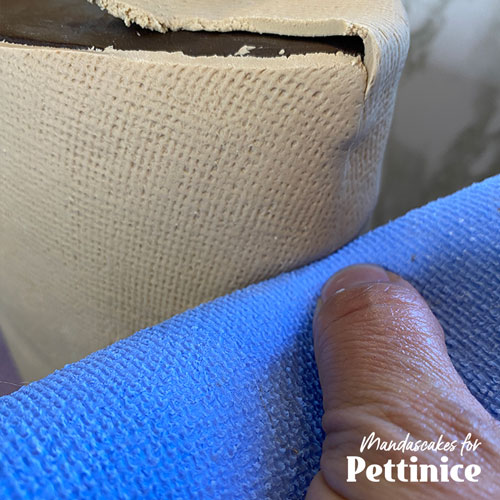
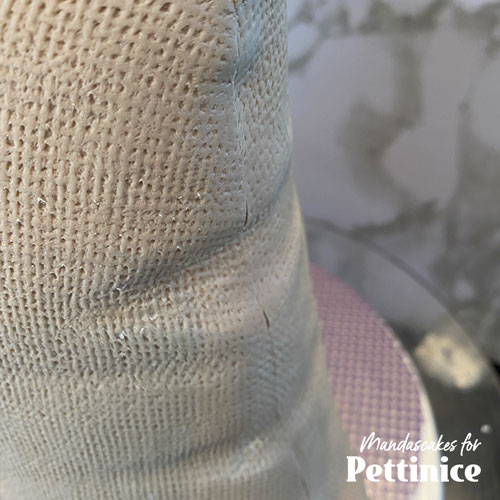
To create the hessian sack texture, I used silicone molding putty and pressed it into hessian fabric. If you don’t have access to this, there are various hessian silicone mats available or you can freehand by pressing the flat edge of a metal ruler into the fondant as shown.
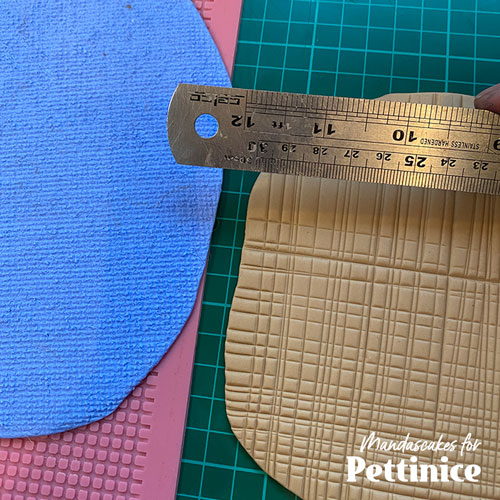
I decided to make my own texture mold, as it will be handy to keep in the tool box for future cakes.
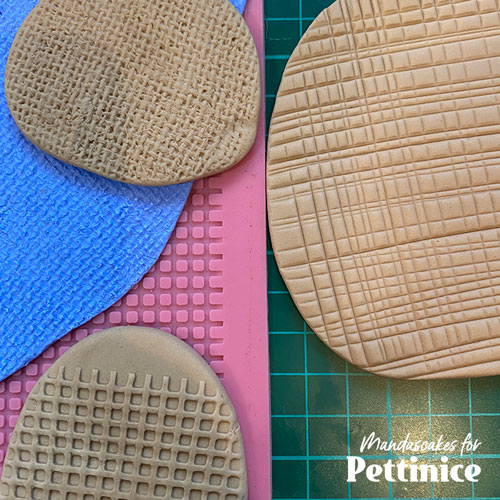
Experimenting with different texture mats.
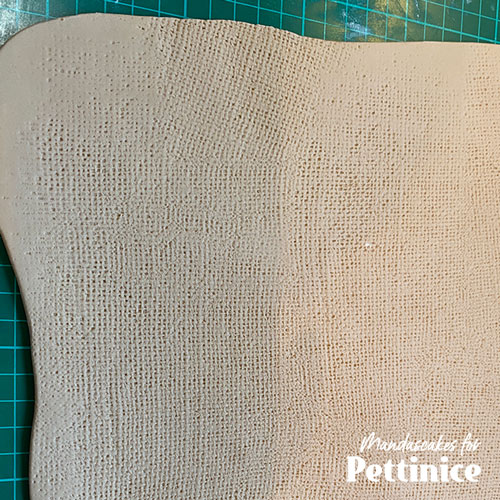
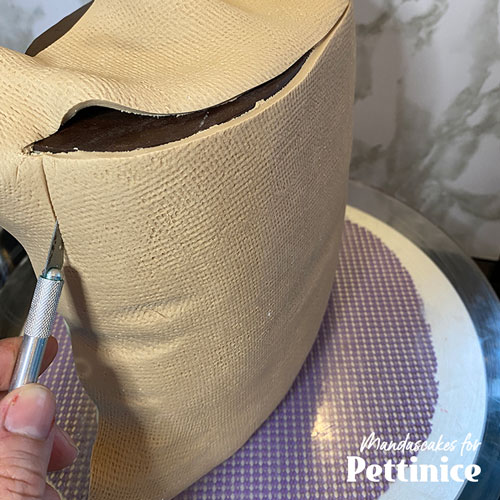
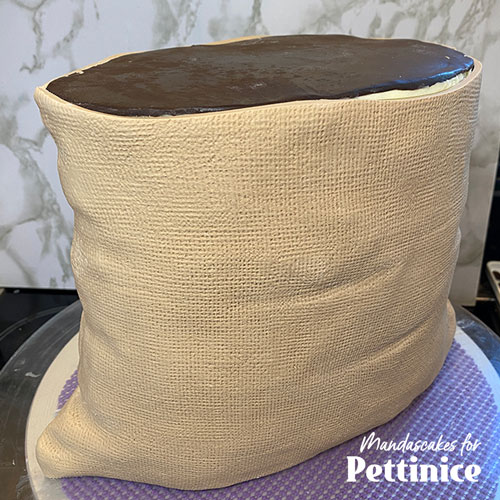
Roll out a piece of fondant large enough to cover one side of the sack and texture using whatever technique you have chosen. Trim the bottom edge. Coat the side of the cake with Crisco vegetable shortening to allow the fondant to stick. And place the piece of fondant on the cake, pressing gently to adhere, being careful not to press too hard which will flatten the texture. Press where the gouges were made in the ganache to accentuate the slouching, I used my homemade mat to give it a bit more texture. Trim the excess fondant from the top, and the sides, this will be where the ‘seam’ of the sack would be.
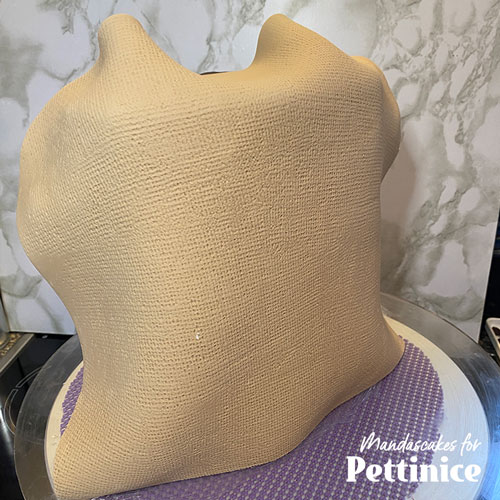
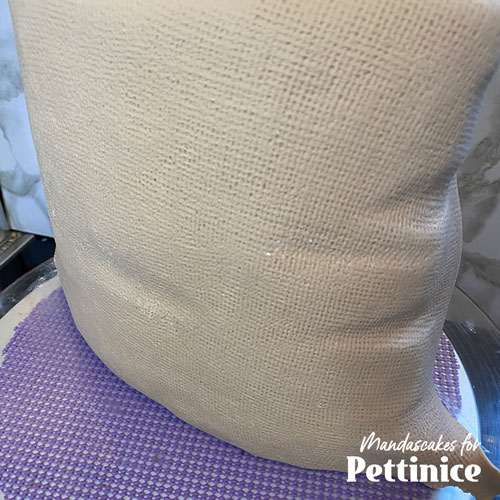
Repeat this process for the other side of the sack.
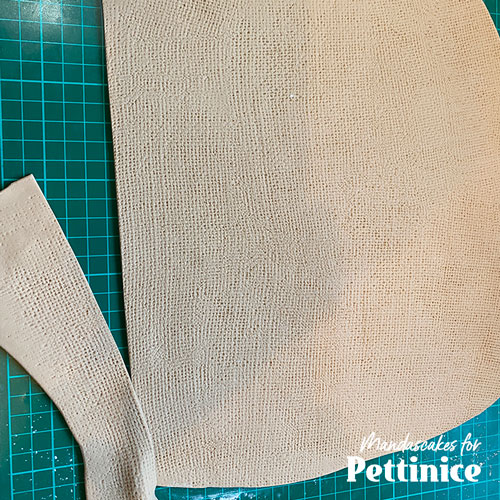
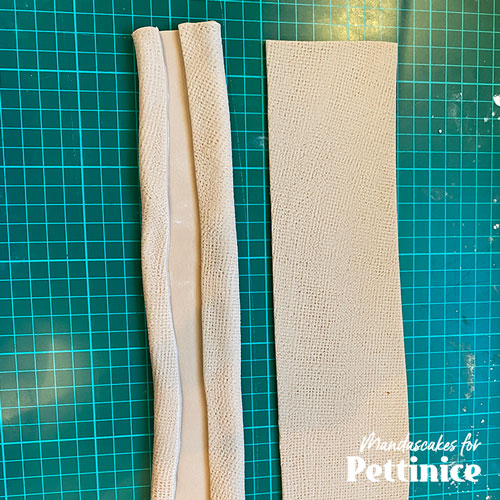
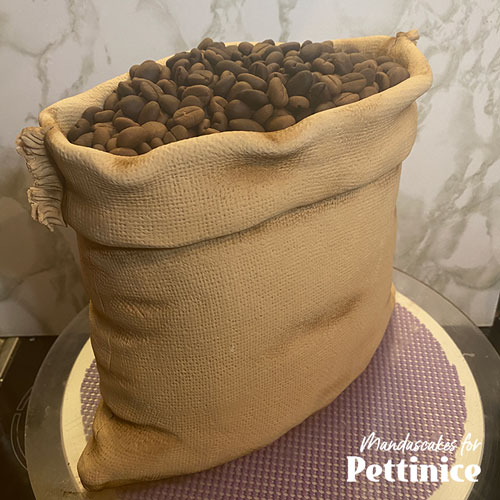
Your sack will be starting to take shape. Now make 2 strips of textured fondant, turn over and fold the raw edge inwards. These will be the top folded section. Adhere these to the top edge of the cake using edible glue (cmc in boiled water). Make sure these are glued so there is 1-2cm above the top of the cake.
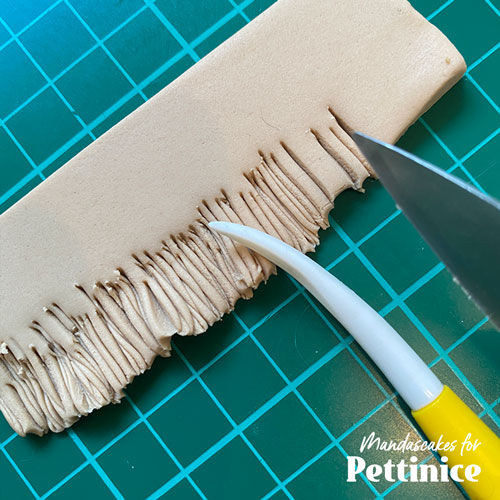
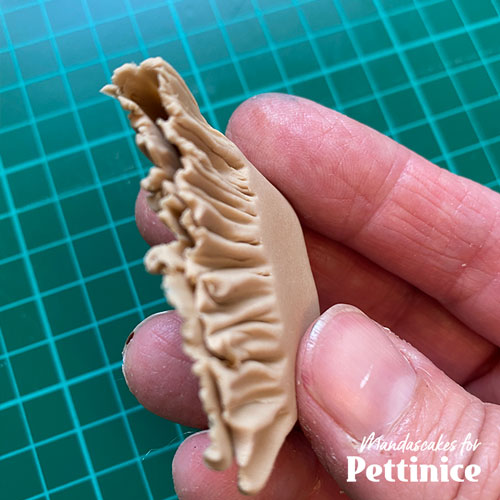
Make the frayed edge of the folded section by rolling a rectangle section of fondant and making lots of indents to give a raw frayed look. Fold this in half to the frayed look is on both sides. Trim and glue to the edges of the folded section on both sides.

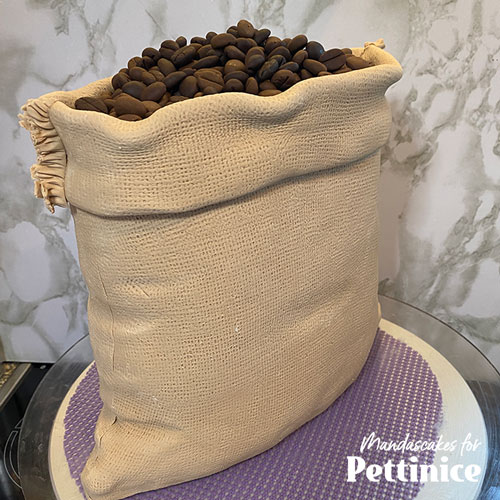
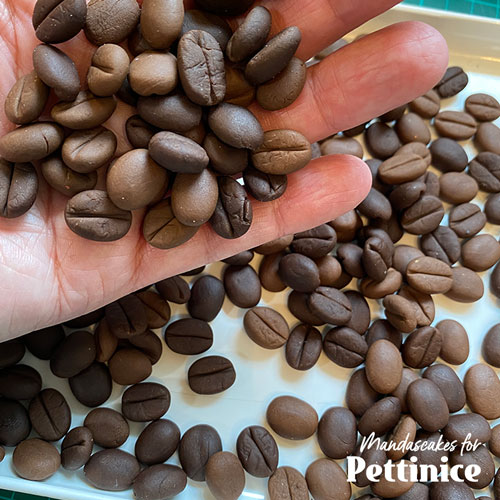
Now you are finished! Pile your premade coffee beans into the top of the sack.
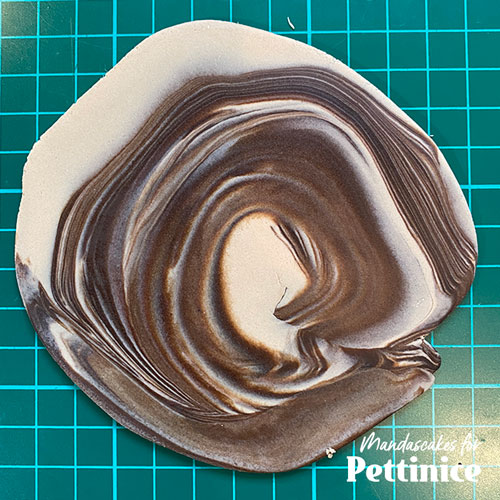
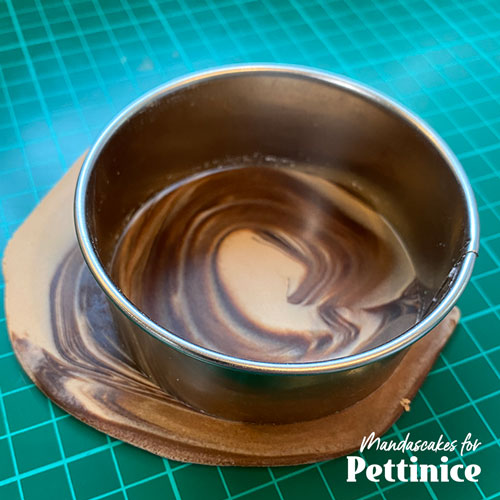
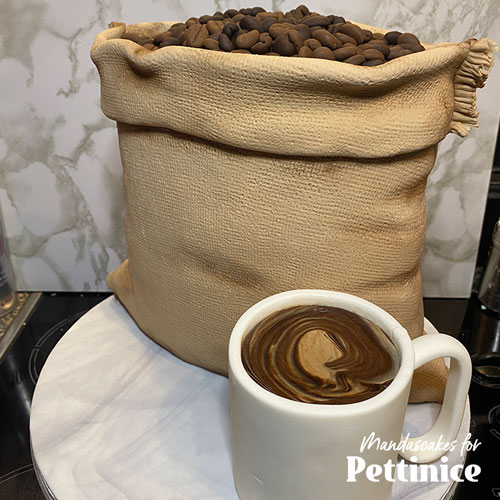
Coffee Cup
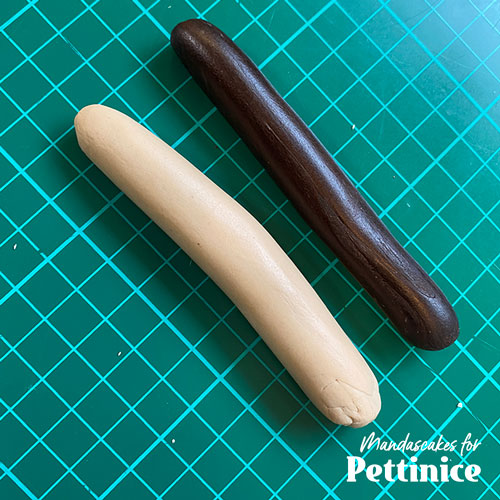
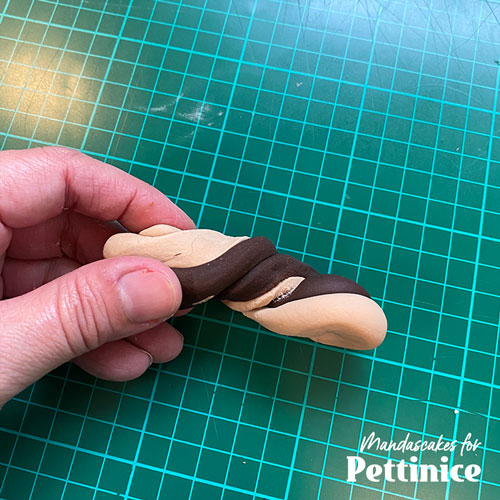
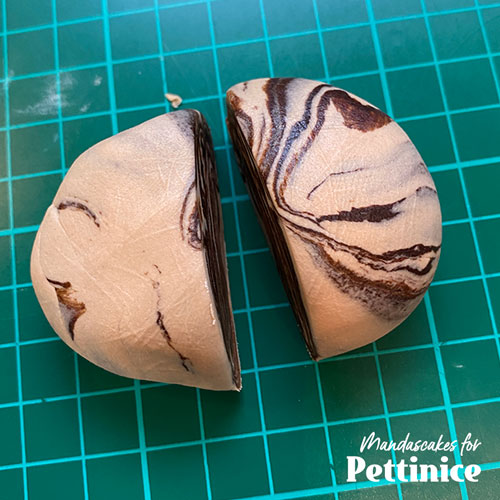
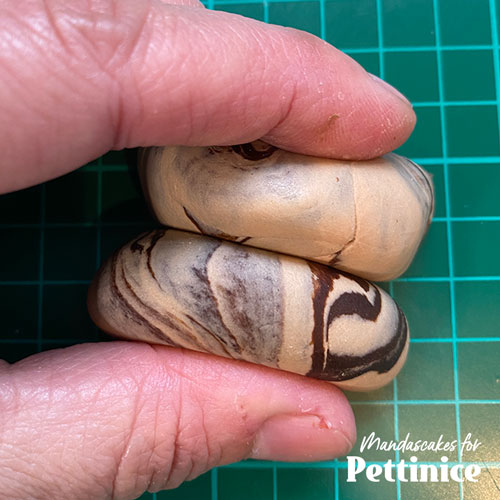
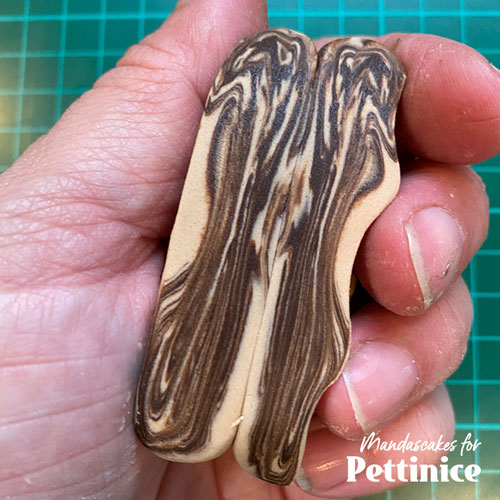
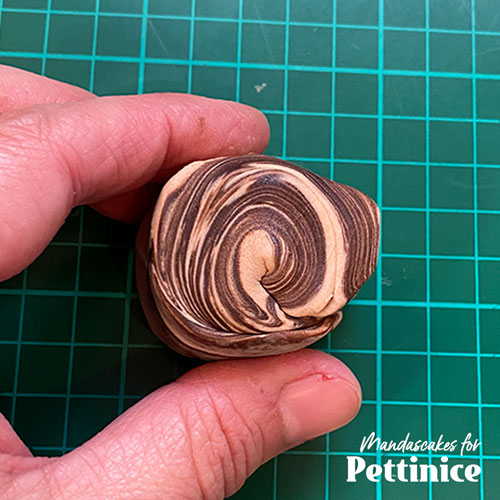
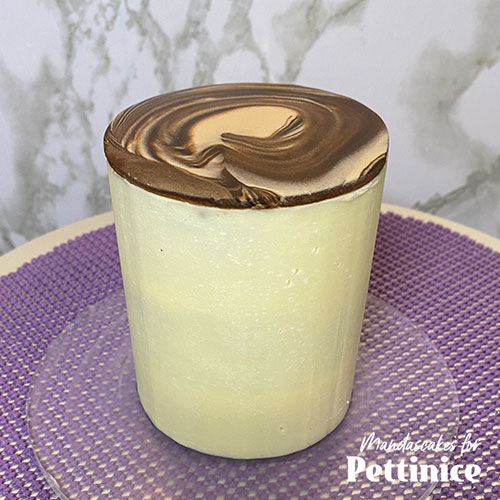
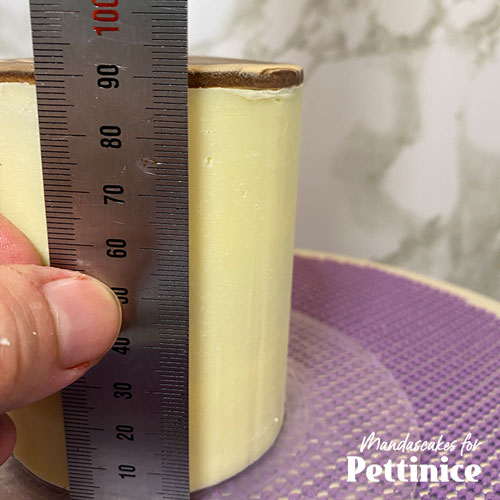
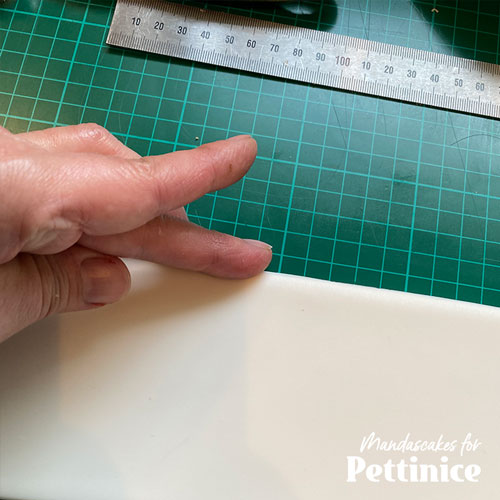
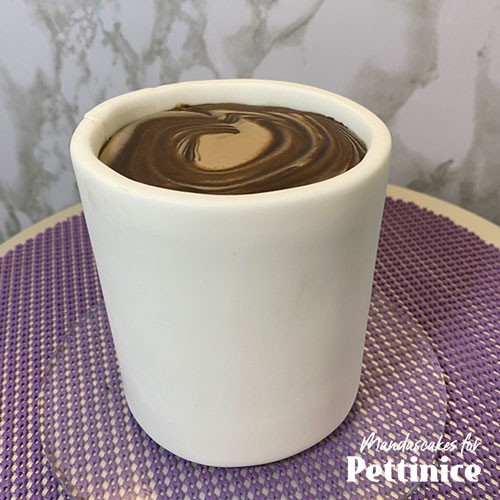
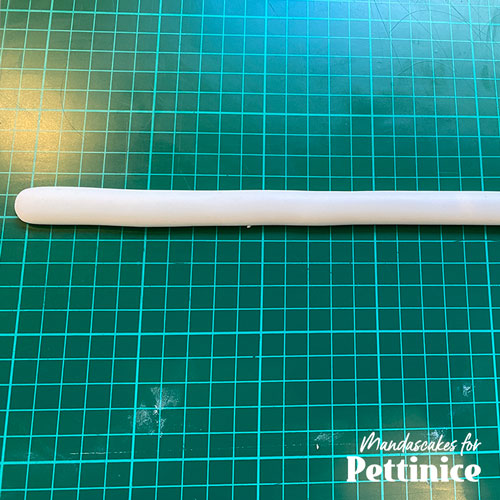
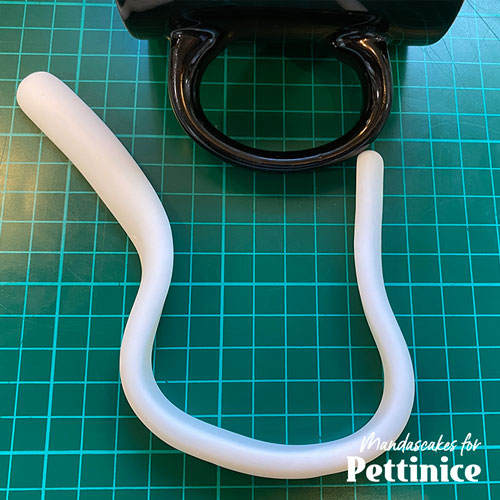
To make the coffee cup, firstly create ‘coffee’ by combining 2 shades of chocolate, twist together, cut in half and roll to give a swirly look. Roll flat, cut a circle and adhere to the top of the ganached cup cake using Crisco vegetable shortening. Measure the height of the cup and roll a rectangle of white Pettinice and trim so it’s about half a cm taller than this measurement and log enough to wrap around the cup. Smooth the top edge using your finger. Wrap this around the mug cake. 11. Make a handle for the cup by rolling a log of white Pettinice (make sure you use Tylose in the fondant as it will need to set firmly), flatten, turn onto its side and curl it to the approx. shape of a mug handle. Trim the excess. Set aside to set. Once sent use edible glue to adhere it to the cake.

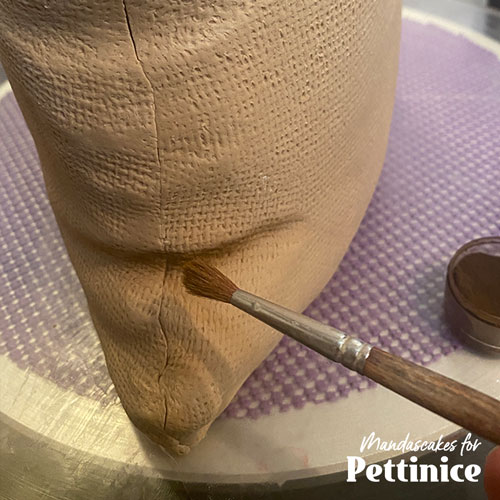
Final dusting
Now start working on dusting the sack (optional). Use brown dusting powder in the creases and under the folded edge to accentuate the natural shadows. 13. Place the sack and cup on a cake board. I chose to cover my board in marbled fondant.
Dusting is where your 3D object will begin to pop!
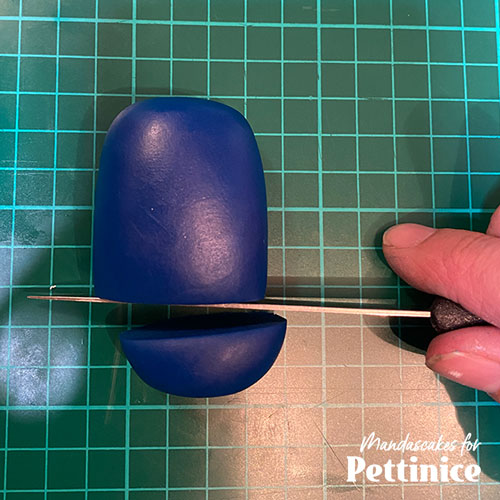
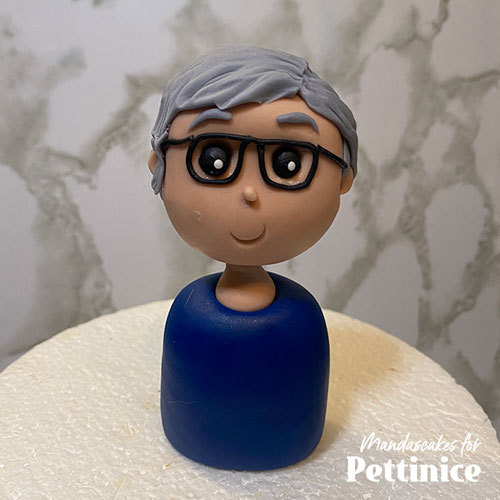
Optional person busting out of the beans.
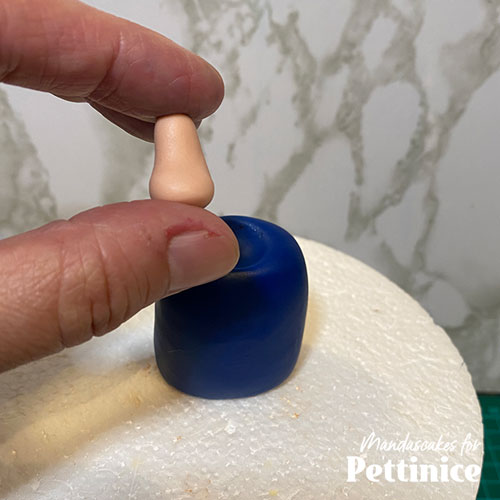
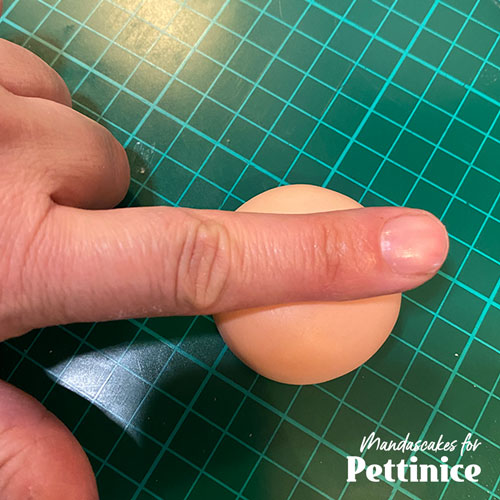
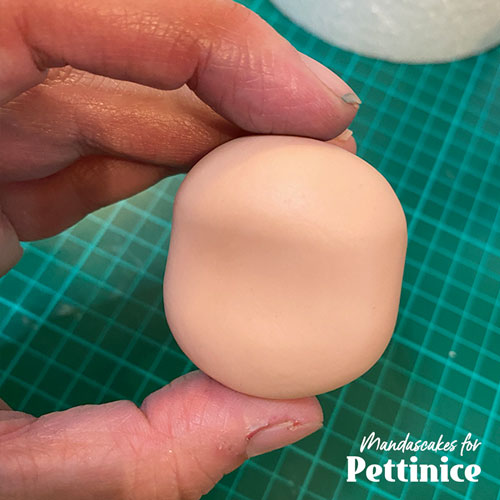
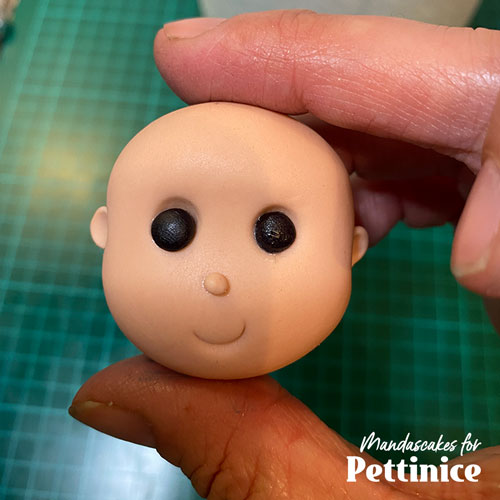
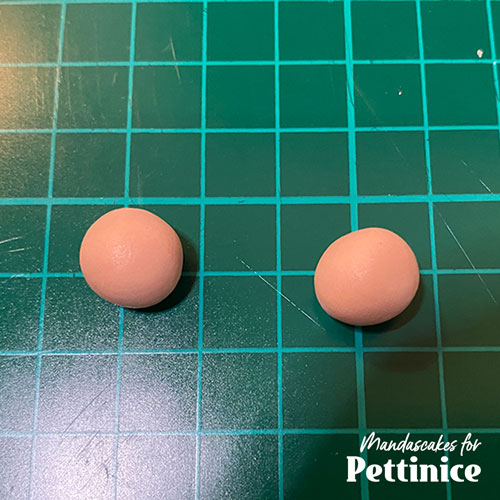
Make a flattened sausage for the main body, and cut the bottom off so It’s flat. Make an indent in the top using a ball tool or finger to create a space for the neck. Make the neck, slightly fatter at the base, thinner at the top, trim the top so the neck isn’t too long and attach this to the body. Make a ball slightly larger than the top (I like slightly bigger heads), and use your finger to flatten slightly and create some shape for the face (see image).
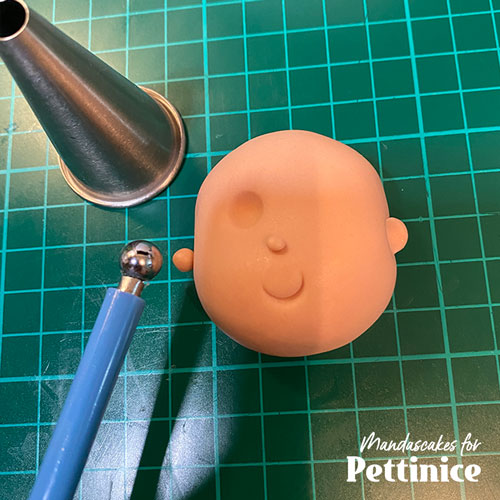
Using the tip of a piping nozzle, create a smile. Use a ball tool to create eye sockets, add 2 little balls either side of the head and press using a ball tool to create ears and add a tiny ball for the nose.
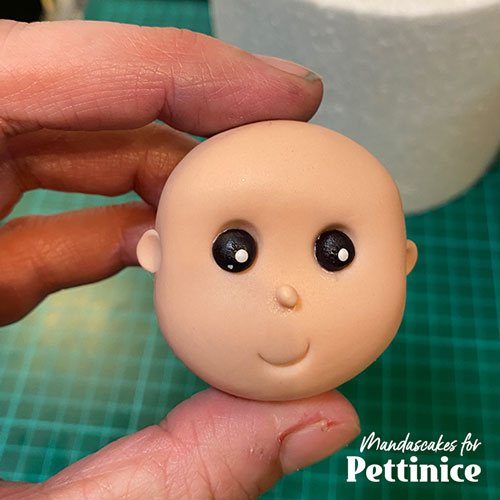
Glue 2 tiny balls of black for eyeballs and 2 even tinier balls of white for reflections in the eyes, this gives the eyes a bit of life.
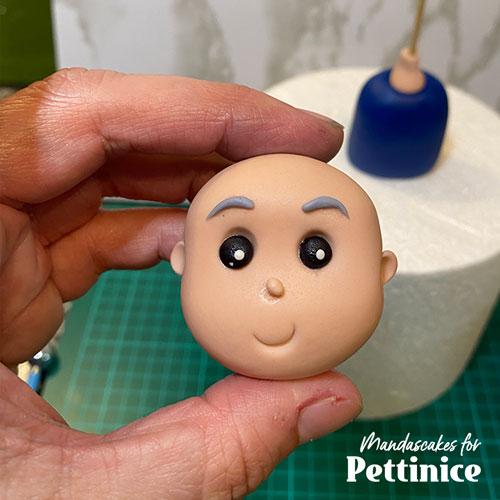
Add 2 small crescents (eyebrows) above the eyes.
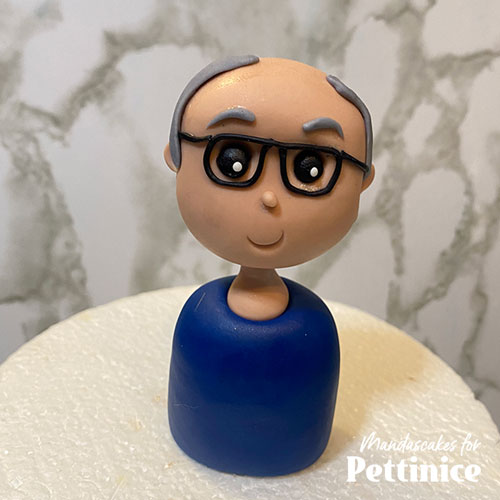
I have pressed a toothpick into the neck and left some poking out which you can now press the head onto.
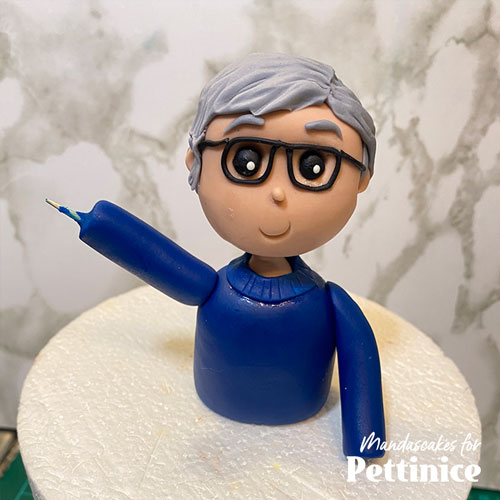
I made tiny glasses for my guy, but this is optional.
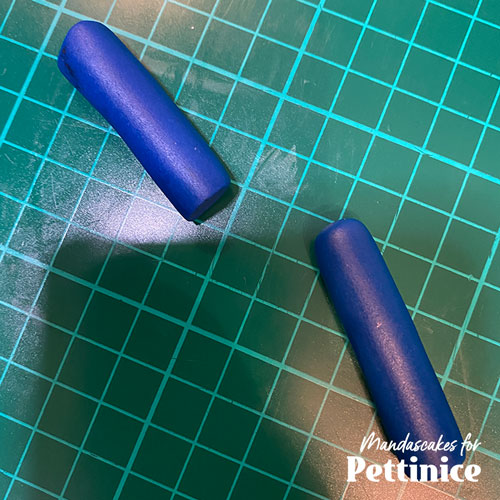
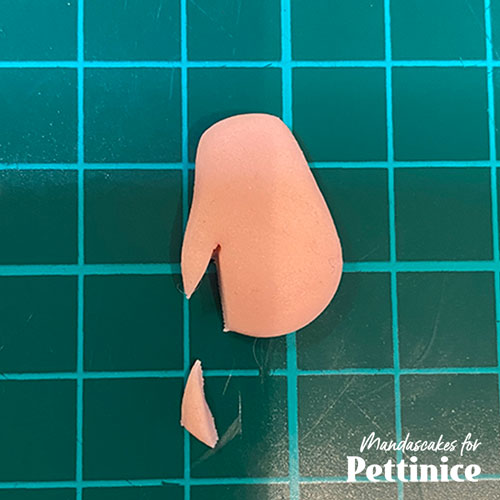
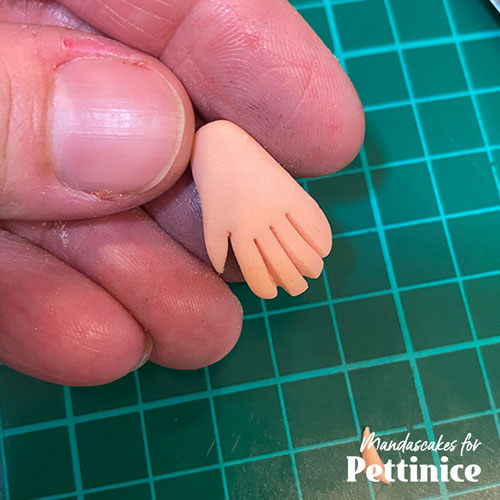
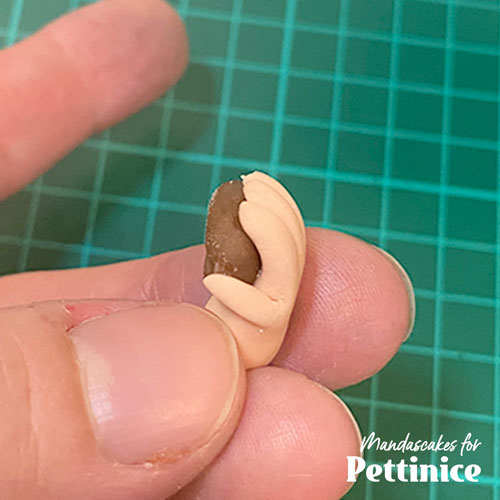
Now glue on small rolled pieces of fondant in any hair colour you like, press down using a Dresden tool to create more texture in the hair. Make sleeves by rolling long thin sausages of Pettinice. To have one arm up, press a toothpick into the shoulder area and push the fondant sausage onto this. The other arm is down so I adhered it to the body by gluing and pressing flat at the shoulder area. Make a couple of simple hands by flattening a little ball of fondant, cut a tiny triangle from the side, the press a knife into the fondant to create the impression of fingers as shown. I put a coffee bean into the hand that is in the air for a bit of fun. Attach this to the arm but pressing into the end of the toothpick. Glue the other hand. Make a space in the beans on top of the cake to place the person.
Finish off by adding a message to the front of the sack either free hand with edible paint which gives it a rustic look, or using letter cutters. I used a combination of both. Then scatter excess beans at the base of the cake.

Mandascakes is based in Birkdale on the North Shore where she lives with her husband and two kids. Her cake journey began at her mum's side, when she remembers helping fill the cake tins using the good old Woman’s Weekly kids Birthday Cake Book.
When she had her own kids, her cake decorating skills continued to grow and she found herself soon making cakes for family and friends. As word got out, she turned her hobby and love of arts and crafts into a full time business running Mandascakes.
See more of Amanda's cakes at:


Want to see more tutorials?