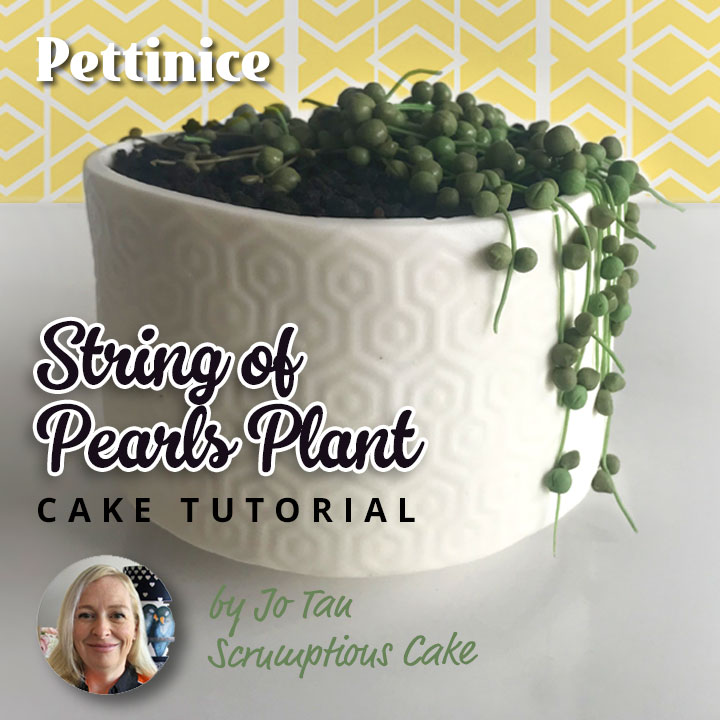
String of Pearls Plant cake tutorial

You will need:
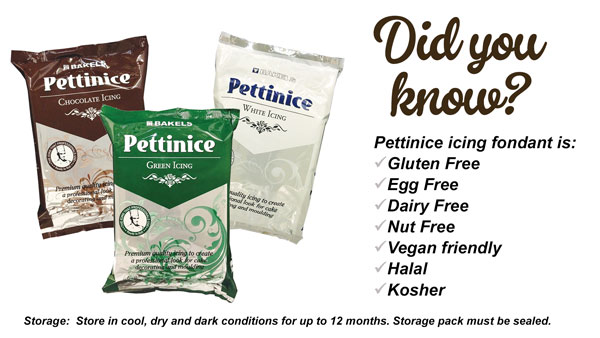
Pettinice
- White 500 gm
- Yellow 35gm
- Green 7gm
- Brown 7gm
Tools
- 4inch cake card
- Rolling pin
- Paring knife
- Sprink
- Tylose
- Fondant Extruder
- Planter or some other textured surface
- Dresden tool
- Circle cutter 7cms dia
- Black dusting powder or gel colour
- Edible glue
I had an opportunity to play with cakes during our recent lock-down. It was fun to create a few illusion cakes and share my process creating them with you.
In this tutorial, I create one of my favourite plants, the String of Pearls. I fooled a few people when I cut into it - now you can too!
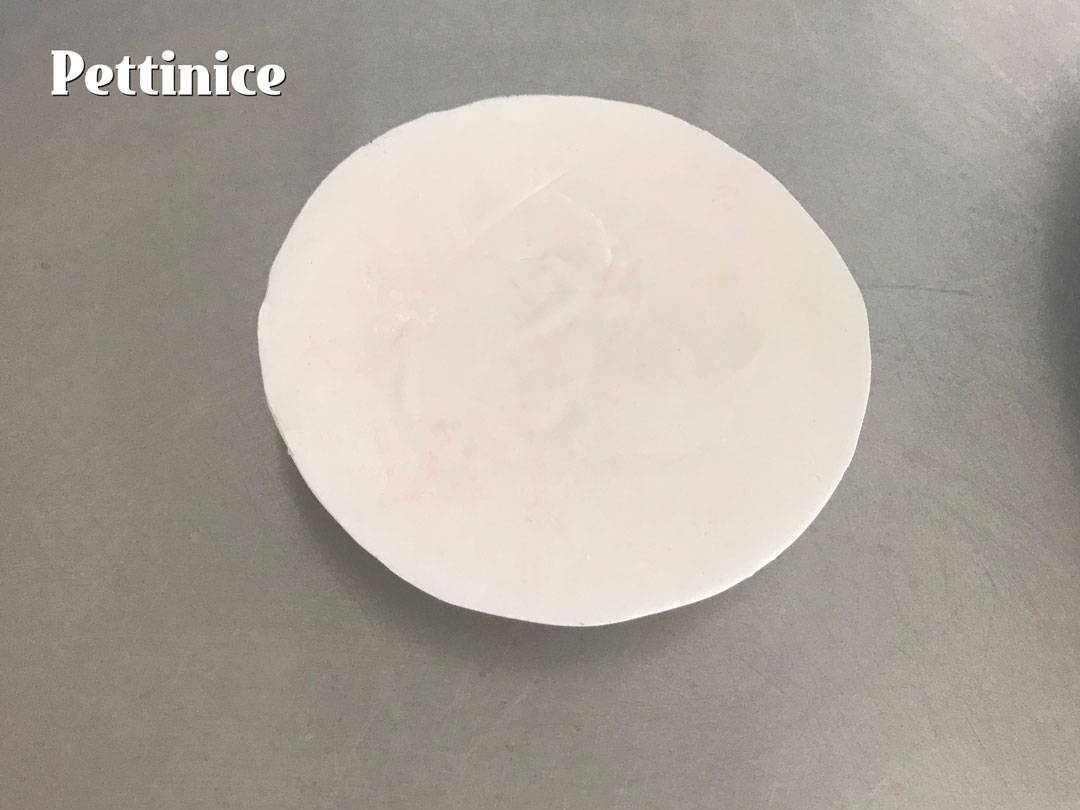
Making the base
I started with 130gms of white fondant with 1⁄2 teaspoon of tylose – that’s quite a bit of tylose but initially I wanted the base to help support the cake. I also added straws to the base, as you can see. On a side note, I could have made the base wider and taller so you could really see it in the photos, so next time I would use 160gms to add to height and width.
I used my rolling pin starting from the middle and applying pressure towards the outside, doing this from each angle equally to form a dome. When your dome reaches the outside of your cake card (unlike my photo which was not wide enough) use your cutter to show a circle in the middle of your case – this indicates where to use your Dresden tool to make a further raised rim.
When you are happy with this leave it to set for a couple of hours and then insert your straws, inserting one at first and then using that length to cut all 3 as you need all three to be the same to make sure your cake is level. By leaving it for a few hours before you insert straws the integrity of the shape will change less from the pressure of having straws pushed into it.
I left this to set for 24hours.
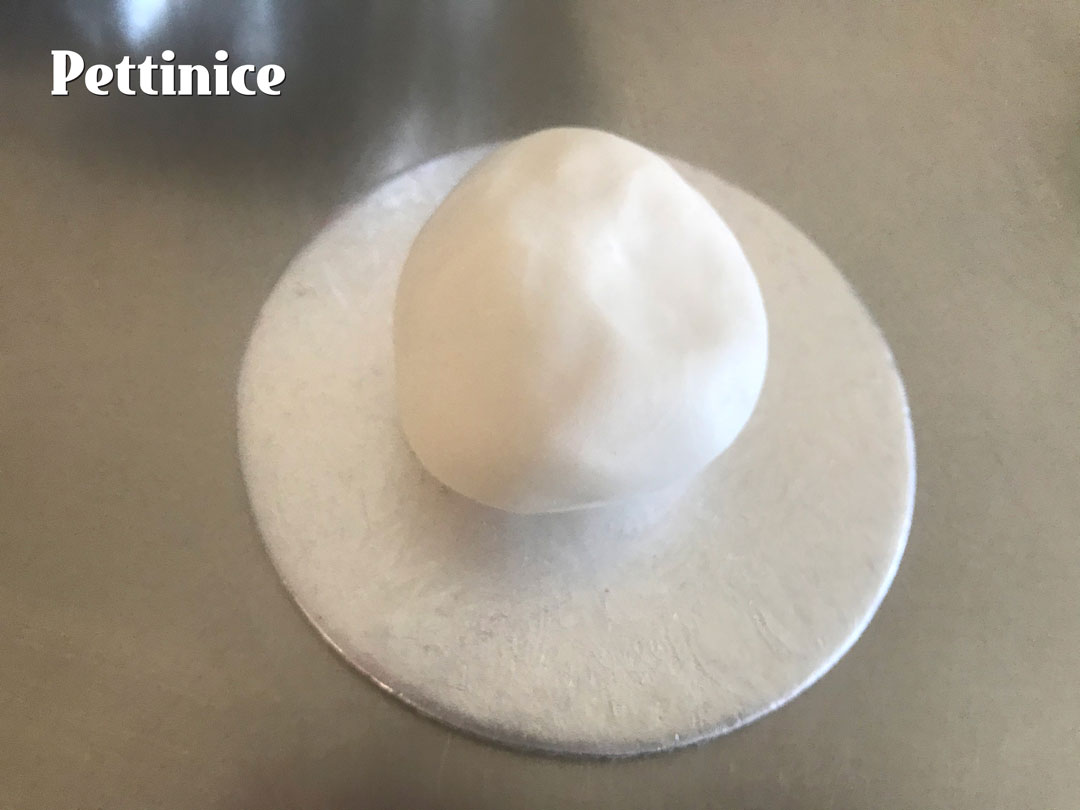
I started with 130gms of white fondant with 1⁄2 teaspoon of tylose
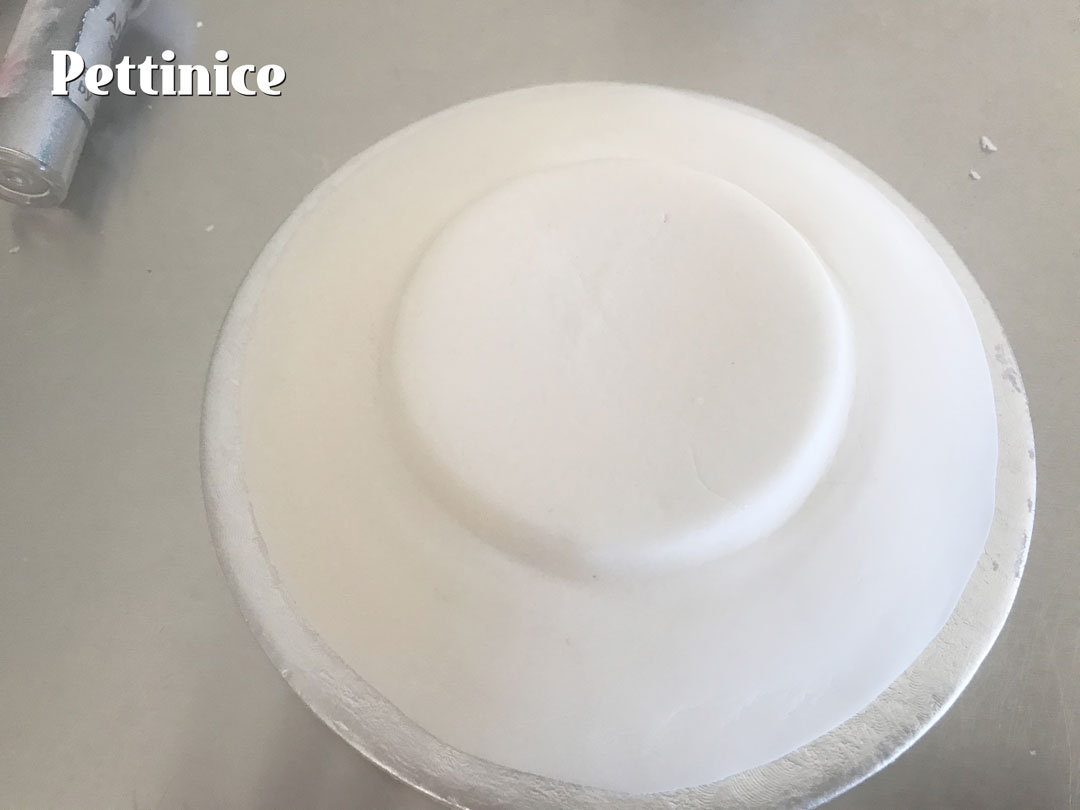
I used my rolling pin starting from the middle and applying more pressure toward the outside, doing this from each angle equally, this should form a dome. When your dome reaches the outside of your cake card, use your cutter to show a circle in the middle of your case – this indicates where to use your Dresden tool to make a further raised rim.
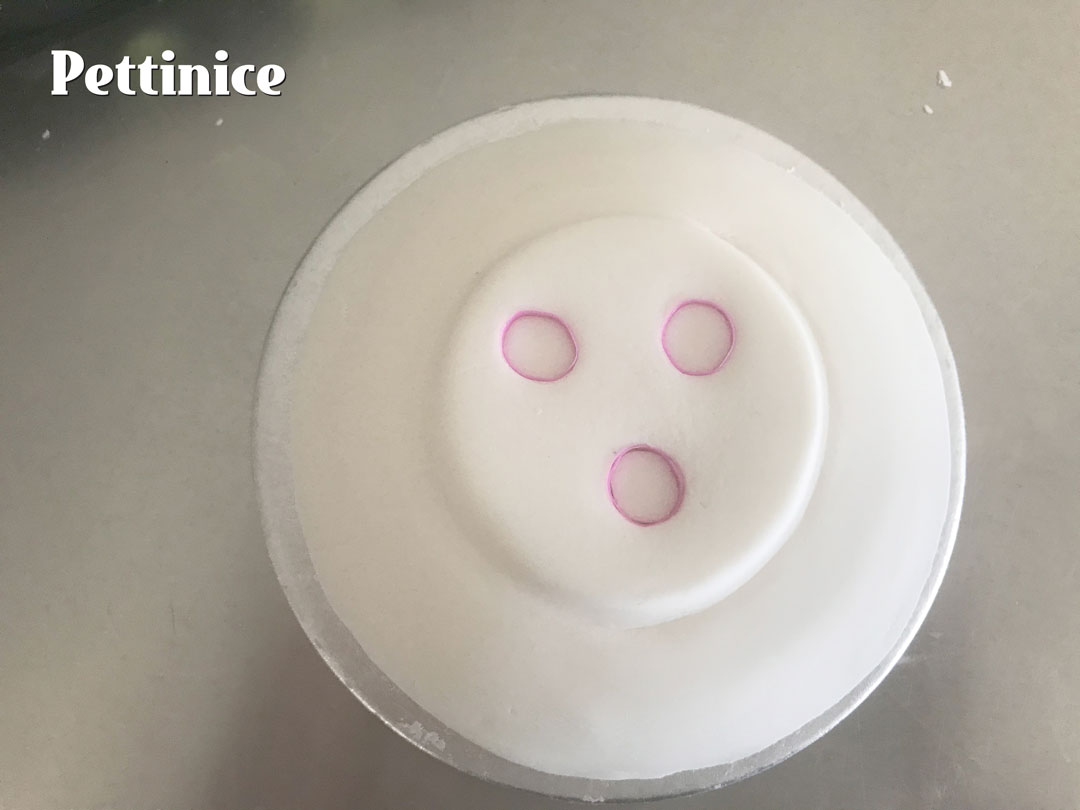
After leaving to set for a couple of hours and then insert your straws, inserting one at first and then using that length to cut all 3 as you need all three to be the same to make sure your cake is level.
Next stage: stack your cake
I used a trimmed down 5-inch cake (keep the scraps as this will be used for the ‘soil’). At each stage, make sure that the height does not exceed a cm lower than the top of the mould/texture that you plan to use for the exterior of your ‘planter’. This is to leave room for ‘soil’.
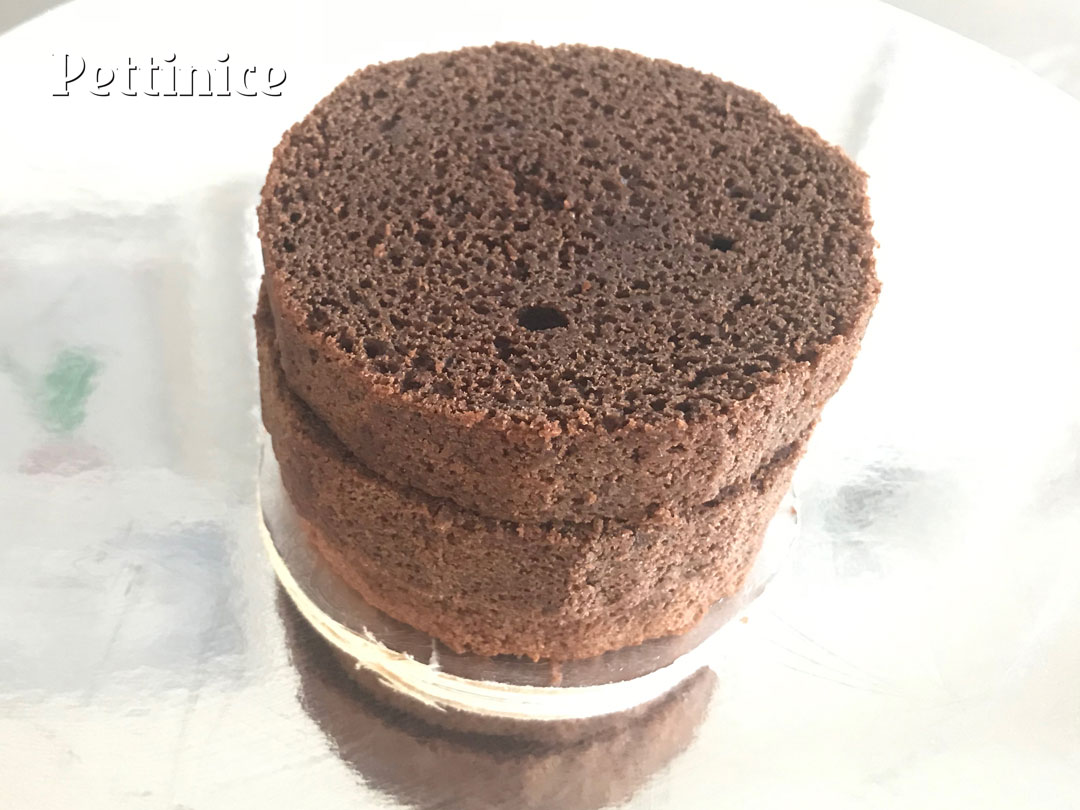
Trim your cake, making sure it is 1 cm lower than the finished outer pot.
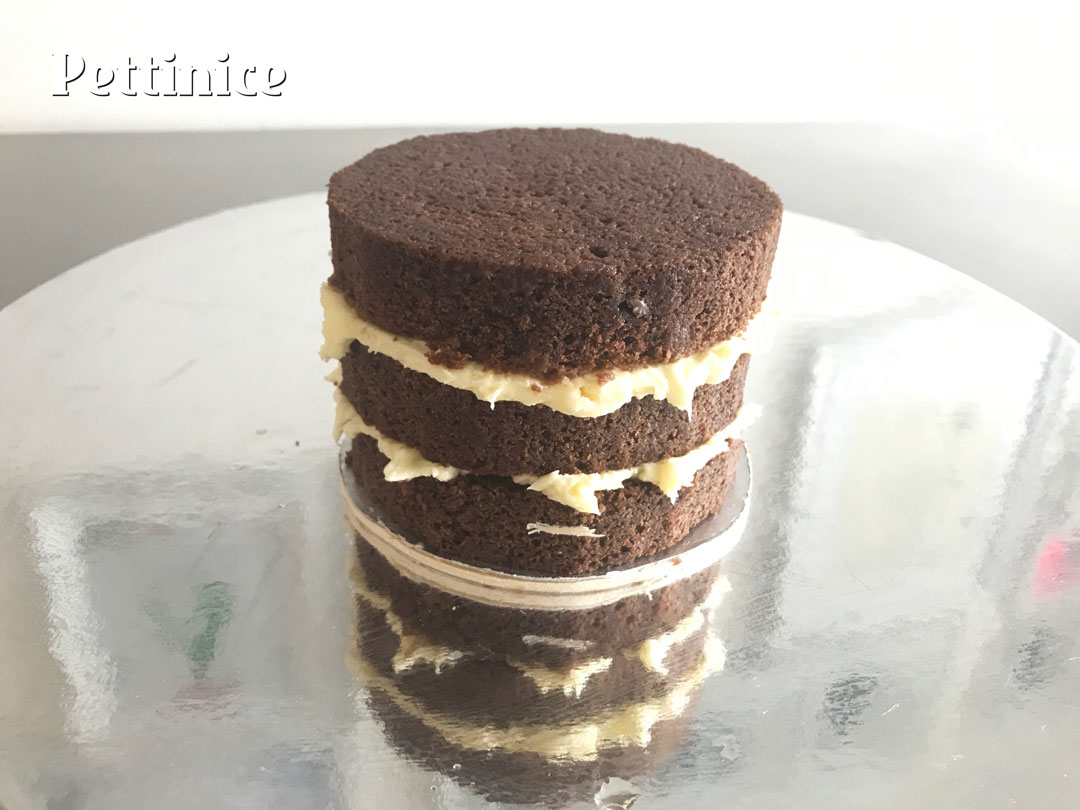
Fill your cake.
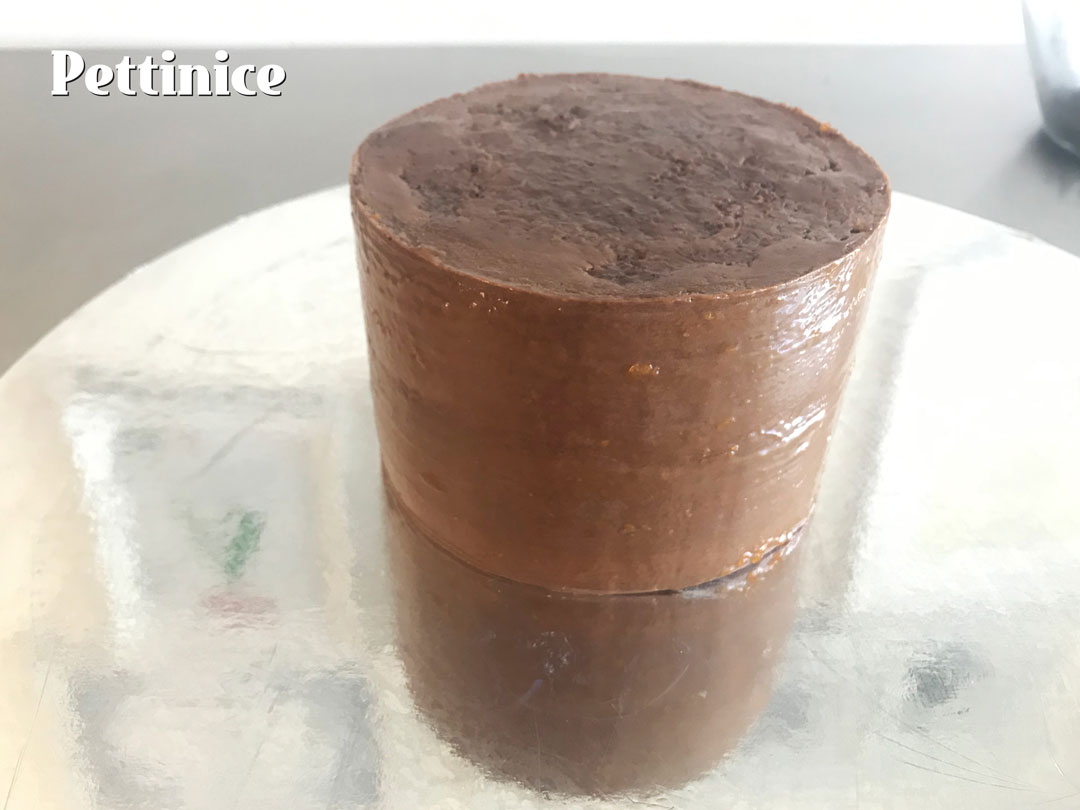
After your final ganache coat, I brush apricot jam to stick my Pettinice.
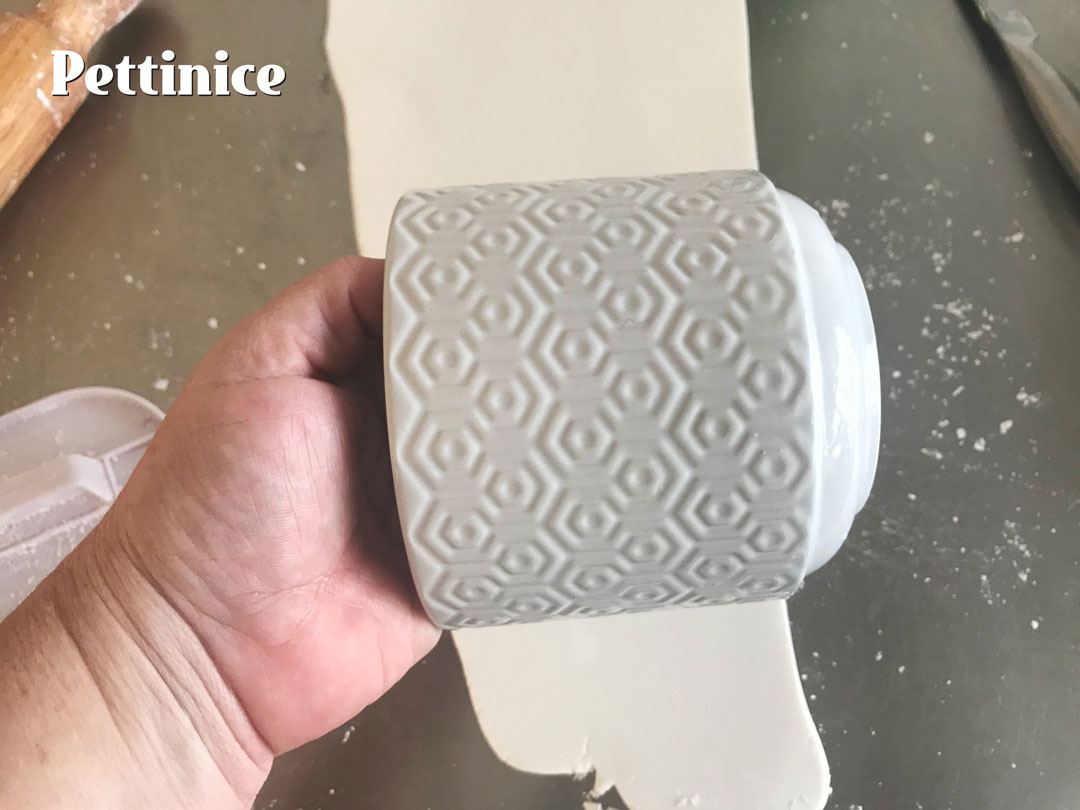
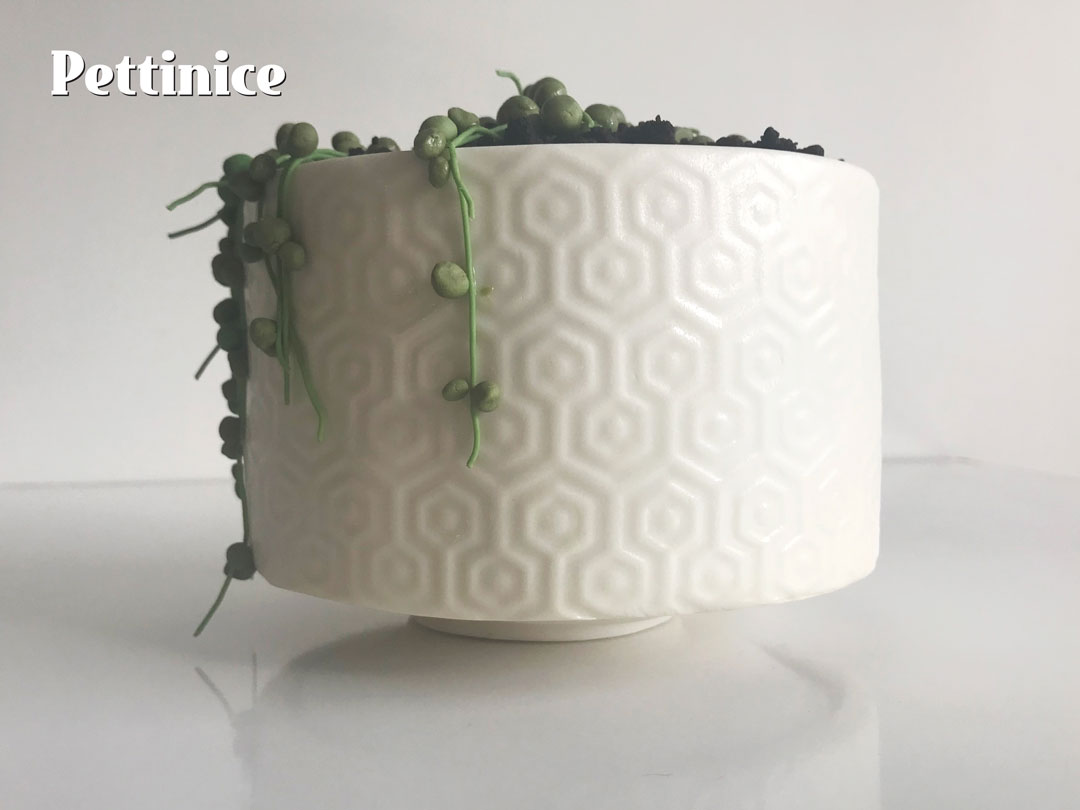
How to make a plant pot with fondant
I think this next step, for me, was the hardest step. Roll out your Pettinice so it is at least 40cm long and about 5mm thick. The hard bit was making sure it is equally thick all along as you don’t want one side of your planter rim thicker than the other.
Once I was happy with the strip I used a (clean and new) plant pot to imprint a texture in the Pettinice, when rolling apply equal pressure so again the rim will all be equal and so the pattern looks even.
Once you have trimmed your imprint (make sure it is 1 cm taller than your ganached cake), it's time to wrap it around your cake.
Try to touch it as little as possible as you don’t want to smudge your imprint. Cut off the excess and work the Pettinice so that both ends blend but not so much that you smudge your imprint, also don’t worry too much as you can have a string of pearls overhanging to cover the seam.
You may wish to use your smoother super gently to ensure your sides are straight – again (sorry to keep repeating myself) don’t smudge your imprint. At this point you can spray your planter with an edible gloss to make the Pettinice shiny, paint with a lustre or simply spray with Bakels Sprink or oil.
Roll out your Pettinice so it is at least 40cm long and about 5mm thick.
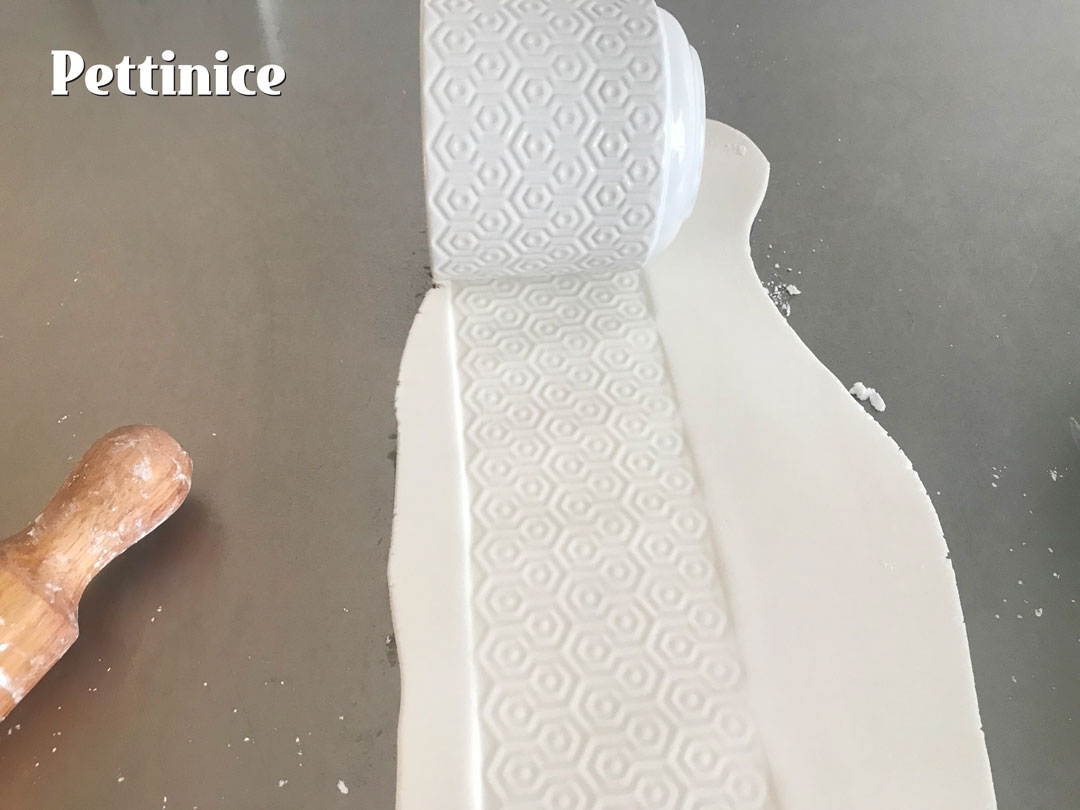
When rolling apply equal pressure so again the rim will all be equal and so the pattern looks even.
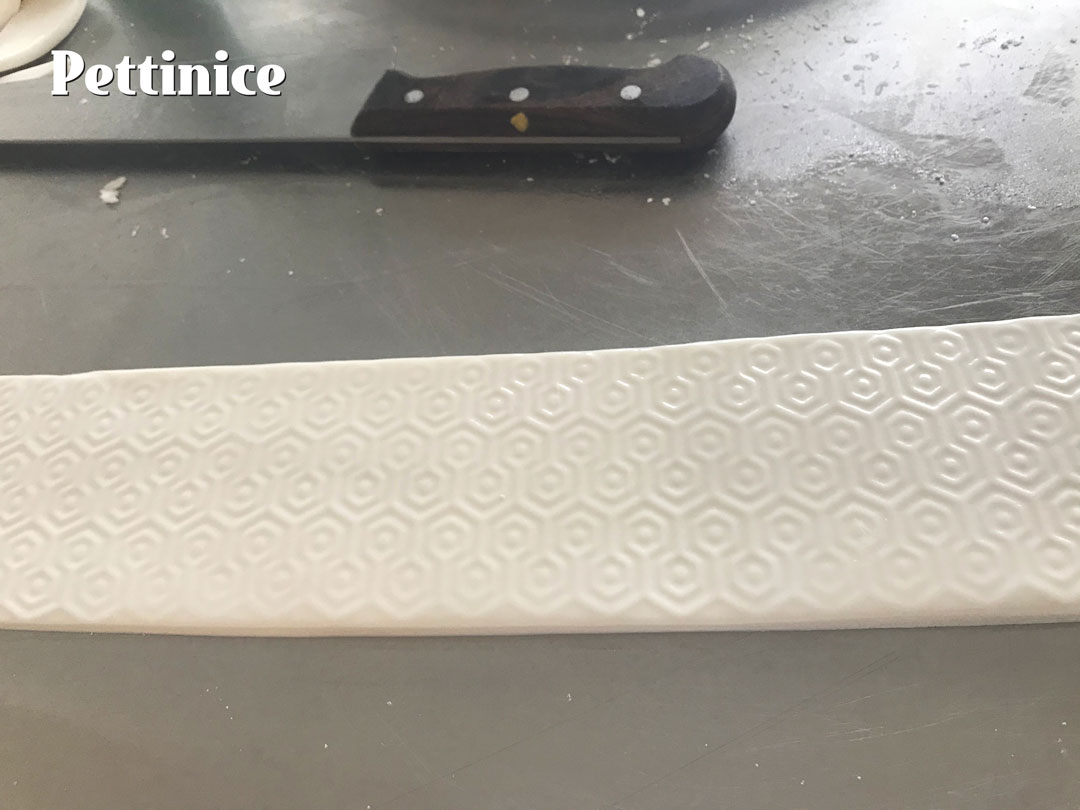
Trim your strip so it is 1 cm taller than your cake.

Wrap your strip around the cake, being careful not to disturb the imprint design.
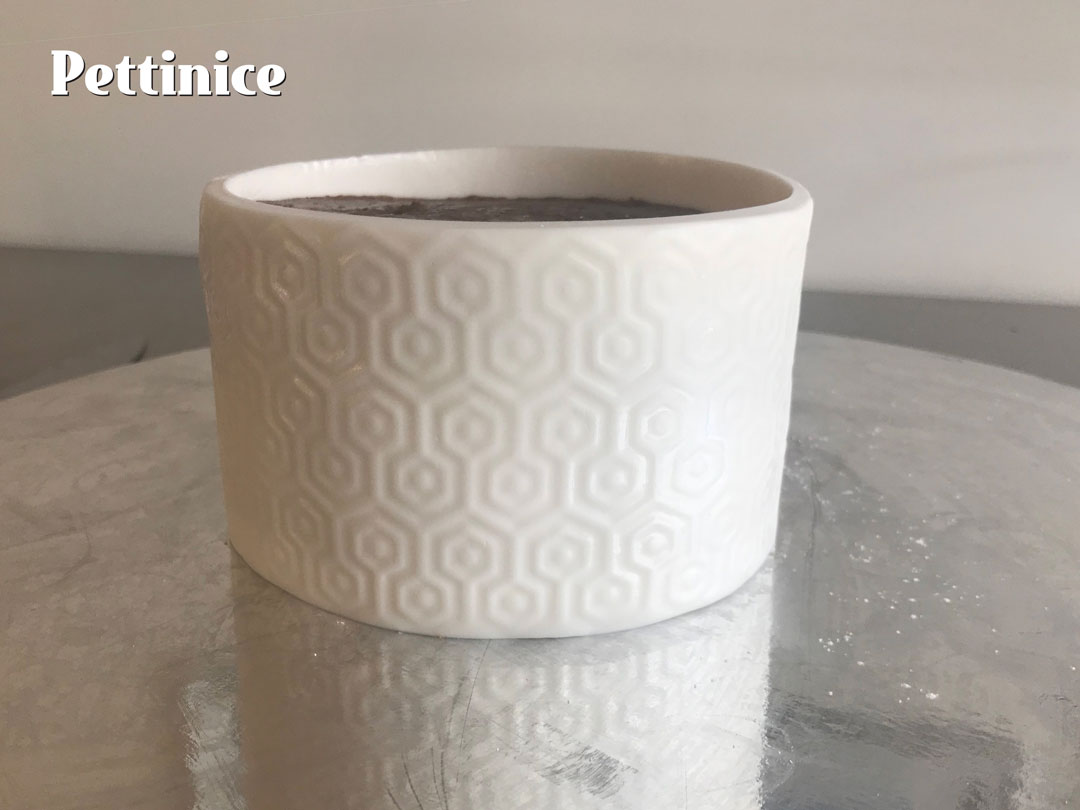
Avoid touching your Pettinice so preserve the embossed design.
Making soil with cake scraps
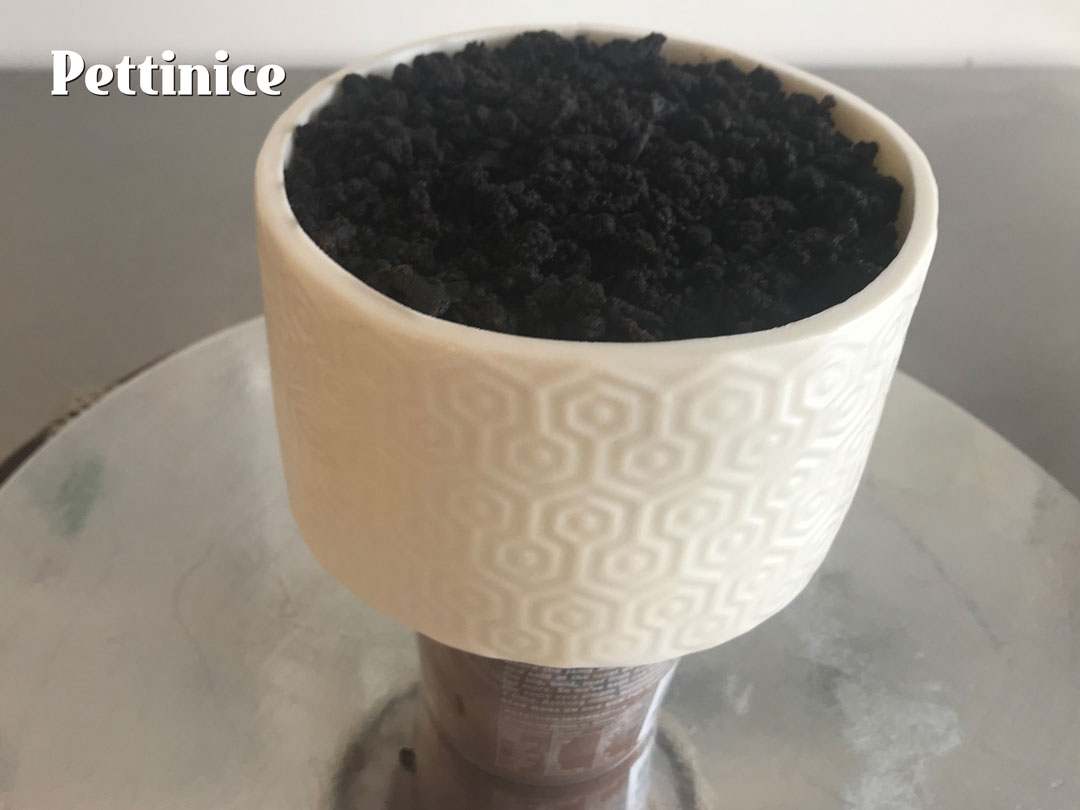
I used the trimmings as mentioned earlier. I crumbled them up and added some black gel colour to the bowl, this worked ok, but I then added black dusting powder and that coloured the ‘soil’ a lot better. Once you are happy with the texture and colour spoon it onto your cake, but don’t fill it to the top as you very rarely have a planter that is filled right up. You could probably use Oreos for this instead if you wanted.
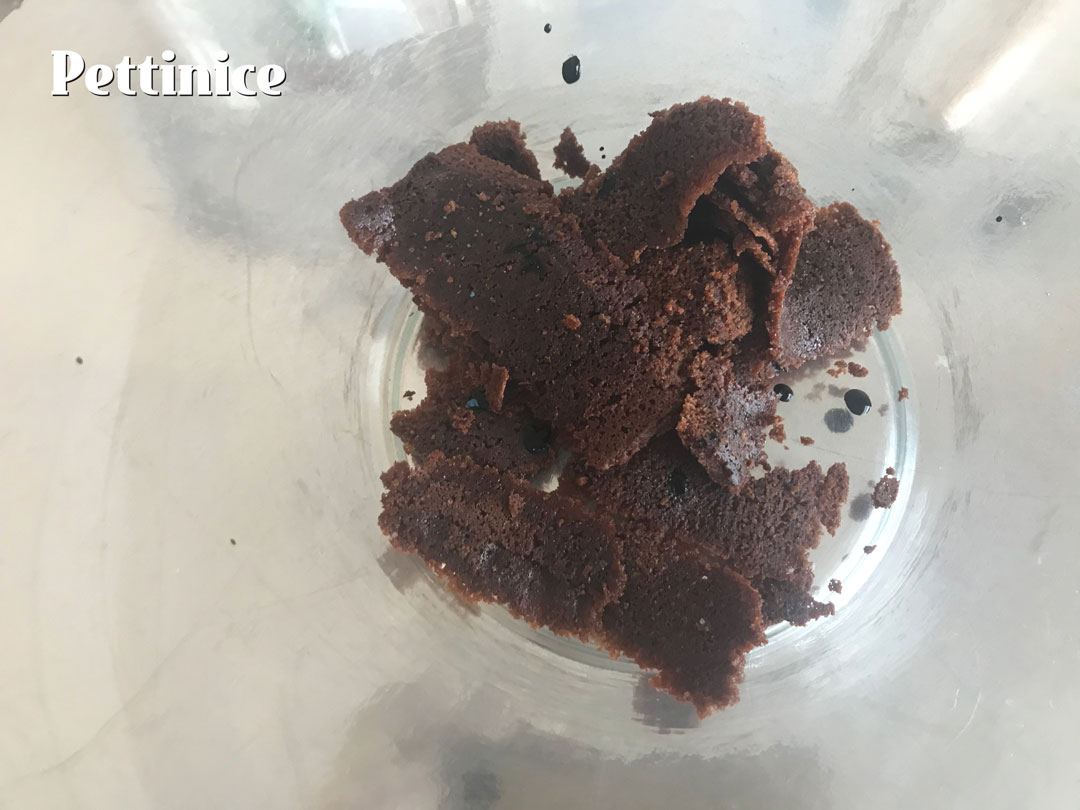
Save your cake scraps to crumble and use as "soil".
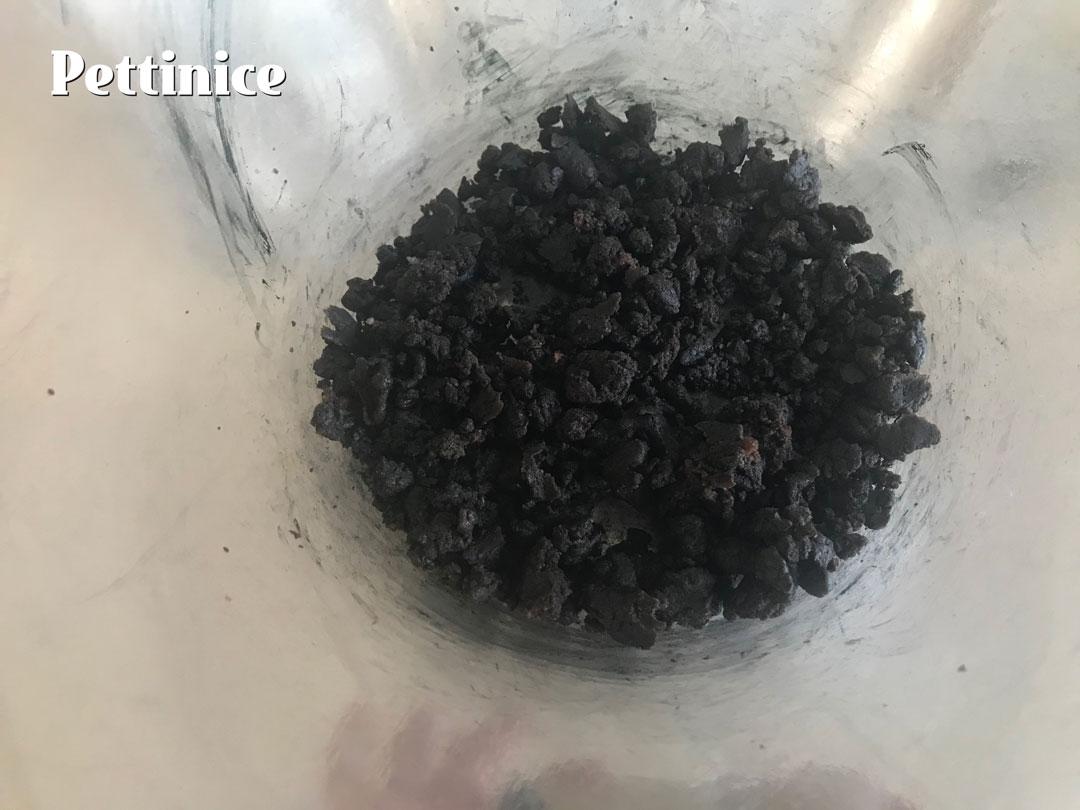
I wanted a darker soil, so I added black gel and dust to my cake straps.
How to make the String of Pearls Plant with fondant
For the next stage, I raised the cake to check that the bottom of the cake was straight and tidy. I then started working on the plant.
I initially used 45gms of white, 34 gms of yellow, 7 gms of green and 5 gms of brown for the green of the plant. As I went, I added a little bit more brown and white just so that it didn’t all look uniform.
I used an extruder for the stems and rolled little balls of different sizes for the pearls. I stuck these to the cake using edible glue. It is good to add the pearls on top before you add the ones on the side, this adds weight to the stems on the side in case your stems don’t stick very well to the soil.
It will take a while but keep adding pearls and then stems to gather height.
I lifted my cake to make sure the bottom edge was even.
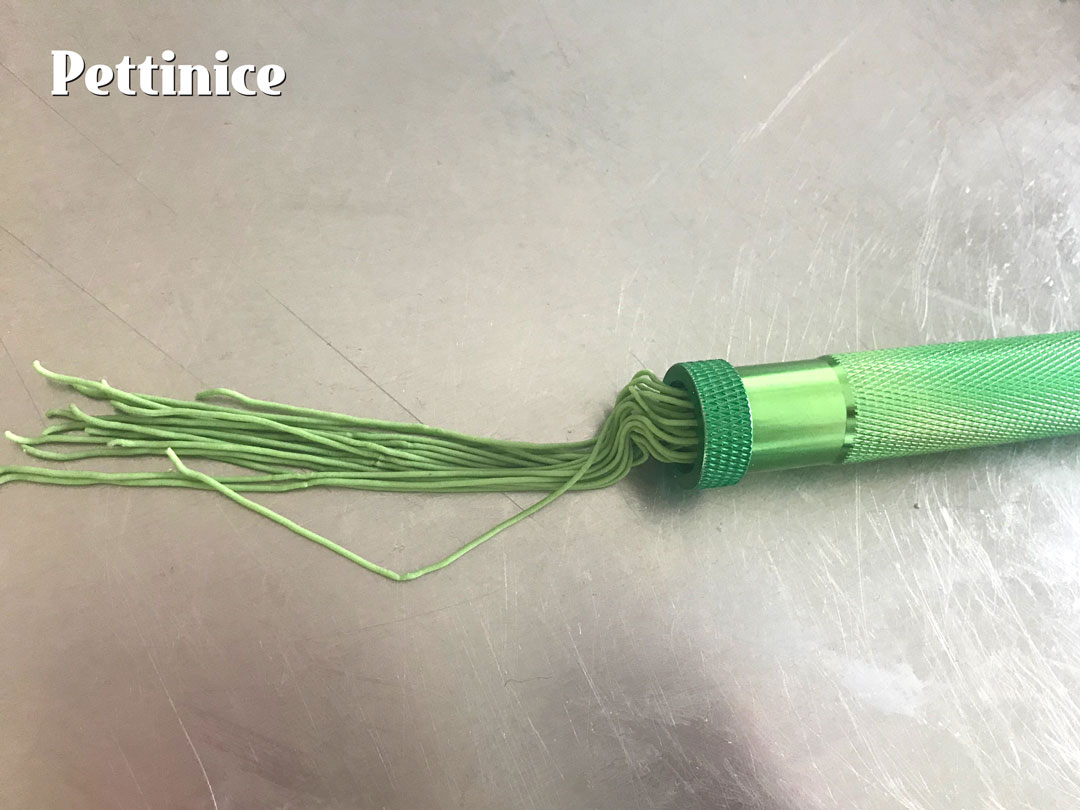
I use my extruder to save time and quickly create the stems.
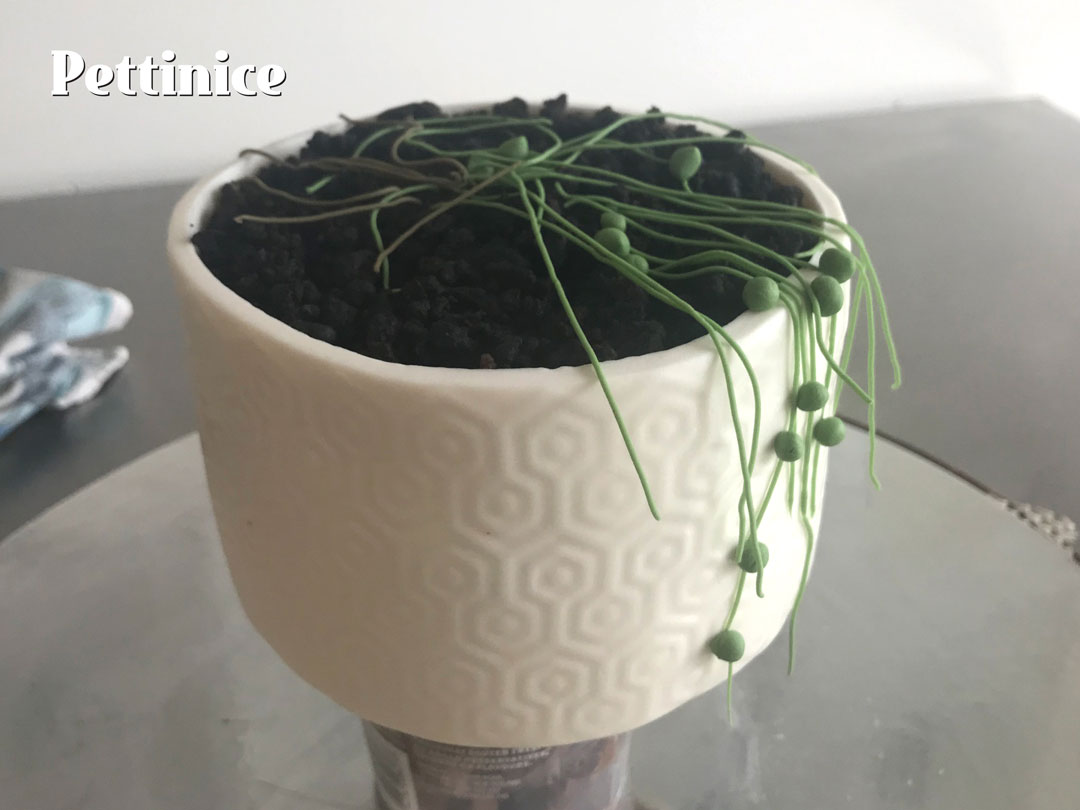
Place your stems and start sticking the pearls to them.
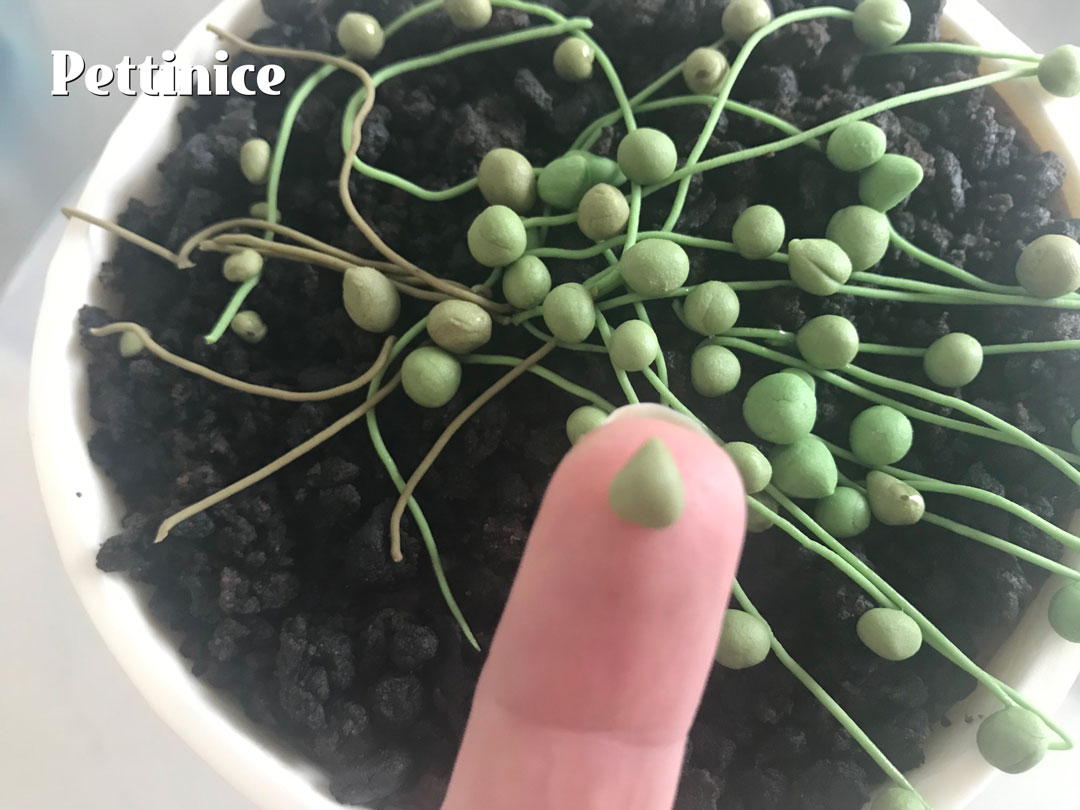
It is good to add the pearls on top before you add the ones on the side, this adds weight to the stems on the side in case your stems don’t stick very well to the soil.
Flip your stand over and remove the cake board. Use a little bit of edible glue to stick the cake on top.
Lastly add the base that has now set, simply put some edible glue on the top of the base and carefully lift your cake onto it. Voila! x


Jo started making cakes for her children around 2001 and her designs have been fun and varied, including an octopus sitting on bananas to a rainbow tree. She laughs when she recalls how terrible her first cakes turned out, but enjoyed making them so much she decided to learn how to decorate a cake properly. Now she enjoys sharing her skills while teaching and demonstrating. Her number one tip: “Patience is a virtue, so spend that extra time to get it right."
See more of Jo's cakes at ![]()
![]()