How to make a fondant strawberry with Karin Klenner
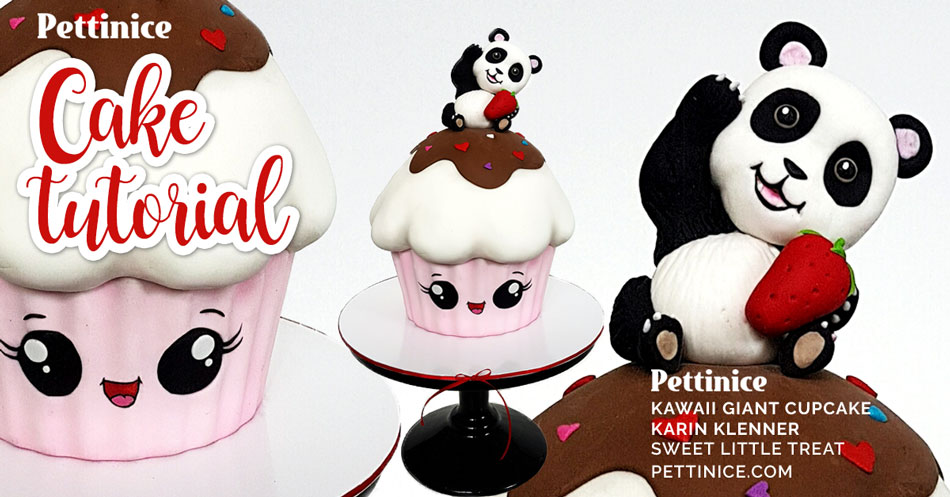
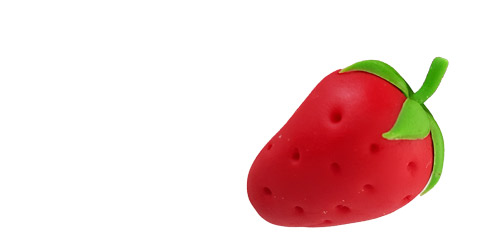
How to make a berry cute kawaii fondant strawberry
You will need:
- Red fondant
- green fondant
- small and large silicone tipped pointy tool or any pointy tool
- paint brush
- small rose calyx cutter
- water
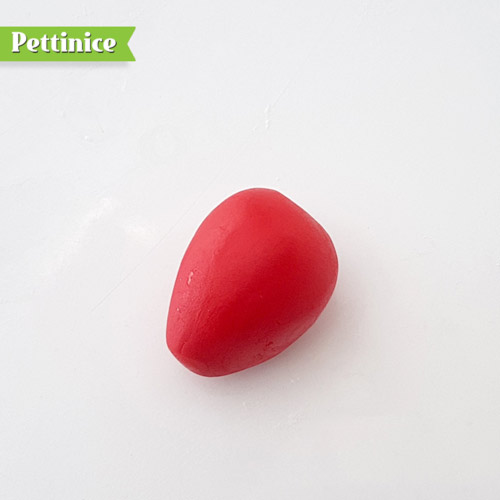
Take a red ball of fondant, use your fingers to roll in to taper in the bottom making a strawberry shape.
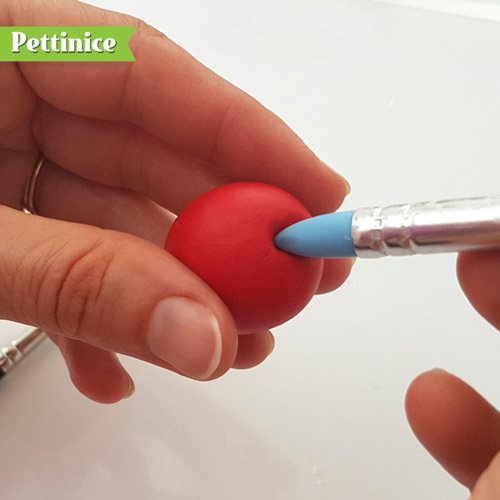
Take your larger tool and make an indent in the top.
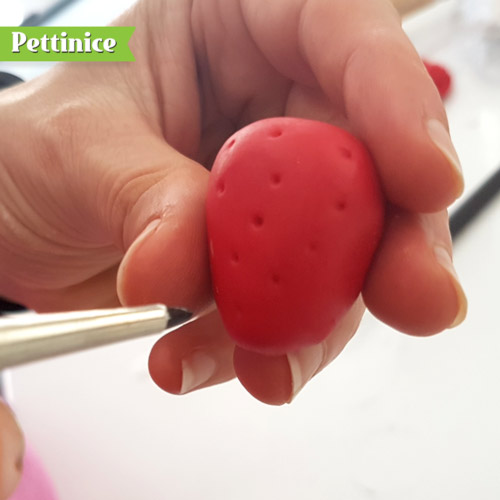
Take your small pointy tool and make dots.
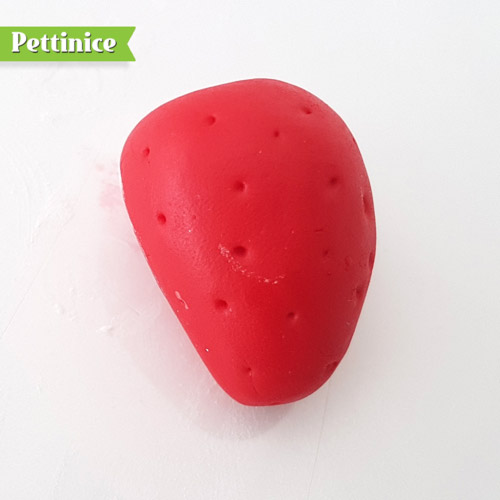
Done! Next...
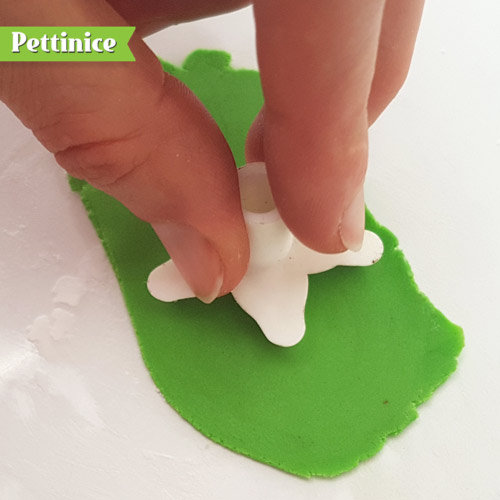
Roll out a very thin piece of green fondant.
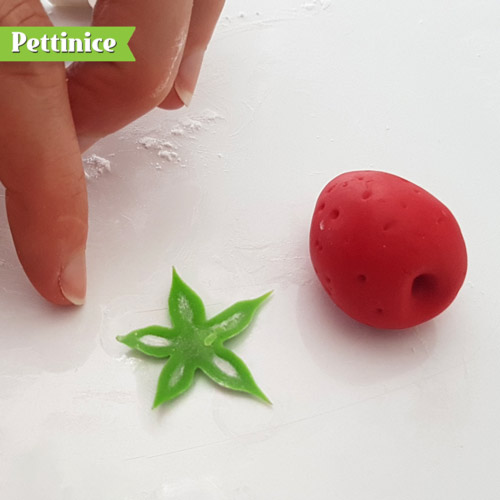
Use your cutter or a blade to cut out a strawberry leaf top. Make sure you clean around the edge with your finger so it cones out tidy.
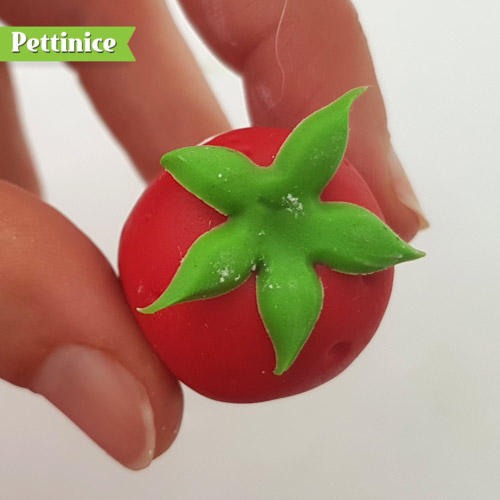
Add to the top of the strawberry with a bit of water. Indent the top a bit in the centre so your stem will have a nook to sit in.
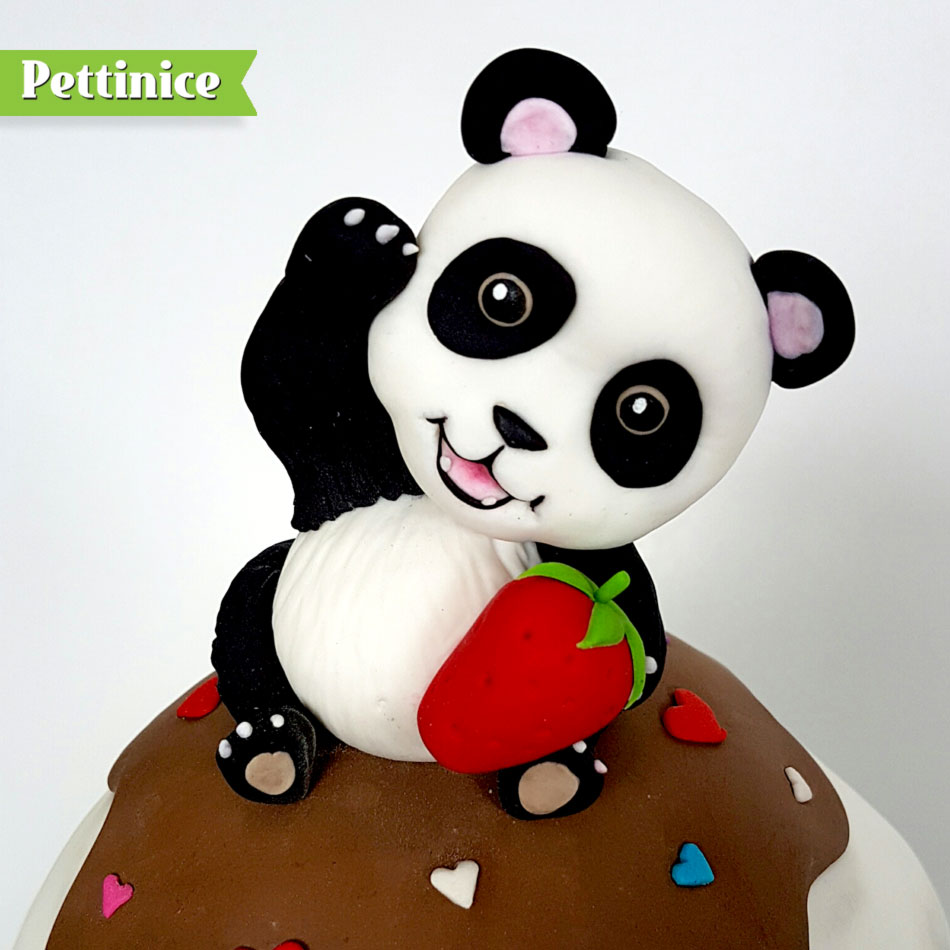
Using a toothpick to support your strawberry, use your sugar glue to place it on your figurine.


Karin Klenner owns Sweet Little Treat located in Hamilton, New Zealand. She says "I'm a mum to two little boys which are my world (and have been known to destroy my world by attacking the odd cake) and married to an amazing guy who, thank goodness, is very good with a drill because my favourite cakes to do are 3D sculpted cakes. I love doing animals especially."
You can find Karin on Facebook and Instagram. ![]()
![]()