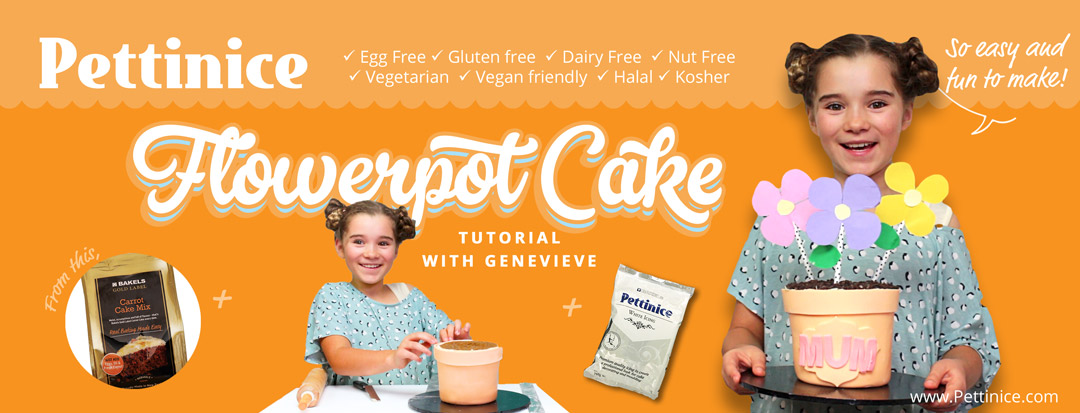
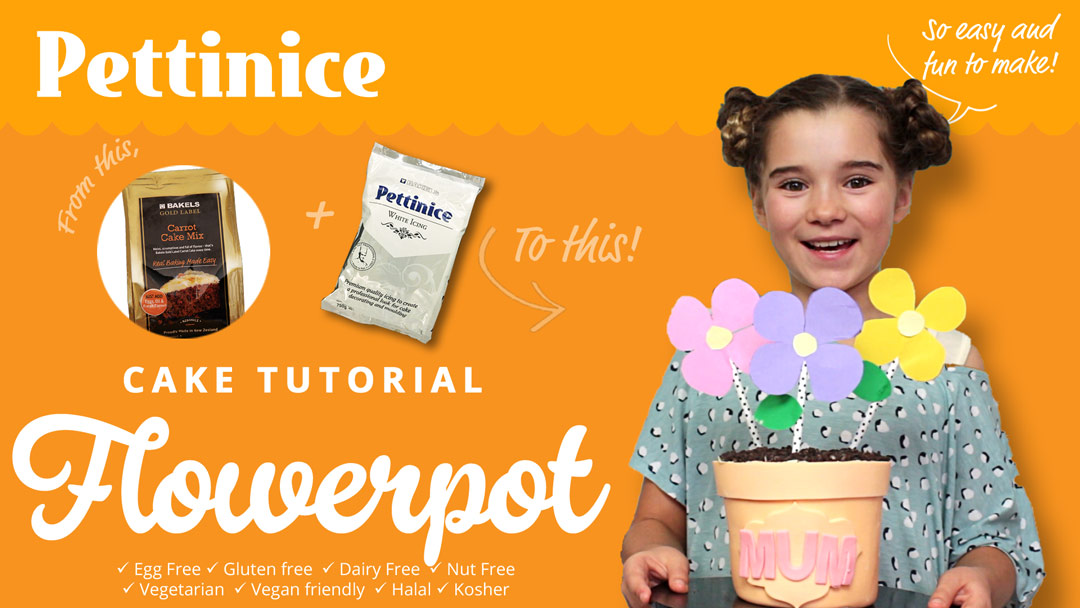
Flowerpot cake for Mother's Day
Decorating time: approximately 2 hours
Decorating skill: Beginner or Intermediate Kids
Edibles needed:
- 1 pack of Gold Label Carrot Cake Mix
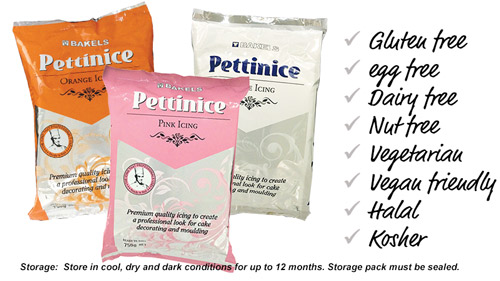
- White Pettinice
- 50g Orange Pettinice
- 15g Pink Pettinice
- Crushed dark cookies
- Vegetable fat for sticking fondant
- Cornflour for dusting
Extras:
- Skewers or straws
- Coloured paper
- Tape or Glue
- 5" and 4" cake card (if you want a more tapered pot, use a 5" and 3" instead.
Tools needed:
- Spatula
- Tall scraper
- Sharp blade
- Cake smoother
- Circle cutter
- Alphabet cutters
- Rolling pin
- Carving knife
- Small blade for cutting
- Ruler

Proudly made in New Zealand.
Watch the full tutorial here:
Making the cake
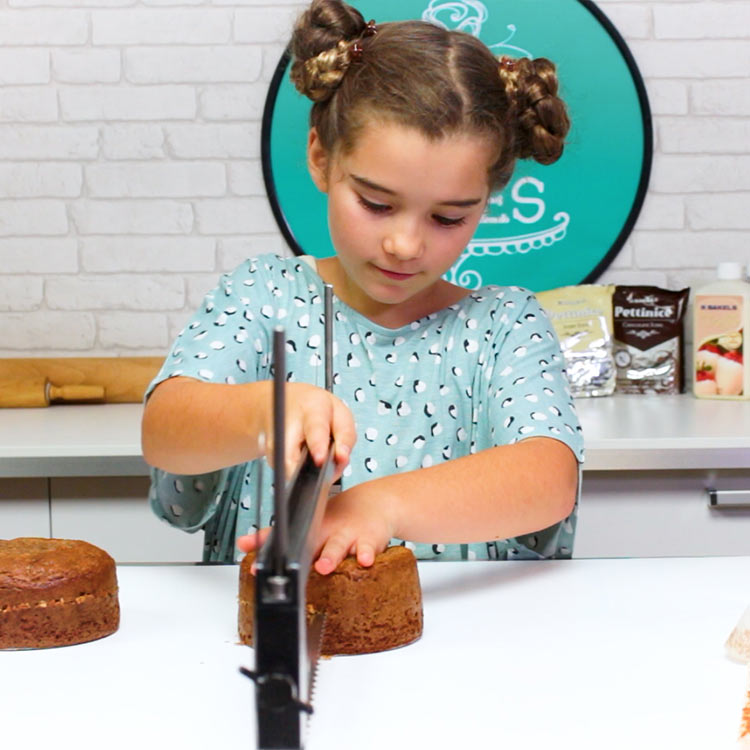
I'm leveling my cakes to end up with four equal layers.
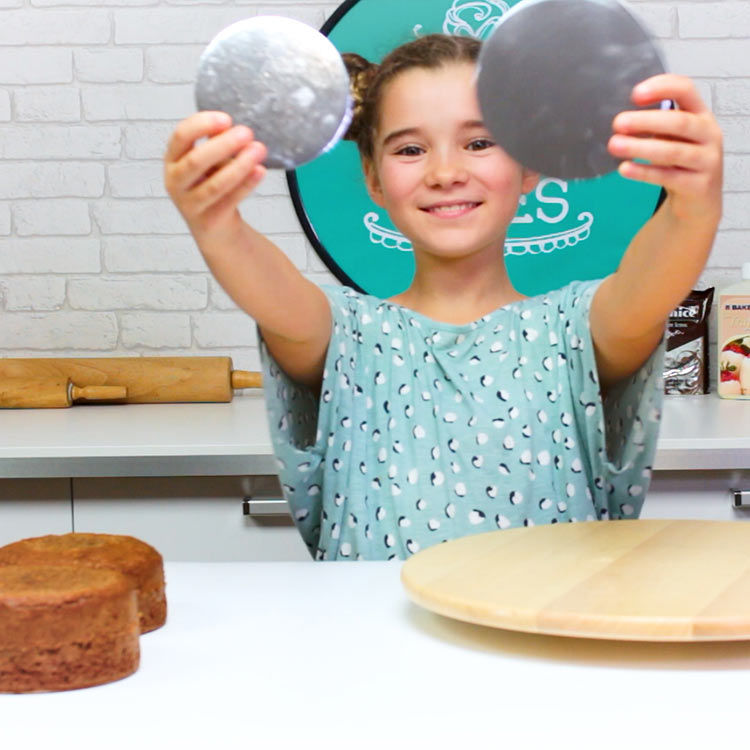
I'm using a 5" and 4" cake cards. If you want a more obvious shape, use a 5" and 3".
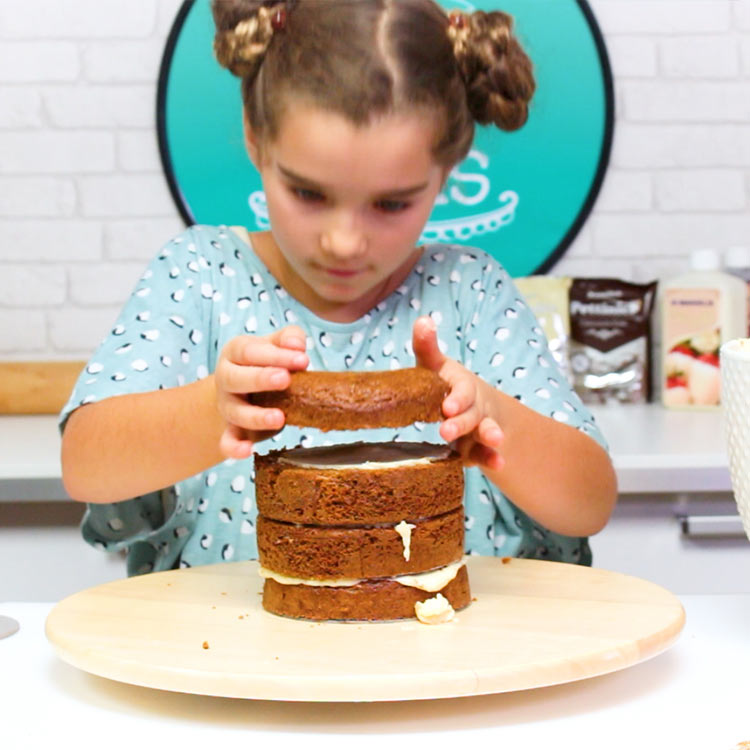
Now it's time to stack and fill my cakes.
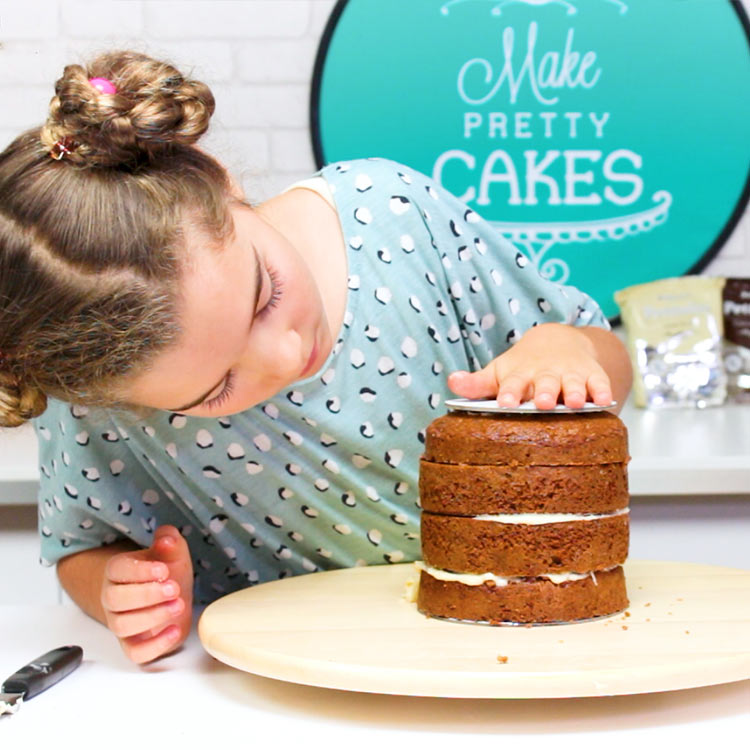
Place your smaller cake card on top, and check tiers are even.
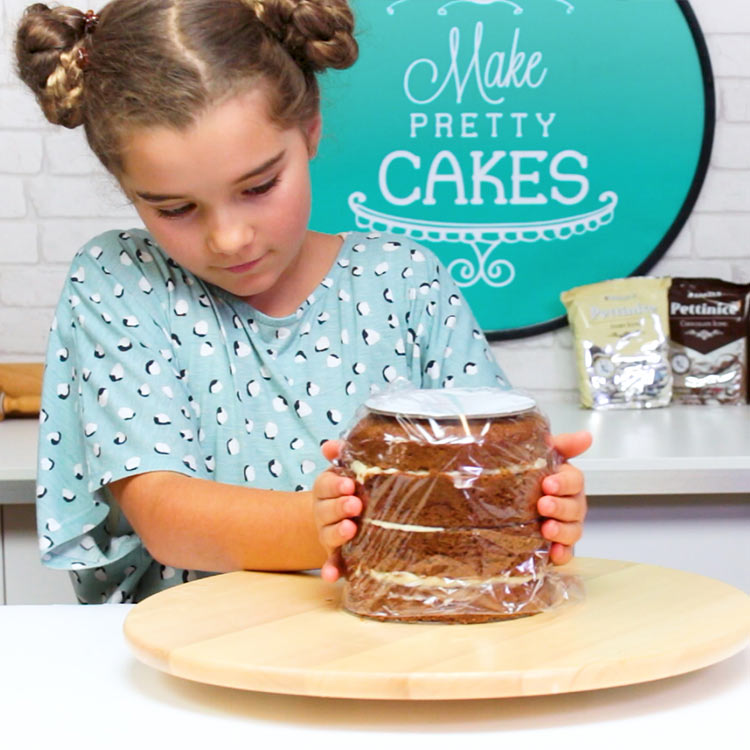
We are going to pop this is the freezer, so protect the cake with some cling film.
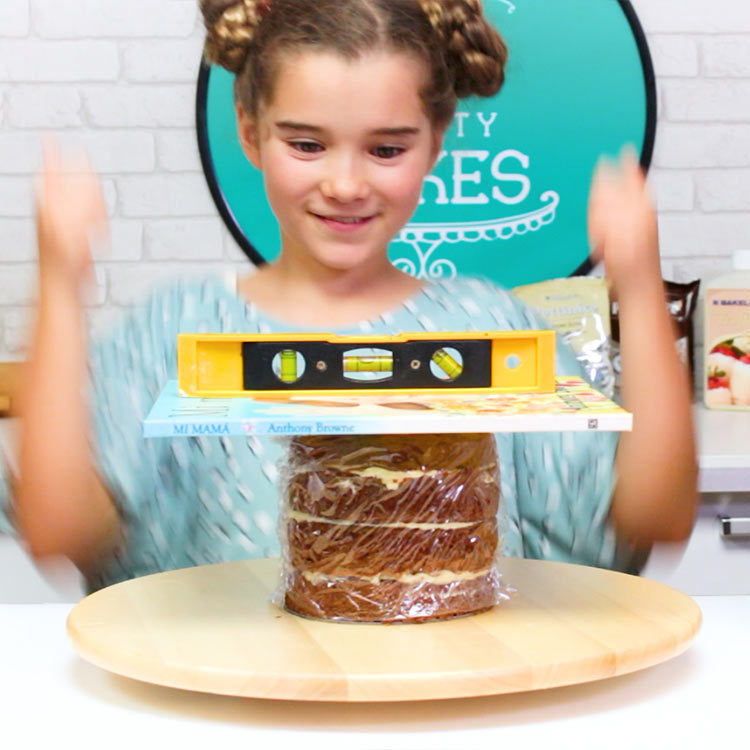
Use a book to help the cake settle and a level is also helpful too.
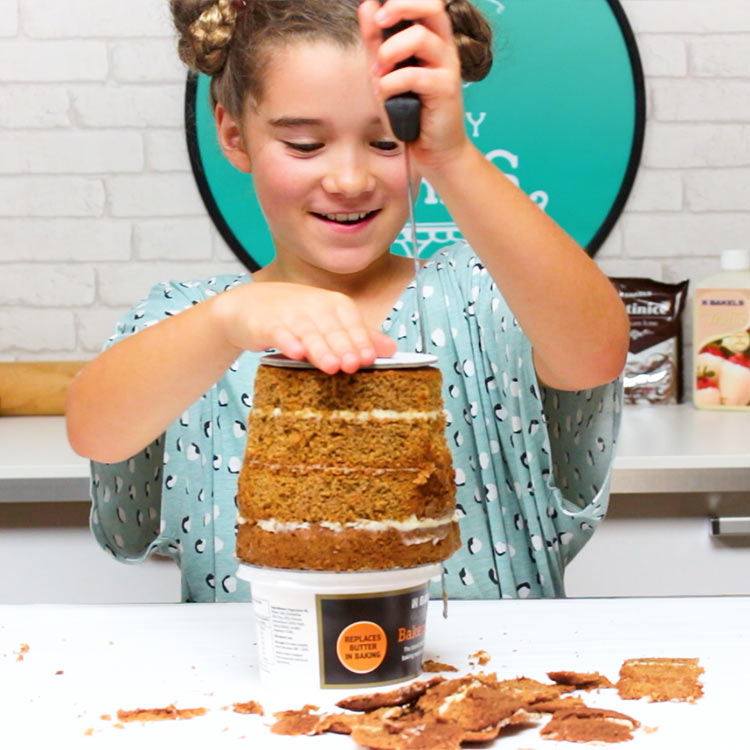
Start carving your cold cake Use the cake boards to help guide you.
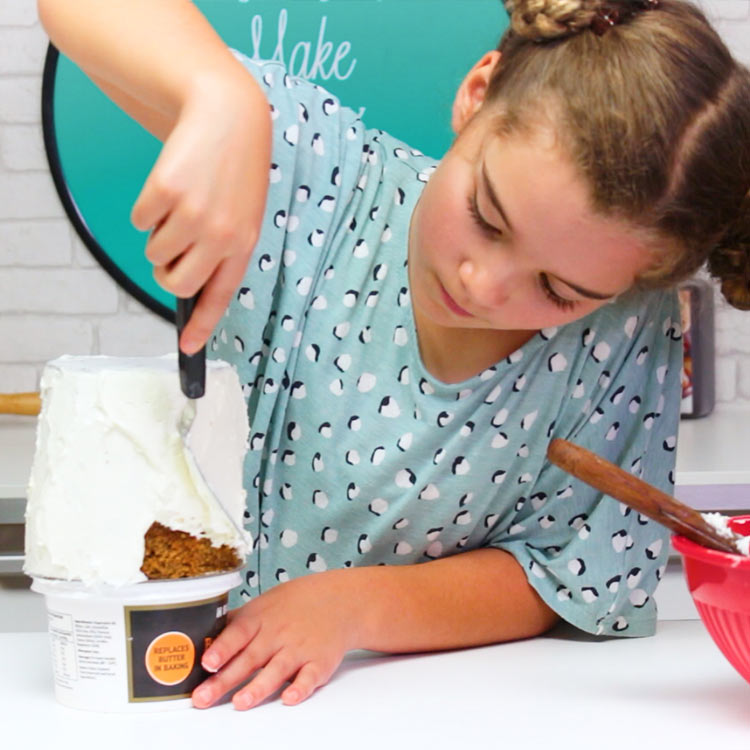
Dont be afraid to put heaps of Bakels chocolate truffle on, because we are going to scrape it smooth.
You might need to do this a few times to fill in any gaps.
Move your cake onto a board and put in the fridge or freezer to set while you prepare your fondant.
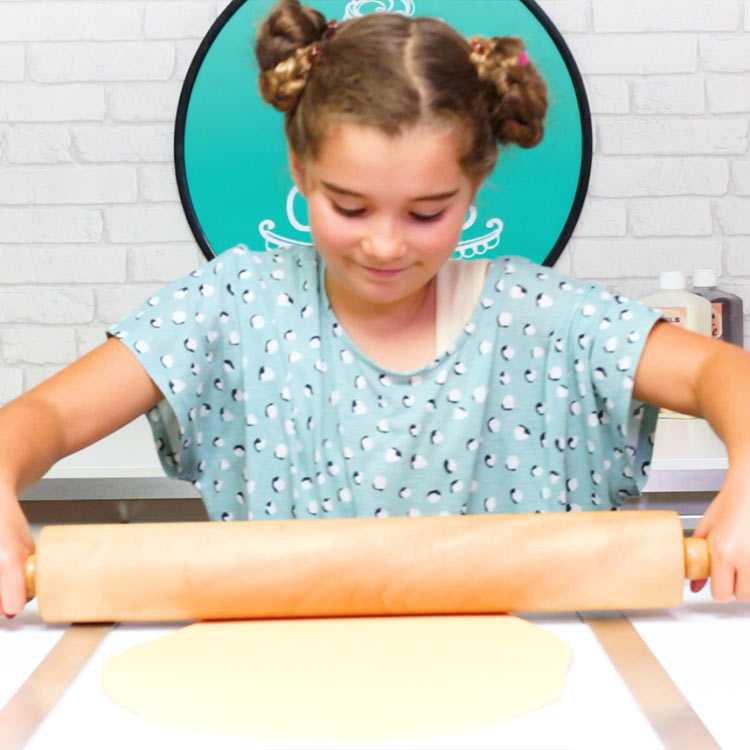
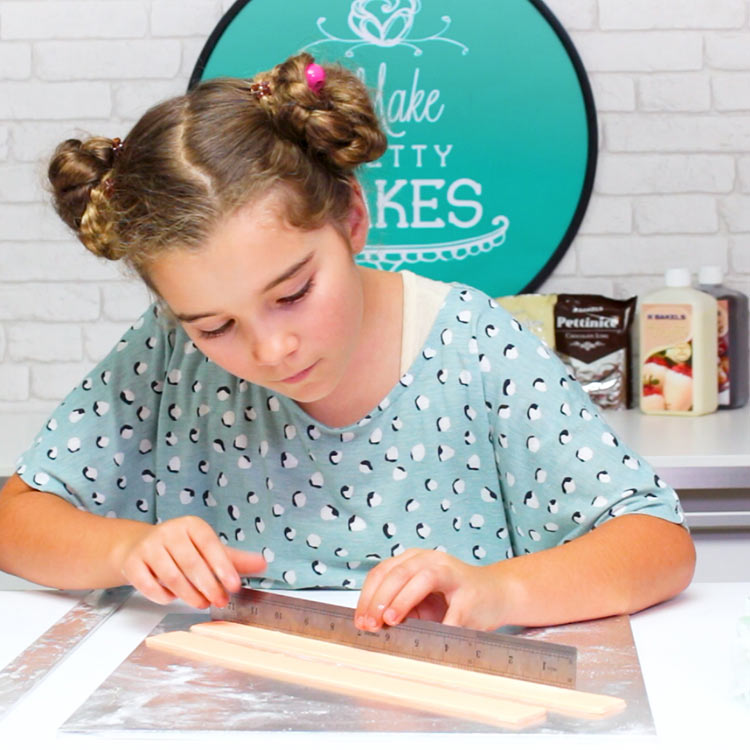
To help me roll my fondant evenly, I use these aluminium spacers found at local DIY shops.
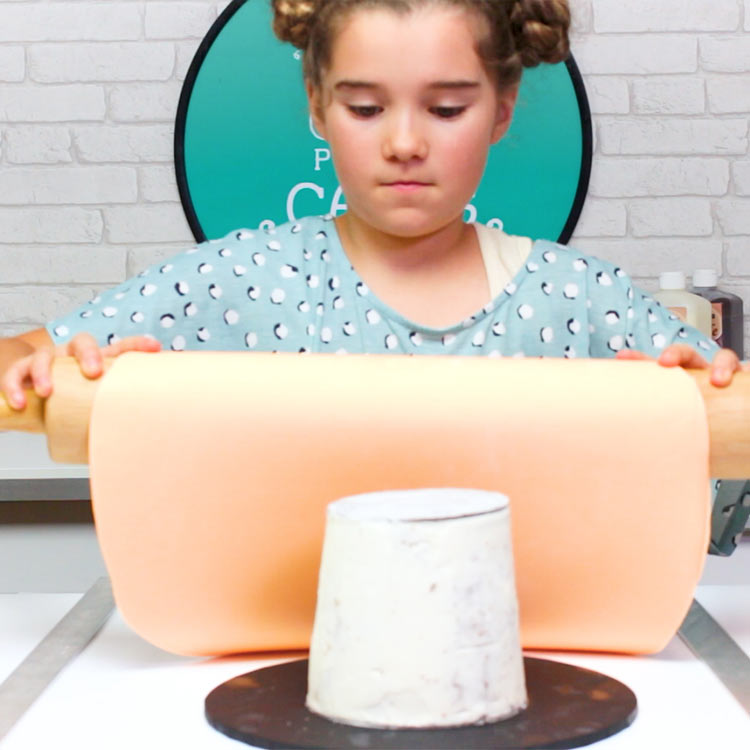
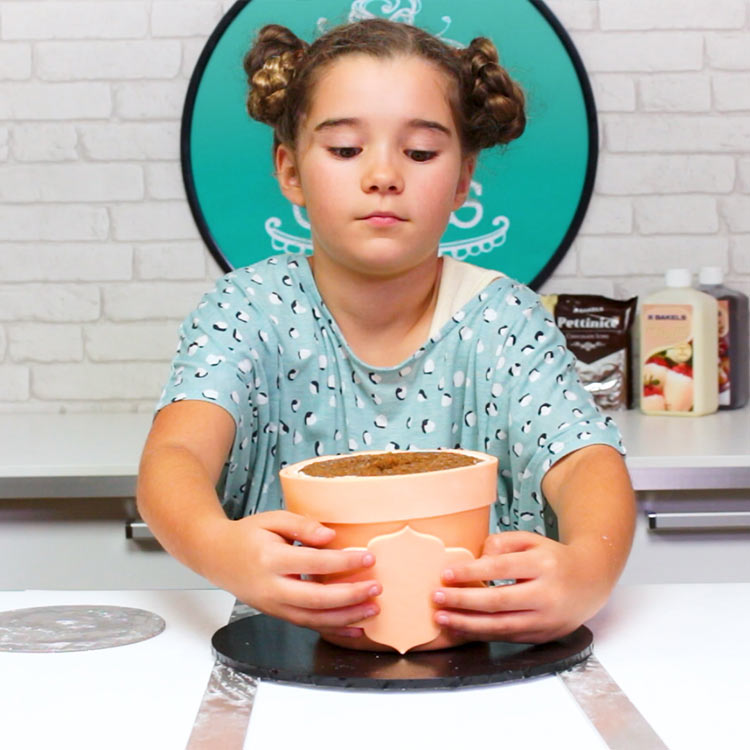
Remove the cake from the fridge and if it's not sticky to the touch, spray a little water or rub with vegetable fat so the fondant will stick to it.
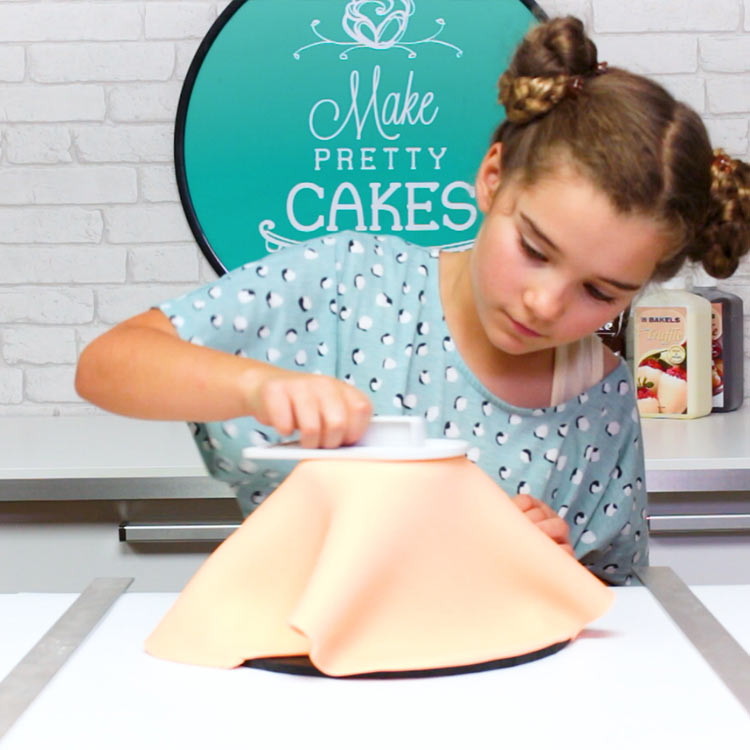
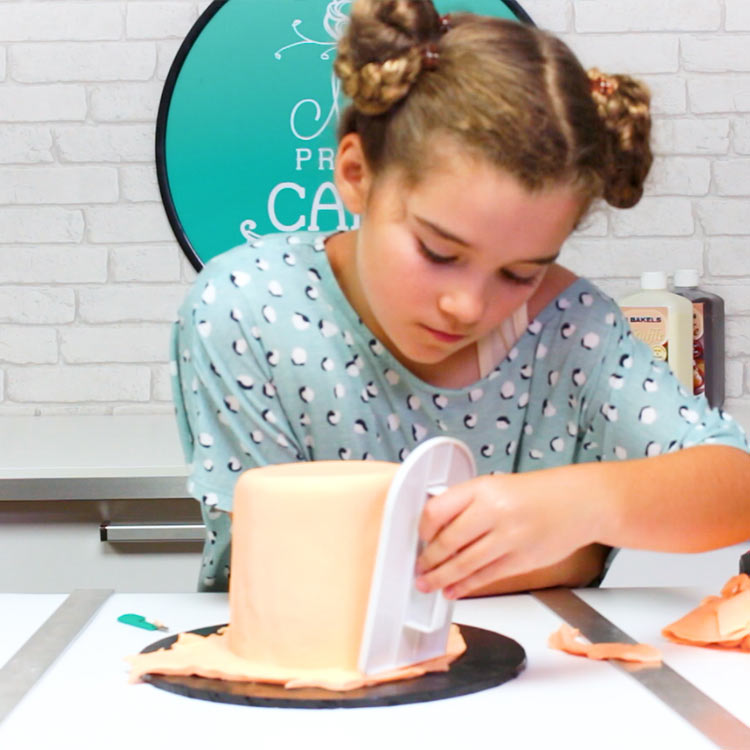
Secure the top of the fondant first,
Work quickly so the weight of the fondant doesn't pull and cause it to tear.
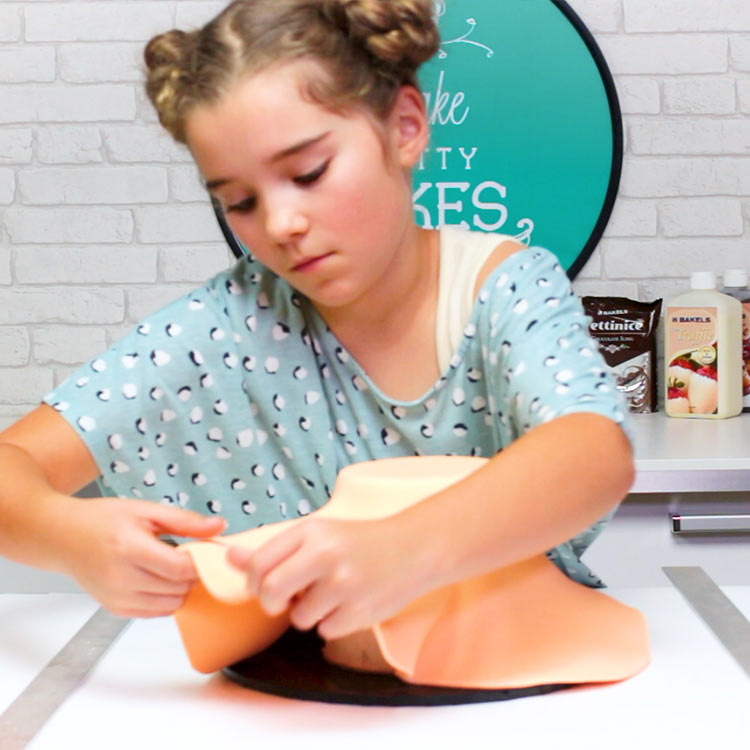
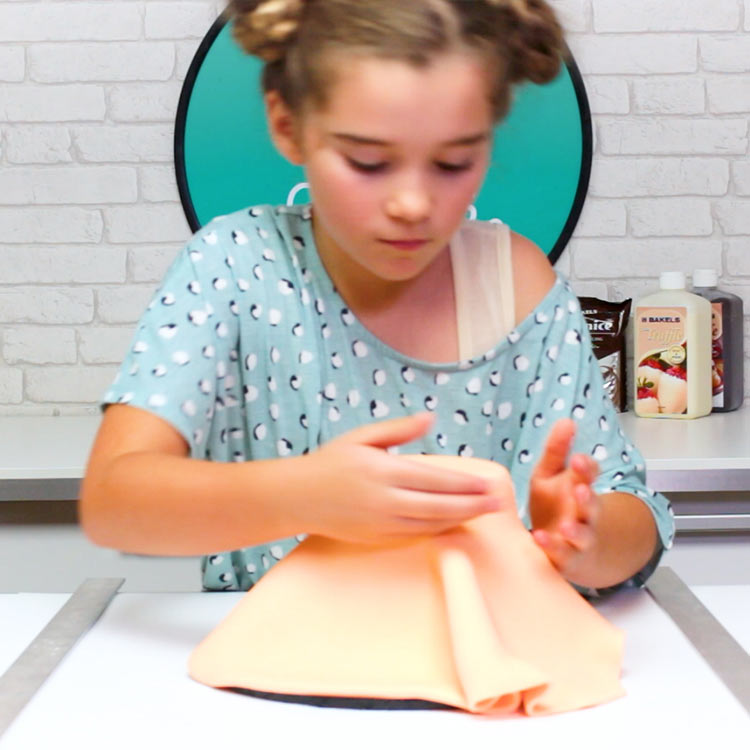
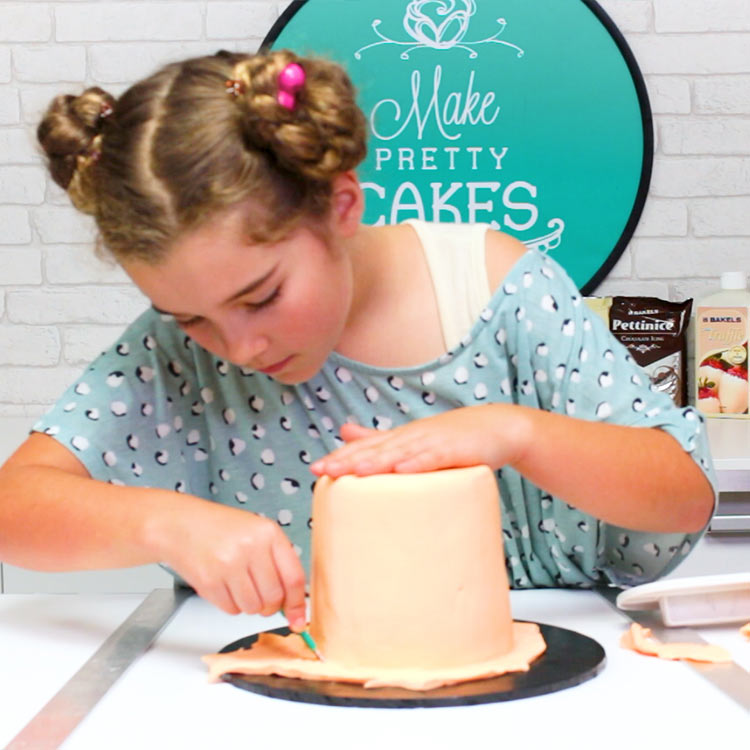
Keep working your way down the cake, being careful to fan out the fondant where it might be creating a pleat.
Cut away the excess fondant.
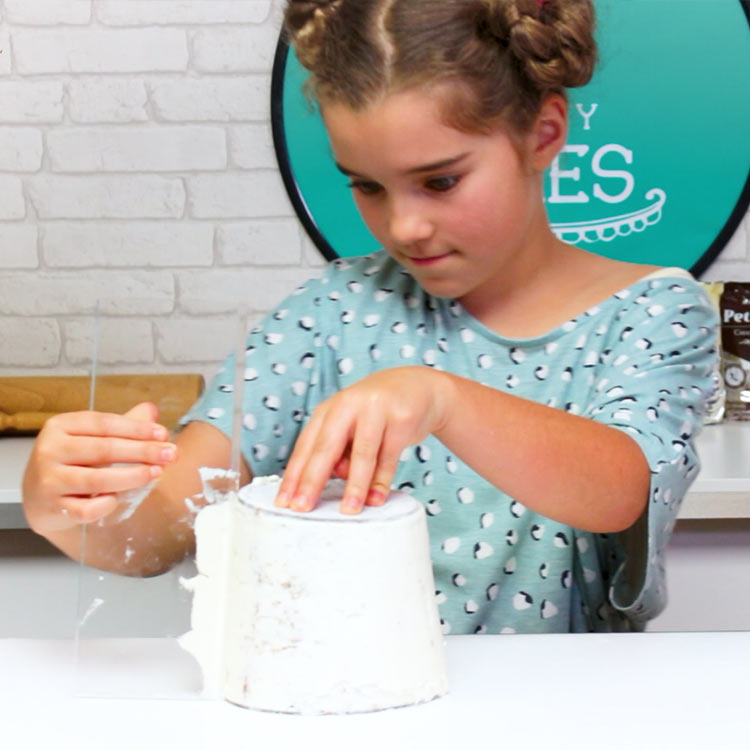
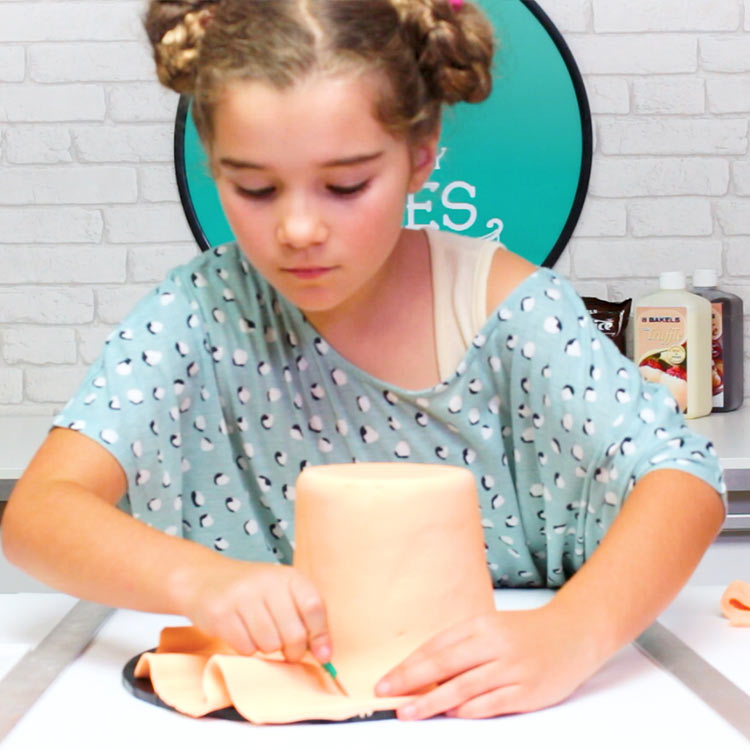
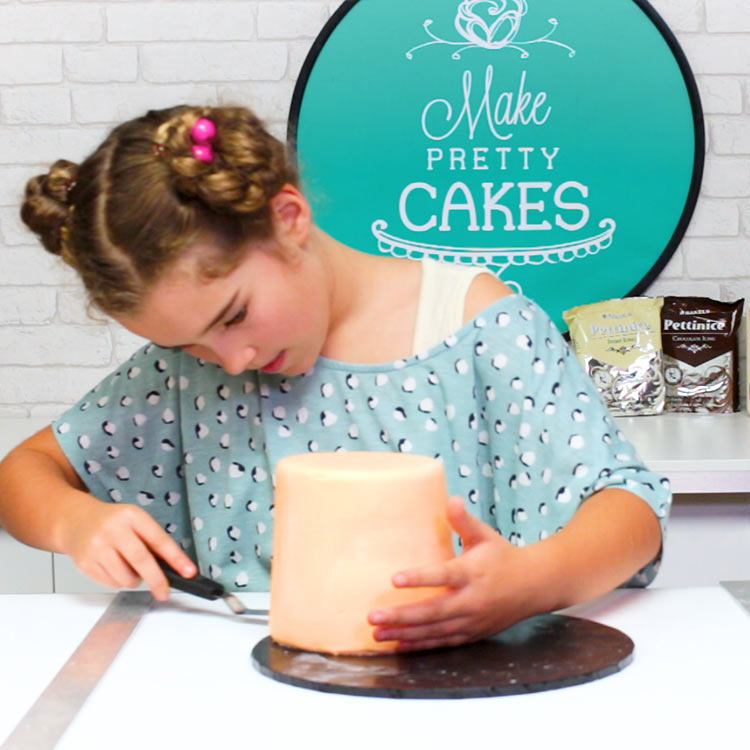
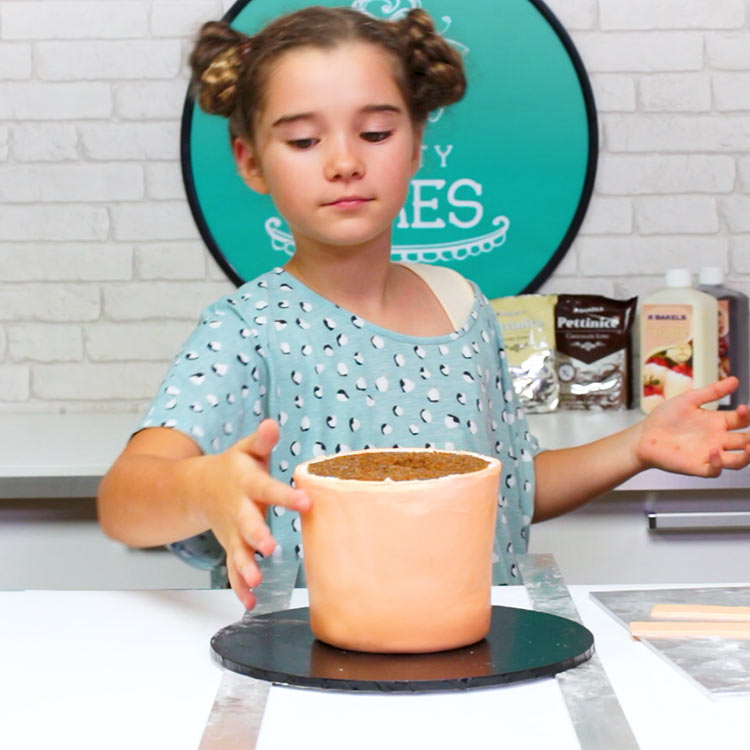
Press your smoother down to secure the bottom edges.
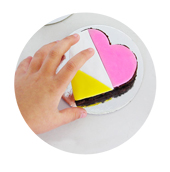
Now you can see where to trim the cake. Don't worry too much, as we are going to be covering it later.
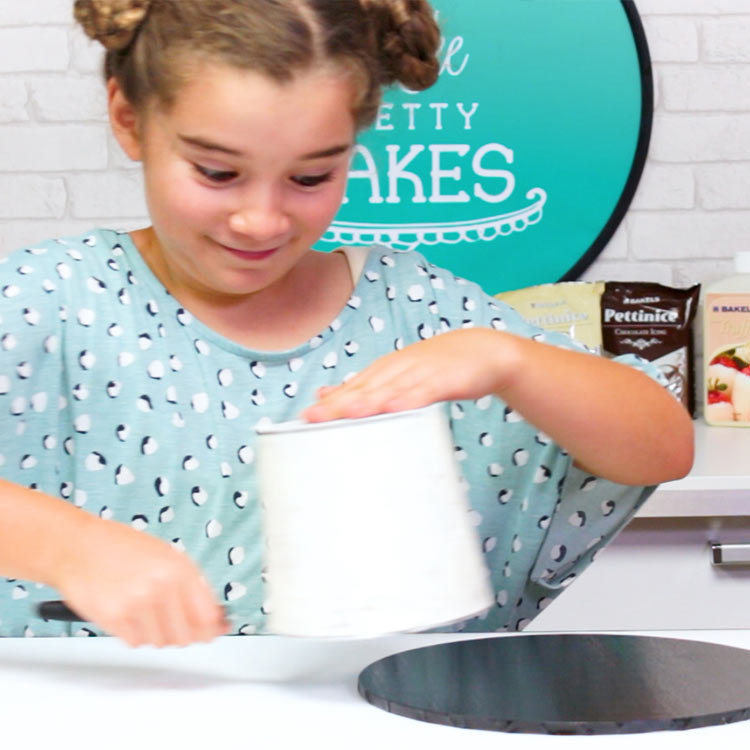
You could remove the fondant at the top, but we decided not to. Nudge your cake to the edge so you can slip your spatula under the cake....
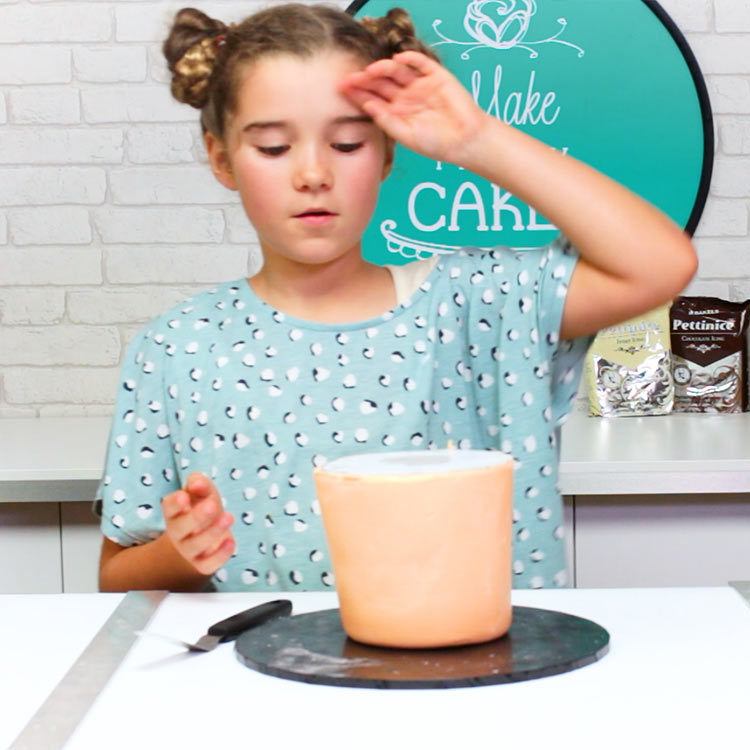
...and Flip! Phew! You can watch this in action on the video.
Pop off the cake board...and celebrate!
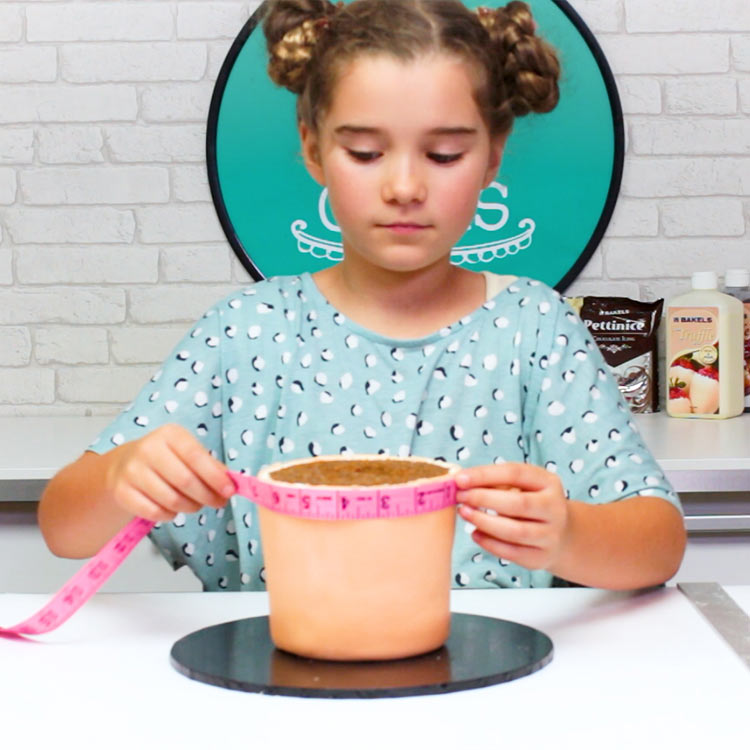
Measure the circumference of your cake.
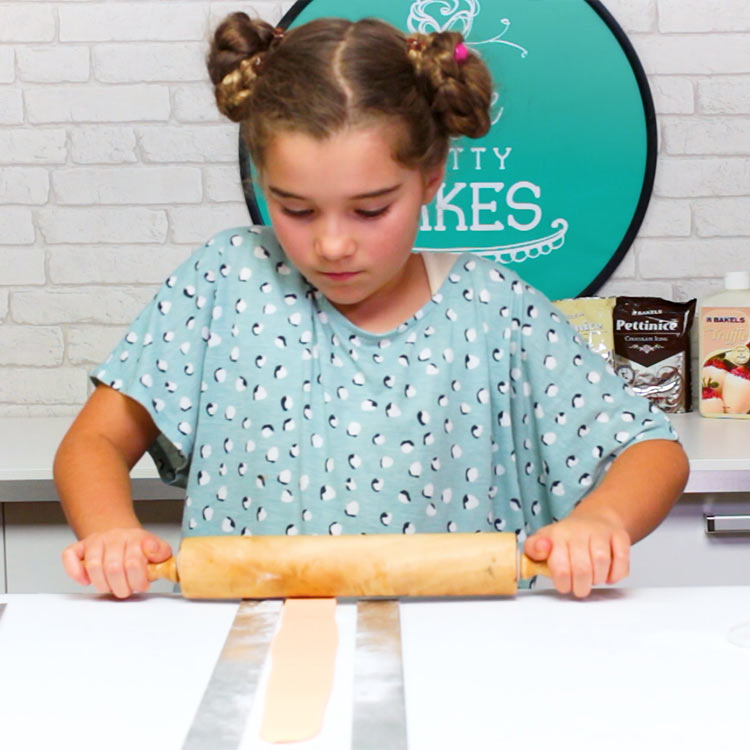
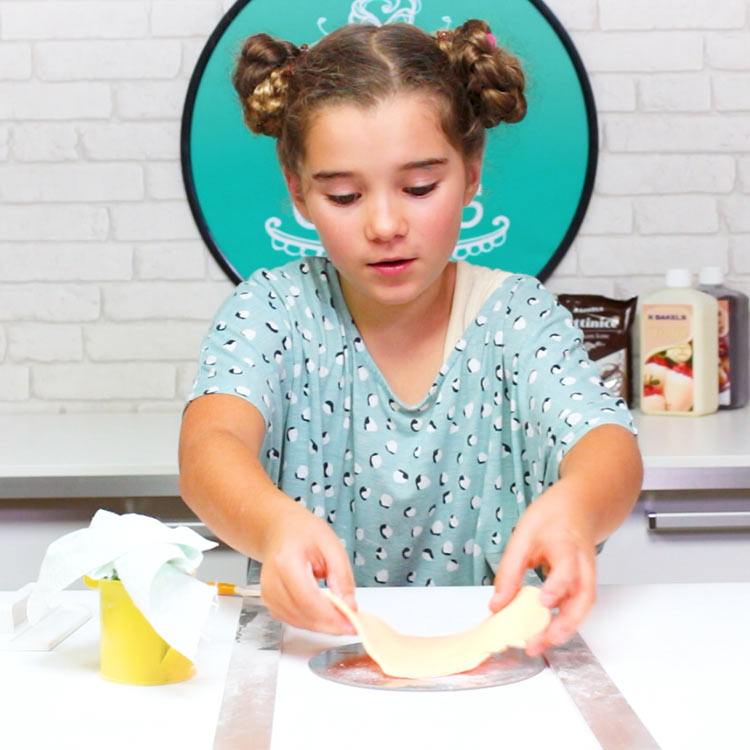
Roll out a strip.
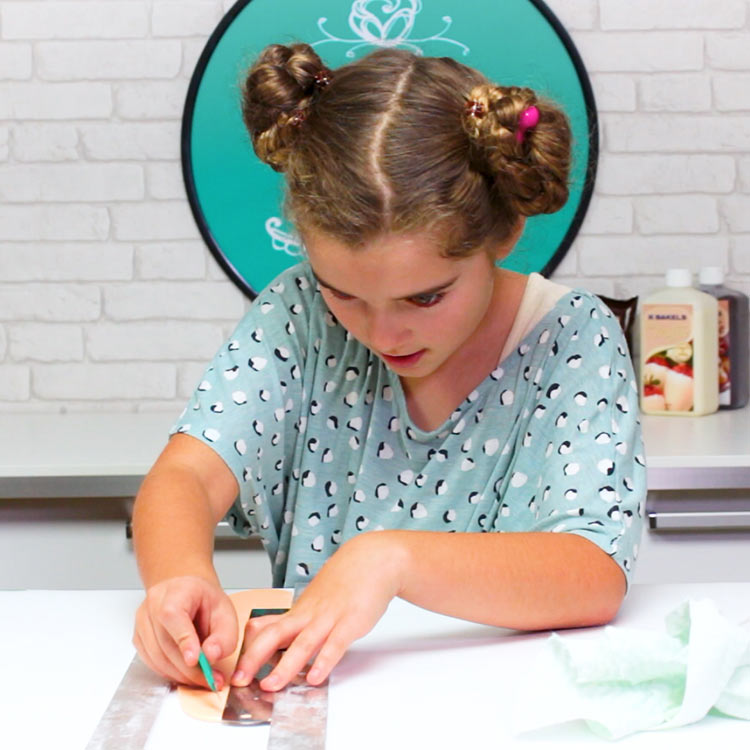
Use your ruler to cut your strips.
Transfer to a board that will fit in your fridge or freezer. Make sure the strips are straight!
Repeat the same for the name plate that will go in front of the cake.
Rub a little vegetable fat along the top edge to act as glue
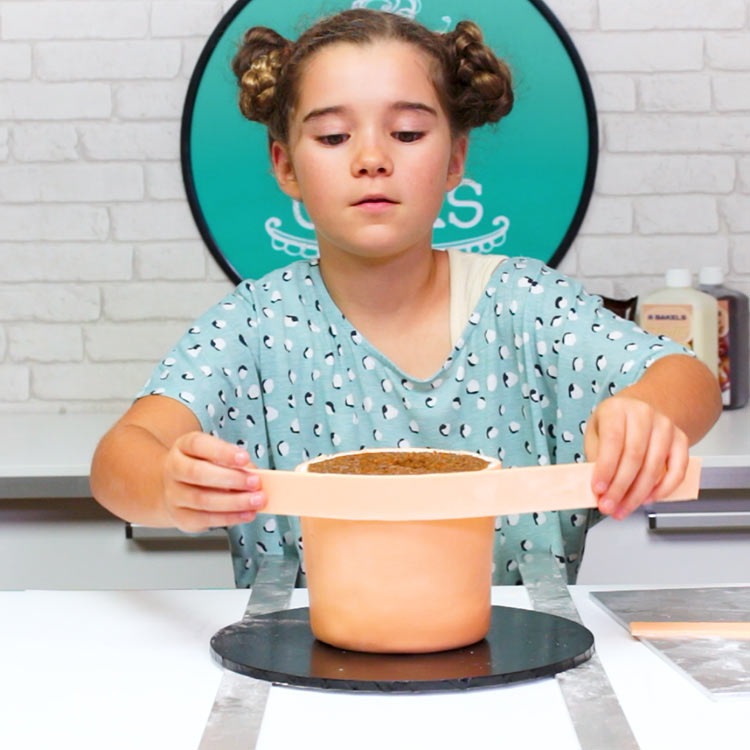
See how well it holds it's shape from the freezer? Work quickly and keep those sharp edges.
Repeat for the name plate!
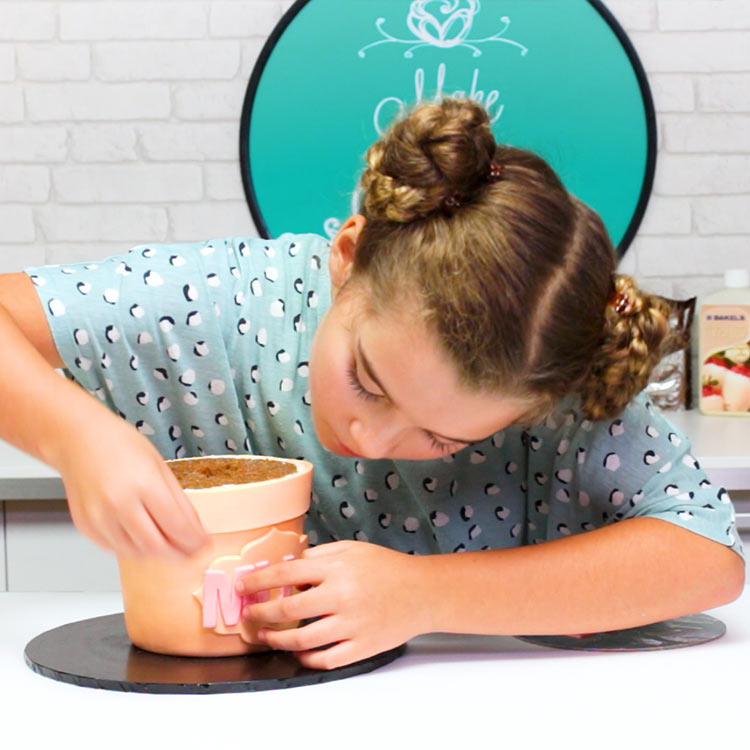
Spell out "mum" with your cutters and stick.
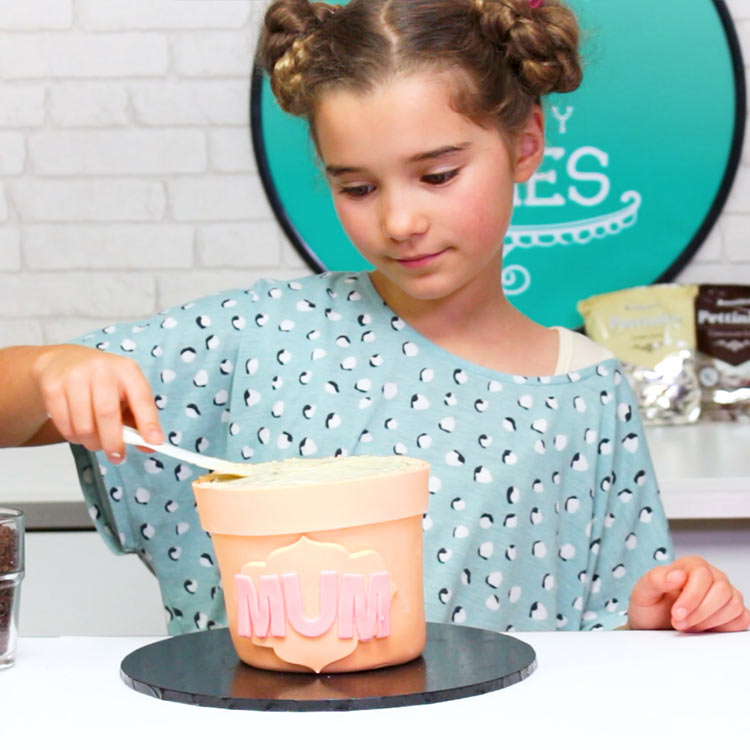
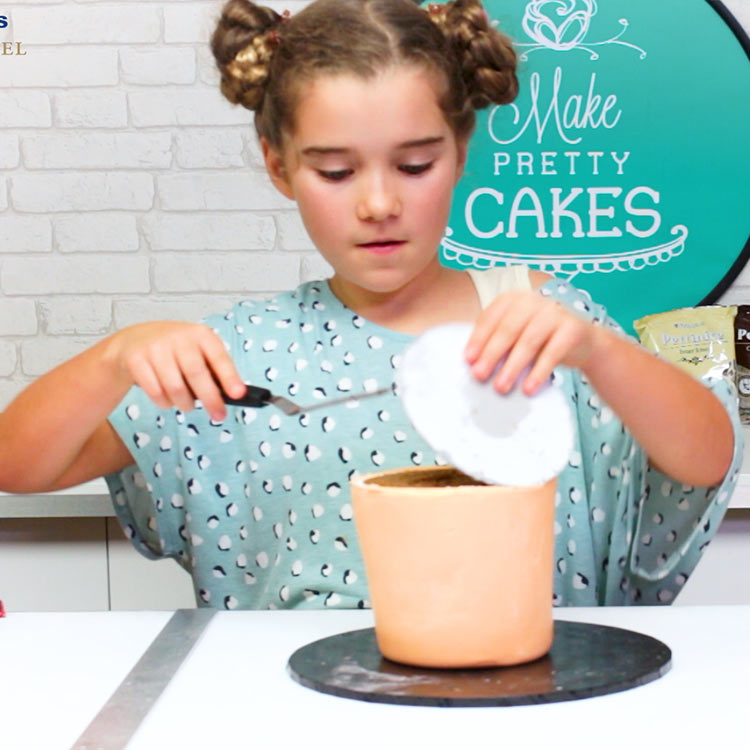
Spread icing at the top.
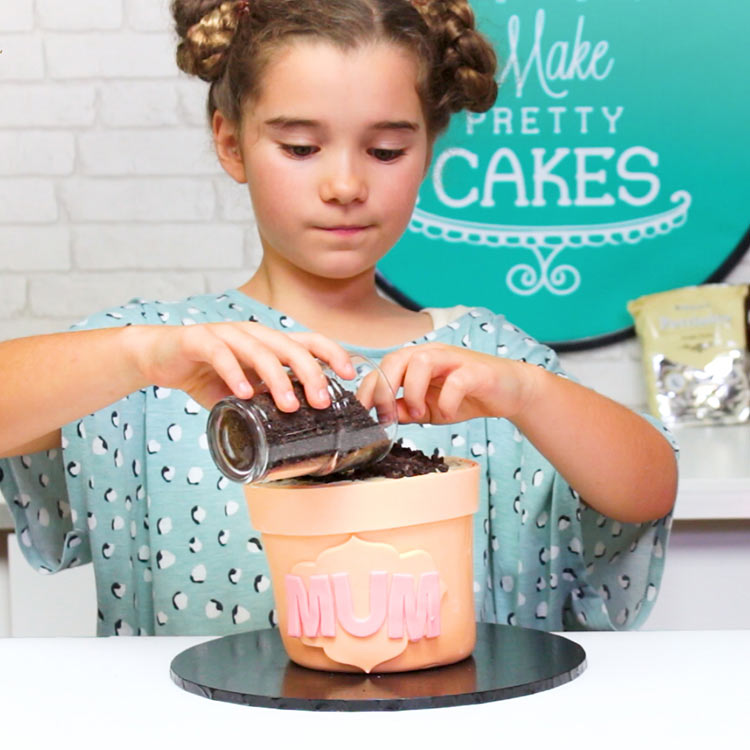
Cover with crushed chocolate cookies for the dirt.
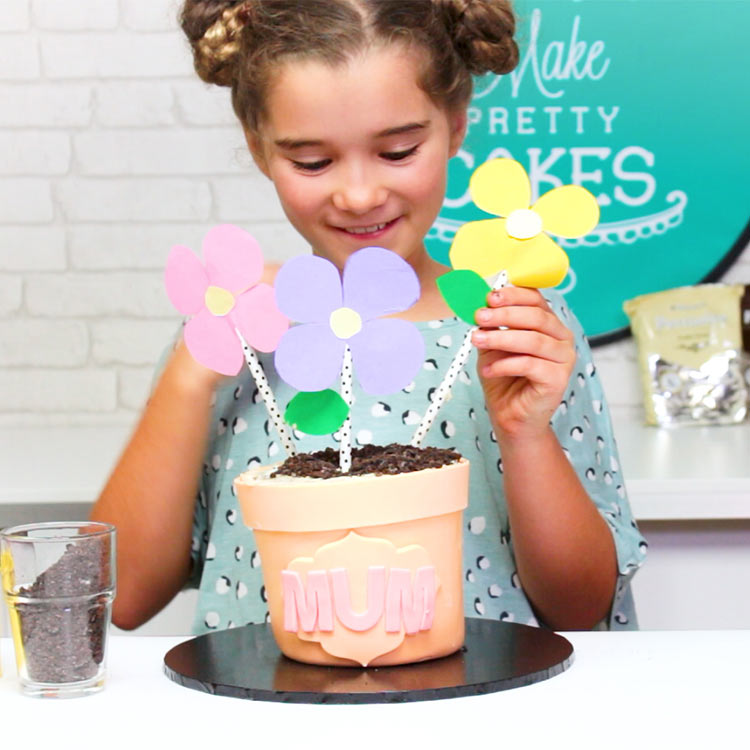
Insert your beautiful flowers! So cute!
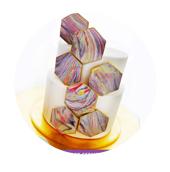
Making the flowers
You can make your flowers with gumpaste, or even shortbread cookies if you have the time. Here is a very quick (and cute!) alternative.
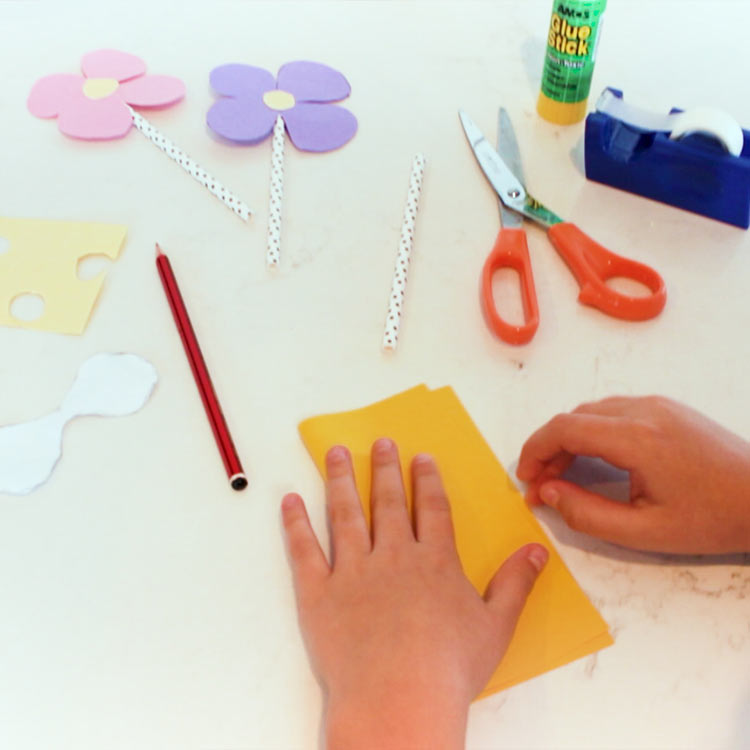
Fold your paper in half. You can make a few flowers at a time too.

Tace the template.
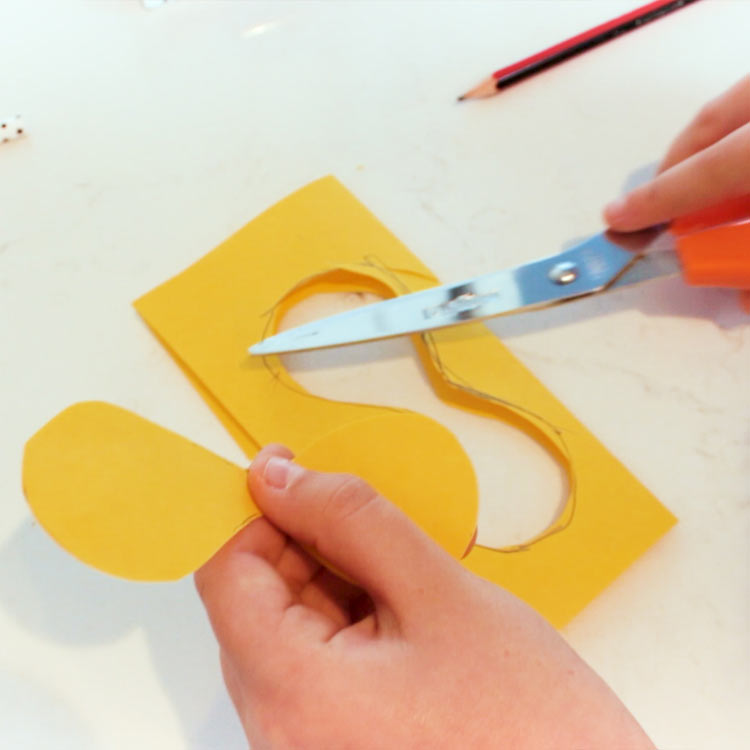
Cut inside the lines so you don't see them, and split your petals apart.
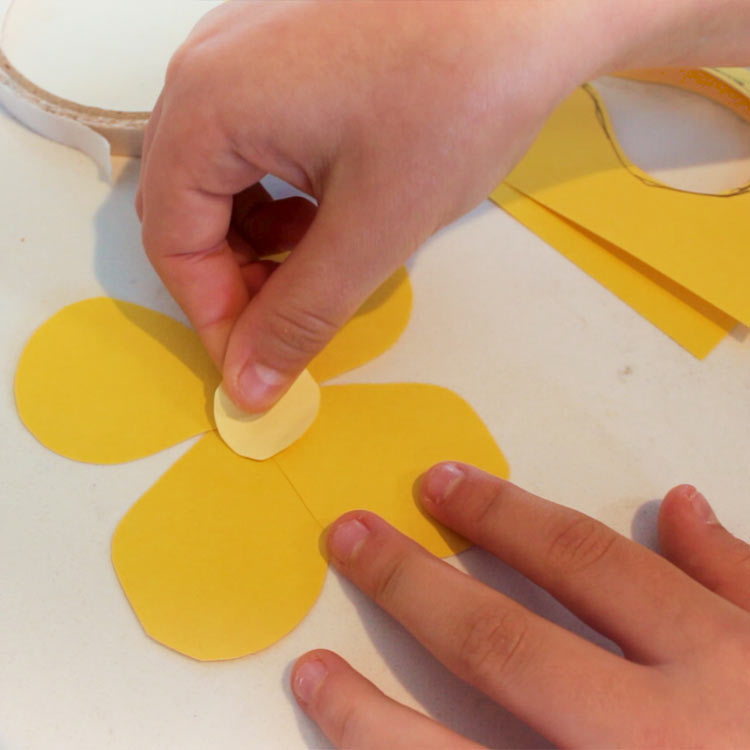
Cut a little circle for the center and stick it in the middle of your flower.
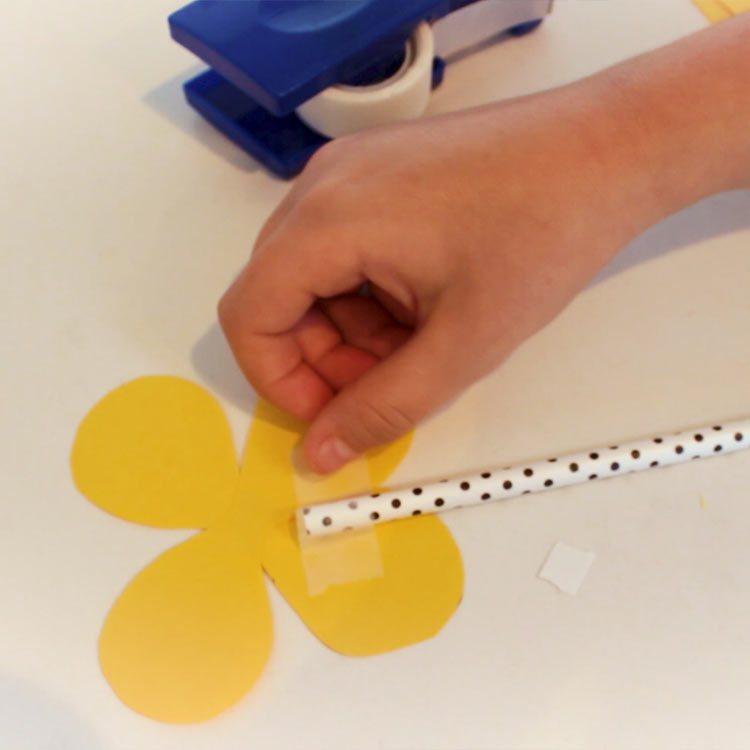
Use a piece of tape to attach to a straw or skewer.
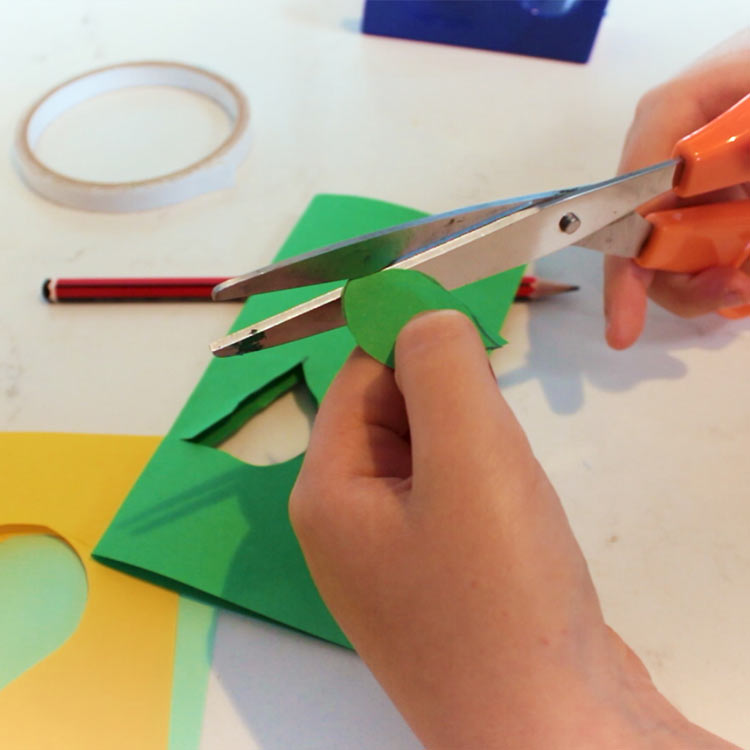
Repeat for the leaves.
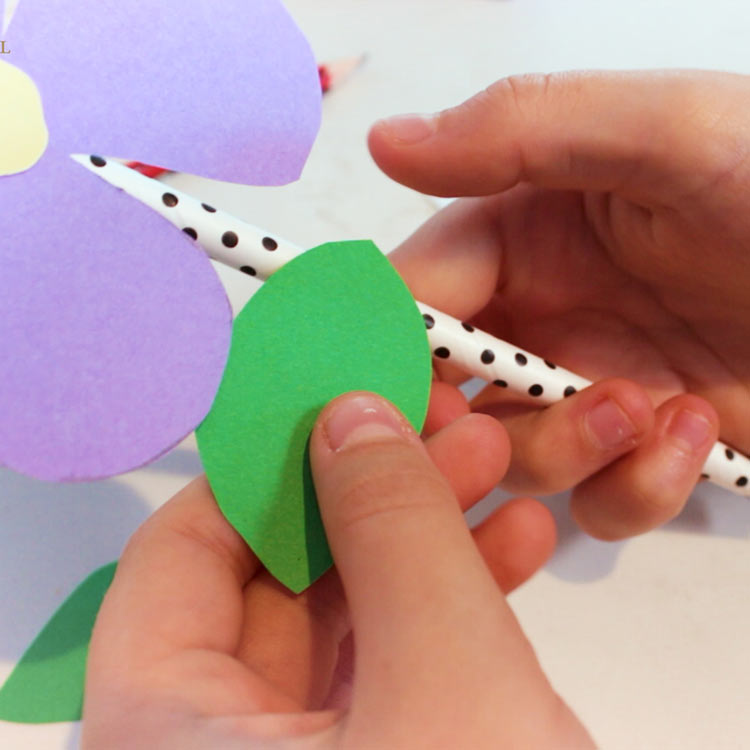
You can stick as many leaves as you want.
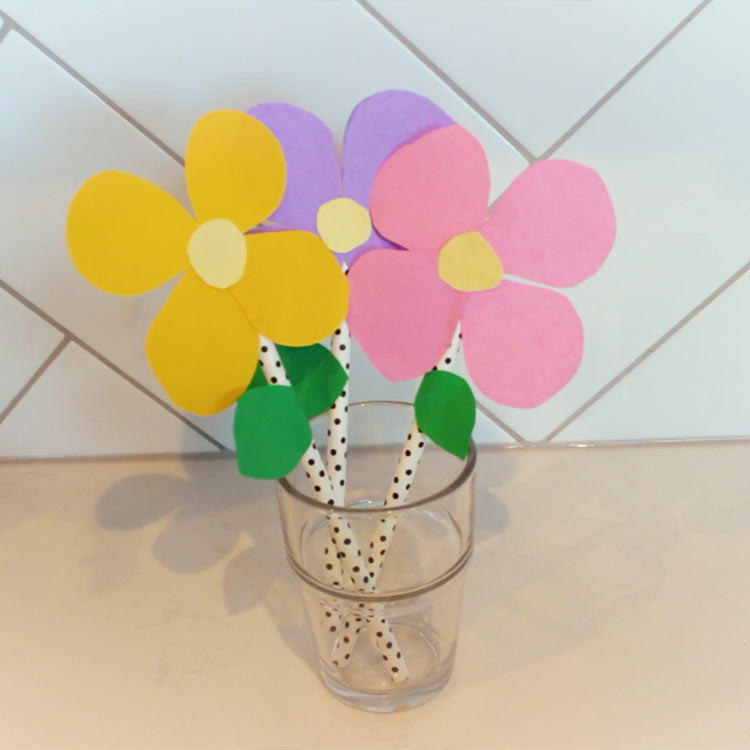
So cute! Enjoy.
I hope you enjoyed this tutorial, as I had a lot of fun making the cake. Happy Mother's Day!

Meet Genevieve. She is Bakels youngest Pettinice Ambassador. At the moment, she can't decide what she loves more: eating cakes or making cakes! One thing she is sure of though, is she can't wait to continue sharing more of her projects!