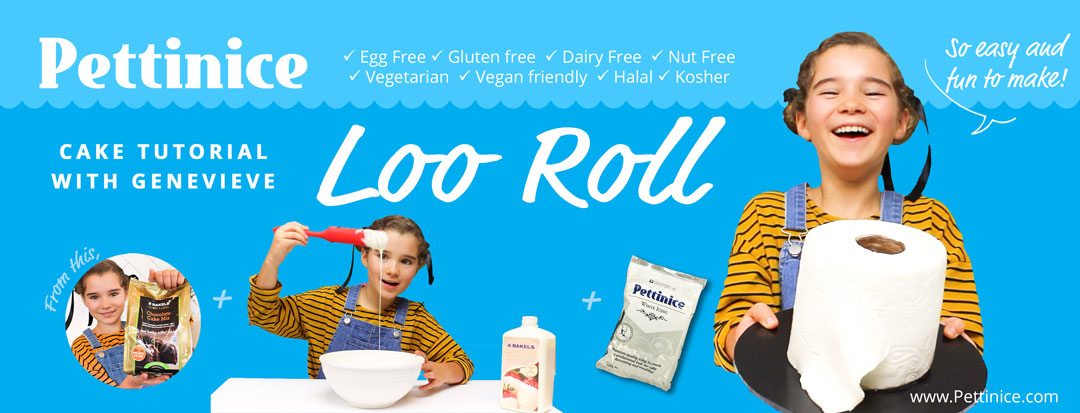
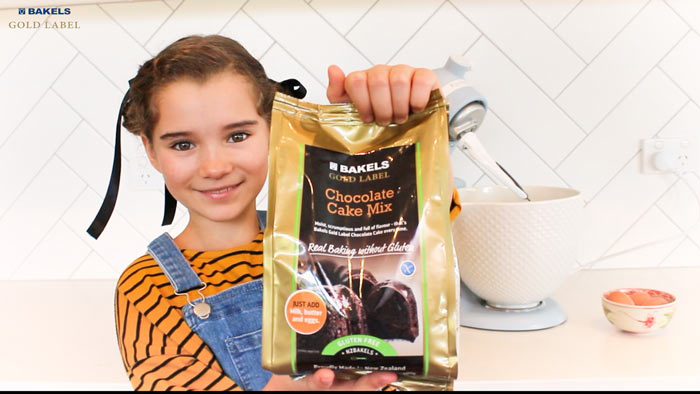
Learn to make a toilet roll cake with Genevieve
Decorating time: approximately 2 hours
Decorating skill: Beginner or Intermediate Kids
Edibles needed:
- 1 pack of Gold Label Gluten Free Chocolate cake mix
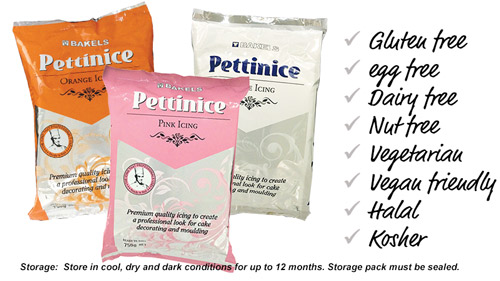
- White Pettinice
- Chocolate Pettinice or food colouring for "cardboard" tube
- Vegetable fat or water for sticking fondant
- Cornflour for dusting
- Ganache for filling and masking (I used Bakels white chocolate truffle
Extras:
- Cake board
- Optional embosser
- Optional stitching embosser
Tools needed:
- Tall scraper
- Sharp blade or knife
- Cake smoother
- Circle cutter
- Rolling pin
- Ruler or straight edge

Proudly made in New Zealand.
Watch the tutorial video here:
Baking the cake
Preheat your oven to 170 degrees. 1 bag of Bakels Gold Label Gluten free Chocolate Cake Mix
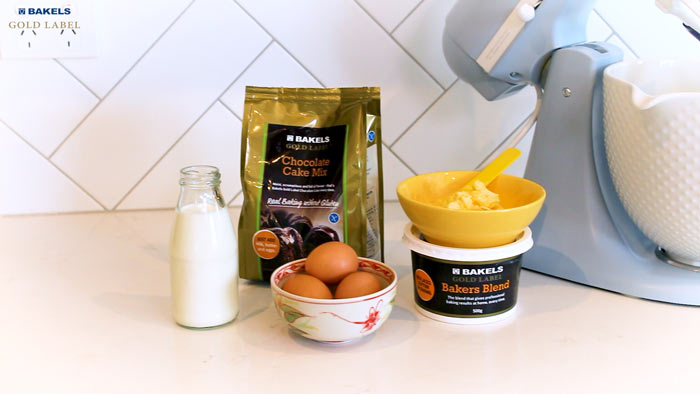
Just add 3 eggs, 150g of milk and 90g of butter.
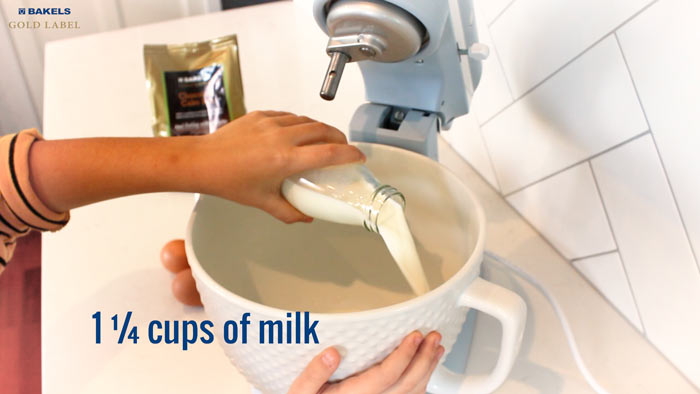
Add 1 1/4 cups of milk
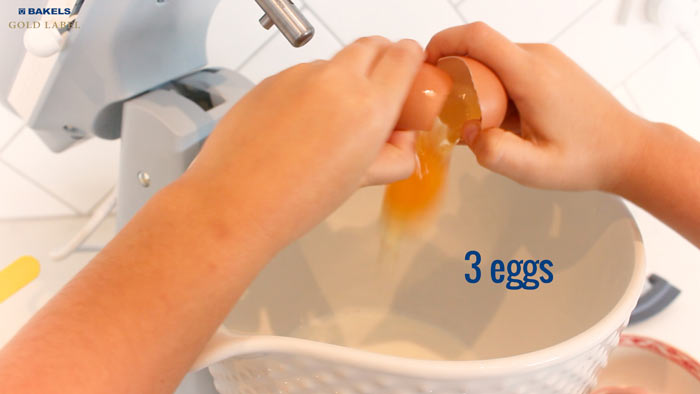
Next, you will need three eggs. Mix these two together.
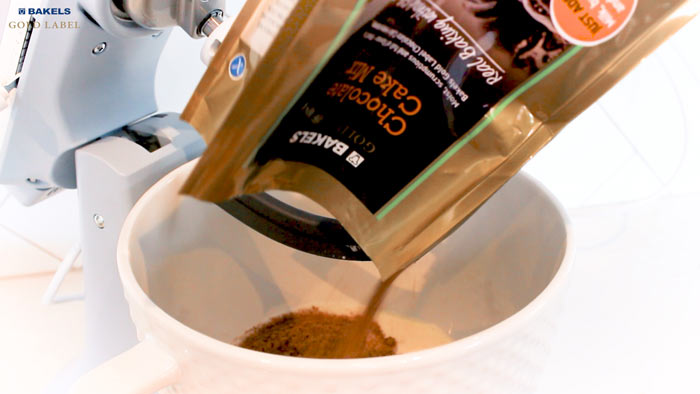
Add your Gluten-free Chocolate Cake Mix into your bowl. Mix until just combined.
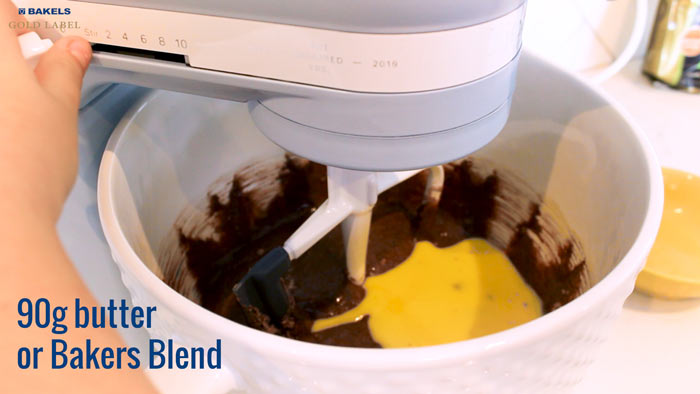
Add 90 grams (or 6 tablespoons) of your melted butter to the ingredients until combined. Scrape the side of the bowl to make sure to mix all the dry ingredients.
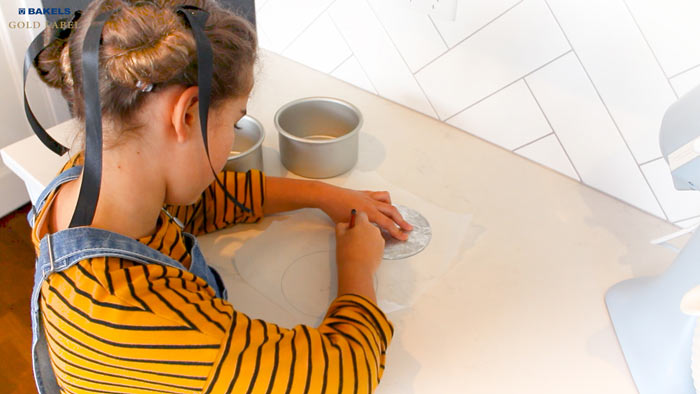
This next step is optional, but you can line your cake tins with baking paper. Use your pans as a template.
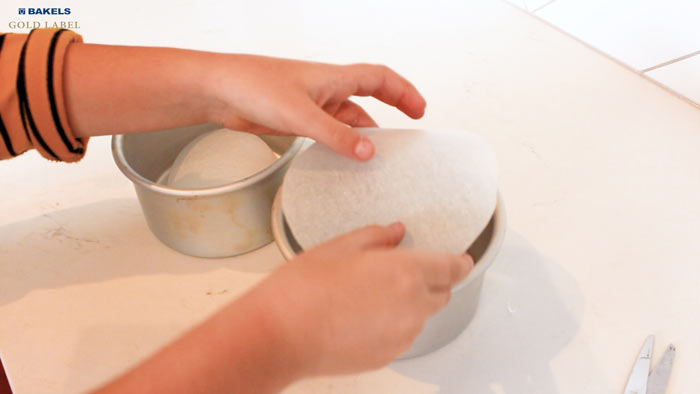
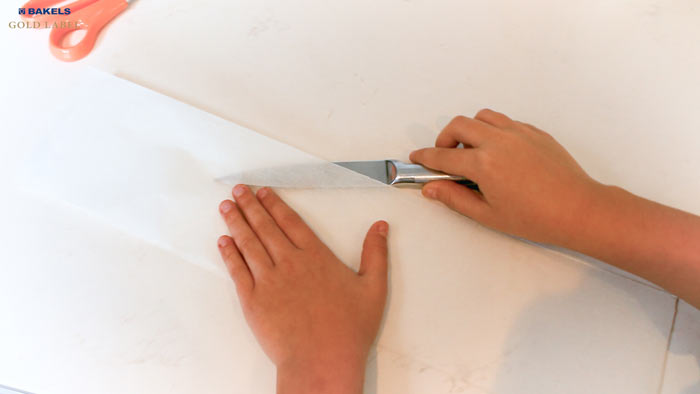
For the sides of the pan, fold your baking paper into thirds just like this. Use a sharp knife to cut along the creases and separate the paper.
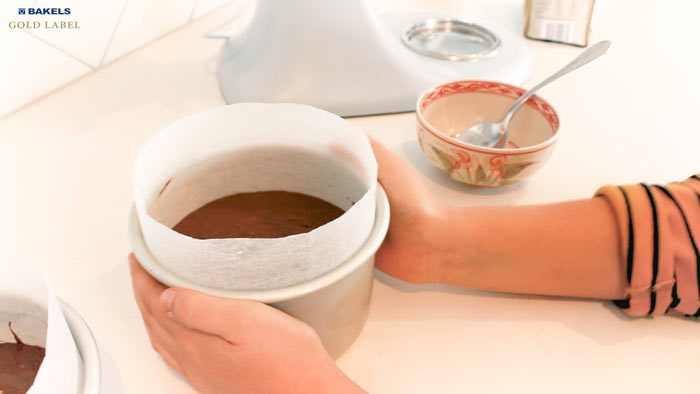
Divide your batter into the 5" cake tins. Use your spoon to level the batter.
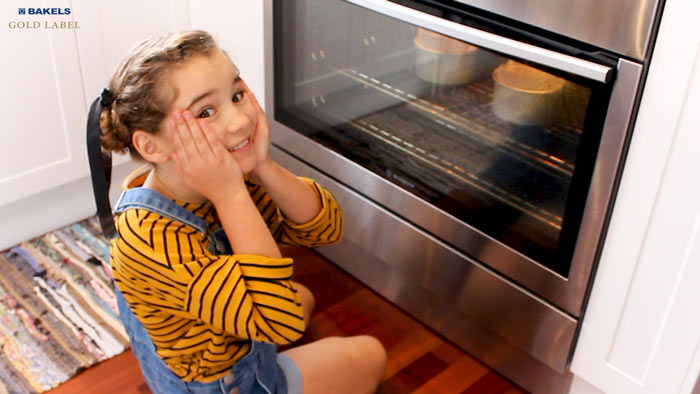
Bake your cakes at 170 C for about 50 minutes, depending on your oven. The hardest part of baking is WAITING!
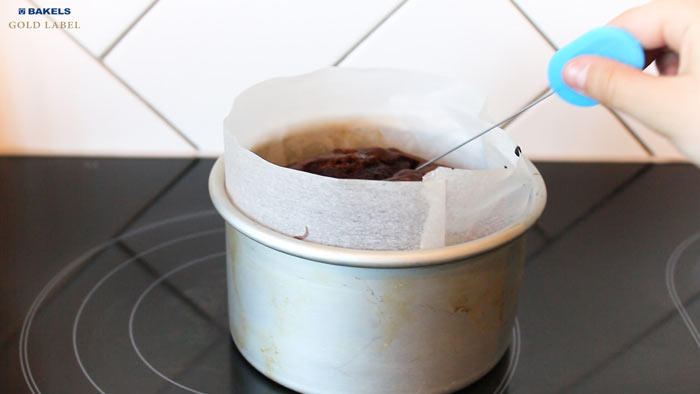
Check with a skewer that it is baked in the middle of the cake. It comes out clean if it's ready. After 10 minutes, remove your cake from the tin and leave it to cool.
Torting and filling the cake
Preparing the foundation before covering in Pettinice fondant. You can watch how I do it in this video! We included CC captioning too.

Carefully unwrap both your cakes. I'm so glad these cakes are gluten-free, so my dad can enjoy it!
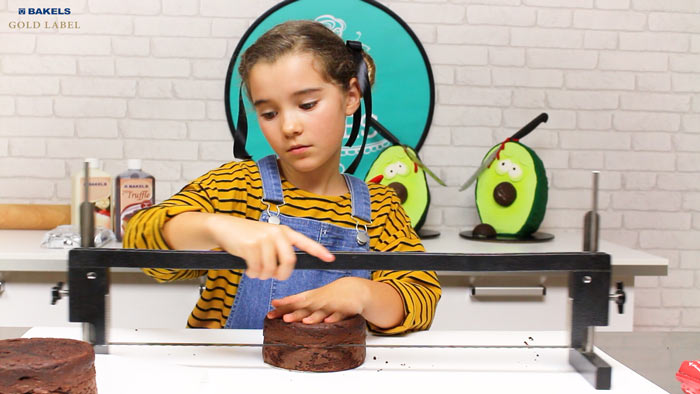
I'm leveling my cakes to end up with four equal layers.

Now it's time to stack and fill my cakes. I will be using Bakels White Chocolate Truffle. This truffle is great to use when it's at peanut butter consistency.
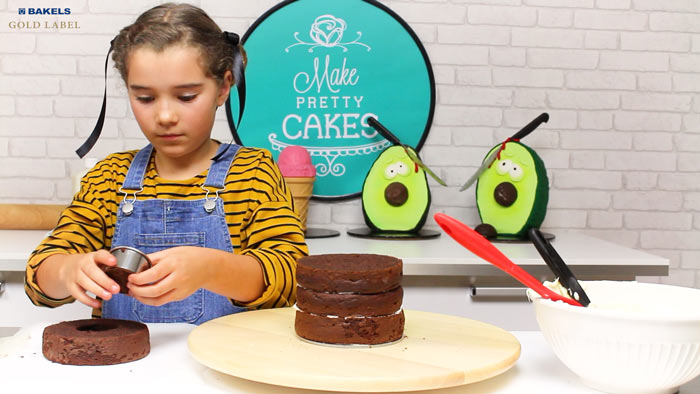
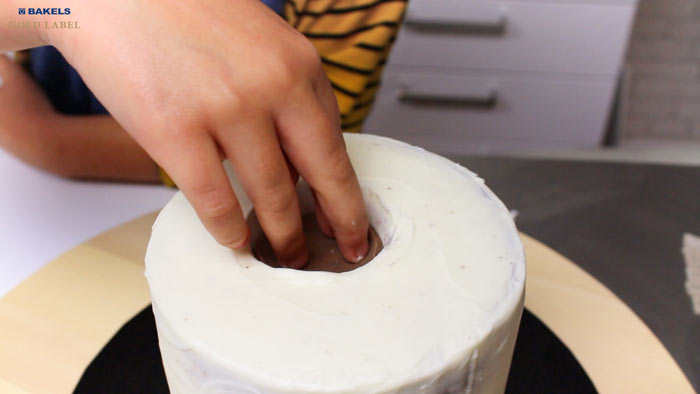
Use your circle cookie cutter and cut a hole in the top layer of your cake.
Fill the center of the hole with your truffle or choice of filling.
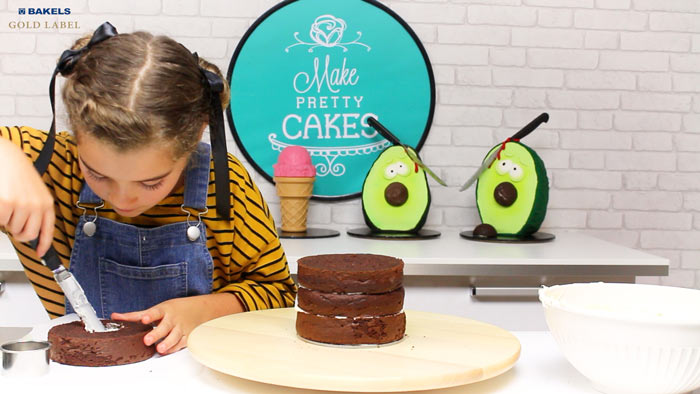
Finish stacking the cake. One little tip is I whip my truffle mix with a hand blender. It makes the consistency nice to spread!
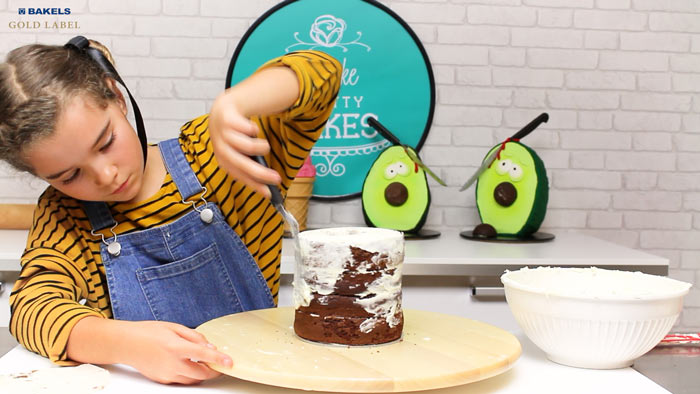
I fill in the gaps first.
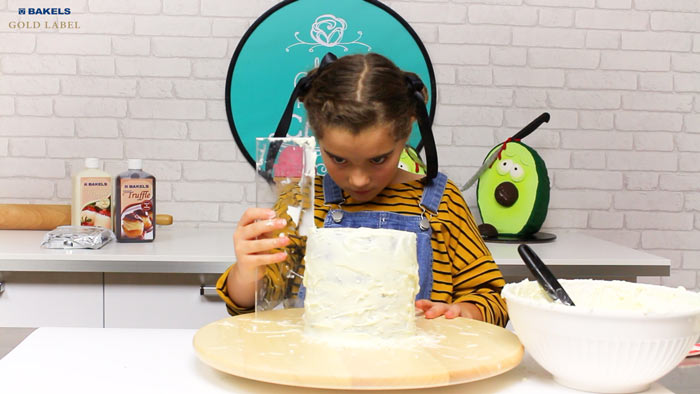
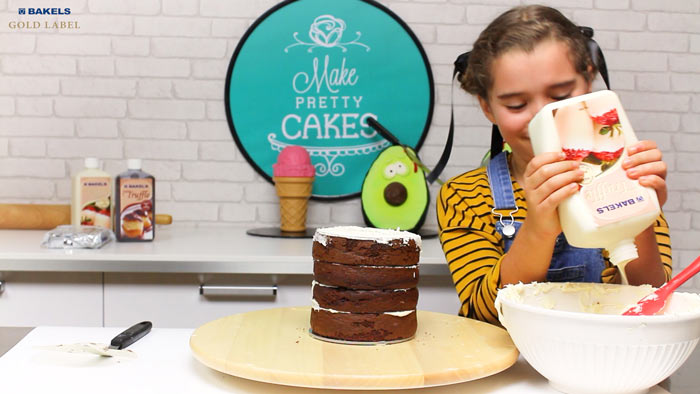
The idea is to put heaps on, because we are going to scrape it smooth. You might have to repeat this a few times.
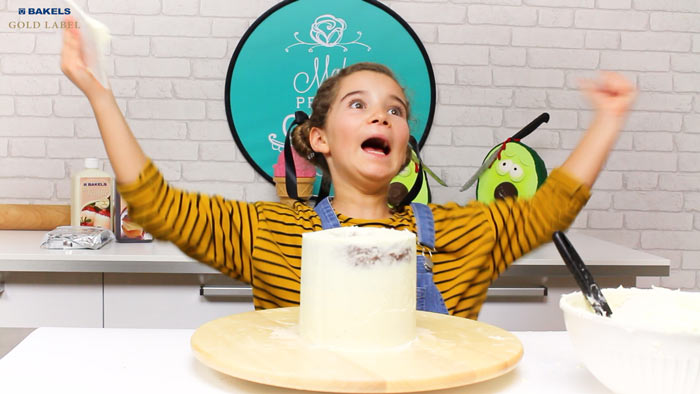
My face after I finish this process. Watch the video to see what I mean. I'm going to put the cake in the fridge to set.
Covering the cake in fondant
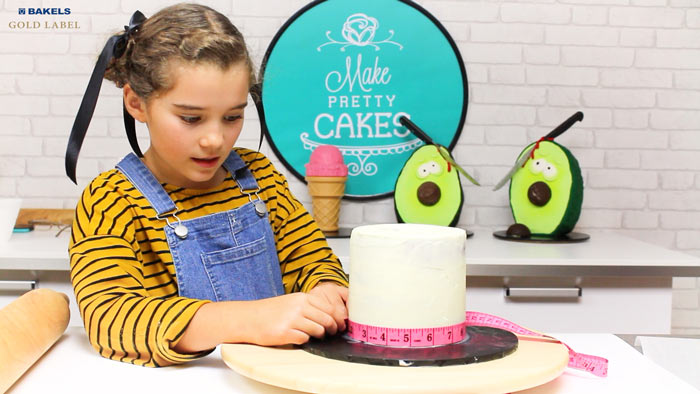
Measure your cake so you know what size you will need for the fondant panel to wrap around the cake. Rub a little vegetable fat on your hands and bench to keep the fondant from sticking.
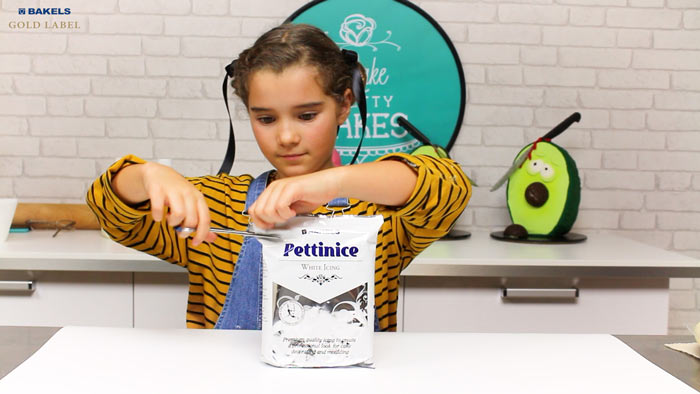
If you find your fondant too hard to knead because it's winter or has been stored in cold place, you can stick it in the microwave for 15 seconds ...but be careful! You don't want to burn your hands.
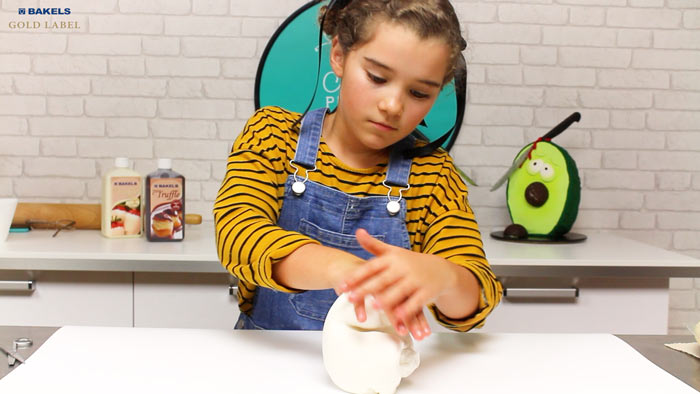
Knead your fondant to first condition it. Roll your fondant into a sausage shape, so we can roll it out.
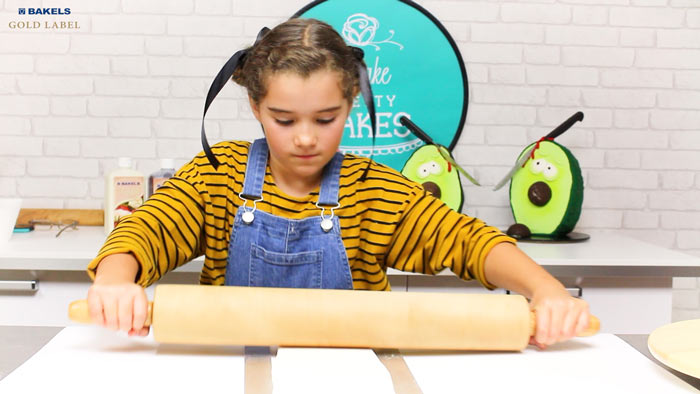
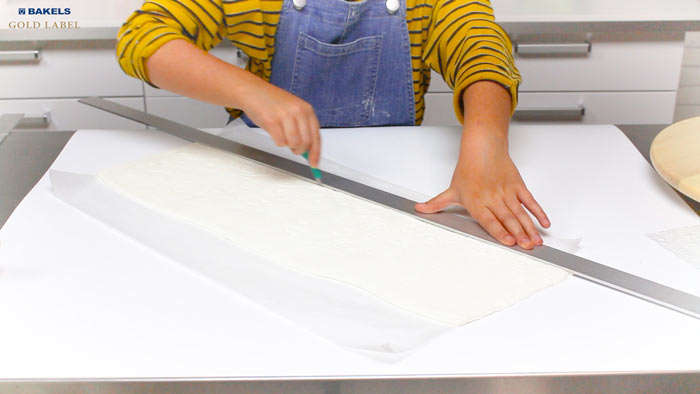
To help me roll my fondant evenly, I use these metal spacing strips found at building DIY shops.
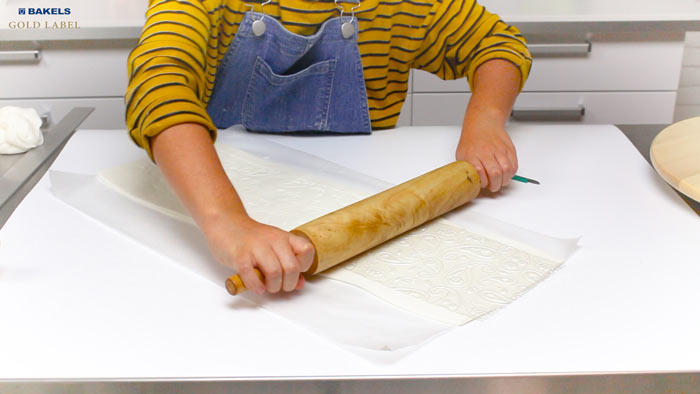
Transfer your fondant on top of a sheet of baking paper. This will makes it easier to move around and cut, and wrap around your cake later. This part is optional, but you can emboss textures for your toilet paper.
Use your earlier measurements to trim your fondant, but make it 5" longer.
Trim straight edges for the height. To make it easier later, put this panel on a cookie sheet and put it in the fridge to harden.
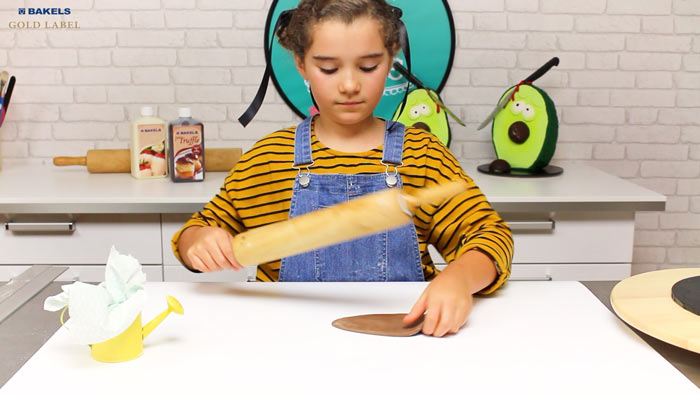
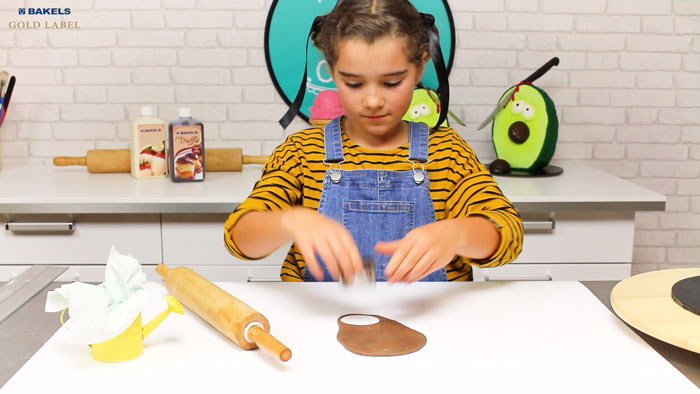
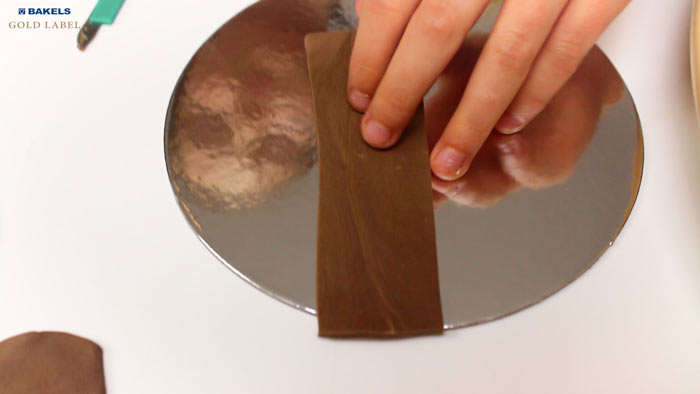
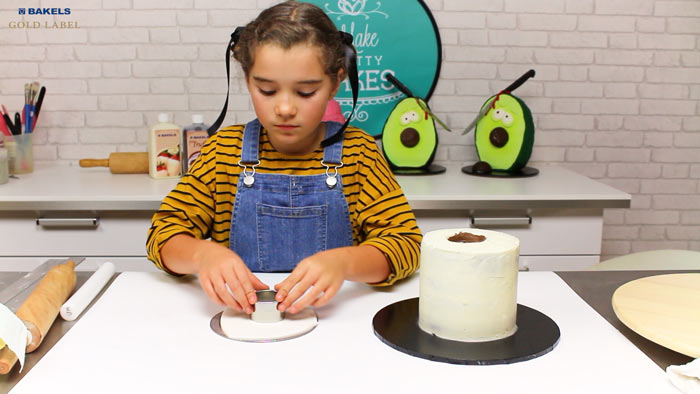
To make the cardboard center, I'm using white and chocolate Pettinice fondant.
First cut the circle to push into the centre hole.
We're going to put this strip in the fridge to harden.
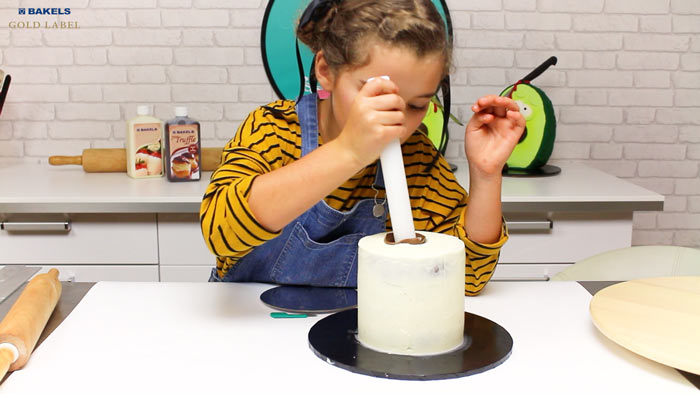
After it hardens in the fridge or freezer, it's easier to fix inside the hole. Use a rolling pin to help smooth the inside.
Work quickly, as the cold fondant makes trimming the edges really easy.
Now we're rolling out the top and cutting a hole for the centre. We're also going to stick this in the fridge to harden.
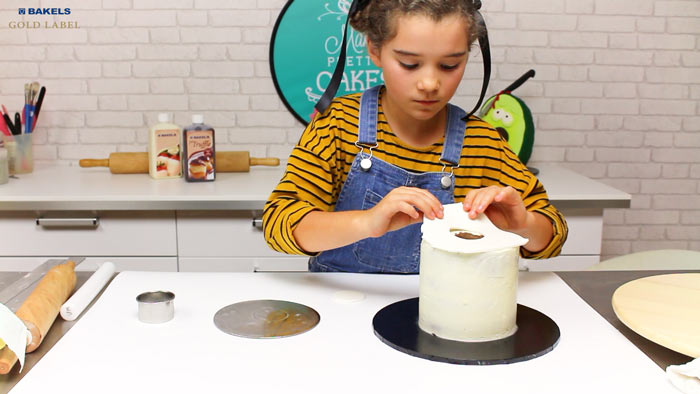
Back to the fridge, so it's easier to cut! Work quickly as it will keep it's shape while it's still cold from the fridge.
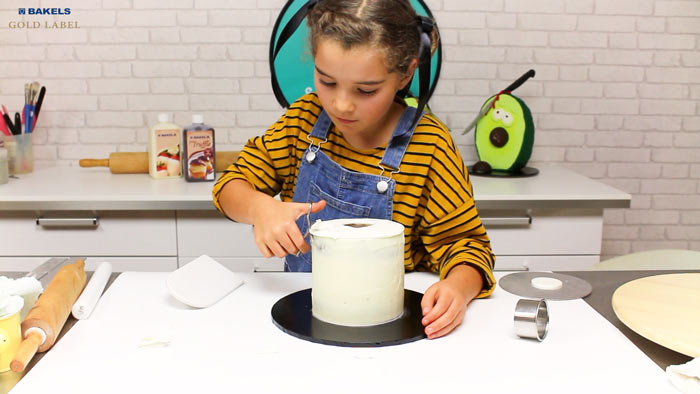
See how it keeps it shape while it's still cold from the fridge? This makes it very easy to trim.
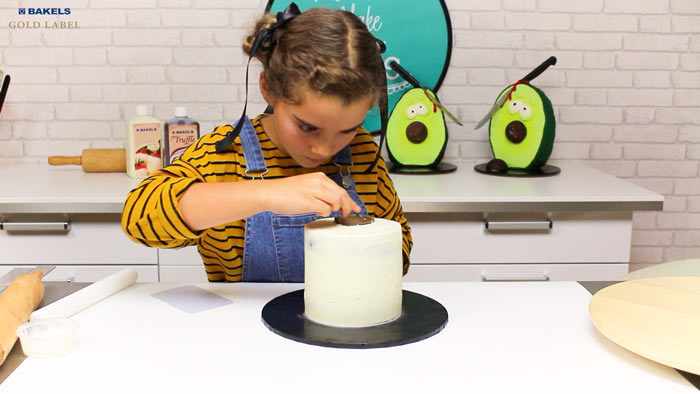
Take your panel out of the fridge, and work quickly. DON'T USE A TURNTABLE! (Too late for us, lol)
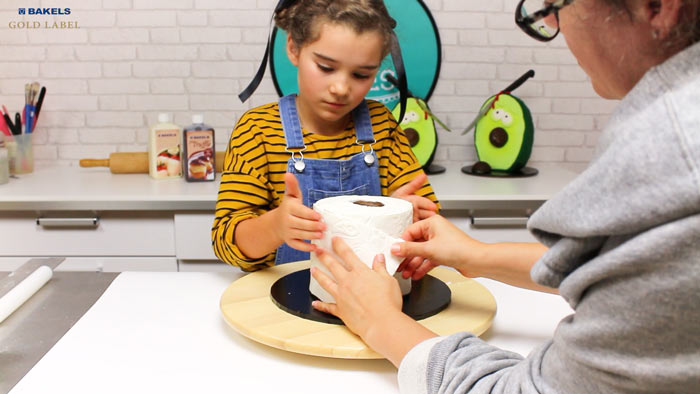
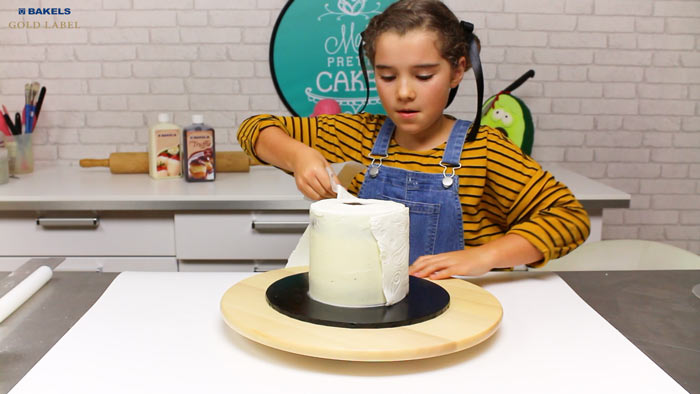
It's a two man job - thanks mum!
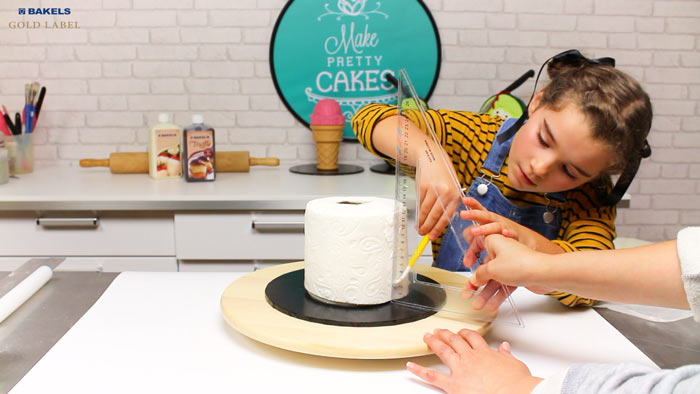
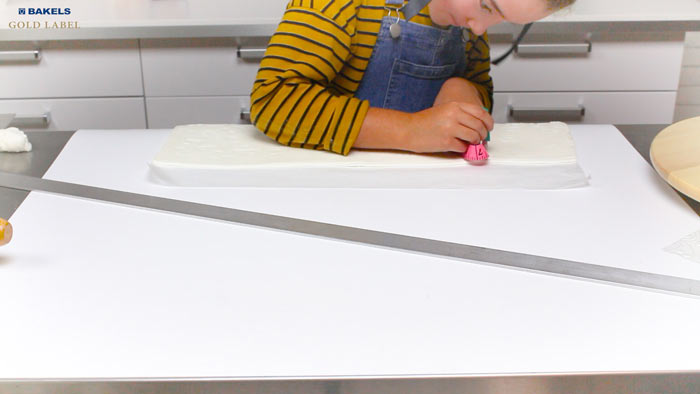
Now we're putting on some lines to act as the creases for the toilet paper.
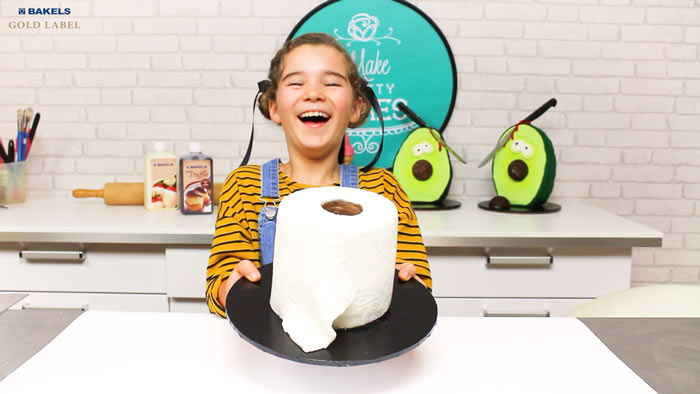
Yay! All finished. Use a little bit of vegetable fat to secure the ends if it's flopping around too much.
Time to enjoy our cake with our family bubble, as we are still in lock down. Stay safe everyone, and I hope you enjoyed my first cake tutorial! Be kind and stay sweet! Genevieve

Meet Genevieve. She is Bakels youngest Pettinice Ambassador. At the moment, she can't decide what she loves more: eating cakes or making cakes! One thing she is sure of though, is she can't wait to continue sharing more of her projects!