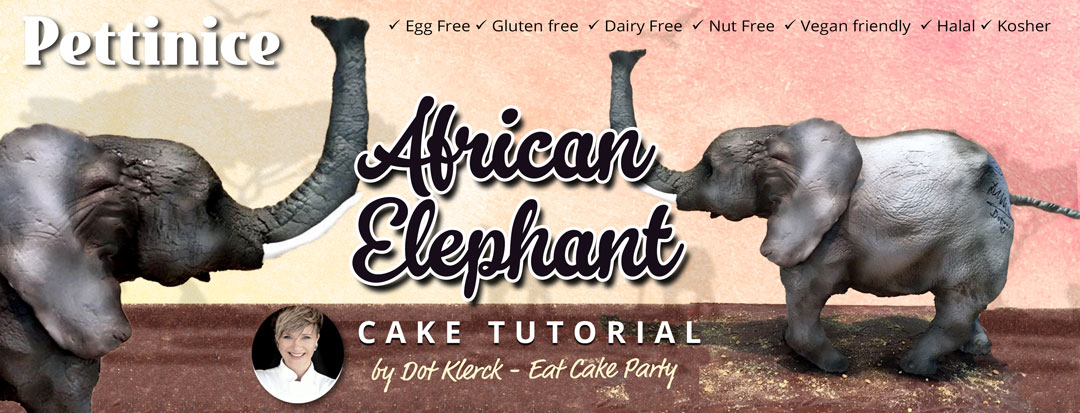
Dot Klerck shares how she creates her Realistic 3D Elephant Cake

You will need the following to complete the 3D Elephant cake:
6mm ready rod in 2 lengths:
4x 20cm and 40cm
6mm MDF board cut to shape to support cake
12mm thick MDF board
45cm x25cm
2.5 mm armature wire
18 x 6mm nuts
cake: 30cm x30cm square
(10cm in height)
filling of your choice 500g
1.2 kg coating/compound chocolate
1.5kg white modeling chocolate
4kg white sugar paste
Spare board to work on
Carving knives‐ a bread knife and a shorter knife
Non serrated knife to cut fondant
Cake smoothers
Pallet knives‐ large and small
Bowl for melting choc in microwave ‐ about 3lt capacity
Large container for off cuts
Modeling tools‐ balling and veining tool essential
Corn flour dusting bag
Rolling pins‐ large and small
Edible glue
Brushes for glue
Pencil and note pad
Scissors
Soft dress making measuring tape
Calculator
Airbrush, vodka and brown and black gel colours
It’s important, when making a cake that requires structure, to do an outline drawing so that you will be able to work out exactly where you need structure and support for your cake.
Proportion
Here are a few ways to insure that you get proportion 100%... 100% of the time! First determine how high/long you want your cake to be. This will be determined by the number of servings and your clients desires.
Let’s say you decide to make it 65cm tall.
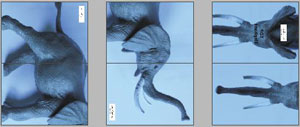
Then draw a small version of the cake in your head on paper....or take a photo of what you want to create, or something similar that will have the same proportions that you need to recreate.
Measure the height of the figure in the picture, let’s say it’s 12.6cm tall.
Now divide your proposed height into the height of your small figure.
The answer that you get is the amount you will use to multiply each segment of your design to insure so that you get a perfectly proportioned cake.
Example: My cake will be 65cm tall, my figure in my picture is 12.6cm tall.
65cm divided by 12.6cm
Answer is: 5.2cm
So for every cm represented on your small picture equals 5.2 cm on your larger drawing.
This will be your scale that you use. 1:5.2
Then take your photo/drawing divide it into segments. Ie head, neck, upper body, lower body, legs, shoes, arms etc. by drawing a line at each segment.
Measure each segment exactly.
- Multiply each segment by the number you have above.
- The sum of these numbers should equal 65cm.
- Now you need to transfer these measurements onto paper so that you can make a template for both determining your inner structure and for sculpting your cake.
- We will start by marking a cm line above the base of your drawing paper. This will give us a gap to add any structure we may need to add. Then draw a 900 line up from your cm line, this we will call our mid line. Draw a similar line through the middle of your small picture’s figure. No worries if it’s not exactly in the middle or if your picture is asymmetrical.
- Add each segment’s measurements in from bottom to top.
- Taking your smaller picture, draw a line at the base of the figure, and at the top of your figure. Working from the bottom up, mark off each cm till the top line.
- Then return to your paper. We now need to take these measurements and create the scale drawing. So on your page, mark off every 5.1 cm.
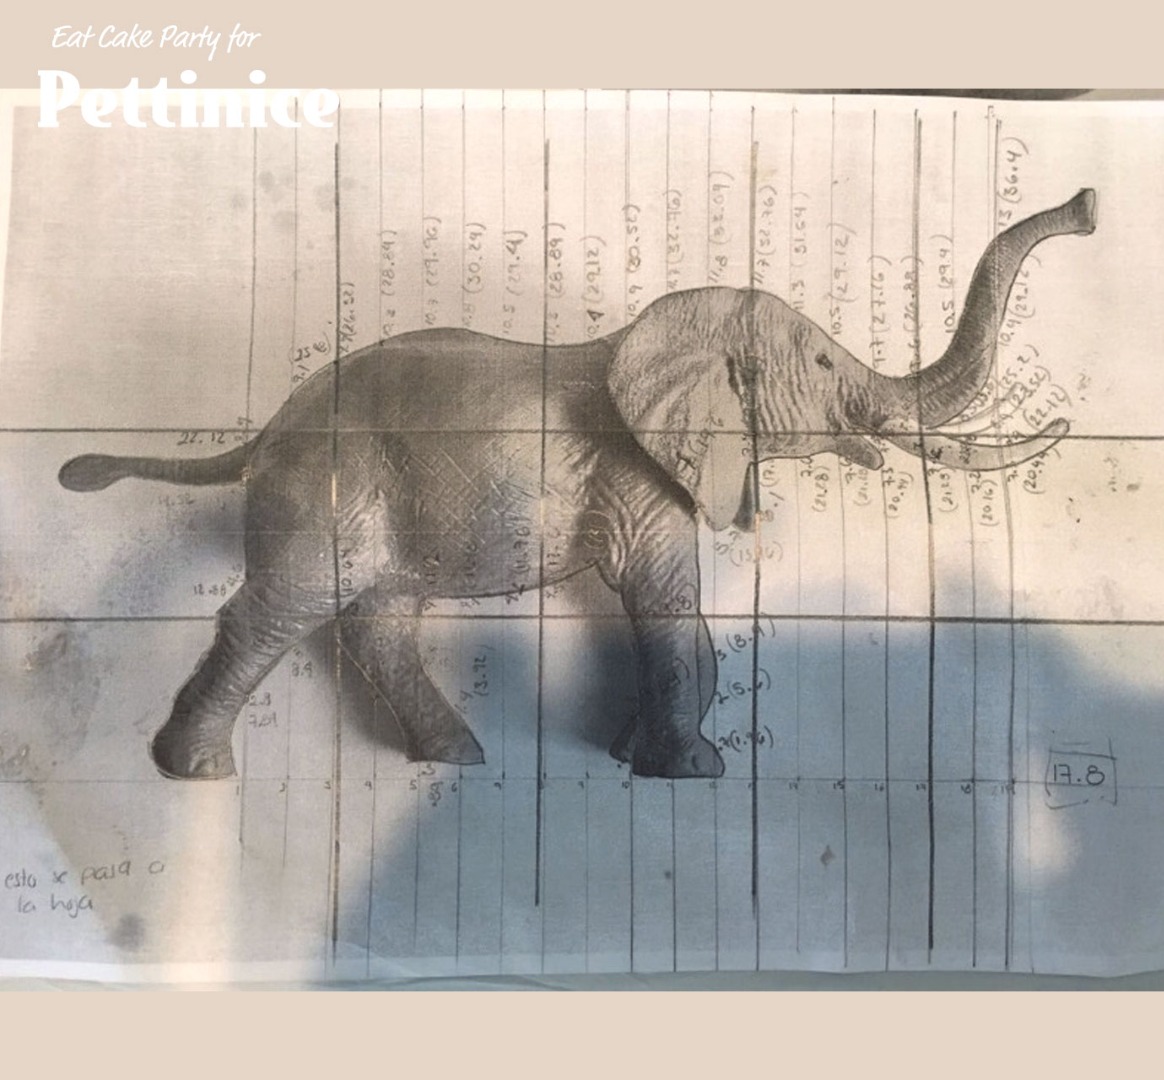
Returning to your smaller picture. We now need to measure the width of your picture at each cm marked off. Write the measurement on your picture at each cm mark so that you can return to it and multiply to get your scale measurement.
Once you have done all your sums, return to your larger drawing. It is easier if you number each cm from the base line on both pages so that when you transfer the measurements you don’t get too confused. Each number on the smaller figure represents a number on the larger drawing.
If you have a symmetrical design, then you can take the width measurements and divide them in half and using your mid line on your larger pg, mark with a small dot the halved measurement on each side of the mid line. Do this with each cm from your small figure till you have the last measurement. You should then be able to join the dots and your outline of your cake template will appear.
If you have an asymmetrical design, then you will need to take the measurements from the midline out to the edge of your figure and calculate each one separately. Add them on your larger drawing the same way as the symmetrical one, but don’t divide the measurements add them from your mid line both to the left and to the right.
Once you have drawn your scale template, you may need to make a side template if your 3D design is a little more complicated.
It’s not easy to find a side view picture that will always be the same size and scale as your front side, but no matter!
We already know that our cake will be 65cm tall. So we can again measure our smaller side figure and divide that measurement into the 65cm that we already know to determine the scale that we need to calculate the next template. This can again be done with a third template say perhaps if you had a front, side, and top template needed for your cake.
Once you have drawn your templates, they can also be used to calculate your inner structure or armature.
It will be easier to see where you will need to support the cake, and once you have worked this out, you will be able to measure each segment and use the template to make sure it all lines up.
Also you will have a better idea of what size cake to bake along with an idea of how many people your cake will feed.

Drawing templates to scale can seem complicated, but with a little time and practice it will make you a more confident cake sculptor and reduce the time you spend to create a cake.
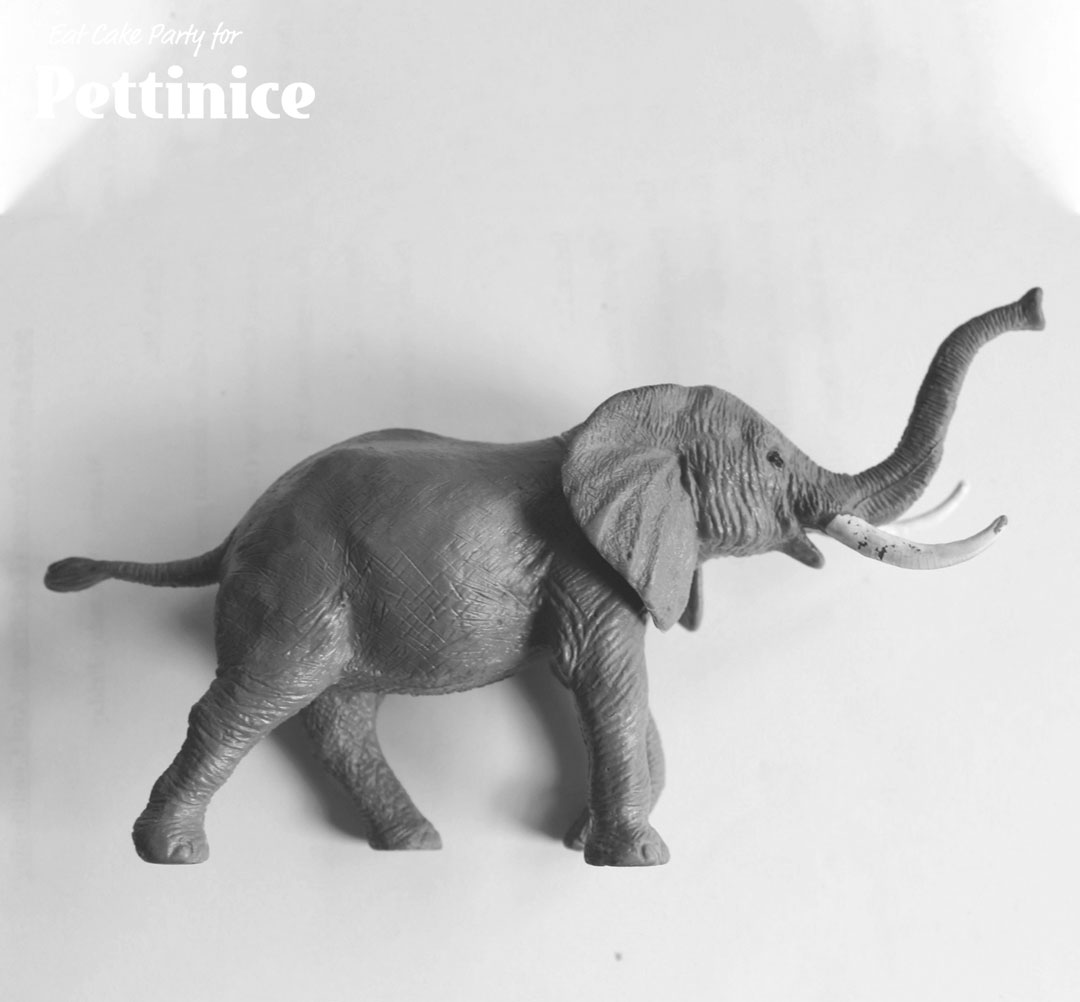
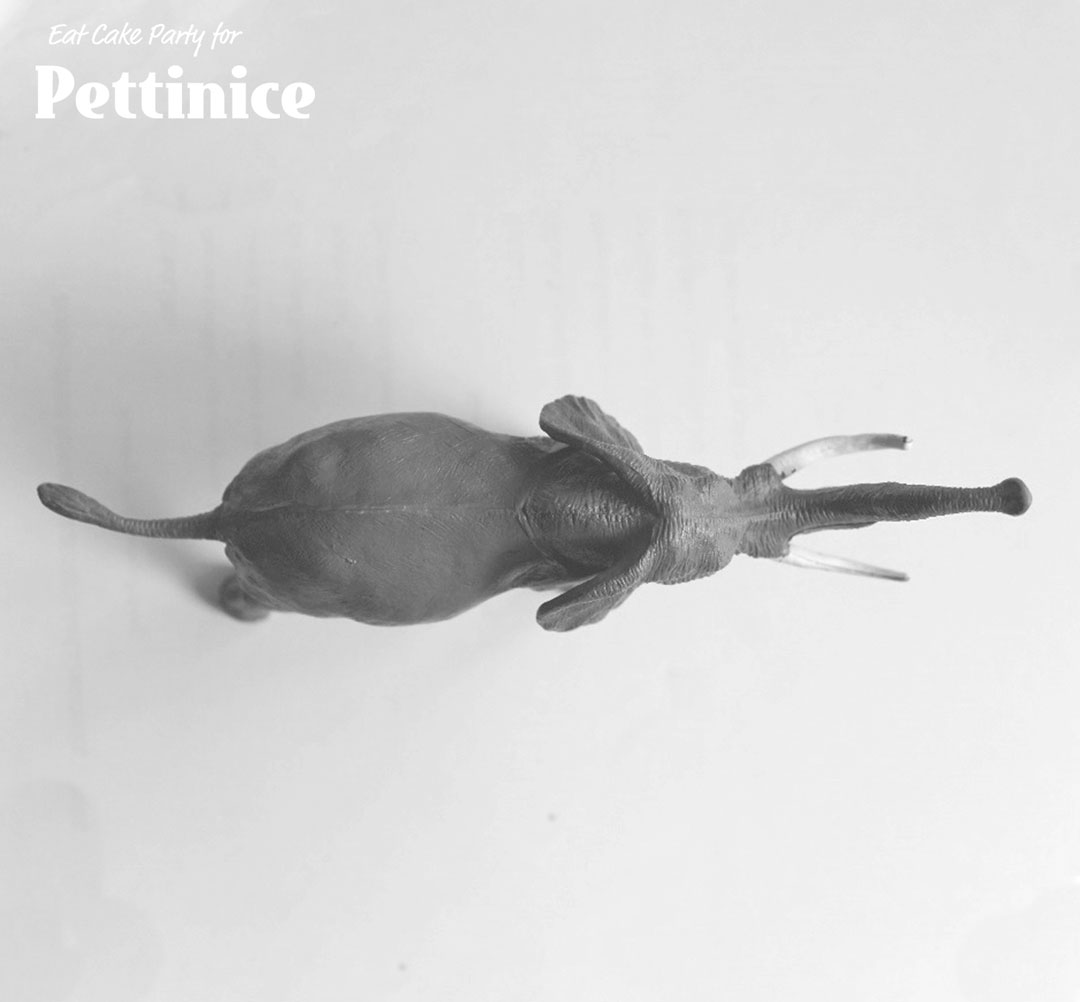
Sometimes you will need to make several drawings from different angles that are all proportionate to each other. Use a photo of your subject to help you do your drawing.
For the elephant, we will be making it 50cm in length. To calculate the proportions, take the photo that you have of the elephant and measure the length of the elephant on the photo from the back( not including the tail) till the trunk. Take the measurement that you decided on: 50cm and divide it by the measurement of your photo. The answer you have will be the scale measurement to use to get your outline drawing proportionately correct.
Now that you have your outline drawing, you can decide where the cake will be and what support you will need. We will be building the support as shown in red in the photo above.

You will need to drill 6mm holes in your 12mm think MDF board. This will give you a place to secure your 4 legs. These rods will become your main support.
You will need to bend the rod in the shape shown in red in your outline drawing. Drill 4 holes in your 6mm support board as shown above. Use the 6mm nuts to make a sturdy support.
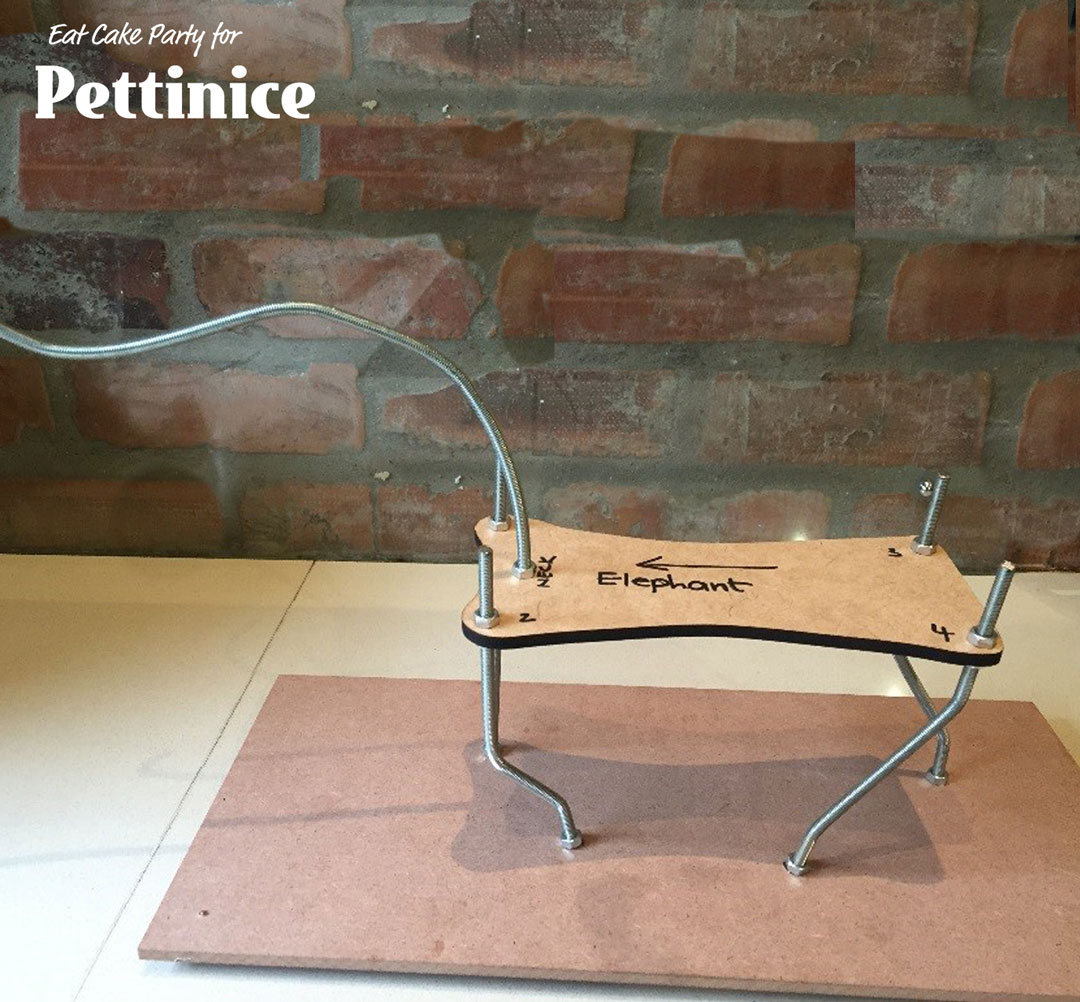
At this point, you should be able to hold up your outline drawing behind your structure to make sure everything is in place.
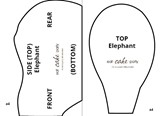
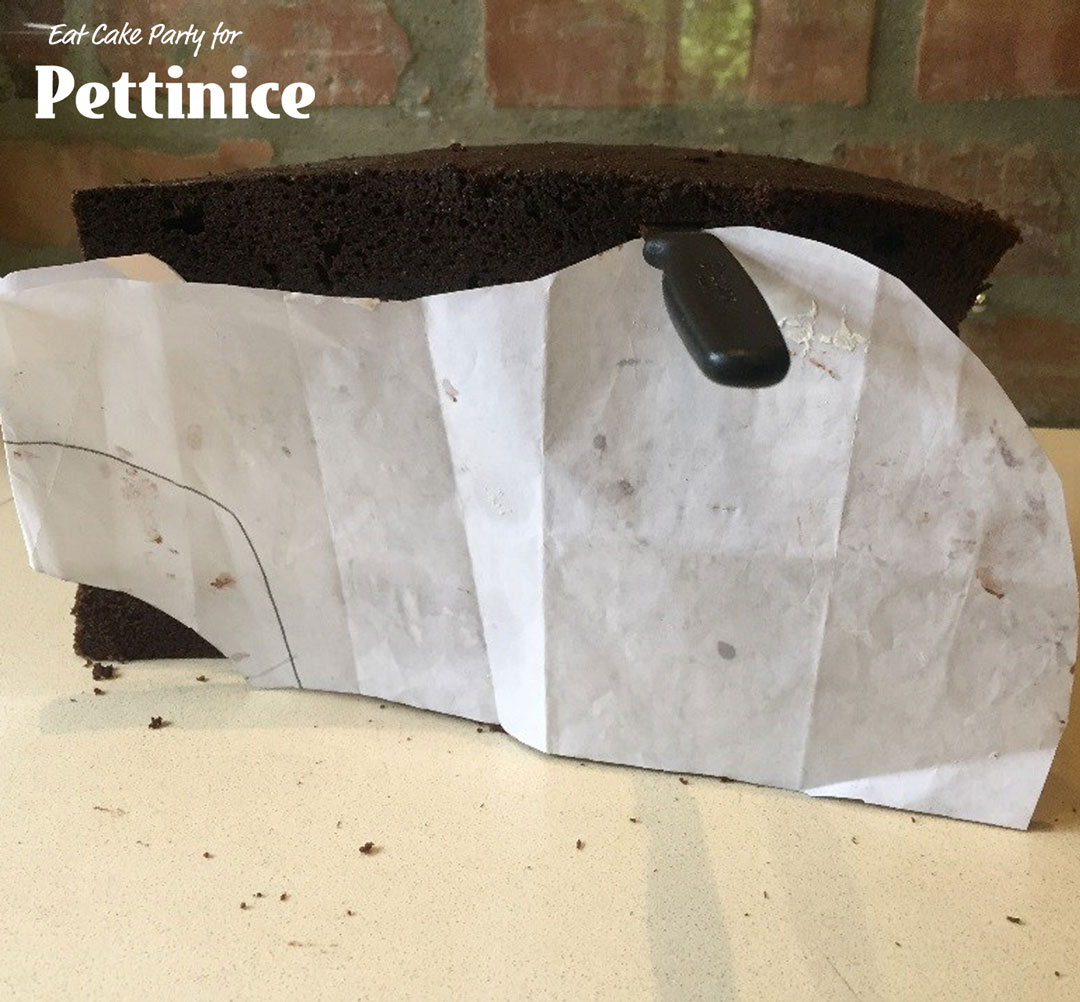
Now, take your cake and at this point, you can take your outline drawing and cut out the shape of your elephant that will be cake. If you would rather keep your drawing then copy the shape. This will be your template we will use to carve the cake shape. I have created a top template and a side template. You can see the top template duplicated to show how we will cut the shape from the 30cm square cake.

Use the top template first and making sure you cut down at a 90’ angle, cut away the excess cake. Place the cakes on top of each other
Take your side template and cut your cake again.
Keeping in mind your
template is only the widest
points of your shape. You will
need to carve the rest of the
shape and round out your elephant’s body. Concentrate
on the top shape, we will
shape the bottom last. The
easiest way to round out a square is to mark the middle
of each side of your cake. That will be your widest point and you will not want to cut away this
cake.
Using a smaller knife, shave away small amounts of cake at a time from the edges, moving
‘around’ your cake so that you remove equal amounts.
Don’t rush this part, it is important to get the shape right. Make sure that when you look at your cake it doesn’t have flat sides, this will mean that you still need to round out your shape.
Take your time and follow the templates you created.
Carve the bottom of your elephant following the shape of the board. Now is the time to make sure that your shape is right.
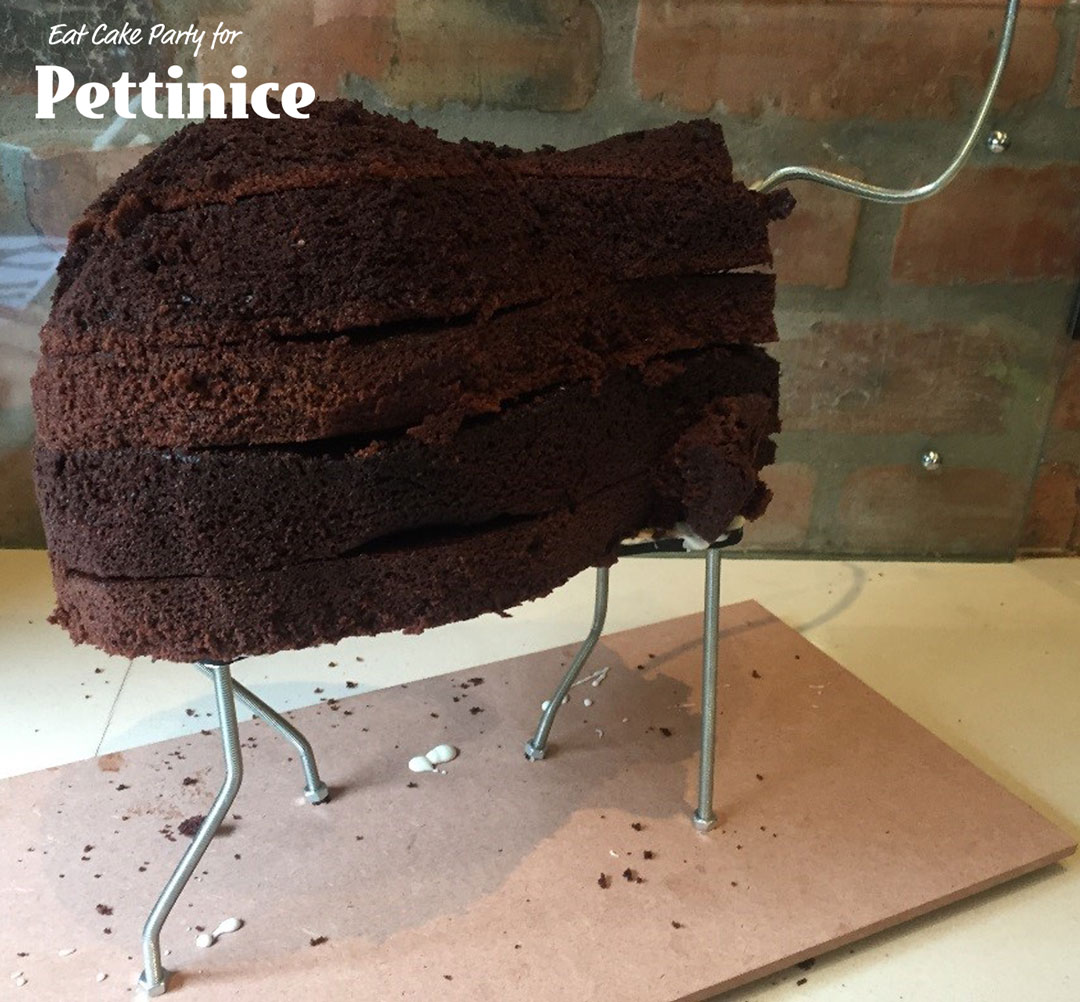
Once you have your elephant body rounded out we will place it on the structure.
This part you will have to do quite quickly and perhaps with an extra pair of hands to help. You will need to melt your chocolate till it is smooth. It should be warm.
Using your warm chocolate, cover the ready rod and 6mm board with chocolate.
While the chocolate is still dripping and warm, place the cake on the structure.
At this point, once your chocolate is set, your cake should be quite secure.
If your chocolate is not warm anymore, gently heat it again. It is really important that your chocolate form a strong coating to hold your cake to the structure.
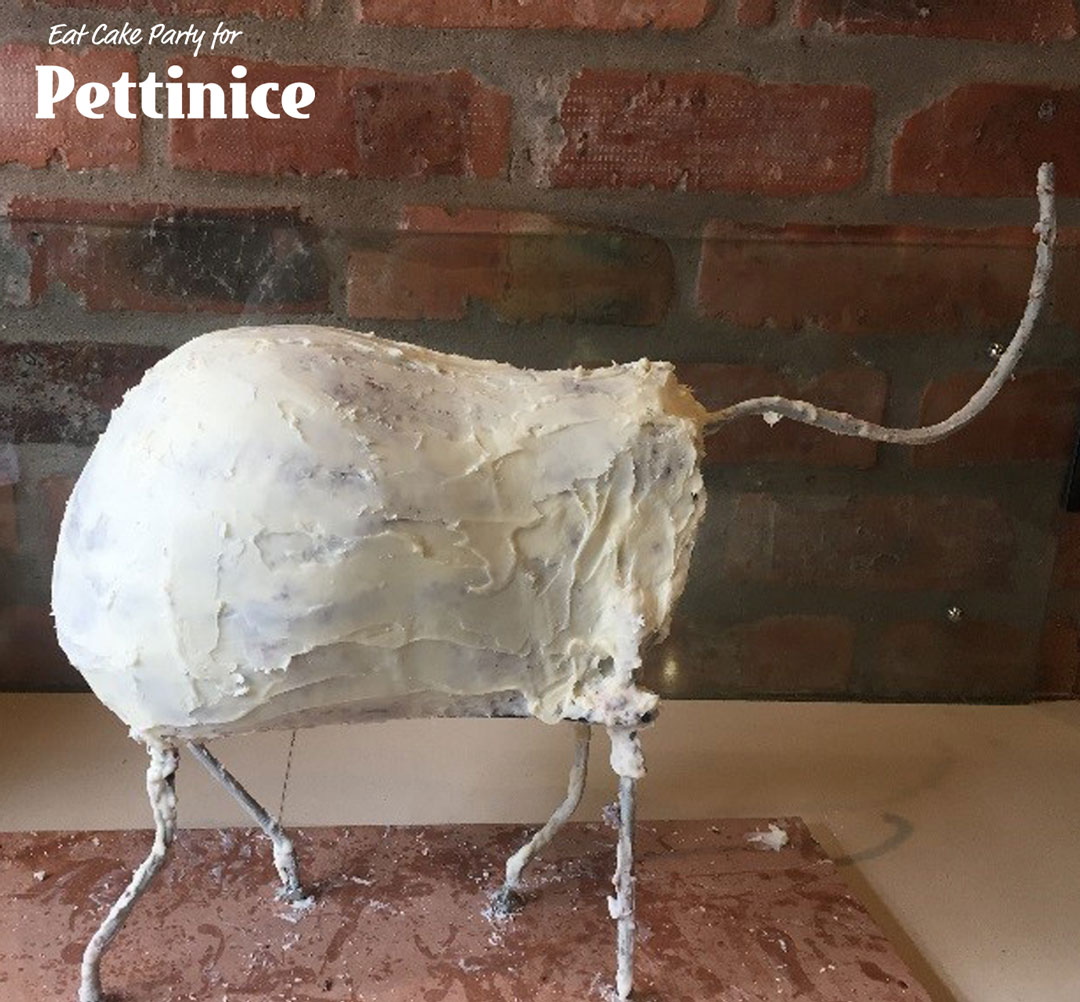
Just like a normal crumb coating, put a thin layer of warm chocolate over the entire cake.
Allow the chocolate to set and then using your chocolate that is now thickening and cooling, cover the whole cake to make sure the cake is sealed and secure on the structure.
You can smooth out the chocolate easily as it starts to get into a ‘toothpaste’ consistency.
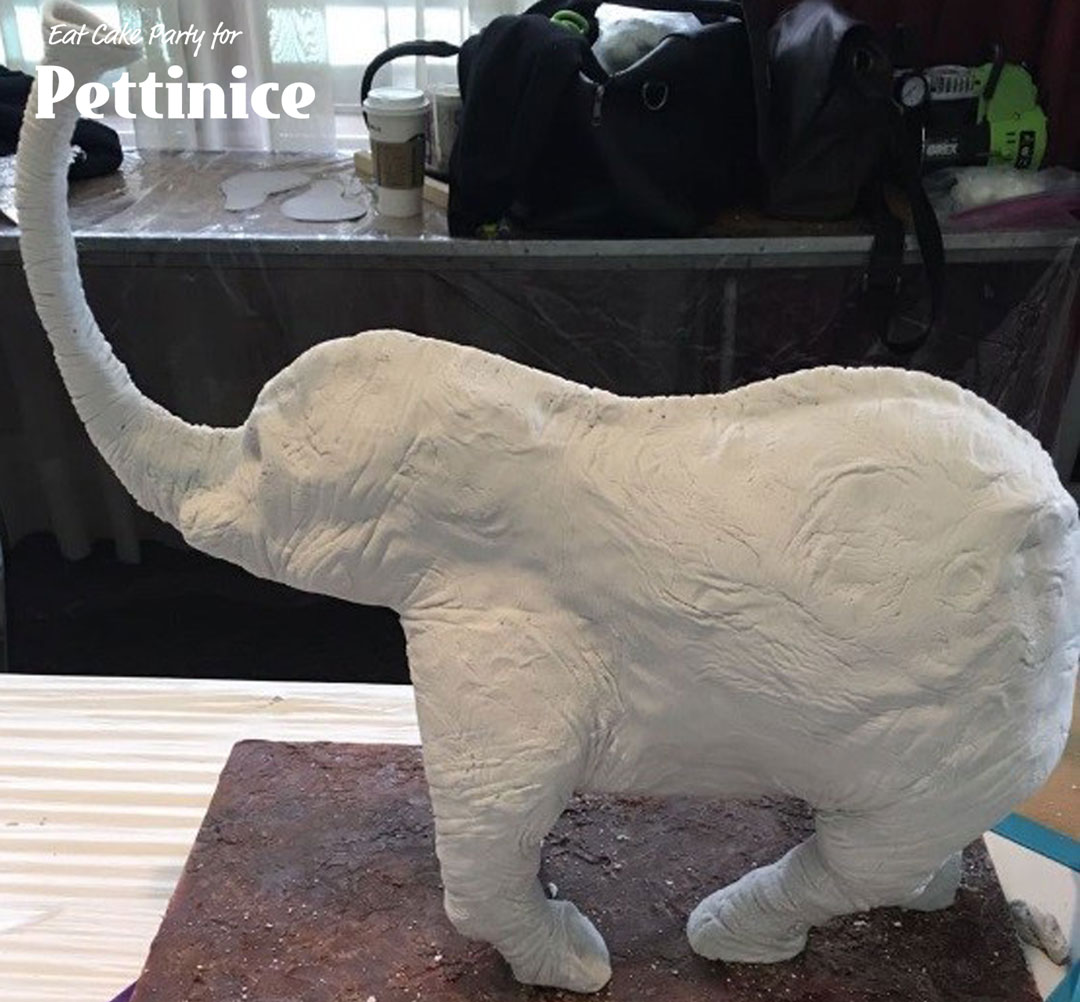
Legs and head
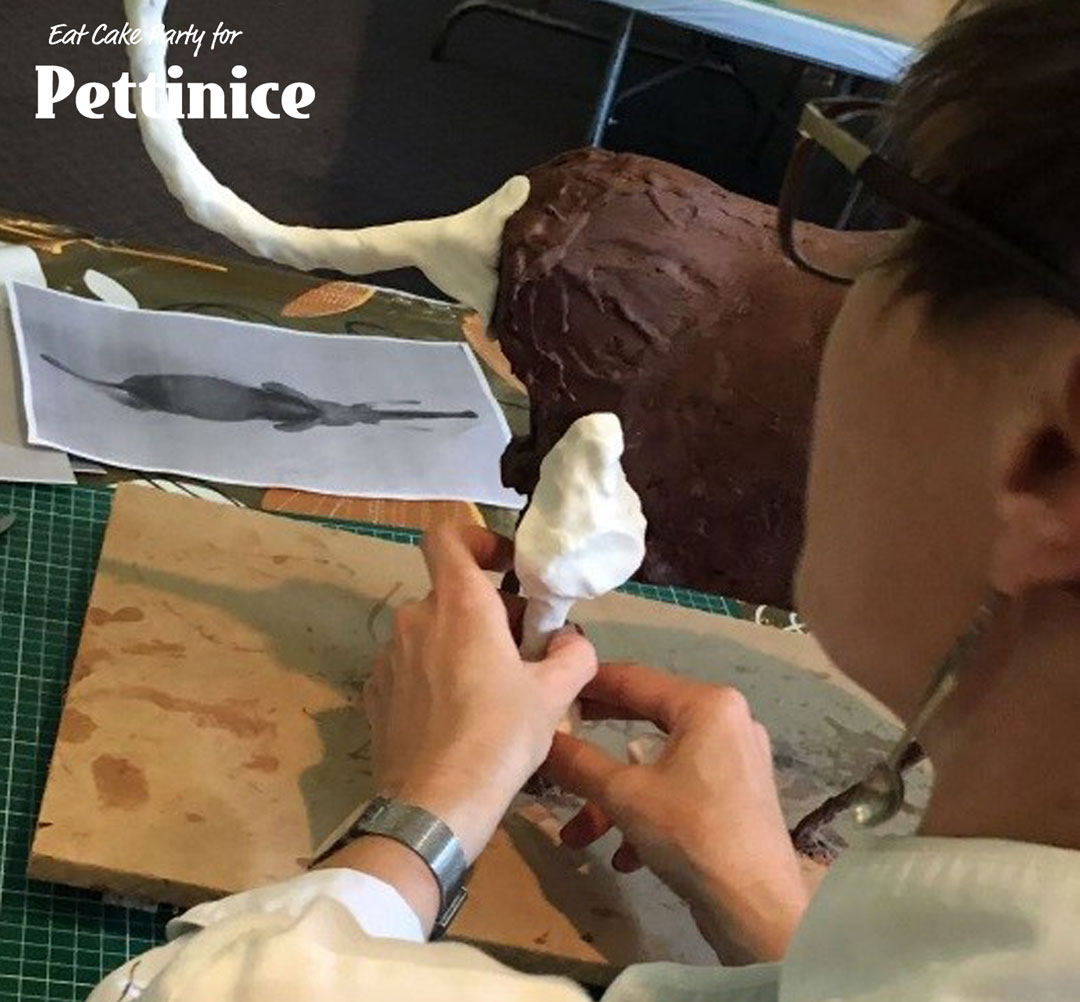
Gently knead your modeling chocolate till it is warm enough to sculpt with.
At this stage you will be building slowly using small pieces of modeling chocolate as the bottom layer harden and create a base to work on.
Work alternately on the legs and face allowing each layer to harden in‐between.
Use your outline drawing to make sure your shape is correct. By this time you can make eye holes, nostrils and mouth.

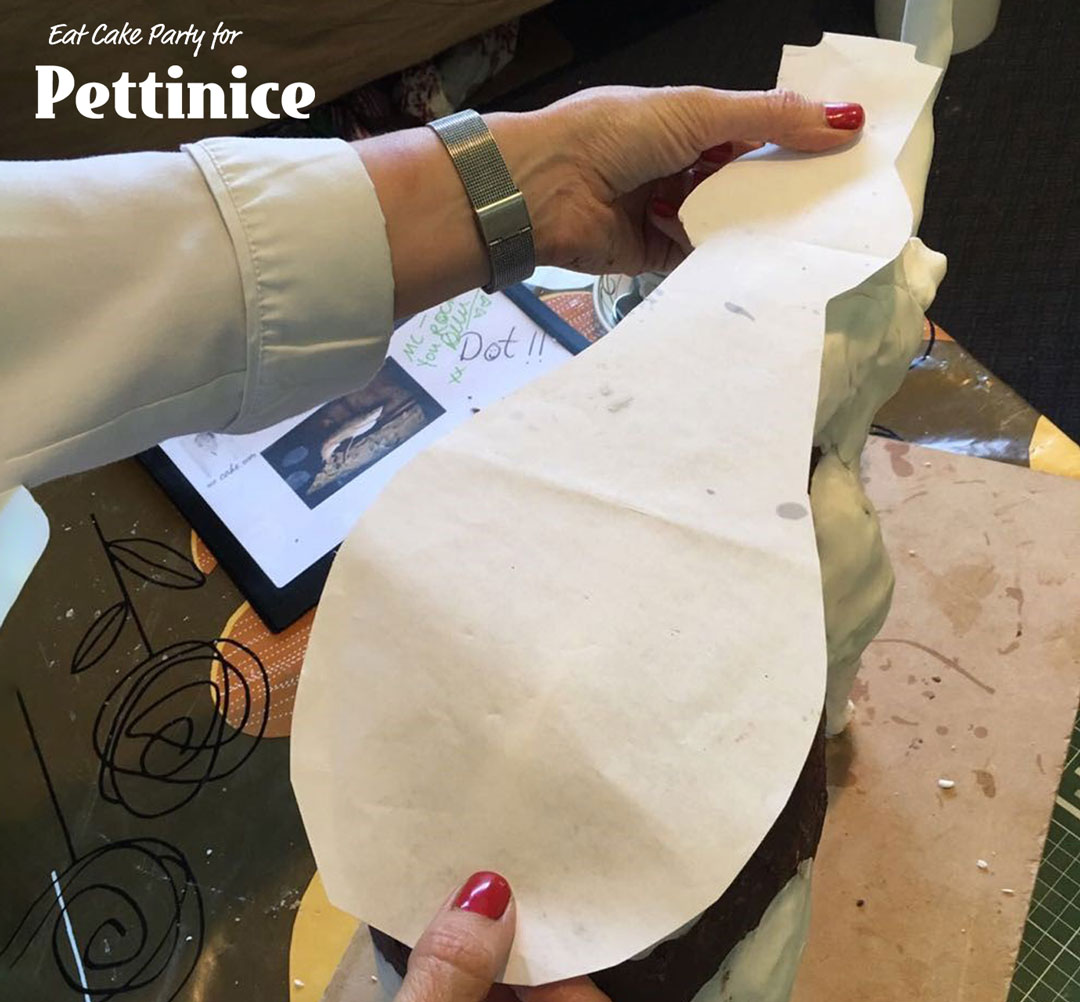
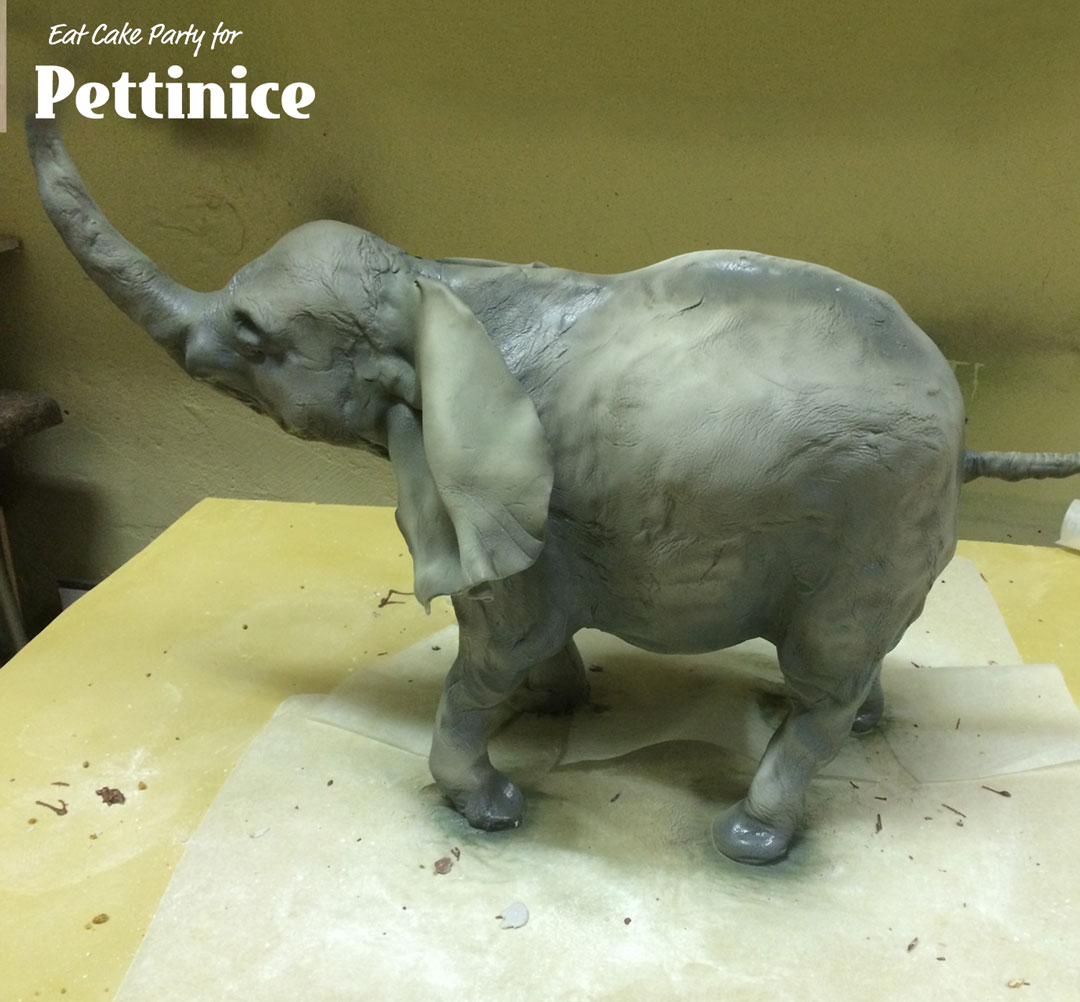
Once you are satisfied with the shape of your elephant, you can take 2kg of fondant.
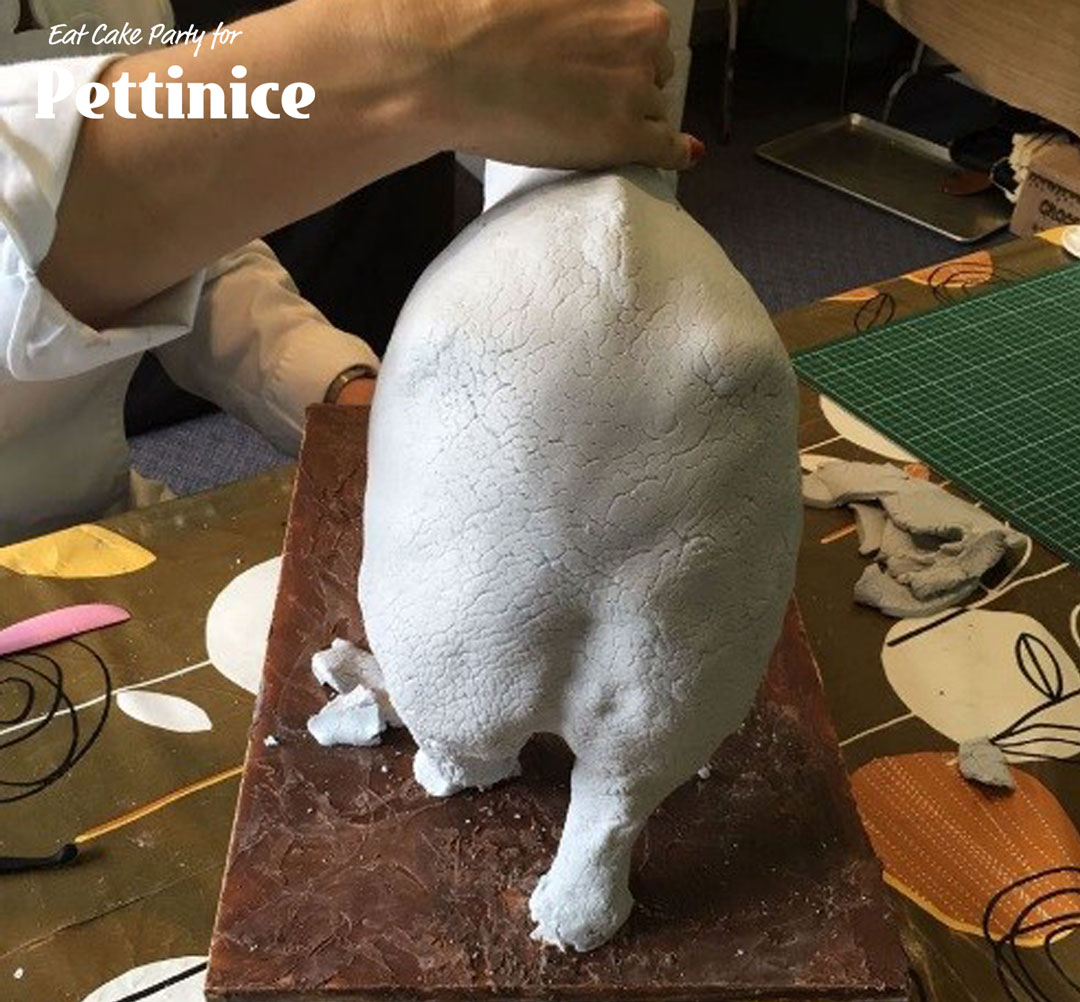
Roll out the fondant about 5mm thick. Using your tape measure, make sure that your rolled fondant is wide enough and long enough to cover your entire cake. You can leave the fondant to dry out a little. This will help create the texture of his skin.
Cut a clean line around the rolled out fondant mixture. This clean line will make smoothing easier.
Flip your fondant over to the side not dried out. Taking your glue, cover the fondant entirely, making sure there are no parts without glue. These will form air pockets if not covered with glue.
Lift the fondant up and place on your cake. Using your hands, stretch out the fondant to cover the whole cake. Cut off the excess on the bottom with a sharp knife.
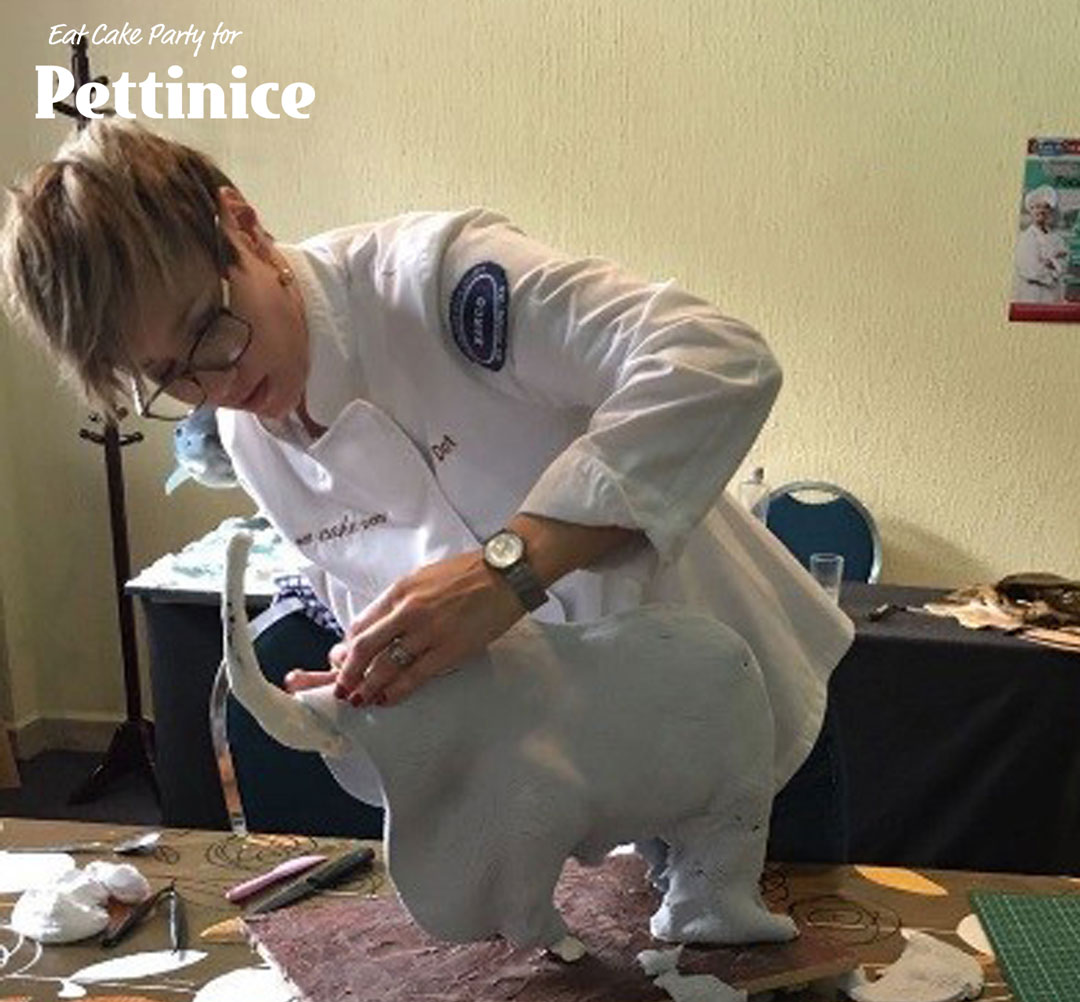
Make sure to make the eye socket and the final shape of the mouth before the fondant dries. Smooth the bottom of the elephant using a cake smoother until there are no lines visible. Rub your palms of your hands together to create heat, rub your palms on the lines to warm them, this will help to smooth the lines out more easily.
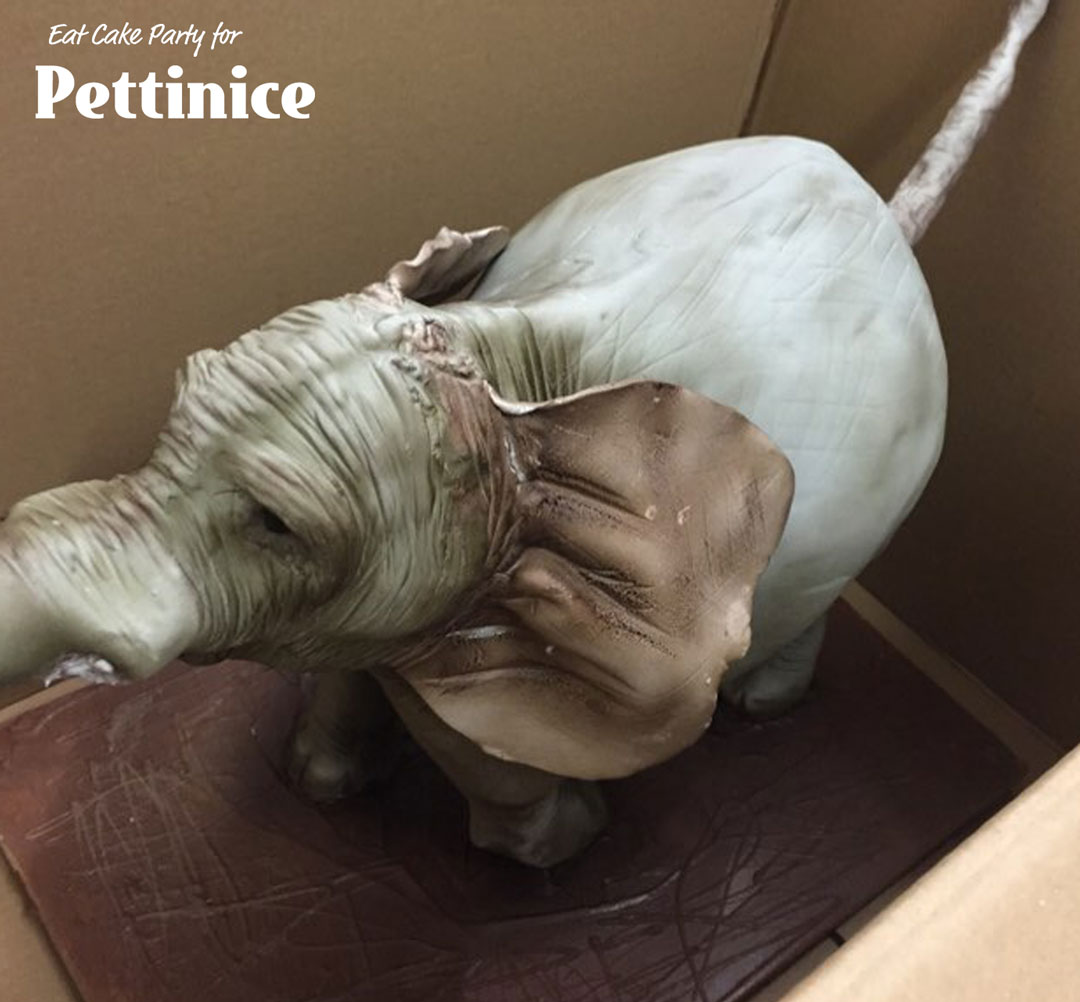
Take some armature wire and place for tusks and make a tail.
Using a 60/40 mixture of fondant and modeling chocolate, create the African continent shape for his ears (size determined by your scaled drawing). Attach with a little water, using tissue paper to support till dry.
I thin my gel colour with vodka. Mix black with a dash of brown. Using your airbrush, making sure that you don’t spray too much, spray at an angle so that the colour picks up the texture in the dried fondant. Add layer over layer of colour. Add a few extra layers to shadow areas.
Once the spray is complete, add the tusks and eyes. Add a small black eye ball to complete the eyes. Your African elephant is now complete!
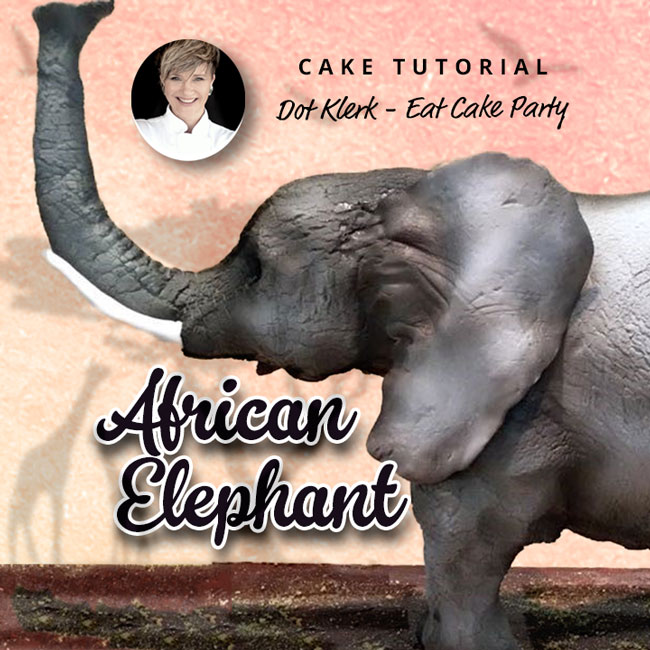

Dot Klerck hails from Wellington, South Africa and honed her skills in art and sculpture before falling head over heels into the sugar world. Now an international multi-award winning cake artist, she started out making cakes for her four children and from there it became her business. Dot travels around the world teaching sugar craft and continues to create cakes in between classes.
See more of Dot's cakes on
![]()
![]()