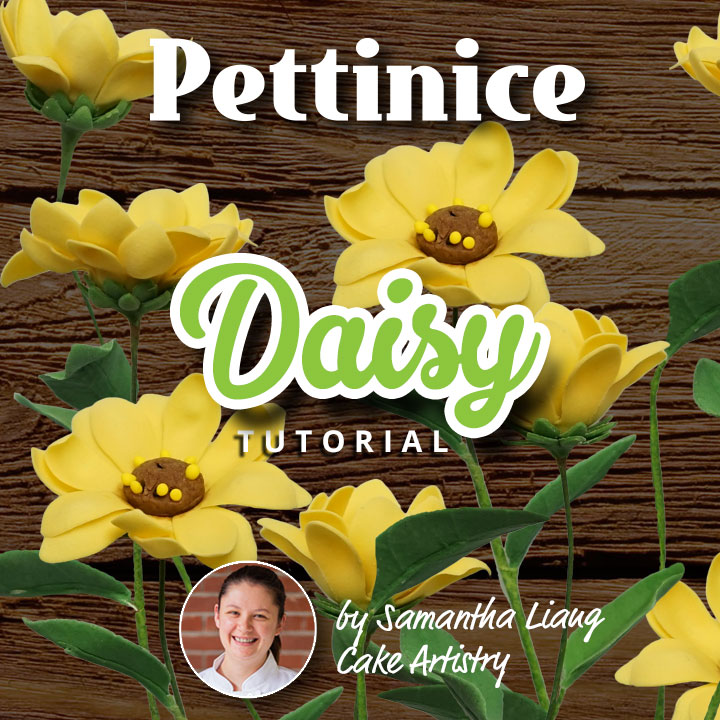
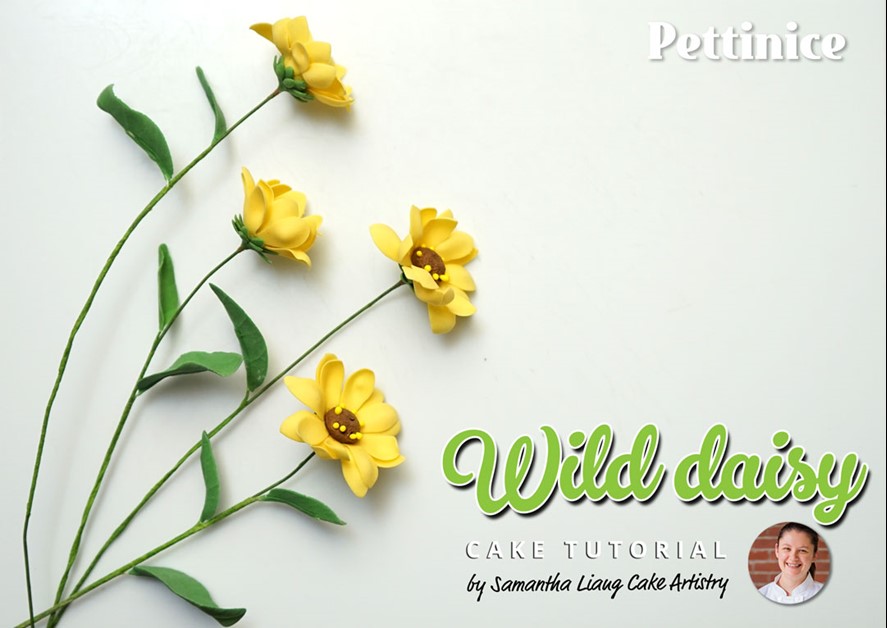
Wild daisy sugar flower tutorial with Samantha Liang
Tools and equipment for Wild Daisy
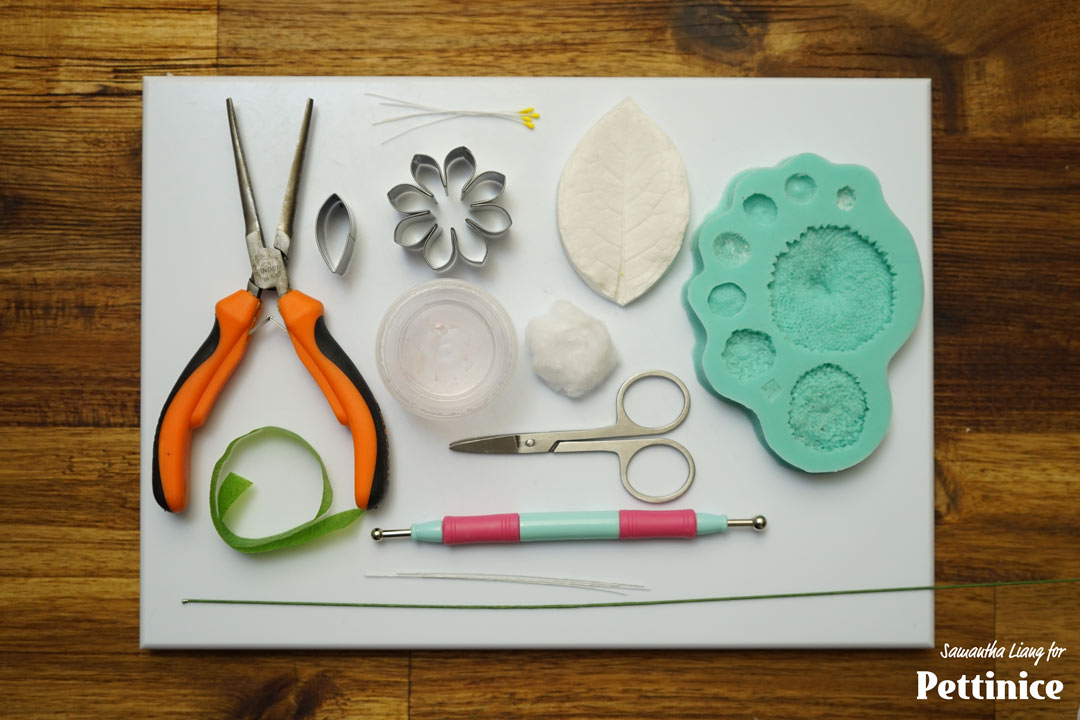
- Green, yellow and Brown Pettinice mixed with tylose and Crisco
- Flower board
- Petal Pad
- Rolling pin
- Cornstarch pouch
- Sugar glue + water brush
- 20g green wire
- 26g white wire
- Half width dark green floral tape
- Daisy cutter + calyx cutter
- Small daisy leaf cutter
- Daisy centre mould
- Yellow stamen
- Flat nose pliers
- Cotton wool
- Small ball tool
- Petal wallet
- Leaf veiner
"When making sugar flowers I try to avoid uniformity. There are imperfections everywhere in nature and I believe that imperfections make flowers beautiful and unique"
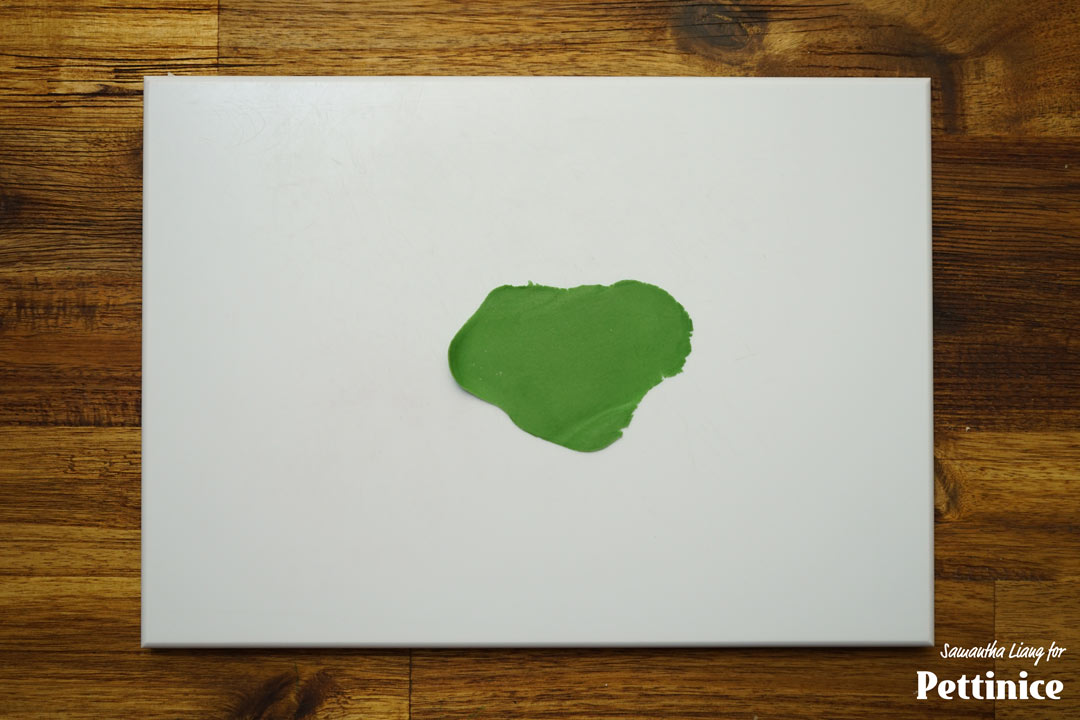
Roll green paste as thin as you are comfortable with. (I am using Bakels green).
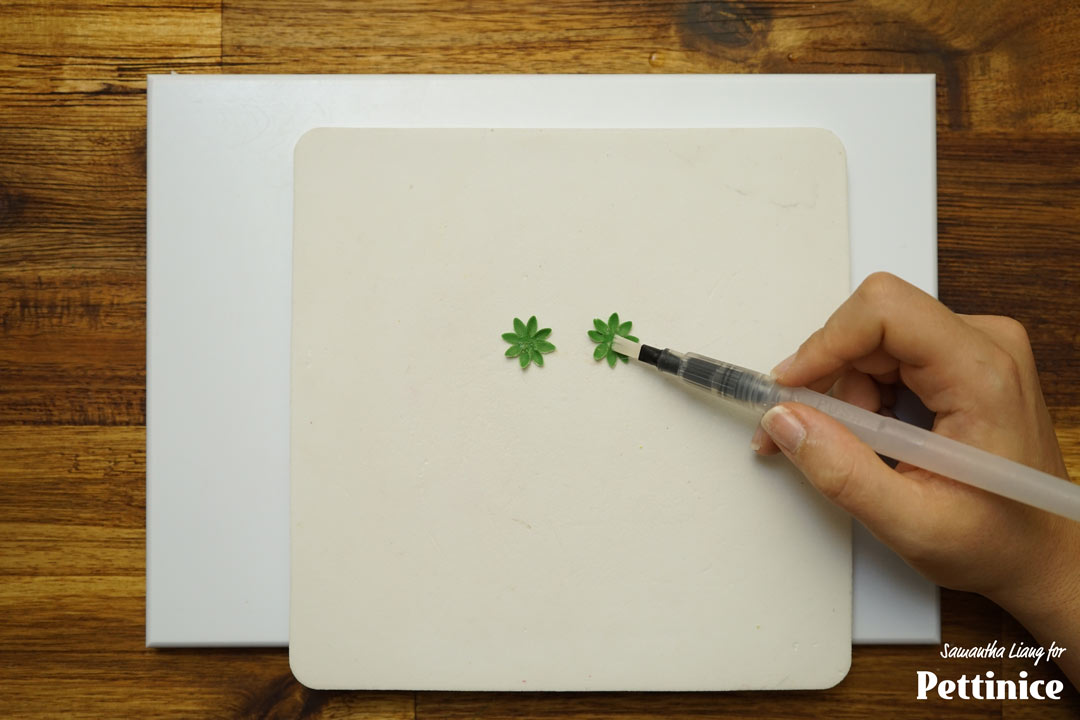
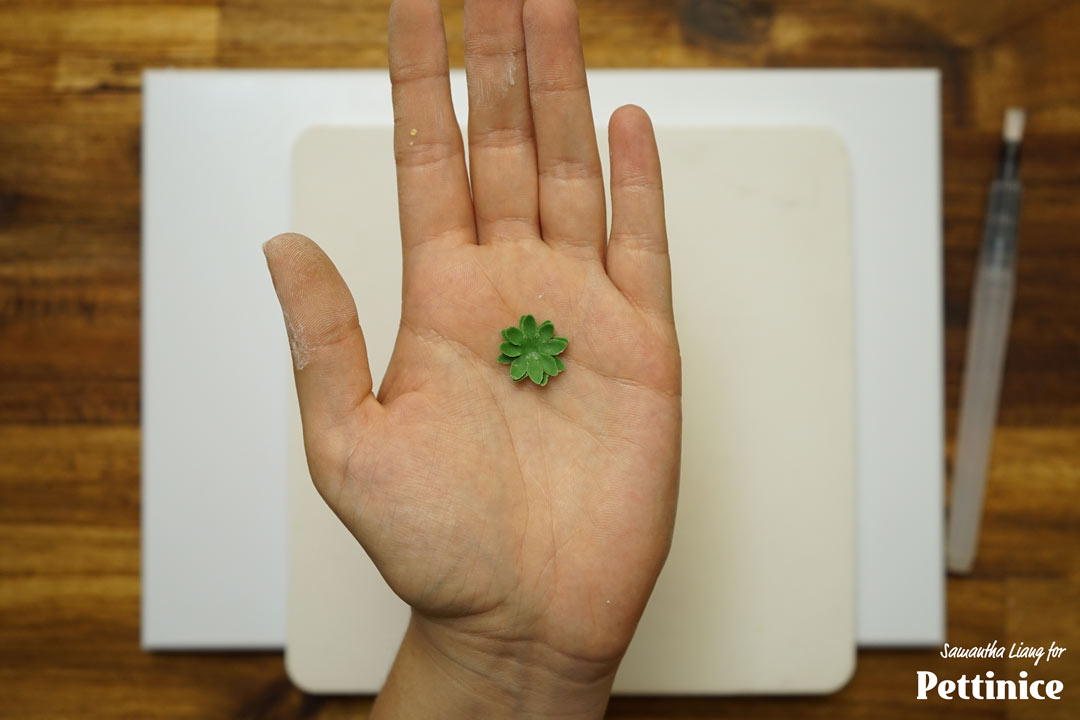
Cut out all your leaf pieces and keep them in a flower wallet to keep from drying out.
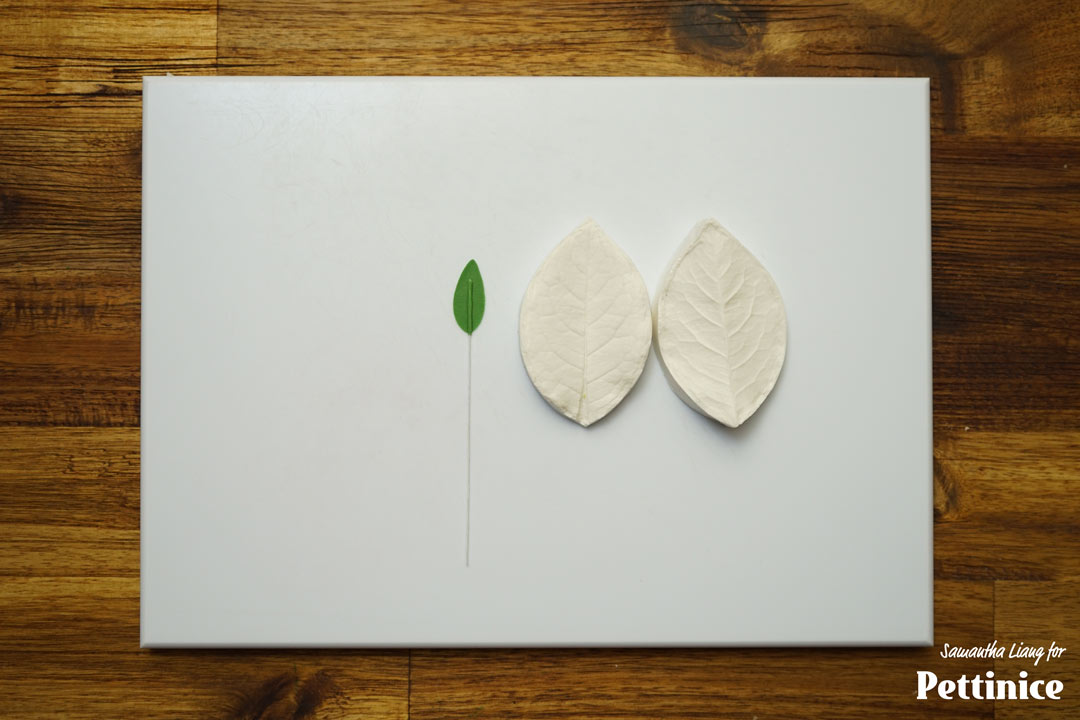
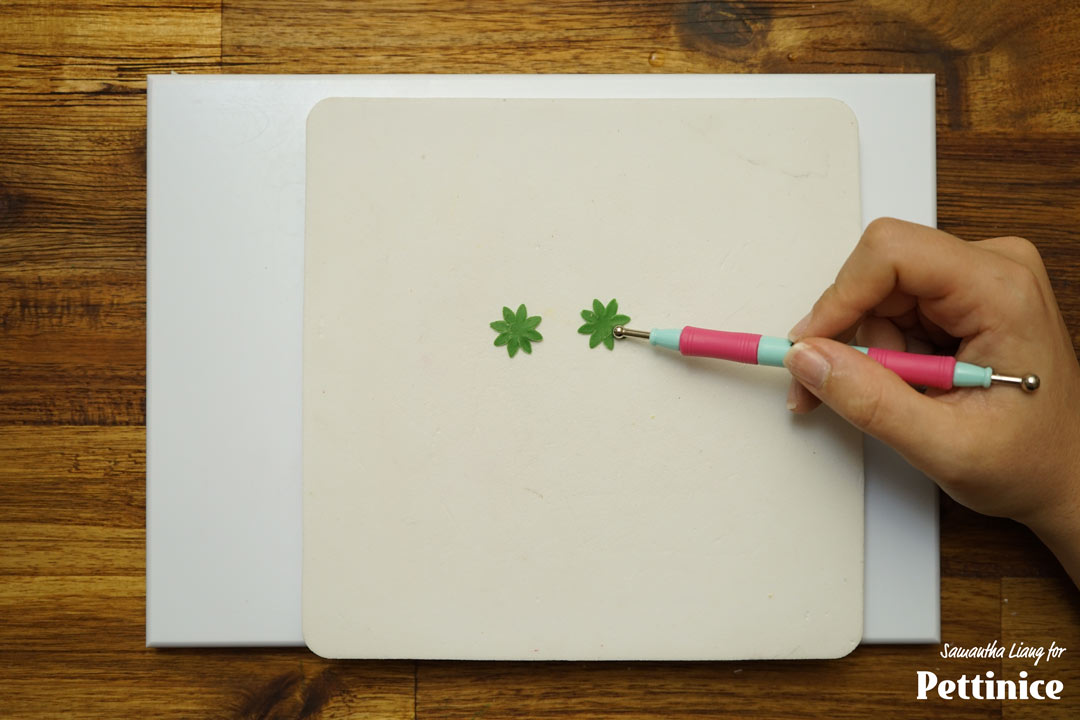
Make a twiddle with some extra green paste, make sure the paste is nice and sticky, and place your leaf into your veiner. Press really hard.

Pinch the top of your leaf and the bottom close to the wire to secure and give some movement. Set aside to dry for a few hours or overnight.
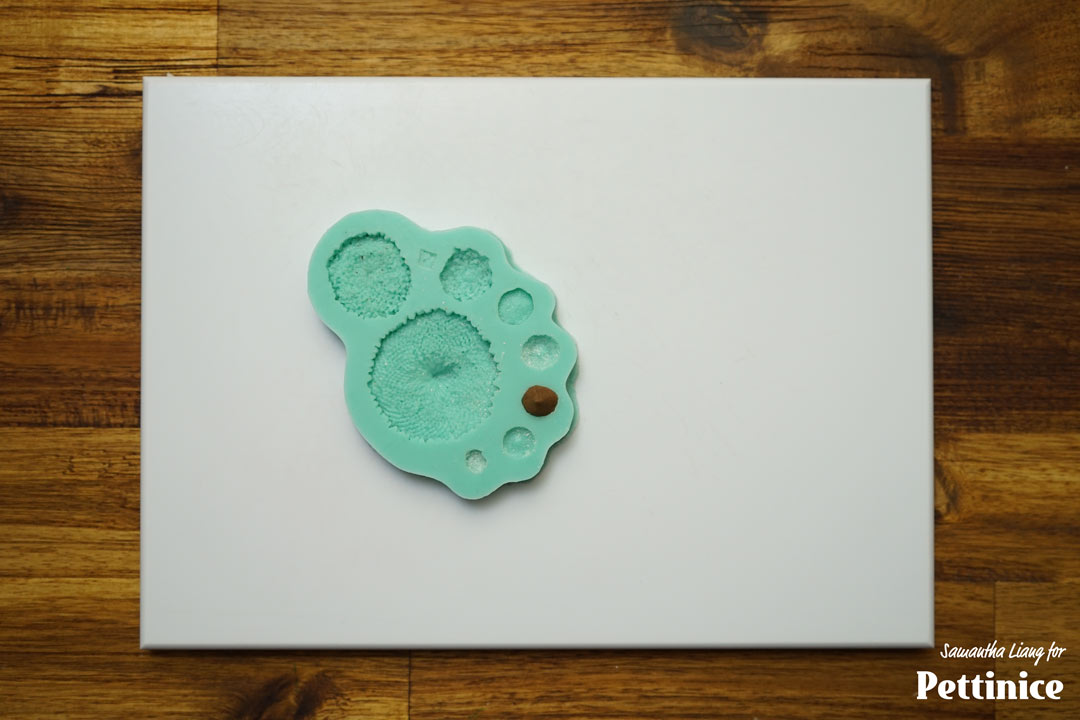
Roll a small ball of brown paste and press into the daisy mould.
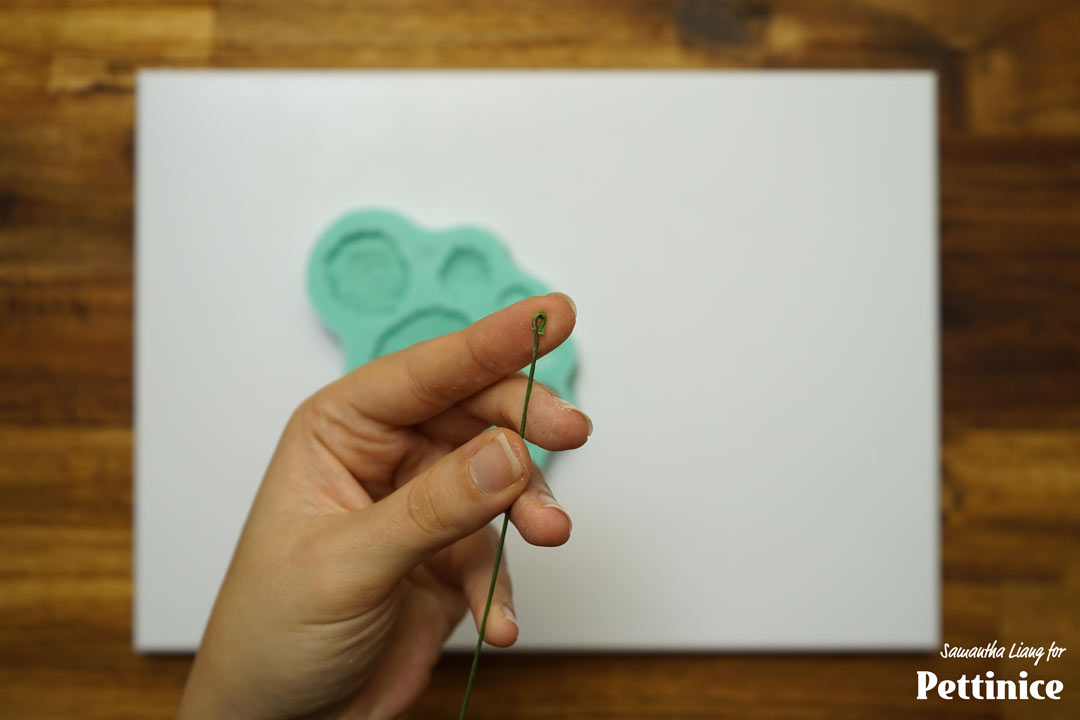
Make a hook at the end of a 20g wire with your pliers. Dip onto glue and press into the brown ball.
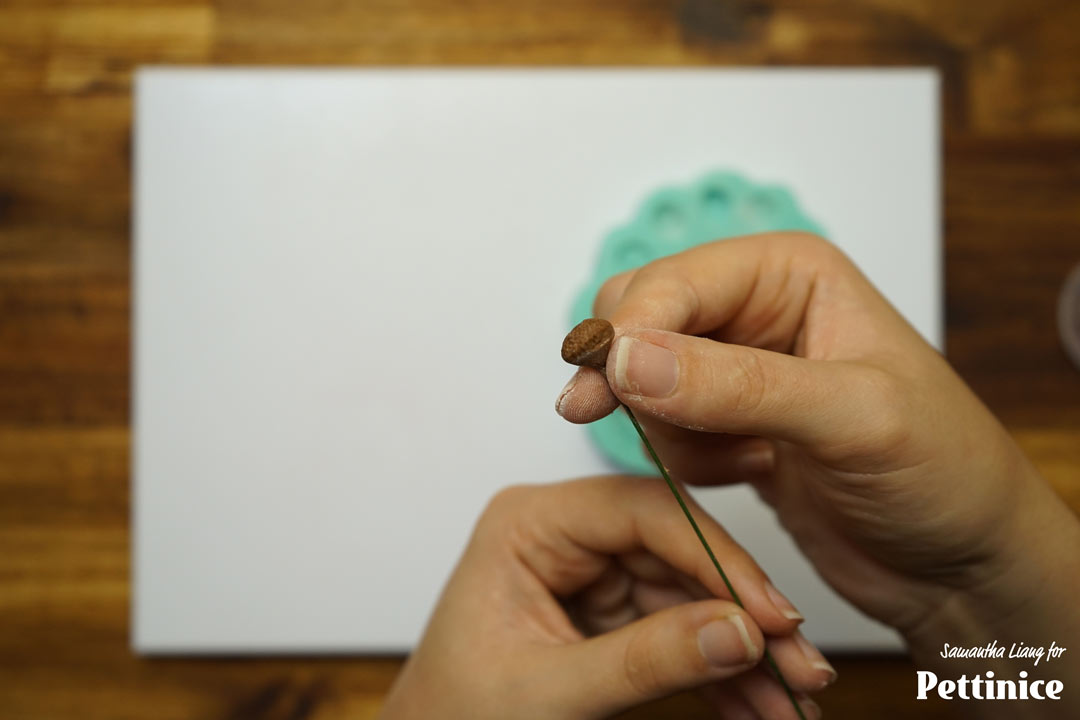
Pinch the bottom of the paste and do a semi twiddle to adhere it to the wire and make it secure.
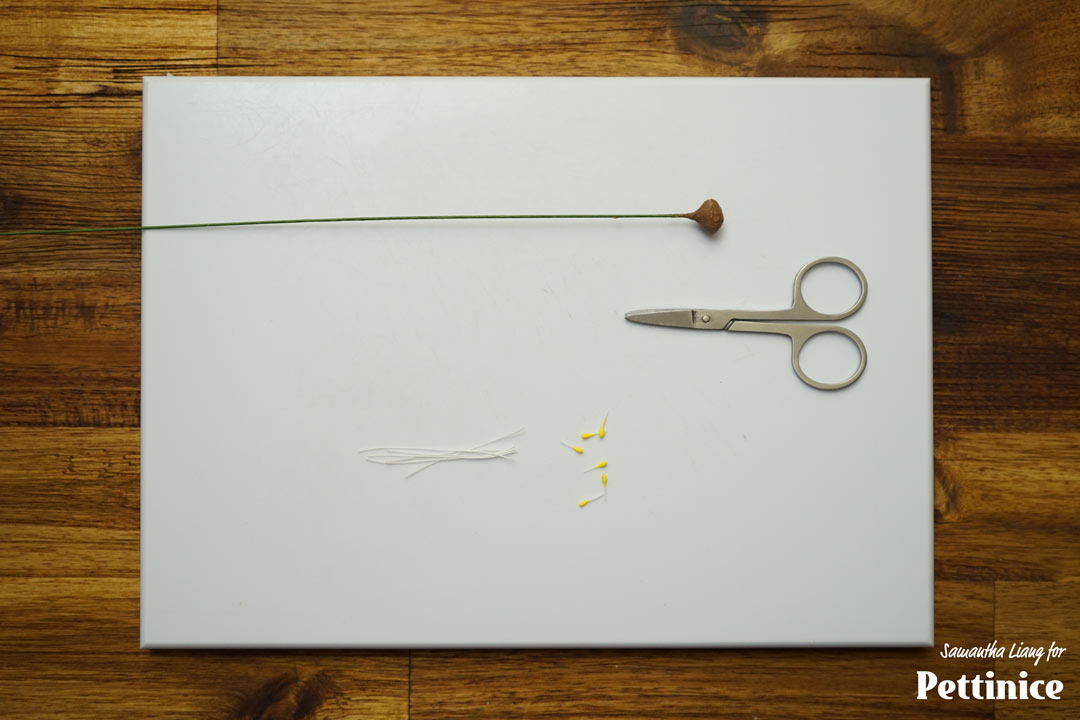
Cut the heads from 5-6 yellow stamen. Dip into some edible glue and stick into the daisy centre while still soft.
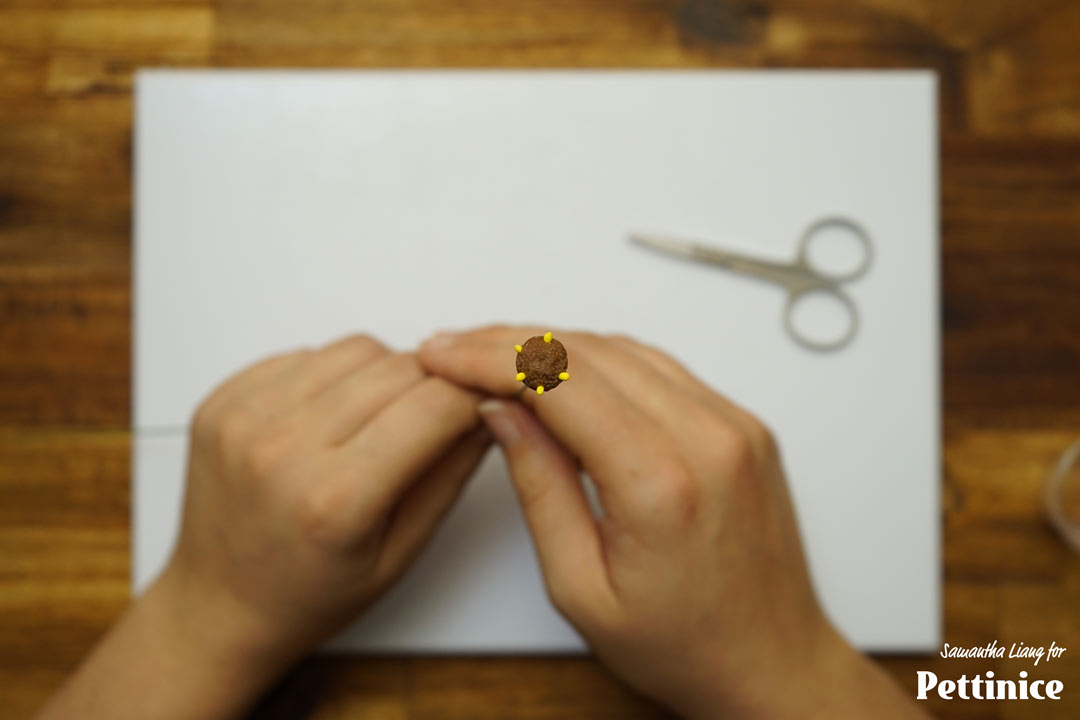
Place random. Set aside to dry completely.
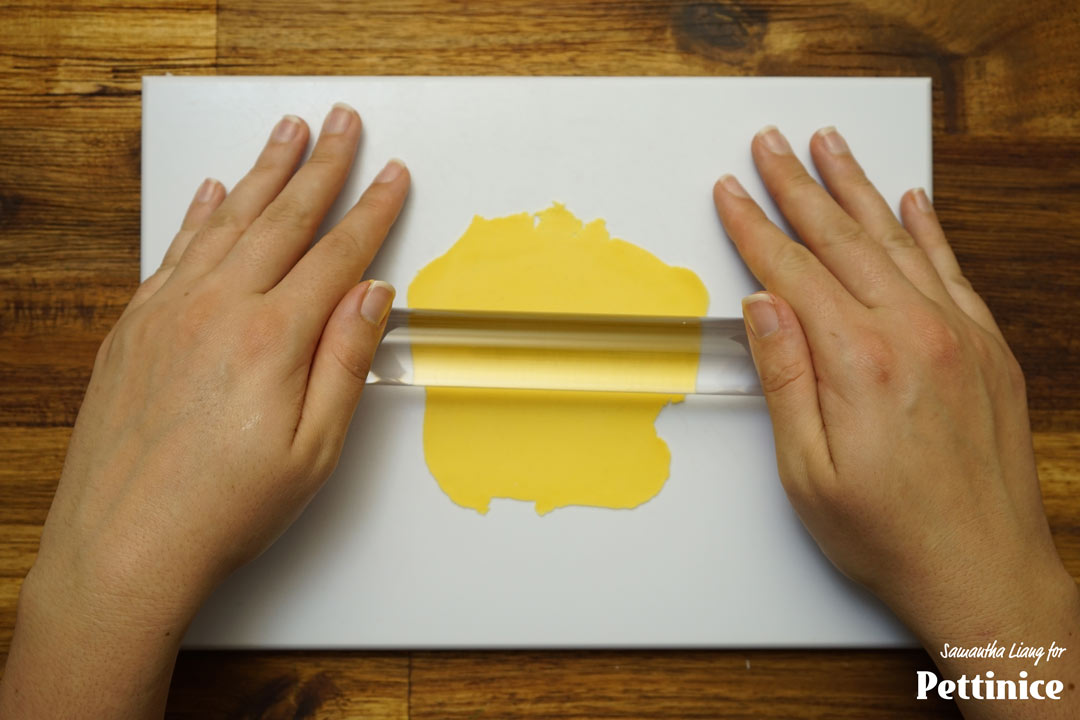
Roll yellow paste as thin as you are comfortable with. (I am using Pettinice yellow with a tiny touch of orange for a richer colour).
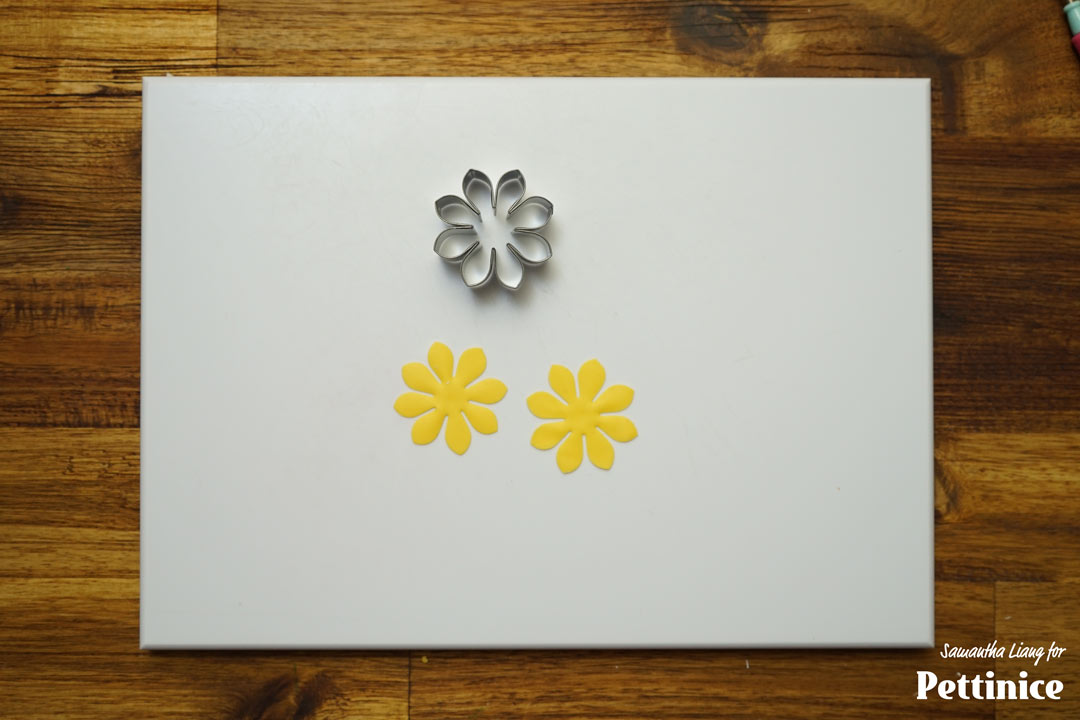
Cut all your daisy pieces and keep them in a petal wallet. Each flower needs 2 pieces.
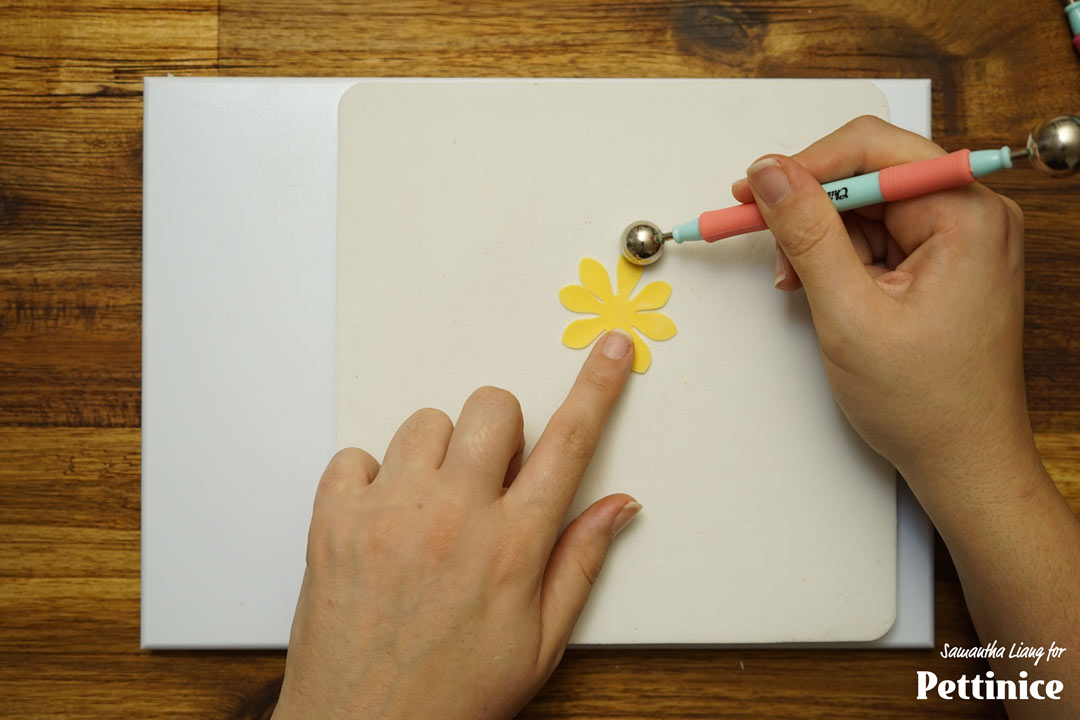
Thin out the edges of the petals using a ball tool. This will give your petals a more natural look.
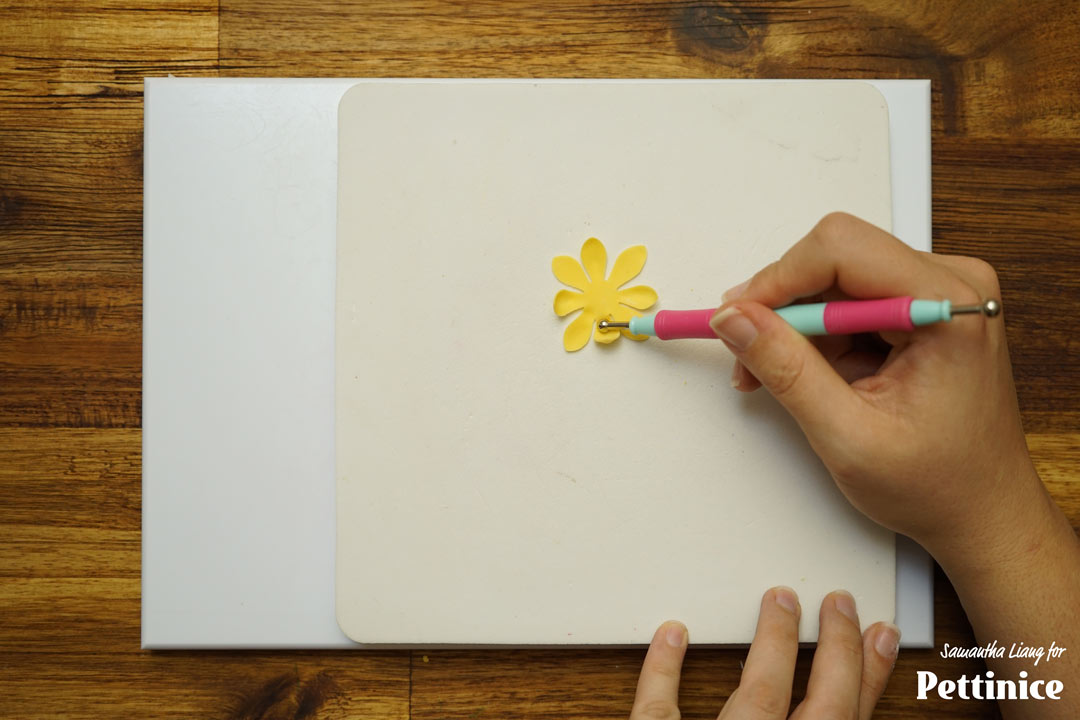
Curl a few petals inward using a dresden tool or small ball tool. Turn the petals over and curl the other petals inward. This will give your flower natural movement.
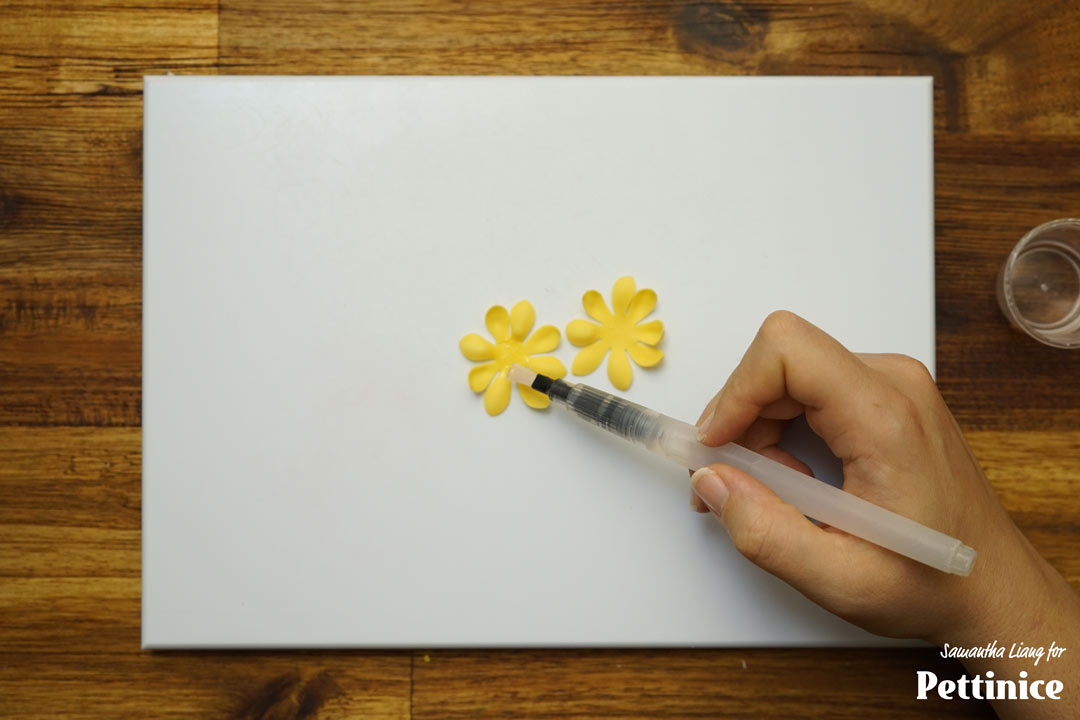
Place a tiny dab of glue in the centre of one set of petals and stick the second set on top. Make sure the petals are not overlapping completely.
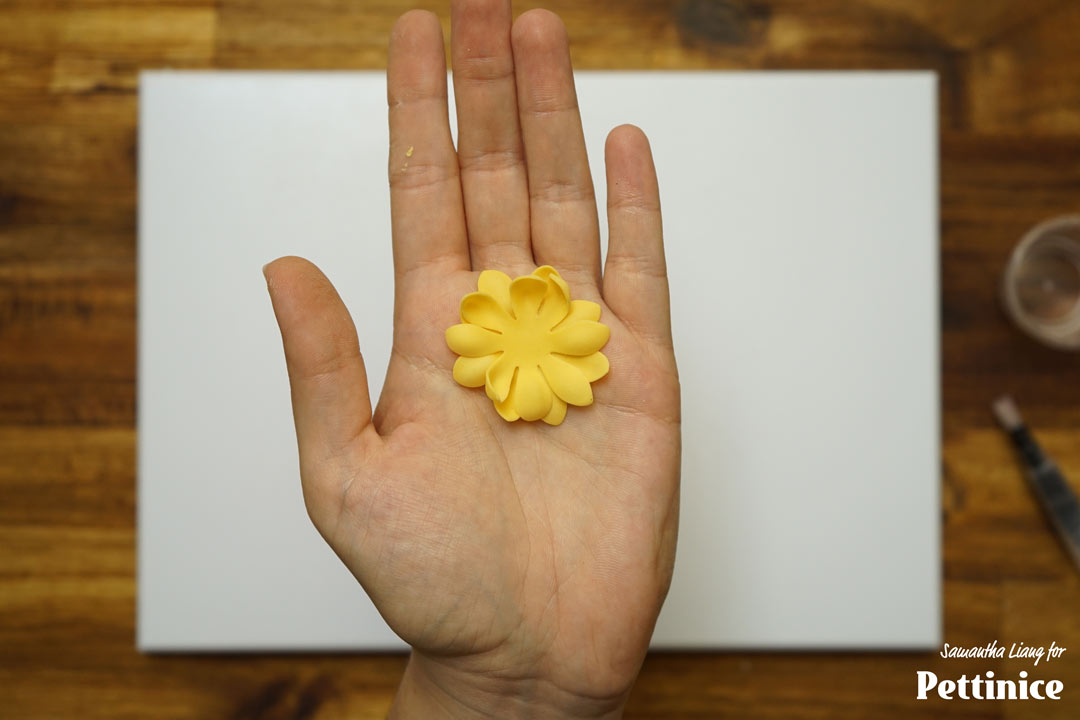
This is what it ends up looking like.
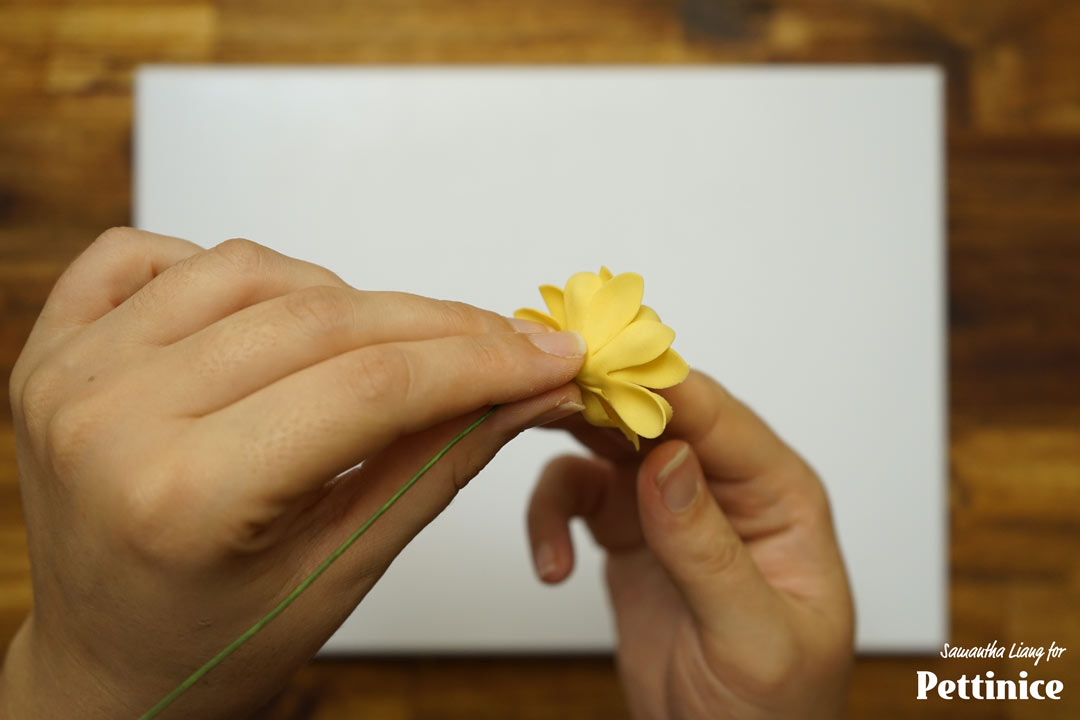
Stick your petals to your flower center that is completely dry. Pinch the bottom of the paste and do a semi twiddle to clean it and secure it.
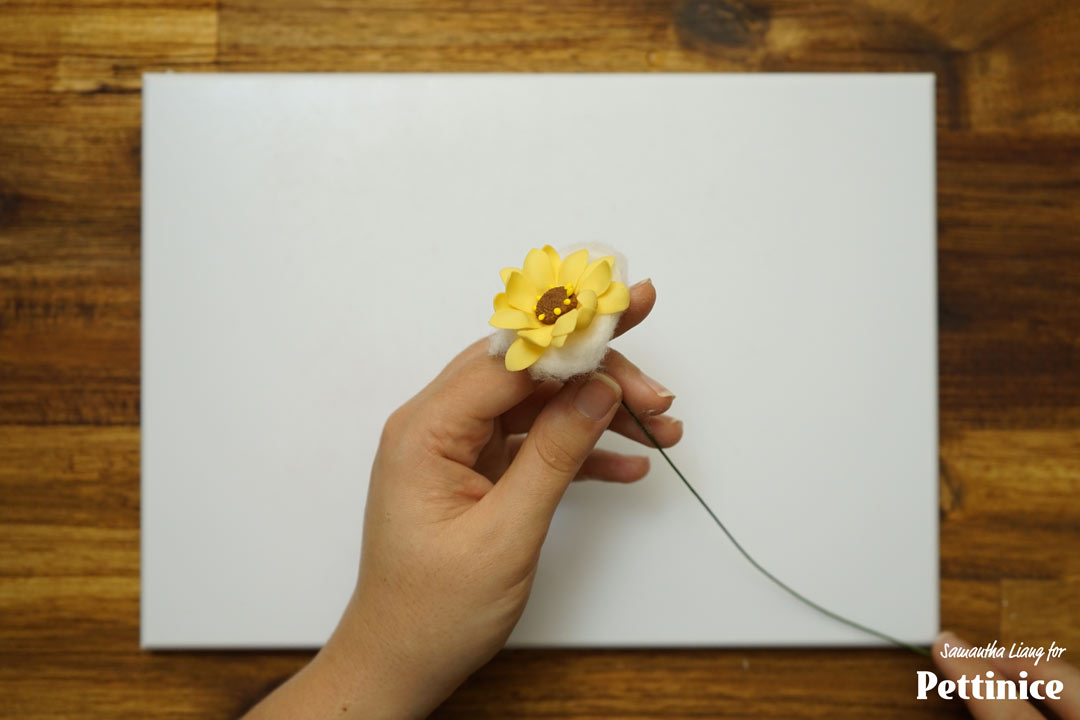
Place your flower on cotton to dry. This will help give natural movement. You can also dry it hanging upside down.
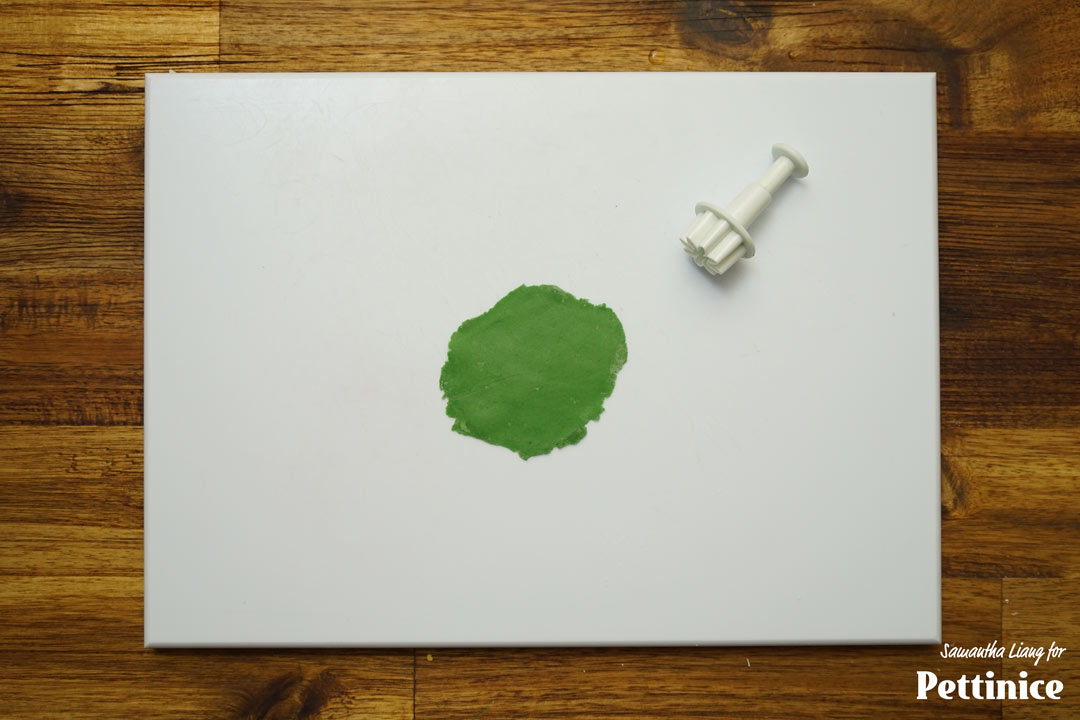
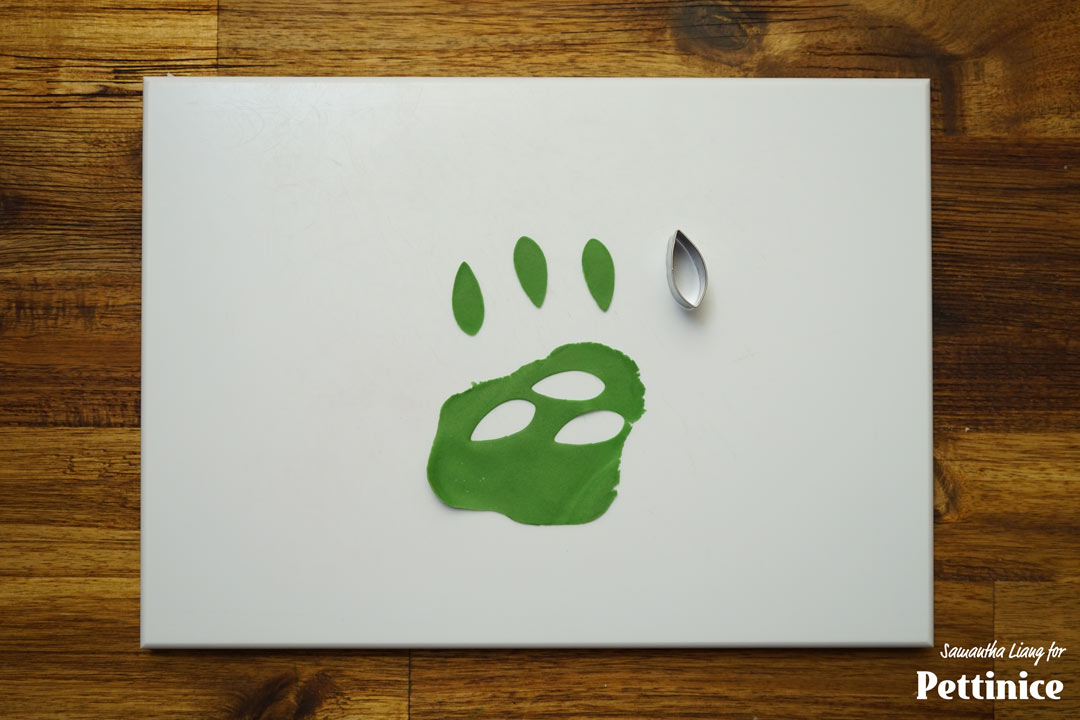
To make the calyx, roll the same shade of green paste thin and cut out 2 pieces of the calyx. (a smaller daisy cutter is also acceptable).
Thin the edges with a ball tool and curl the sepals inward with a small ball tool.
Glue the 2 pieces together making sure the sepals do not overlap completely.
Try to offset the petals.
Glue the calyx onto the bottom of the flower. Pinch the bottom of the paste to clean and adhere.
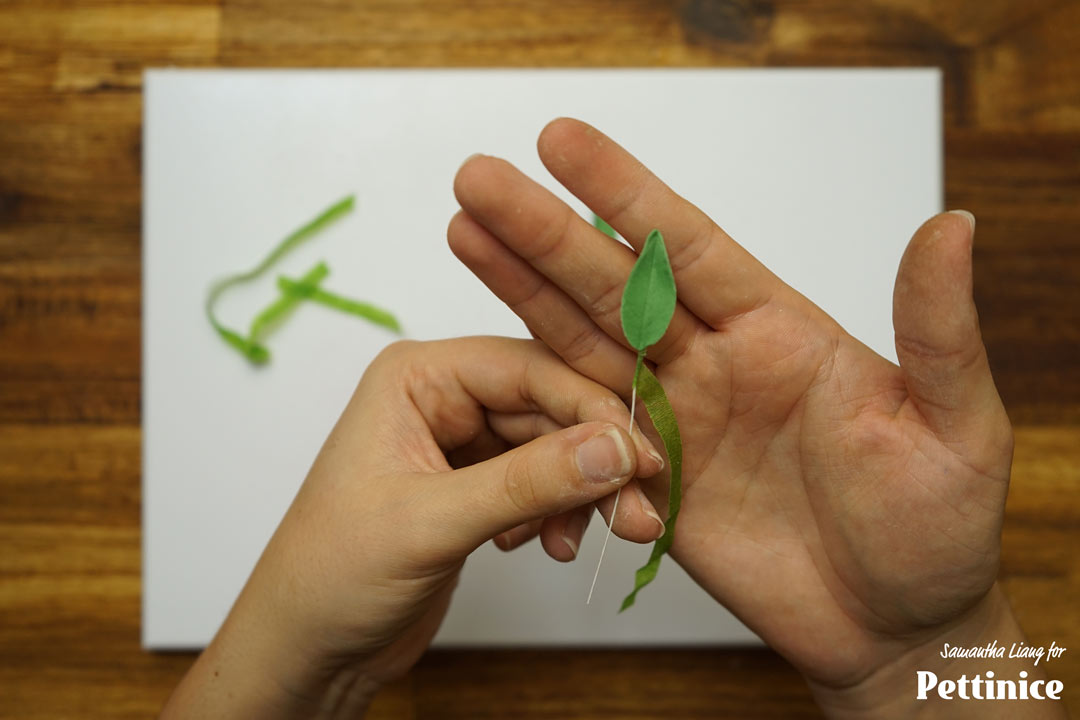
To add your leaves to the stem, wrap half width floral tape around the bottom of the leaf.
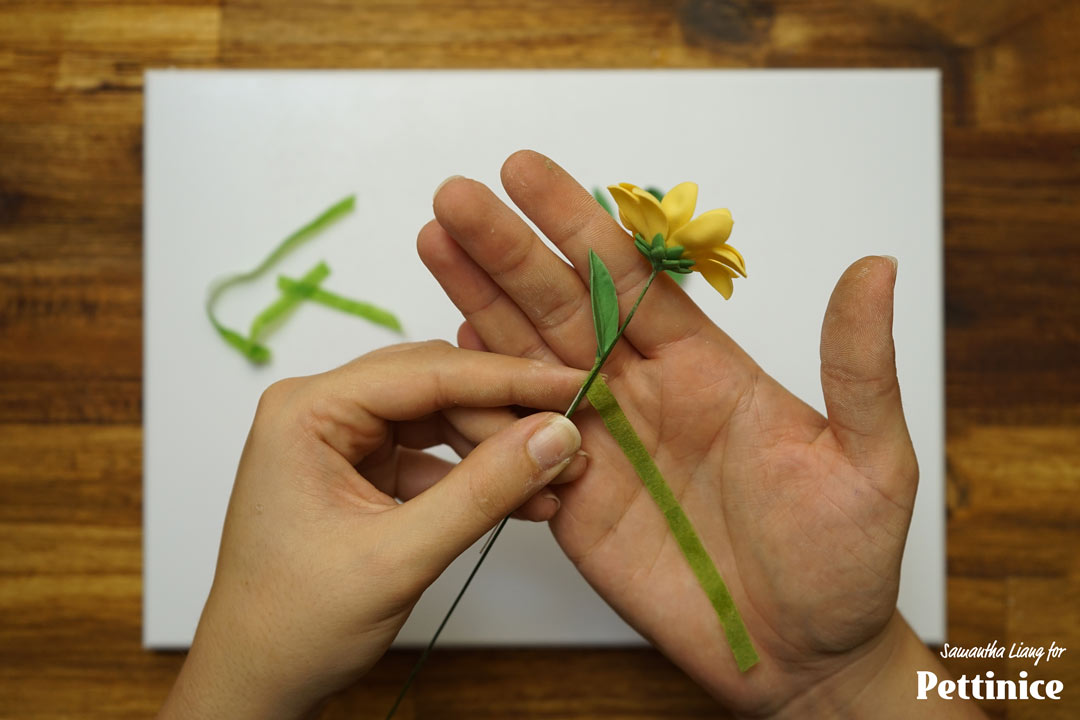
Place your leaf in the desired spot and tape into place.
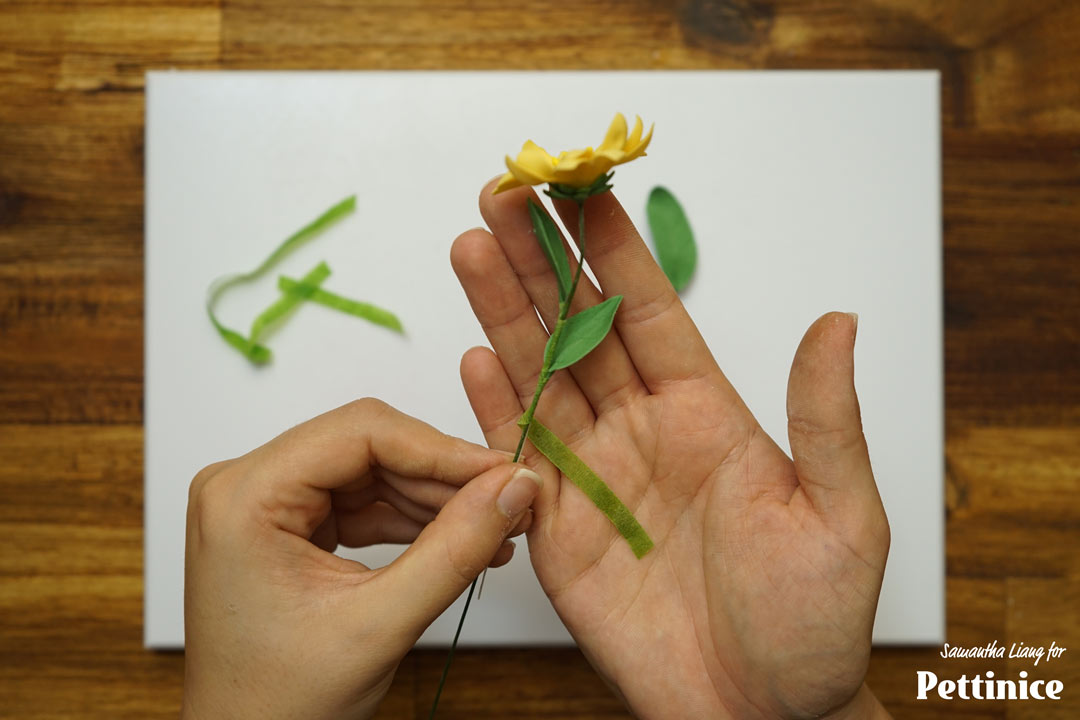
Repeat with as many leaves as you like.
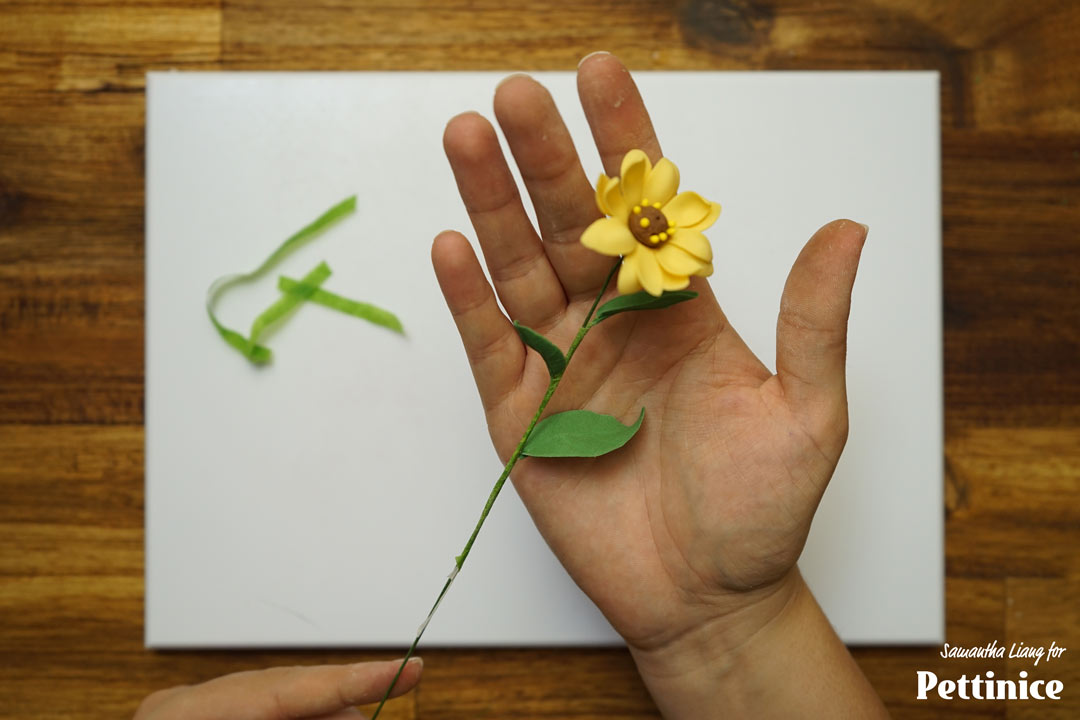
Congratulations on completing your Wild Daisy!

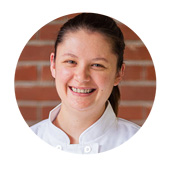
Hello, I am Samantha Liang, owner and creator-in-chief of all the beautifully hand crafted cakes and sugar flowers. I live in Milnerton, Cape Town, with my husband, 2 kids and 2 cats. I believe that a wedding or celebration cake should be unique to you and the story you wish to tell. My creations are an expression of love. Each order I receive is lovingly hand-crafted into a celebration of the finest ingredients and unmatched beauty. With a unique minimalistic style of cake design and my obsession with delicate sugar flowers, I will bring your dream wedding or celebration cake to life! When I am not taking commissions, I am sharing my knowledge of all things cake and sugar flower related with students across the country via in person or online training. I look to the future with stars in my eyes as I push the boundaries of my craft and explore new possibilities!
See more of Samantha's cakes at:
![]()
![]()
Want to see more tutorials?