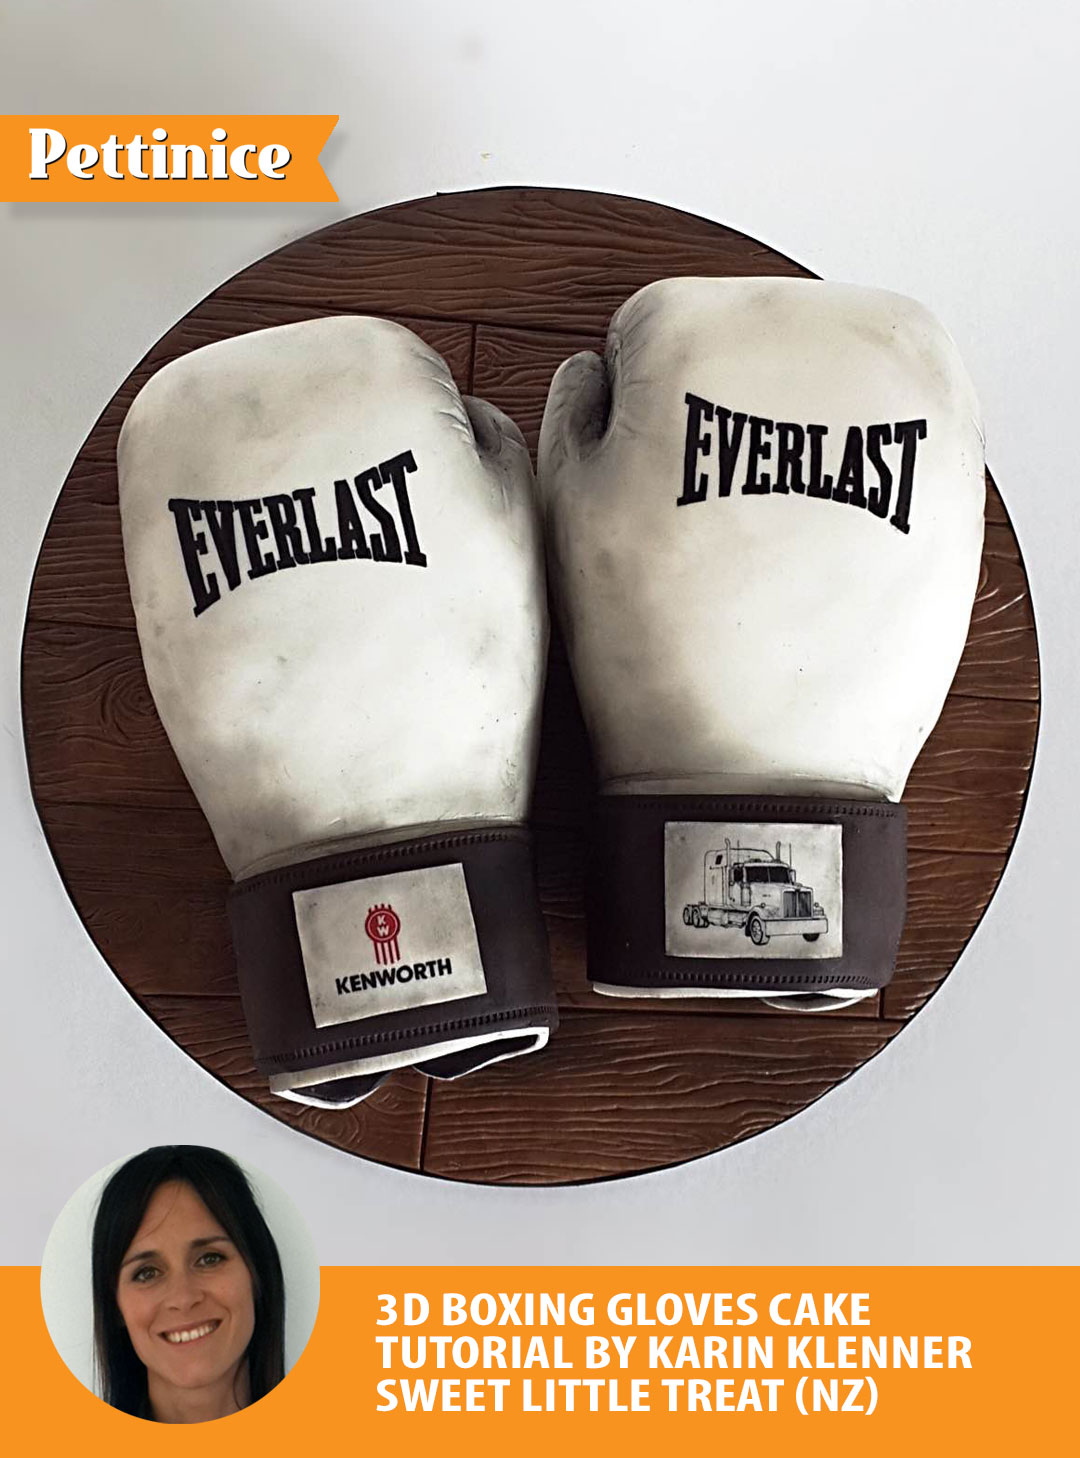
How to make a boxing glove cake with Karin Klenner
Edibles needed:
- 2 x 7.5 - 8 inch carving cakes both approx 4 inches high
- Ganache or buttercream approx 1kg
- 2 x 750grm packets of White Pettinice fondant
- 100 grams Black Pettinice fondant
- Brown Pettinice for the board
- Cornflour
- Petal dusts - Brown and black
- Black gel colour and high quality vodka for painting on the logo or use an edible image.
Tools needed:
- Small Poofy brush for shading
- Small 5" carving knife
- Large knife
- Ruler
- Stitching tool
- Pointy tipped tool to add in details like the wrinkles

Pettinice is gluten free, nut free, dairy free, vegetarian, halal, and kosher.

I used a White:Chocolate ratio of 5:1 for the wood grain on the board. Colour mixing Pettinice is so easy. Click here to see my earlier tutorial on how I make my boards.

How to carve boxing glove cake
How to carve the boxing glove cake
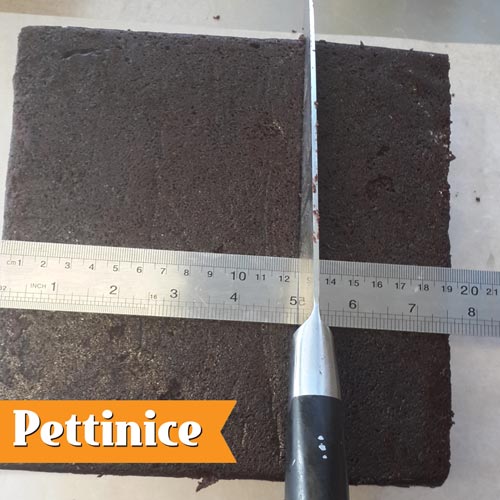
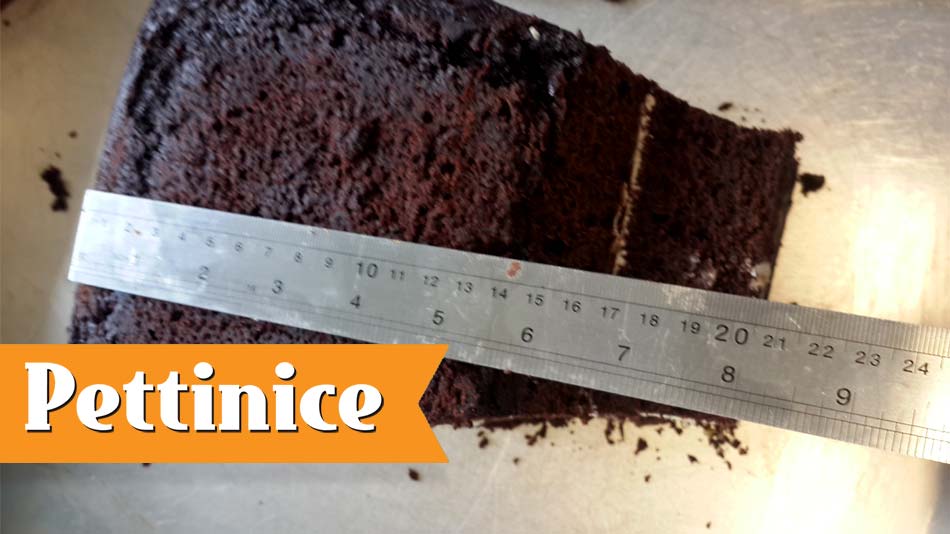
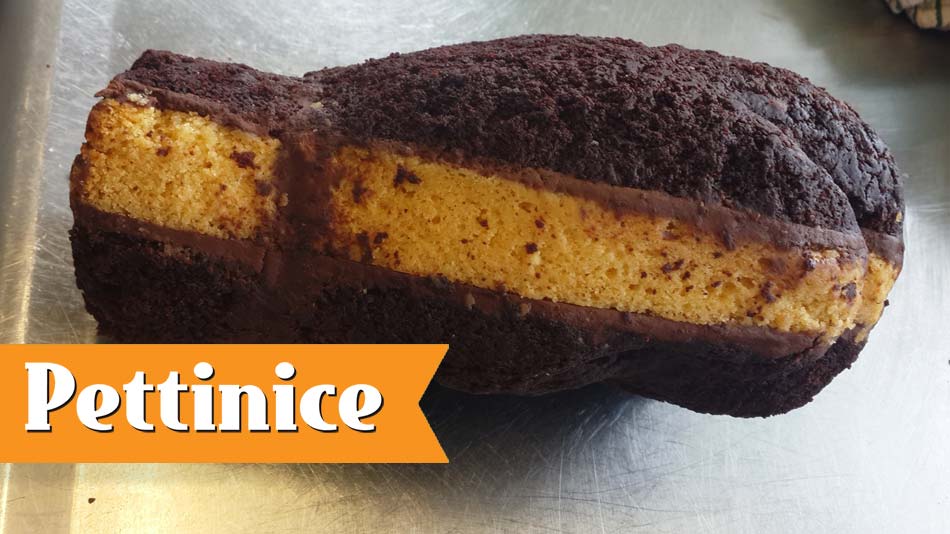
Cut and fill your cake with ganache or buttercream. Mark out the 5 inch point on your cake and cut
Mark out the 5 inch point on your cake and cut
Glue (with icing) your 2 inch strip to the top of the cake. You now have a 5x9 inch cake
Mark the 5.5 inches from the top and cut on a slight angle down. We are marking out the wrist part of the glove
Round off the wrist part and the fist of the glove
Carve a thumb and round off underneath the cake. Round it off slightly more than you would think as you'll be covering with icing and fondant so you don't want to lose your shape.
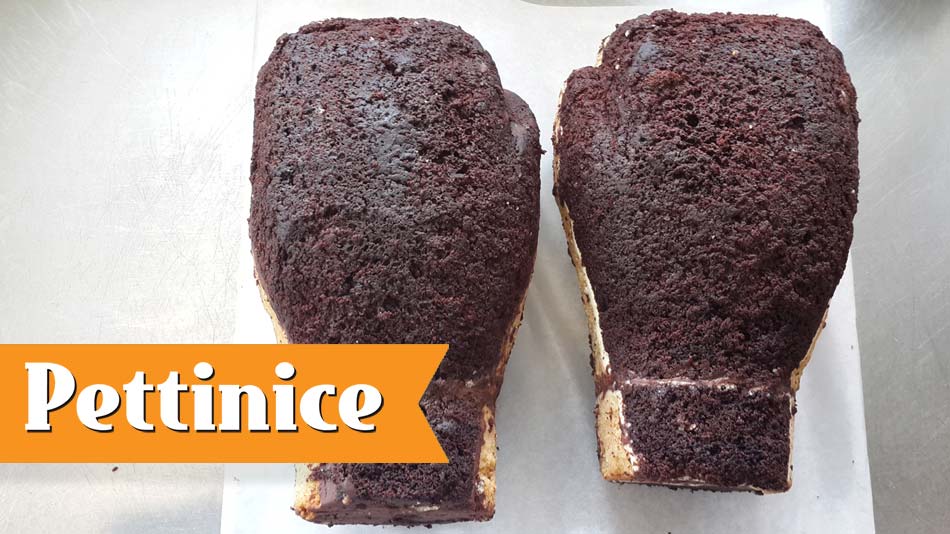
Repeat Steps 1-6 with your other cake ensuring that you carve the 2nd thumb on the opposite side.
Covering boxing glove cake with ganache


Ganache or buttercream both your cakes. Make sure you don't over fill in the thumb parts, you want to keep your lovely shape. Leave the cake to set up or if it's buttercream pop in the fridge for 15 minutes or so.
How to cover a boxing glove cake in fondant
Use Crisco or hot water to dampen the wrist area of your cake.
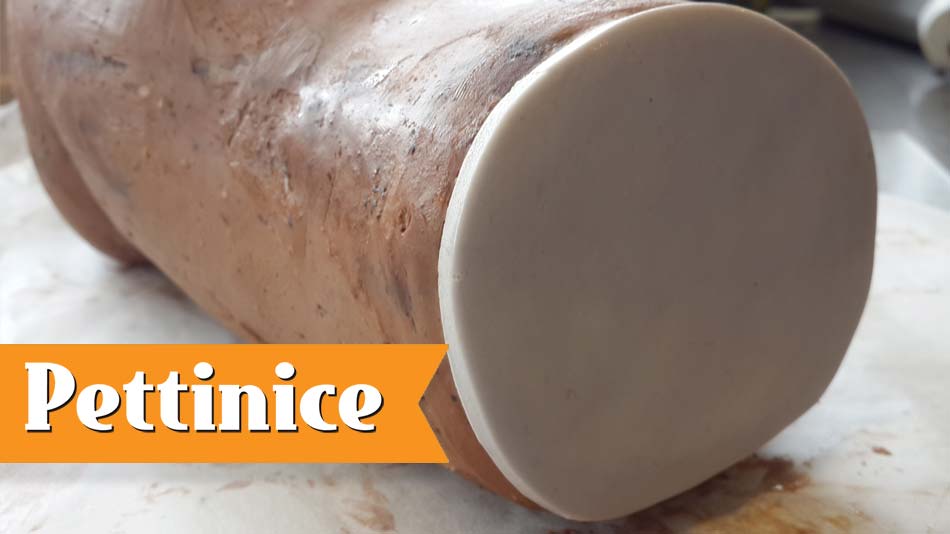
Cut a circle shape in white fondant and add it to the end of your wrist part
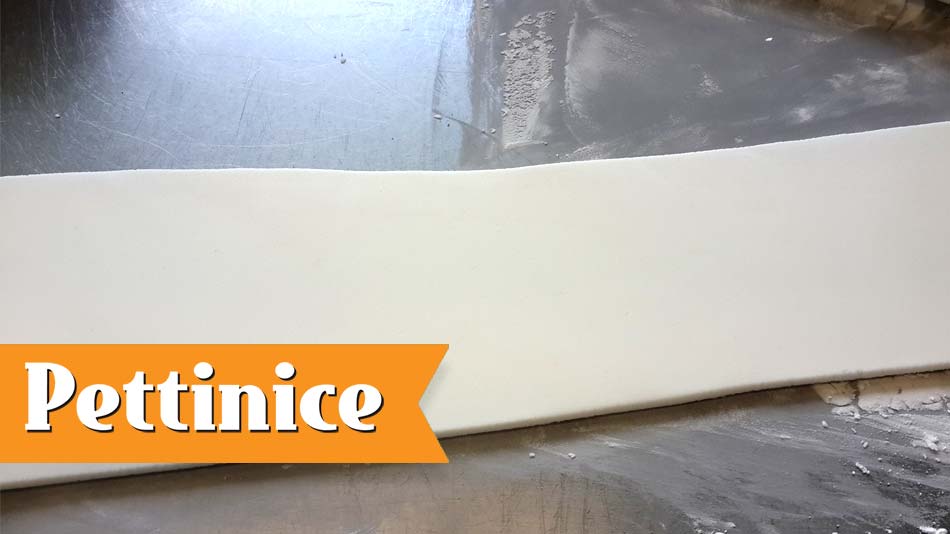
Using a piece of string or a ruler work out a rough circumference of the wrist. Roll and cut out 2 x 2 inch width long thin strips of you white and black fondant a bit longer than the measurement you worked out.
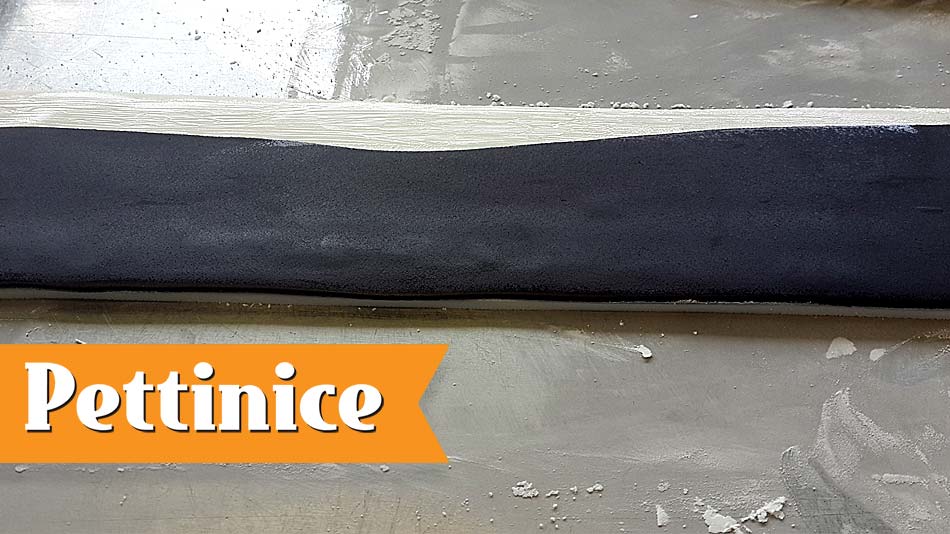
Put Crisco on top of the white fondant and lay your black on top.
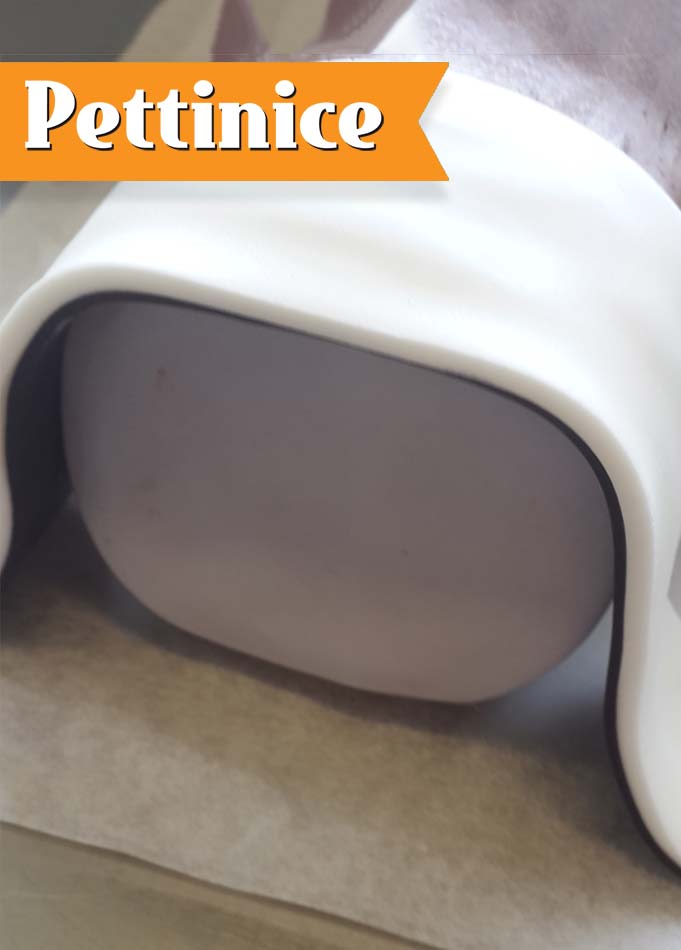
Use crisco or hot water to dampen the wrist area of your cake. Pick up your strip and lay it over the wrist part, slightly hanging over the edge.
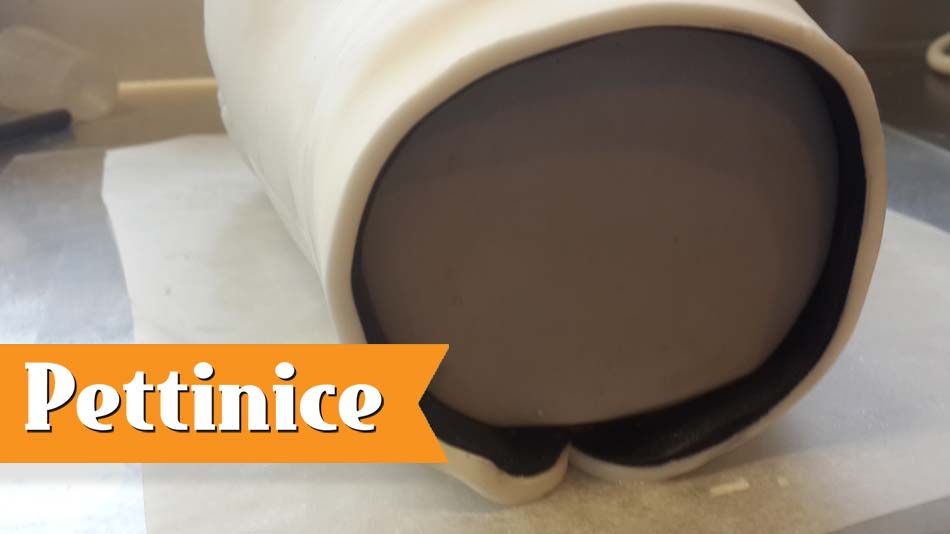
Tuck the side under, trim it down so it fits nicely and round off the two strap bits.
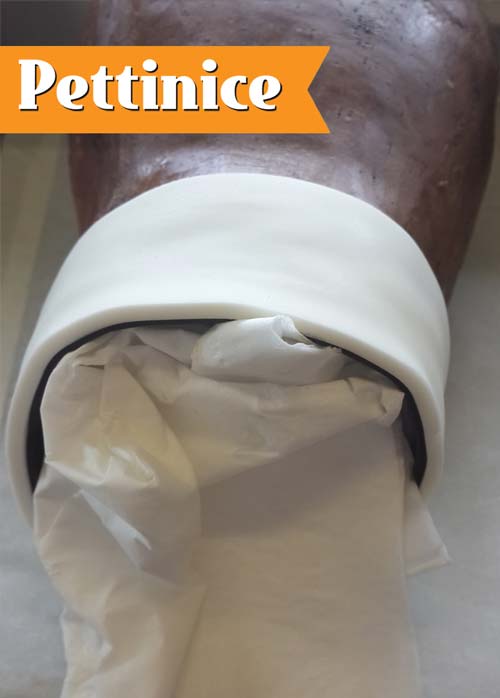
Use tissue to prop up the over hang.
Jack Broughton, who was a British boxing champ in the early 1700s, is widely considered to be the inventor of the modern padded boxing gloves. However, these padded leather boxing gloves of the 1600s and 1700s were only used in practice and for informal boxing matches. The major public boxing matches were still bare-knuckle events. --Michael Russell

Crisco or hot water the rest of your cake.
Roll out a 8 inch by 8 inch square shaped piece of your white fondant. Cut a straight line on on edge and pick up your fondant and lay it over the cake, matching up your straight line with the wrist part you just made. Seal it up as best as you can but don't worry about getting rid of the seam as it will be covered.
Mark a line at the top of the wrist with a pointy tool or back of a knife.

Give it some wrinkles to make it look like gathering where it's been stitched.

Mark the join lines around the thumb and the outside of the glove. give it some wrinkles to make it look like gathering where it's been stitched.
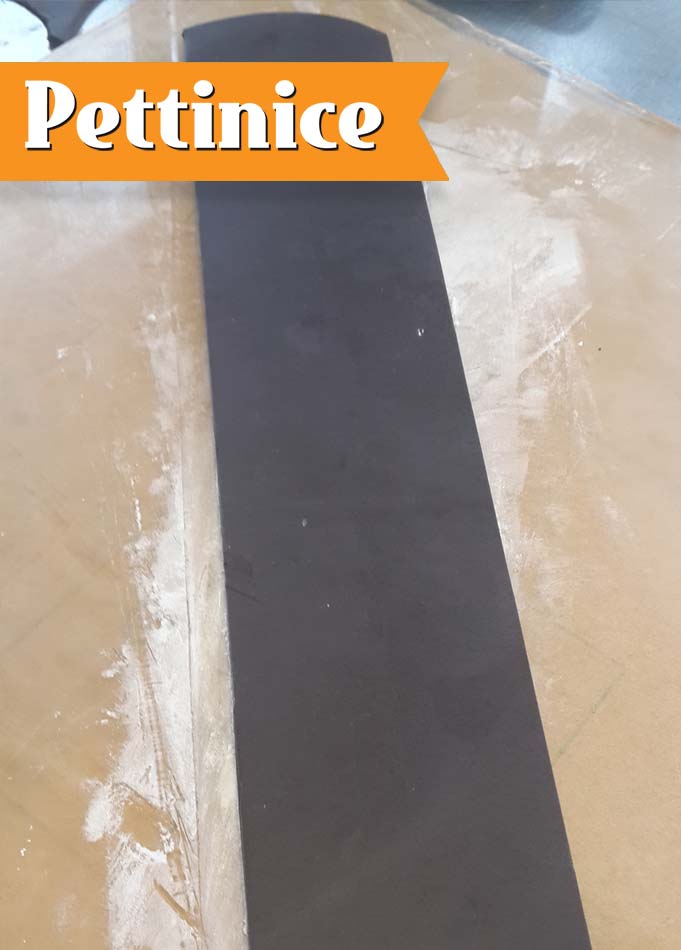
Roll out a 1.75 - 2 inch long strip in your black. Round off the end with a knife. Use your stitching tool to mark the stitching along the edge.

Attach to the wrist part of your cake wrapping the end under.
If you weren't already working on the board you wanted your finished cake on, now is the time to transport the cakes over on to your fondant covered board. I used a large bench scraper to lift my cakes over, adhering them with some white chocolate.
Logo: I found the logo I wanted on Google and used it as a reference to freehand paint it on to the cake. If you are not confident in painting you can use a non toxic pencil or food colour pen and mark it on first then fill it in with black gel colour mixed with vodka.
This cake was made for someone who loves trucks, but of cause you can use whatever logos you want on the wrist bands. If you are too scared to paint just use edible images.


Shading
Take your black petal dust and mix it with cornflour until you have a grey. Take your poofy brush and dust it over all the creases and folds, pay attention to where there would be shadows and where the light will hit.
Add a bit more black to the grey corn flour mix and go over the inner creases and the more shadowed bits with the darker grey add a touch of brown and go over again. Now add more black, just off being a straight black a go over the stitching and right under the gloves and in the creases.
Be careful of where you have just painted as it'll be easy to smudge. Dust a dark ' shadow' with your grey and black dusts, again always going light first then dark in the deeper shadows on your fondant board, all around and just under your cake. This will make it look more realistic and more 3D.

Karin Klenner owns Sweet Little Treat located in Hamilton, New Zealand. She says "I'm a mum to two little boys which are my world (and have been known to destroy my world by attacking the odd cake) and married to an amazing guy who, thank goodness, is very good with a drill because my favourite cakes to do are 3D sculpted cakes. I love doing animals especially."
You can find Karin on Facebook and Instagram. ![]()
![]()