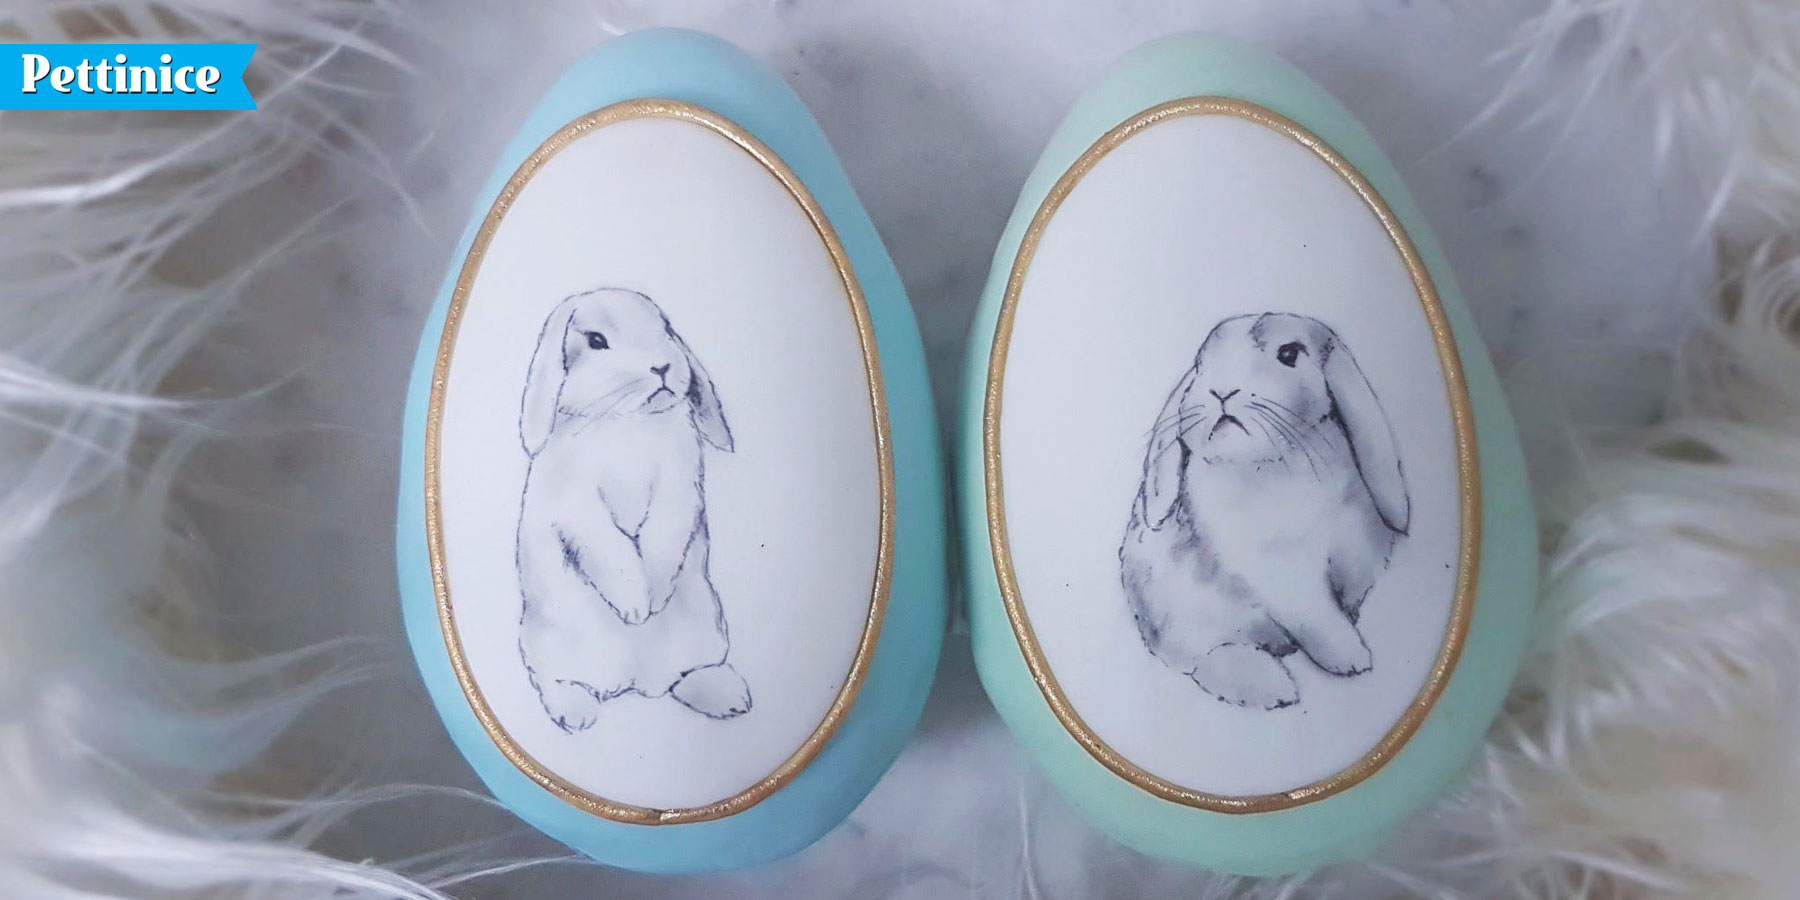
Make your own customized Easter Eggs
Karin Klenner of Sweat Little Treats in Hamilton, New Zealand shows us how you can customize your own Easter eggs this season.
Edibles needed:
- Store-bought Easter Eggs or make your own as shown here, by melting chocolate and setting in chocolate egg mold
- Crisco, or similar shortening to stick fondant to chocolate
- White Pettinice fondant
- Your choice Pettinice for the main egg colour
- Cornflour
- Petal dusts - Brown and black
- Yellow and Brown Mix Pettinice to create the gold rope around the plaque.
Tools needed:
- Small brushes for shading and painting
- Small blade
- Rolling pin
- Small brush for water
- Extruder for rope (optional - you can also roll out thin ropes)

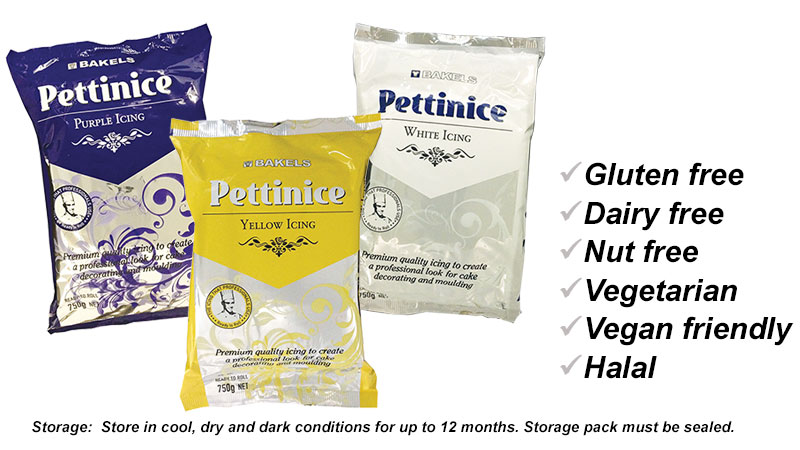
Pettinice is gluten free, egg free, nut free, dairy free, vegetarian, halal, and kosher.
Create your own Pettinice colour mix for your Easter Eggs. Here is the White : Blue chart and the White : Green chart.
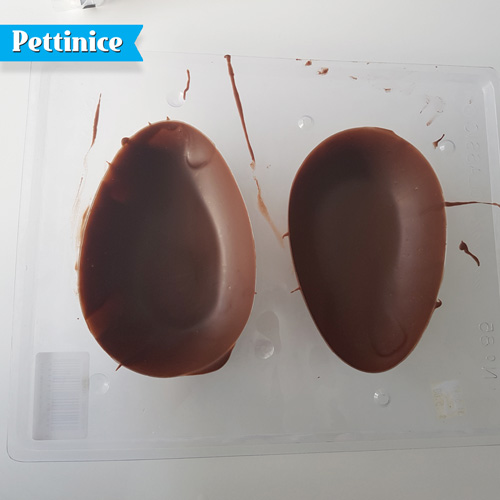
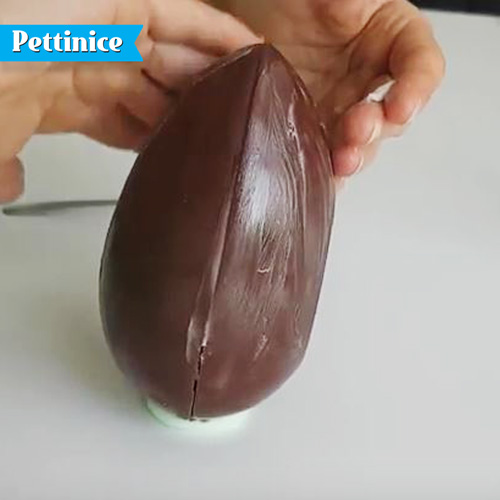
Step 1: The chocolate egg
- Melt chocolate on a double boiler or at 50% power in the microwave. I melted 200 grams but this will depend on how big your egg mould it.
- Brush the chocolate into you mould.
- Pop it in the fridge for a few minutes the get it out and add another coat.
- Put it back in the fridge for 5 minutes.
- Release the chocolate from your mould.
- Heat your (clean) oven or hot plate to approx 180c. Rub each half of the egg on the clean oven door or hotplate till it melts nicely.
- Quickly add your sweets if using.
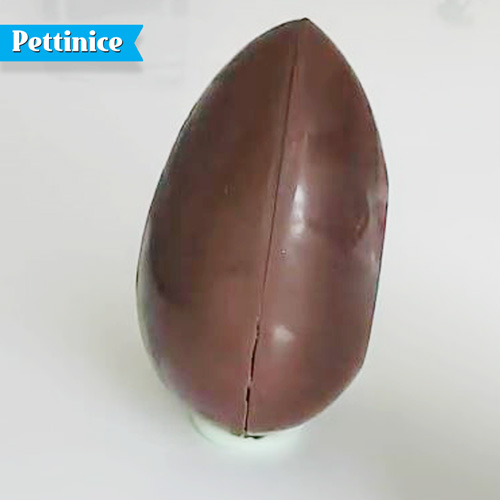
- Join the halves together. Melting on an even surface will ensure a clean join.
- Alternatively buy your egg.
Melt your chocolate and use plastic casting mold to set.
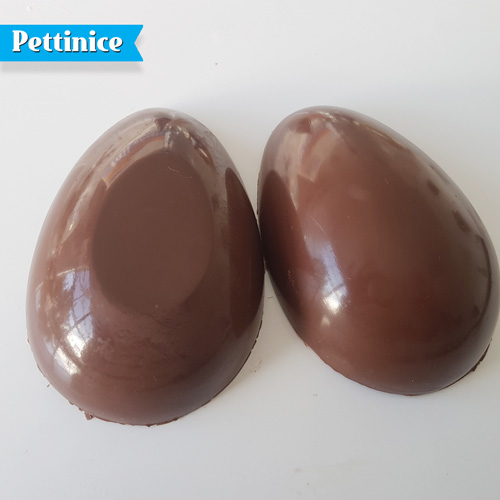
Remove from mold.
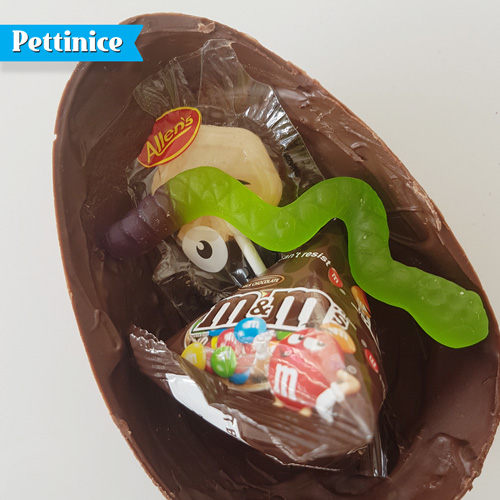
Fill egg with your favourite treats before sealing together.
Step 2: Cover your egg with fondant
- Place egg on a blob of fondant to keep it secure.
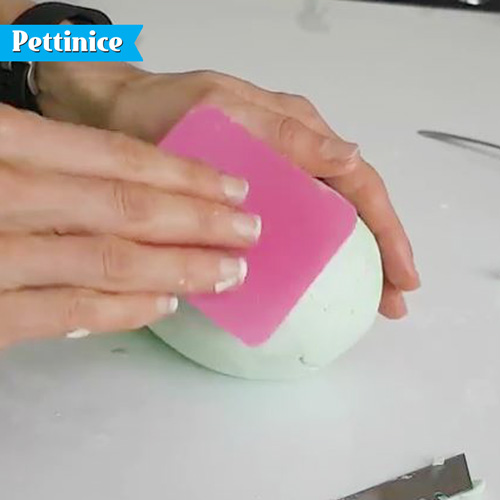
- Smooth vegetable fat over your egg.
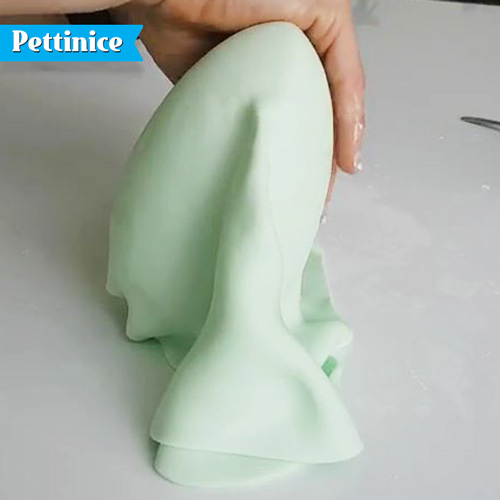
- Knead your fondant till pliable.
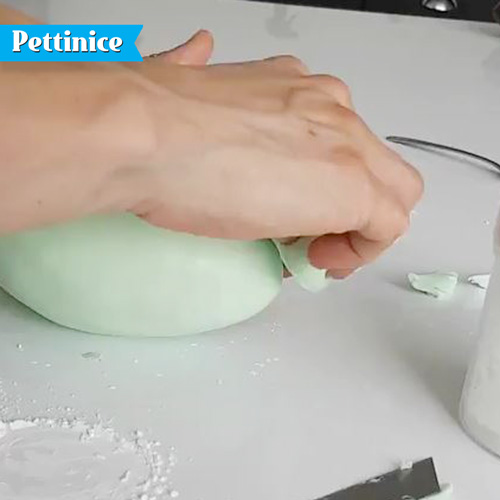
- Roll out fondant colour of choice, place over the egg and pinch closed on either side.
- Trim with blade and rub with your hard to seal it.
- I also use a piece of acetate and finally a blob of fondant dusted with cornflour.
Place egg on a blob of fondant to keep it secure.
Smooth vegetable fat over your egg.
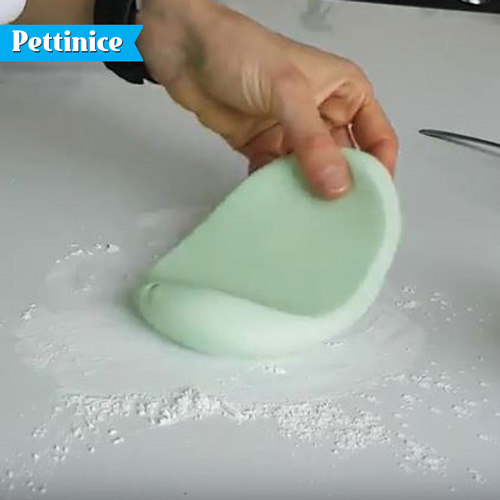
Knead until pliable
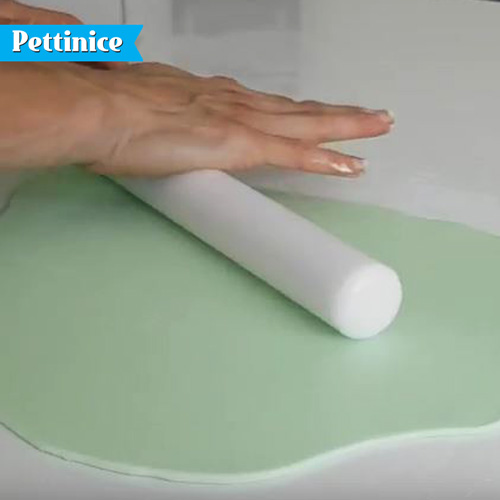
Roll out your fondant colour of choice
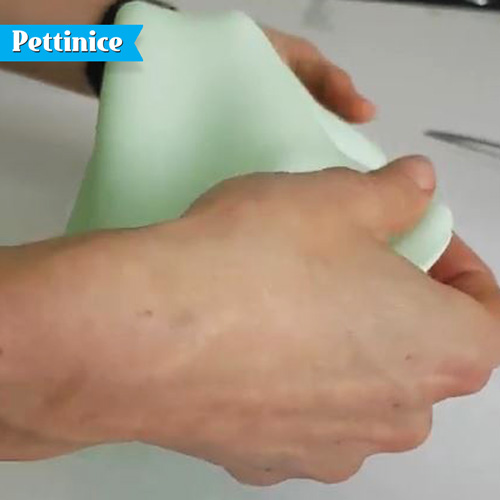
Place fondant over the egg
Pinch the sides of the fondant together.
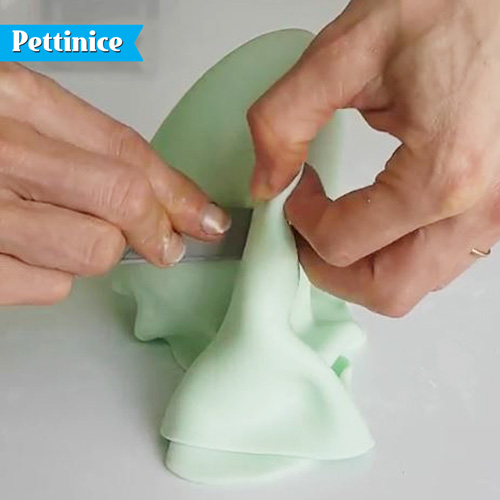
Use a sharp blade to cut excess fondant

Use acetate to smooth out the seams
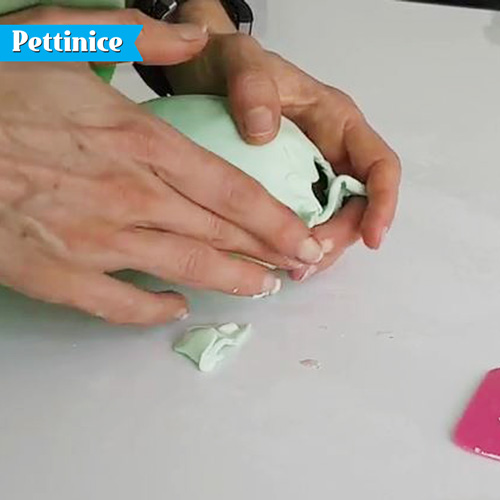
This is the bottom of the egg, push the fondant together
Remove excess fondant from the bottom
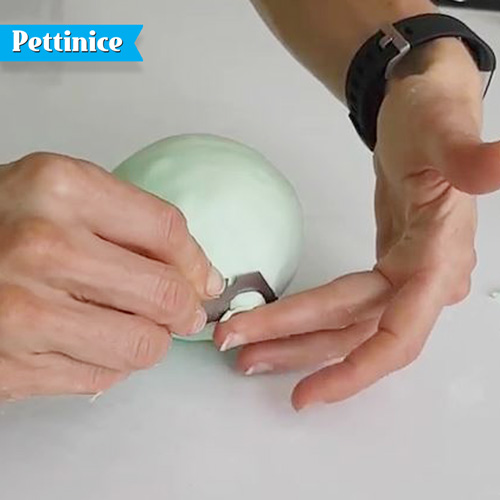
Smooth
This is a fondant scrap used to smooth over the egg
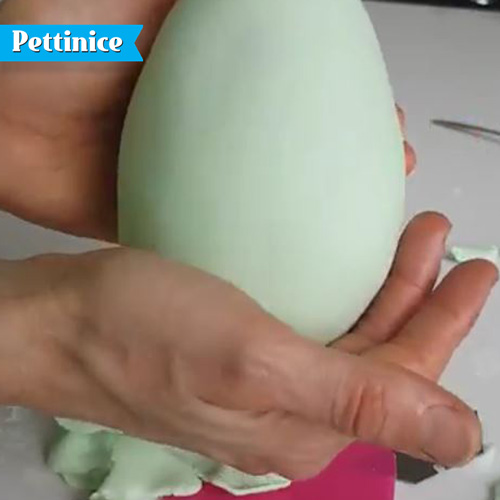
Ta - da!
Watch real time video here:
Step 2: Creating the white frame
- Roll out your white fondant, I add a bit of tylose to it firms up quickly ready to paint.
- Cut out your white shape, a fancy plaque cutter also looks gorgeous! I choose to have it egg-shaped
- I like to use an extruder gun to give my shape a boarder. If you have time leave to dry overnight before painting.
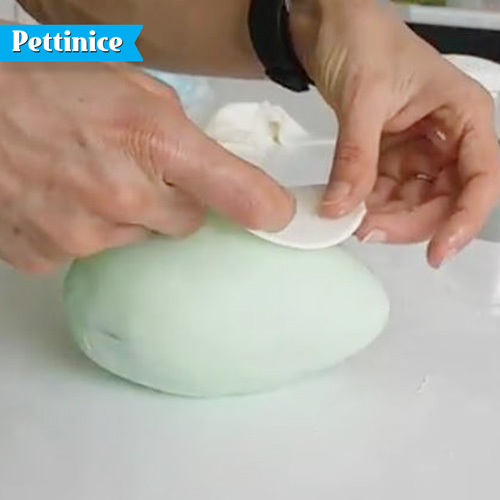
Roll out a small egg shaped piece of white Pettinice and place
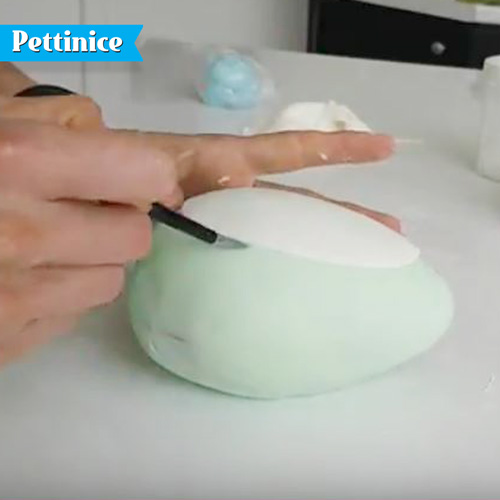
Use a wet brush to stick your edge to the frame
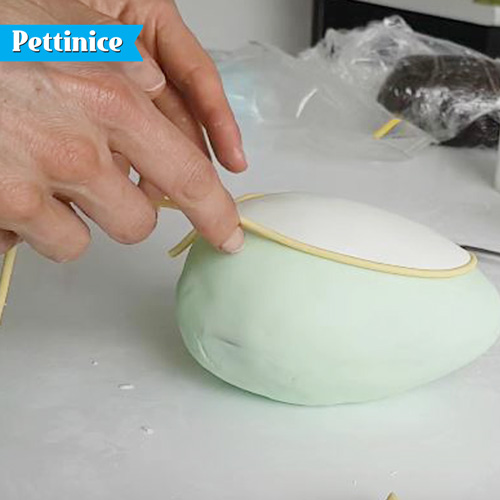
Extrude a thin roll of yellow fondant with a bit of brown to give you a good base for painting gold.
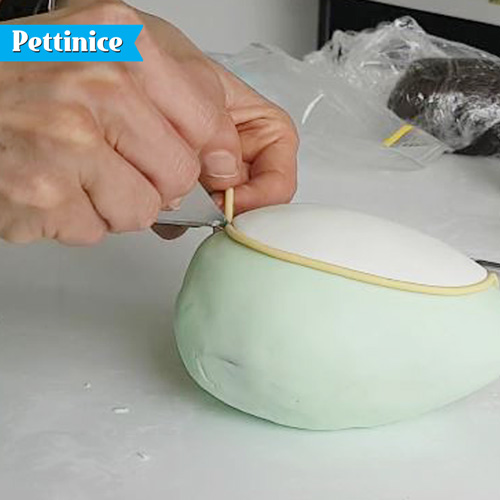
Cut where the two ends meet
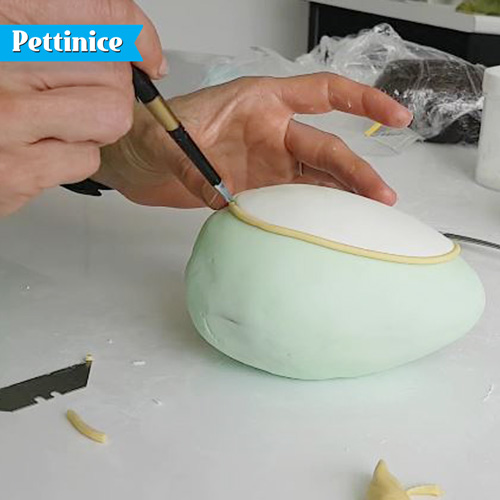
Use a damp brush to remove the seams

Step 3: Now you can paint your egg
Alternatively, you can paint in a verse or Psalm instead of a picture. I wanted to paint some bunnies, so I found some reference photos and started painting by eye. I paint with a mix or petal dusts and gel and vodka. Start off with the lightest points of your photo and build up your picture until you finish with the outline.
If you want to make this into a project with the kids, give them edible markers or mix up some gel colours with vodka and let them go crazy! It's the best Easter gifts ever.
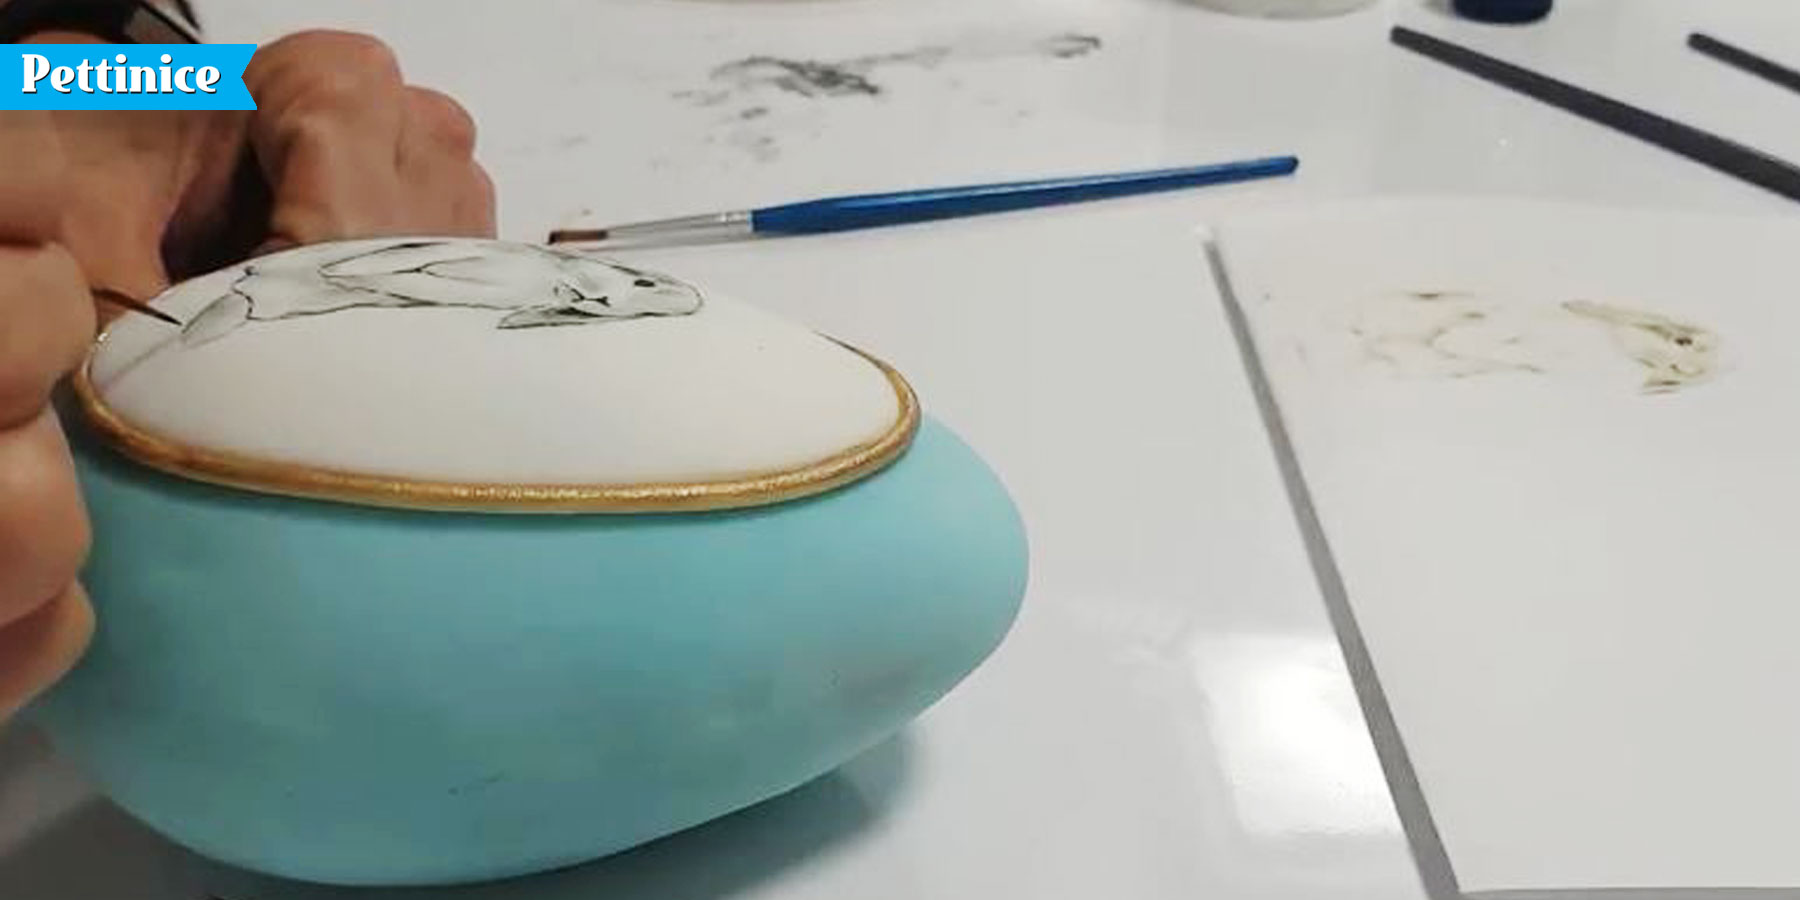
I paint by eye, using a reference photo to keep me on track.
Watch me paint this in real time here:
I hope you have enjoyed this tutorial as much as I enjoyed making it for you. Happy Easter everyone!

Karin Klenner owns Sweet Little Treat located in Hamilton, New Zealand. She says "I'm a mum to two little boys which are my world (and have been known to destroy my world by attacking the odd cake) and married to an amazing guy who, thank goodness, is very good with a drill because my favourite cakes to do are 3D sculpted cakes. I love doing animals especially."
You can find Karin on Facebook and Instagram. ![]()
![]()