How to make easy Easter cookies
Decorating time: 5 - 10 minutes per cookie
Decorating skill: Beginner
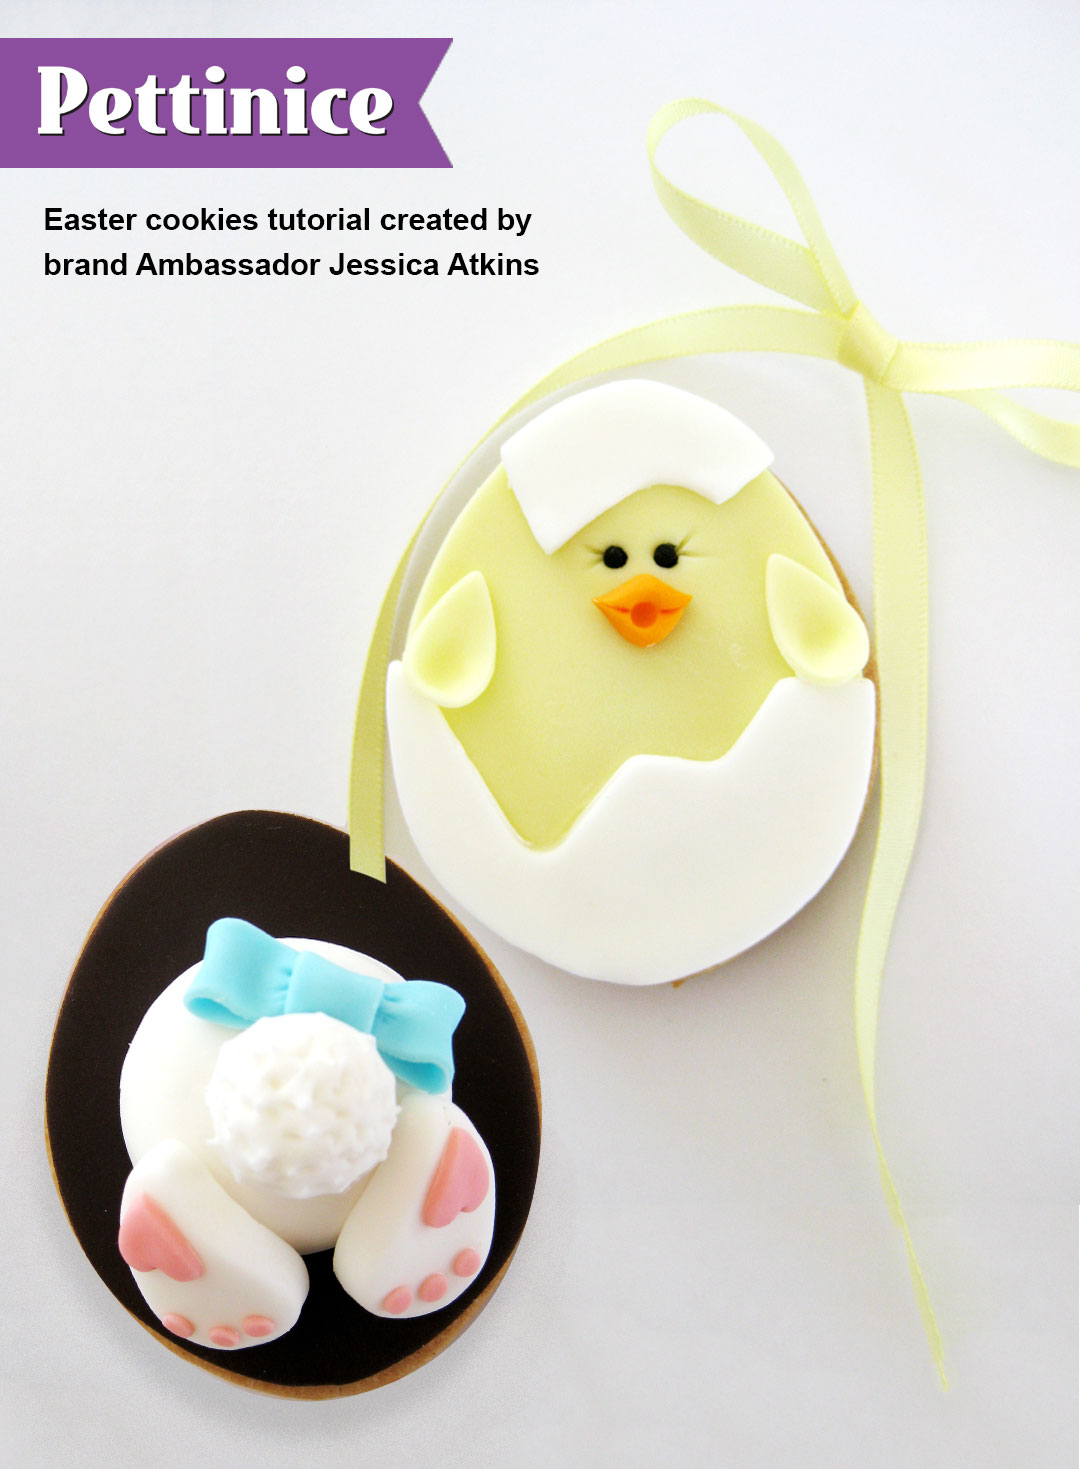
Easter Chick Cookie Tutorial
To make the Easter chick cookie you will need:
- White Pettinice,
- 4-colour combo pack of Pettinice
- Cookies baked into egg shape
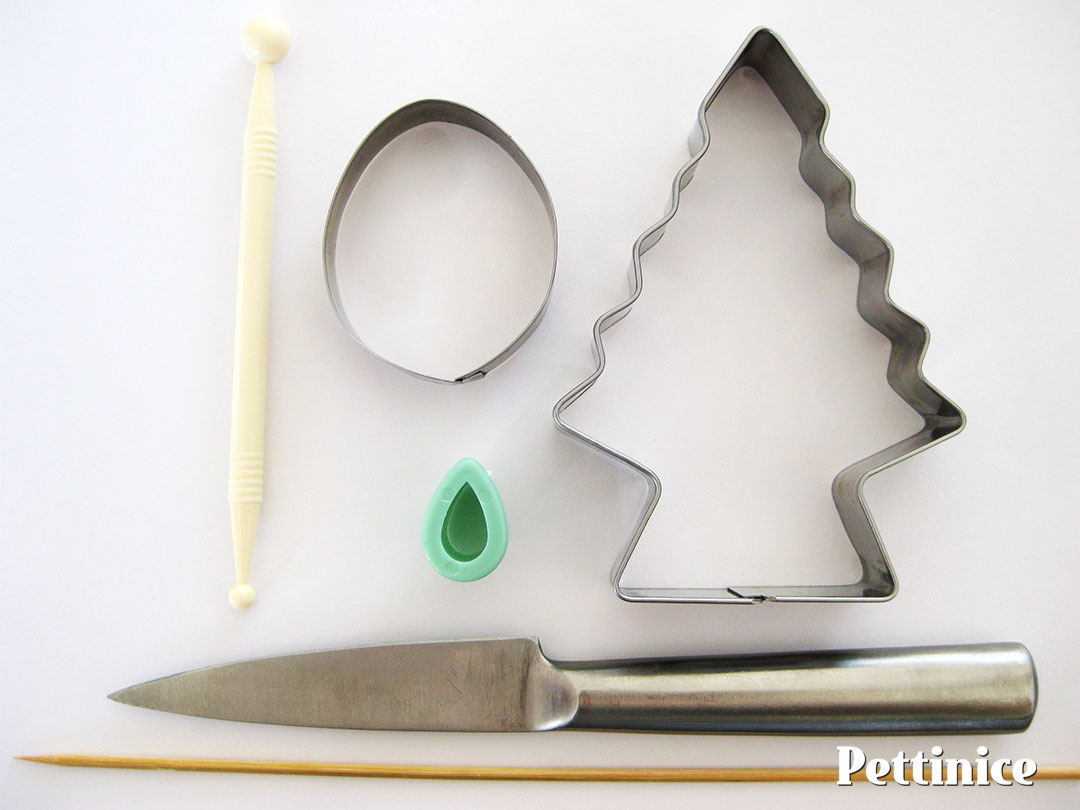
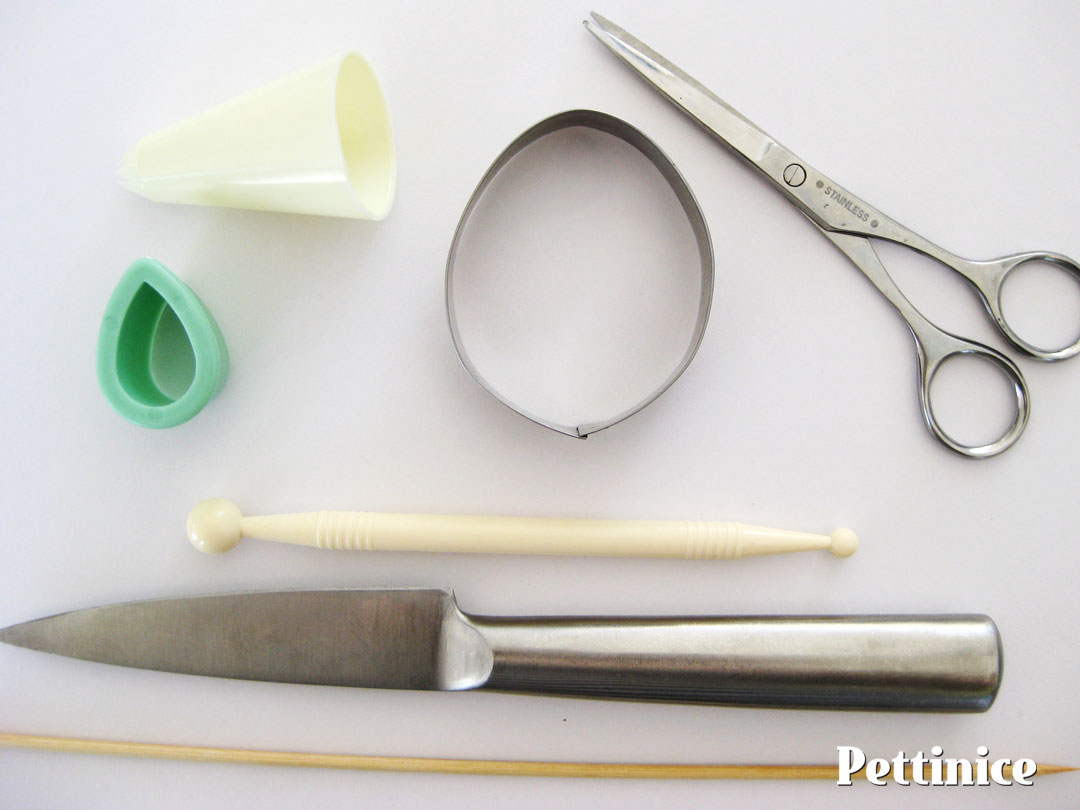
- Tools as shown here
Note: You can create this without cutters or tools by creating a template and cutting with a knife. If egg shaped cutters are difficult to source, simply bend a circle into an oval shape.
Pettinice is a fun, easy alternative to royal icing for all your cookie projects. The multipack boxes are fantastic for little decorating accents, and perfect for colour mixing different shades. For example, yellow with tiny dot of red will make orange.
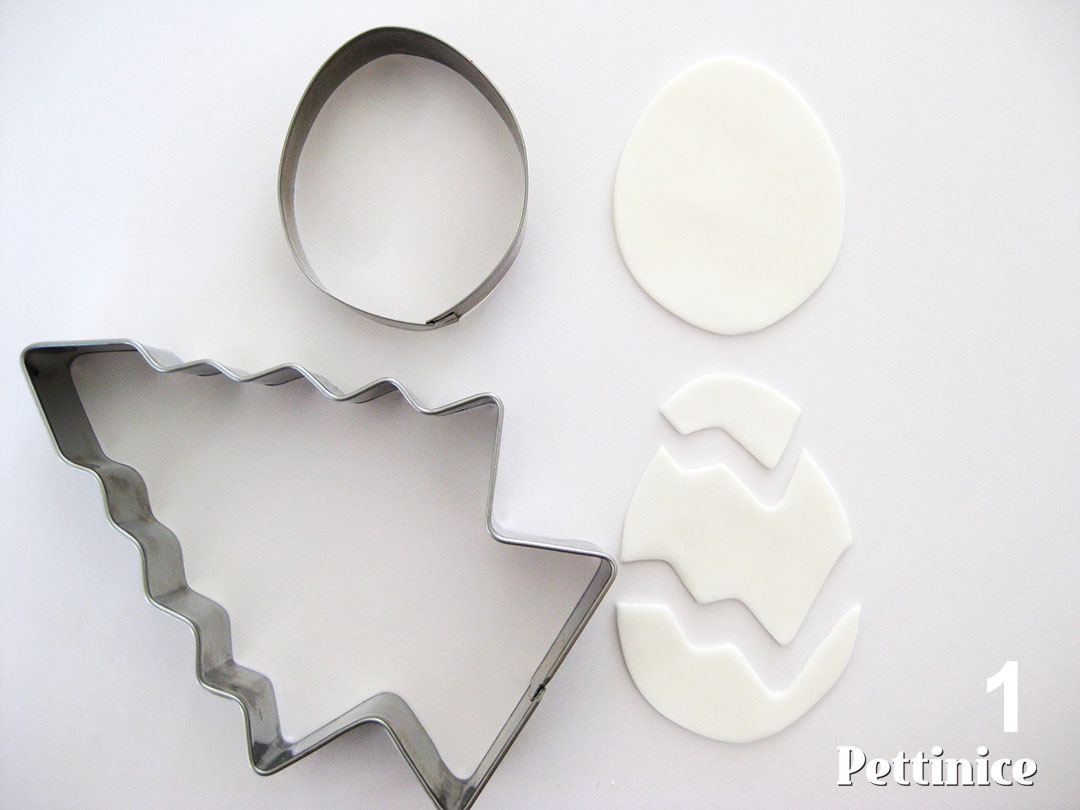 Step 1: Roll out white fondant and use your cutters as shown. If you do not have the bottom cutter, cut freehand with your knife.
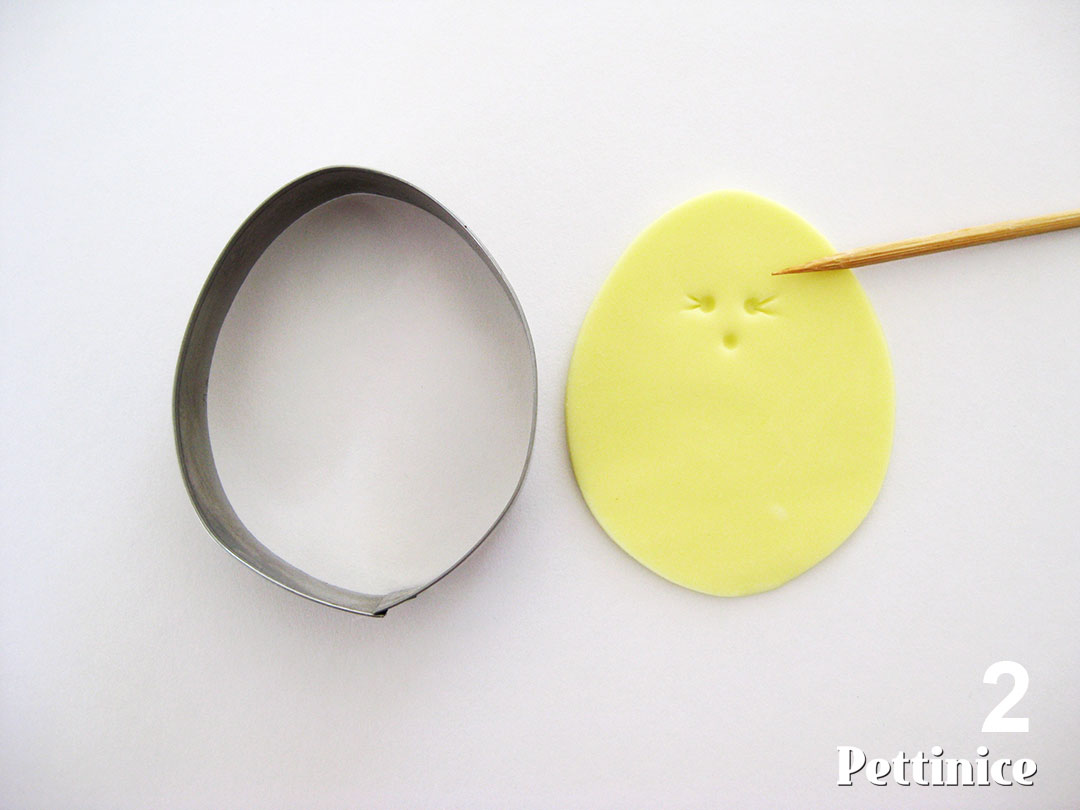 Step 2: Roll out and cut yellow fondant. Use your kebab stick to indent details for eyes.
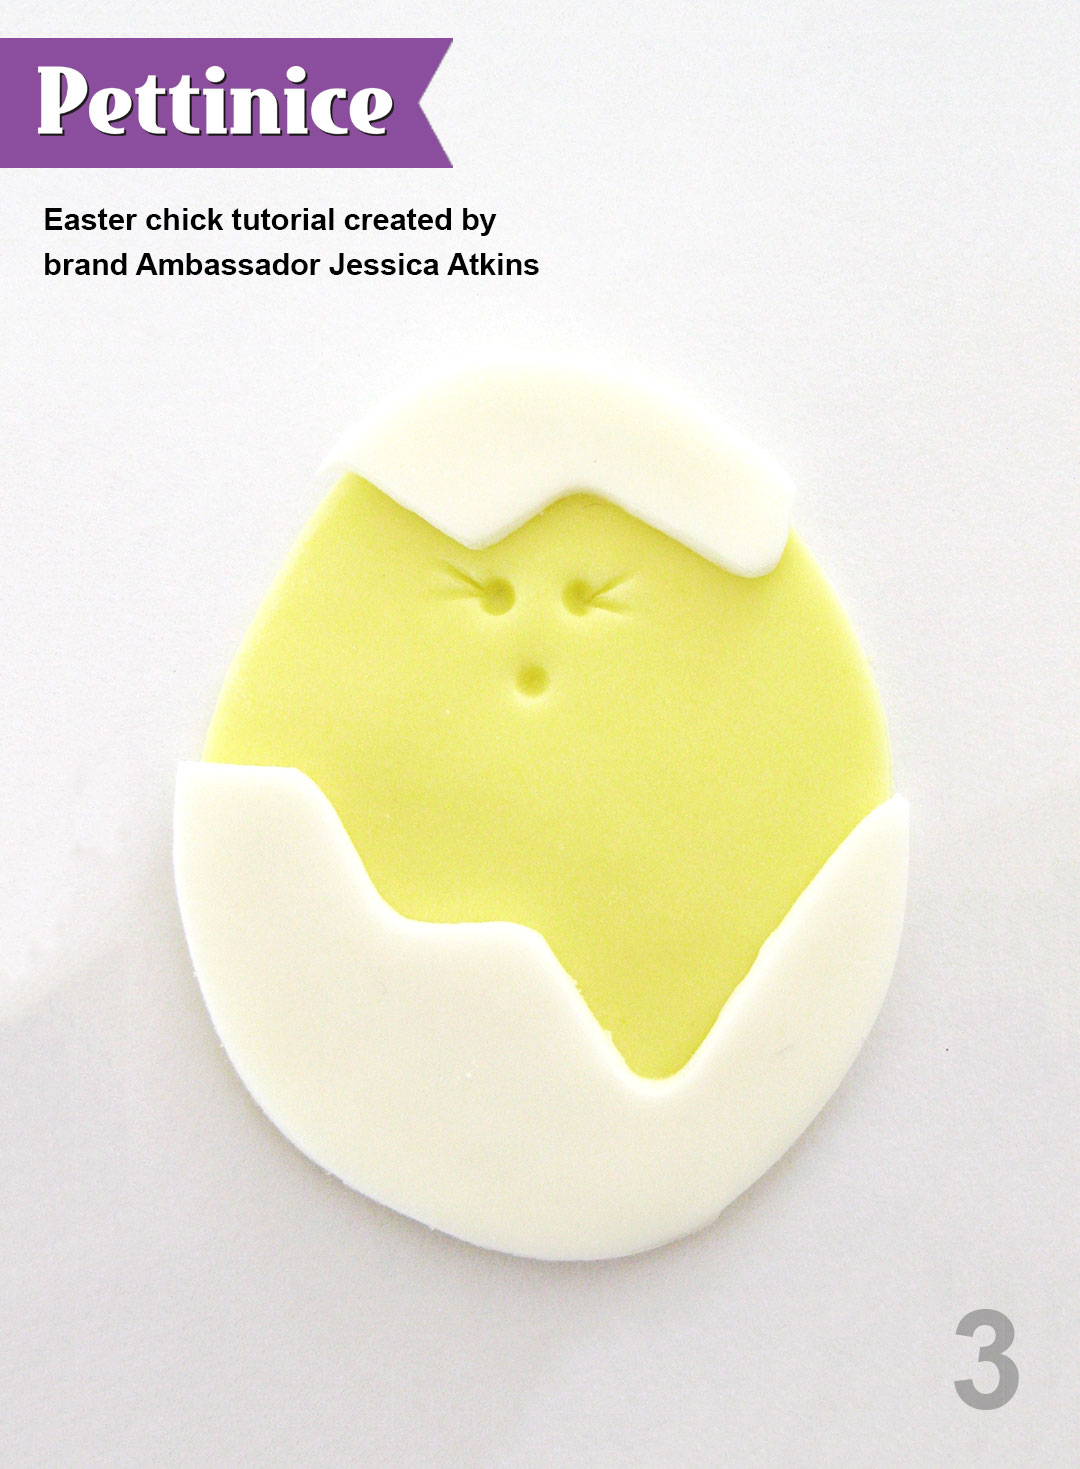
Step 3: Using a light touch to dampen fondant, stick the egg onto the yellow chick.
The Pettinice Multipack is an easy way to create the colours you need. We used the following colour combinations:
YELLOW + RED =ORANGE
YELLOW + WHITE = SOFT YELLOW
We rolled BLACK into tiny balls for the eyes.
For more on colour mixing, click here to see our charts.
The packs have a really long shelf life when stored correctly. Be sure to seal your opened packets with clingfilm, and place into an airtight container.


Step 4: Assemble final results as shown. If you do not have a ball tool, you can use a small marble or cotton bud that have been wrapped with several layers of cling film. If you don't have a leaf cutter, simply roll a small teardrop and flatten.
Bunny Bum Cookie Tutorial
To make the Bunny bum cookie you will need:
- White Pettinice,
- 4-colour combo pack of Pettinice
- Cookies baked into egg shape
- Tools as shown here, including an optional small heart shape cutter (not pictured)
Note: You can create this without cutters or tools by creating a template and cutting with a knife. If egg shaped cutters are difficult to source, simply bend a circle into an oval shape.
You can also roll and flatten balls for the little disappearing bunny if you don't have cutters. The soft blue was achieved by mixing a small dot of blue from the multipack with white Pettinice.
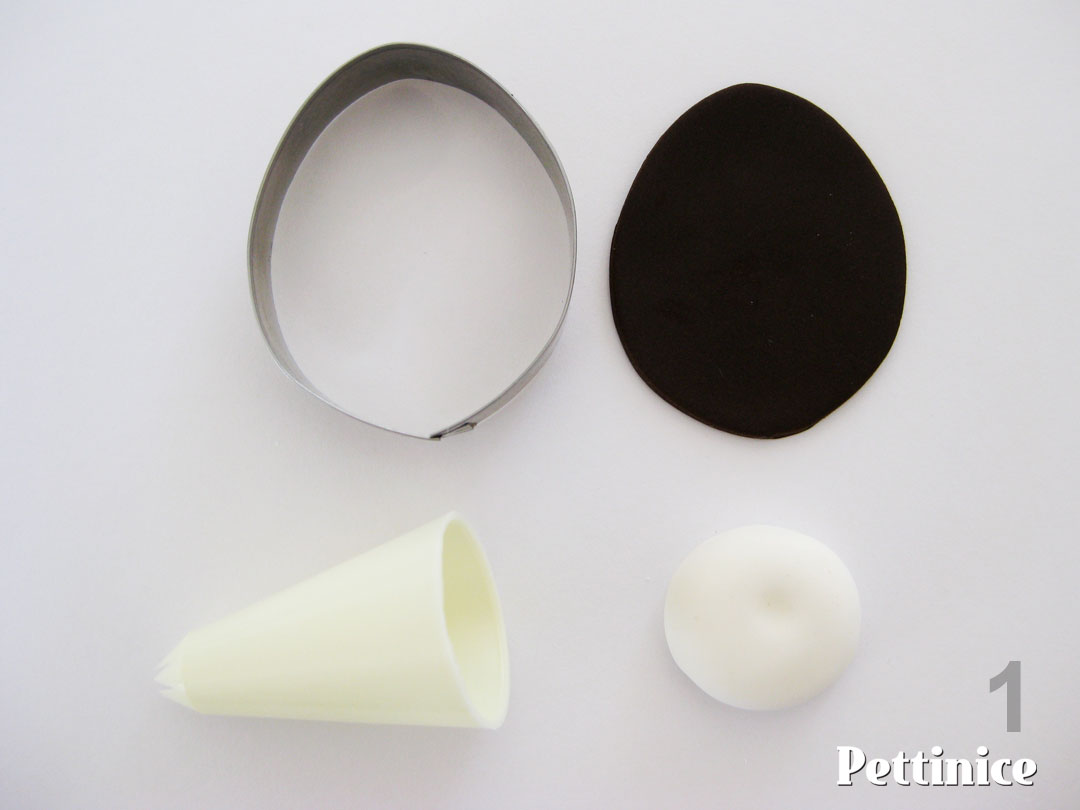 Step 1: Cut black background with the same cutter used to cut cookie dough. The white body shape below is cut using a large piping nozzle. If you don't have one, roll a white ball and flatten it.
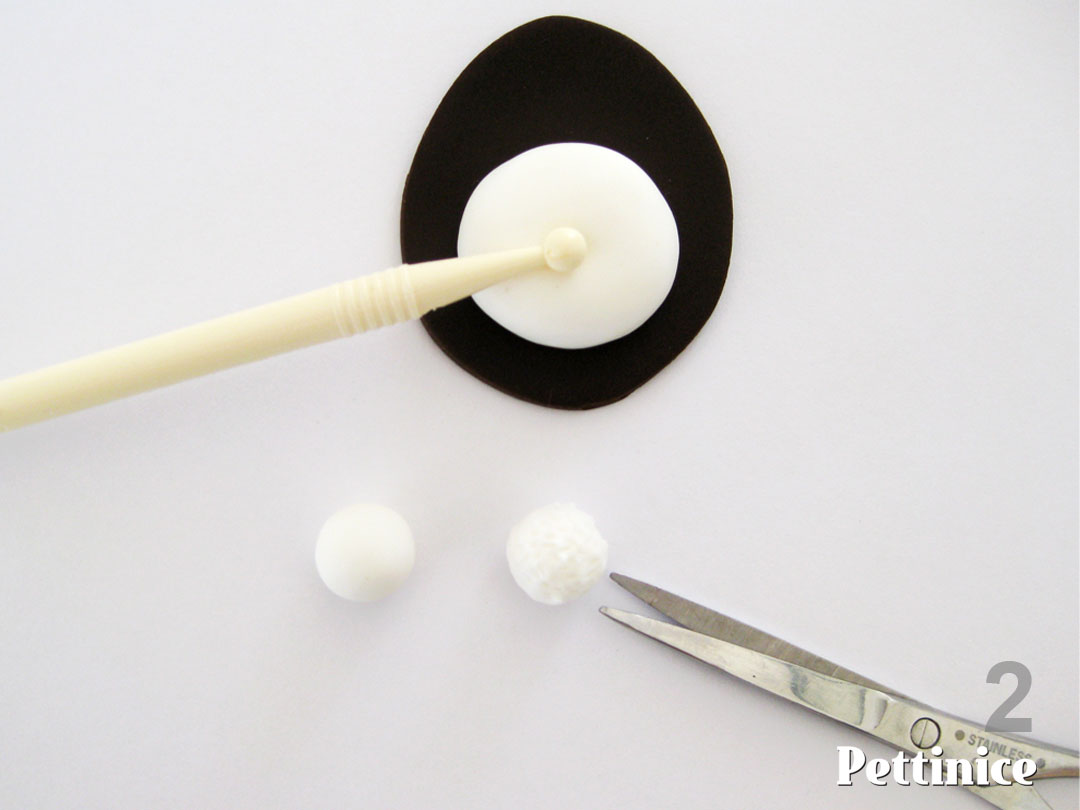 Step 2: Roll a second ball for the tail, and use scissors to snip and create "fur". Indent the body as shown, use a little bit of water to glue the tail to the body.
We used the following colour combinations for the bunny:
WHITE + RED = PINK
WHITE + BLUE = SOFT BLUE
.
For more on colour mixing, click here to see our charts.
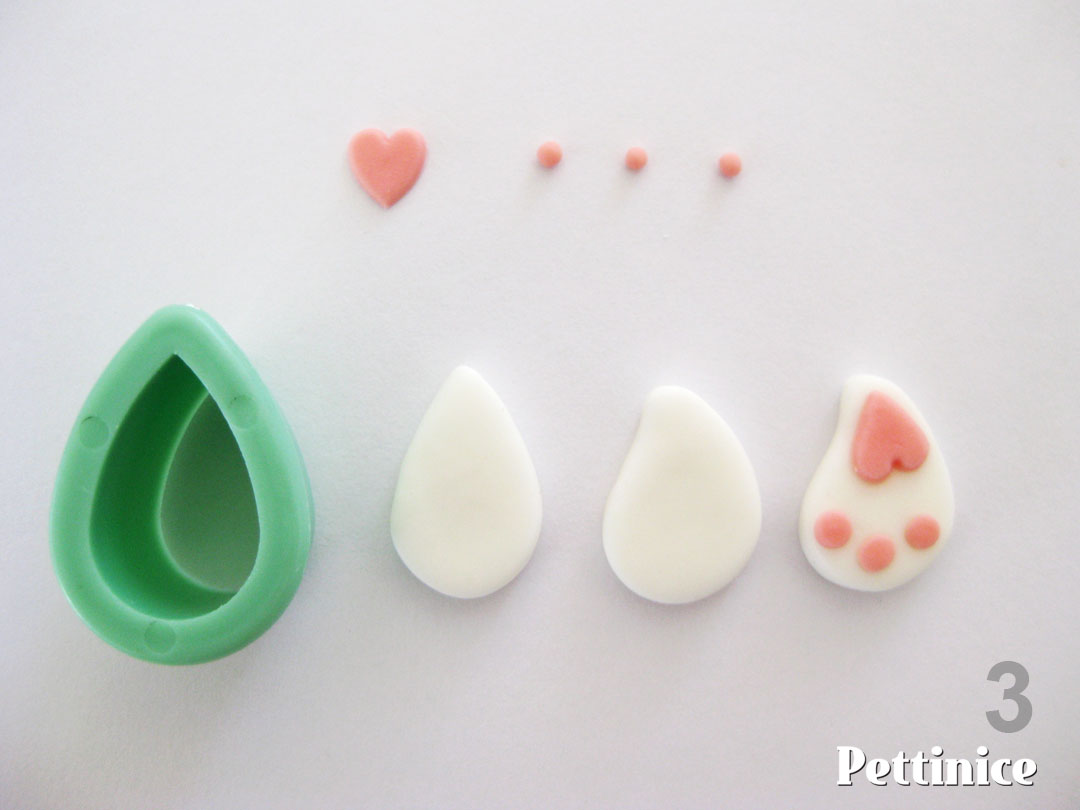 Step 3: If you don't have a heart cutter, simply roll a larger ball and flatten. If you don't have a leaf cutter, roll a teardrop shape and flatten. Use small amount of water to stick everything together.
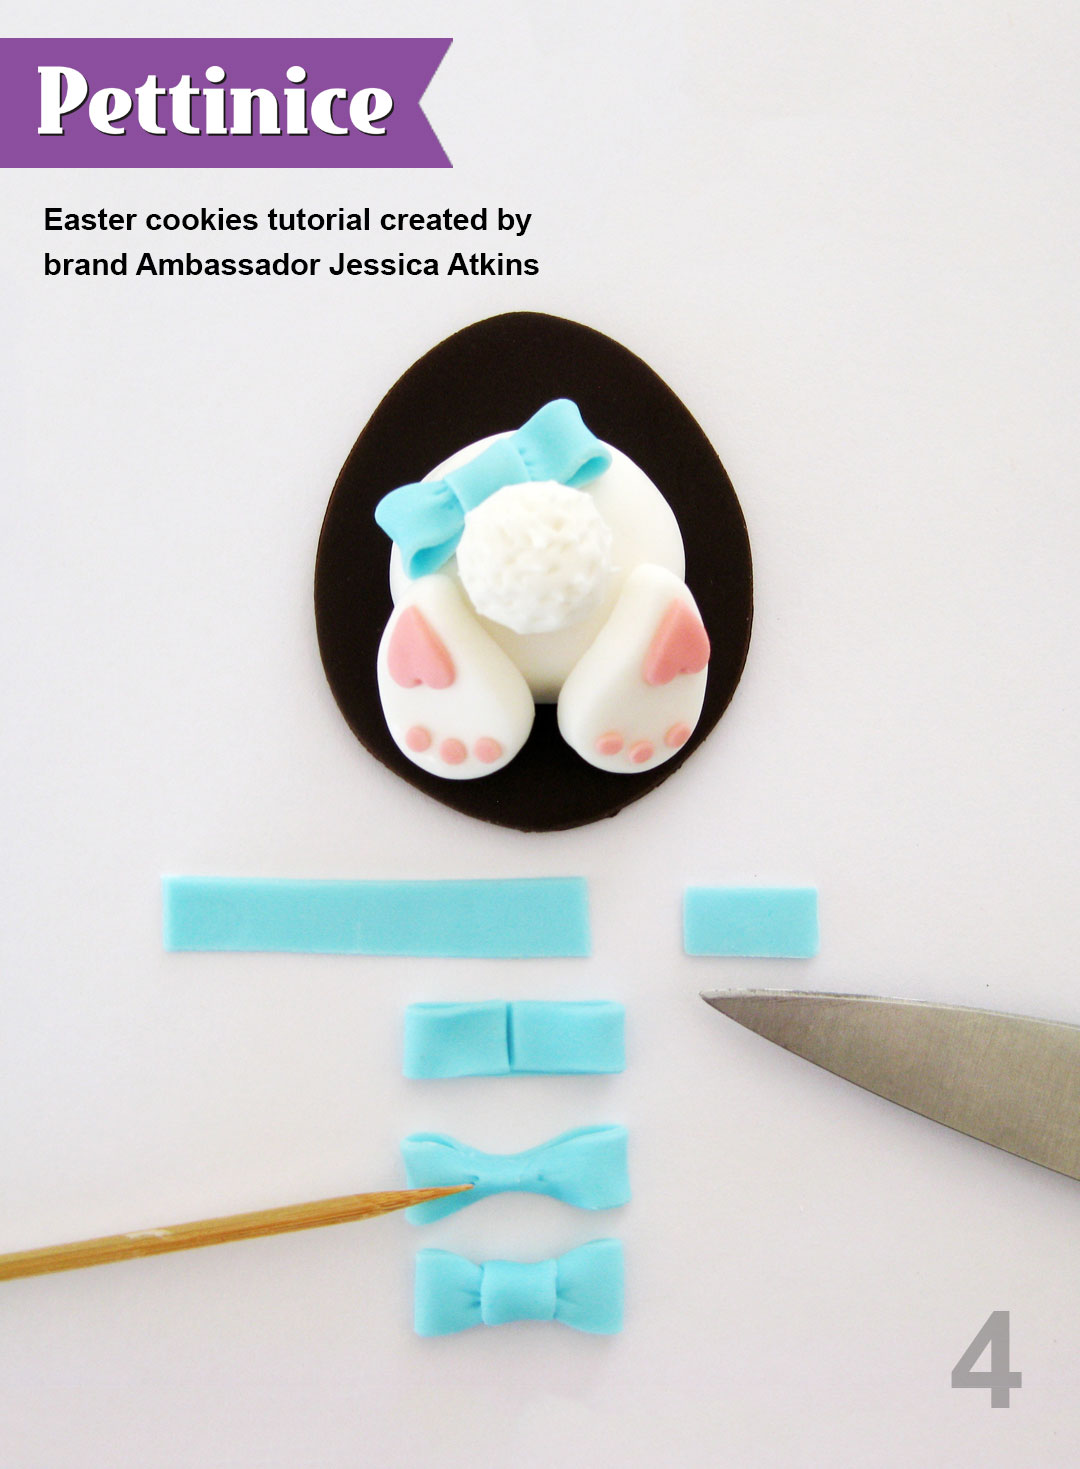
Step 4: Mix White with small dot of blue for this shade. Assemble bunny and create bow as shown. Use small amount of water to stick everything together. Allow to dry overnight for best results.

Jessica a self-taught cake decorator who has two beautiful children who were her initial reason for first trying her hand at cake decorating. It has since become her passion. Jessica has won awards for her cakes, and her work has been published in several magazines. Her favourite thing about cake decorating is the creative outlet and that there are so many elements of cake decorating such as sculpting, hand painting, creating sugar flowers and more. She loves to incorporate textures and colours to achieve unique pieces of art.
You can find Jessica on Facebook and Instagram. ![]()
![]()